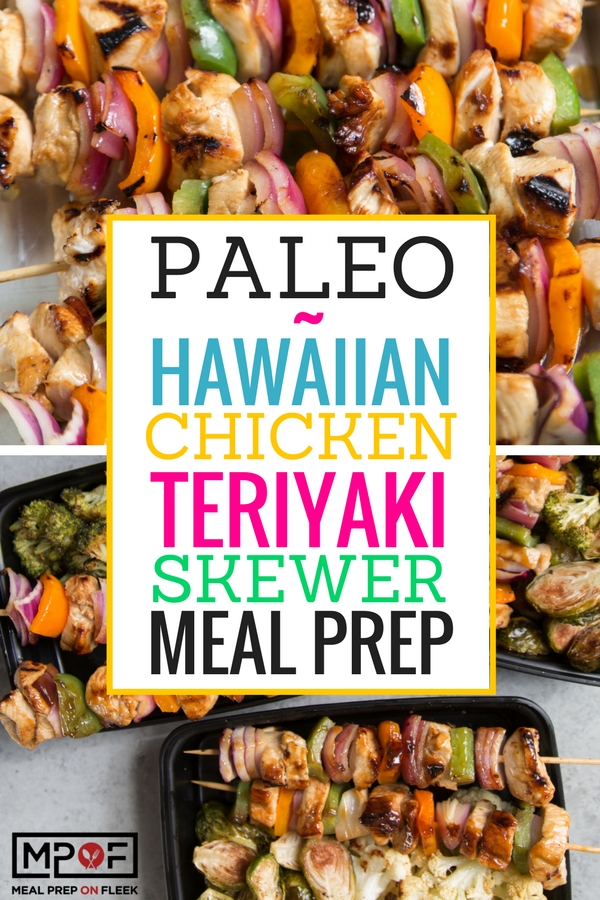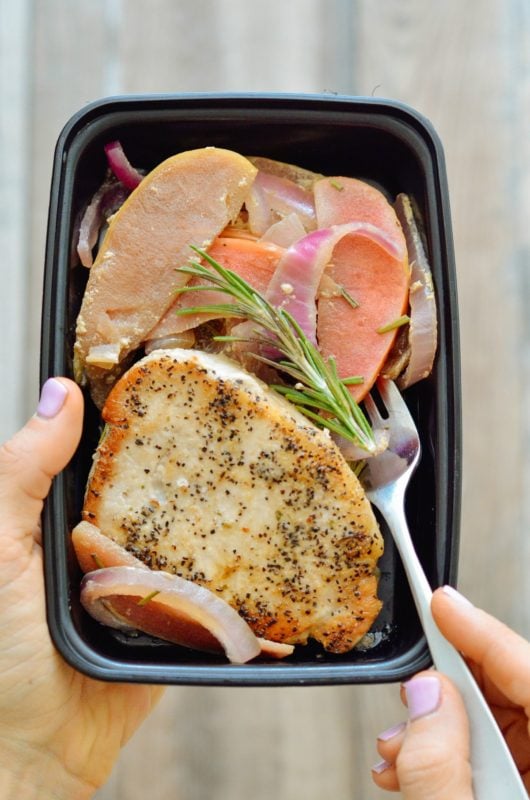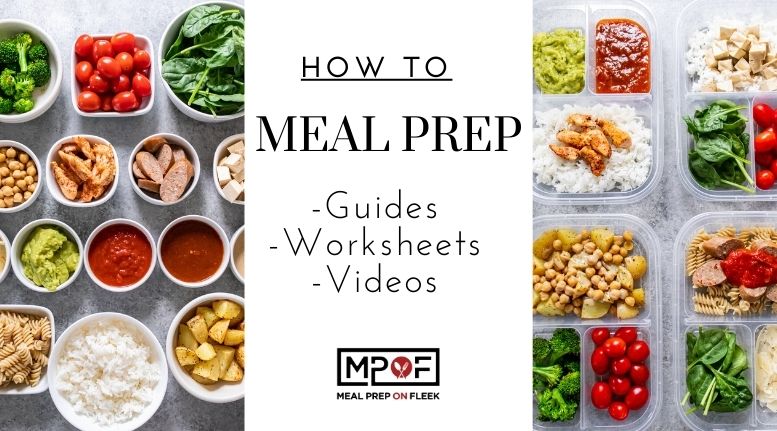
Whether you're just getting started or want to make sure you're on the right path, this complete guide will be your Meal Prep Master Class.
Let's get started
If there is something specific you're really looking to accomplish, the navigation bar can help you get there quickly.
Jump to a Section:
- Let's get started
- How to Manage Your Time for Meal Prepping
- Here is what that would look like:
- Kitchen Tools and Essentials
- Macronutrients and Micronutrients 101
- What are Macronutrients?
- What are Micronutrients?
- How to Find Meal Prep Recipes
- How to Grocery Shop for Meal Prep
- Step-by-Step guide to Meal Prepping
- A Few Bonus Sections you might be interested in:
You've probably seen this graphic. We can attest to how true this ACTUALLY is, and that's why we're here to help.

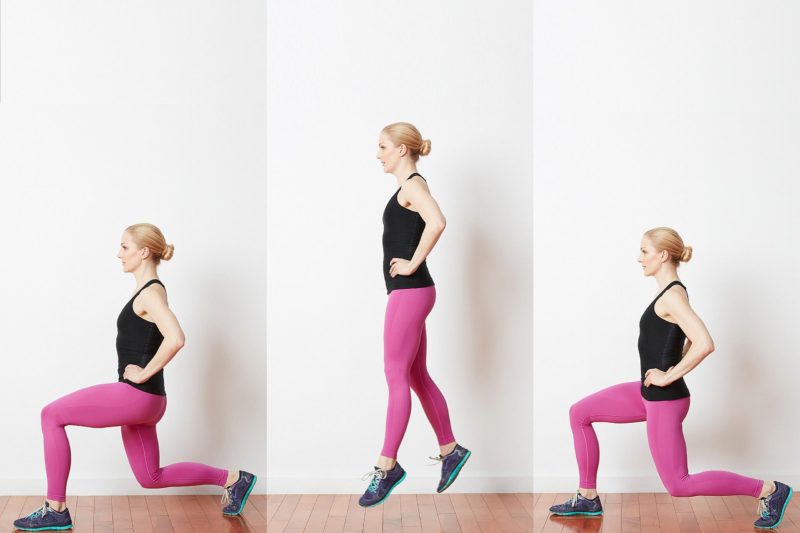
Studies show that, when weight loss is the focus, regular exercise is only 20% of what actually produces results... the other 80% is nutrition.
We might move slower than you'd like, so we're asking you to only focus on one or two things at a time (rather than tackling 100 things and trying to change everything at once). Trust us...there is a method to our madness.
How to Manage Your Time for Meal Prepping
The GOAL for this section: To understand where your time goes, how to optimize the time you're spending on everyday tasks, and to put a plan in place to include meal prepping in your weekly routine.
Getting Started:
- Start with Energy Management
So much of "time management" is made up in your own imagination; in your own head. Are you managing your physical body well? Are you eating well? Sleeping well? How about a little bit of exercise?
Action Step: Before you go to bed tonight, get your clothes ready for tomorrow. Everything you can get done tonight, will make your morning that much easier.
- Know Your Priorities
"Lack of direction, not lack of time, is the problem. We all have twenty-four hour days." ― Zig Ziglar
Make sure to identify the main tasks that NEED to be accomplished
- Set a Benchmark
Follow yourself around for a good week and find out what activities you're spending time on. Things that are typically on this list include: going to the movies, getting coffee with friends, Netflix / YouTube, gym / exercise (this is a good thing), studying, reading, etc. Start Tracking Your Meals ASAP... - Write a To-Do list
Now that you have an idea of what your needs are and where you spend most of your time, have a brief, but thorough meeting with yourself to plan your day. Ben Franklin used to start his morning plan by asking himself, "What good shall I do this day?"
- Set Time Limits
There is ALWAYS more you could do at the end of the day, so make sure you have reasonable time limits set and have some things that can be accomplished within those parameters.

Pro Tip: Make sure that you plan time for interruptions and distractions
- Turn off Notifications
During your main work blocks, where you're most productive, let others know you need uninterrupted time when you absolutely HAVE to get things done. - Evaluate Your Day
Acknowledge the things you did well and celebrate your success. There is always time to adjust those things that didn't work and need to be improved upon. Time management should be a process of continual improvement and you will know it's working when you find yourself adding extra curricular activities to your To-Do list. - Meal Prep
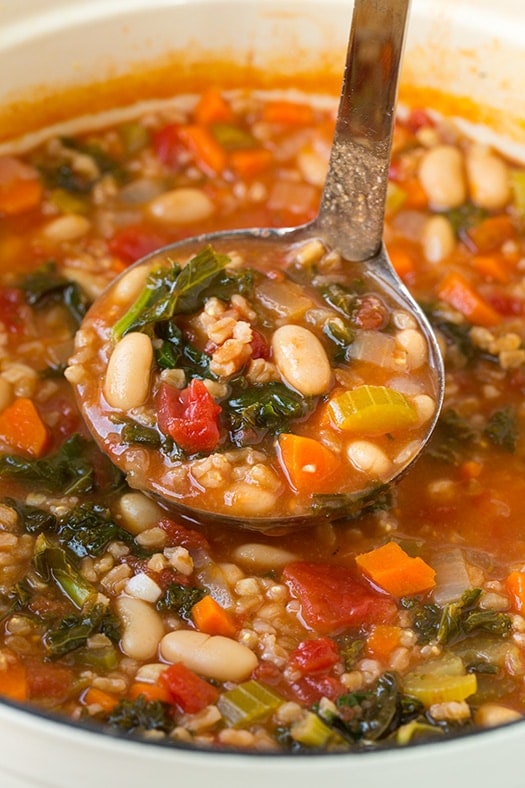
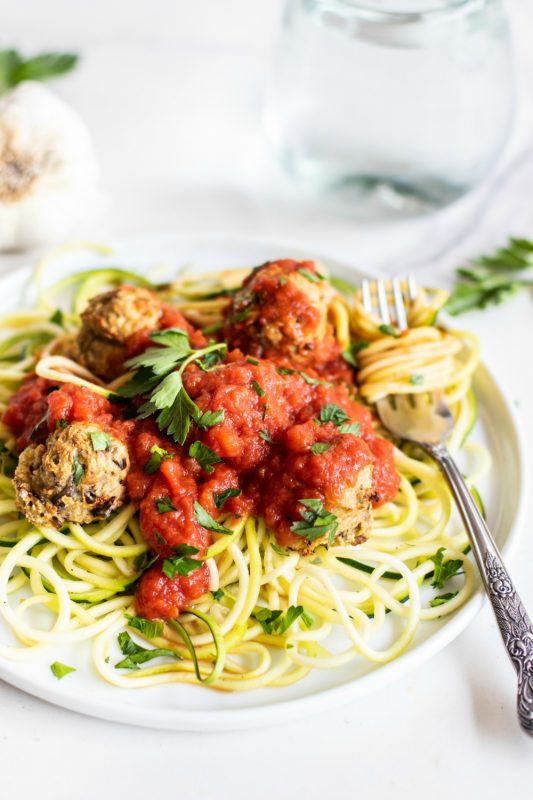
Duh! What, did you think we wouldn't include meal prepping in here?! C'mon -- Believe it or not, meal prepping is a major time management hack. Using these steps, you should be able to plan and prep your meals for an entire week, in just a couple hours. If you want to save time on the planning process, Workweek Lunch has a meal planner tool where they do the planning for you! Learn more here
Here is what that would look like:
Know your Calorie Goal- Why are you eating what you're eating? (You only have to do this one time)
- Find recipes HERE based on your calorie goal and plan your shopping list (P.S. Use the search bar if you're looking for something specific)
- Once you have your recipes, add up the cook times and set your meal prep time limit for your prep day (see time management notes for meal prep below)
Then all you have to do is get cooking
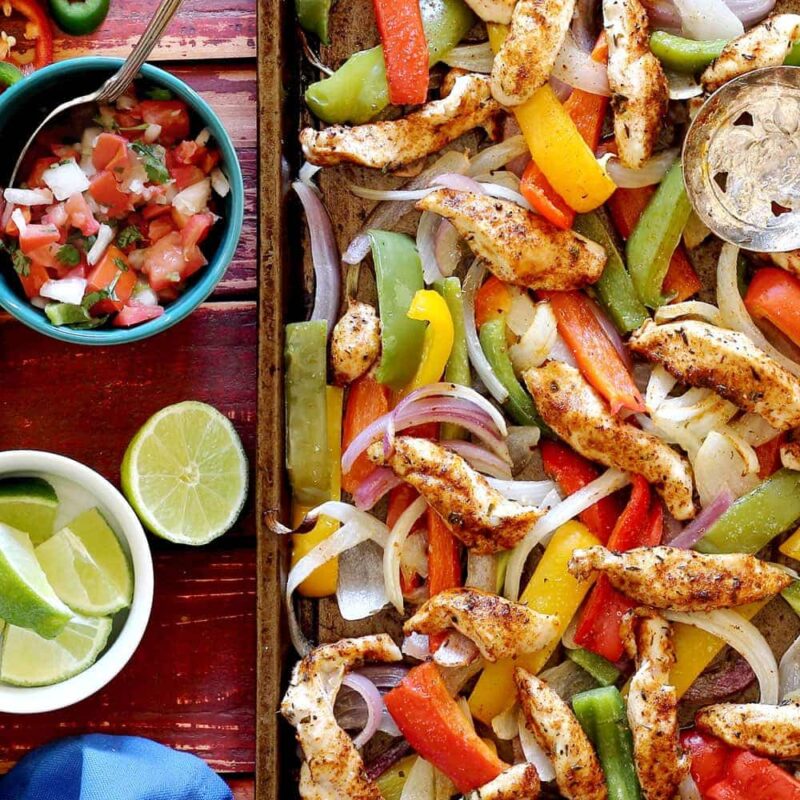
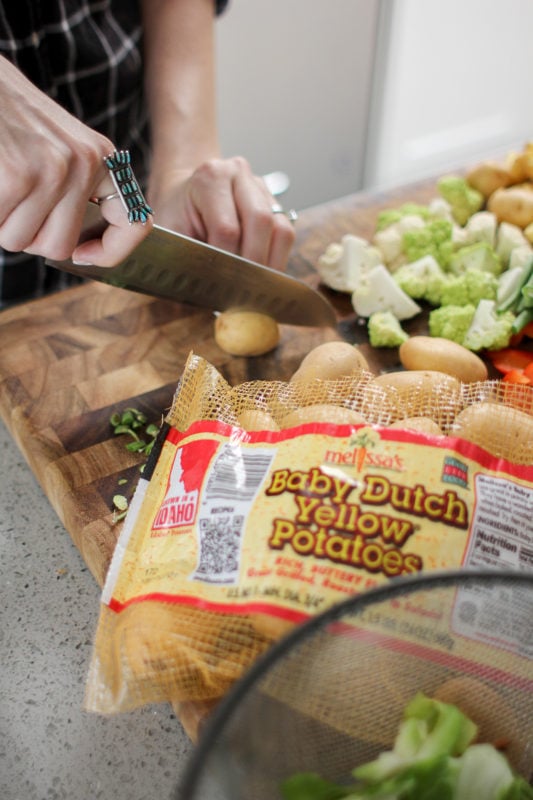
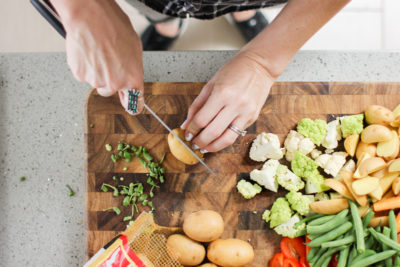
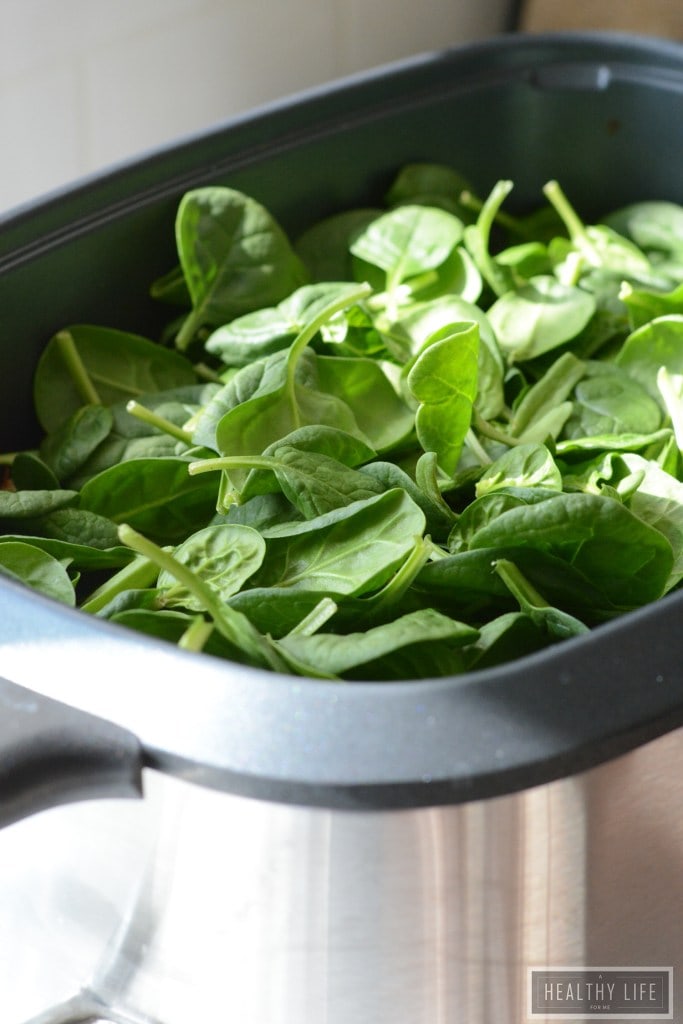
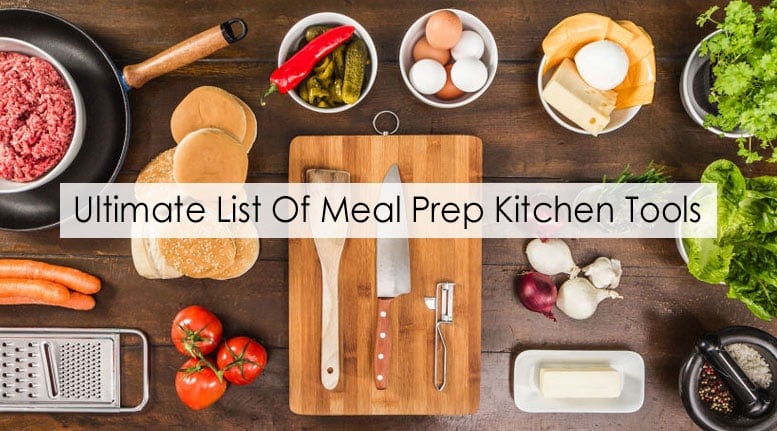
Kitchen Tools and Essentials
It might be a small step at first: You decide you want to figure out your macros and then work on creating just one or two beginner meal preps a week. Maybe it's a one-pan recipe that calls for a large sheet pan, so a sheet pan becomes #1 on your to-buy list.
Or maybe you decide you want to start with a muffin or egg cup recipe that calls for a muffin pan, which then becomes #1 on your to-buy list. It's up to you. Or, you could be so excited to start a full week's worth of lunches that you also want to dive in and make one-skillet and one-dish recipes during your Sunday prep!
But, when it comes time to create all of these yummy recipes that you have found and saved on Pinterest, you realize you don't have any of the tools you need to make them! Maybe it's time to stop spending all that extra money on take-out and instead invest in new cooking tools that will not only save you money in the long run, but also help you attain your health goals - with meal prep as your guide. Because we all know that achieving 80-90% of your health and fitness goals starts with proper nutrition!
We have picked some of our favorite and most necessary kitchen tools that will help you meal prep like a pro! Oh, and leave you eating like you are a culinary chef!
Here is a FULL LIST of our favorite Kitchen Tools.
NOTE: We break these down further by category in the next lessons:
- Non-Stick Skillet
- Cast Iron Skillet
- Saute Pans and
- Sauce Pans With Lid
- Baking Dishes
- Sheet Pans
- Roasting Pan
- Cooling Rack
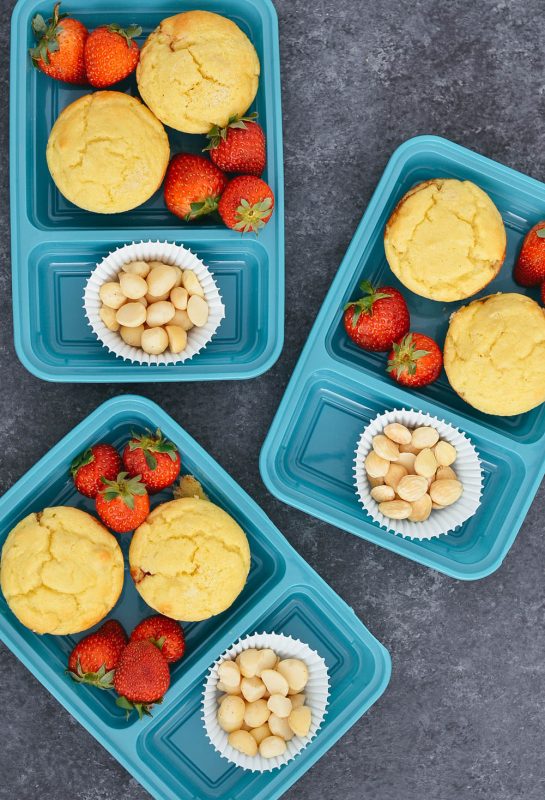
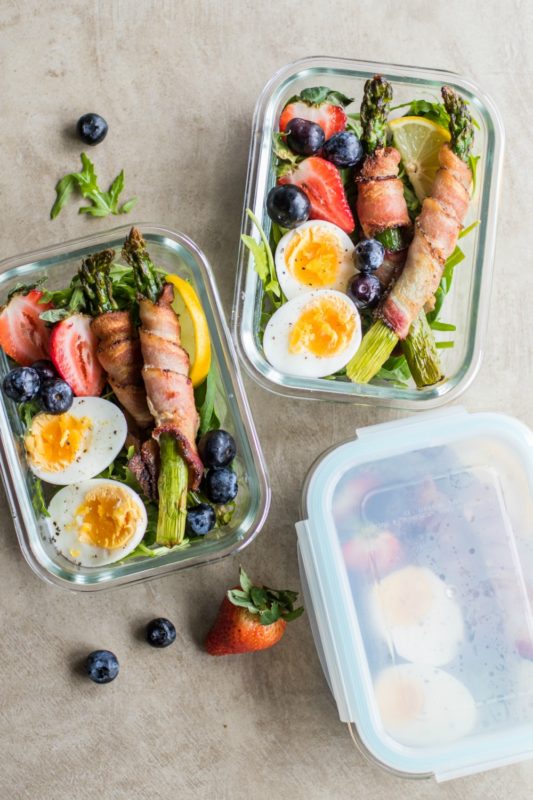
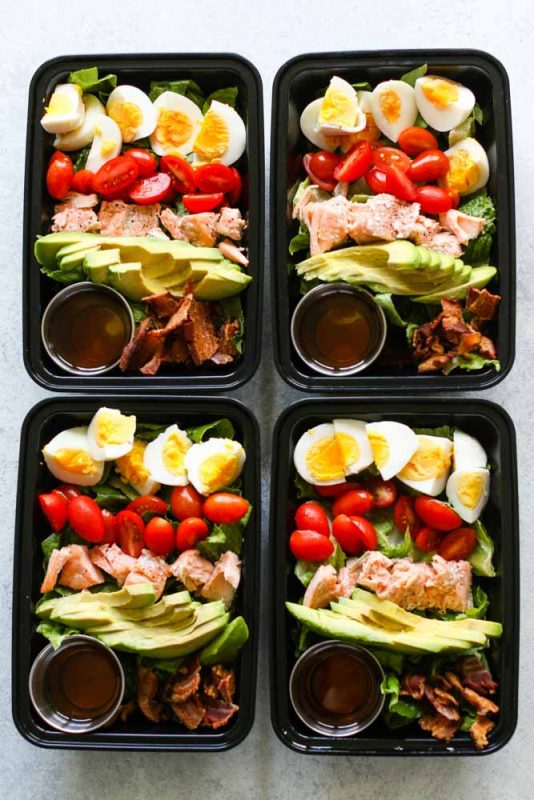
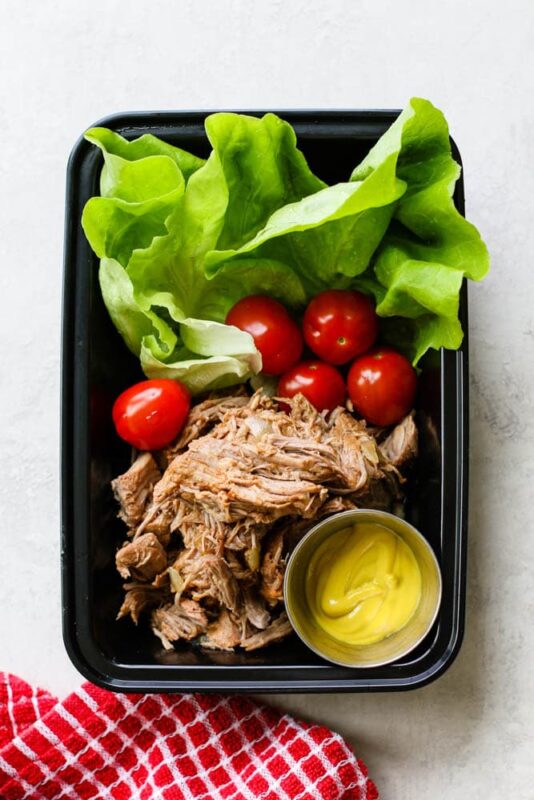
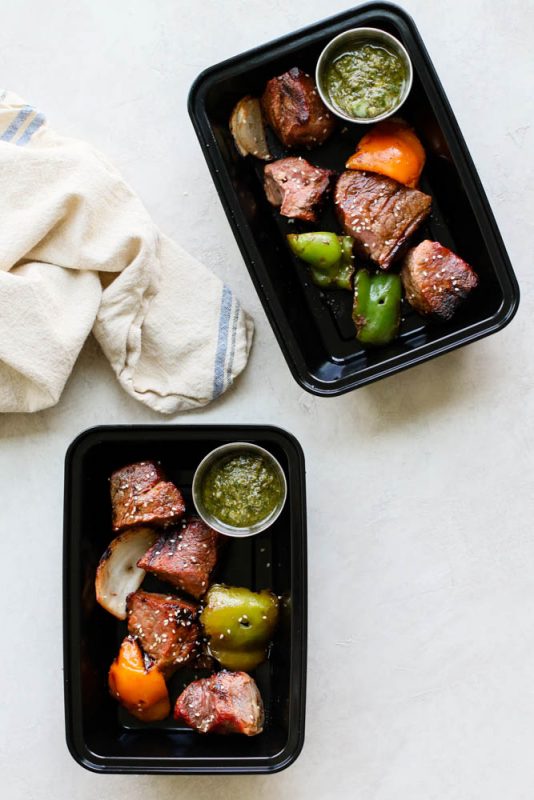
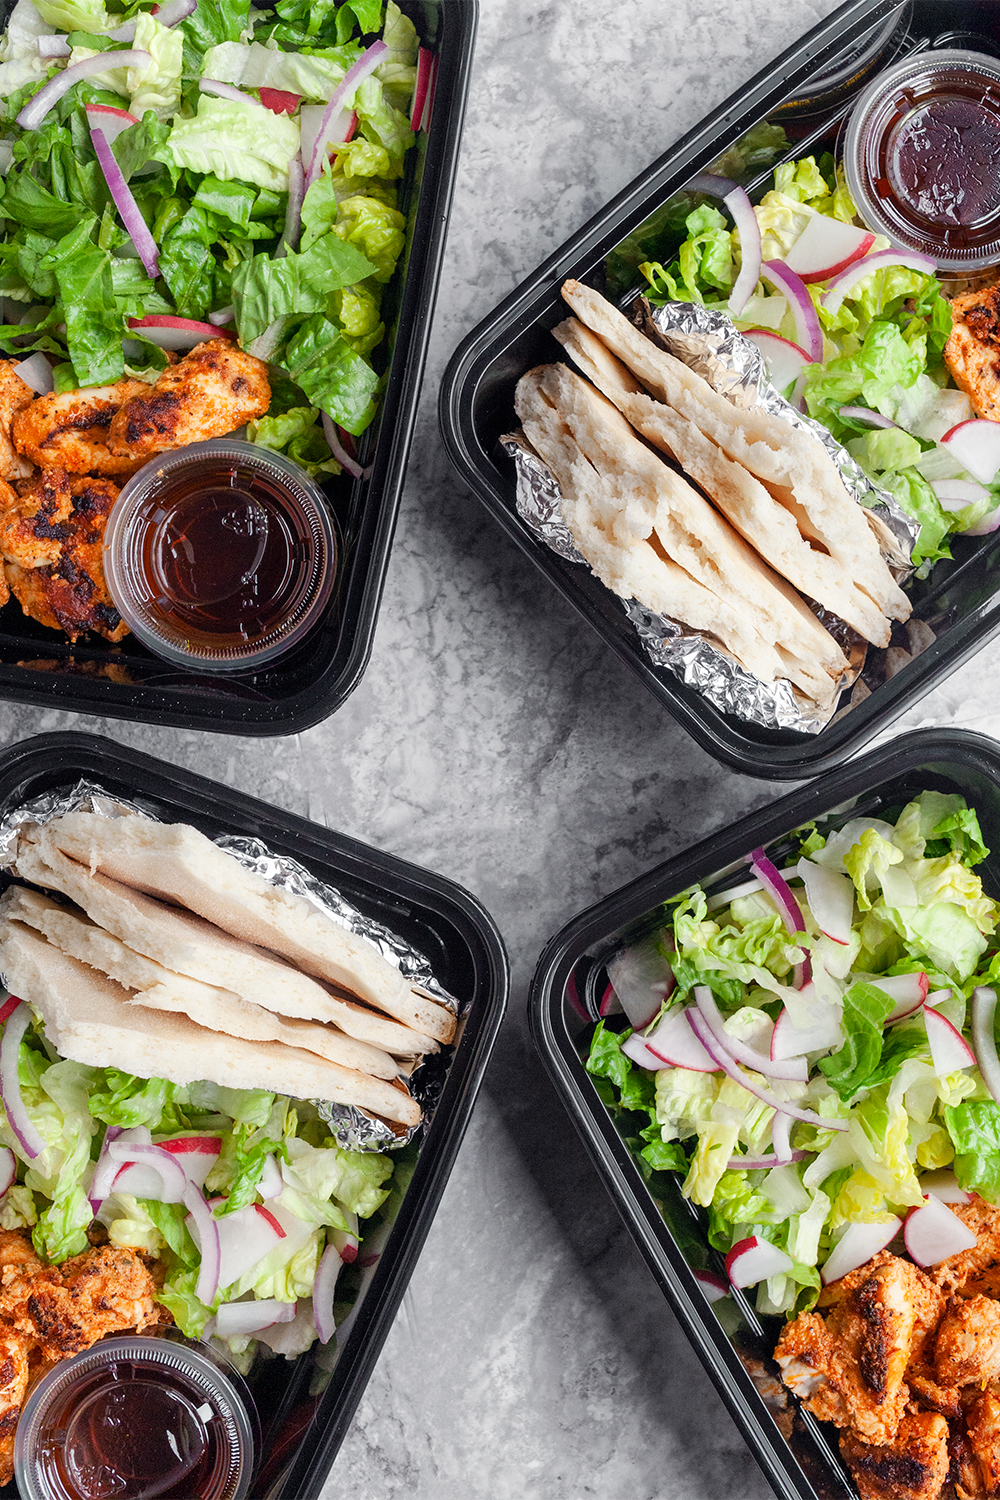
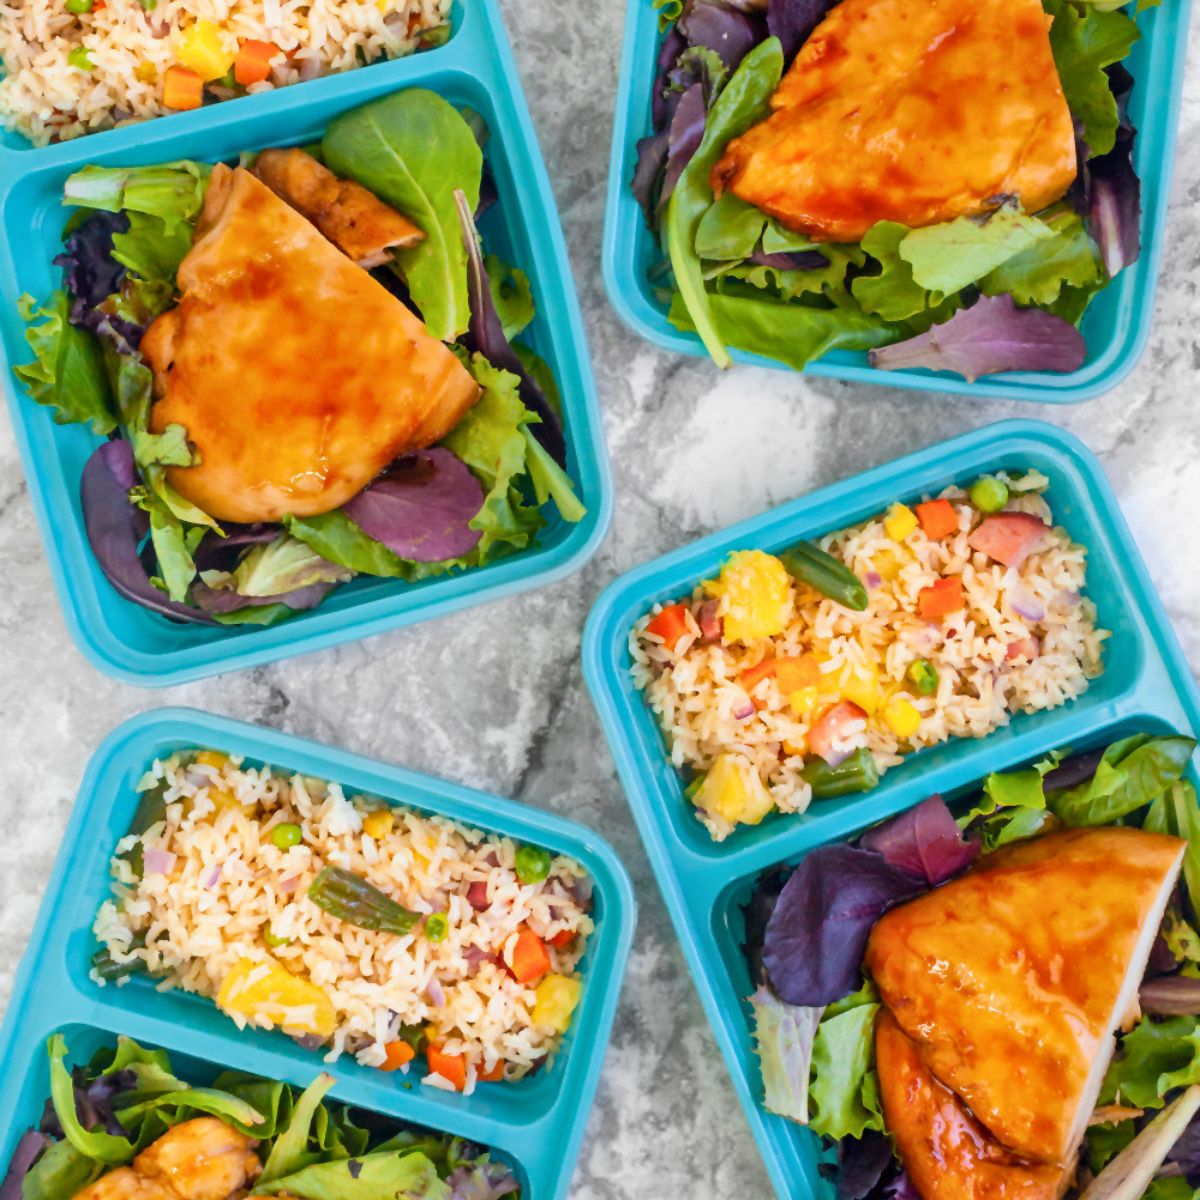
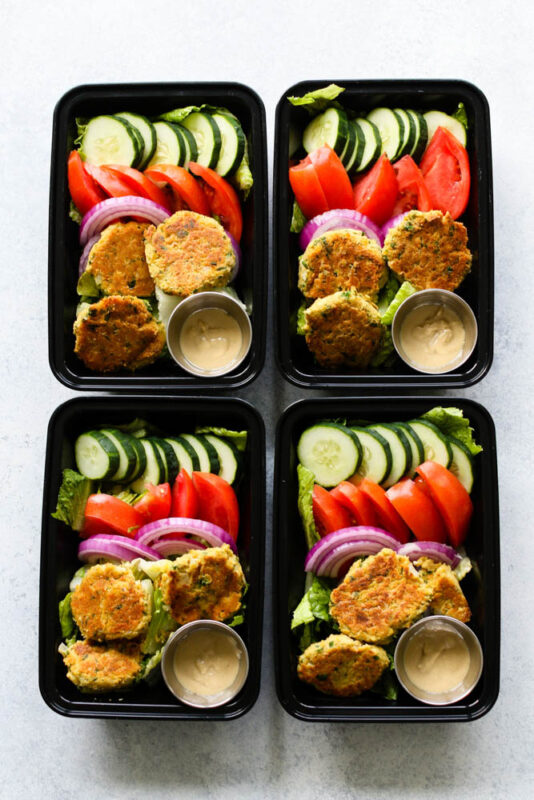
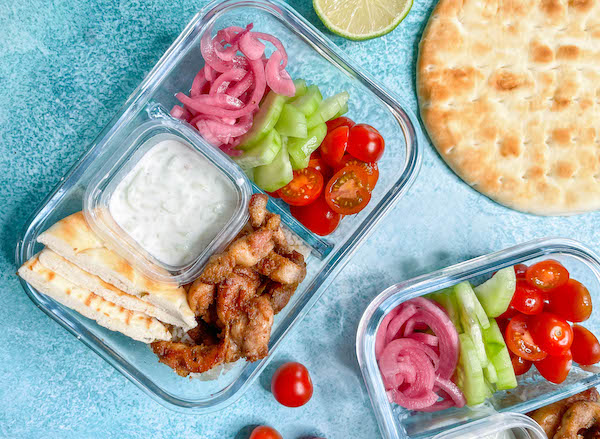
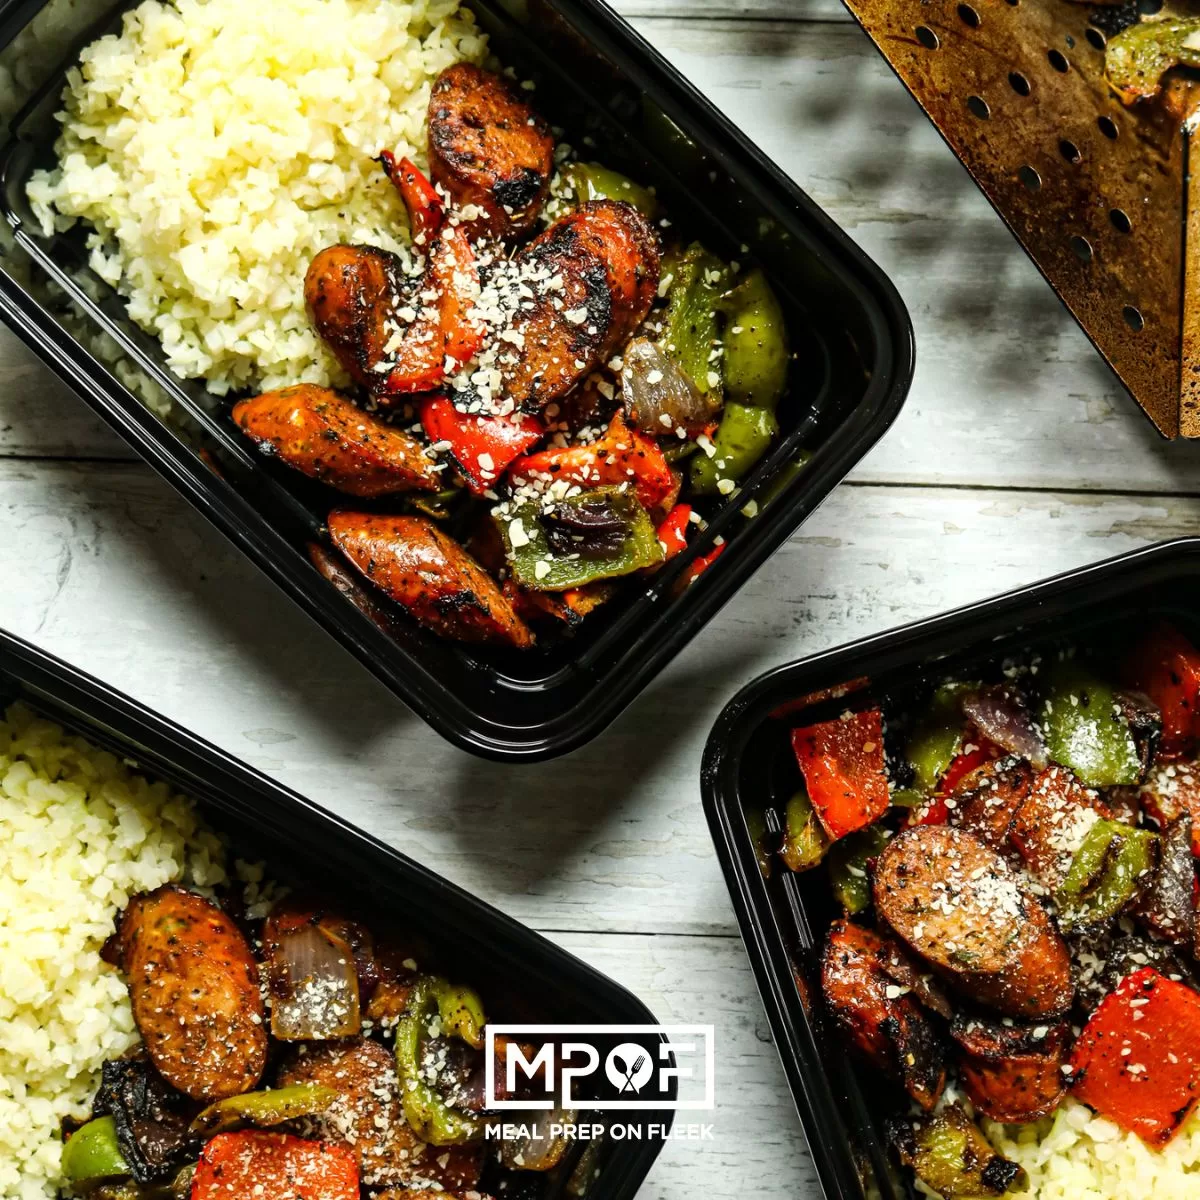
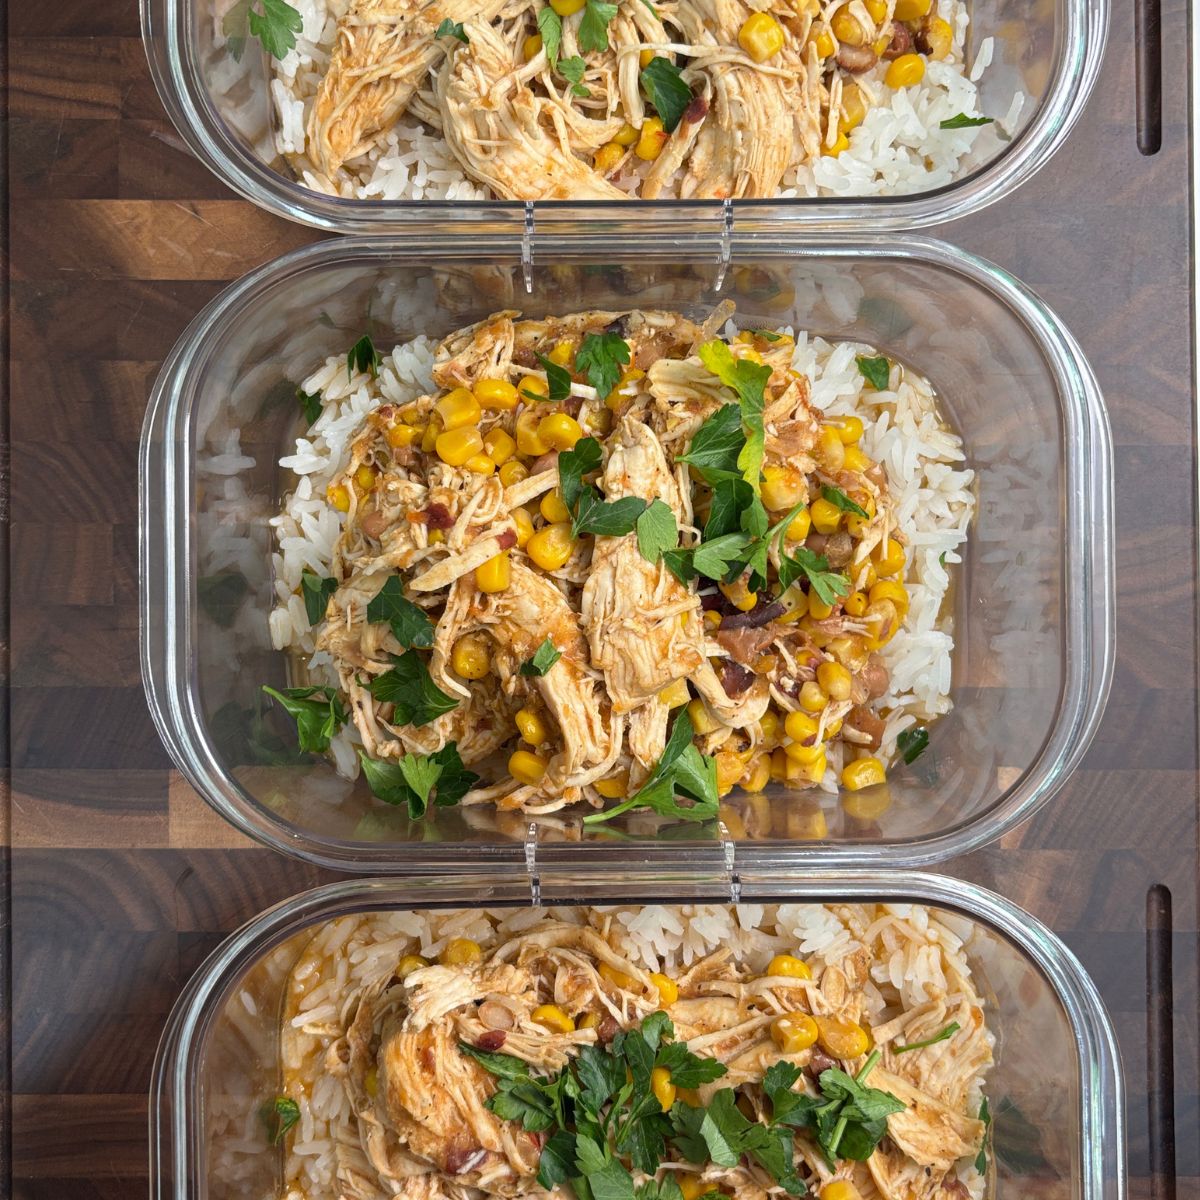
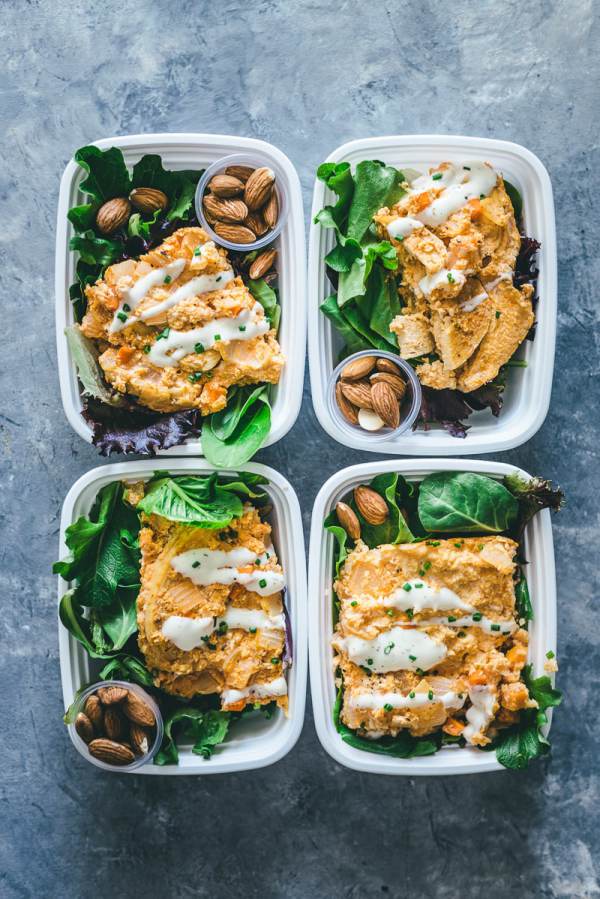
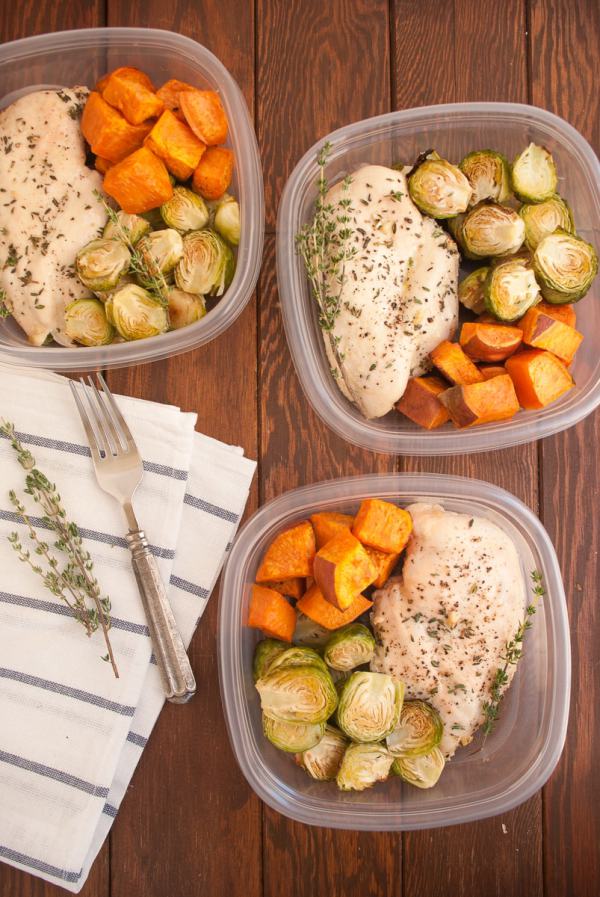
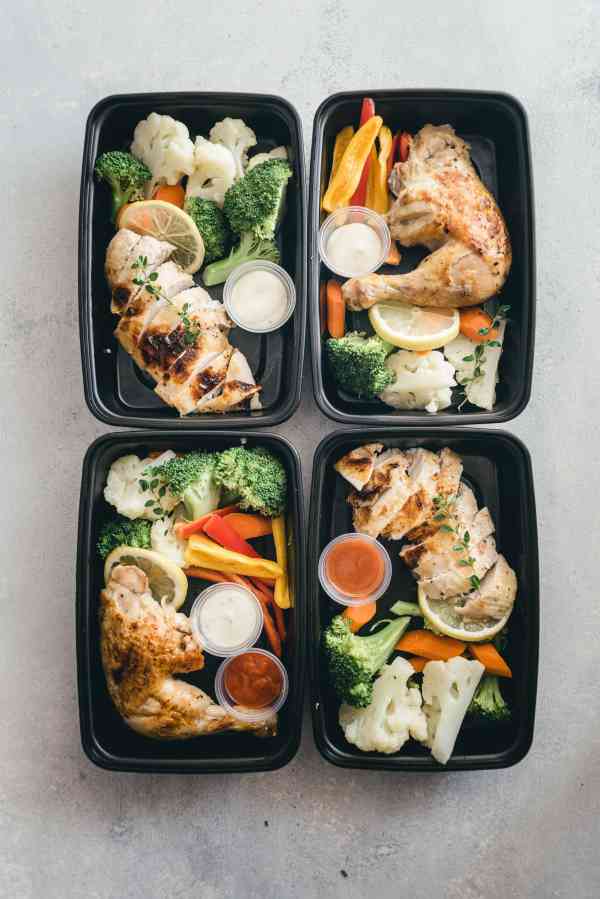
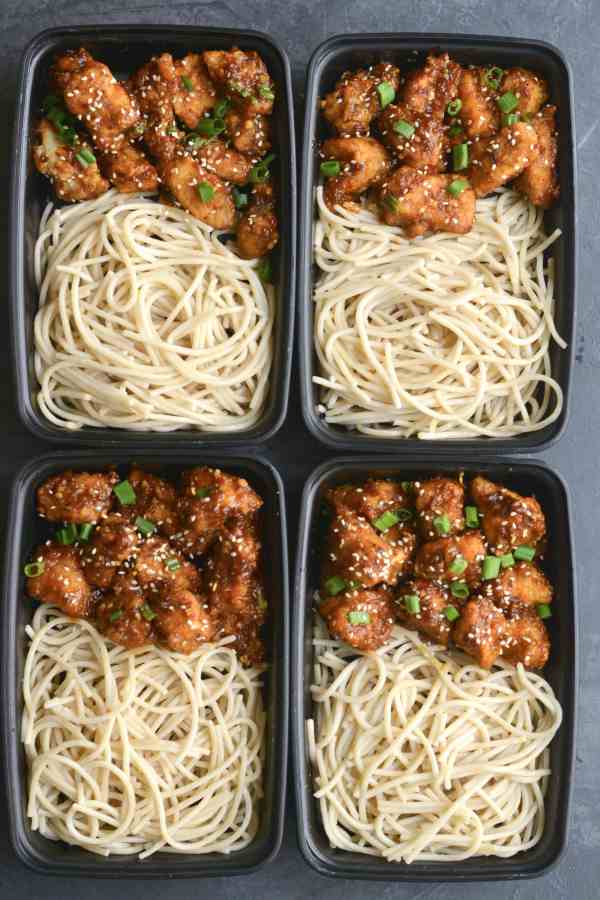
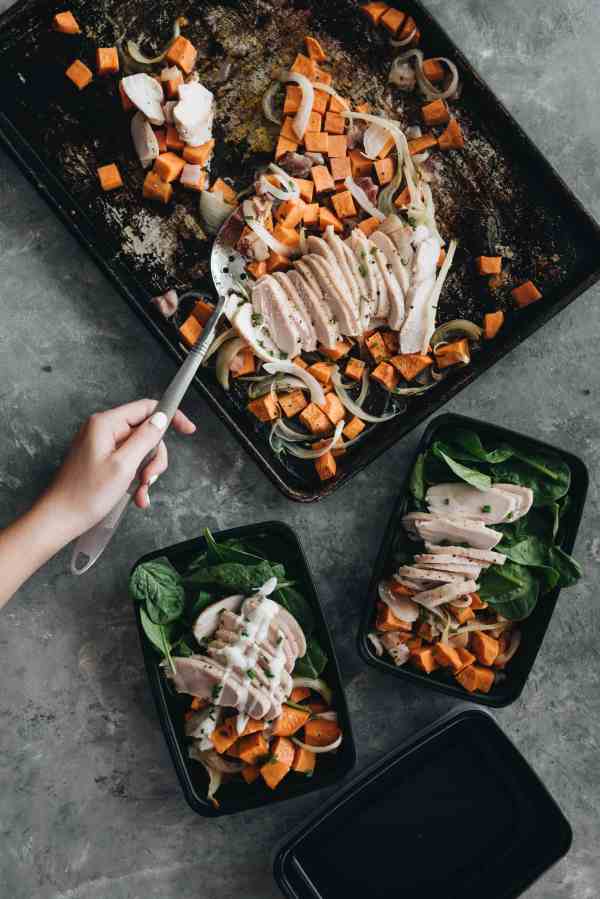
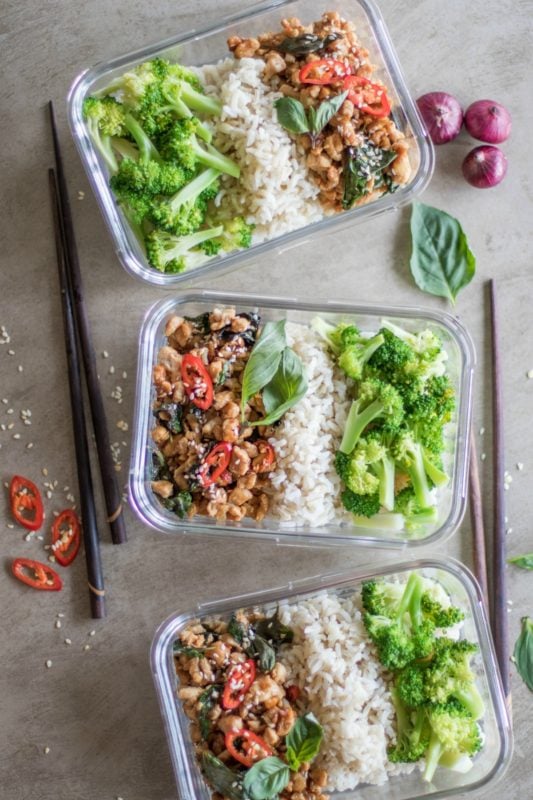
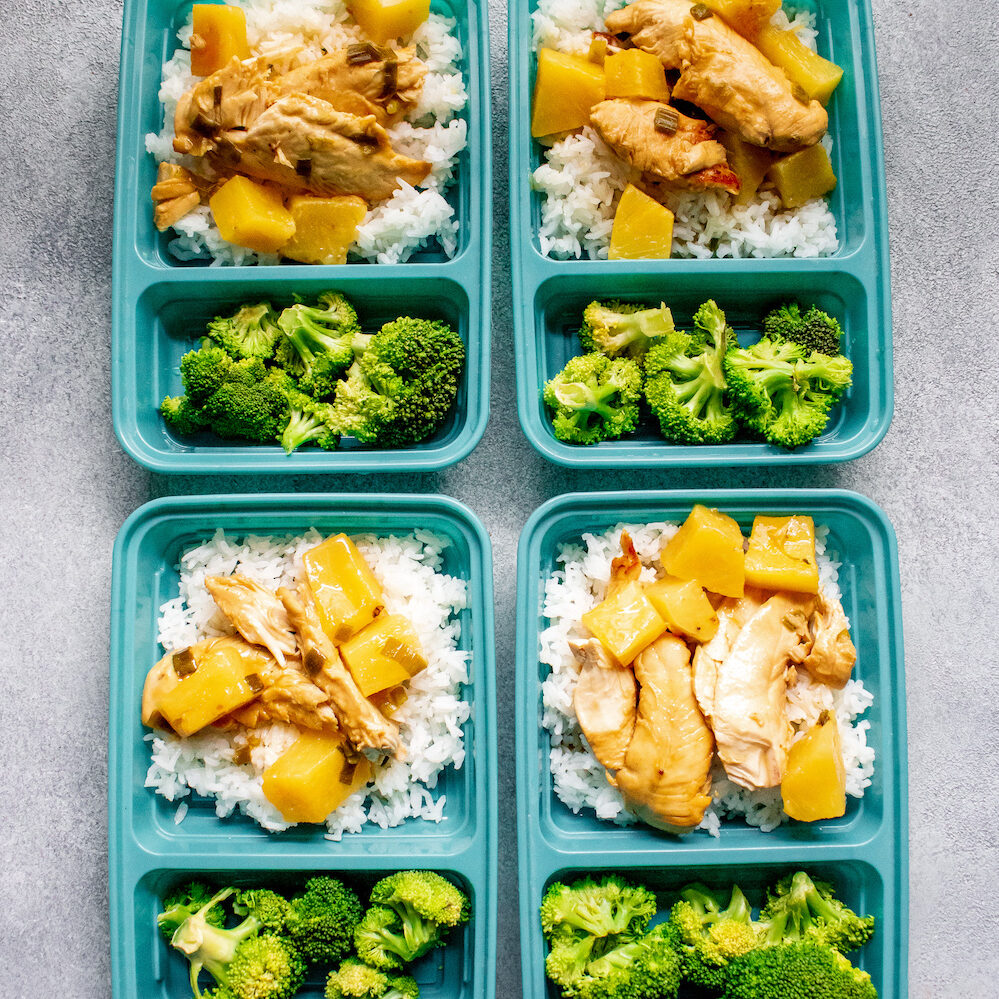
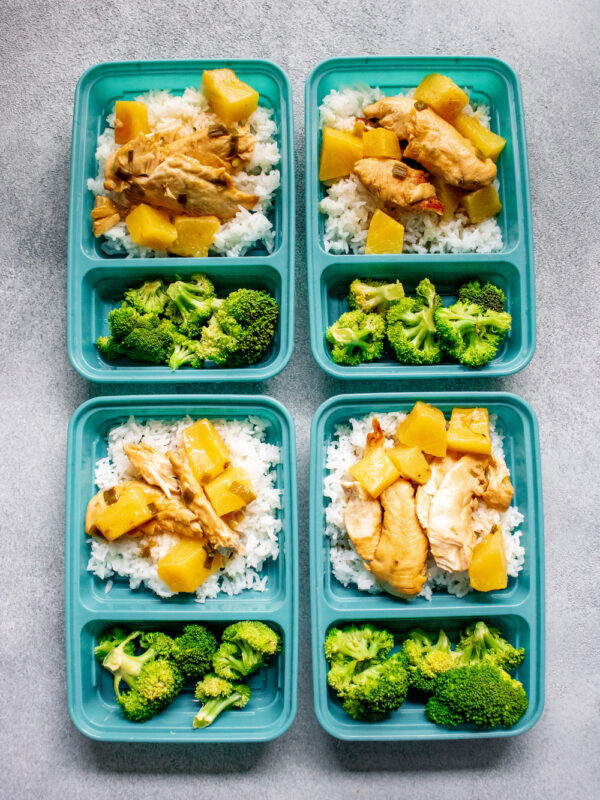
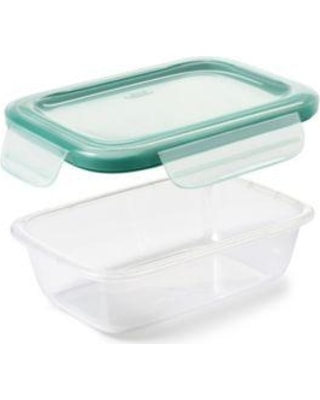
- Meal Prep Containers
- High-Quality Knives
- Measuring Cups & Spoons
- Food Scale
- Kitchen Utensils
- Cutting Boards
- Mixing Bowls
- Colander
- Spiralizer
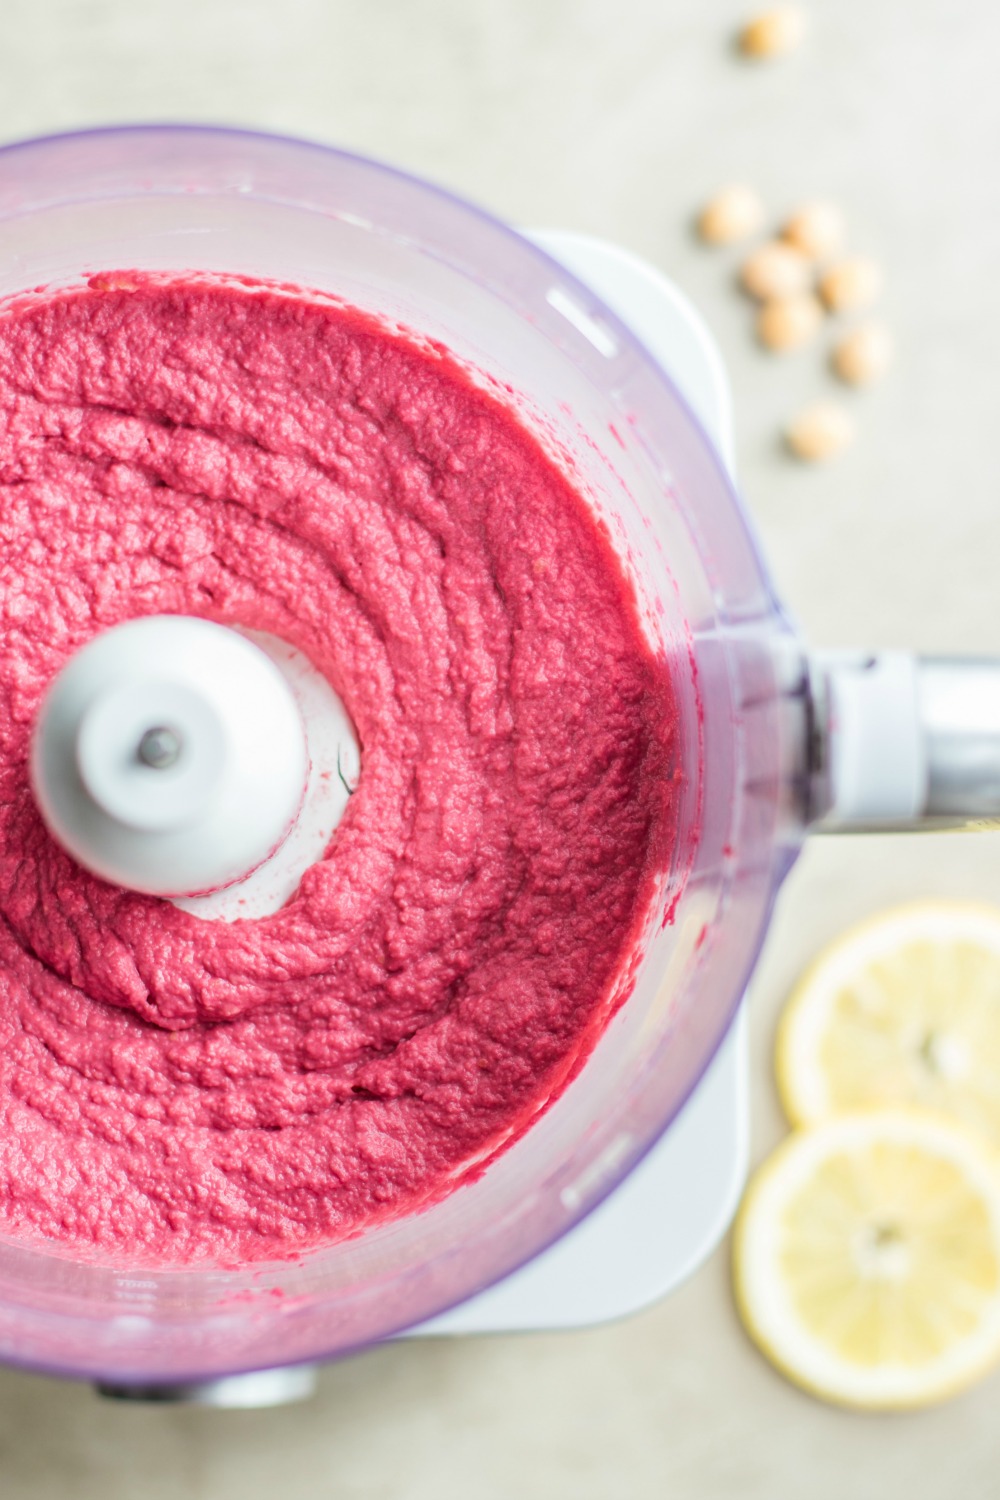
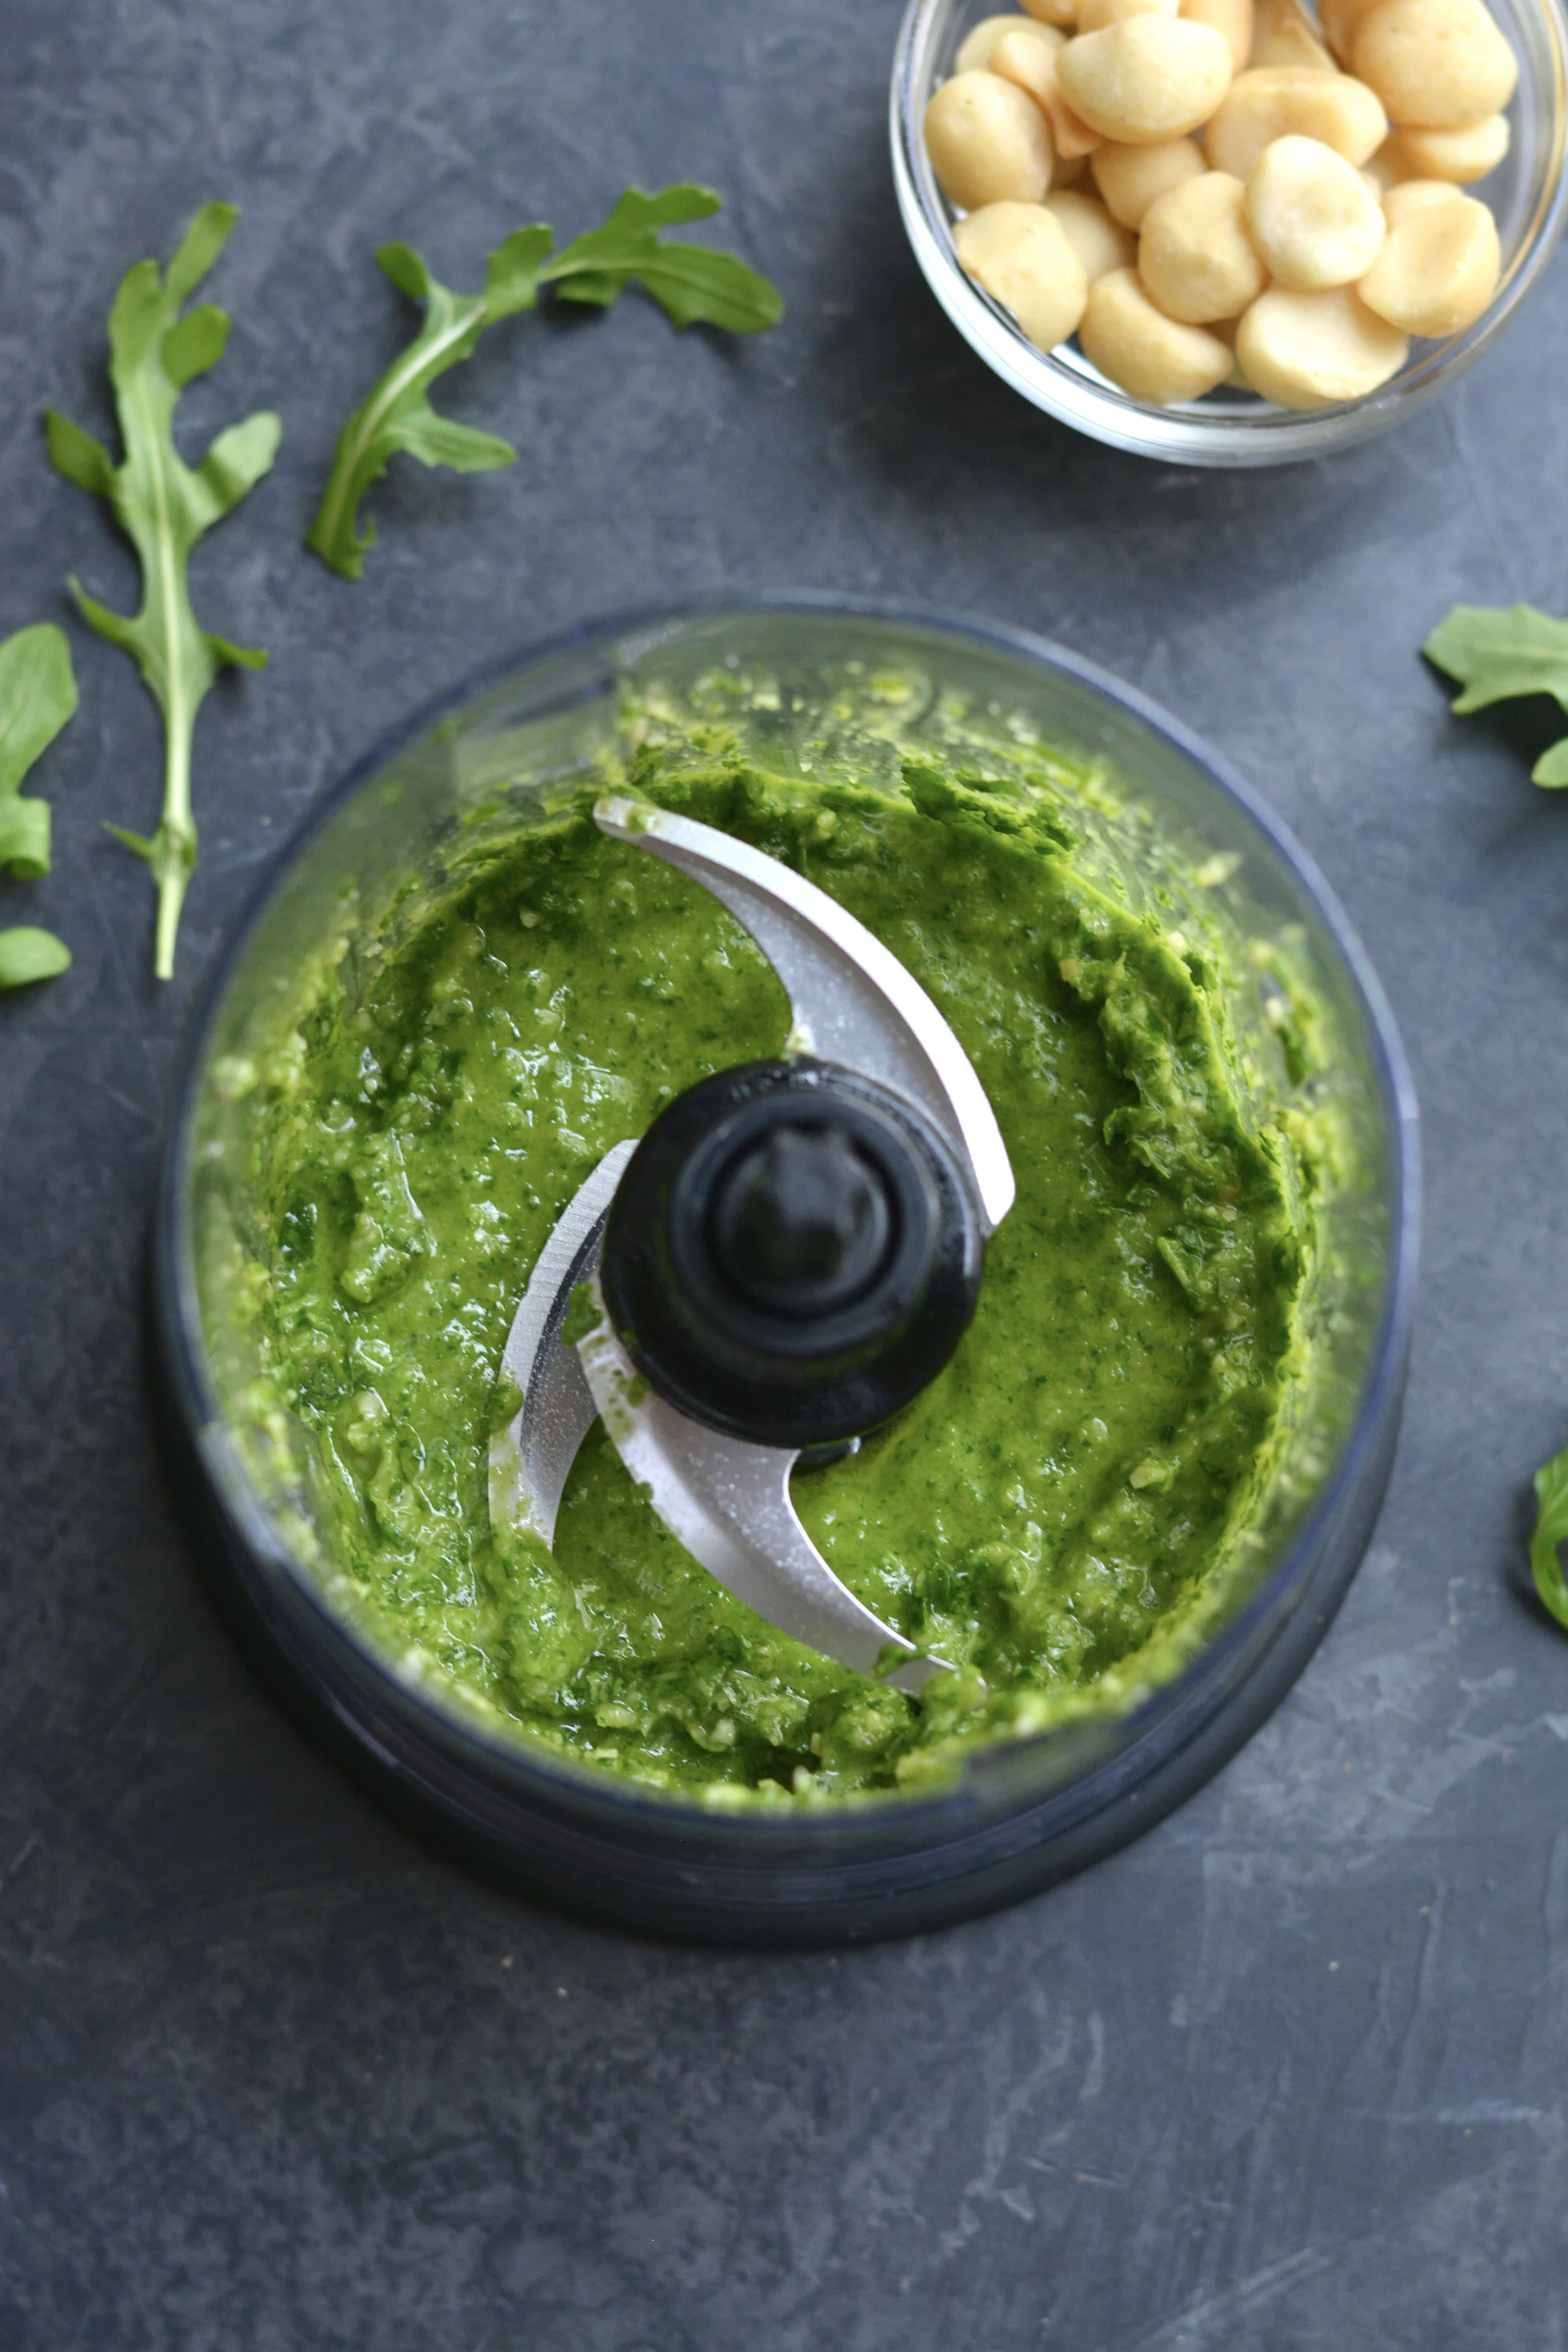
- Food Processor
- Crockpot
- High-Speed Blender
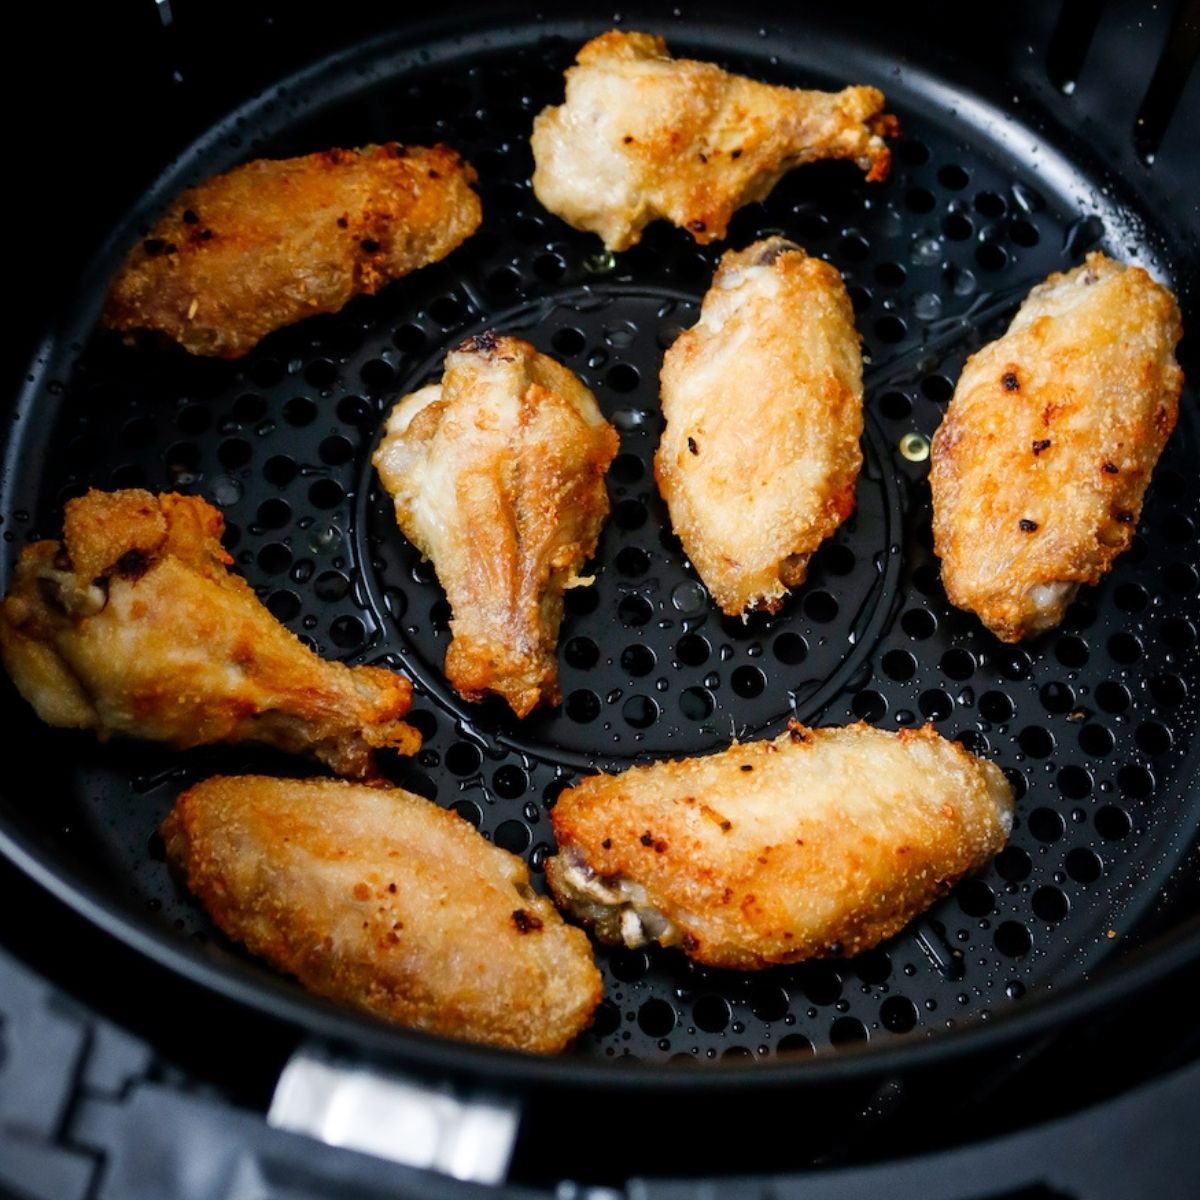
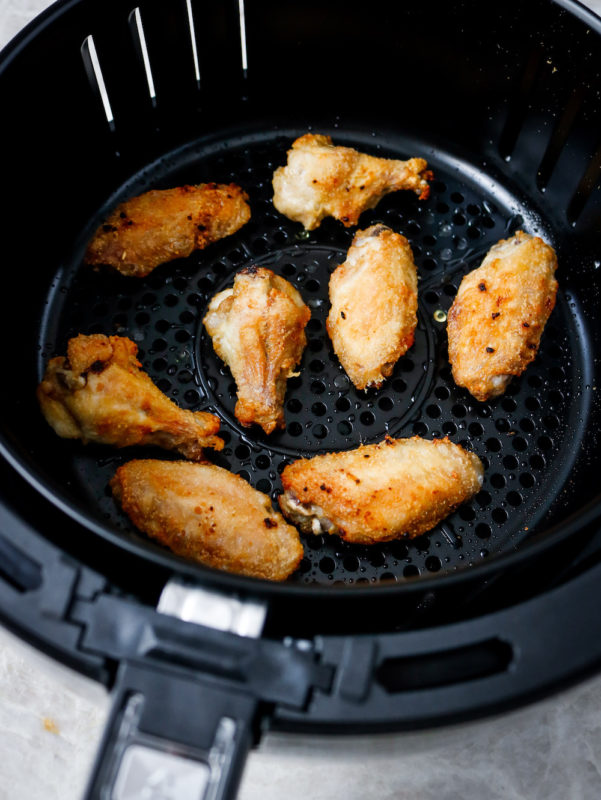
- Air-Fryer
Download our Kitchen Tools Checklist to take inventory of your kitchen tools and plan ahead for future additions.
Macronutrients and Micronutrients 101
It is easy to get lost in the world of nutrition when you're first starting to be mindful of your food choices and track your diet. So we wanted to give a brief breakdown of macro vs micronutrients.
--
What are Macronutrients?
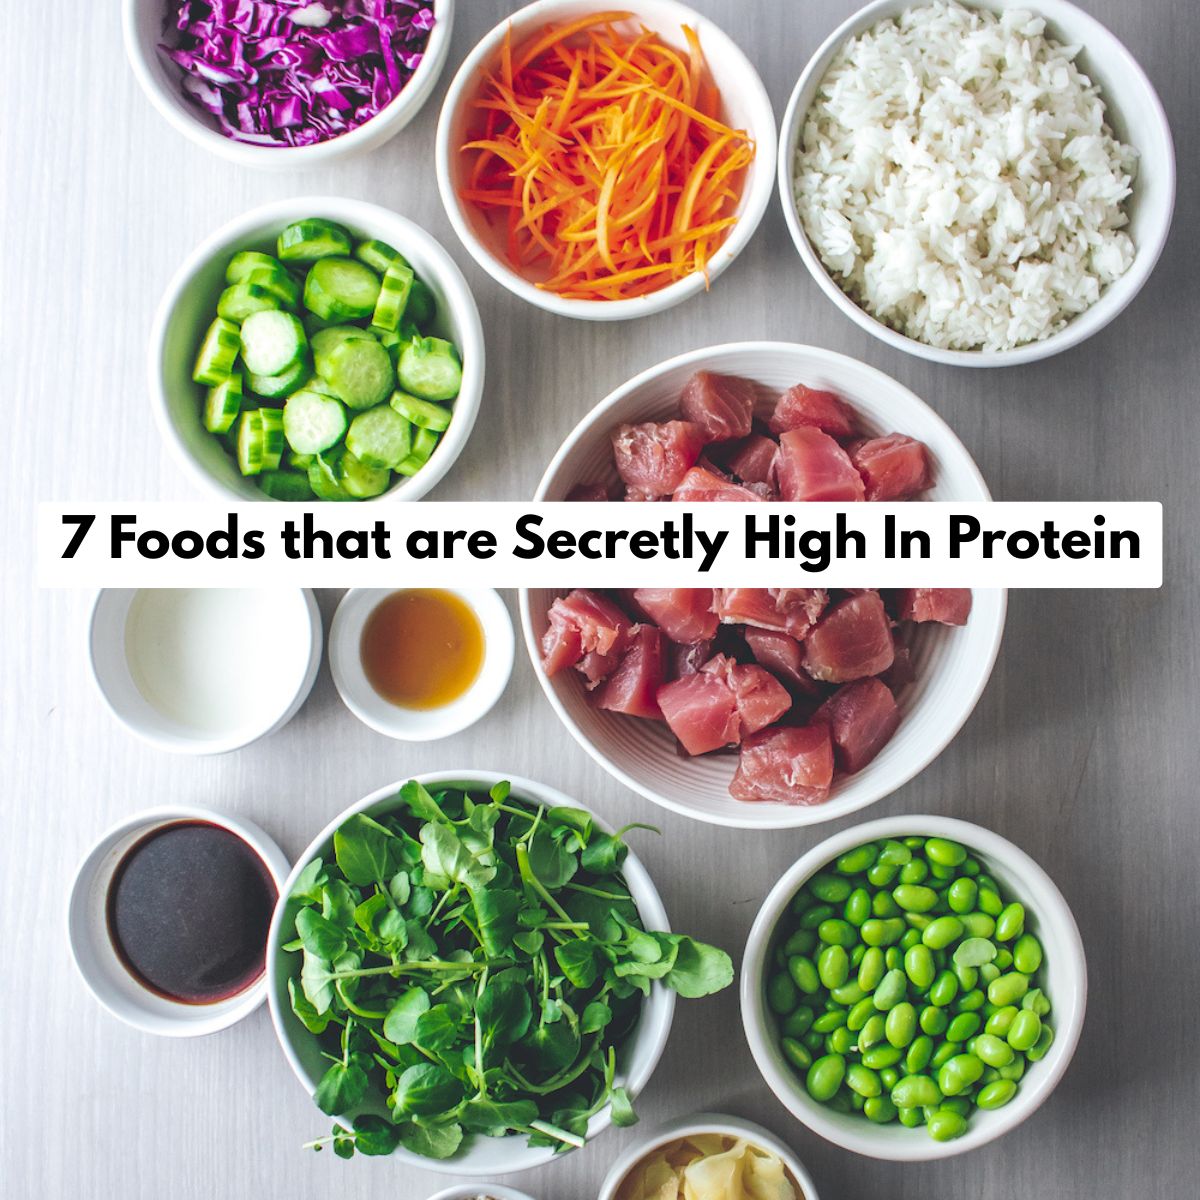
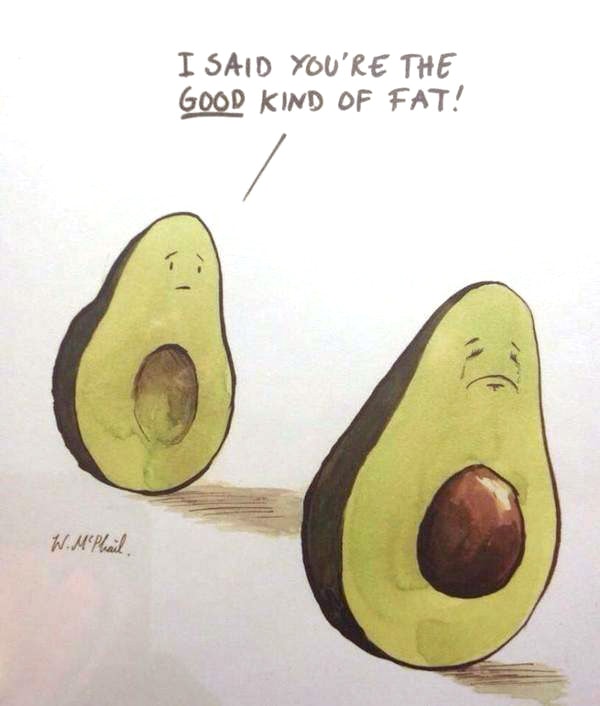
Macronutrients are nutrients that our bodies need in large amounts to create energy for physical and mental activity. There are 3 primary macros, - Protein, carbohydrates, and fat - and a lesser known macro is water.
What does it mean to count macros: To gain, lose, or maintain weight, many people will count their macros to make sure they are getting adequate nutrients for their bodies' needs and to support their health and wellness goals.
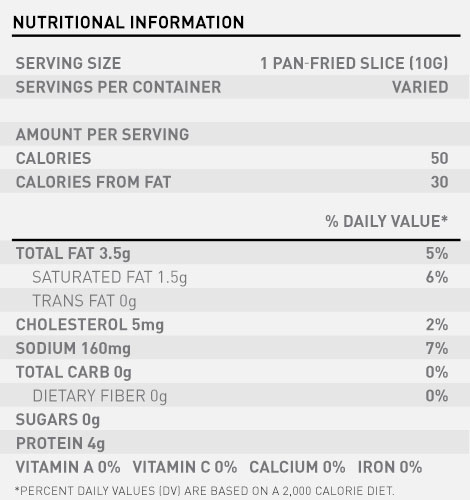
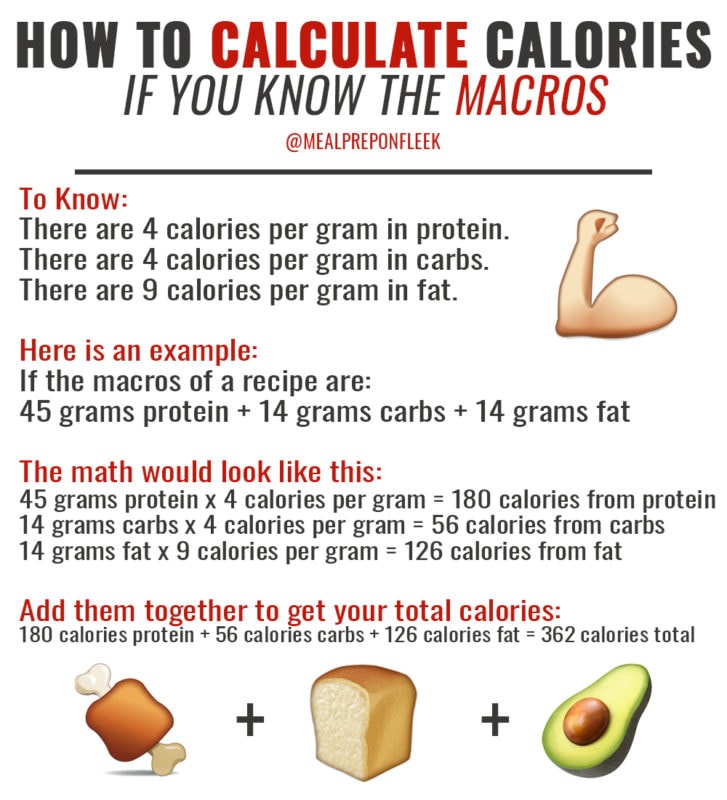
+ Macronutrients are counted in grams.
For example, ¼ cup of almond has approx. 6g of protein, 6g of carbs, & 14g of fat, and you would add this up to ensure you hit, but do not exceed, your targets for each.
It requires a bit of discipline at first to look at nutrition labels to figure out how different foods fit into your individual macro needs, but it's worth it if you want to reach a specific macro target goal.
Your optimal macro ratio depends on your goal, sex, age, weight, lifestyle, activity, and your body type. (Remember to use the MPOF Macro Calculator to figure out your individual needs!)
What are Micronutrients?
Micronutrients are vitamins, minerals, phytochemicals, trace elements, and antioxidants, and they are needed in much smaller amounts than macronutrients - thus "micro" for small, and "macro" for big.
They are essential in the production of enzymes, hormones, & proteins that are critical to body and brain function, including metabolism, heartbeat, bone density, etc.
Some micronutrients have a small role, whereas others fulfill a broad range of functions. You should aim to get at least get the RDA (Recommended Daily Allowance) of each essential nutrient every day, and you can find guidelines online.
It is recommended that you get your daily doses from nutrient-dense foods, but you can also use supplementation as a kind of "insurance policy" to avoid nutrient deficiencies if you have a restricted diet, food allergies, or a medical condition that necessitates more of a certain nutrient.
Further Reading: How to Read Nutrition Labels
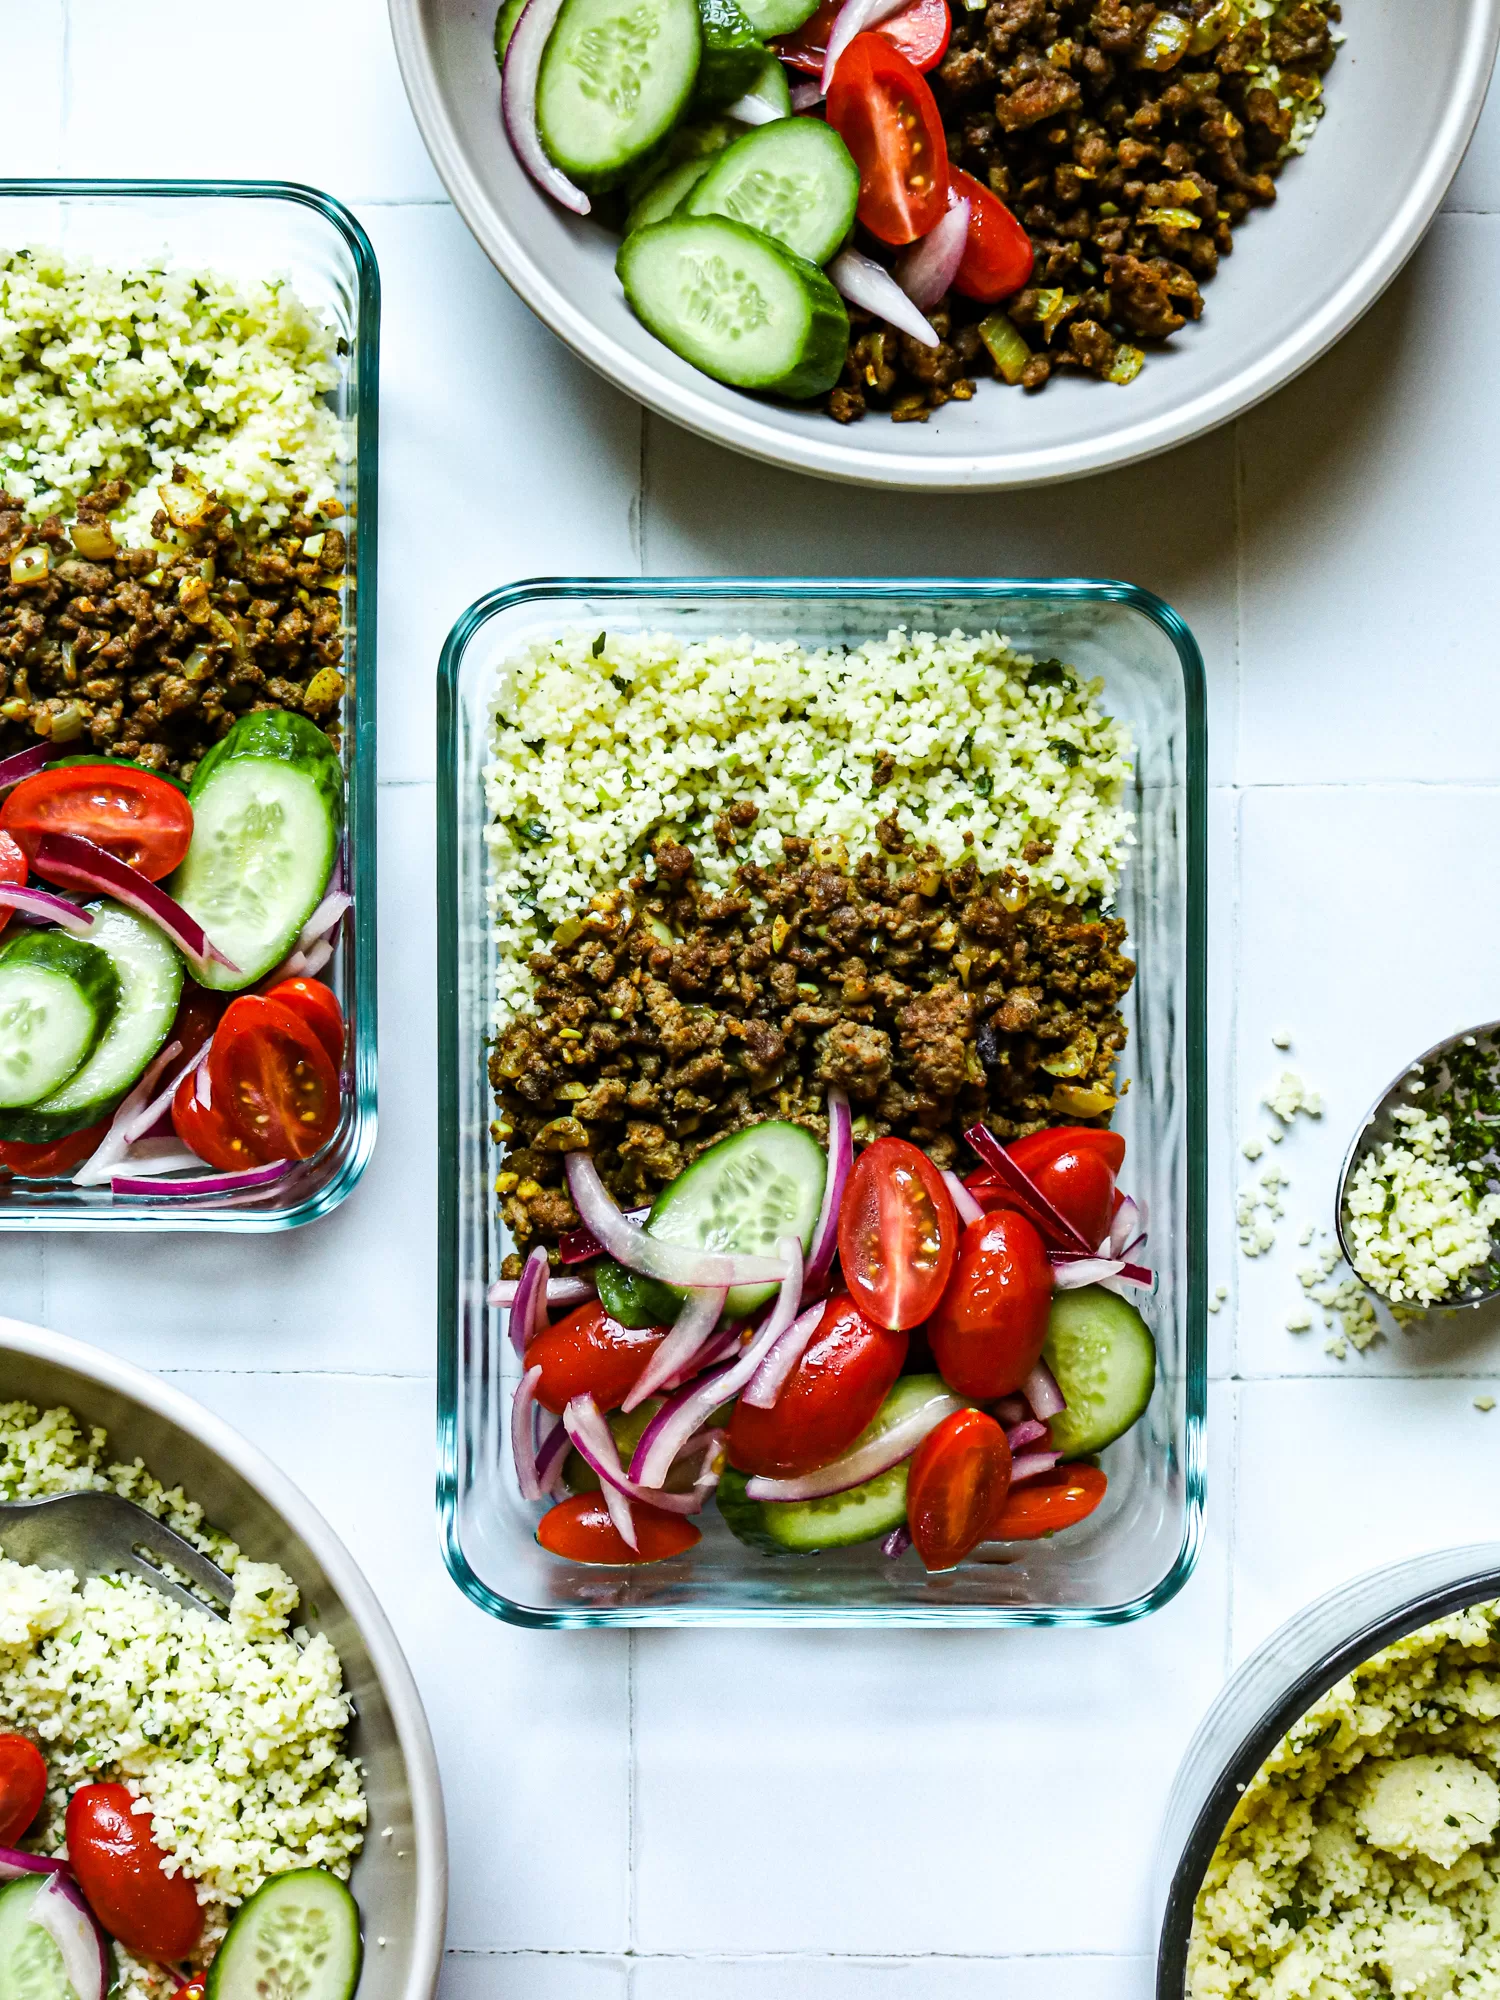
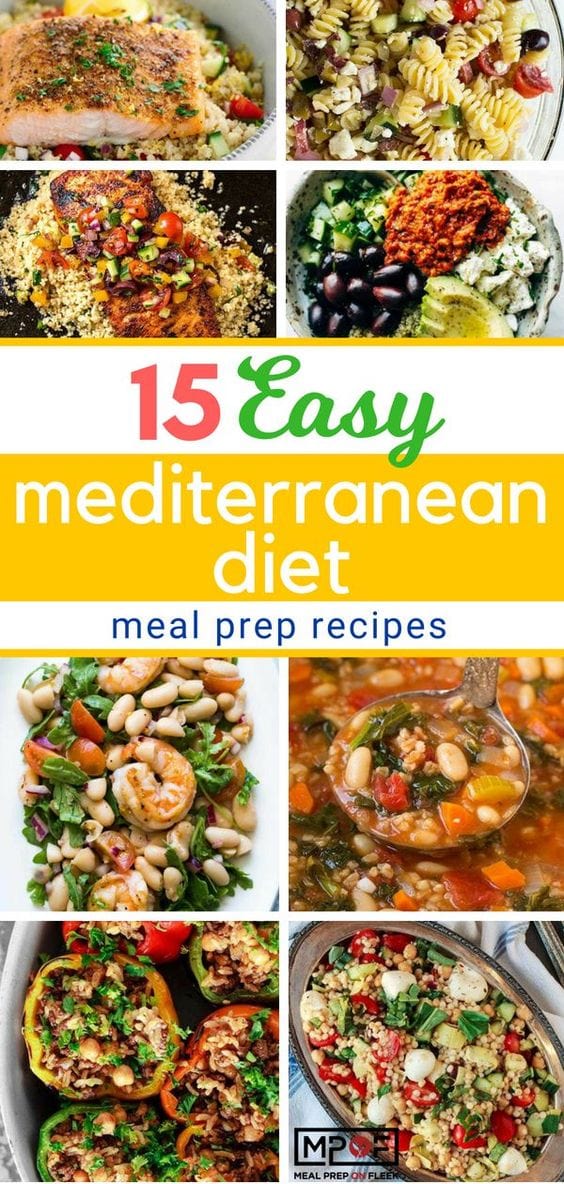
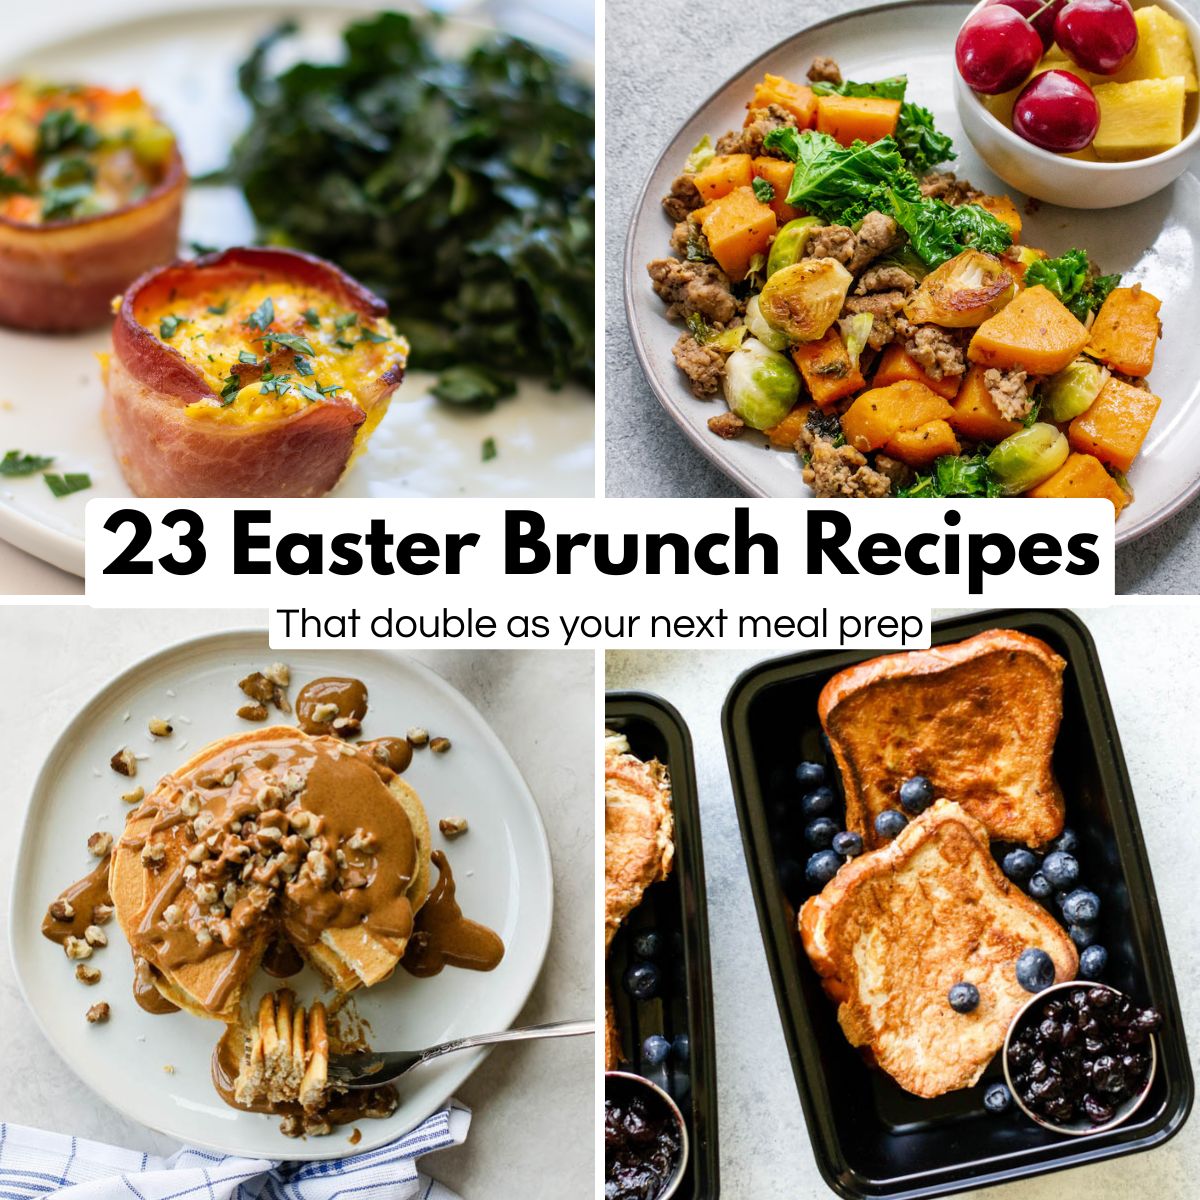
How to Find Meal Prep Recipes
Let's take a second to recap:
- So far, you've learned about time optimization and management, you've created a to-do list and scheduled time in your week to search for recipes as well as time to get your meal prep done.
- You have learned about the essential kitchen tools needed to ensure that you can prep and cook your ingredients for the week.
- You have also learned more about macronutrients (macros) and micronutrients and have calculated out your macros, so you have a baseline for what you need to look for in a recipe. As a reminder, macros are the foundation for achieving your physique goals. Whether your goal is weight loss, maintaining weight, or gaining weight, macros are the roadmap that will get you to your end goal.
Now that you have a time scheduled in your week to find recipes and meal prep, and you know what macros you're looking for in recipes (if you didn't calculate your macros yet, click here: Macro Calculator, let's review some of the best ways to find recipes online.
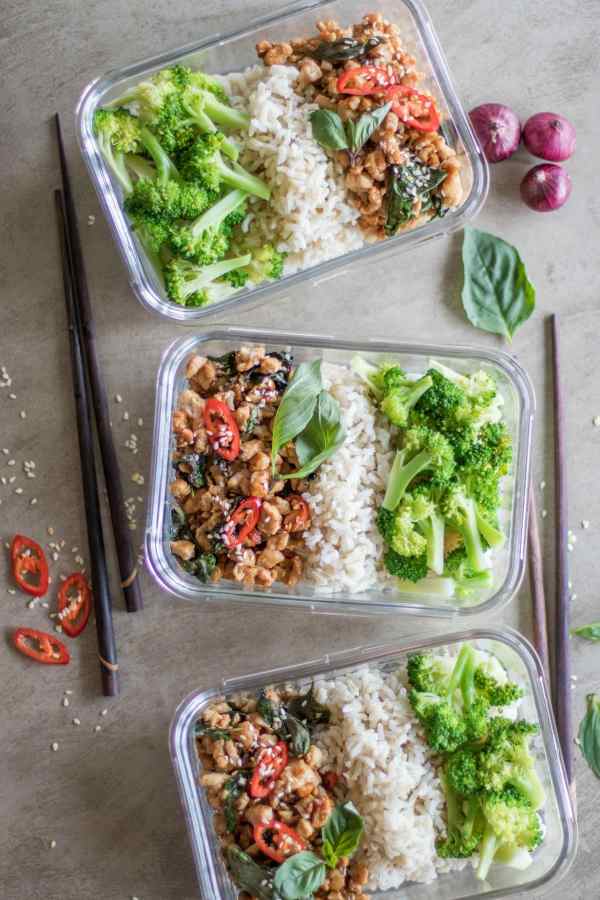
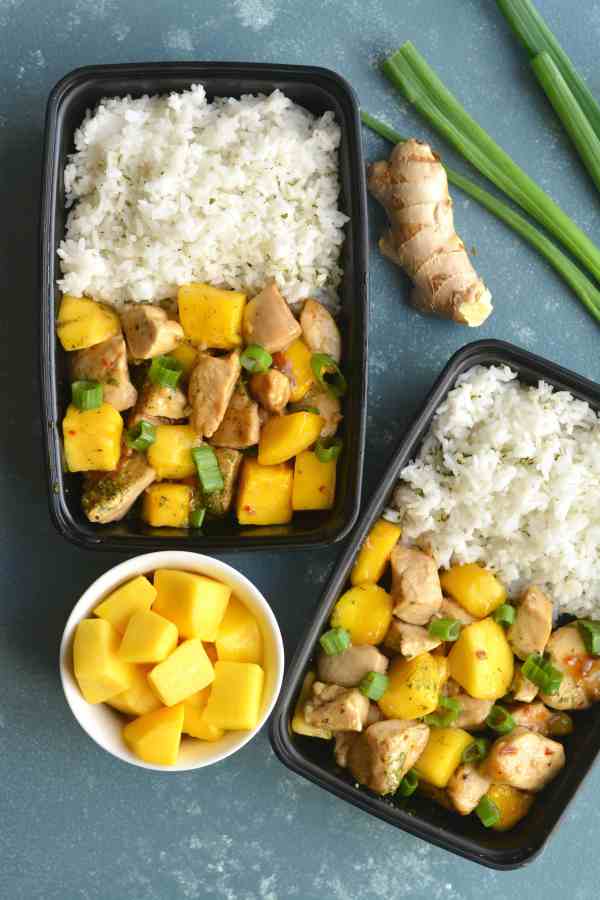
Here are the tools we use each week to plan our meals:
- Meal Prep on Fleek
You can easily do the same thing on MealPrepOnFleek.com, as you can on Pinterest, the selection is just much more limited (to things we actually eat) instead of having millions of results to filter through you have only a couple hundred.
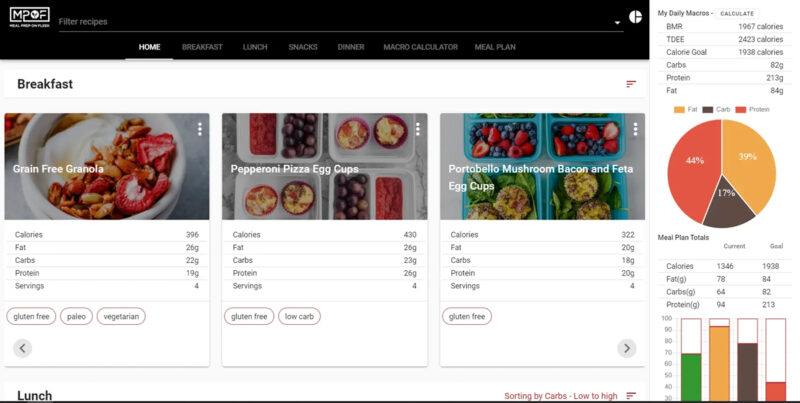
Some key things to look for on MealPrepOnFleek.com are our Quick Search tabs and categories. You can easily click and filter through categories like; Paleo, Whole30, Vegetarian, Chicken, Calorie ranges, and more… Watch this video to see how this works
2. Your Meal Prep Manual
Click HERE if you didn't already download it to your computer or mobile device.
- MPOF Macro Planner App (beta)
We're building a tool that will help you plan a whole month of meals, WITH MACROS, using recipes from Meal Prep on Fleek. Because you're AMAZING and you're part of this course,
Click HERE to check out our Macro Planner App
4. Pinterest
- Start your search with the broadest category of ingredient or goal and narrow your search results from there. For example, if you're macros indicate that you need to lower your carb intake, search for "Low Carb Dinners" + Combine that with the main ingredient in your fridge or freezer and you're already 50% of the way there. "Low Carb Chicken Dinner"
- Once you have narrowed it down to your goal and main ingredient, then you can search through the recipes to see what looks good.
- When you see a couple recipes that look good, click through to find out what the nutrition values are. You want to make sure that each meal aligns with your macro goals. Or in other words, all of the food you eat for the day should make up your macro goals.
Here are some great boards to check out first:
- Breakfast Meal Prep Recipes
- Lunch Meal Prep Recipes
- Dinner Meal Prep Recipes
- Dessert Meal Prep Recipes
- Snack Meal Prep Recipes
5. And even TikTok
TikTok has become a great resource for meal prep inspiration and easy recipes. Here are some of The Best TikTok Accounts for Meal Prep:
- Meal Prep on Fleek
- Meal Prep Mondays
- The Meal Prep King
- Zack.Chug
- Stayfitmom_Krista
- ElizabethSalazarr
How to Grocery Shop for Meal Prep
PSA: Don't go shopping when you're starving!
First things first, to set yourself up for success in the grocery store, try to visualize the layout of your local store. Every store is different, but generally speaking, you will want to do the bulk of your shopping around the perimeter of the store.
Your fresh produce (fruits and veggies) will usually be on one side of the store. Keep walking around the perimeter and you'll come to either seafood, meat, or dairy. Keep walking and you'll likely stumble across things like lunch meats (and other packaged meats) cheeses, juices, or a frozen section. Stores that carry alcohol often keep these items on the perimeter as well. The important thing to keep in mind is that these things are around the perimeter of the store.
PRO TIP: Keep in mind that 60% to 70% of purchases in grocery stores are UNPLANNED! So, do NOT deviate from your shopping list and definitely do NOT go shopping when you're starving.
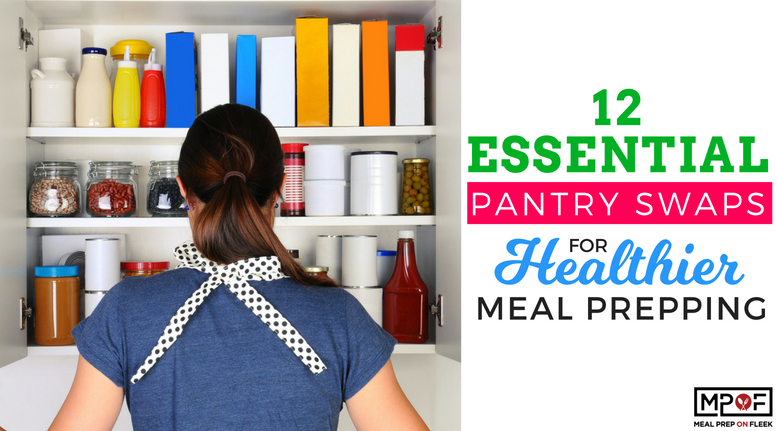
For some of the items on your list, you're very likely going to have to walk through some of the middle aisles. Especially if you're re-stocking your pantry. Reference the lesson on Kitchen Tools and Prep for our favorite Pantry Swaps.
Again, every store is different, but the middle aisles are often organized by type of food or product: frozen foods, canned vegetables, cereals, baking items, food storage (Ziploc bags and Meal Prep containers), medicine… etc.
If you are venturing down the aisles, here are the ones you'll likely need to stock up your pantry:
Baking goods - nuts are often kept in these aisles
Frozen vegetables - a major time saver if you're fine with eating these over fresh veggies
A bulk section - if your grocery store has it, nuts are often kept here and, because you can buy items in this section in the quantity you desire, they can be cheaper than buying a brand-name bag of almonds from the baking aisle.
Jarred items (like jams and jellies) - this is where the almond butter is kept
Spice aisle - spices and sauces for cooking are often in this aisle, as are cooking oils and vinegar.
++ Flavor is one major key to successful meal prepping ++
If you're looking for items like coconut milk or soy sauce, check to see if your grocery store has an "ethnic foods" or "Asian foods" section. These items are often located here.
Here is a sample map so you could get an idea of the aisle categories:

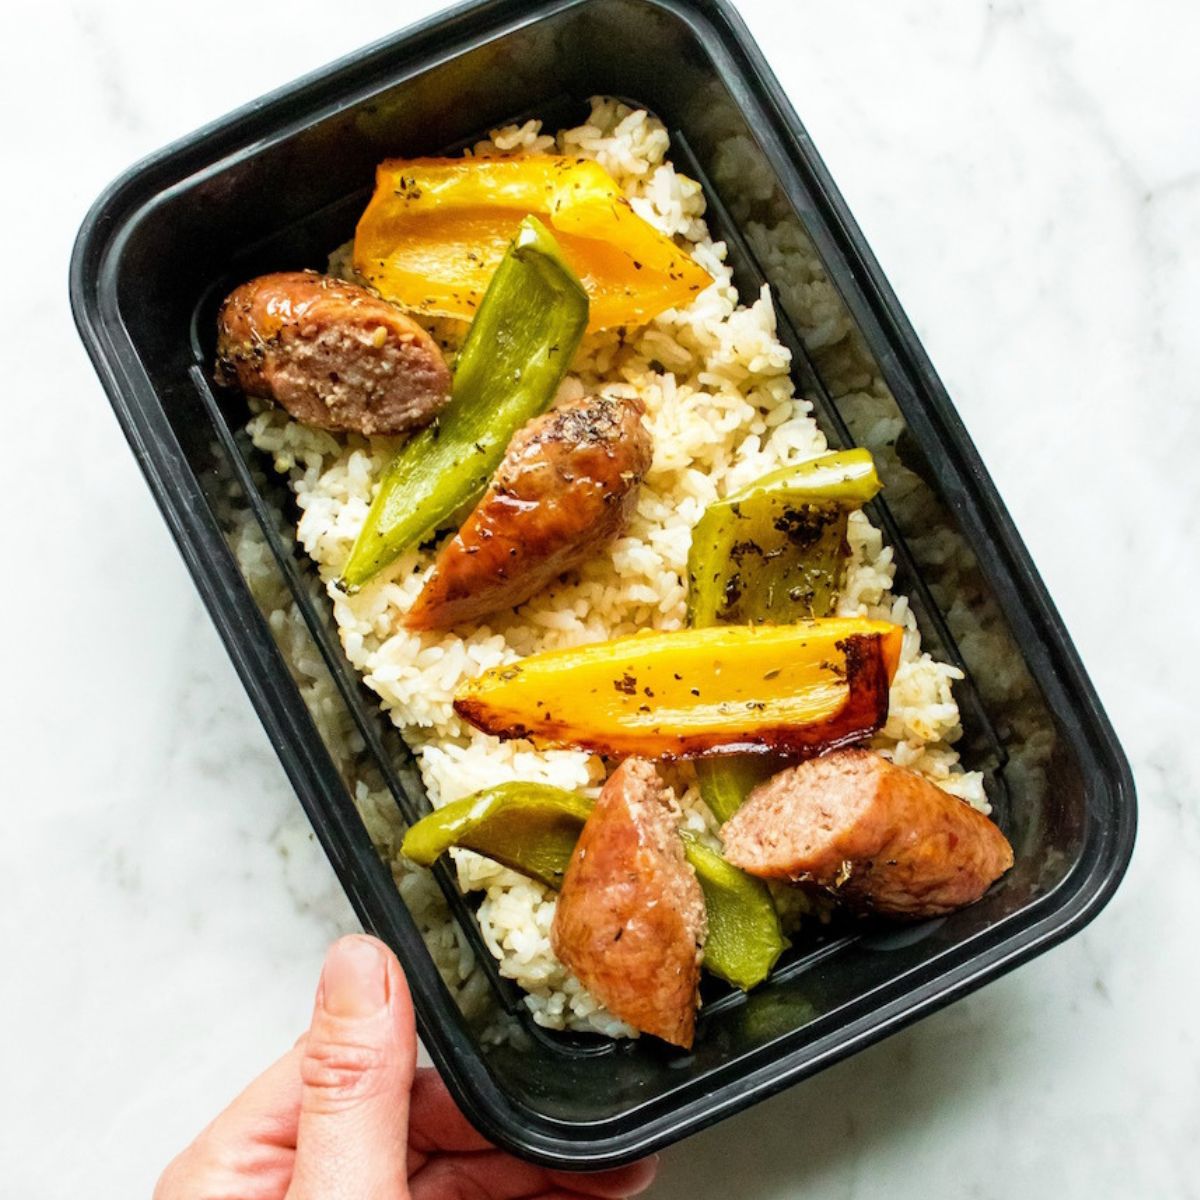
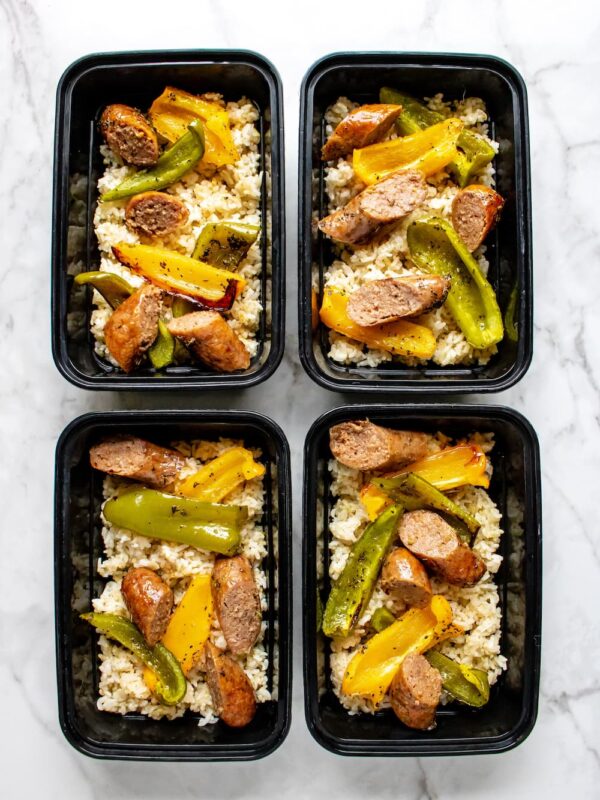
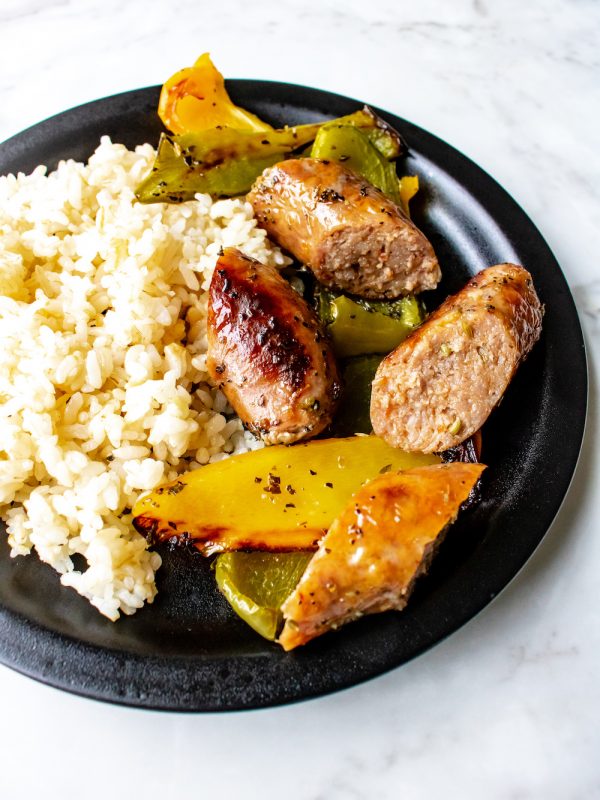
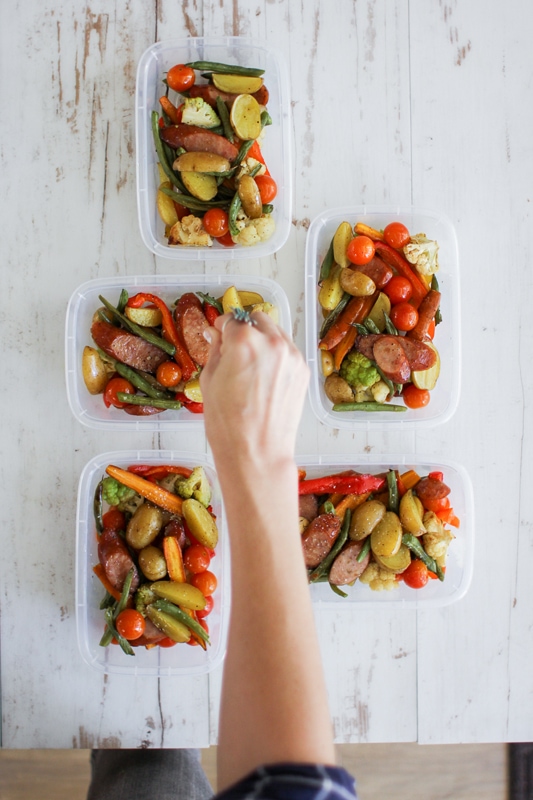
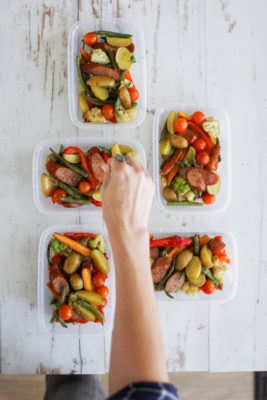
Step-by-Step guide to Meal Prepping
Meal Prep Day:
You're almost done!
Let's get prepping! Today is the day… you've made it through all the information to get you started and know it's time to put your knowledge to practice.
We have put this step-by-step guide together as an easy intro to meal prepping so that you have a solid foundation to build from. This is an easy meal prep and an easy meal prep process you should be able to get done in under 60 minutes.
That's right… 8 meals in under 60 minutes.
Before we get to the Step-by-Step, here are some things that you should be thinking about as you're planning, grocery shopping, and get ready to dive into your meal prep time:
- What meal(s) are the most time-consuming to prep?
- What days or nights do I most need meals ready ahead of time?
- What items would be the most helpful to have ready and on hand?
- What foods will stay fresh until they're eaten?
- What could I prep ahead of time, so I don't have to do _ repeatedly during the week?
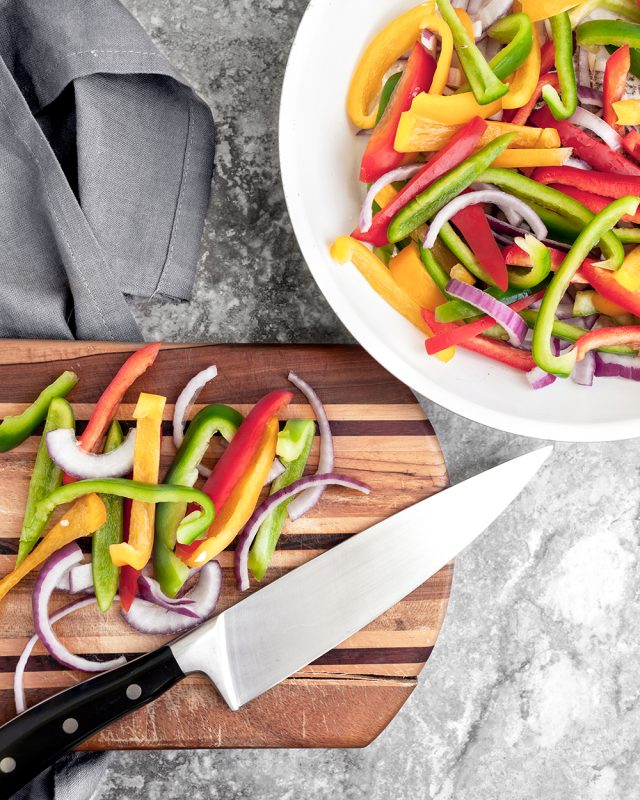
By thinking about these things ahead of time, you can cut down on time, costs, waste and dishes! You can often cut back on the dishes you use by preparing items (like root veggies, bell peppers, and grains) in advance, as well as save time and energy on tasks like standing at the stove, preheating the oven, or washing produce one item at a time.
Pro Tip - They may cost a little more (not always) but pre-cooked veggies and grains can be a real life saver.
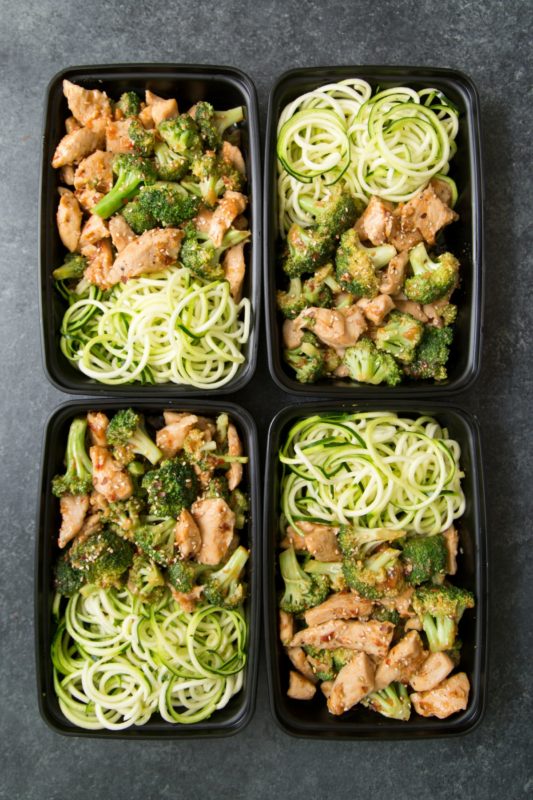
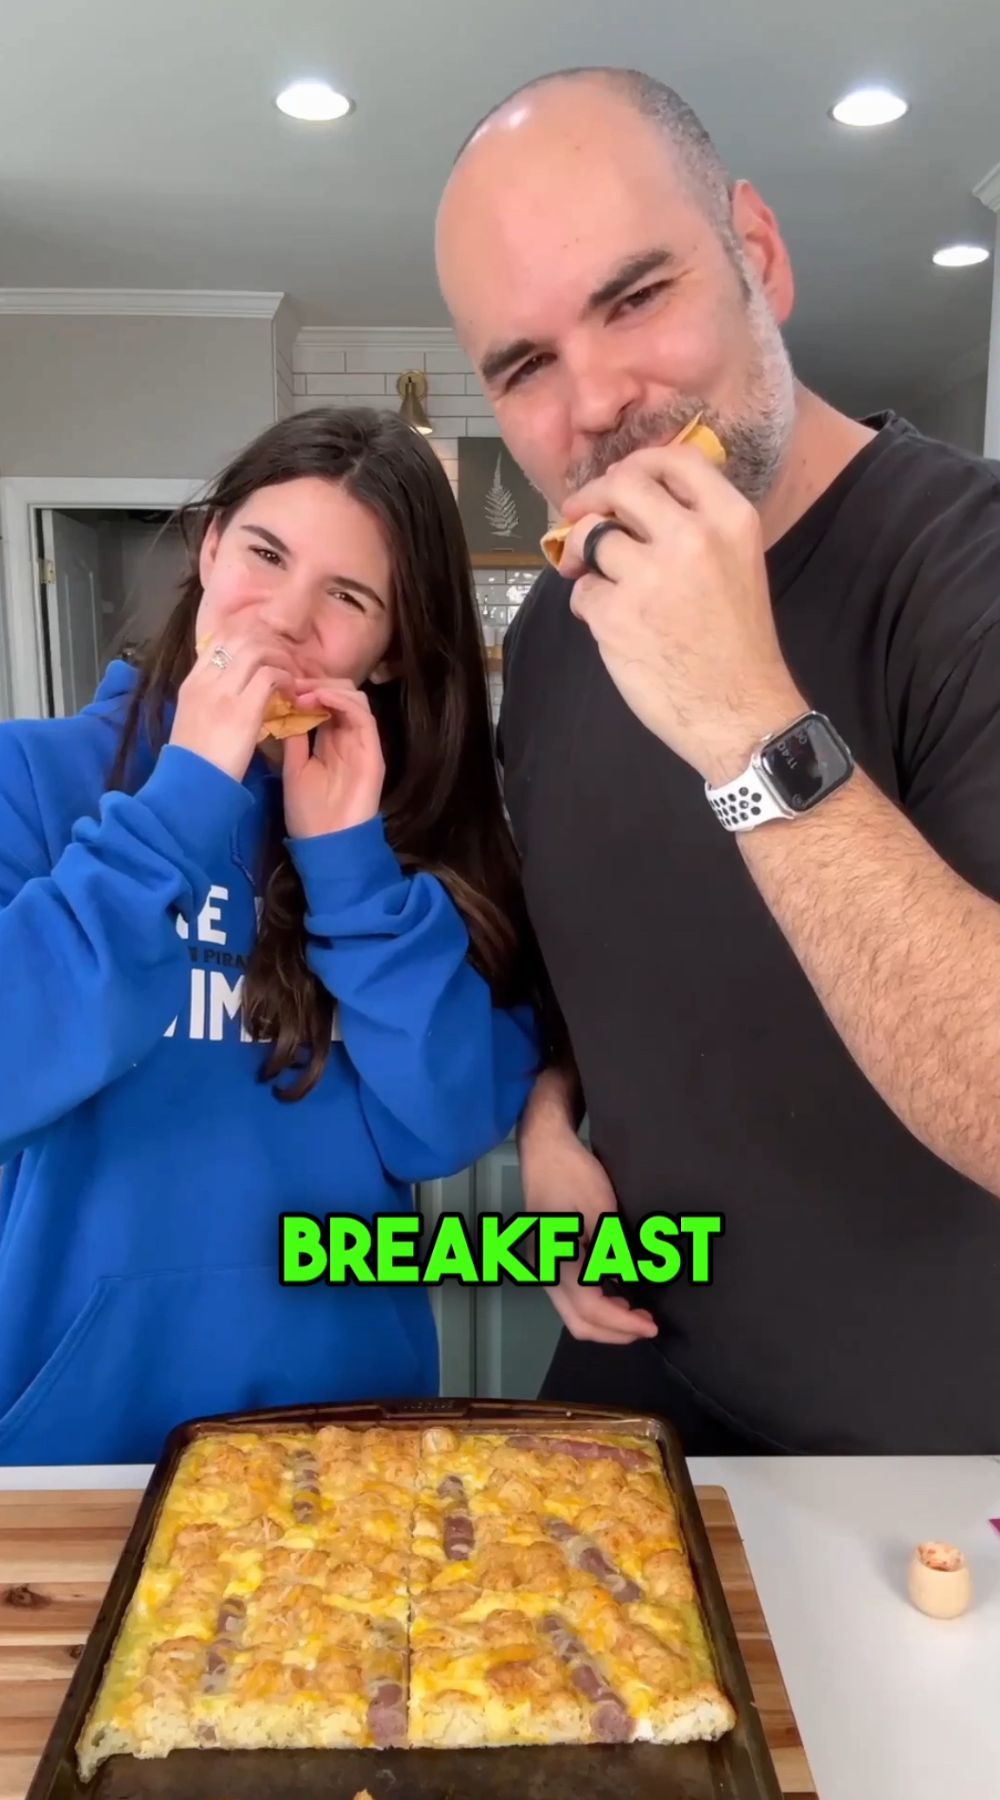
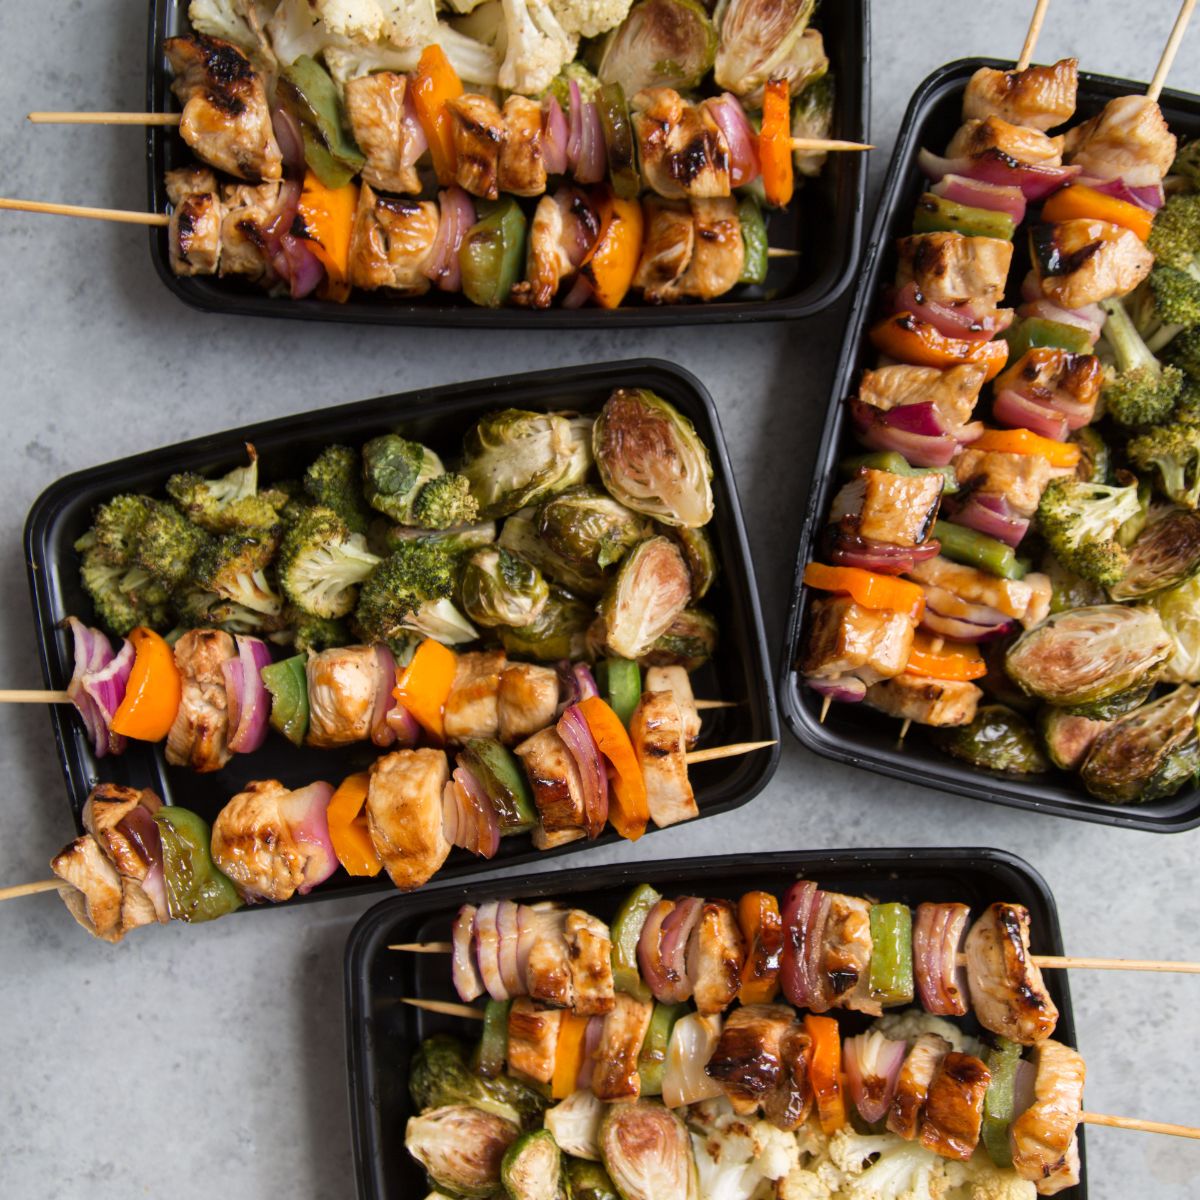
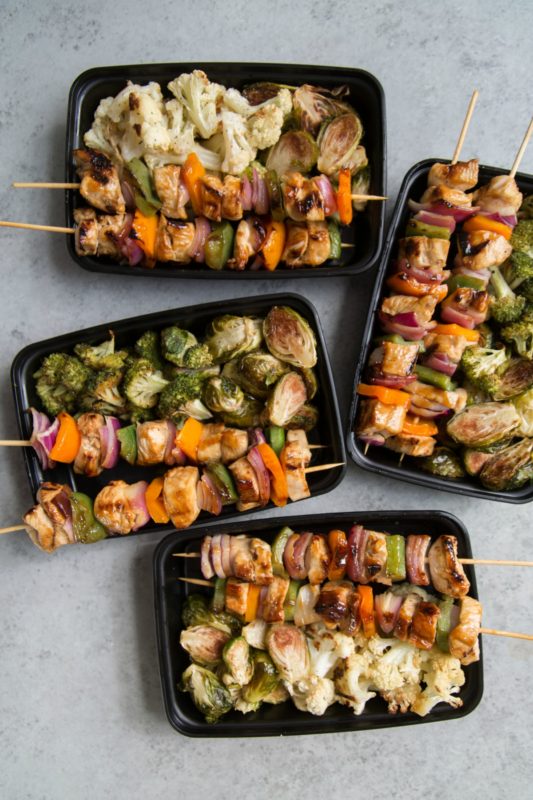
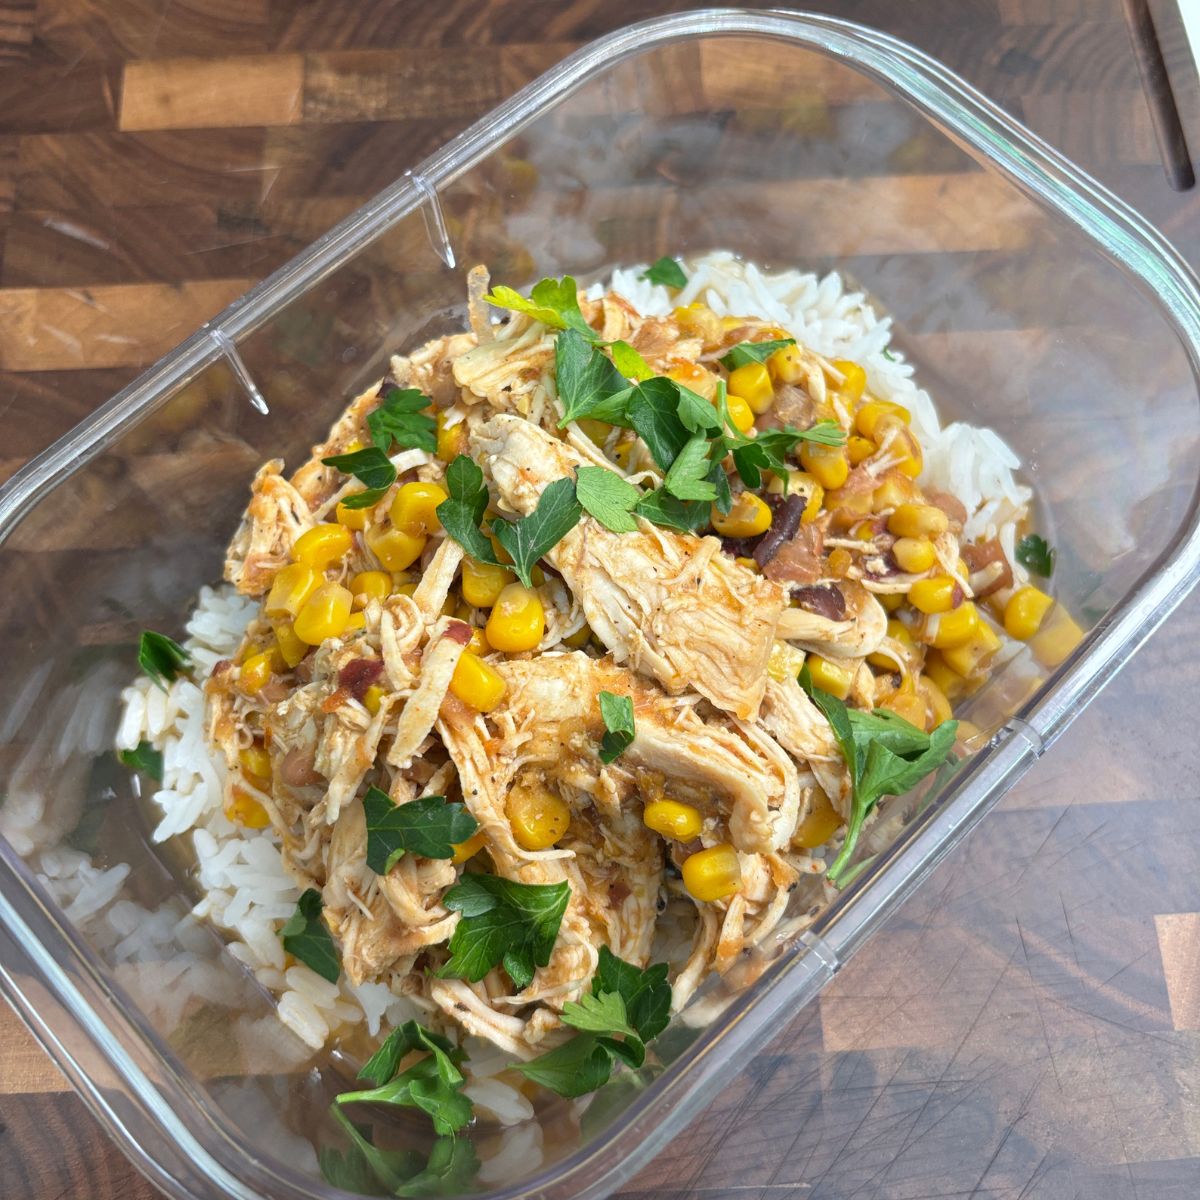
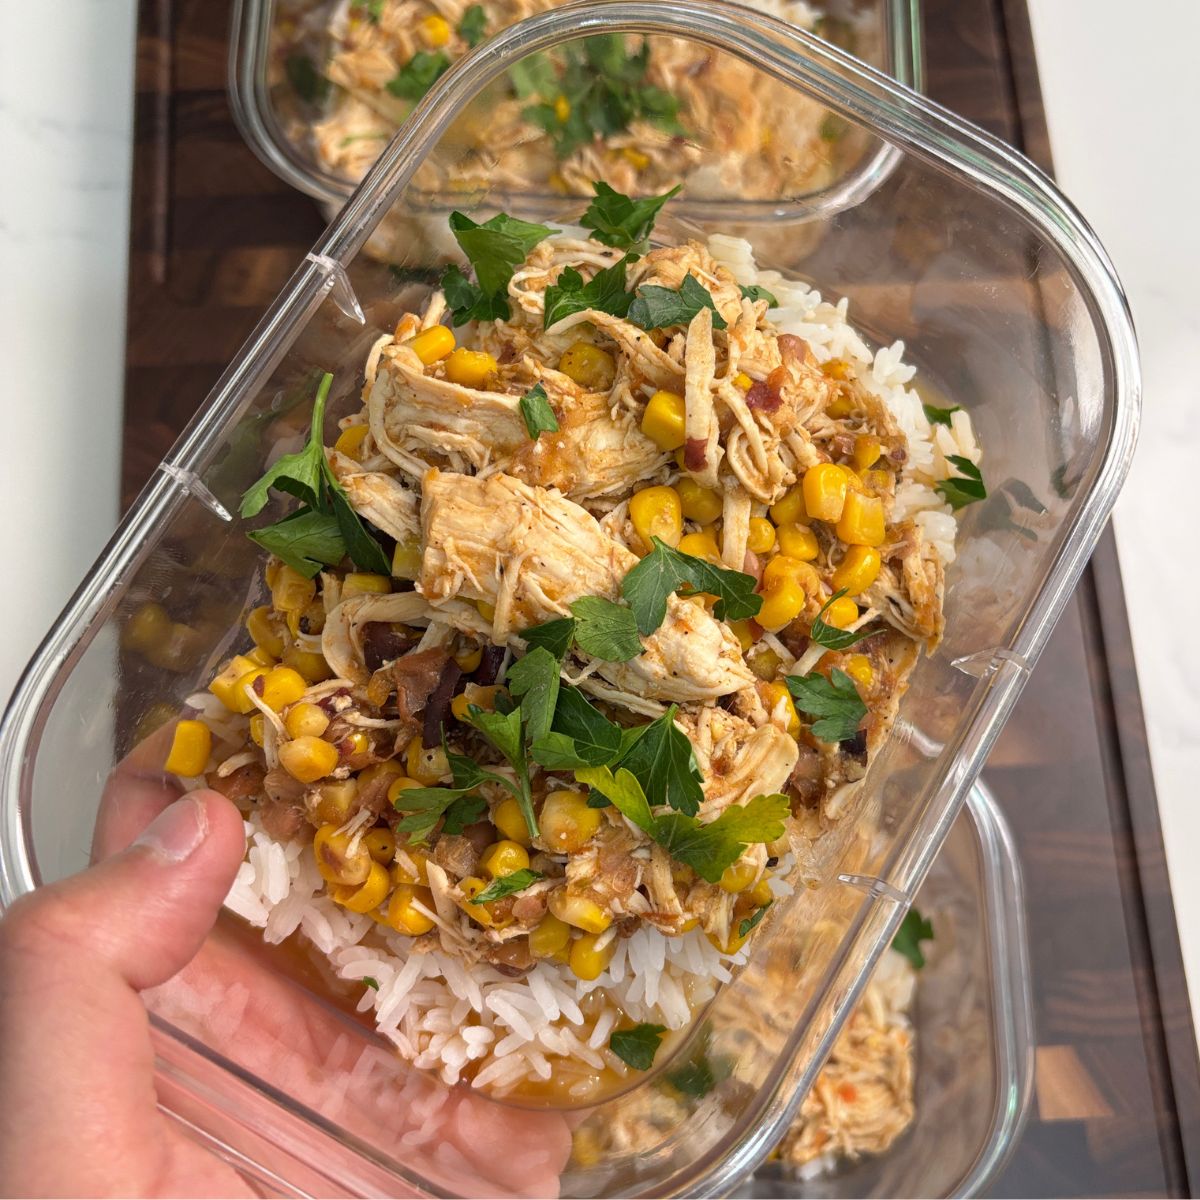
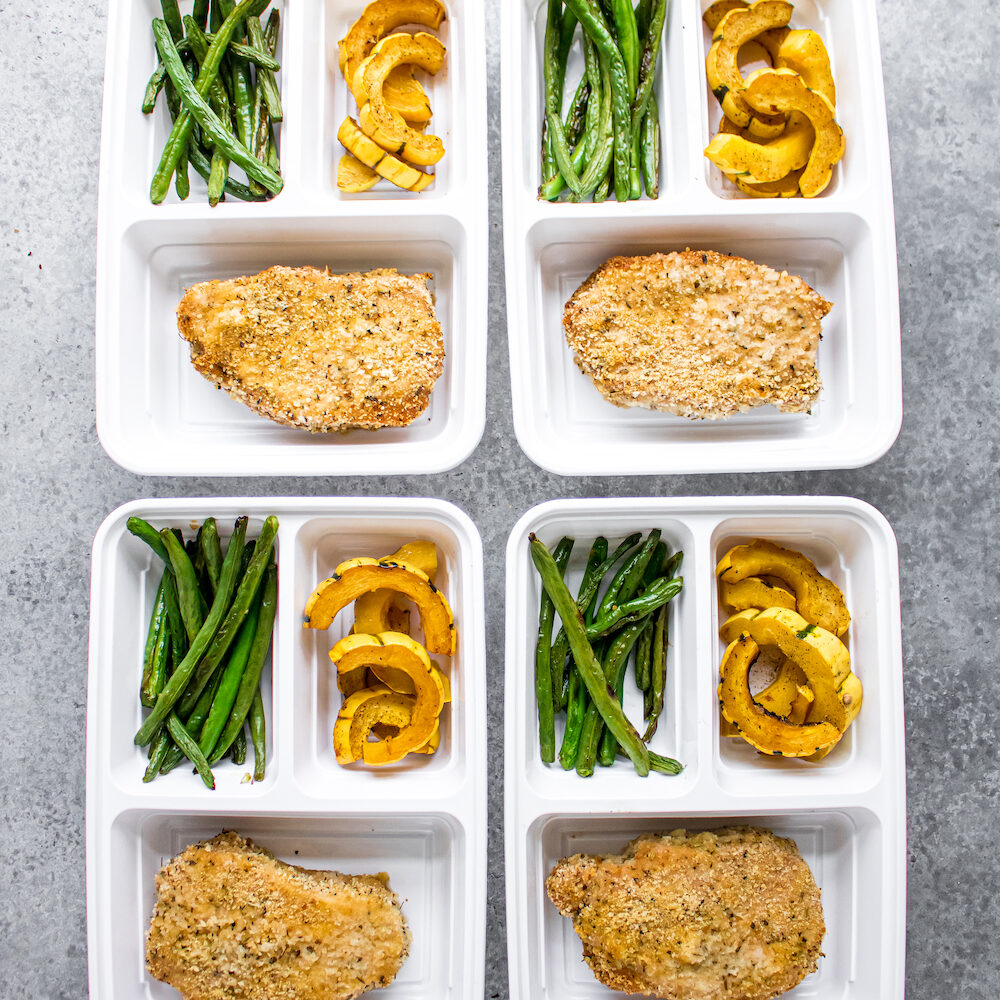
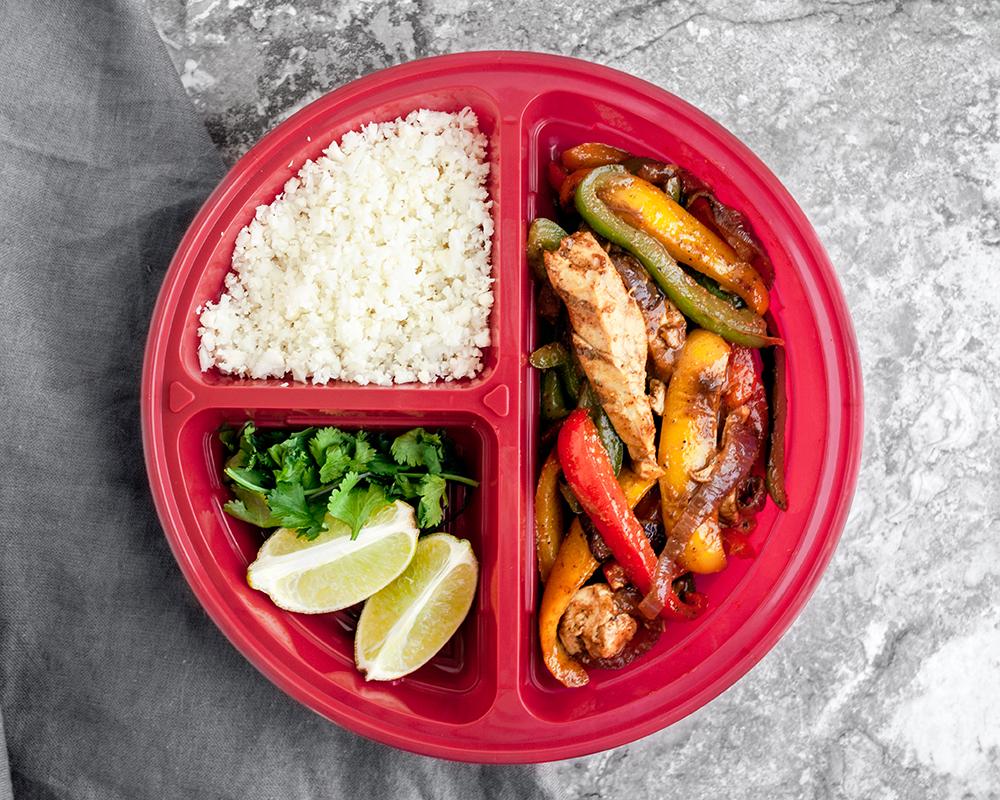
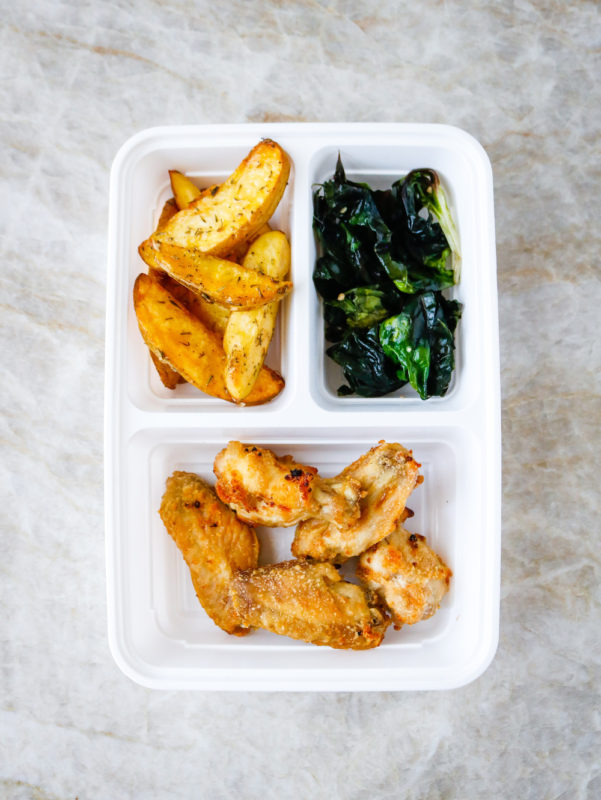
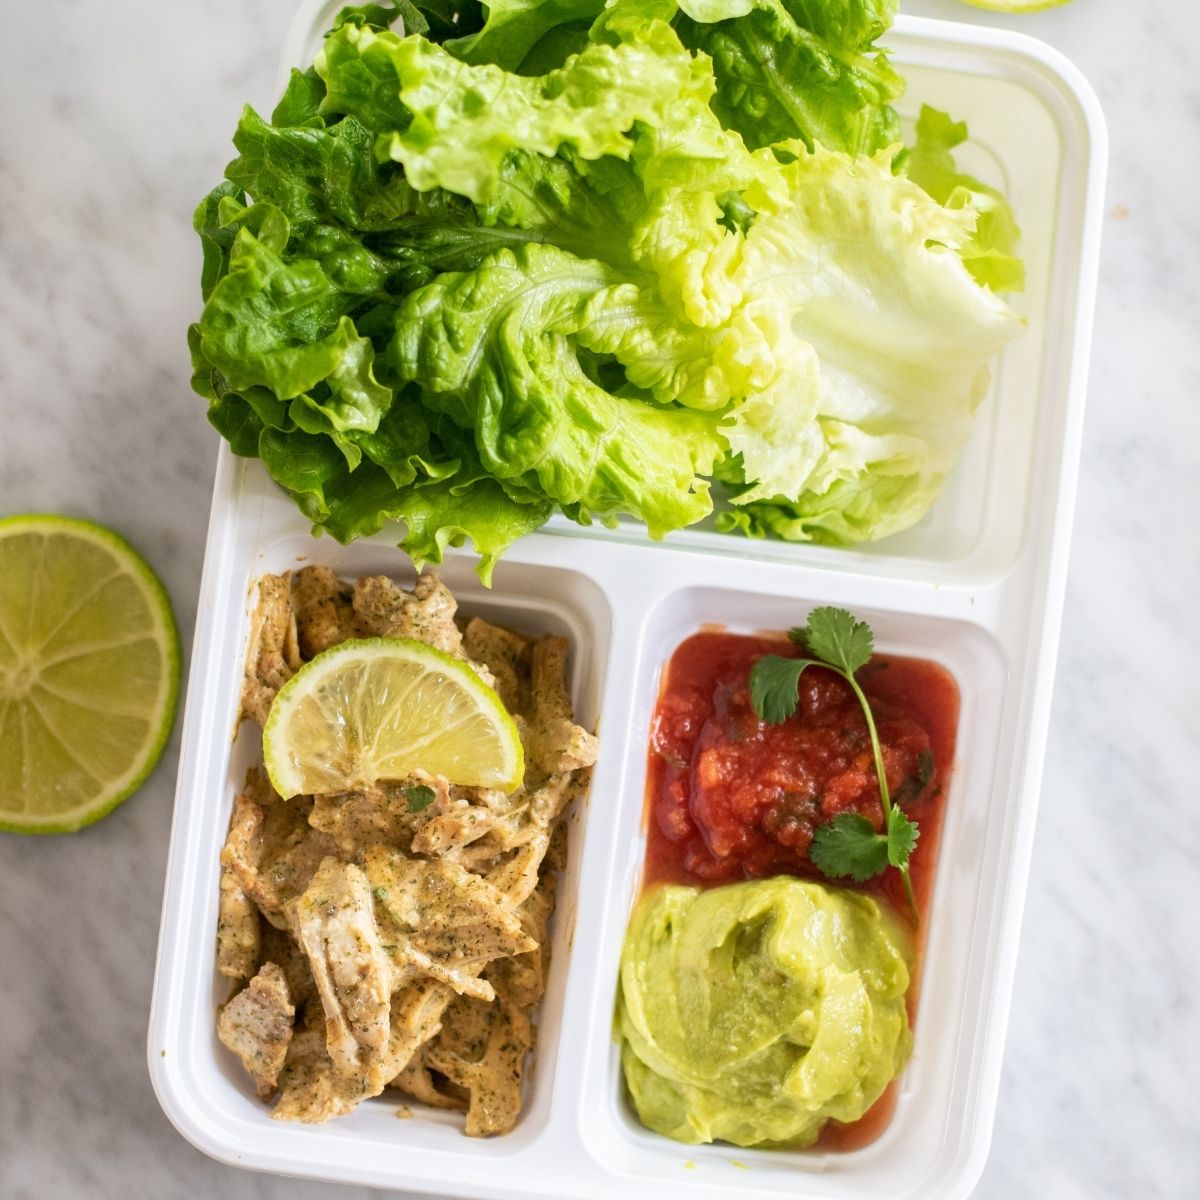
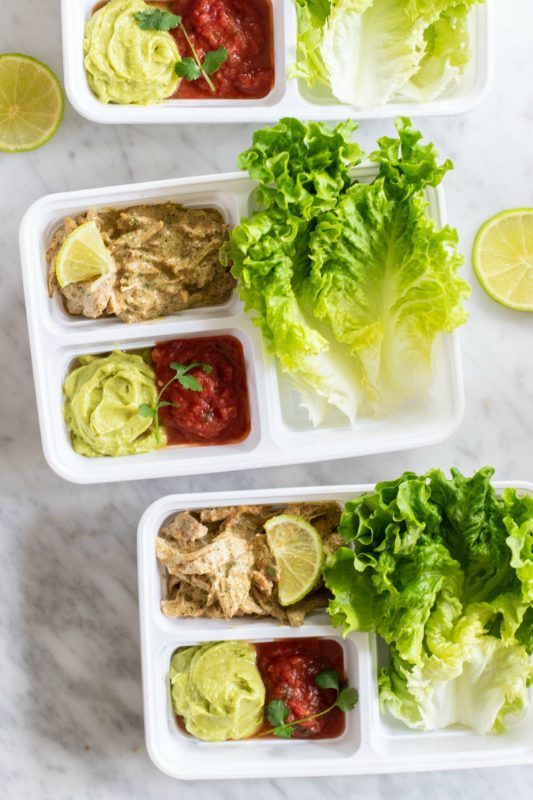
For this step-by-step meal, we're going to focus on lunch, but this concept could easily be applied to breakfast and dinner.
Here we go! Let's get going on our 8 meals (Breakfast AND Lunch) in 60 minutes meal prep run-down:
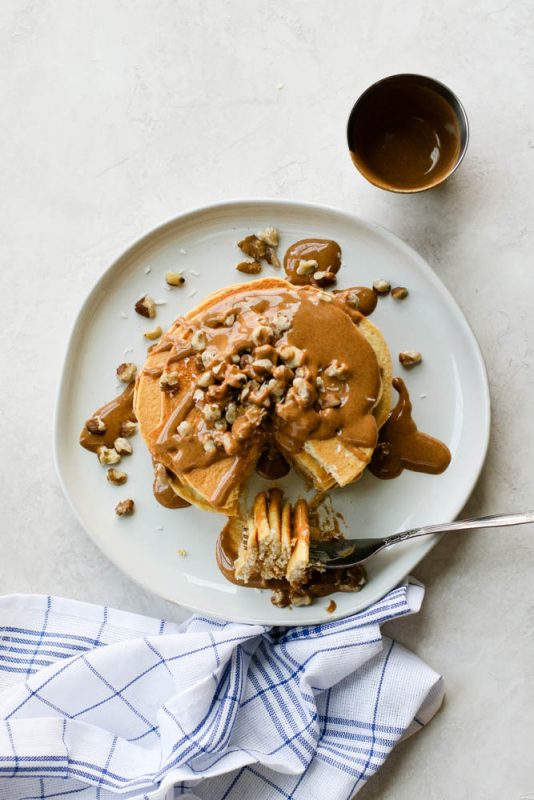
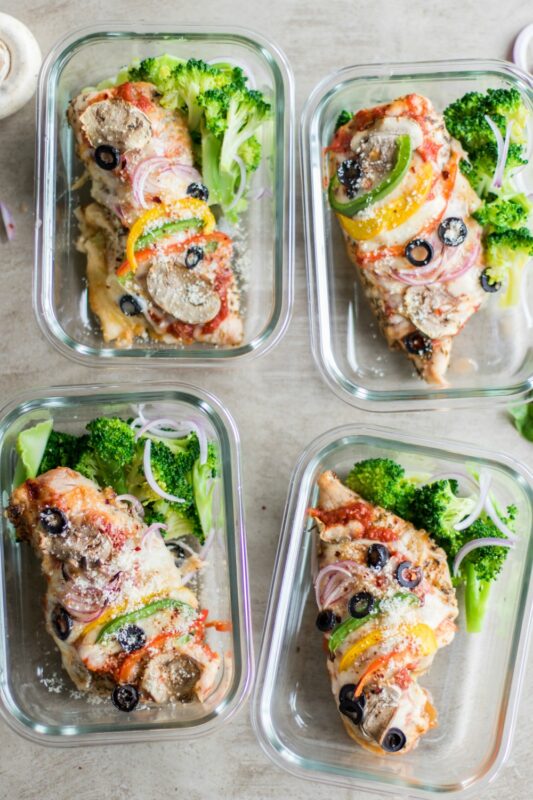
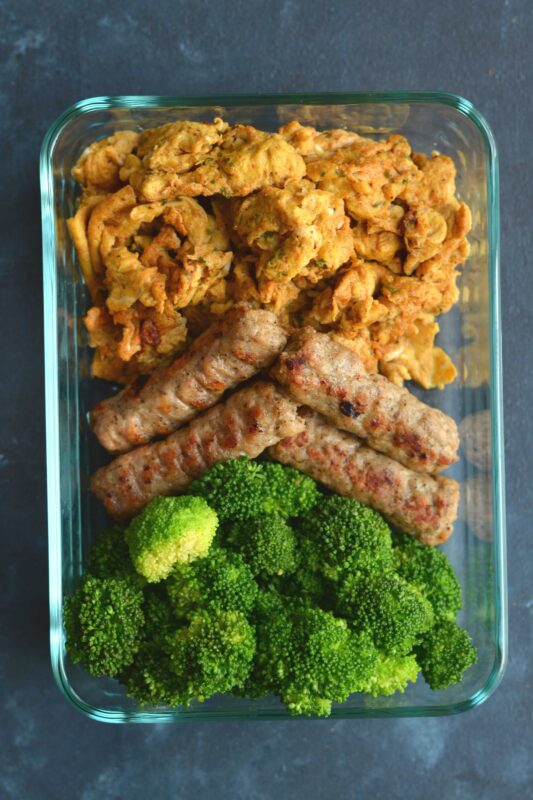
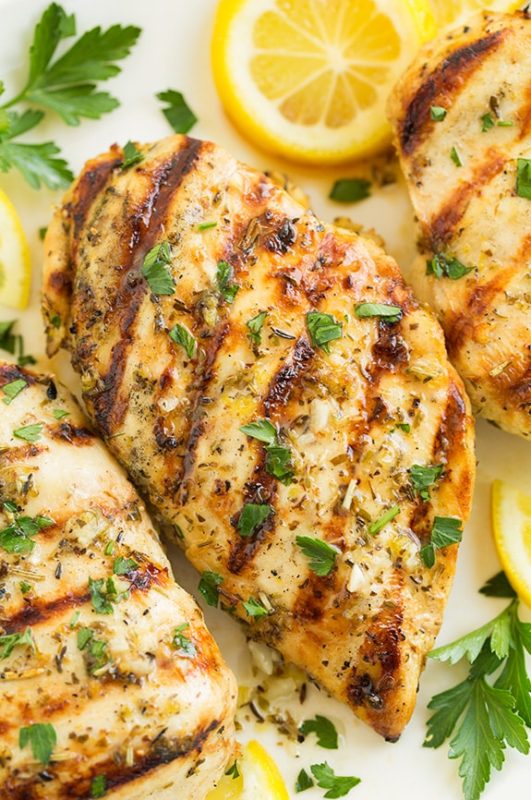
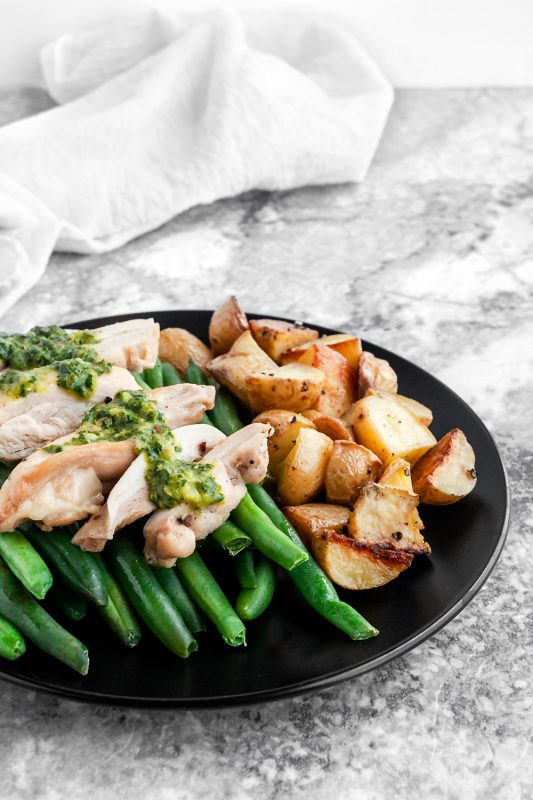
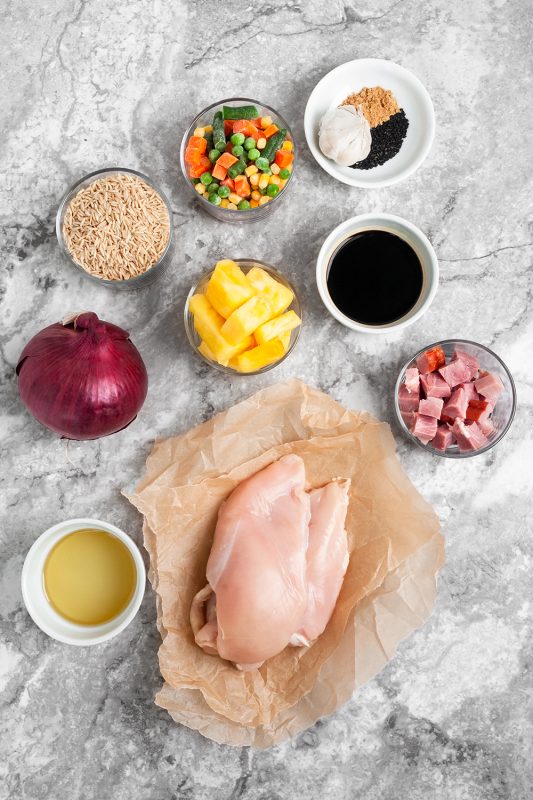
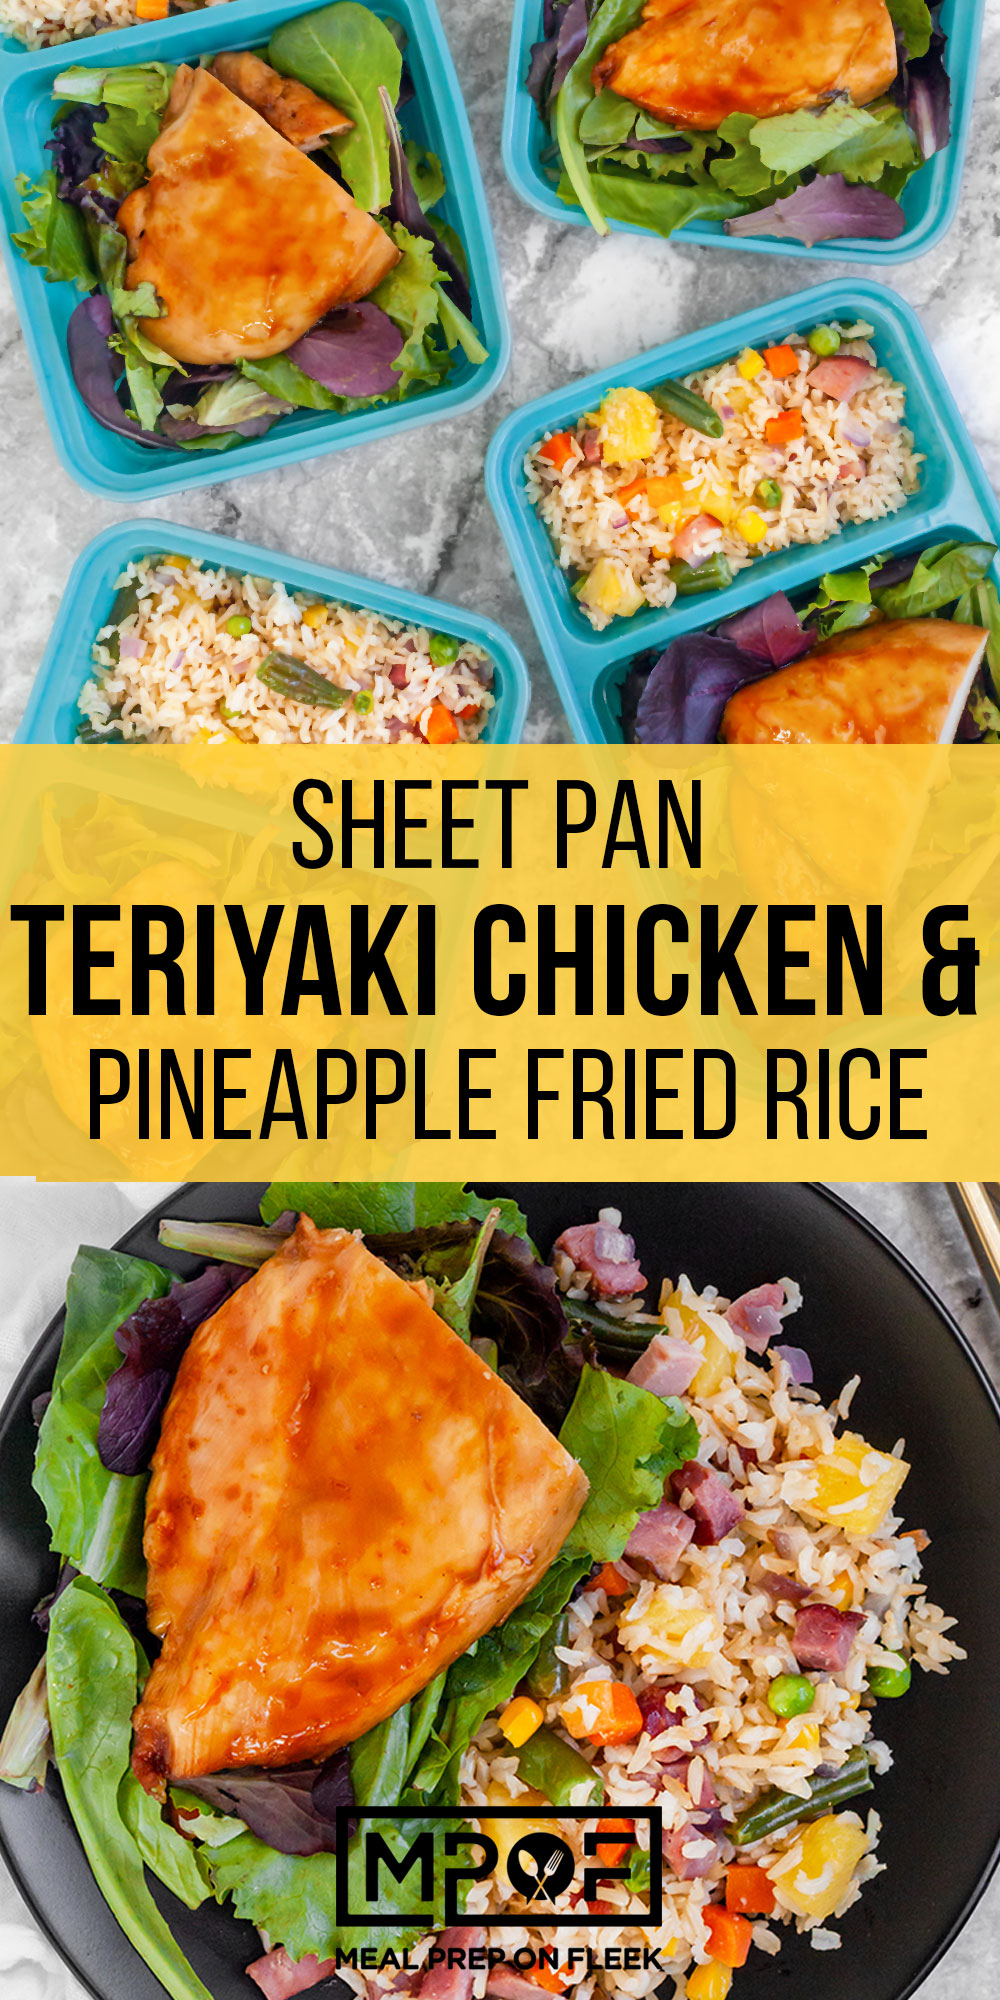
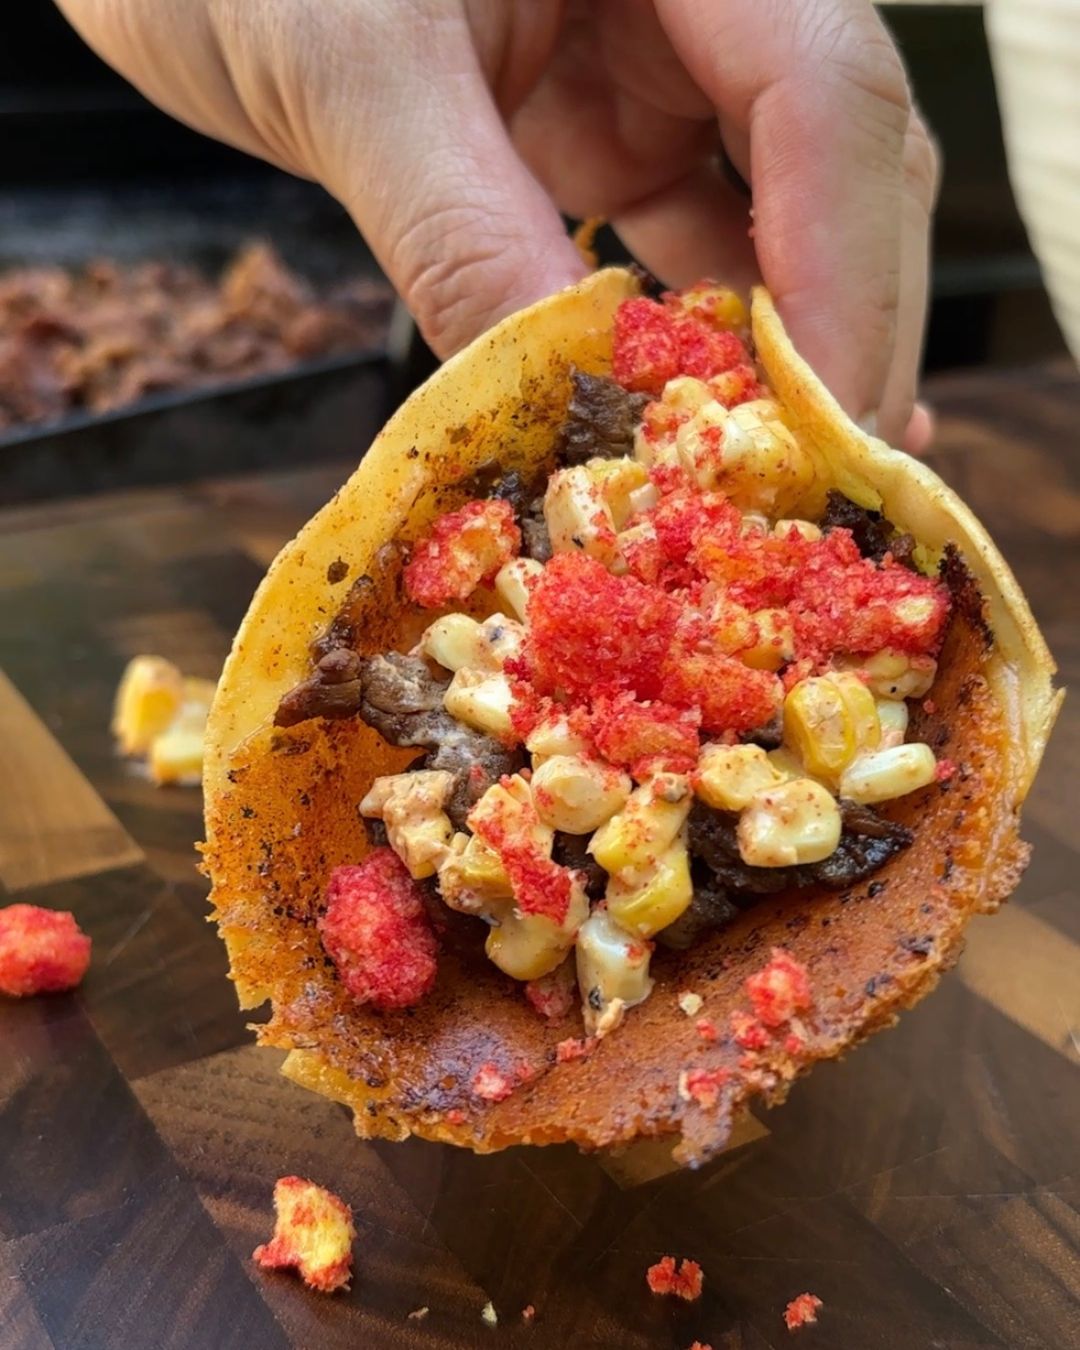
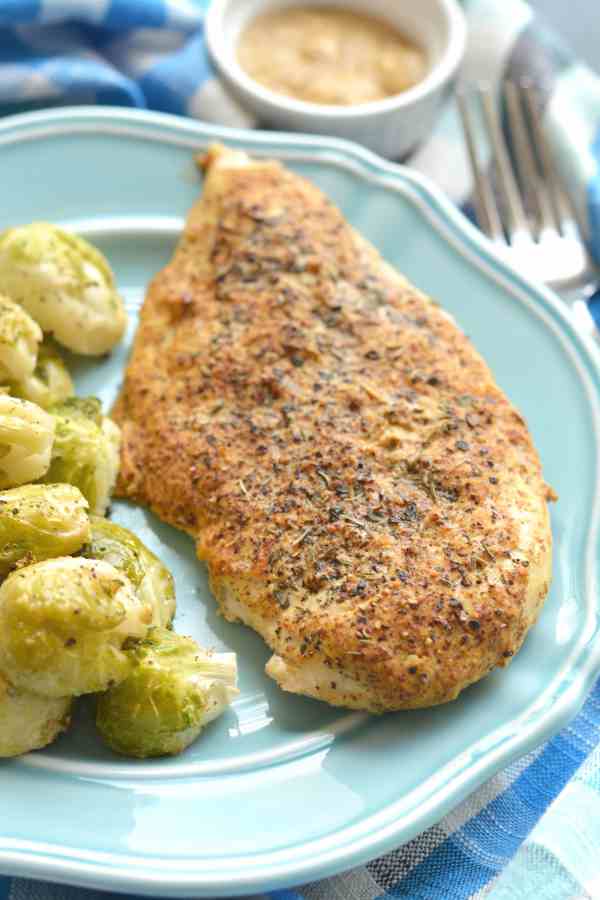
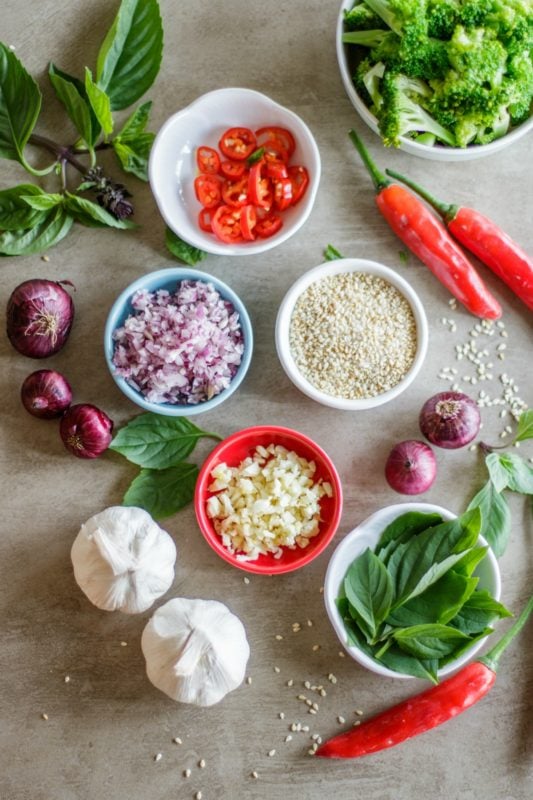
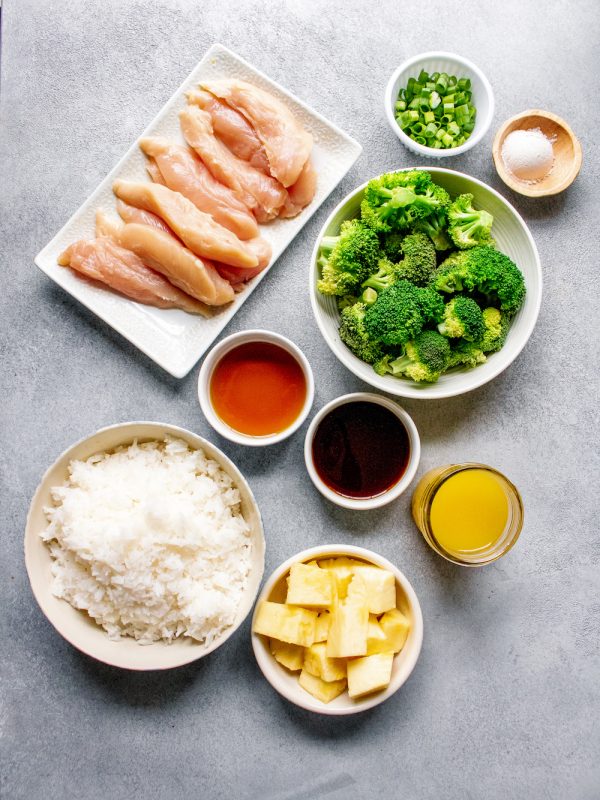
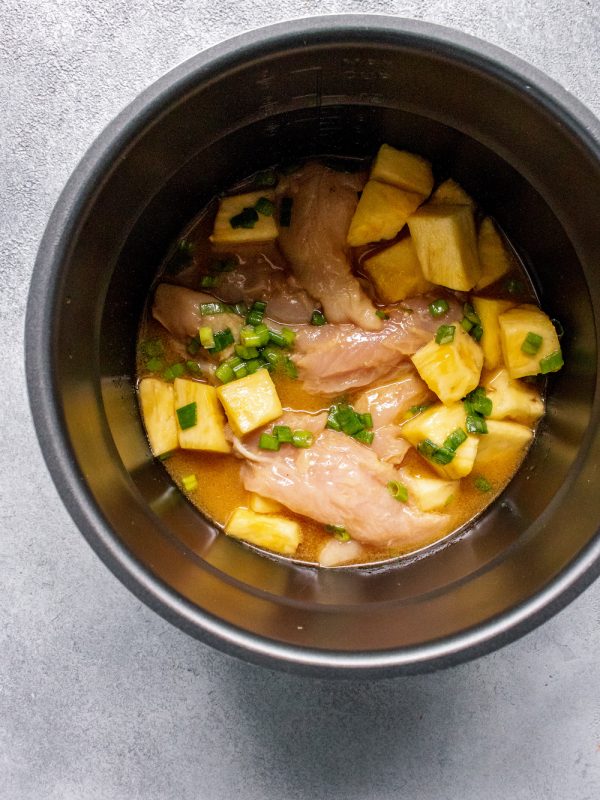
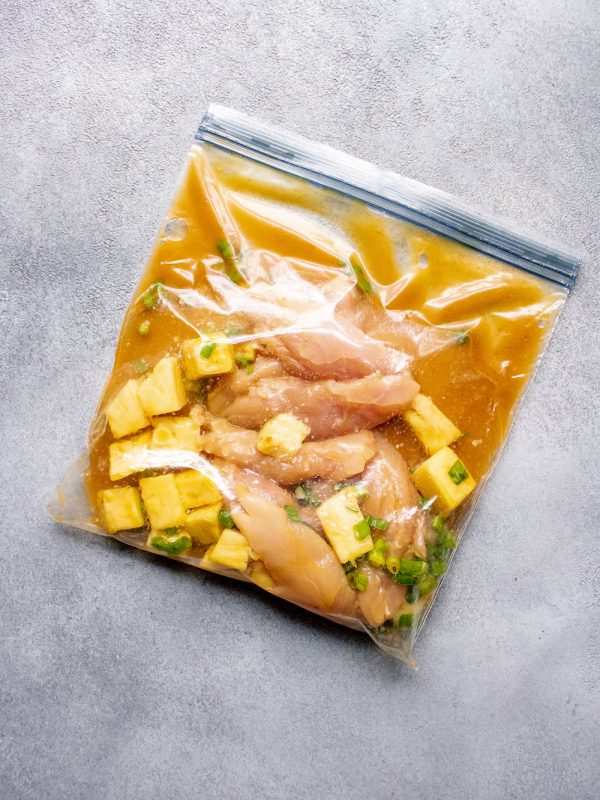
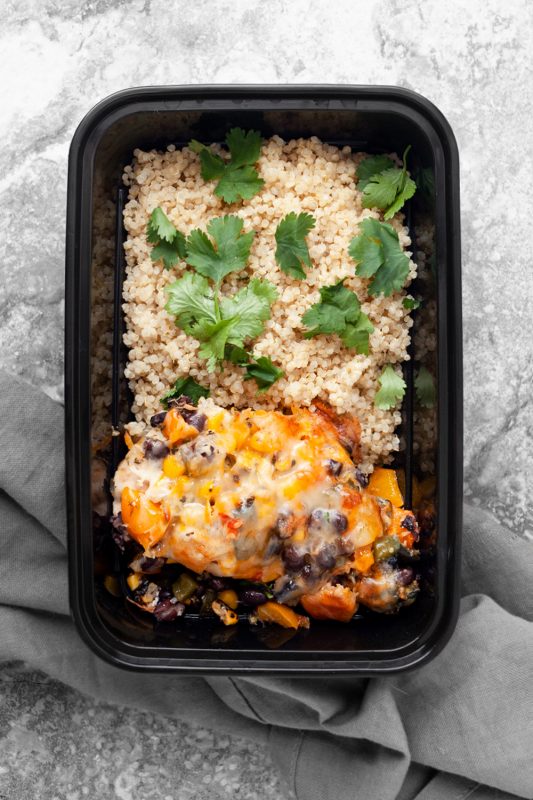
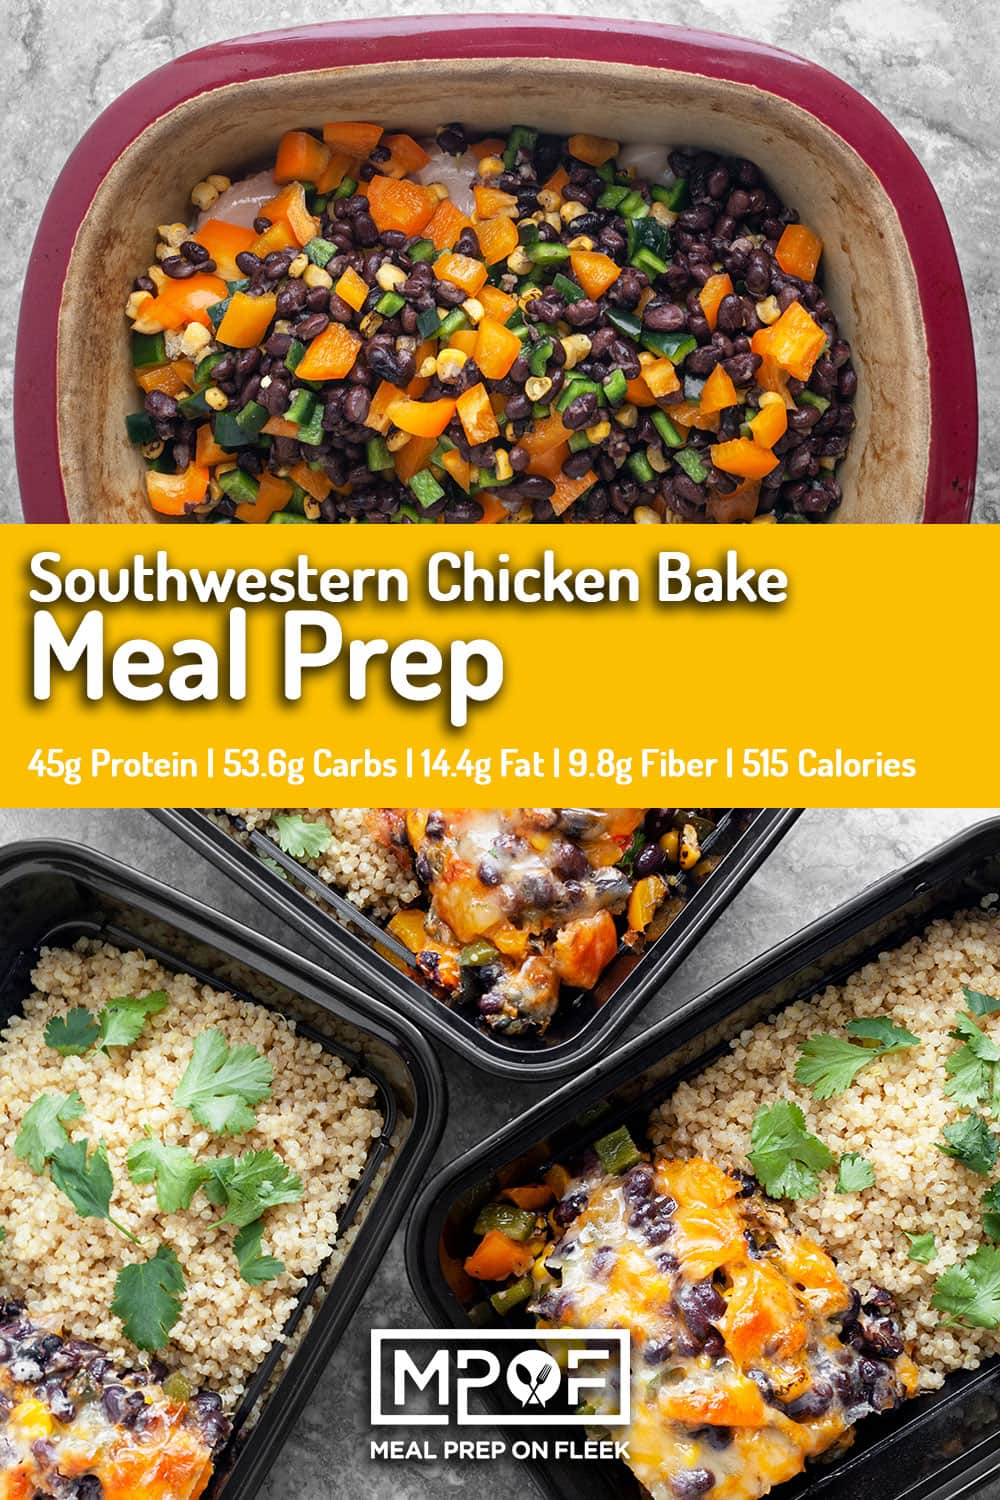
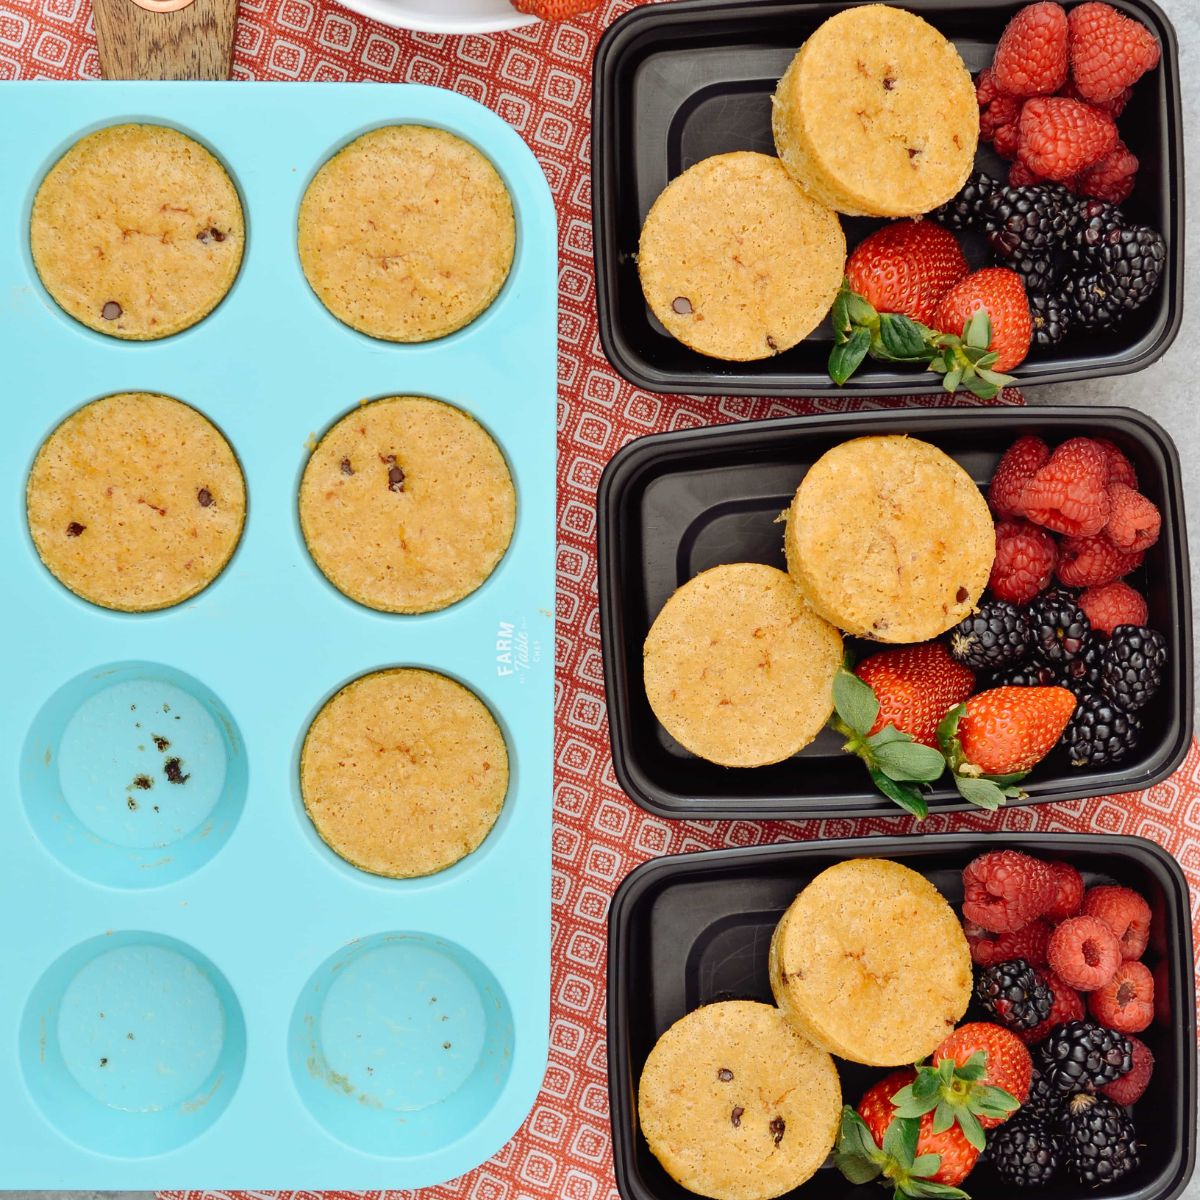
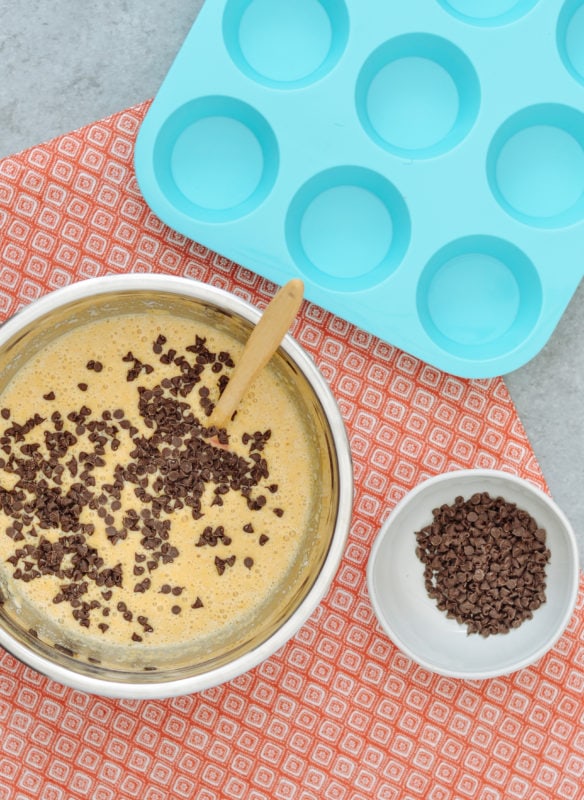
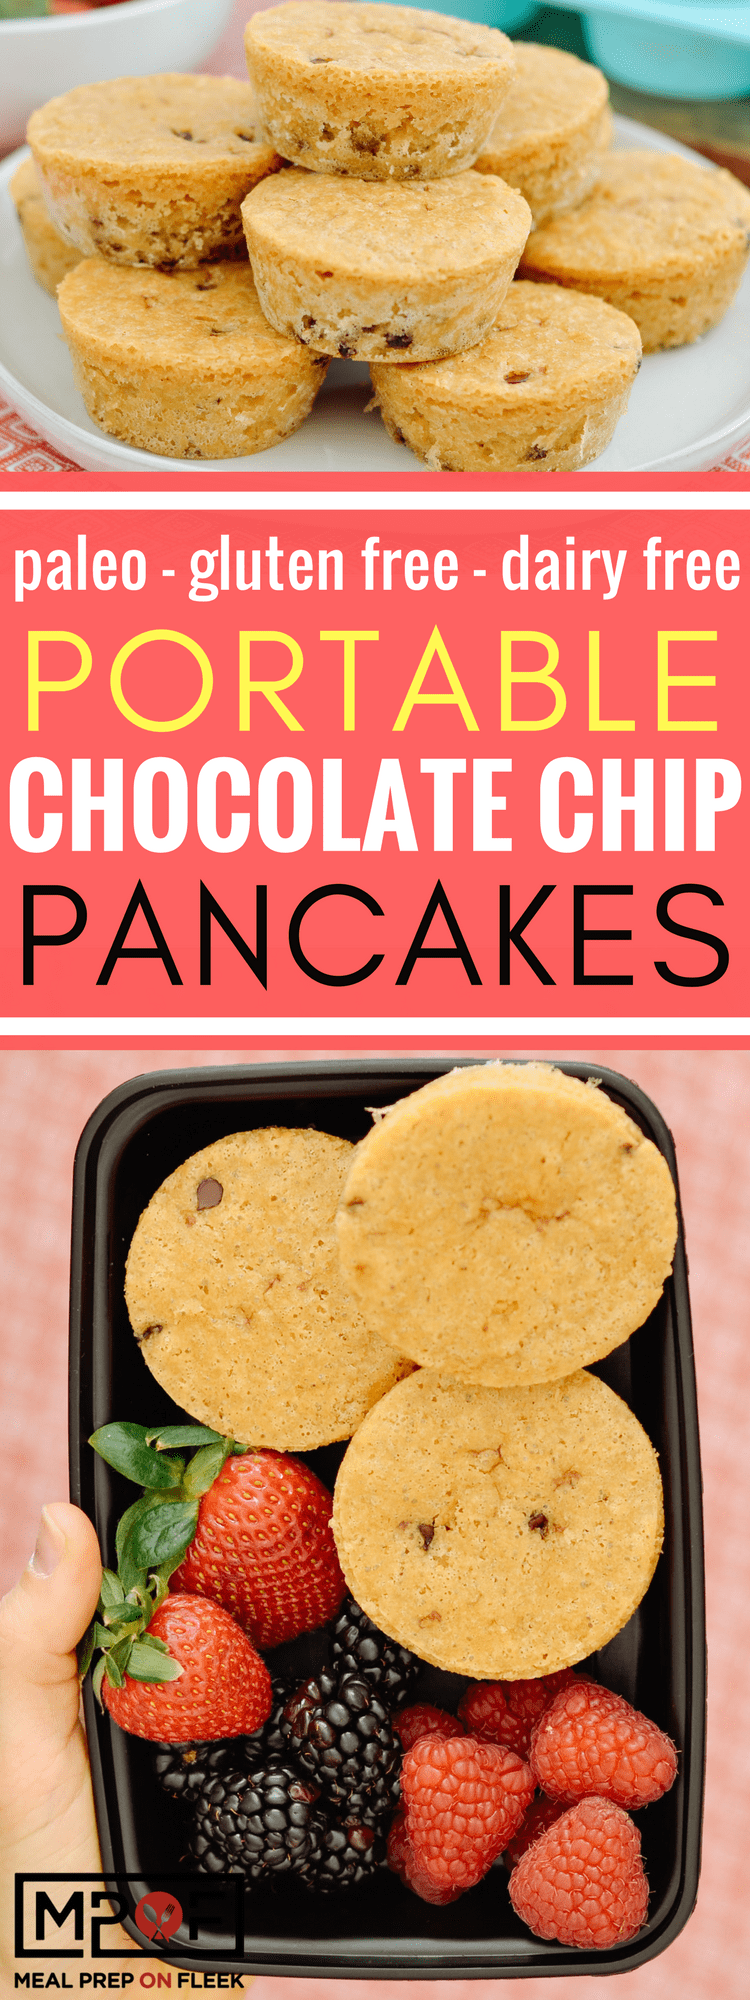
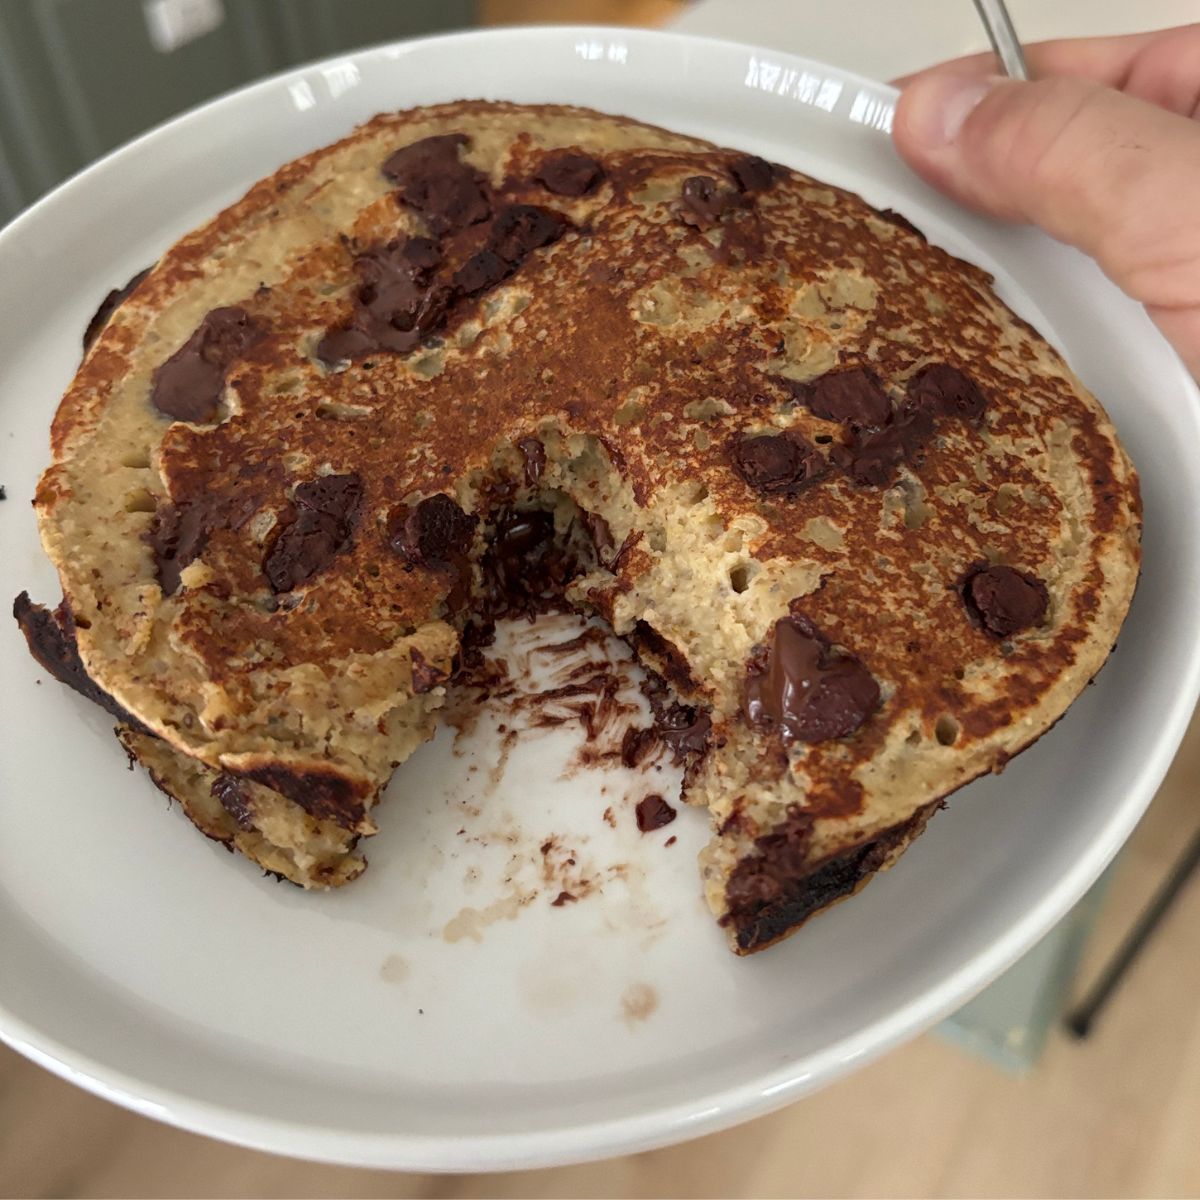
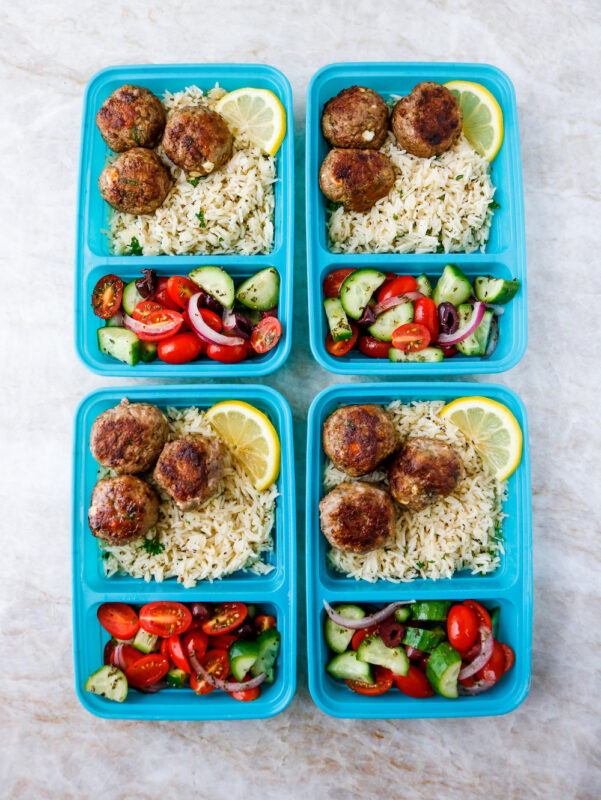
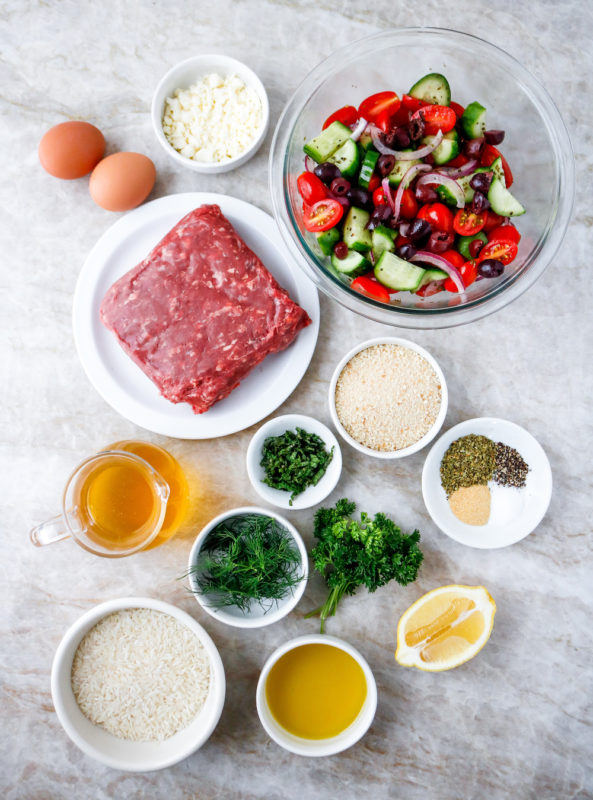
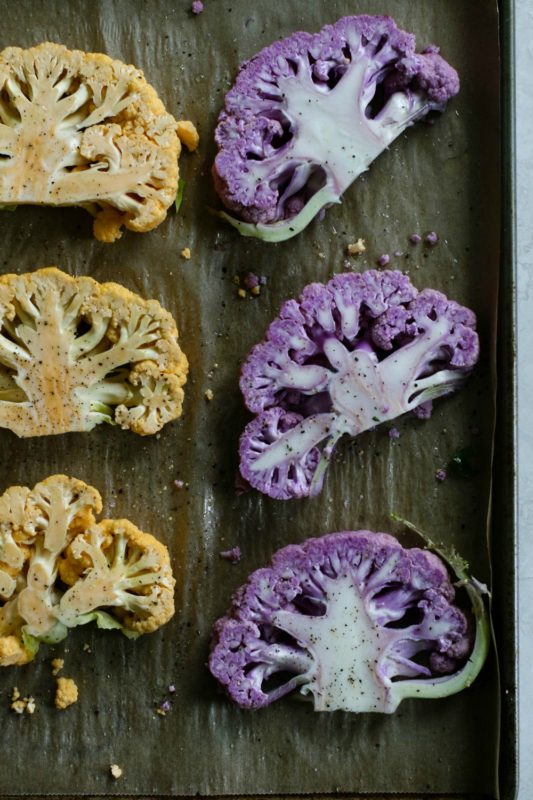
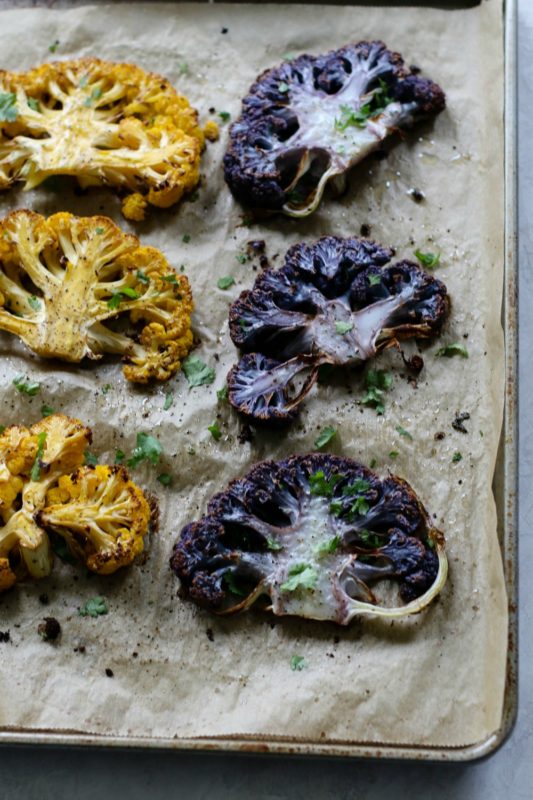
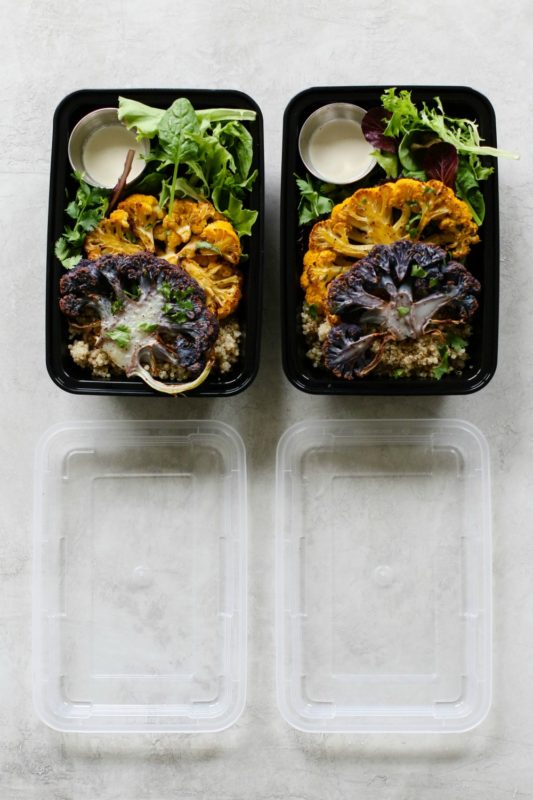
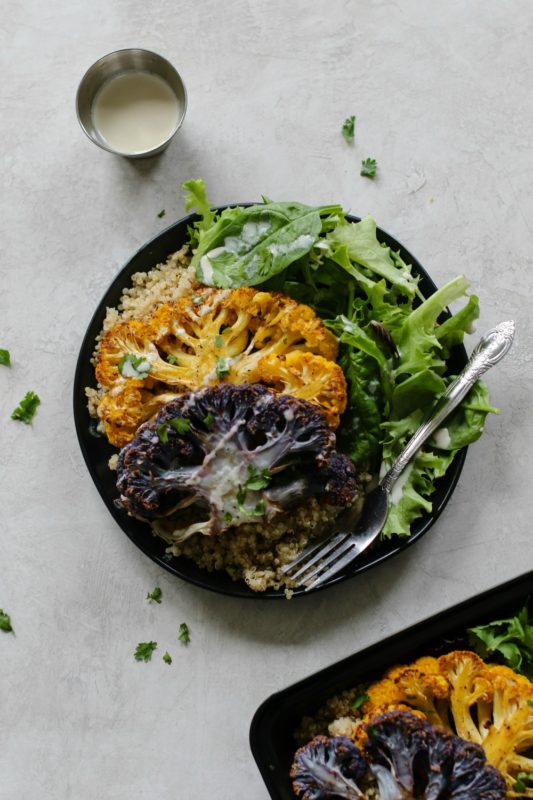
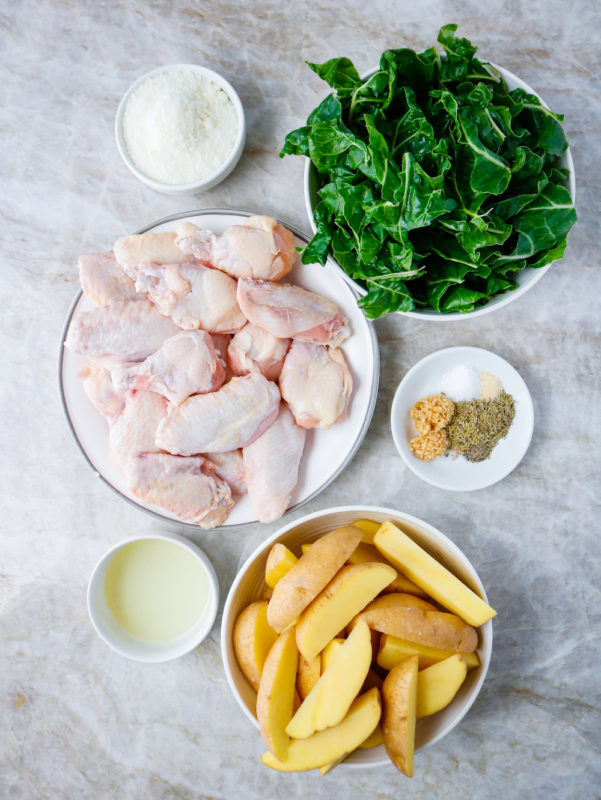
For this lesson, were going to be prepping these recipes: Sheet Pan Nutty Keto Pancakes and Sweet and Sour Cauliflower Bites. Gotta squeeze that protein in where you can, you know?
5 Things you need to know before you get started:
- Veggies usually take the longest to cook : Chop your veggies into smaller pieces to help them cook faster
- Pre-Heating the oven takes time… DO THIS FIRST!
- Boiling water is another time suck! Get this started ASAP if you're cooking grains or hard boiling eggs
- FYI…You have to wash all the dishes you use. DUH, right?! But somehow we end up using more dishes than we realize and end up with a sink full of dishes to wash. Only use the necessary dishes and wash while you prep.
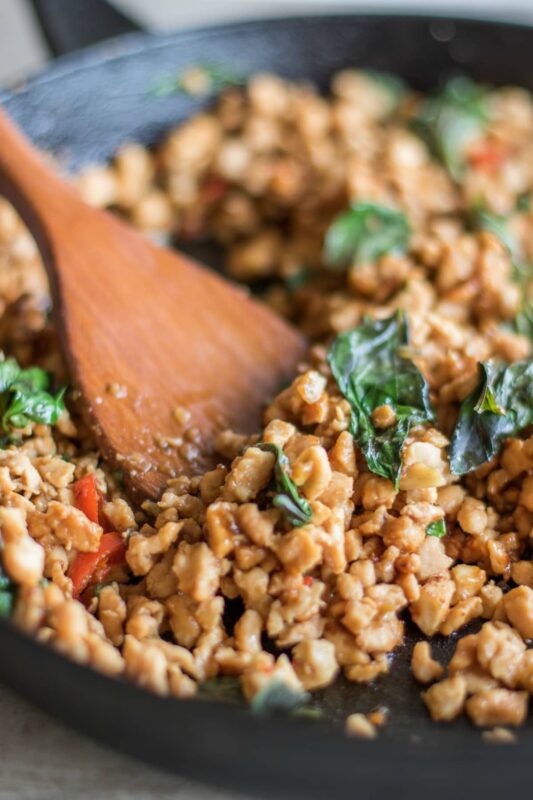
- Proteins cook quick… save those for last
PRO TIP:
While there are several ways to meal prep, we found that knowing the recipes in advance and taking care of most of the prep steps in advance helps alleviate some of the stress, especially when it's been a crazy week.
You will notice that both of these will be cooked in the oven… that means you're only pre-heating the oven once in order to knock out two meals.
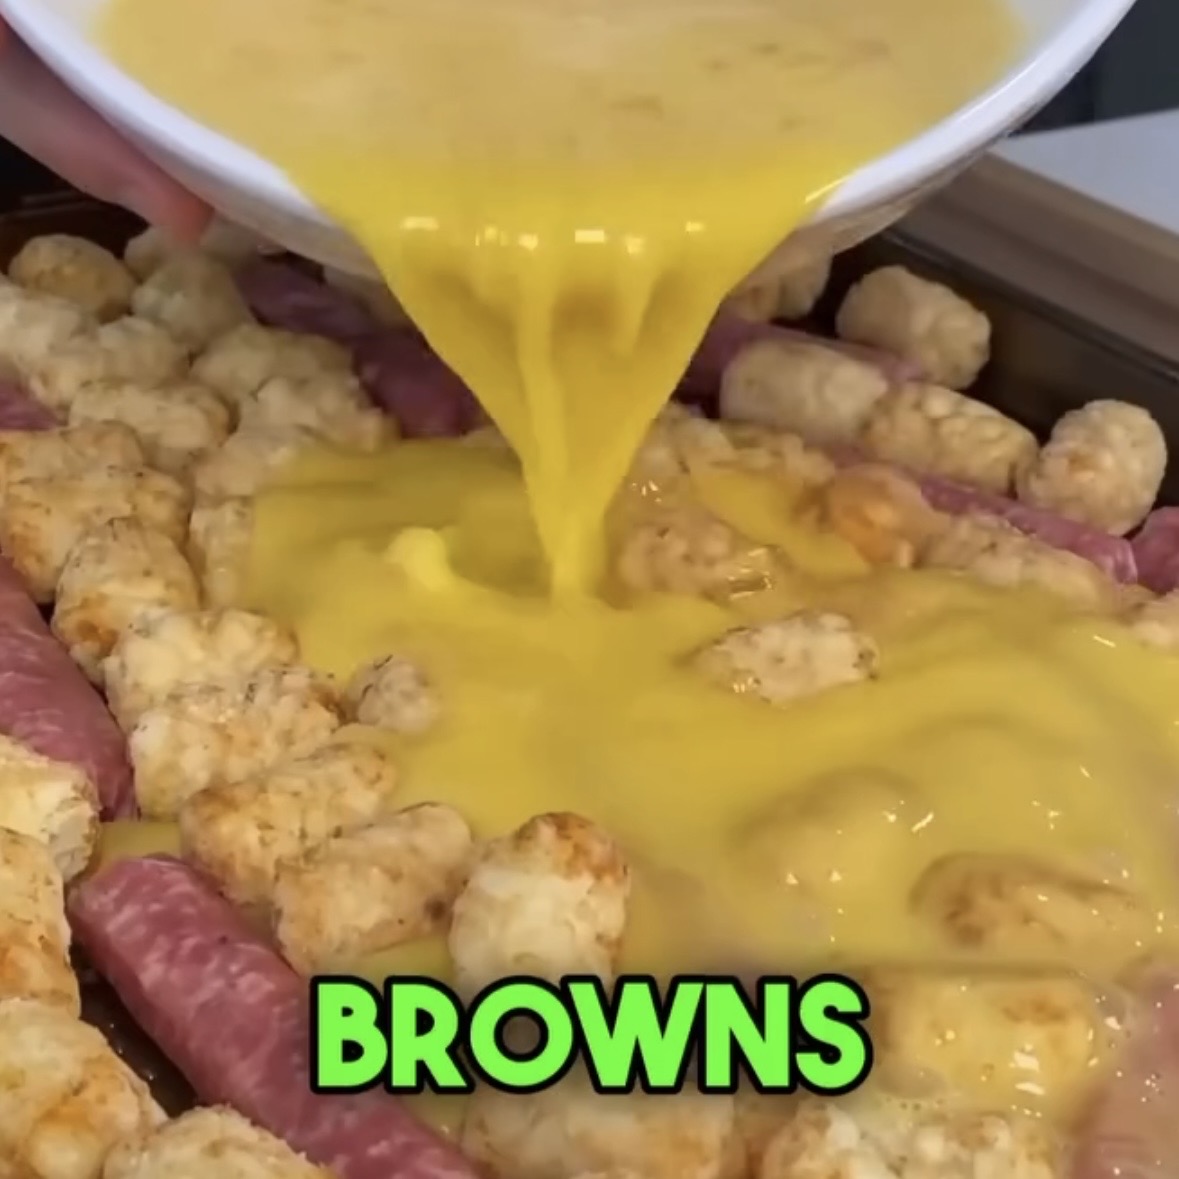
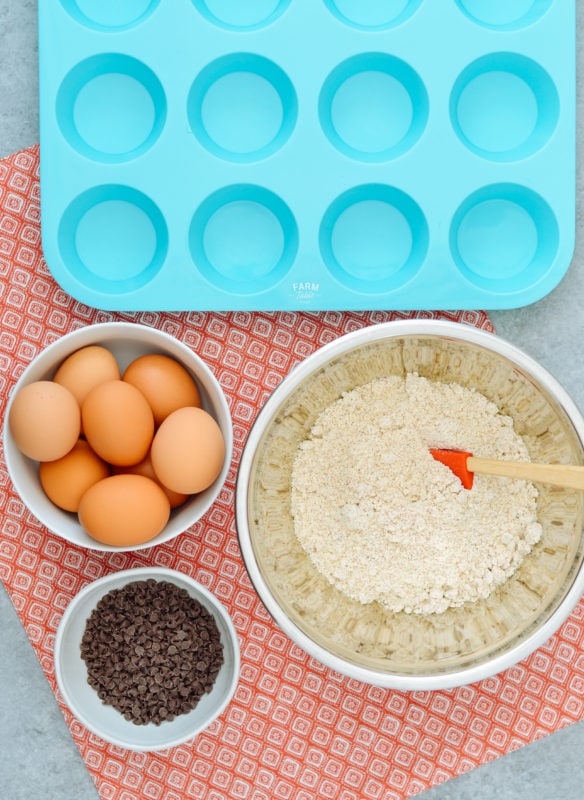
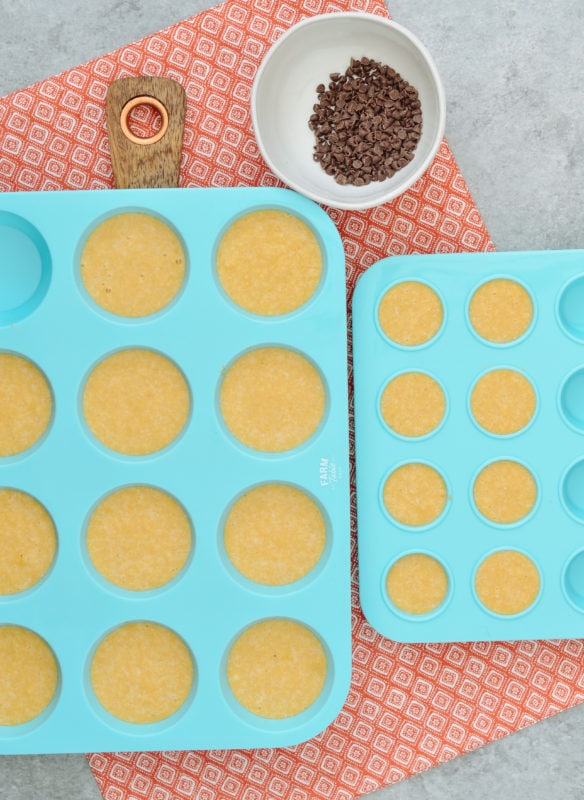
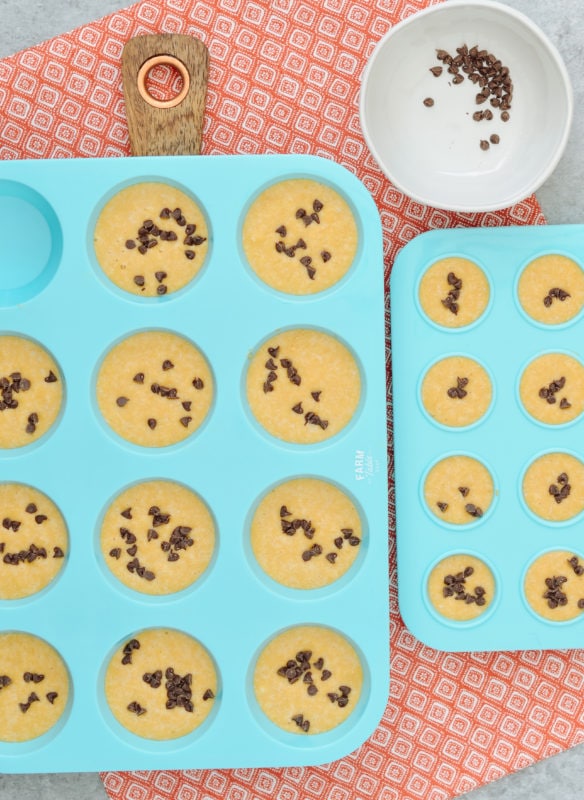
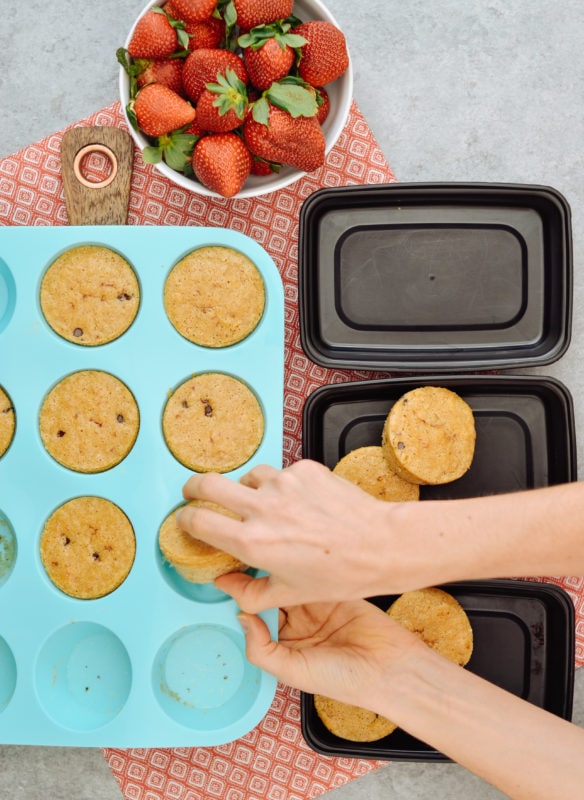
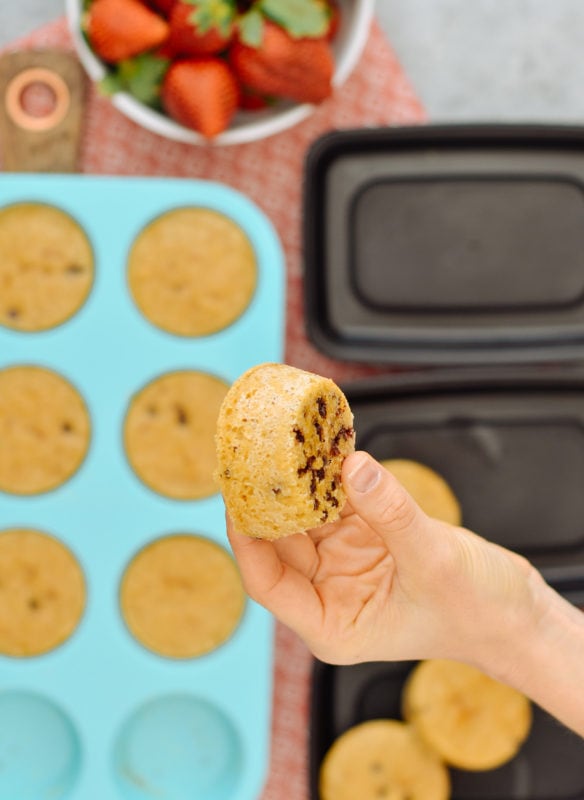
Because the pancakes come together in about 5 minutes, you'll start with these… Here is how the process should look:
0-5 Minutes
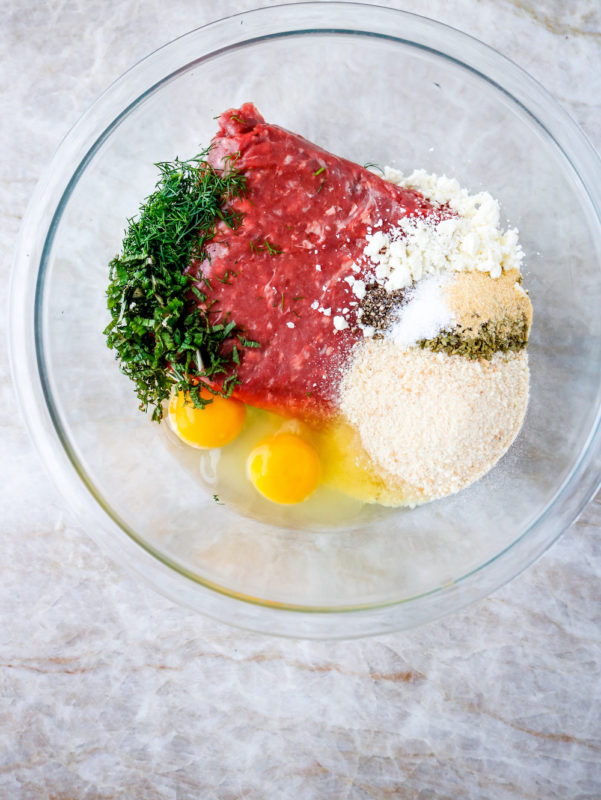
- Pull out trash can, mixing bowl, sheet pan, cutting board, knives, hand towel, and any appliances you anticipate needing (food processor, stand mixer, etc.).
- NOTE: You're going to use the same sheet pan twice
- Preheat oven to 400F. Line sheet pan with parchment paper liners or tin foil.
5-15 Minutes:
- Make the pancake batter and prepare the fruit for your pancake toppings. Let sit for 10 min before spreading the batter into the pan.
- If you're done with that and the oven is not yet preheated, start prepping the veggies for the Pizza Chicken.
- When oven is preheated, put the pan into the oven and Set timer for 6 minutes.
16-25 Minutes:
- If you haven't already….Wash all vegetables. Allow vegetables to air dry while chopping others.
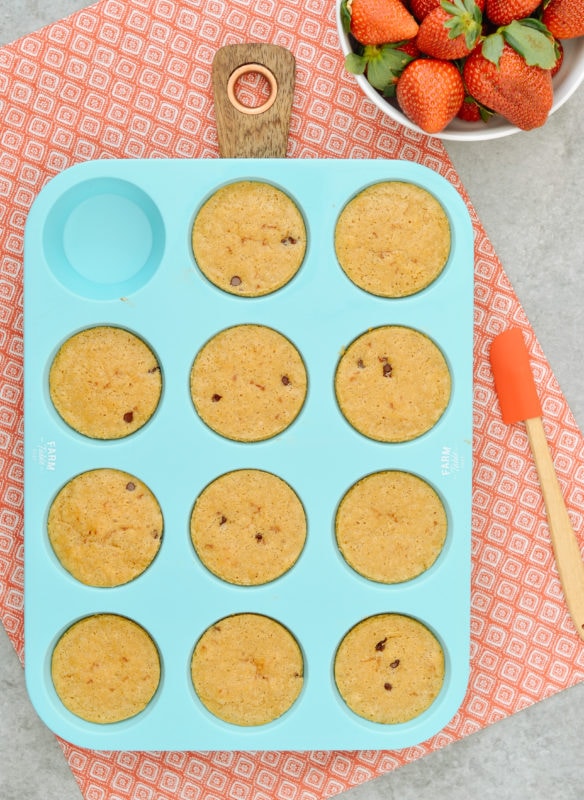
- When the timer goes off for the pancakes, turn your oven to the broil setting and leave in oven for 5-6 minutes or until edges are golden
- Once the pancakes are golden brown, remove them from the oven and allow them to cool.
26-30 Minutes:
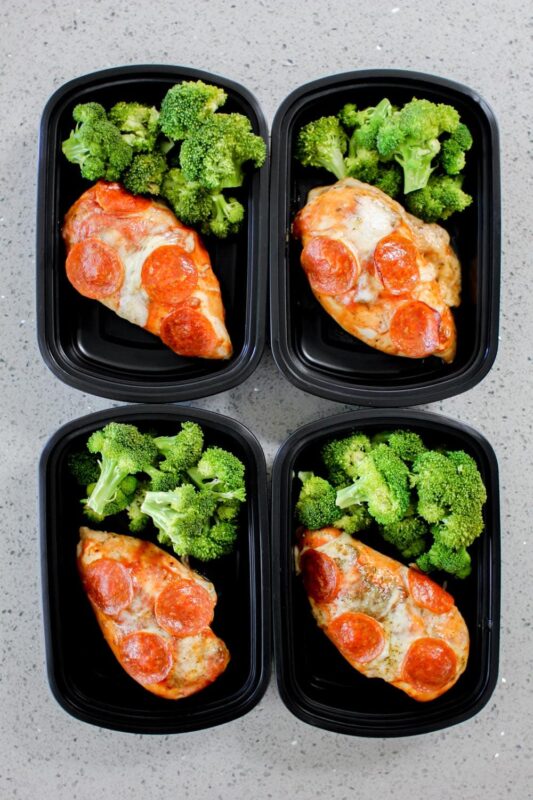
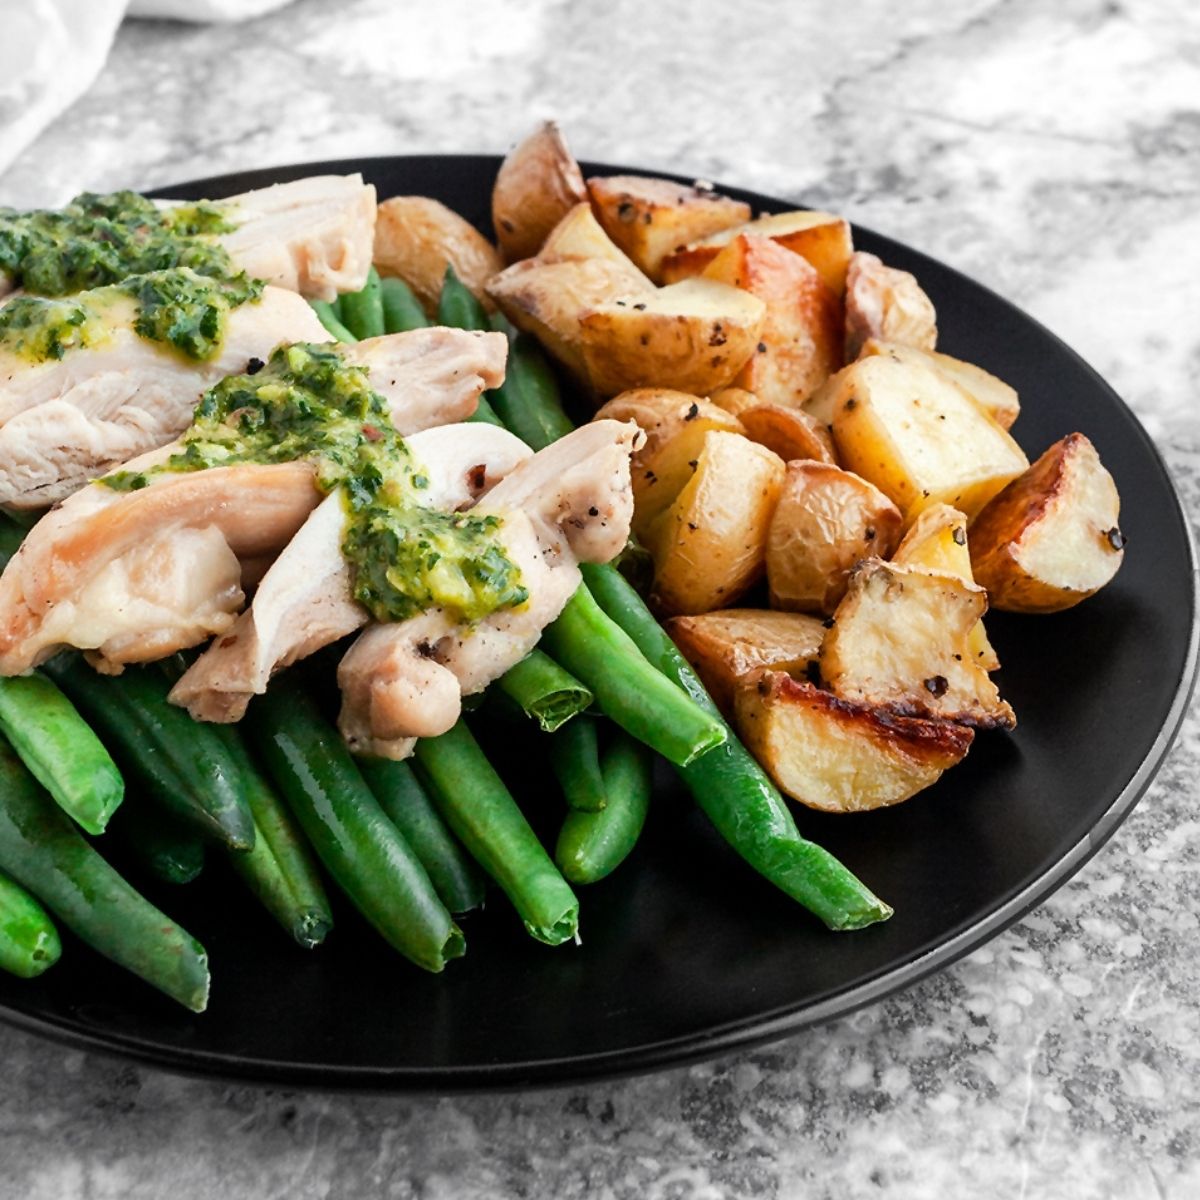
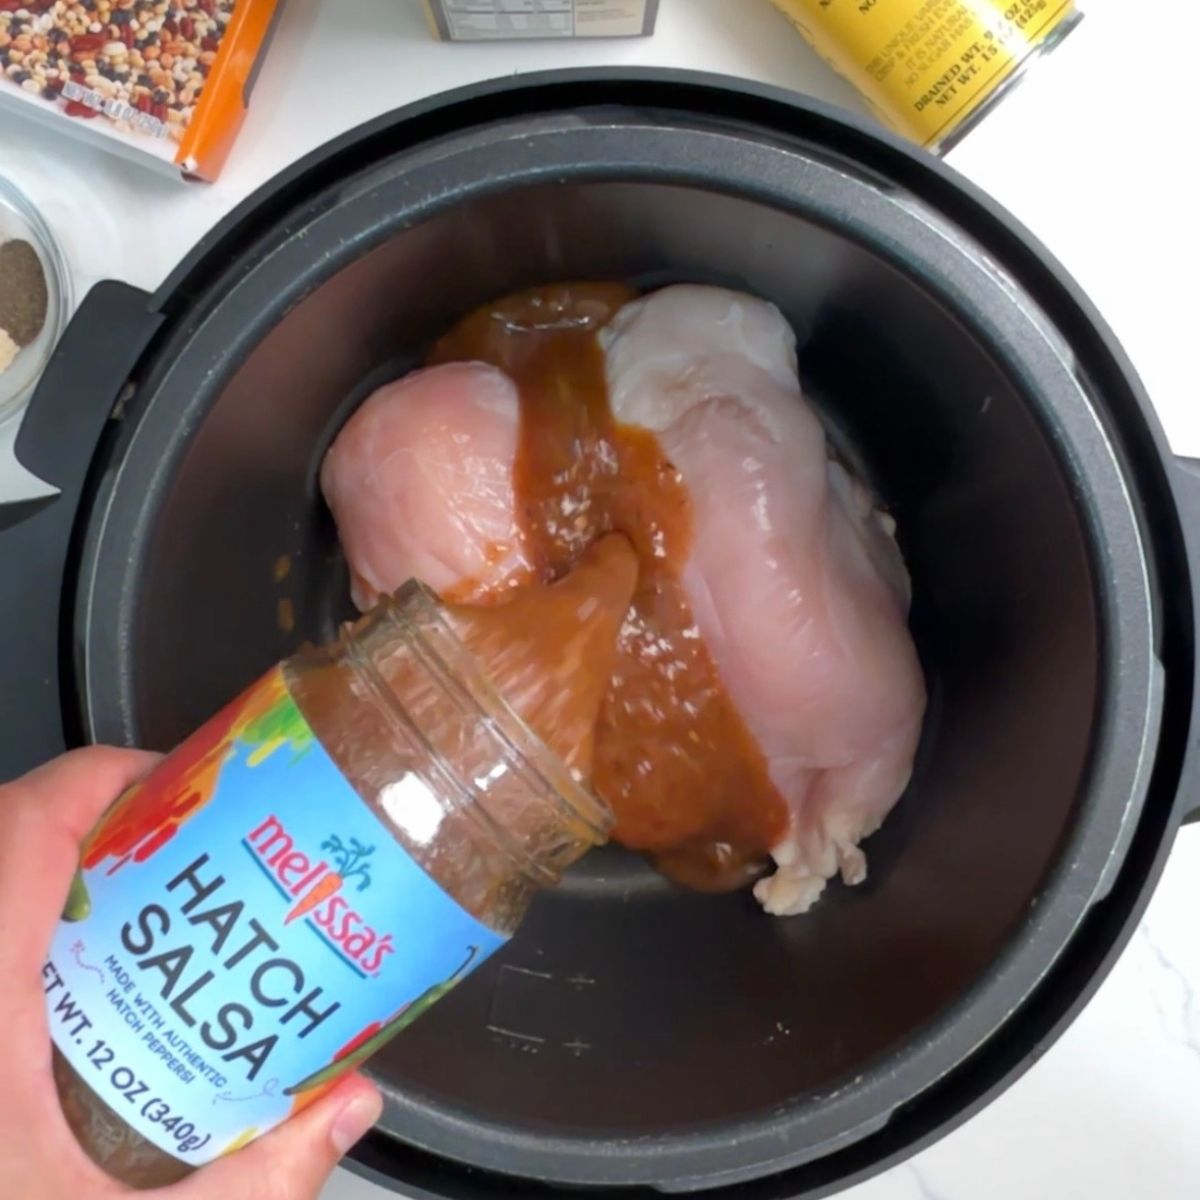
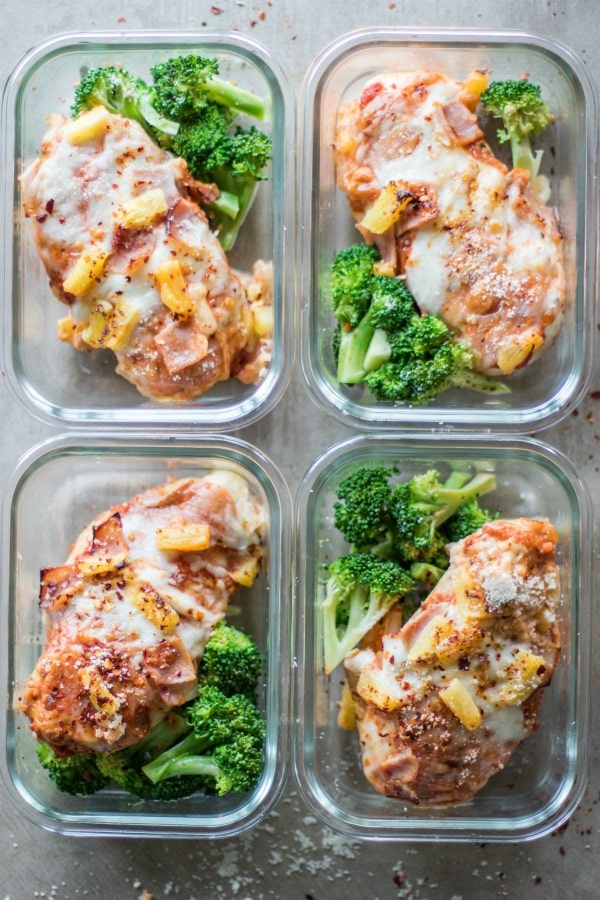
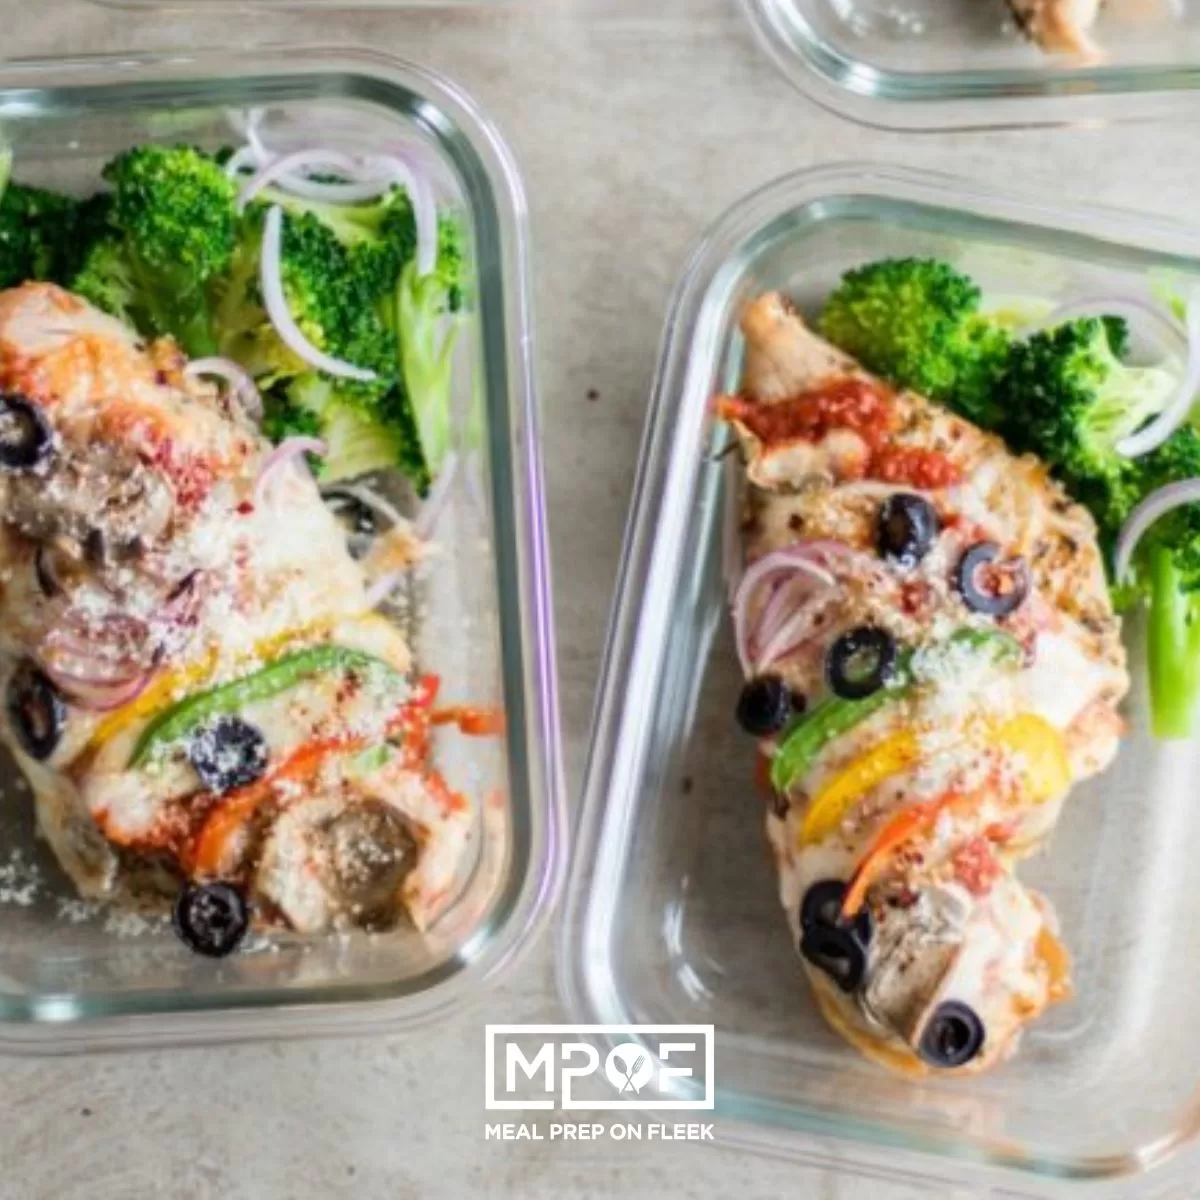
- Next: If you are buying large chicken breasts, you will want to slice them in half so they are nice and thin. Smaller cuts will decrease your cooking time and ensure everything cooks evenly.
- By about the 30 minute mark, your pancakes should be ready to come out of the oven and all your ingredients (mushrooms, onion, olives, bell peppers) should be prepped and ready for the chicken.
31-51 Minutes:
- Remove your pancakes from the oven and take the pancakes out of the sheet pan.
- Decrease your oven temp from 400F to 375F
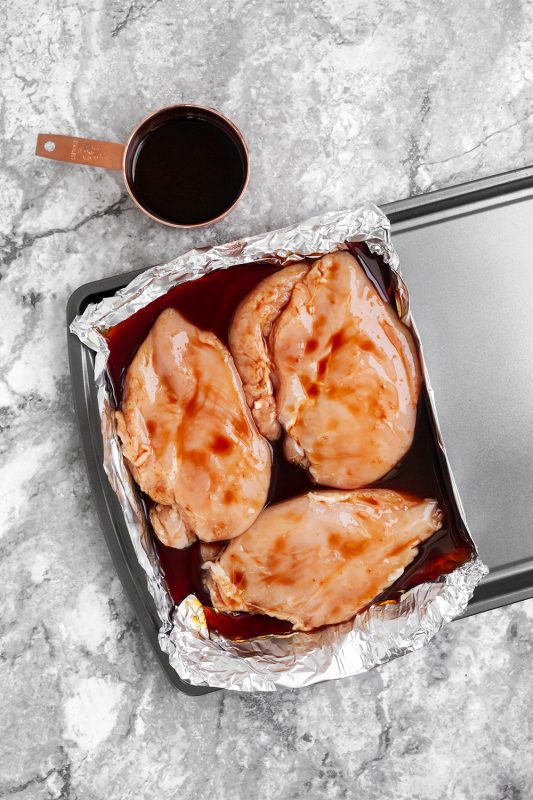
- Place the chicken on the sheet pan and put them in the oven for 8-10 min
- While the chicken is in their first stage of baking, start cleaning up from the pancakes
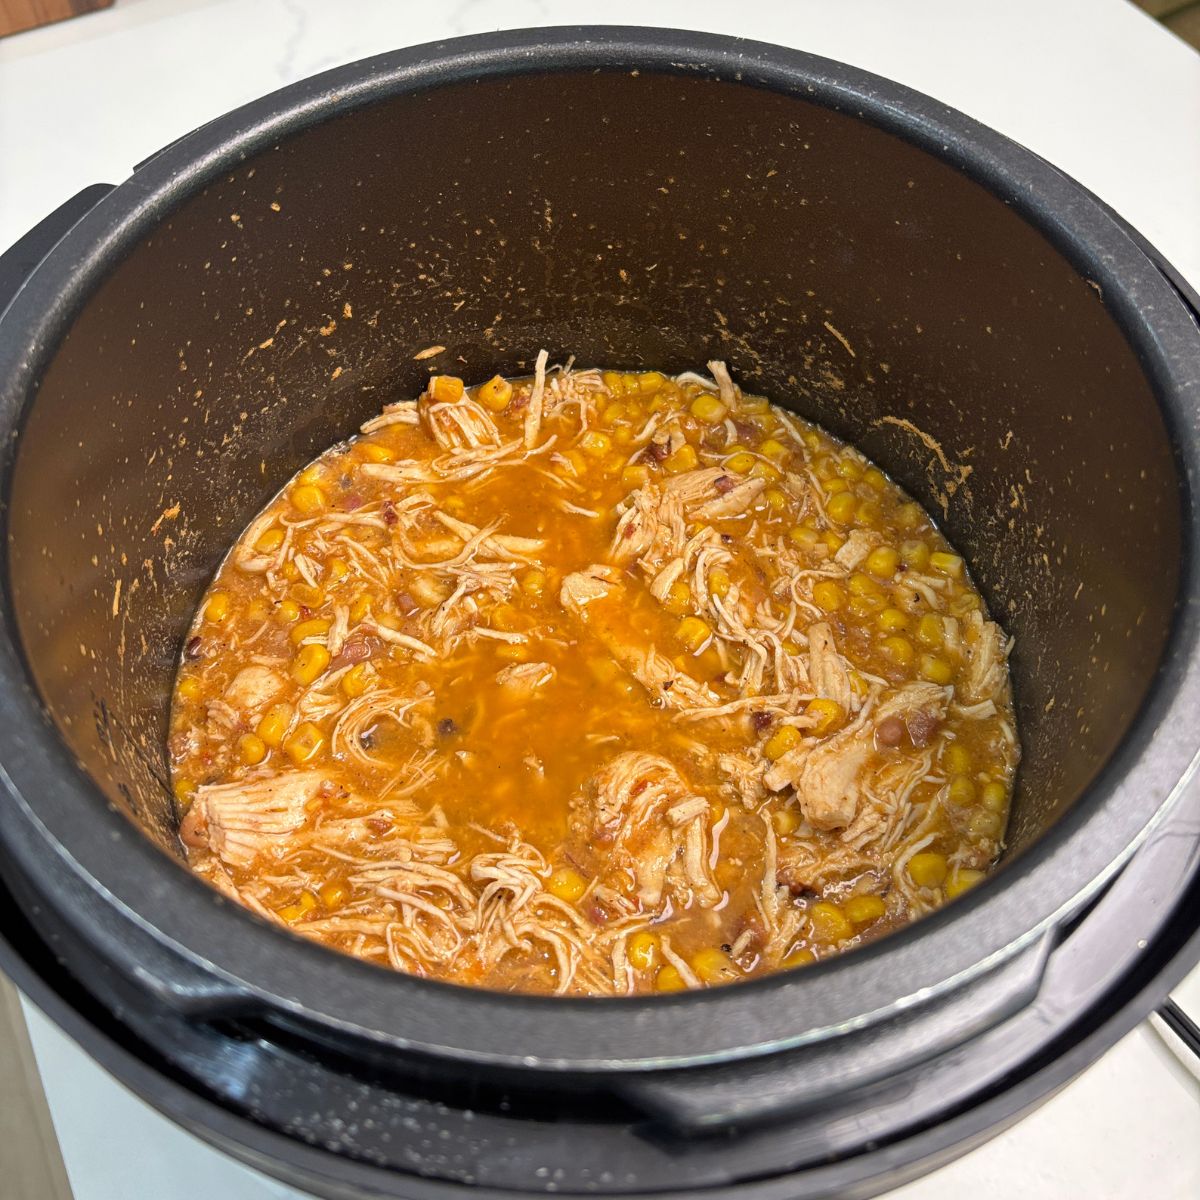
- When the timer goes off, remove the chicken from the oven and top with sauce, cheese, and vegetables
- Return the chicken to the oven for 6-10 min (or until the chicken is fully cooked)
- Once the chicken is done, remove it from the oven and let everything cool down. Turn off your oven now
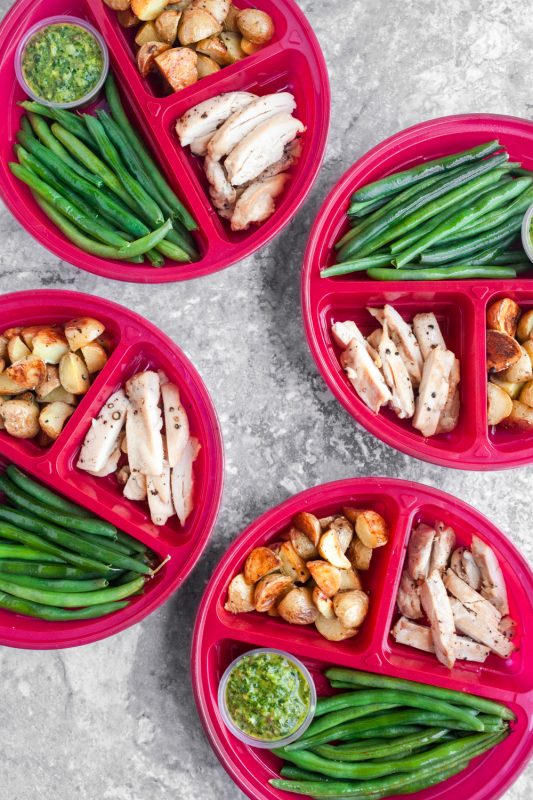
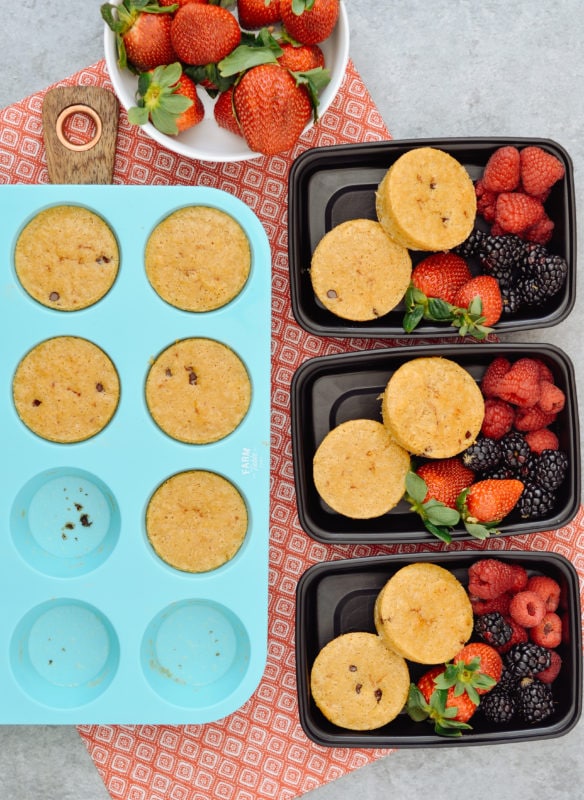
52-60 Minutes:
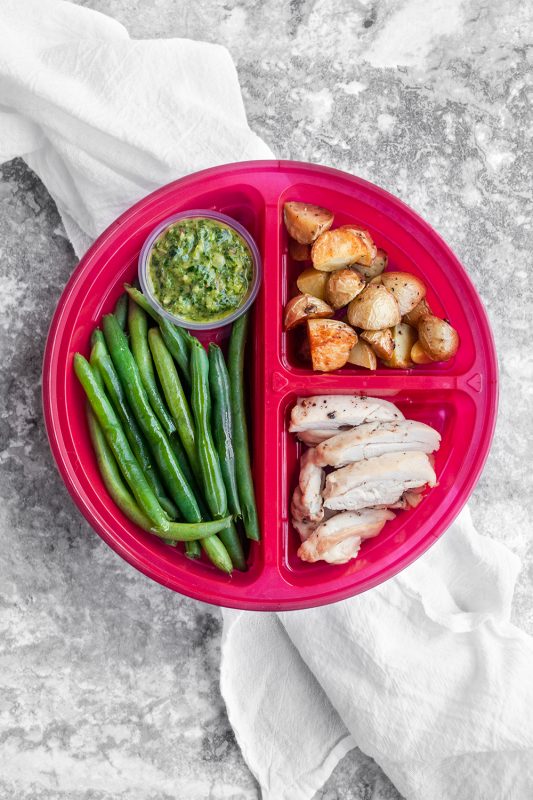
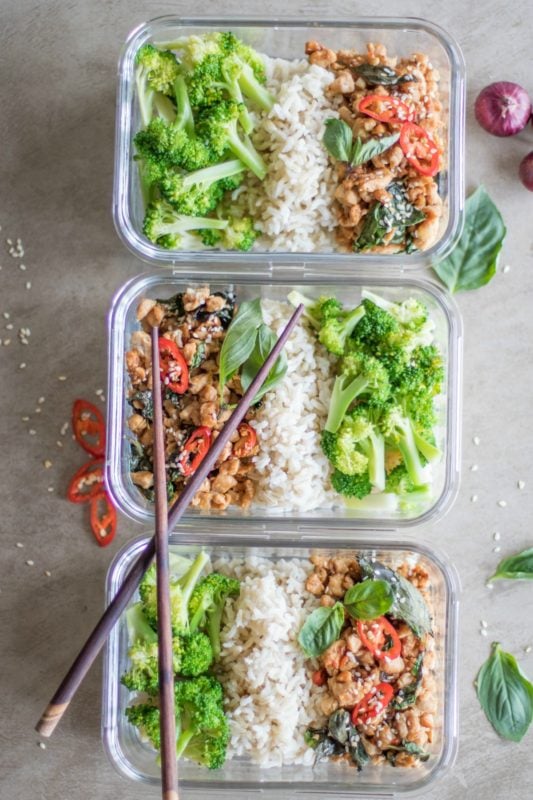
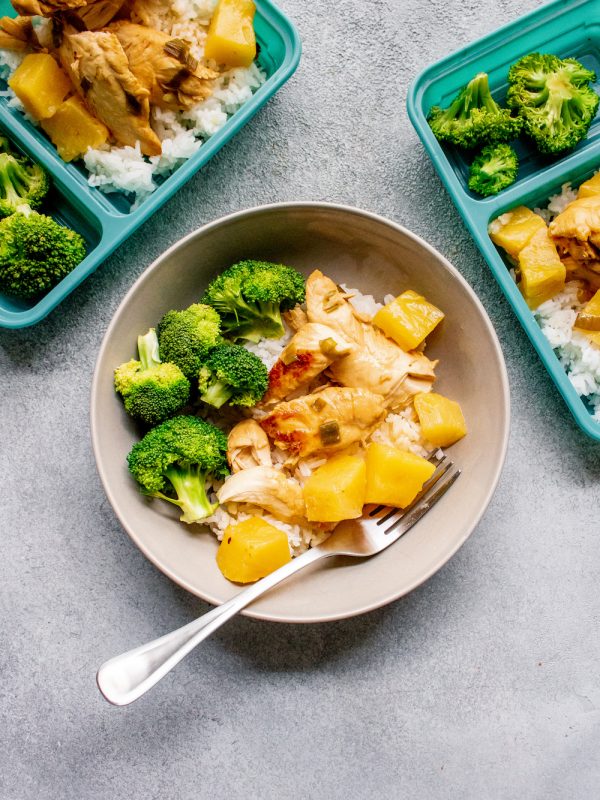
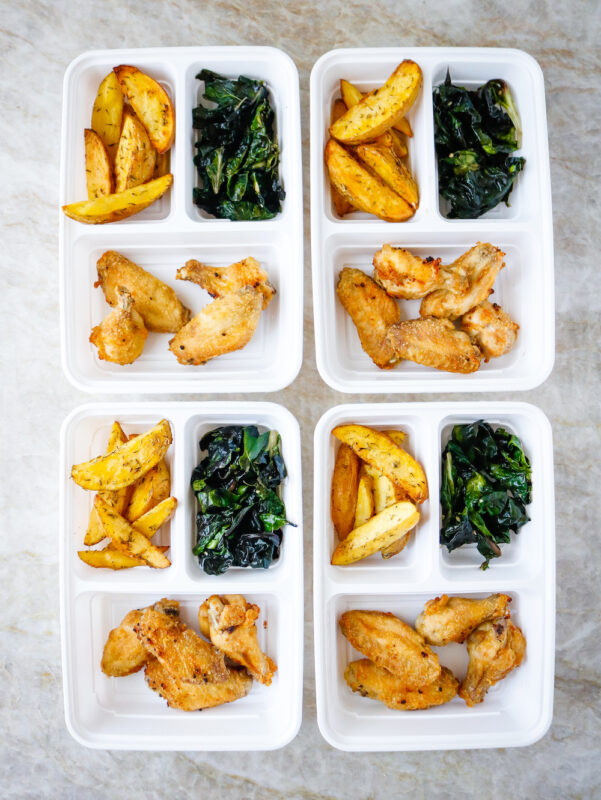
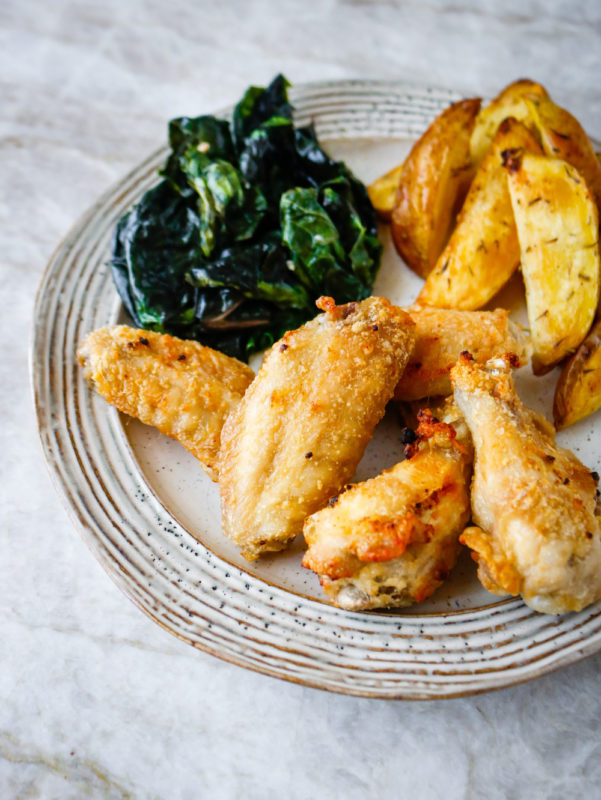
- Portion out the meals, add lids to all of dishes, and transfer to fridge.
- Wash dishes and wipe down counters.
YOU DID IT!!!
How to Meal Prep Breakfast and Lunch
Following up:
Plan to either cook or consume the items you prep over the weekend within 4 days (3 if you're prepping fish). This helps to make sure that vegetables don't go bad, especially those that don't hold up as well like greens, bell peppers, cucumbers, and other soft produce.
If it looks like something may spoil before it appears on the menu rotation, swap it out with another meal that can sit another night or two without going bad.
Use shortcuts, like frozen or pre-chopped produce, when necessary or more convenient.
If you are concerned an item you prep in advance may spoil before you get to eating it over the course of the week, err on the side of caution. Either wait to prep it and/or buy the pre-cut option of it to have on hand (as needed).
A Few Bonus Sections you might be interested in:
- Mindful Dining Out
- Dealing with Meal Prep Fatigue
- How to Track your Meals (with tracking worksheet)
- How to Calculate Macros
- 400+ Meal Prep Recipes