Meal Prep Recipes
Planning, preparing, and portioning your meals ahead of time is one of the most effective tools for keeping your food budget in check. We have 600+ Budget friendly meal prep ideas to keep your taste buds happy, your belly full, and your budget on track! New to meal prepping? Check out our Meal Prep 101 (How to Meal Prep) before you begin.
Looking for pre-made meal plans? Check out our range of meal plan menus!
Narrow your search:
-
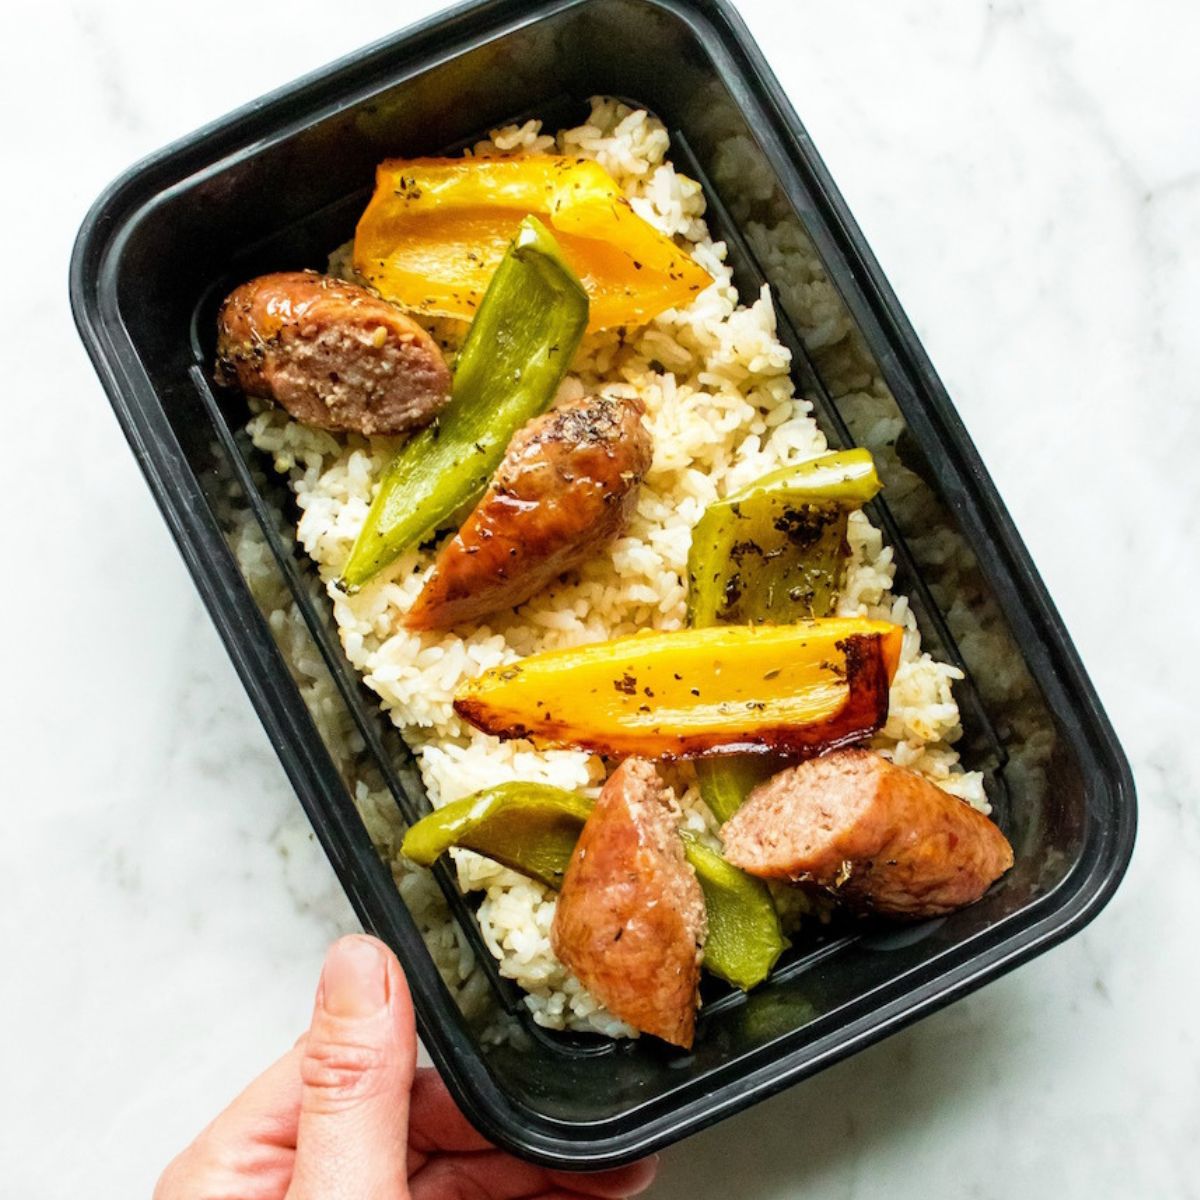
Sheet Pan Italian Sausage and Peppers
-
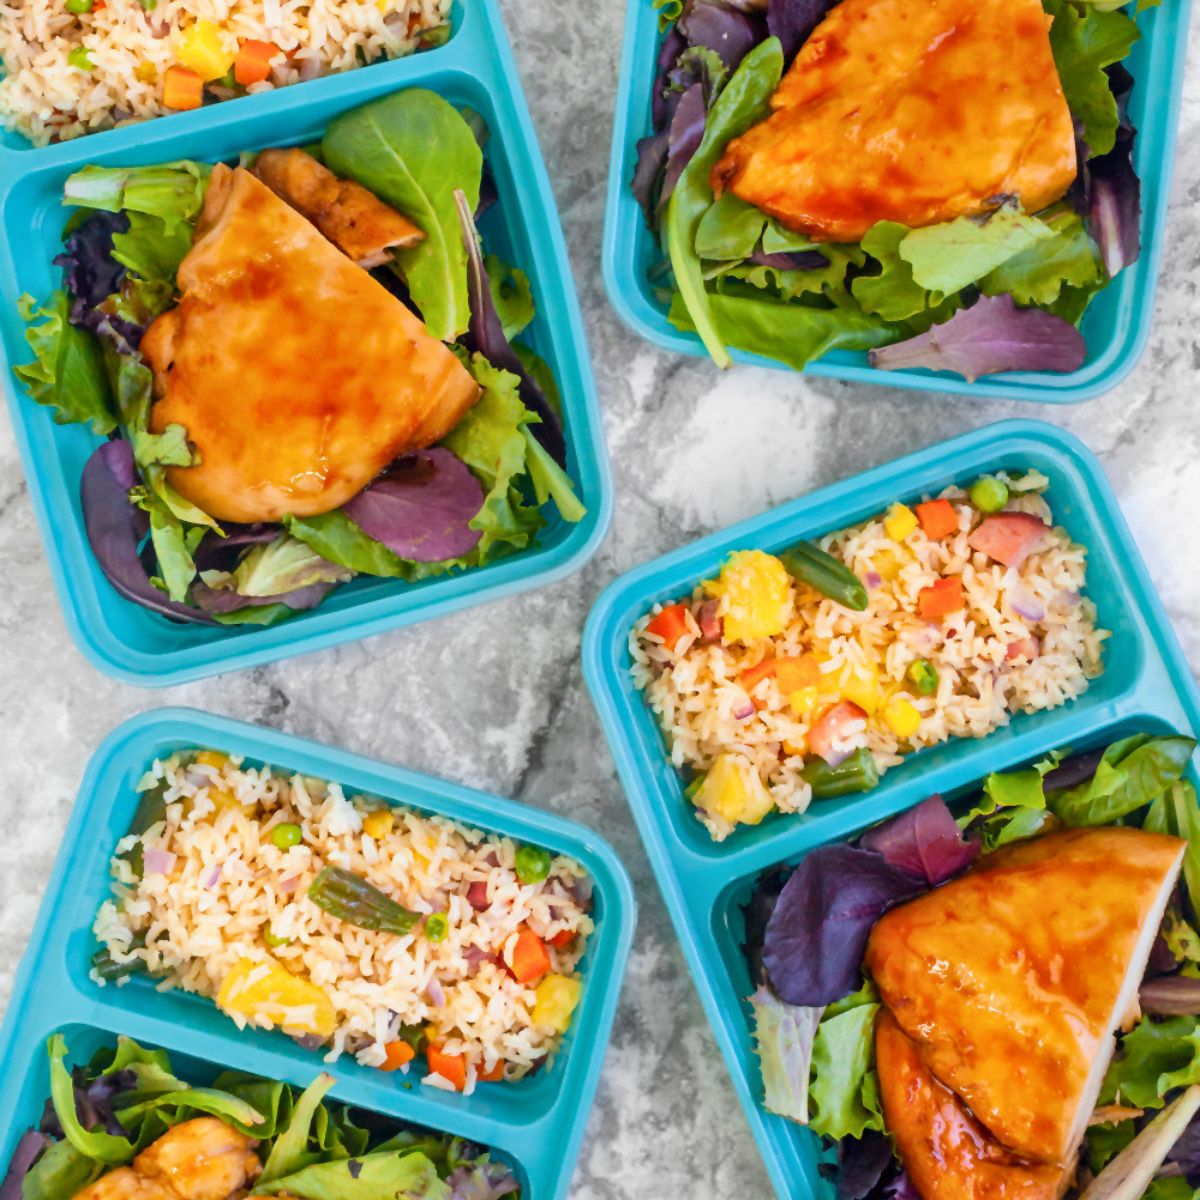
Sheet Pan Teriyaki Chicken and Pineapple Fried Rice
-
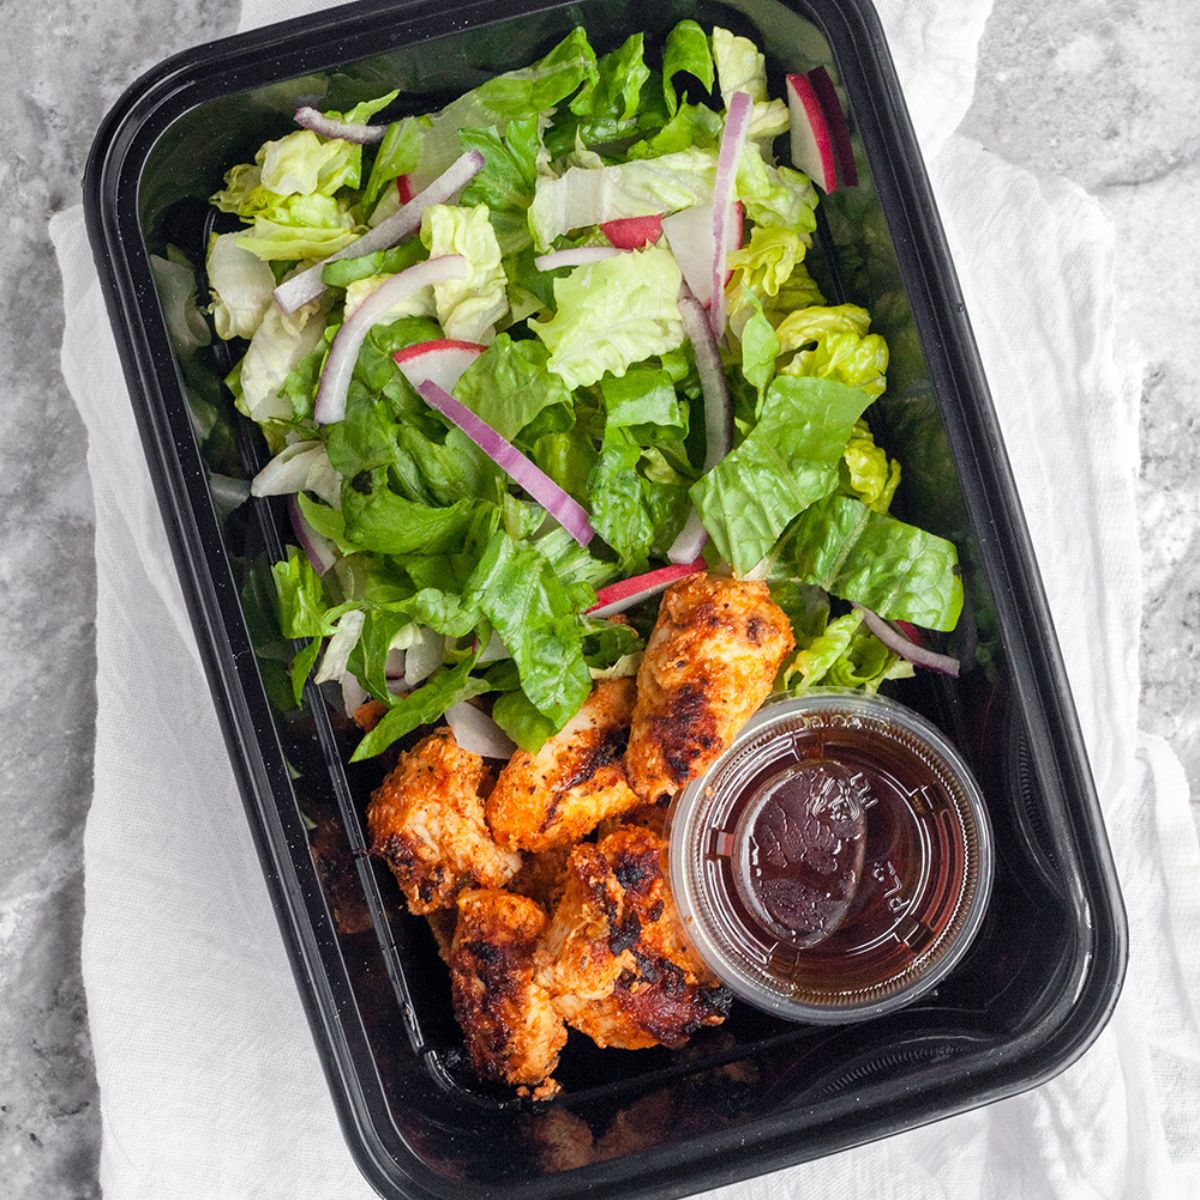
Shish Tawook Meal Prep
-
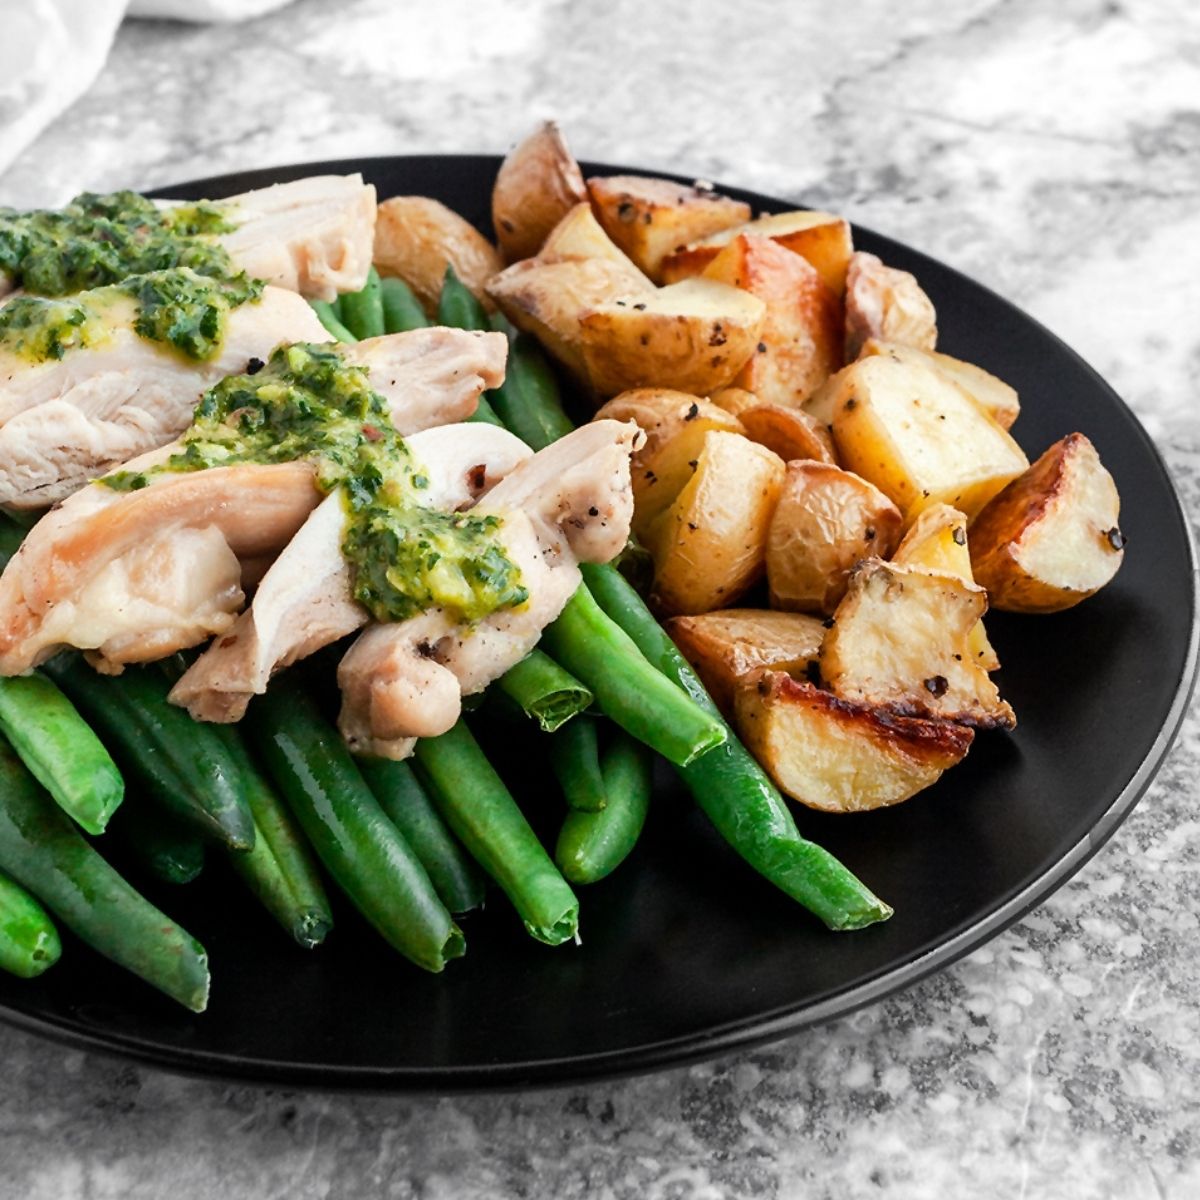
Sheet Pan Chimichurri Chicken and Veggies
-
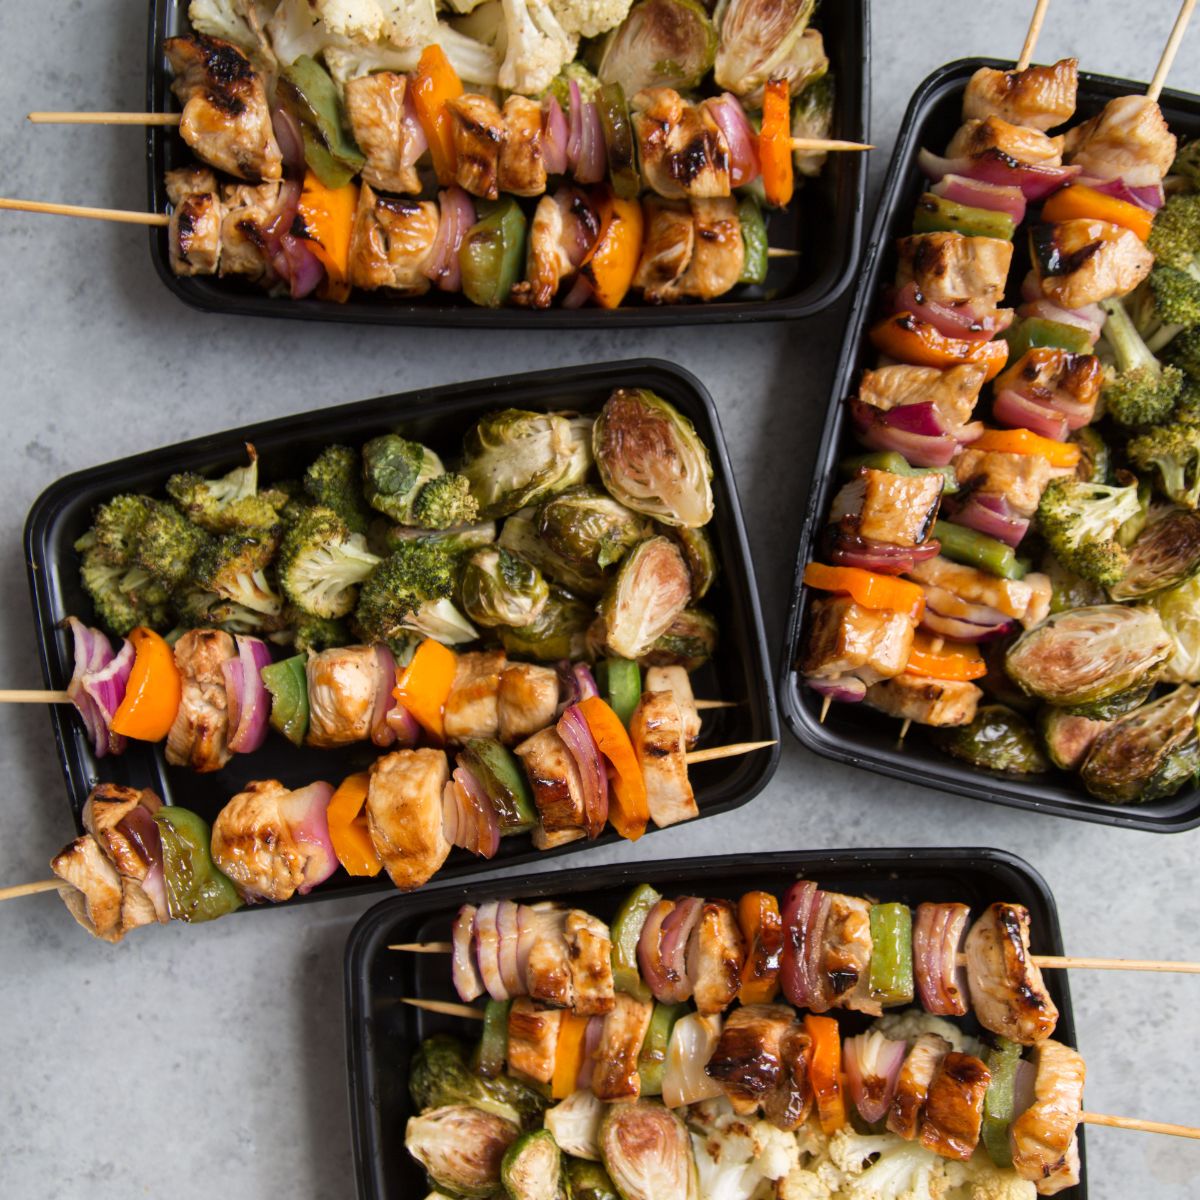
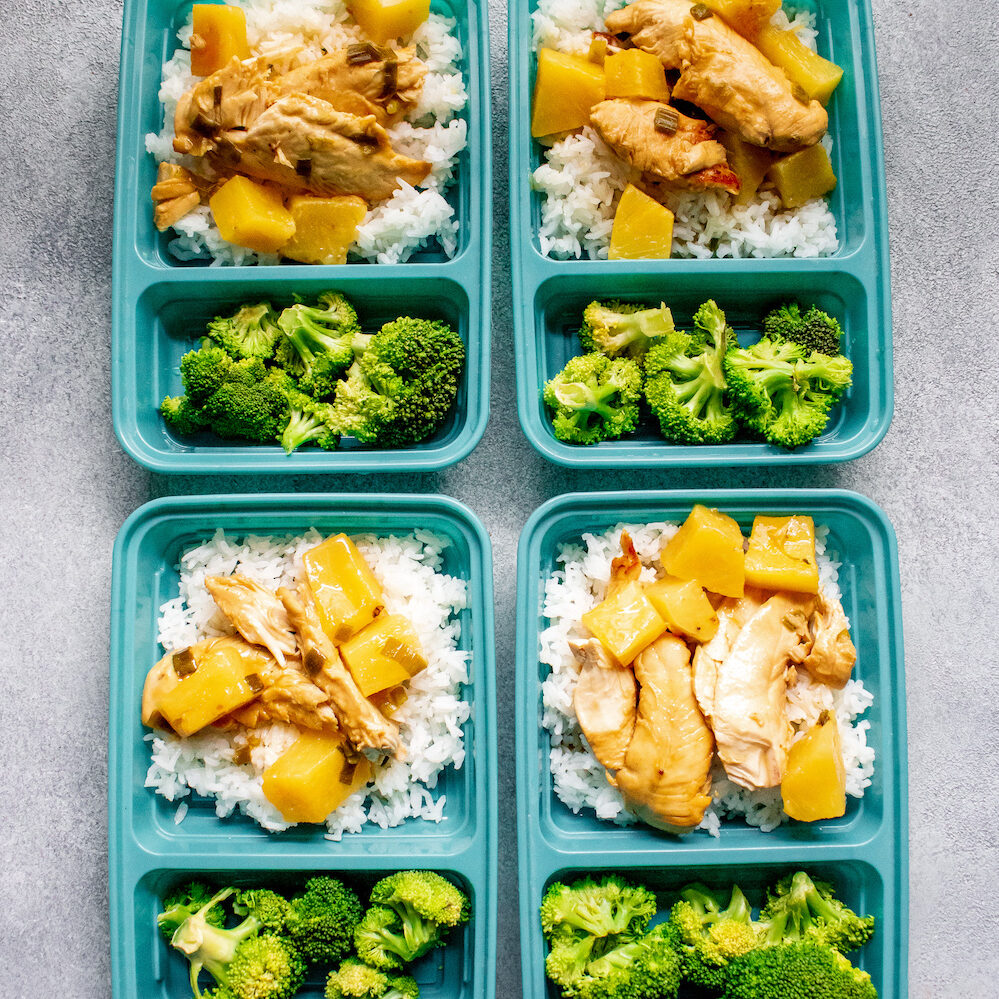
Hawaiian Chicken Teriyaki Skewer Meal Prep
-
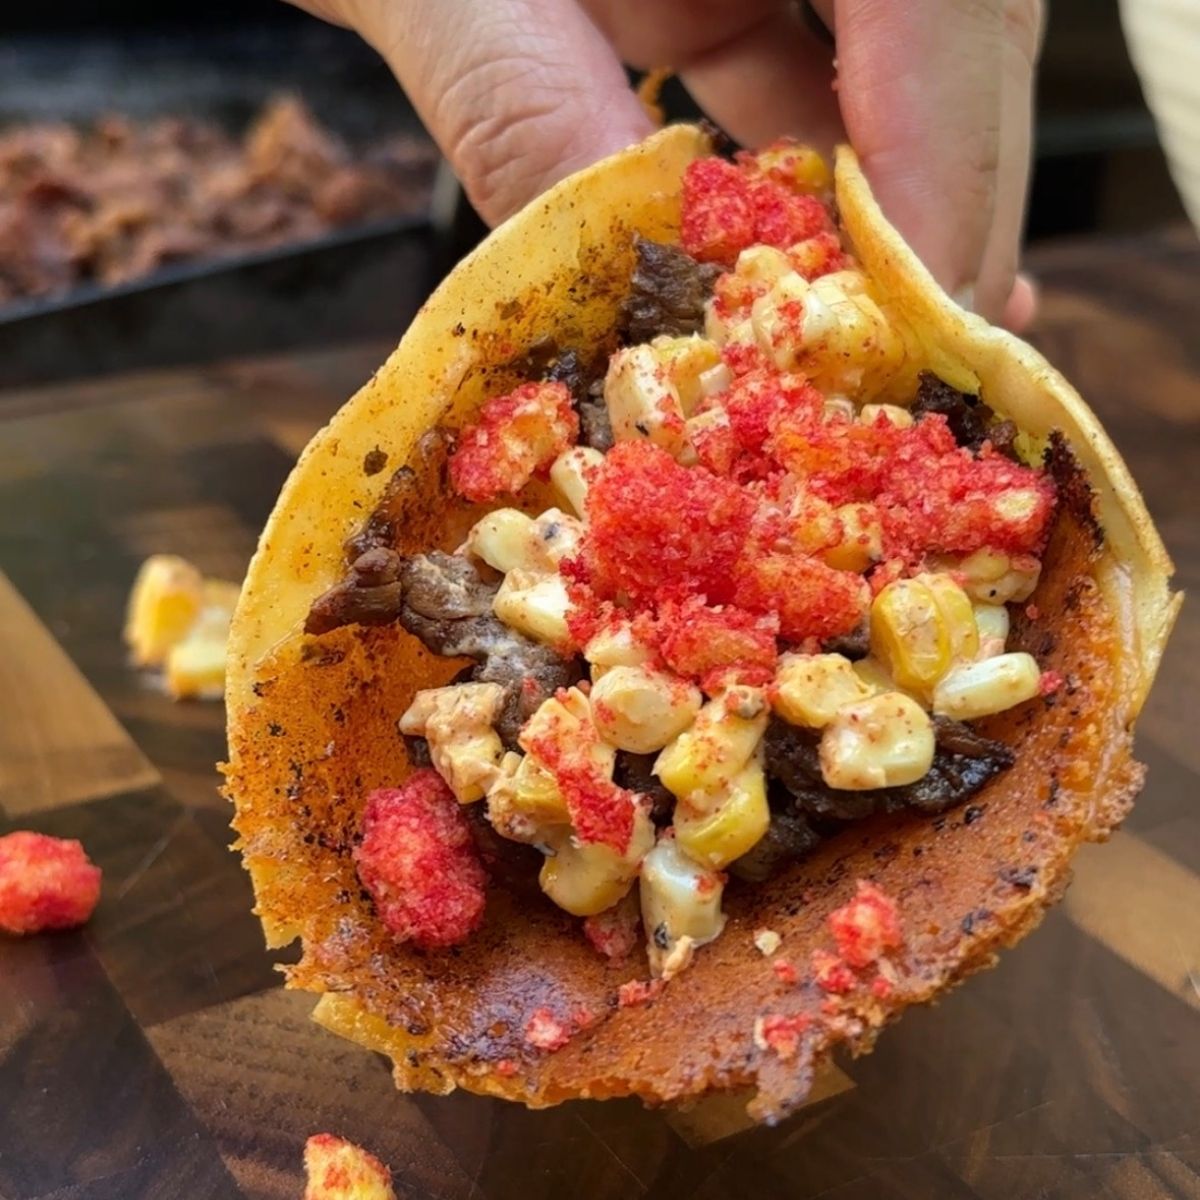
Grilled Corn Elotes Steak Tacos (with Flamin Hot Cheetos)
-
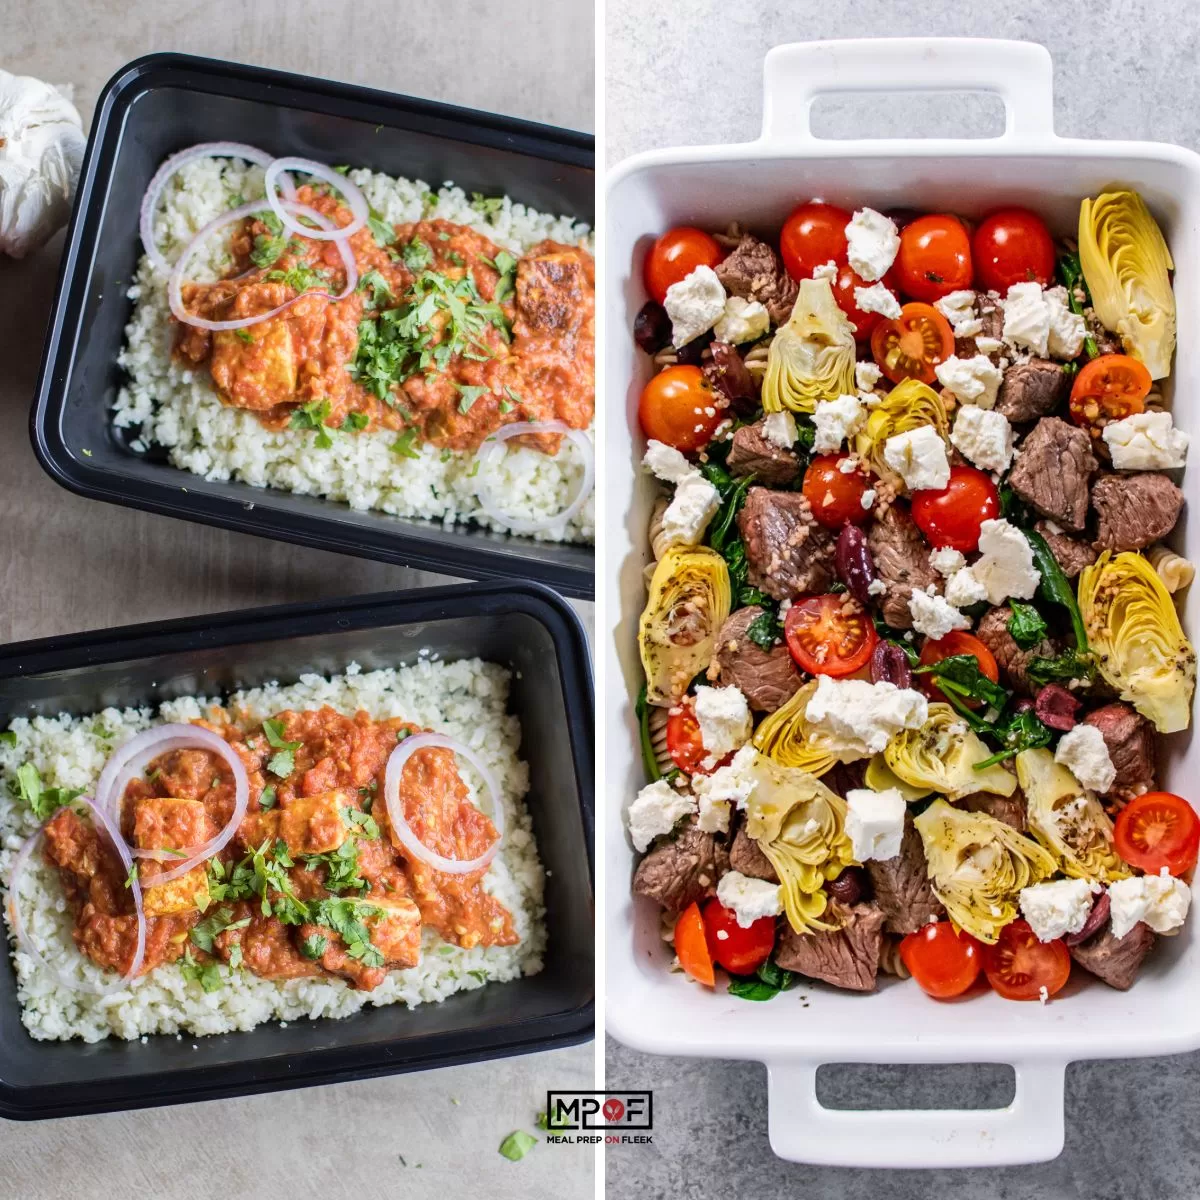
15 Easy Mediterranean Diet Meal Prep Recipes
-
Homemade Traditional Greek Meatballs
-
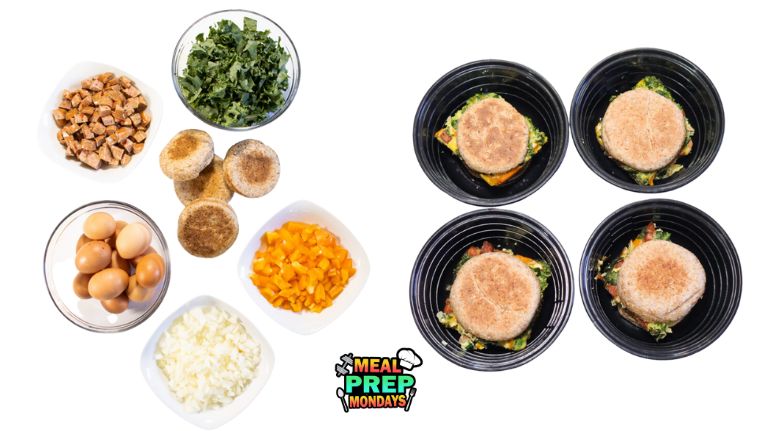
Meal Prep Breakfast Sandwich - Freezer Friendly
-
How to Make Extra Crispy Pork Chops and Roasted Vegetables
-
Our 12 Best Mexican Recipes for Cinco de Mayo
-
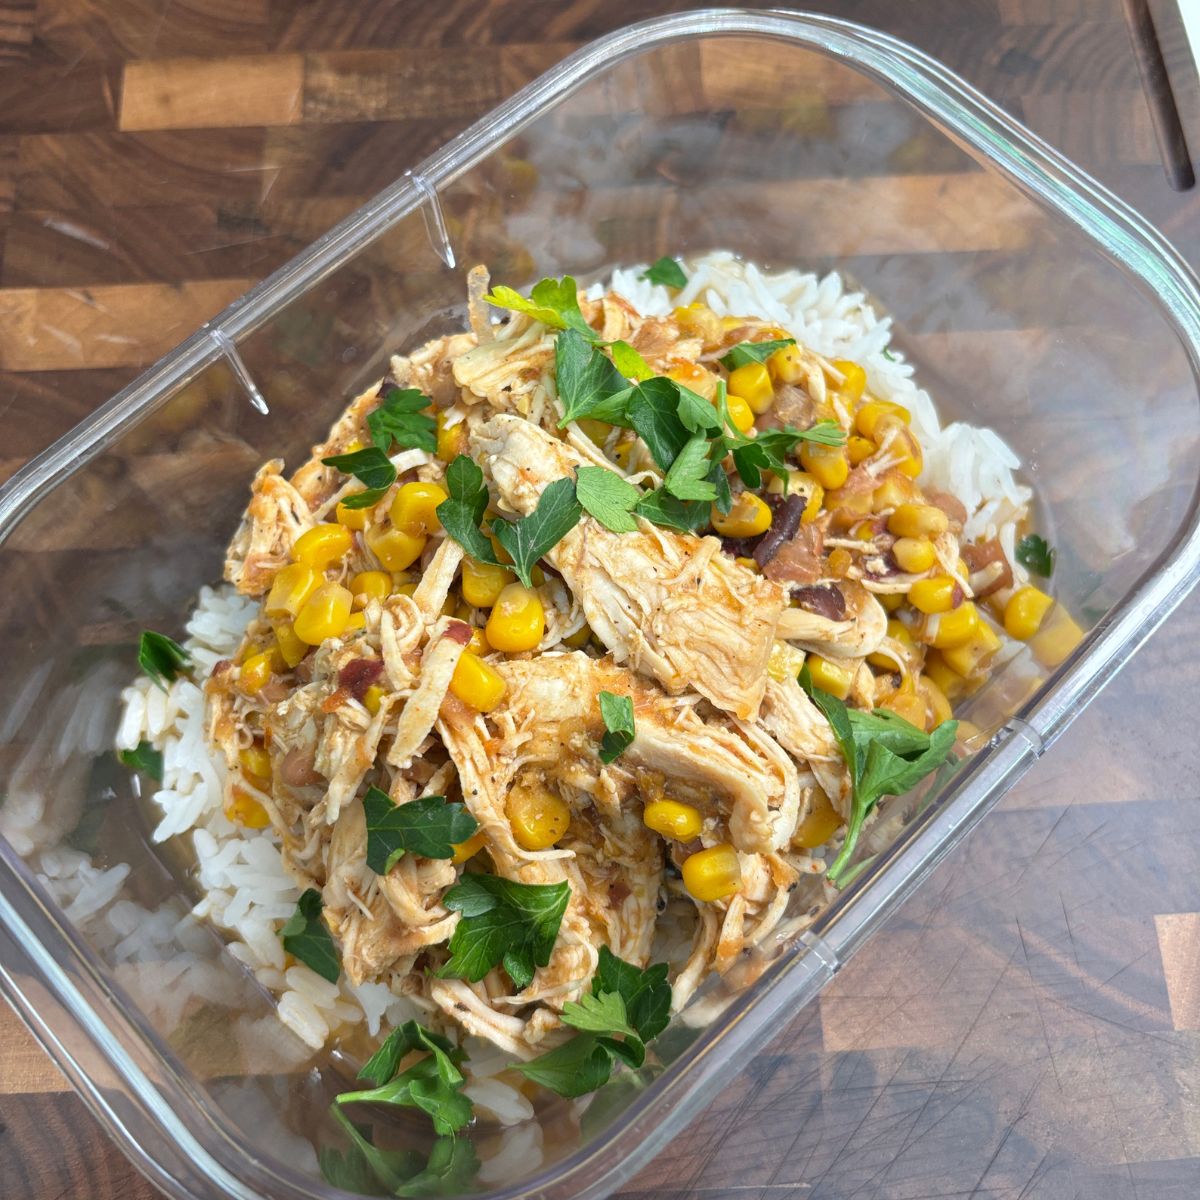
Instant Pot Salsa Chicken Rice Bowl
-
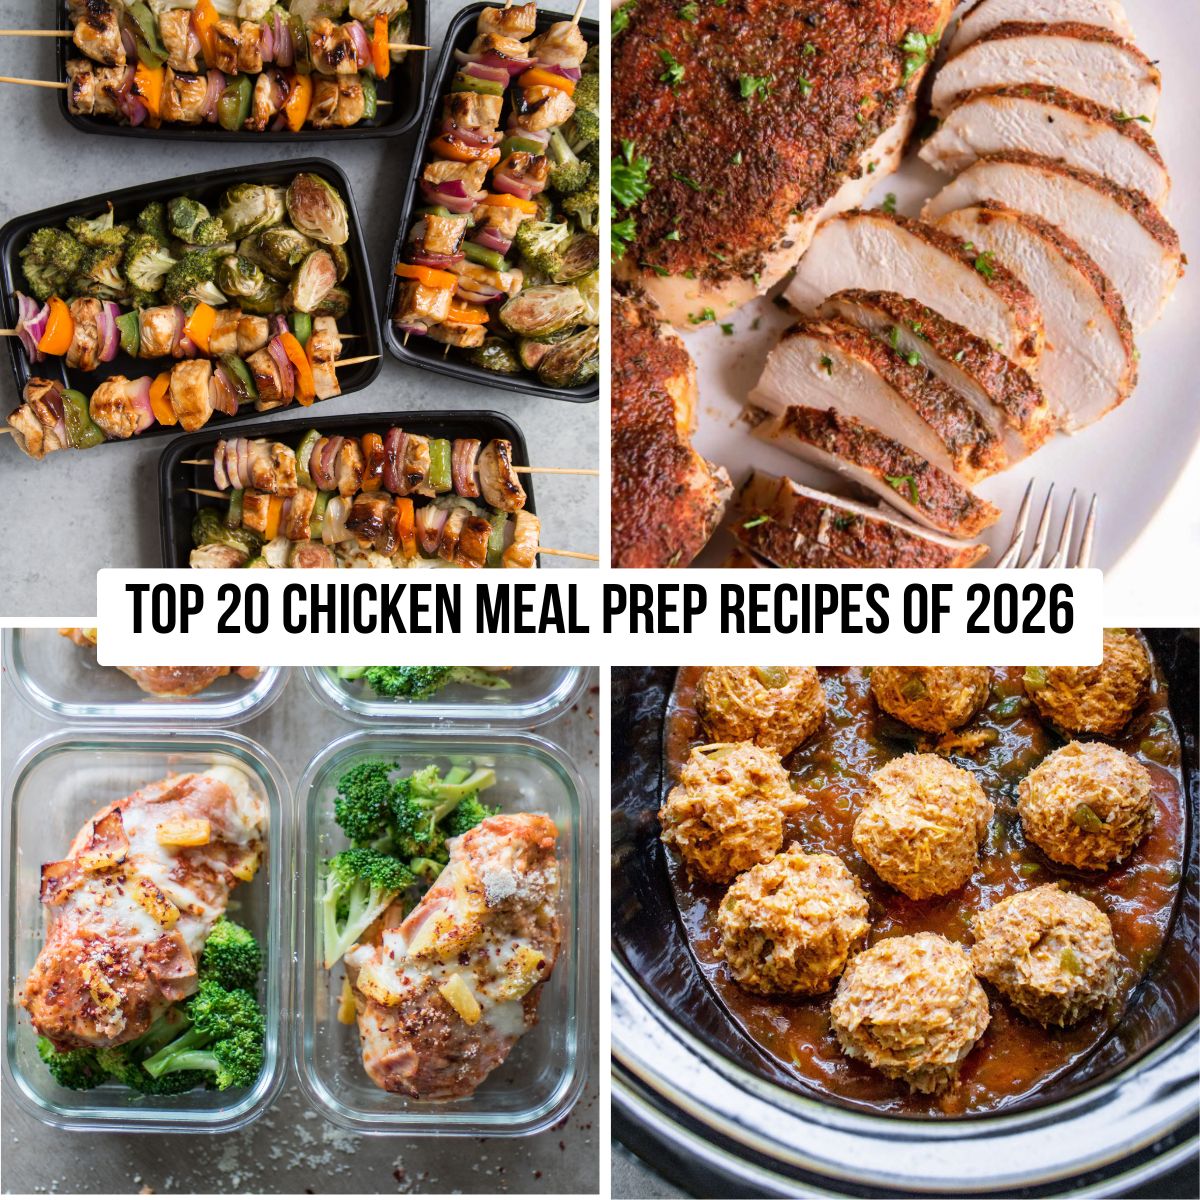
The Top 20 Chicken Meal Prep Recipes for 2026
-
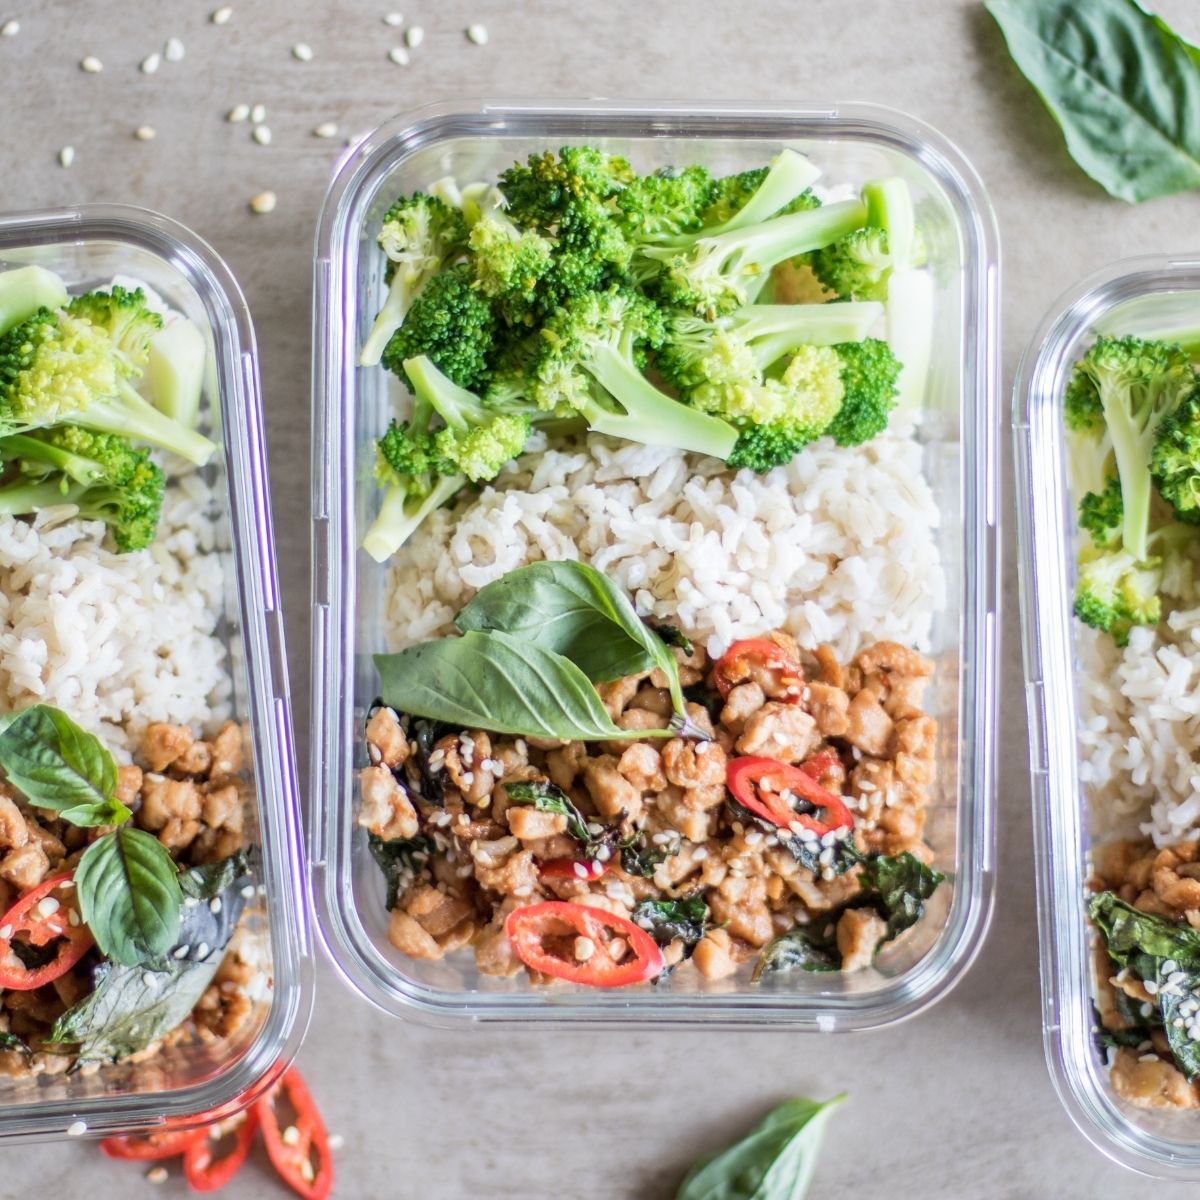
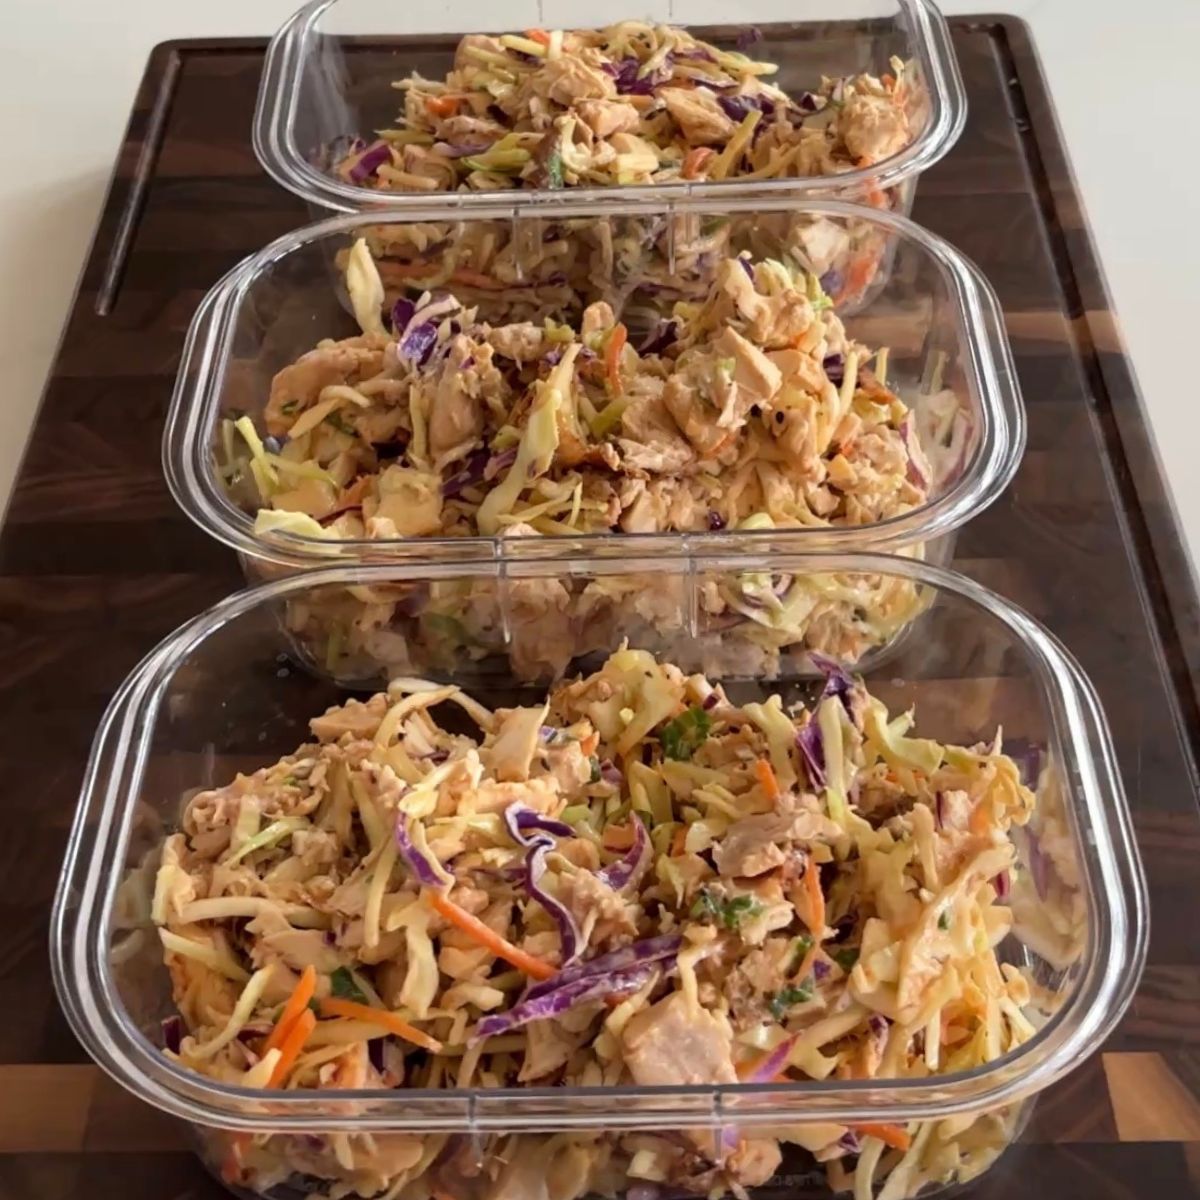
Thai Basil Chicken Meal Prep | Thai Larb
-
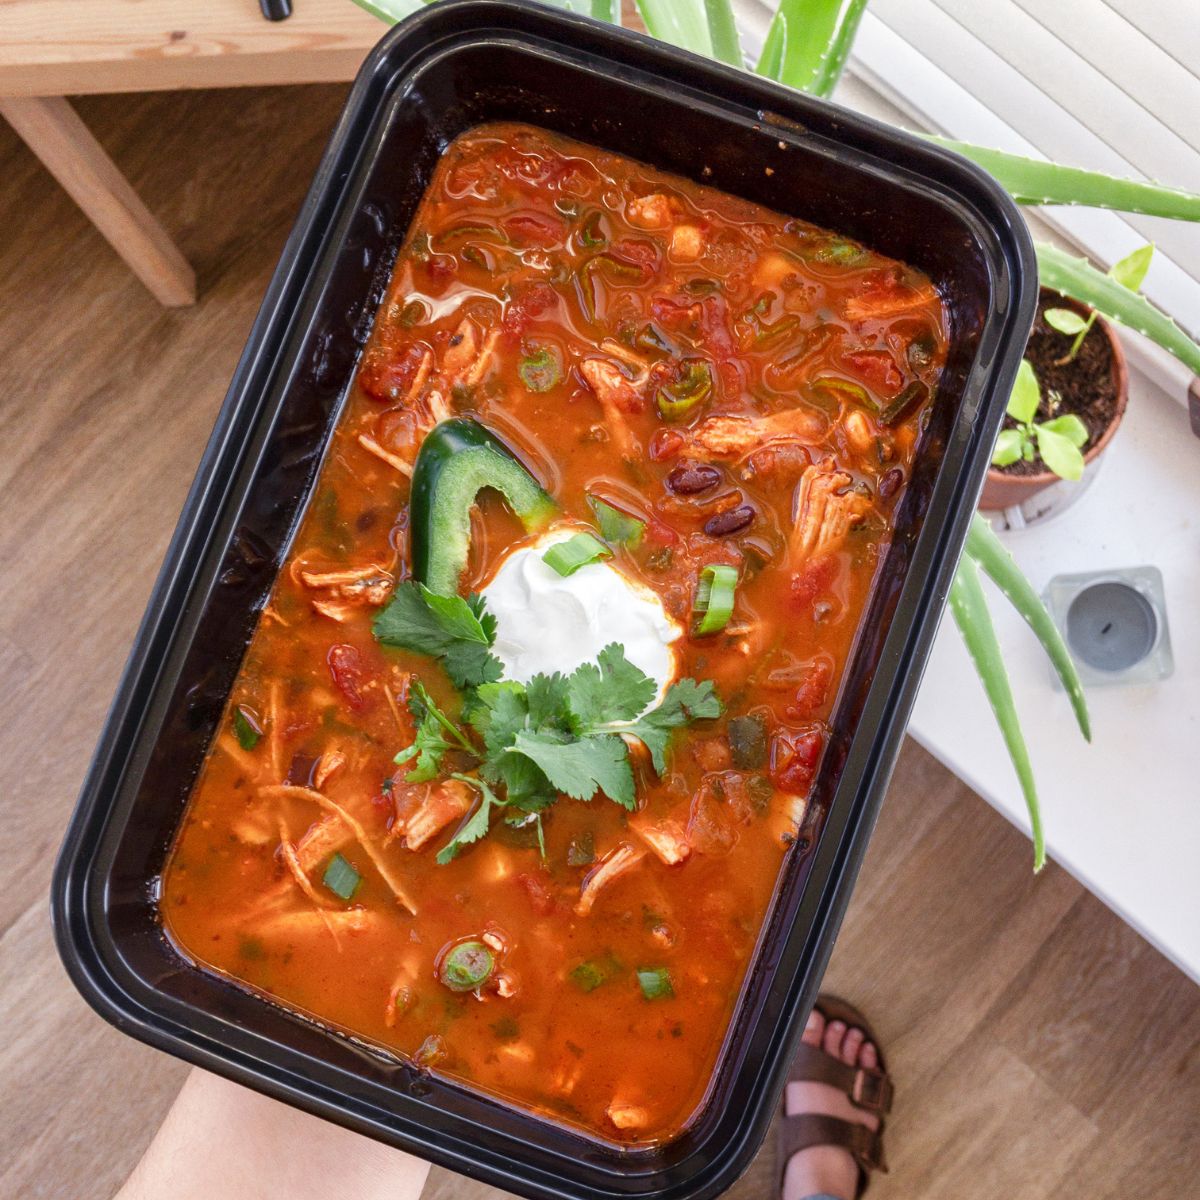
Instant Pot Chicken Enchilada Soup
-
Sheet Pan Sriracha Honey Glazed Salmon
-
Slow Cooker Taco Meatballs
-
Freezer Friendly Hawaiian Chicken Tenders (Easy Meal Prep)
-
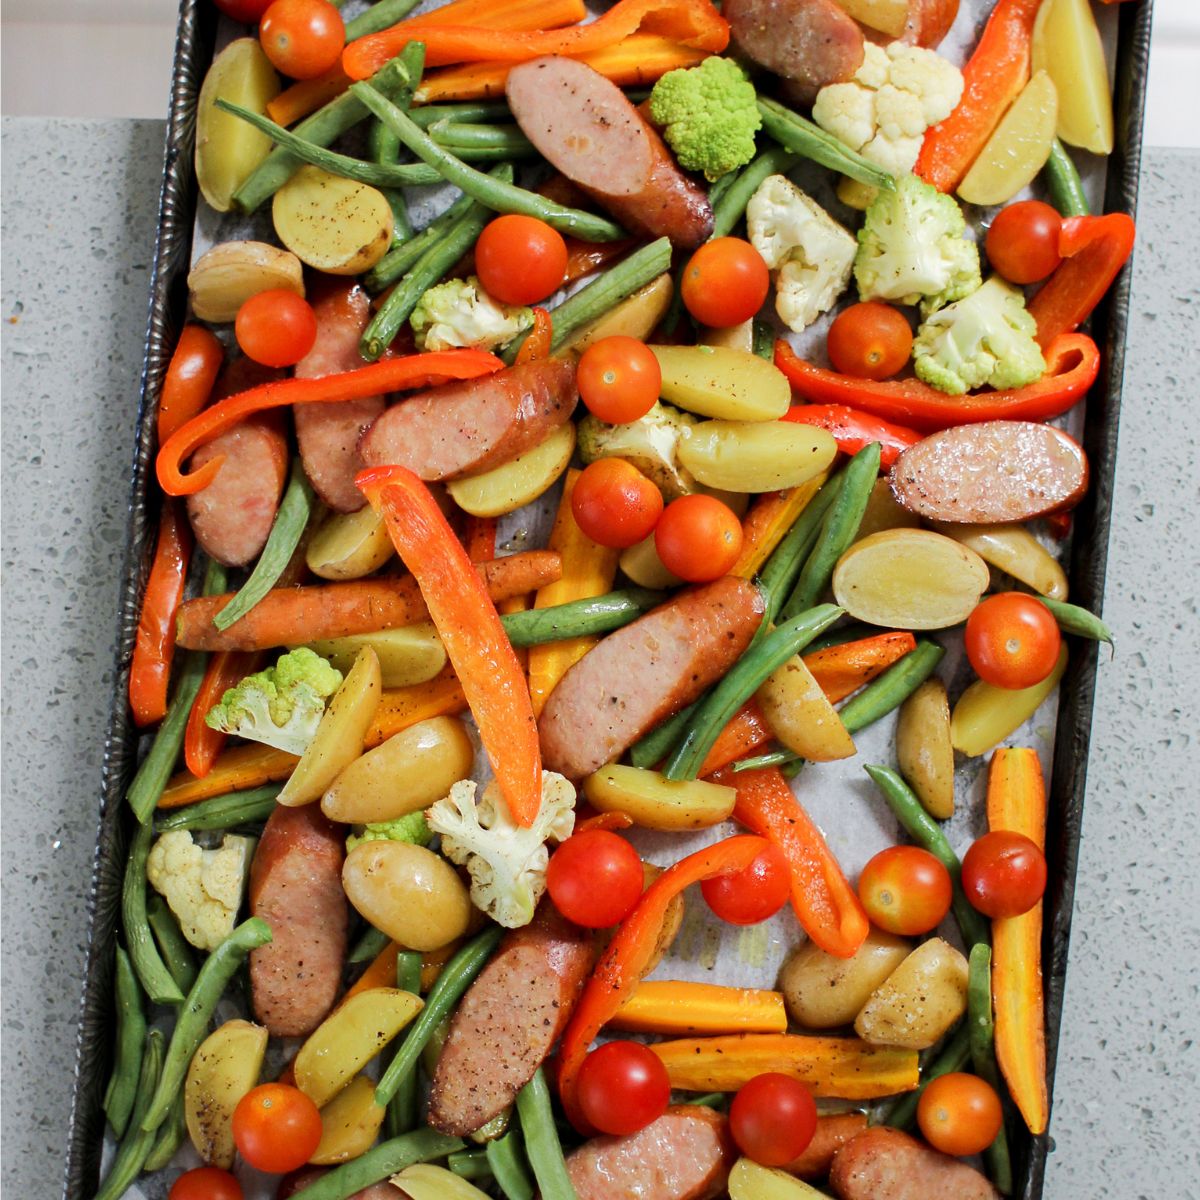
One Pan Sausage and Veggie Meal Prep
-
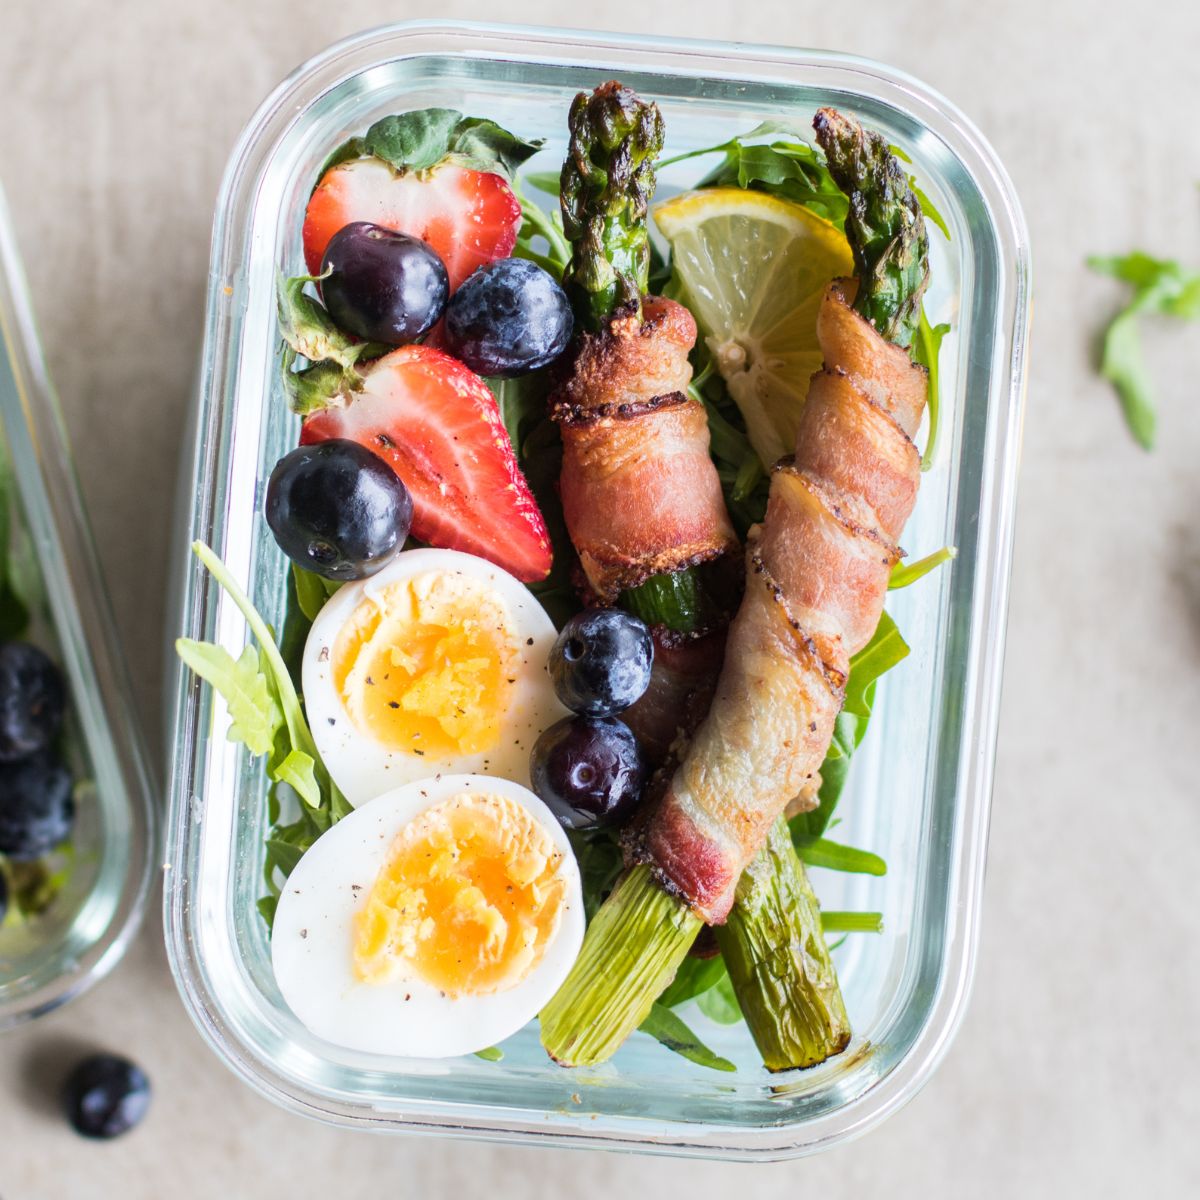
Bacon Wrapped Asparagus Breakfast Bowls
-
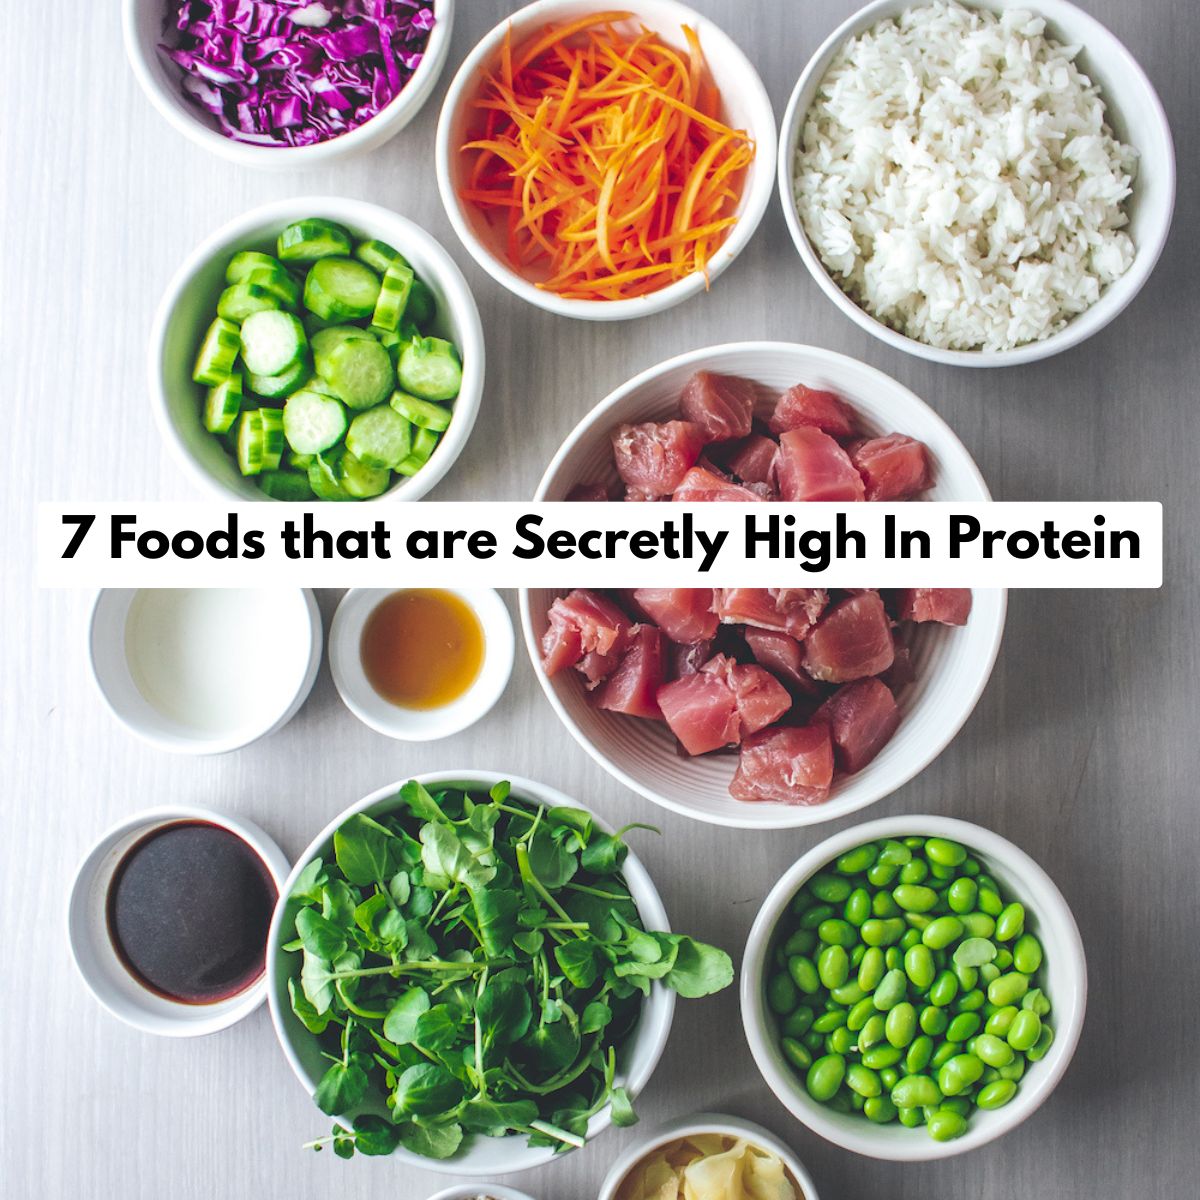
7 Surprising Foods With Protein + 3 Easy Protein Smoothies
-
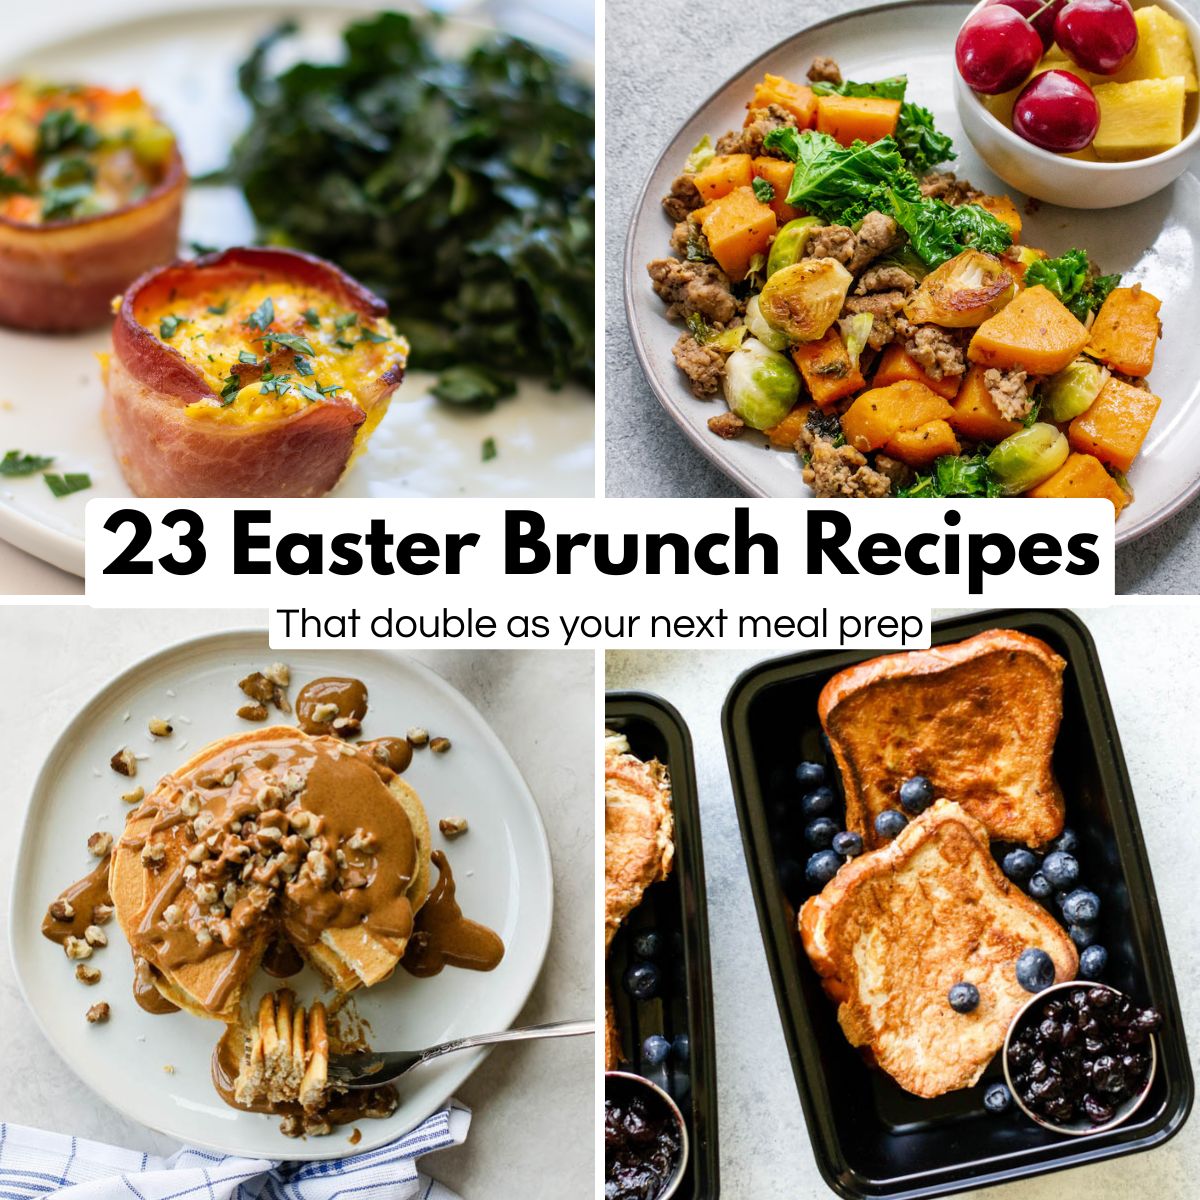
23 Easter Brunch Recipes
-
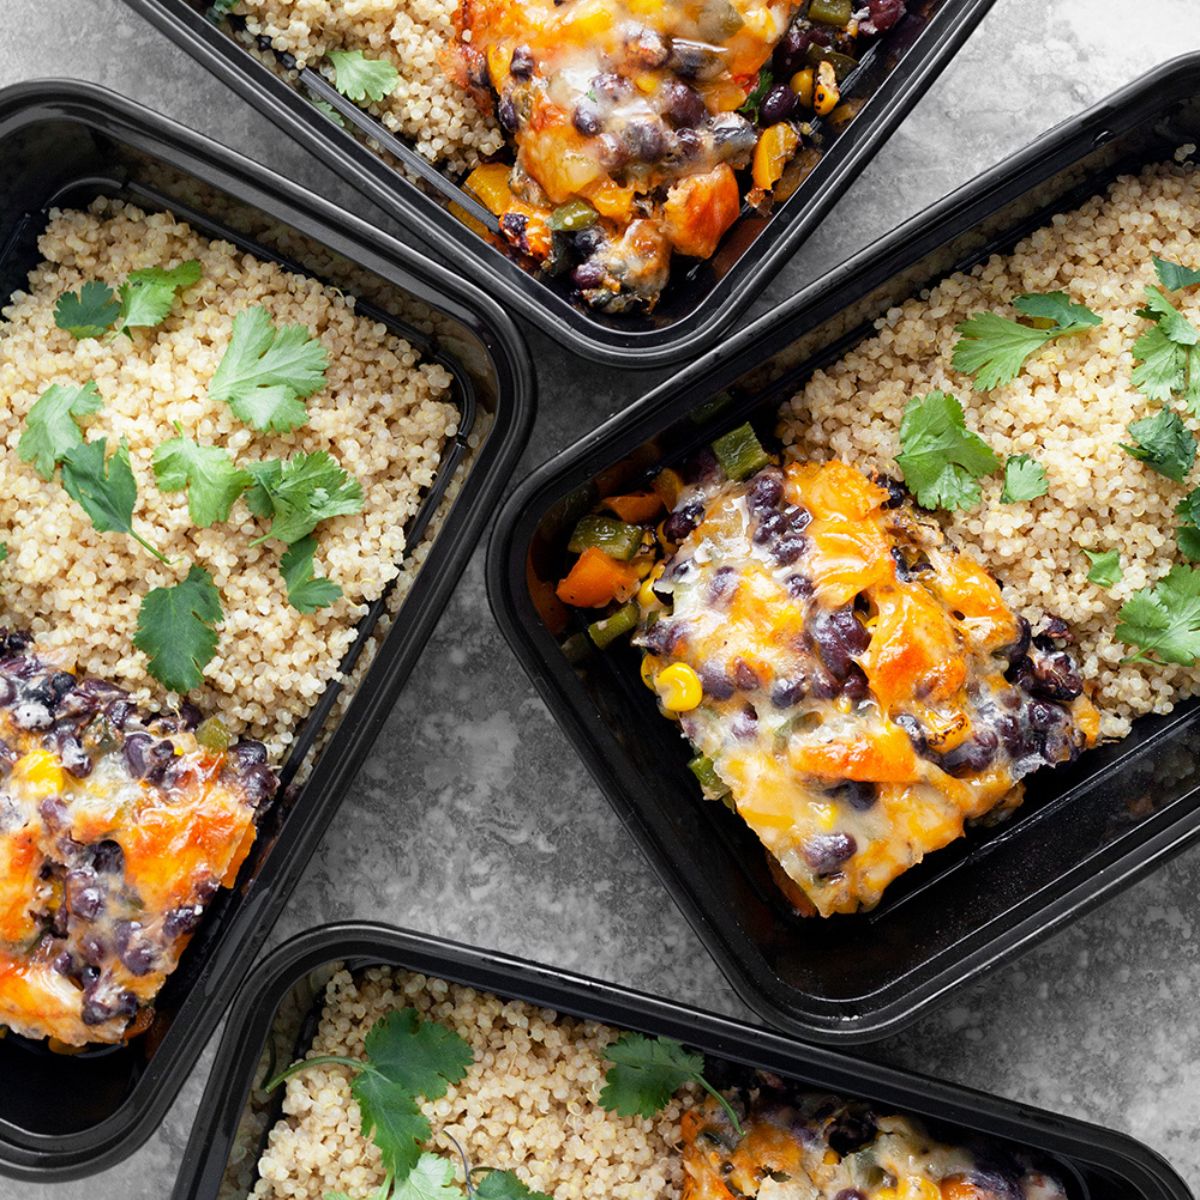
Southwestern Chicken Bake Meal Prep
-
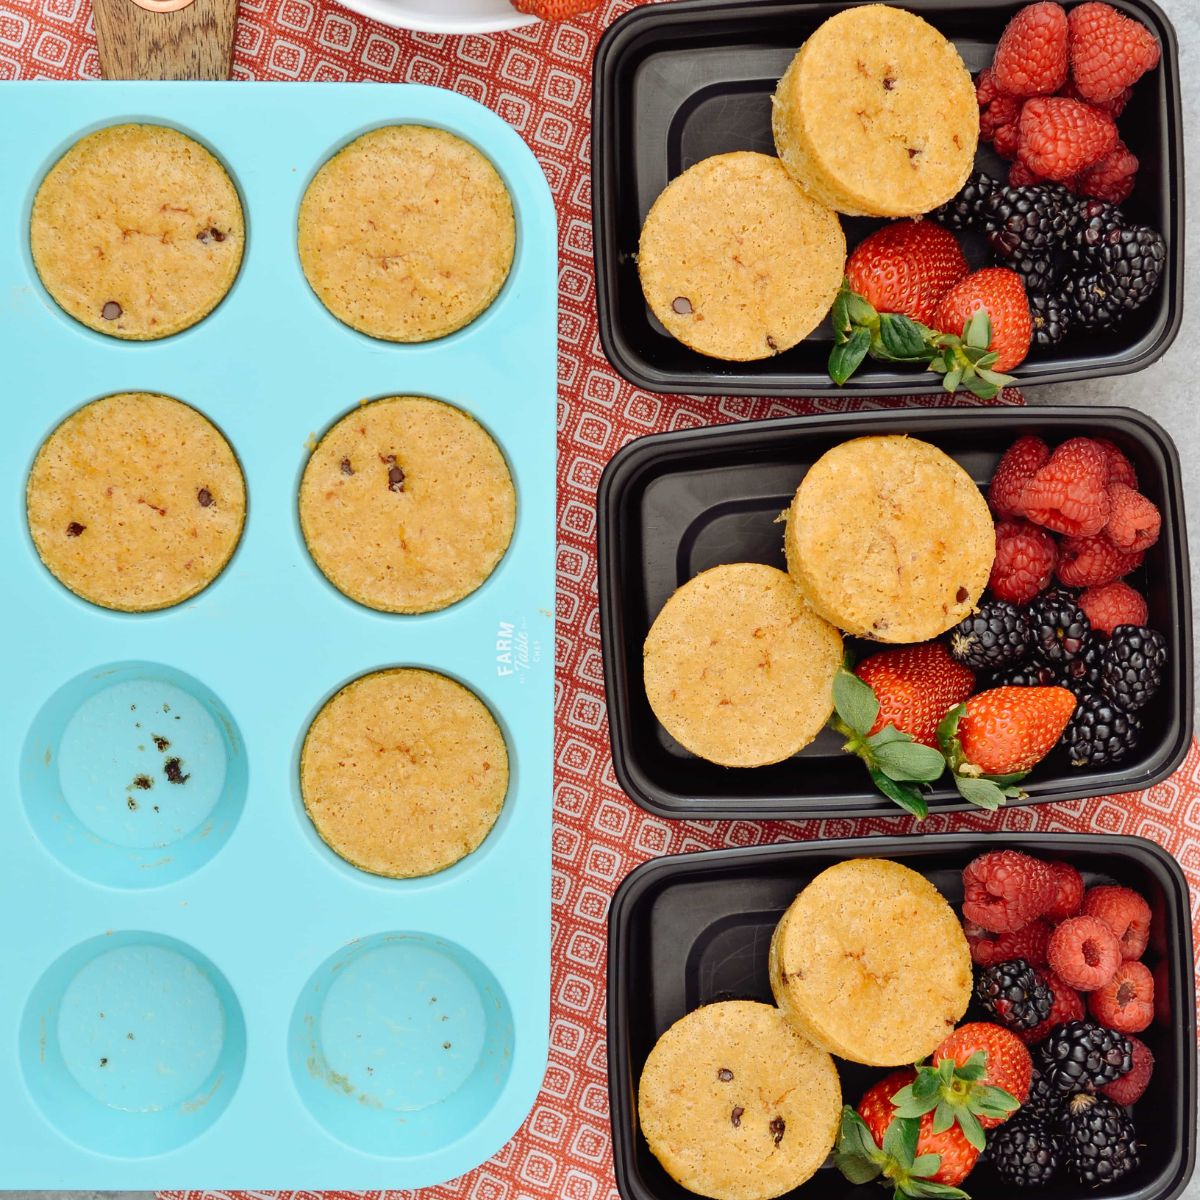
Portable Chocolate Chip Pancakes
-
One Skillet Honey Dijon Pork Chops With Apples & Onions
-
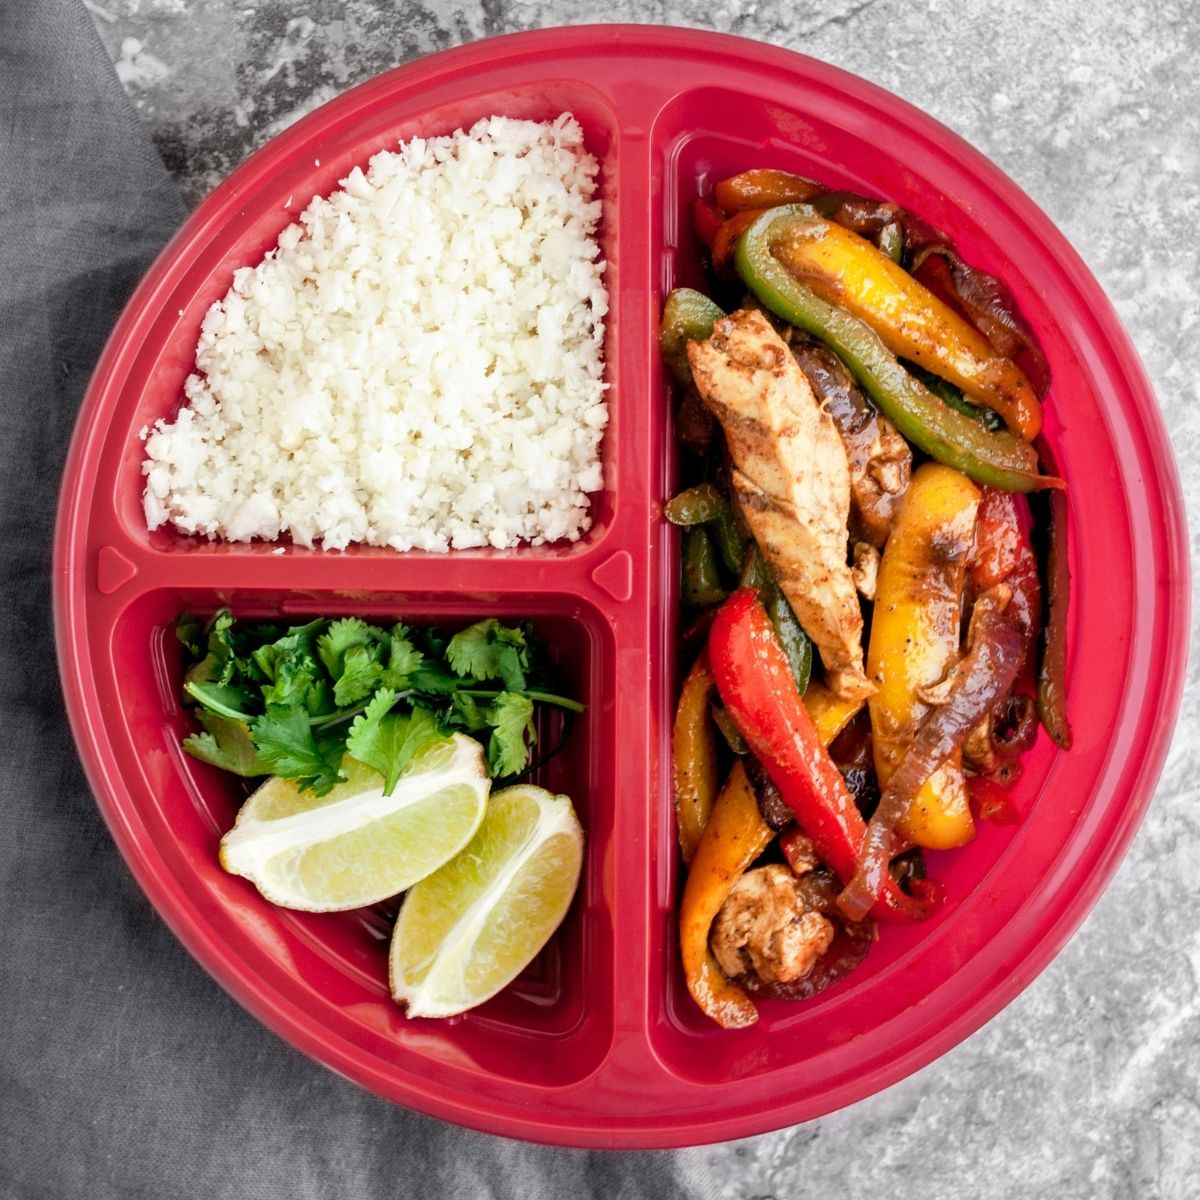
Chicken Fajita Veggie Meal Prep
-
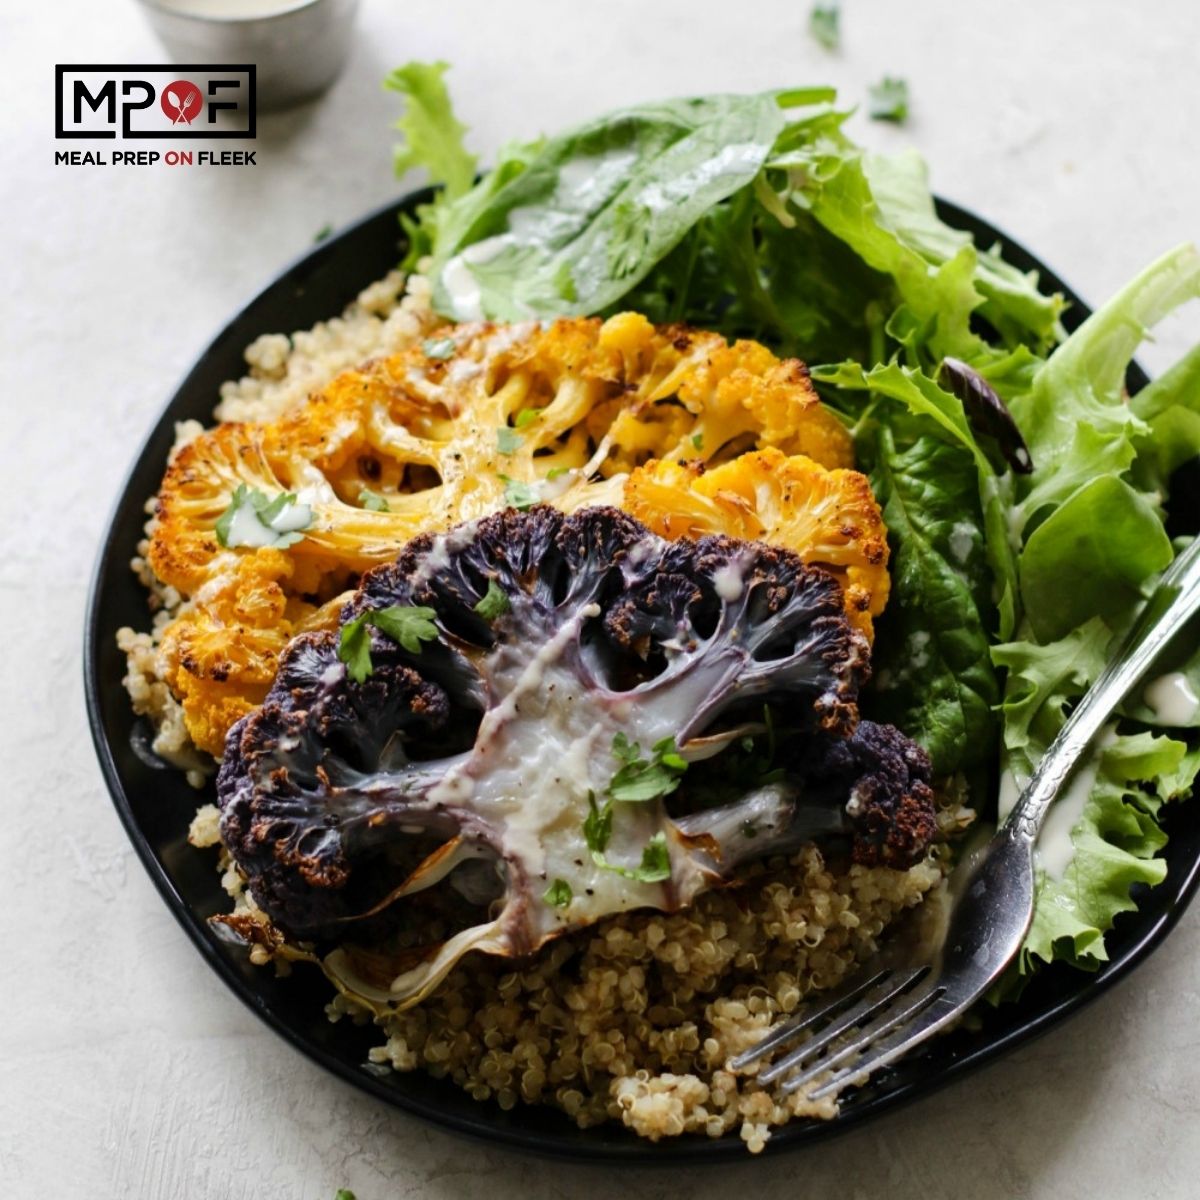
Cauliflower Steak With Quinoa & Tahini Meal Prep
-
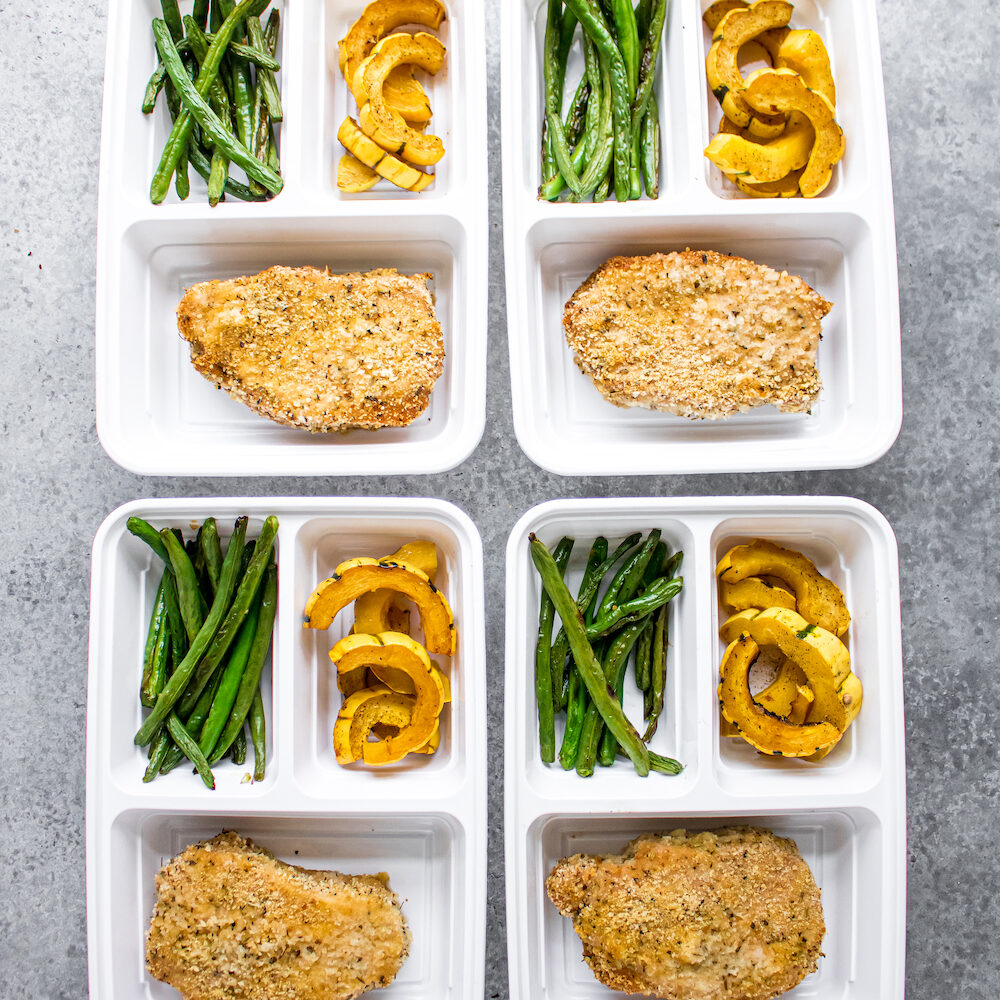
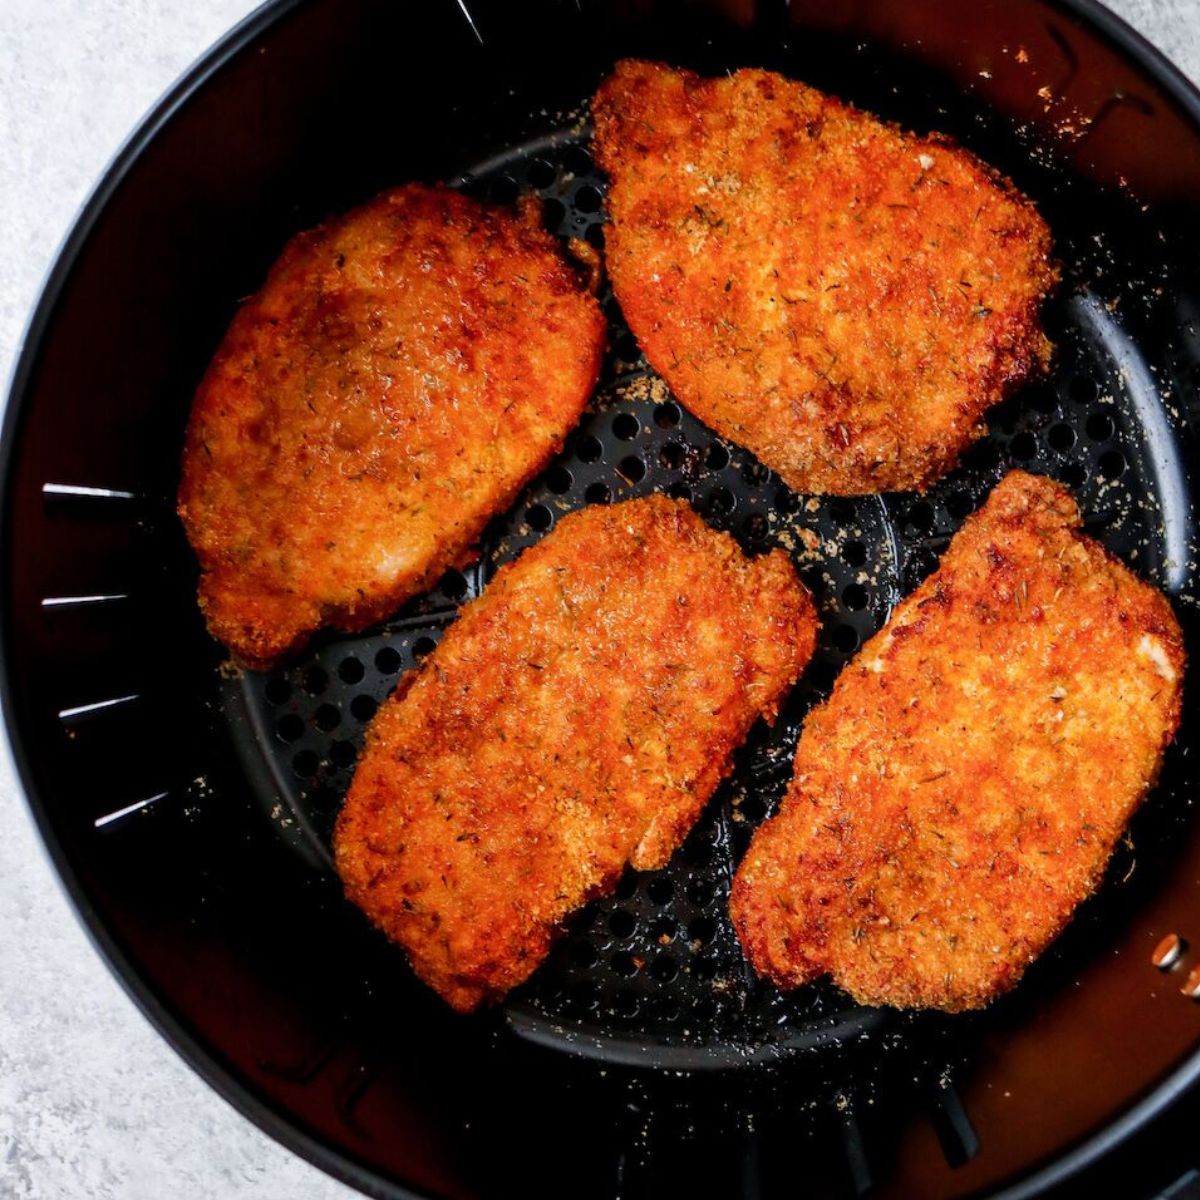
Air Fryer Pork Rind Coated Pork Chops
-
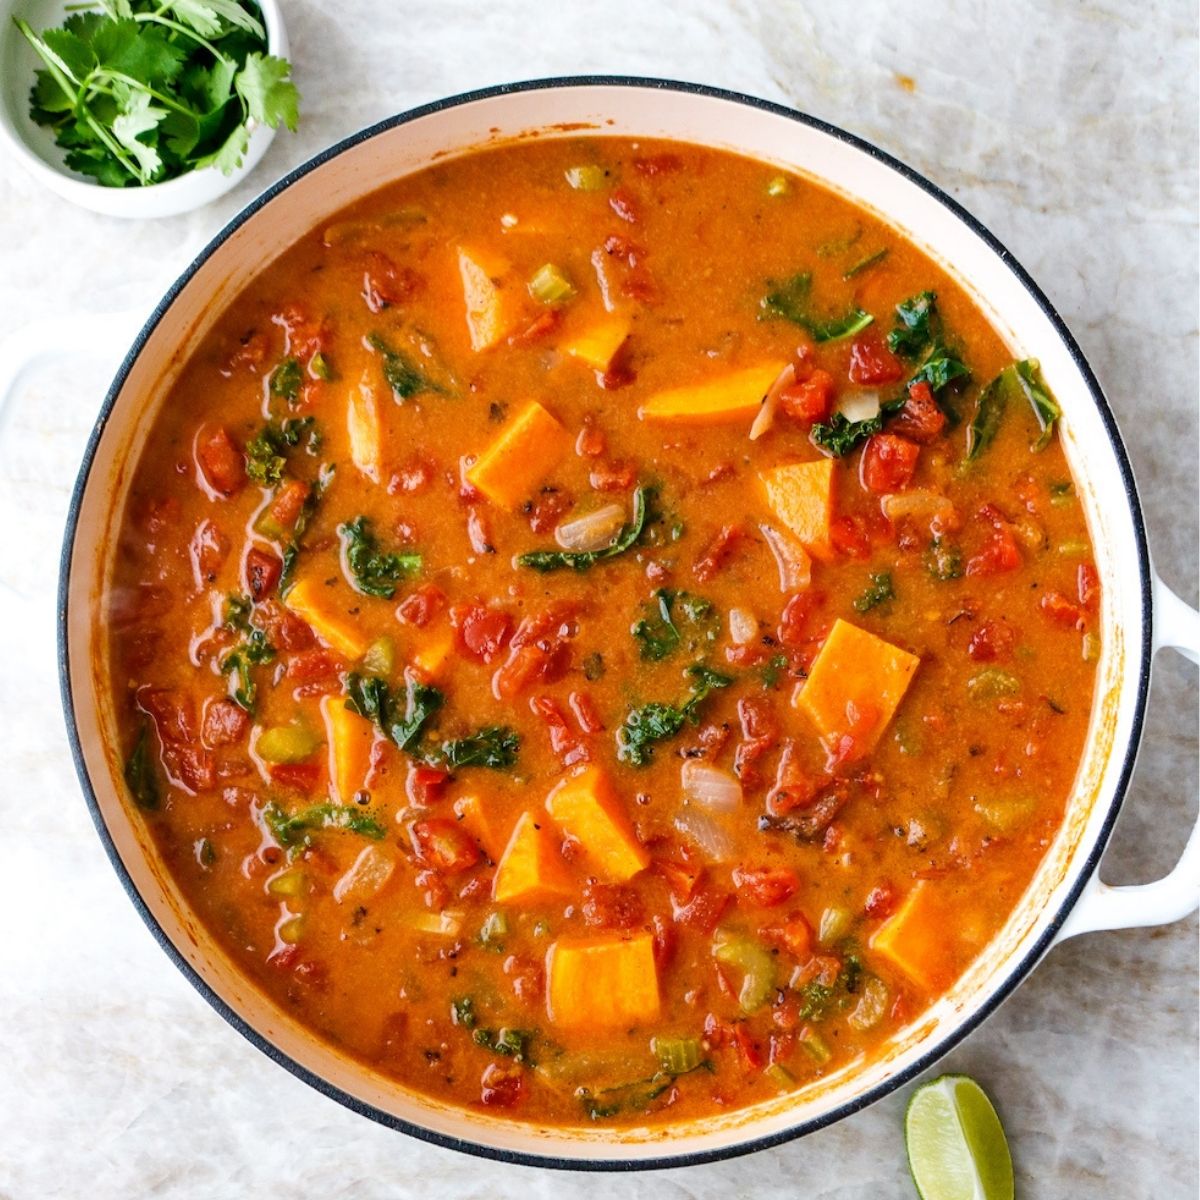
African Peanut Stew
-
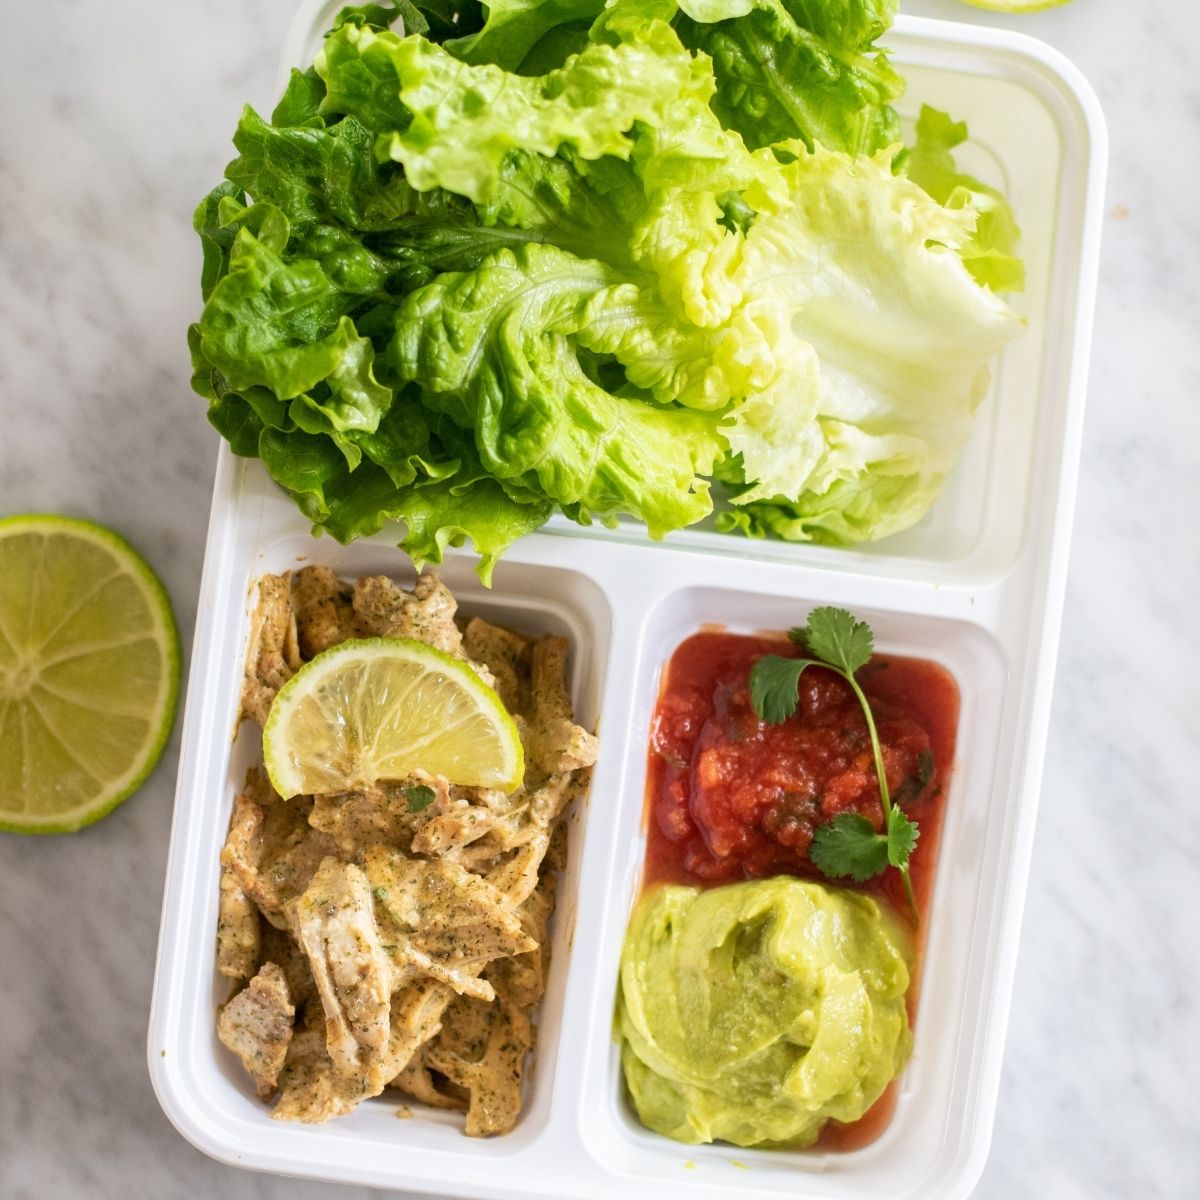
Instant Pot Ranch Chicken Lettuce Wraps (Keto Tex-Mex Meal Prep)
-
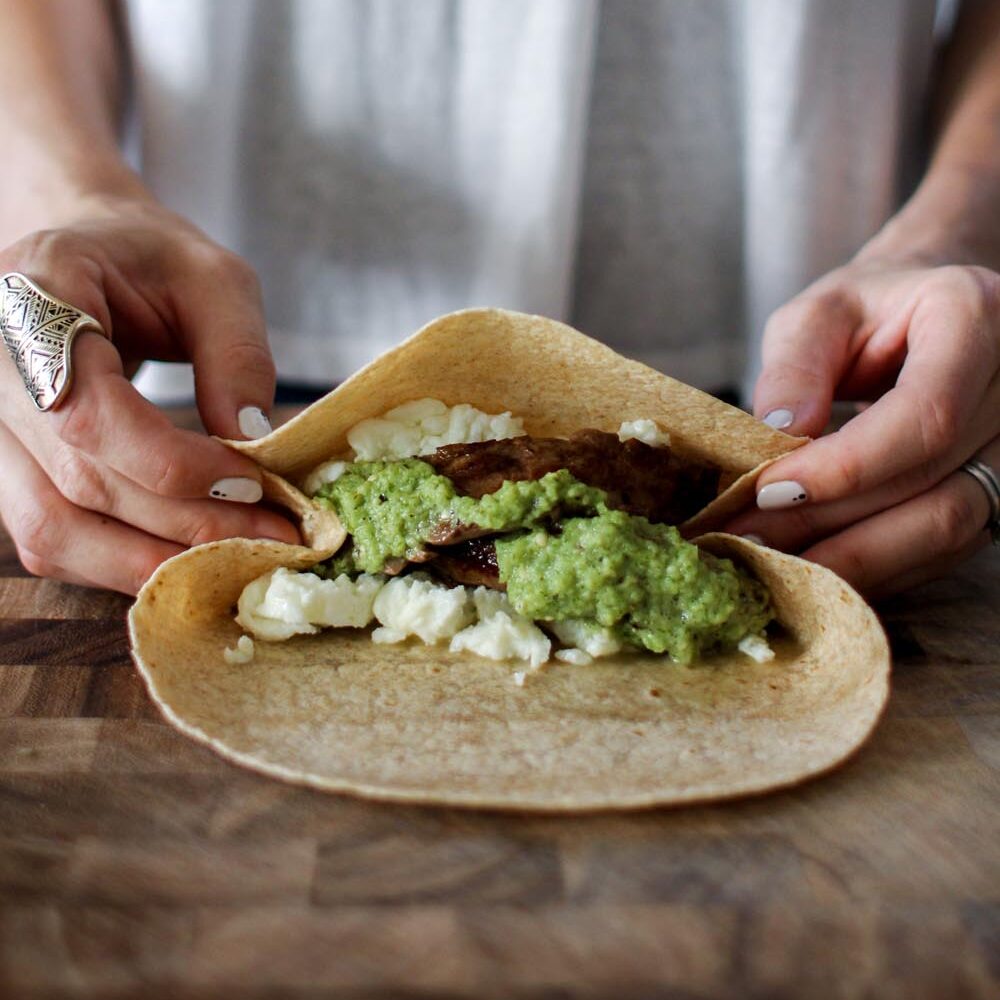
Steak & Egg White Salsa Verde Breakfast Wraps (High-Protein Meal Prep)
-
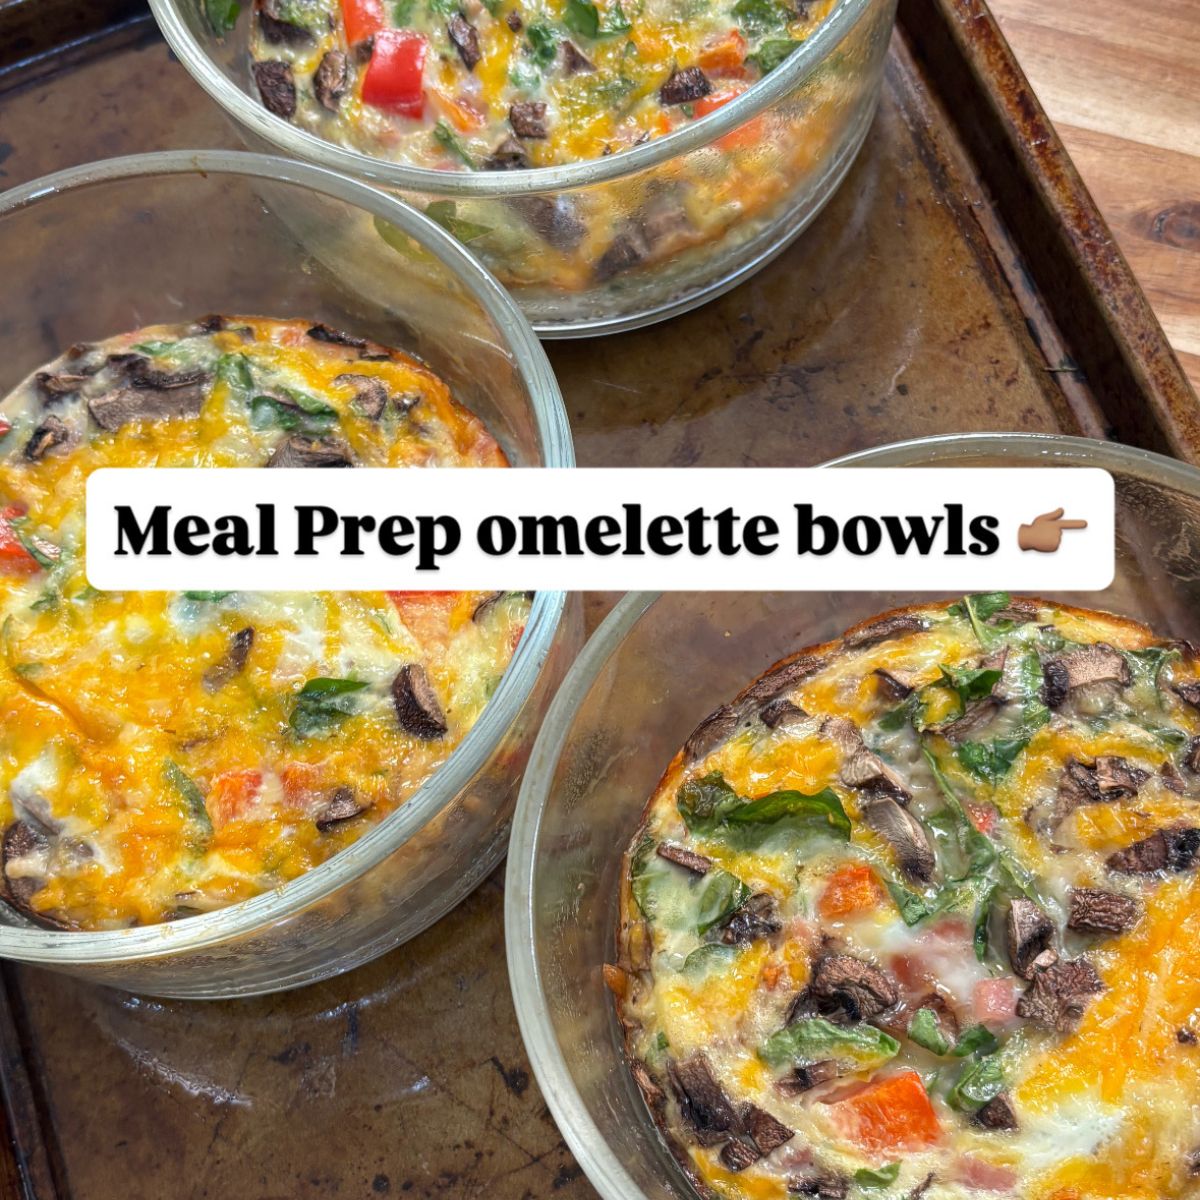
High Protein Breakfast Bowl (Individual Omelette Bowls)
-
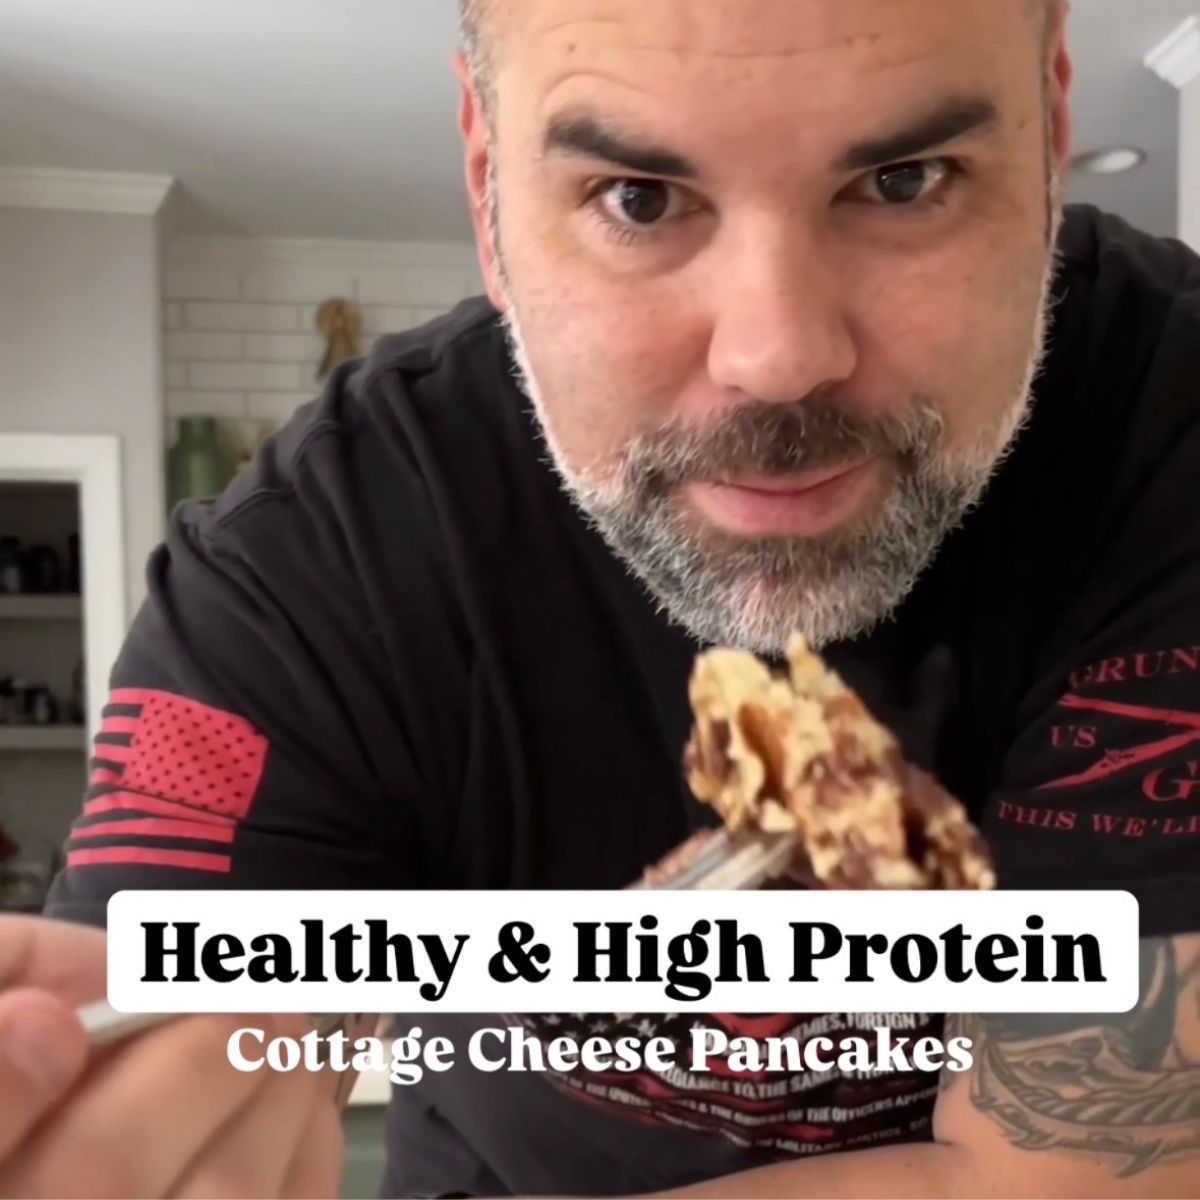
High-Protein Gluten-Free Cottage Cheese Pancakes
-
Viral Costco Rotisserie Chicken Hack (High-Protein Meal Prep)
-
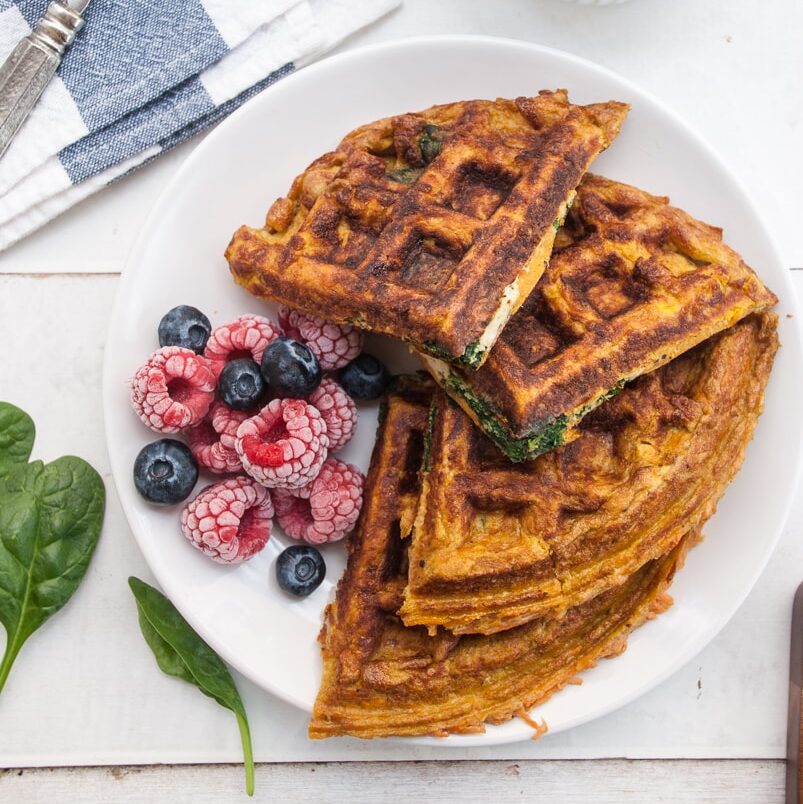
Sweet Potato Hash Brown Breakfast Waffles
-
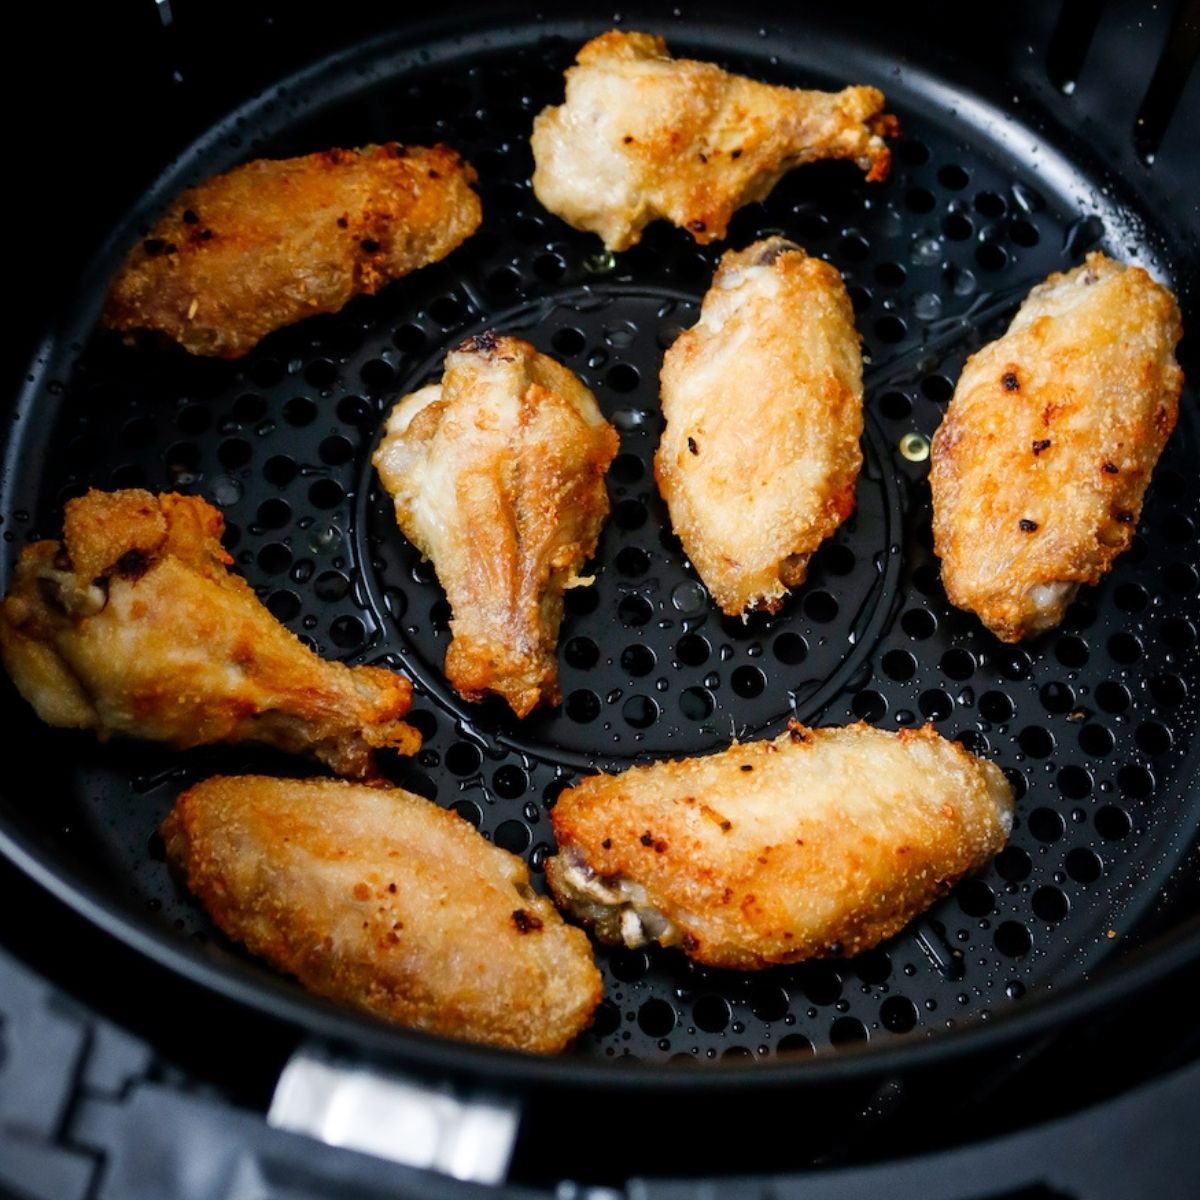
Air Fryer Garlic Parmesan Chicken Wings (with Herb Potatoes & Swiss Chard)
-
High Protein Griddle Steak Fried Rice Meal Prep
-
Sweet Potato Waffle Meal Prep (With Veggies and Protein!)
-
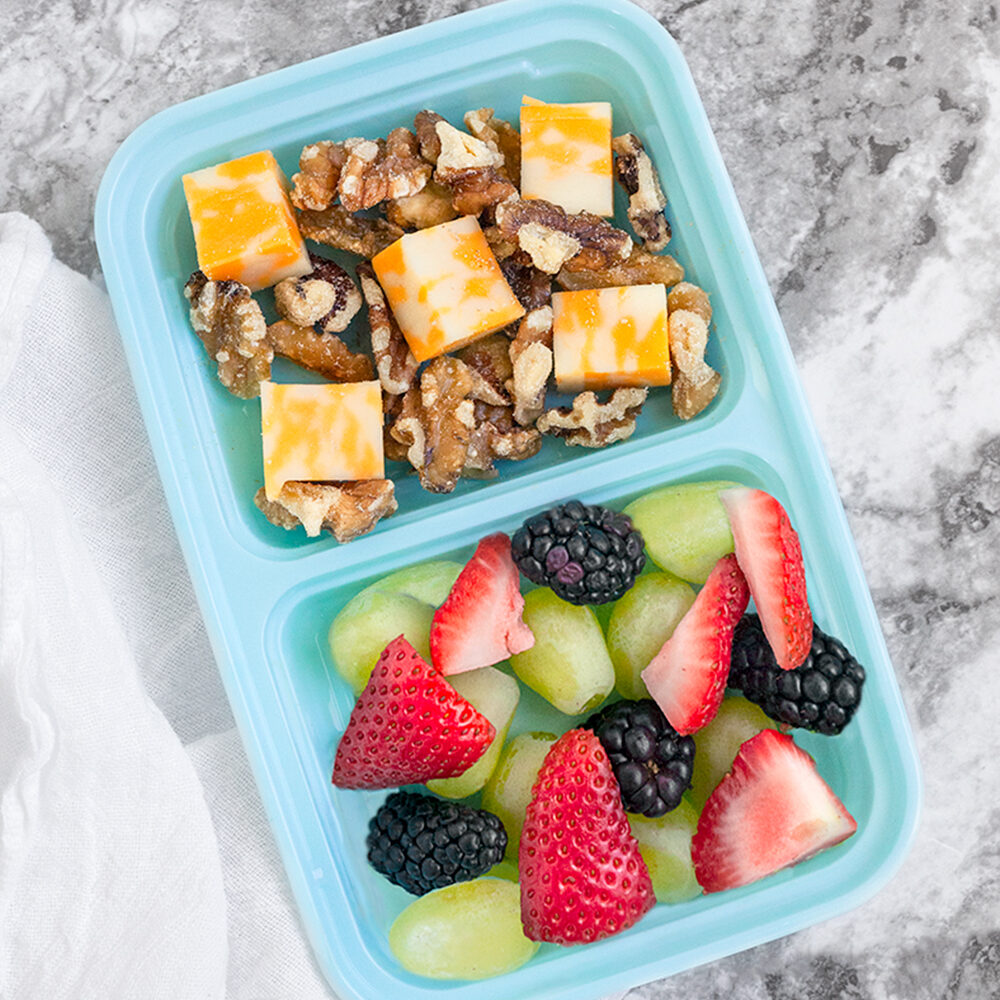
DIY Fruit & Protein Snack Boxes (Under $4)
-
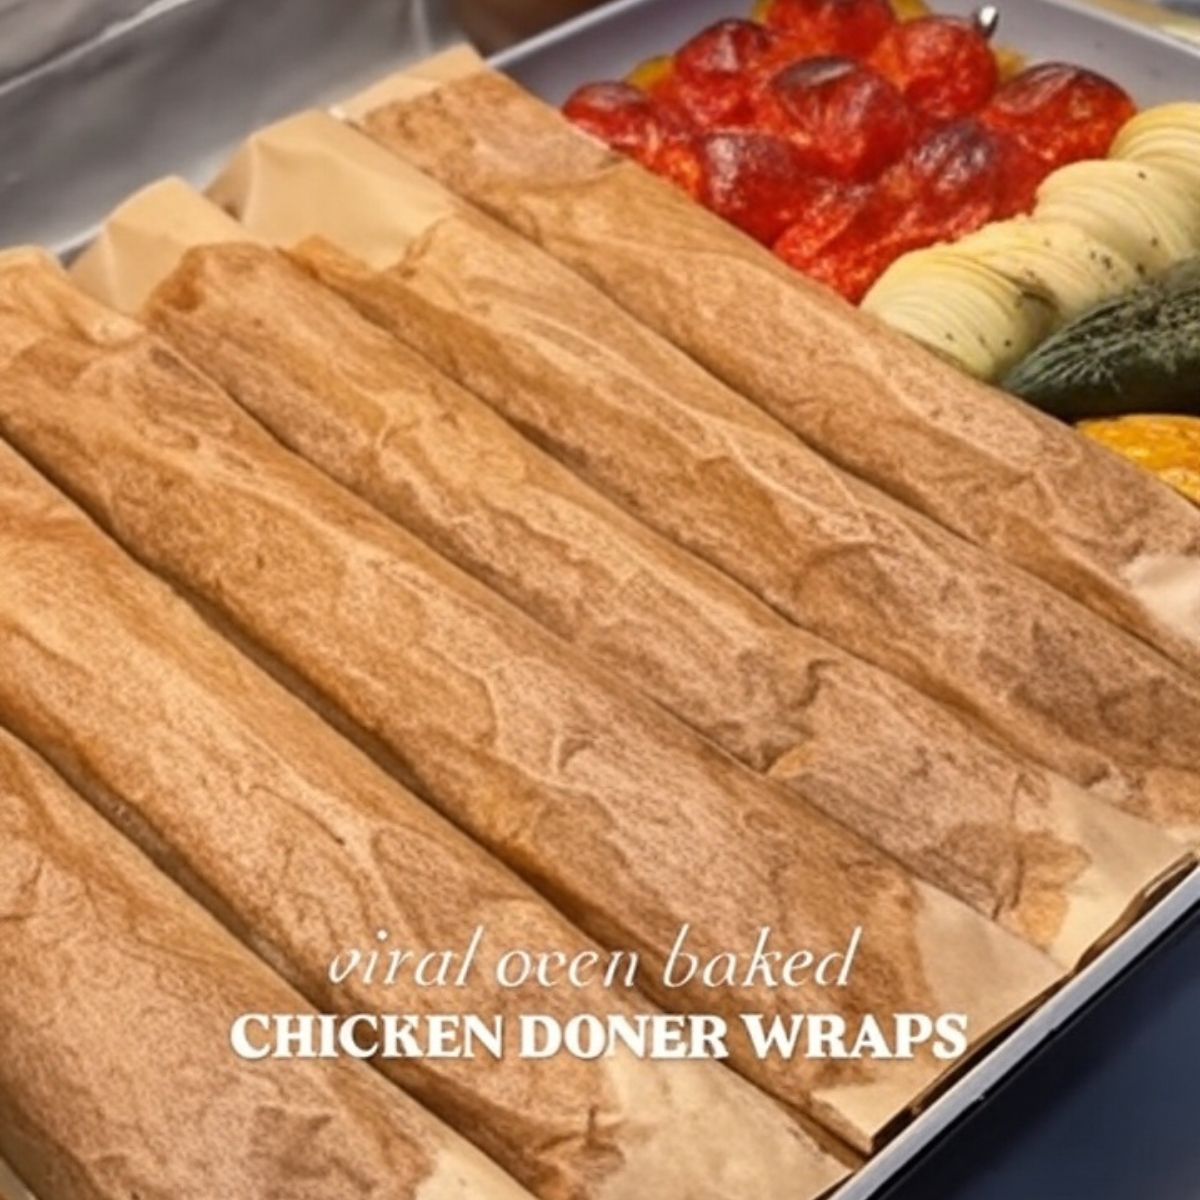
Homemade Chicken Doner Wraps
-
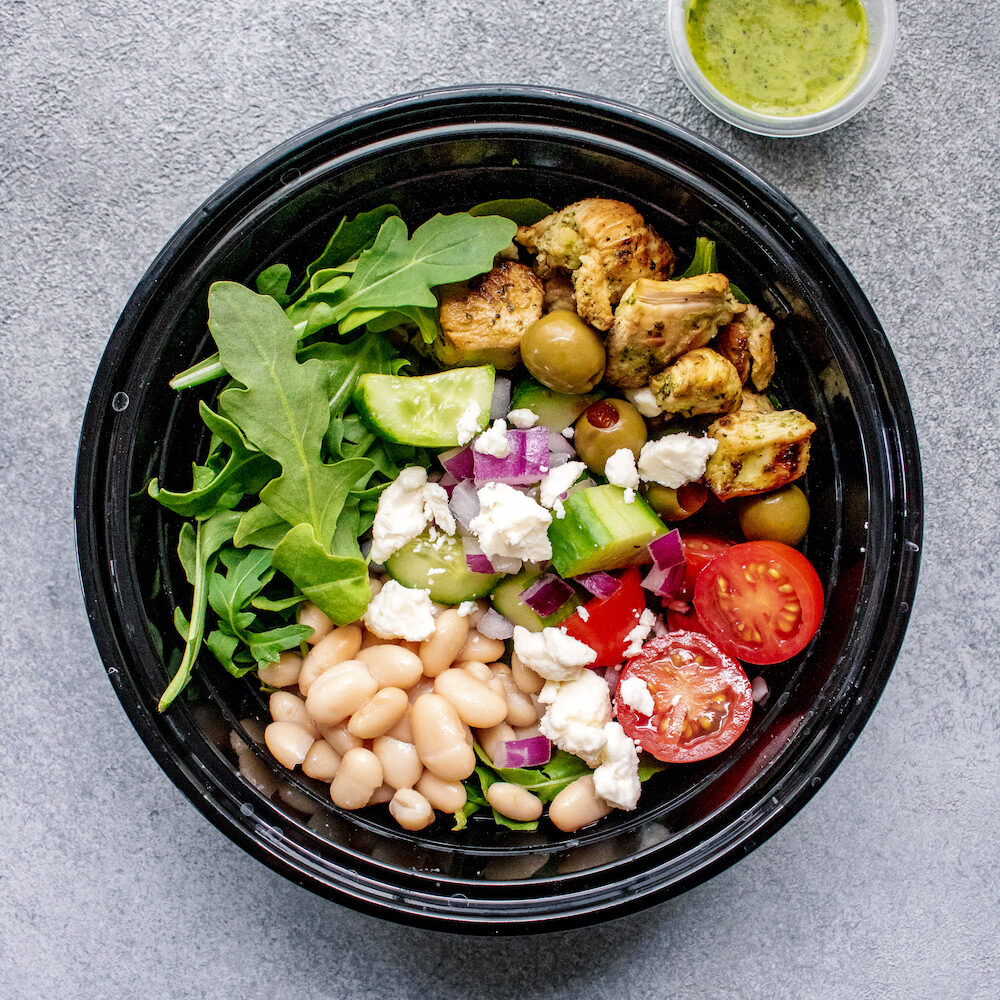
Greek Arugula Power Salad
-
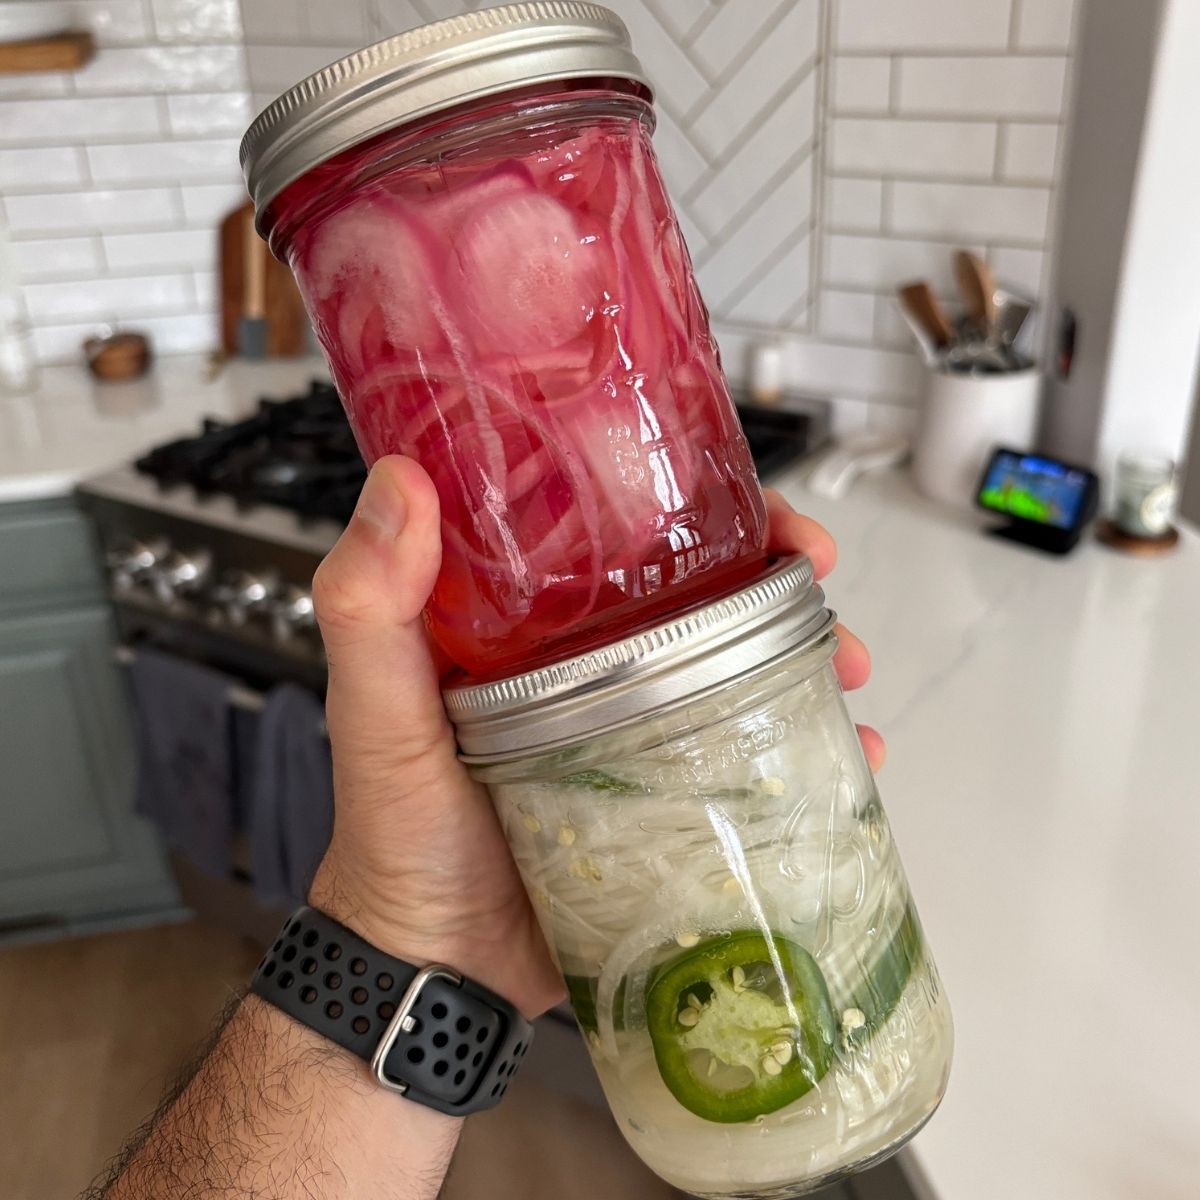
Quick Pickled Onions Two Ways (Red Onions and White Onions)