Dessert
Explore our curated collection of over 60+ dessert recipes, perfect for prepping ahead and enjoying later. From classic peanut butter cookies to creamy cheesecakes, each recipe is designed for simplicity and great taste. Whether you’re baking for a special occasion or stocking up on sweet treats for the week, our desserts are sure to delight.
Discover favorites like our easy-to-store chocolate peanut butter cups or cinnamon roll coffee cake —ideal for busy sweet tooths. Each recipe includes tips for perfect results, making every dessert a guaranteed hit.
-
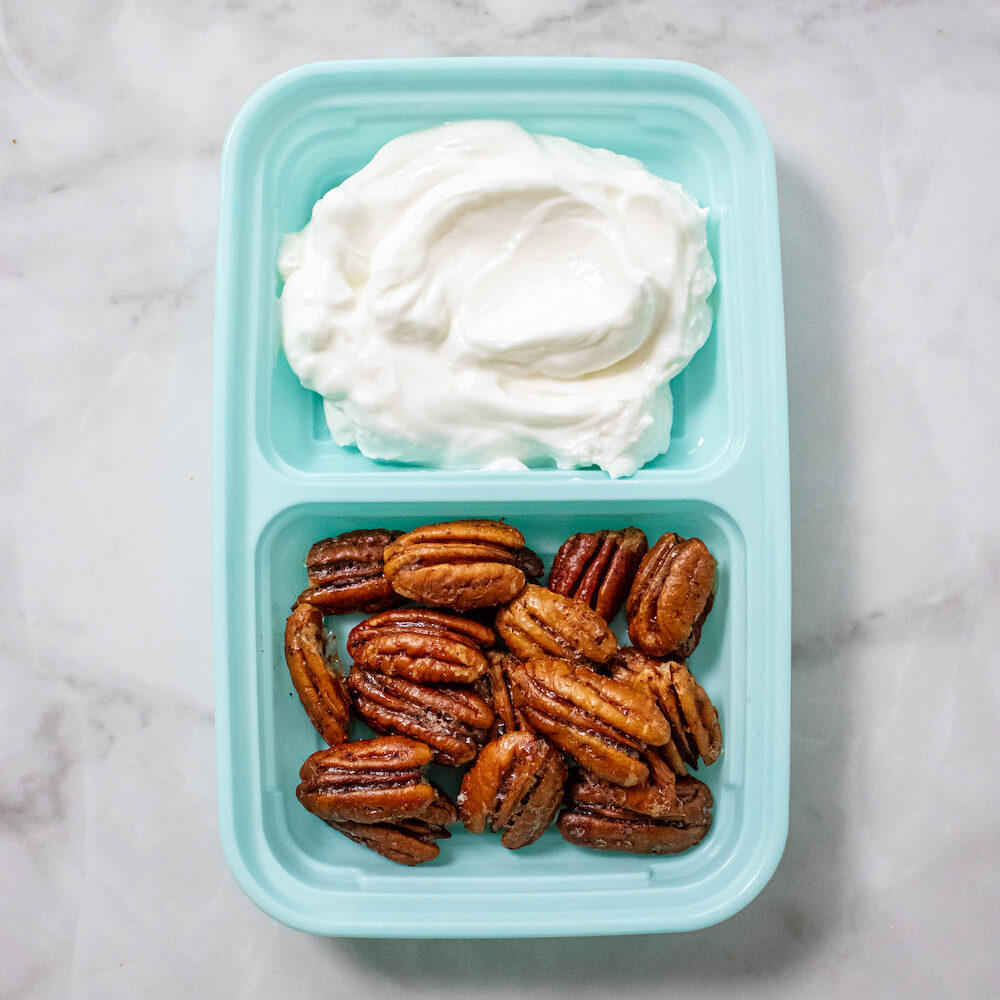
How to Make Candied Pecans for a Holiday Snack
-
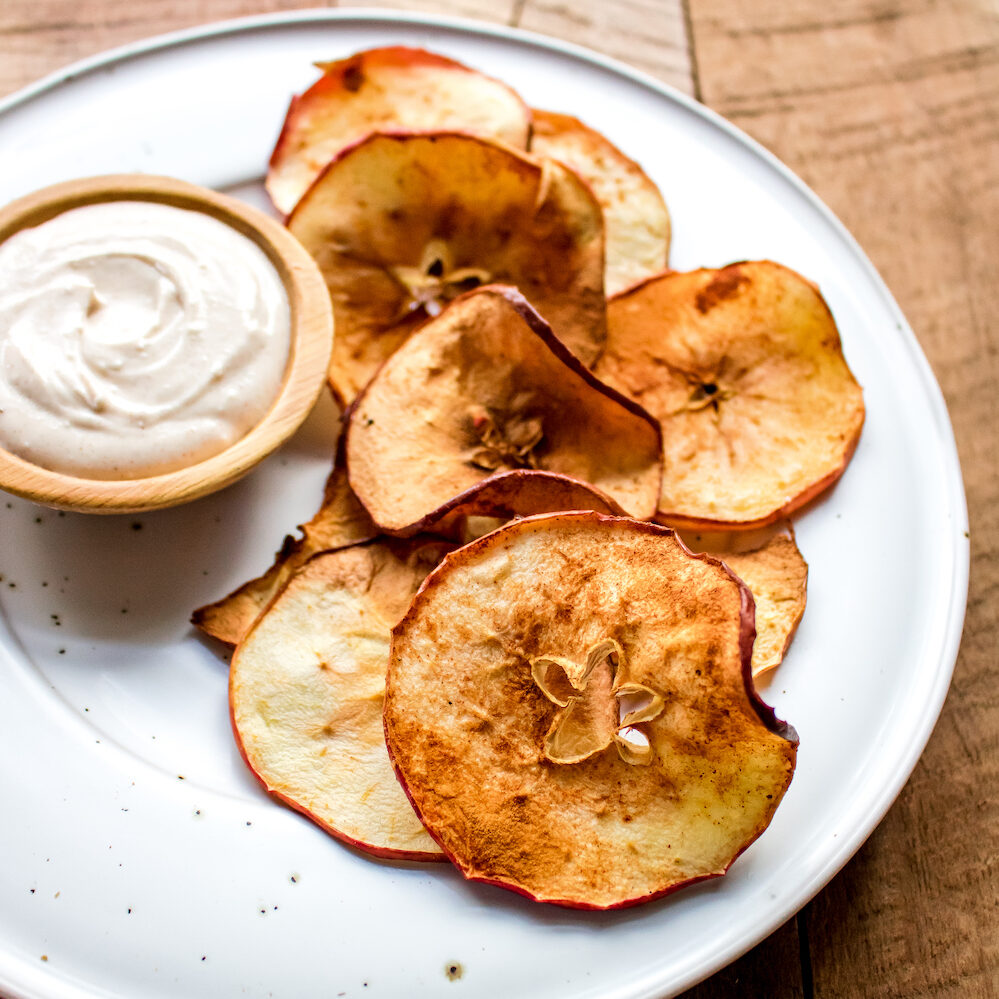
Air-Fried Apple Chips
-
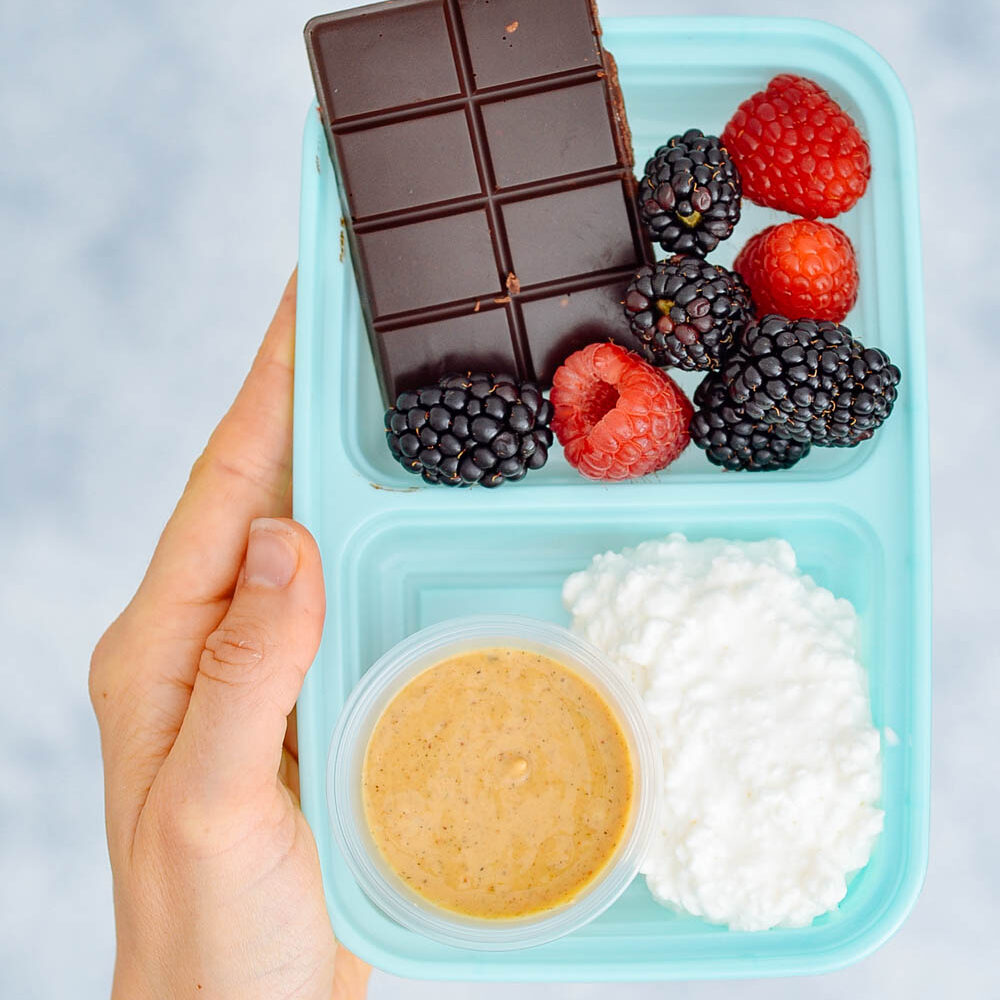
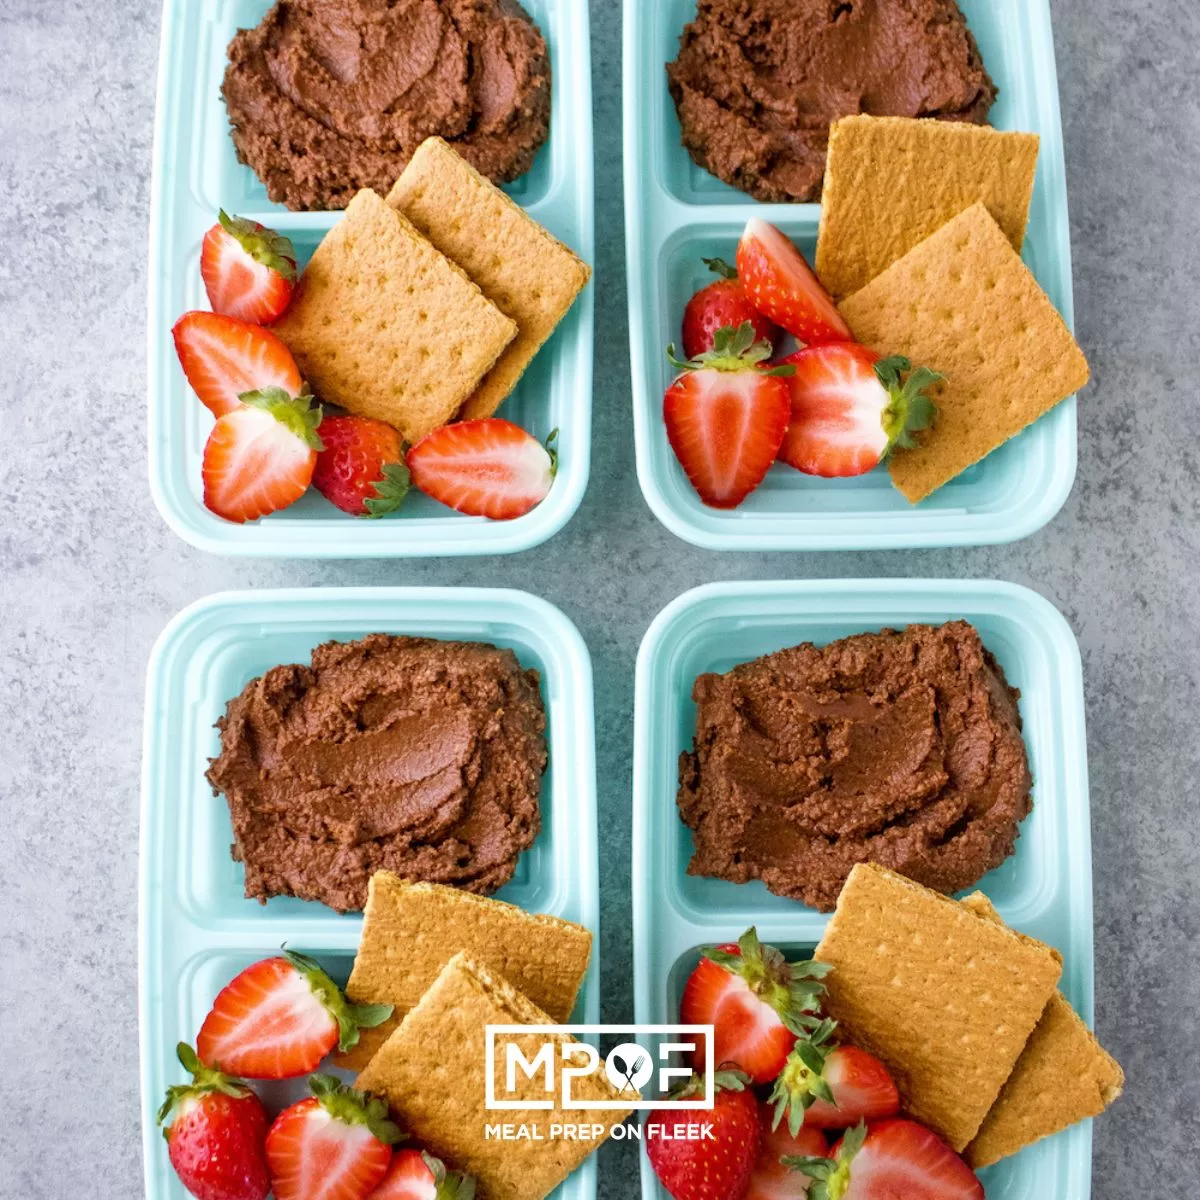
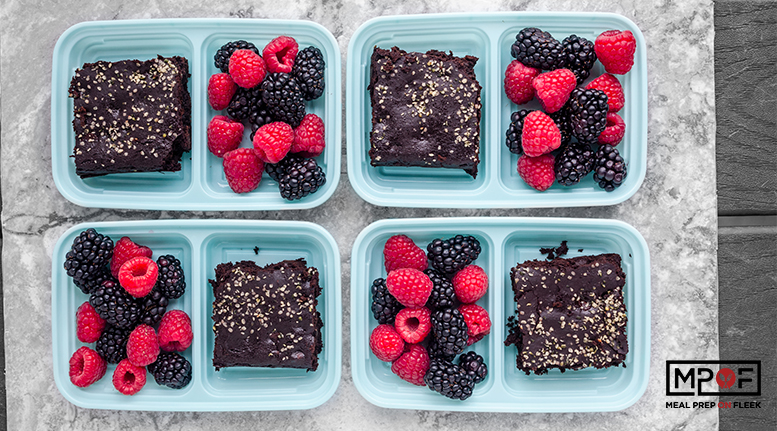
Keto Chocolate Snack Boxes
-
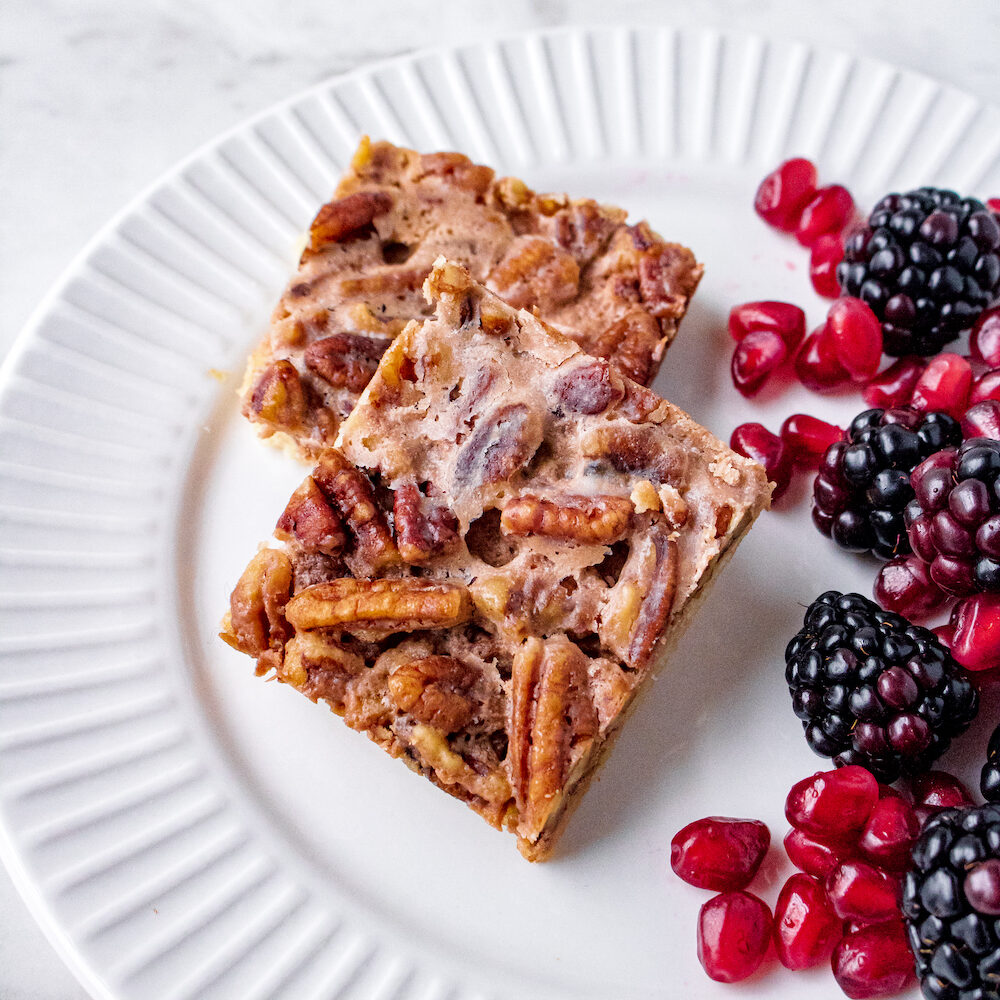
The Best Pecan Pie Bars (Low Carb and Meal Prep friendly)
-
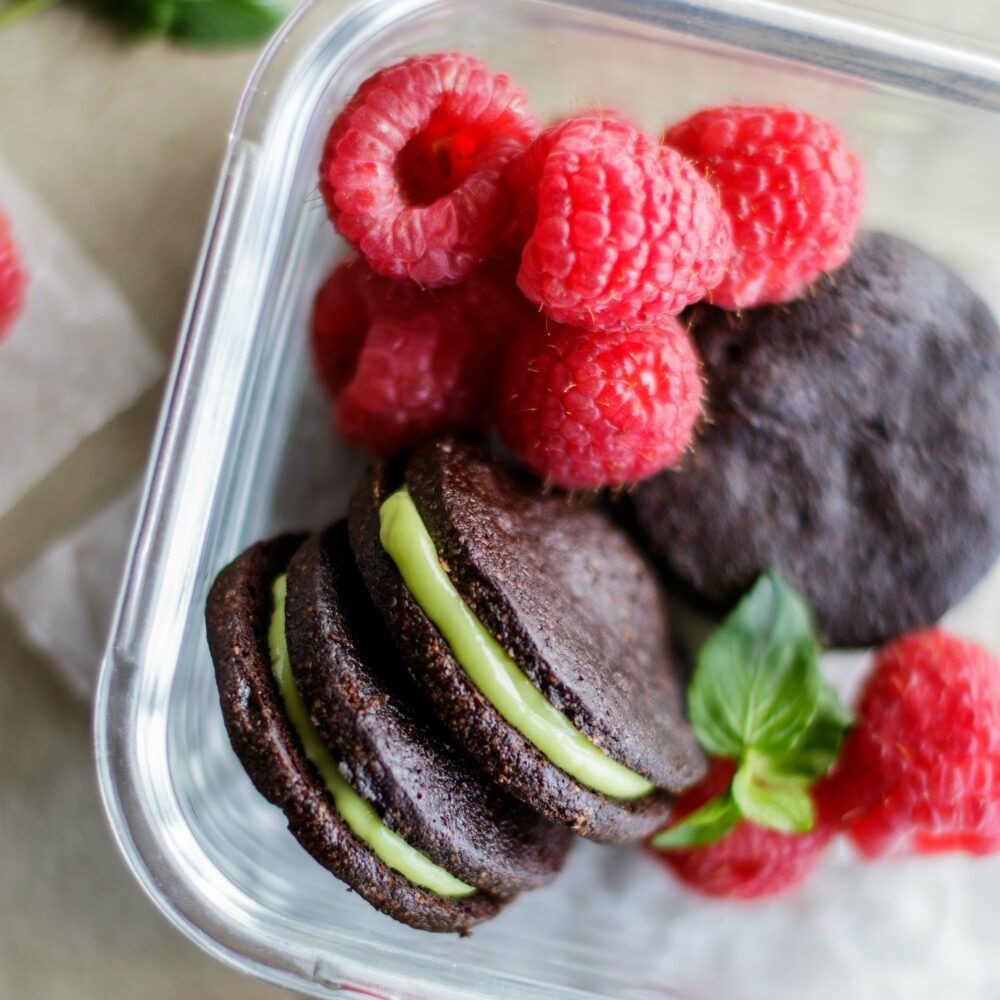
How to Make Homemade Mint Oreo Cookies (Vegan friendly)
-
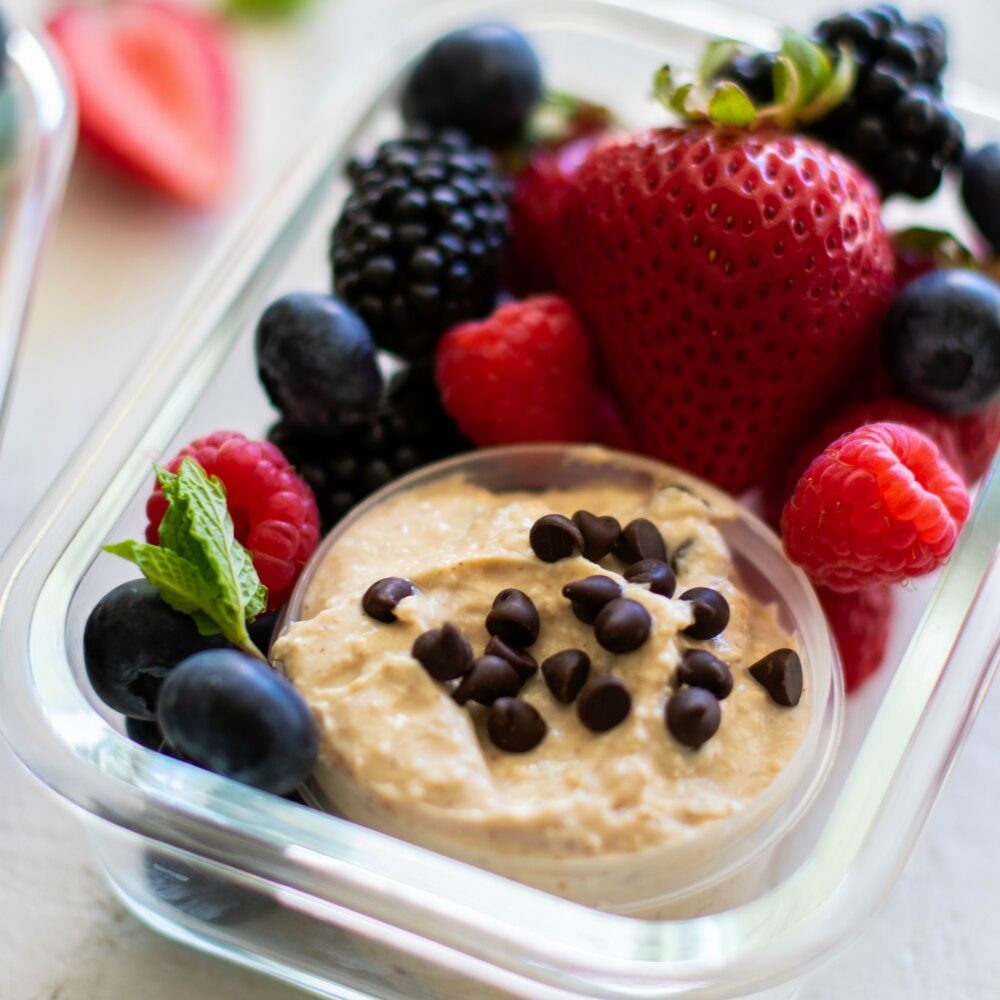
Meal Prep Snack idea: Greek Yogurt Cookie Dough Fruit Dip
-
Grain Free Granola
-
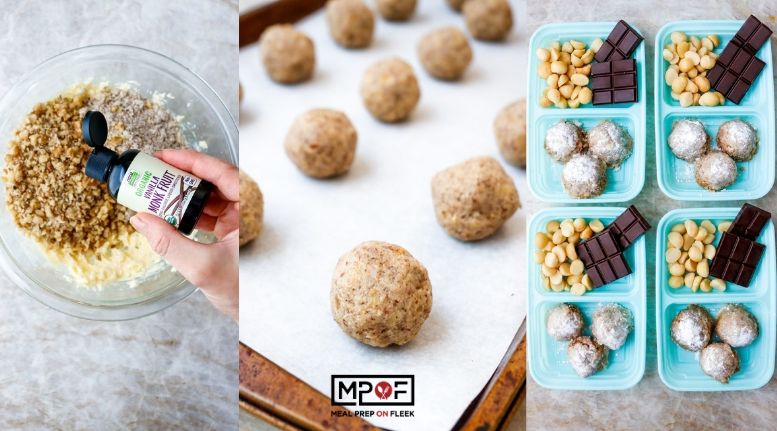
Keto Snowball Cookies
-
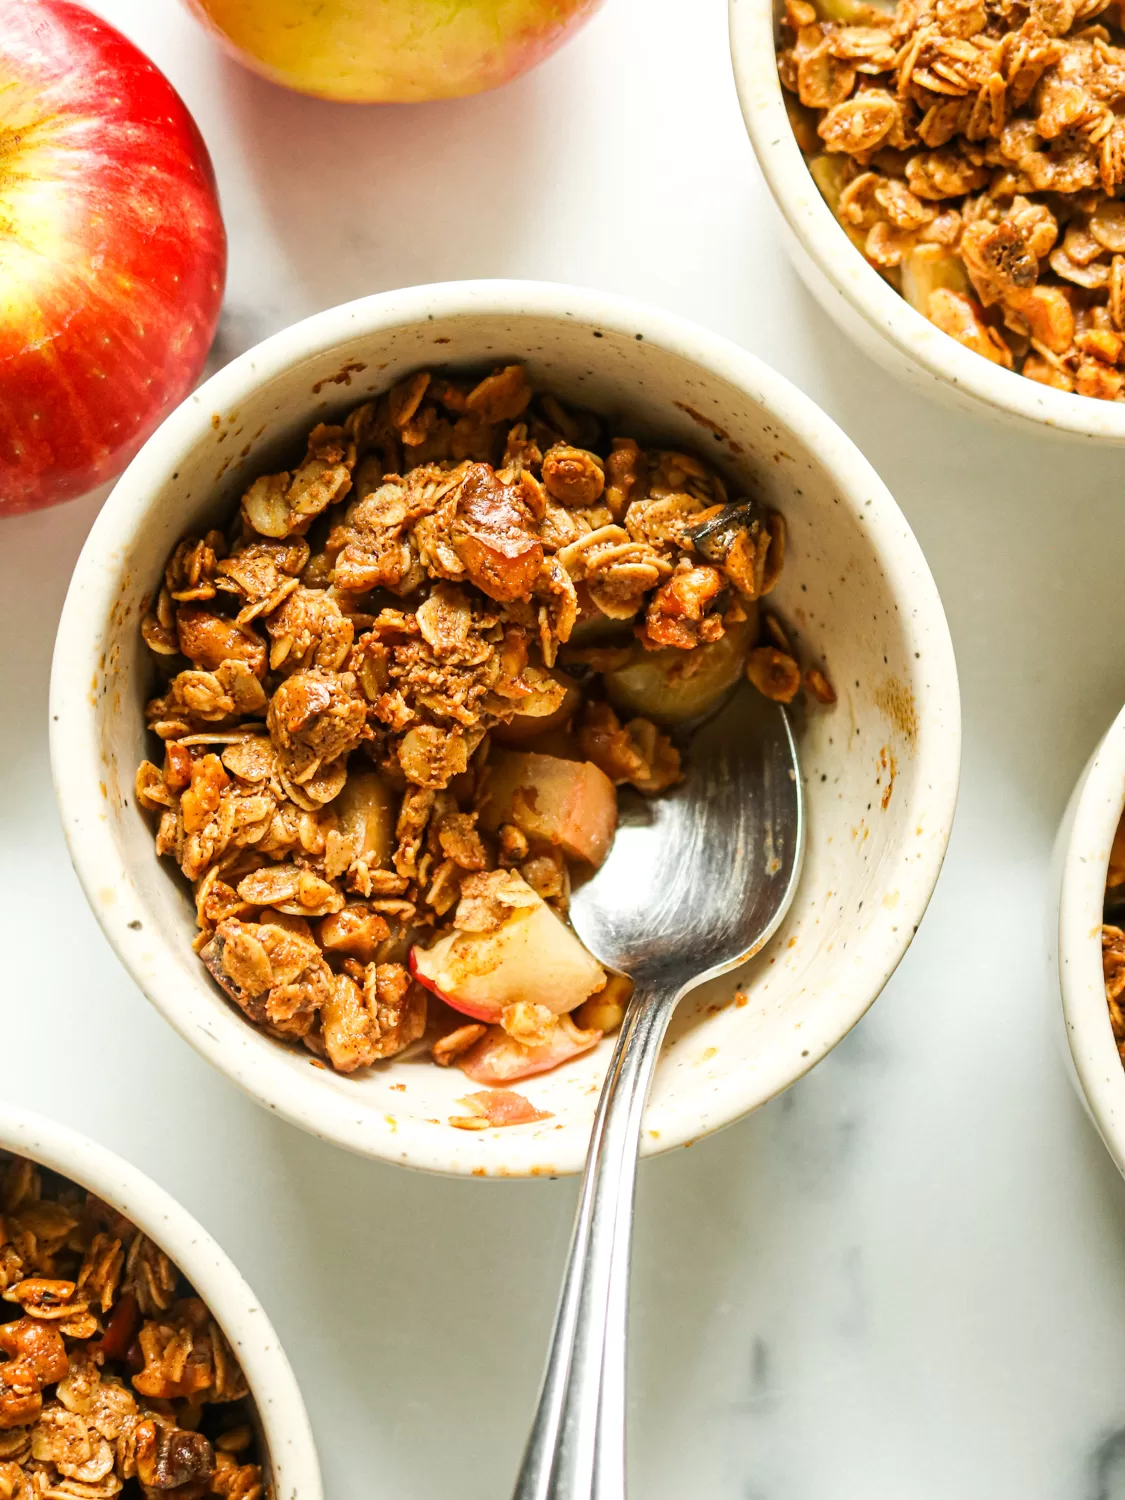
Apple Walnut Toffee Crisp
-
15 Best Healthy Valentine's Day Desserts
-
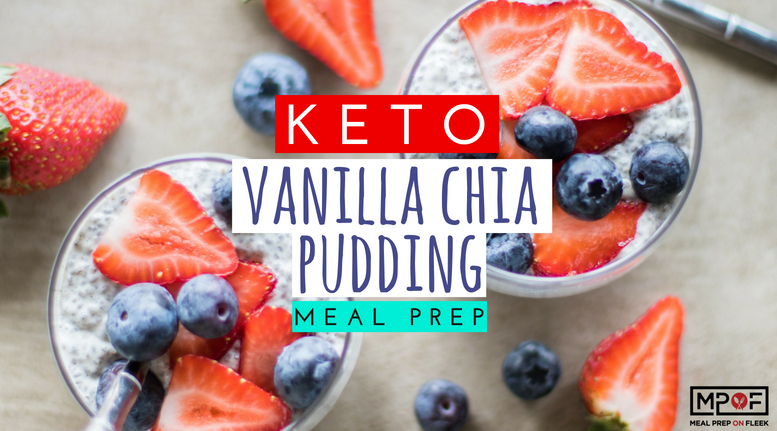
Vanilla Chia Pudding
-
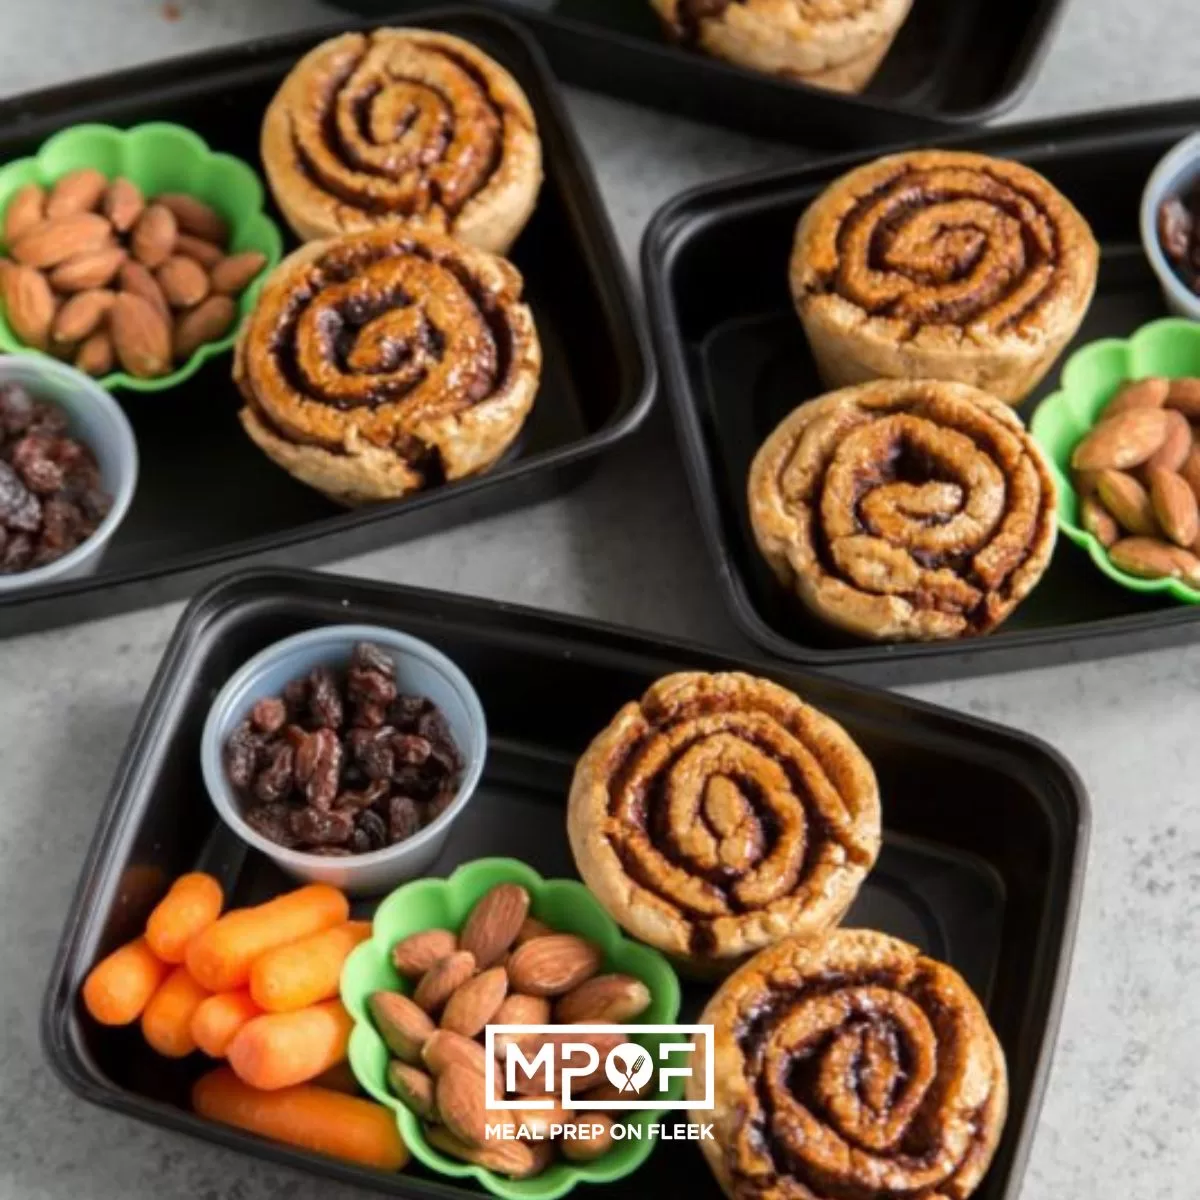
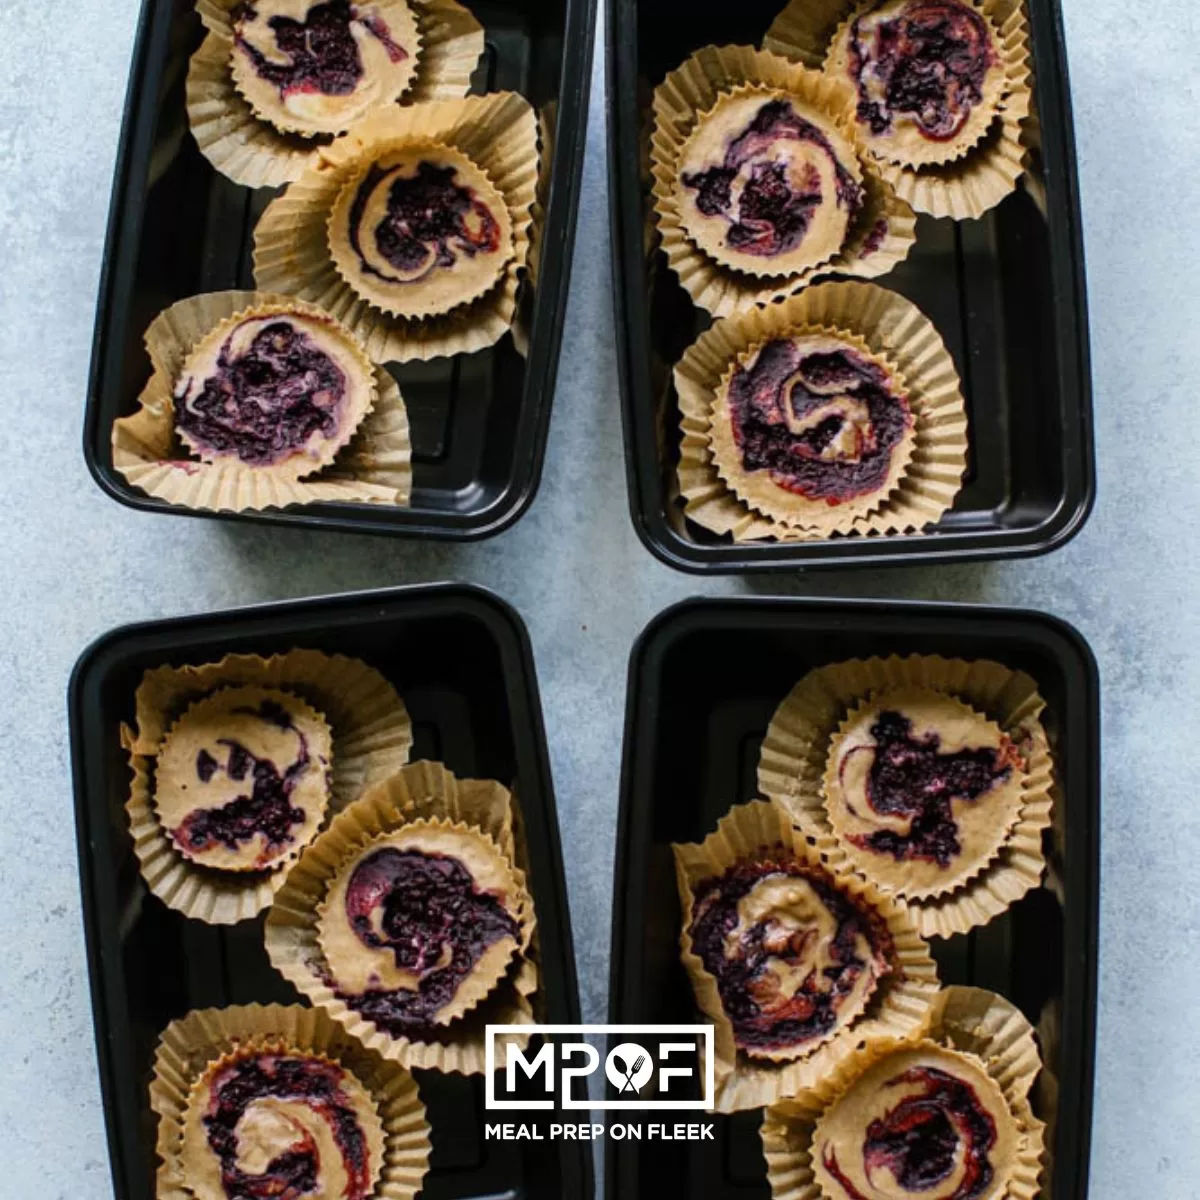
Gluten Free Cinnamon Roll Meal Prep
-
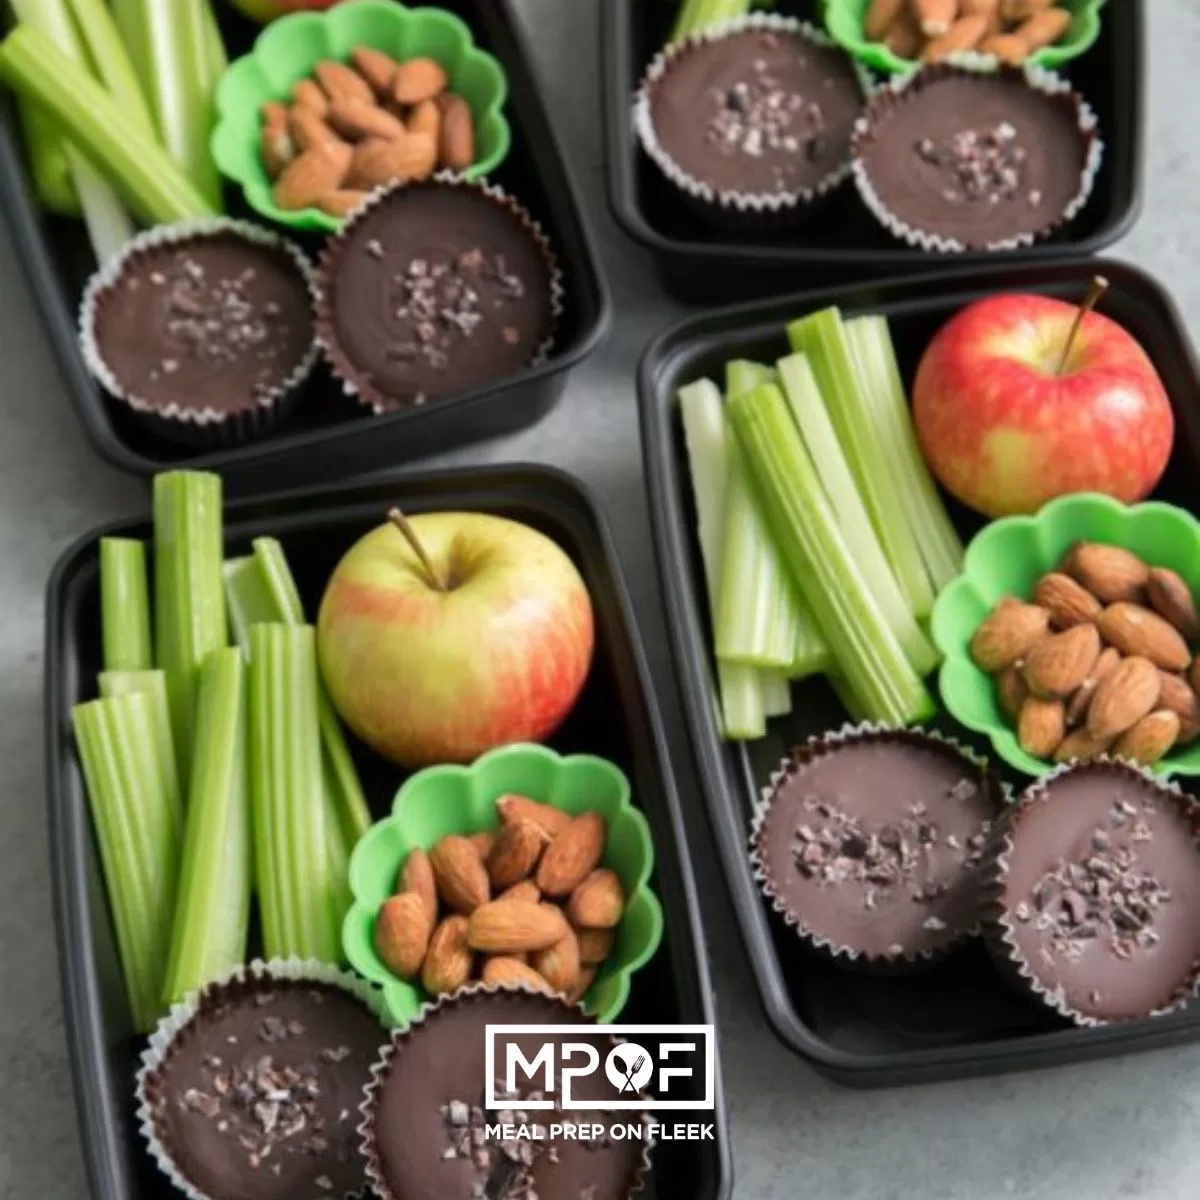
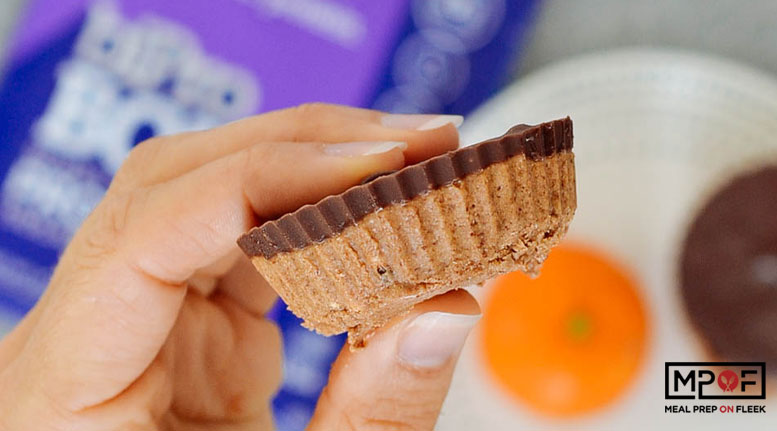
Low Sugar Chocolate Peanut Butter Cups
-
Keto Cashew Cheesecake Bites
-
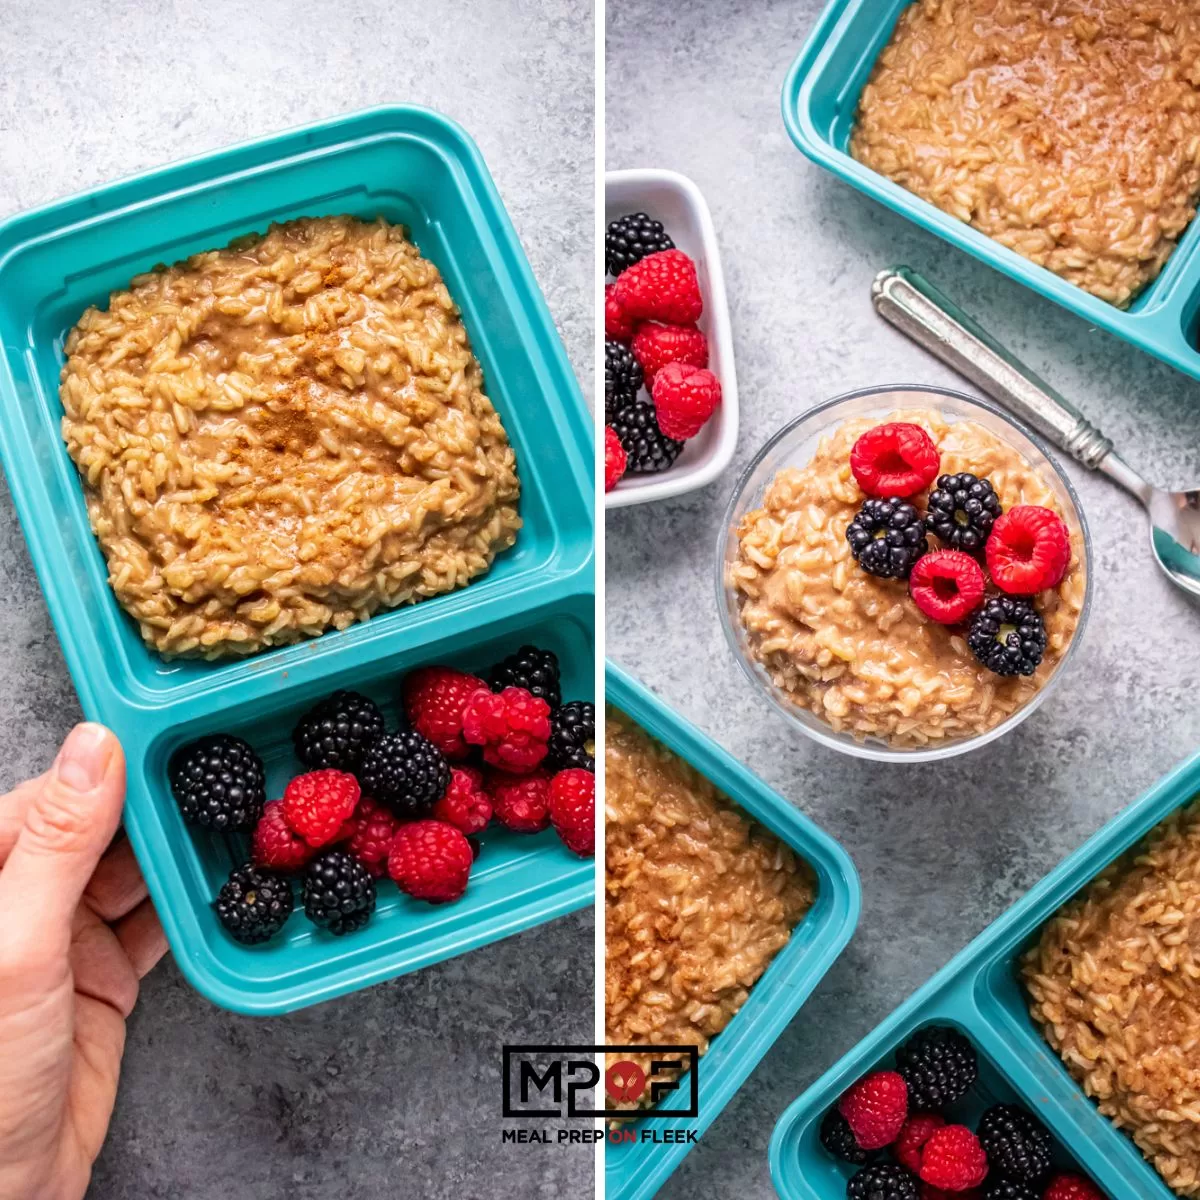
Brown Rice Pudding
-
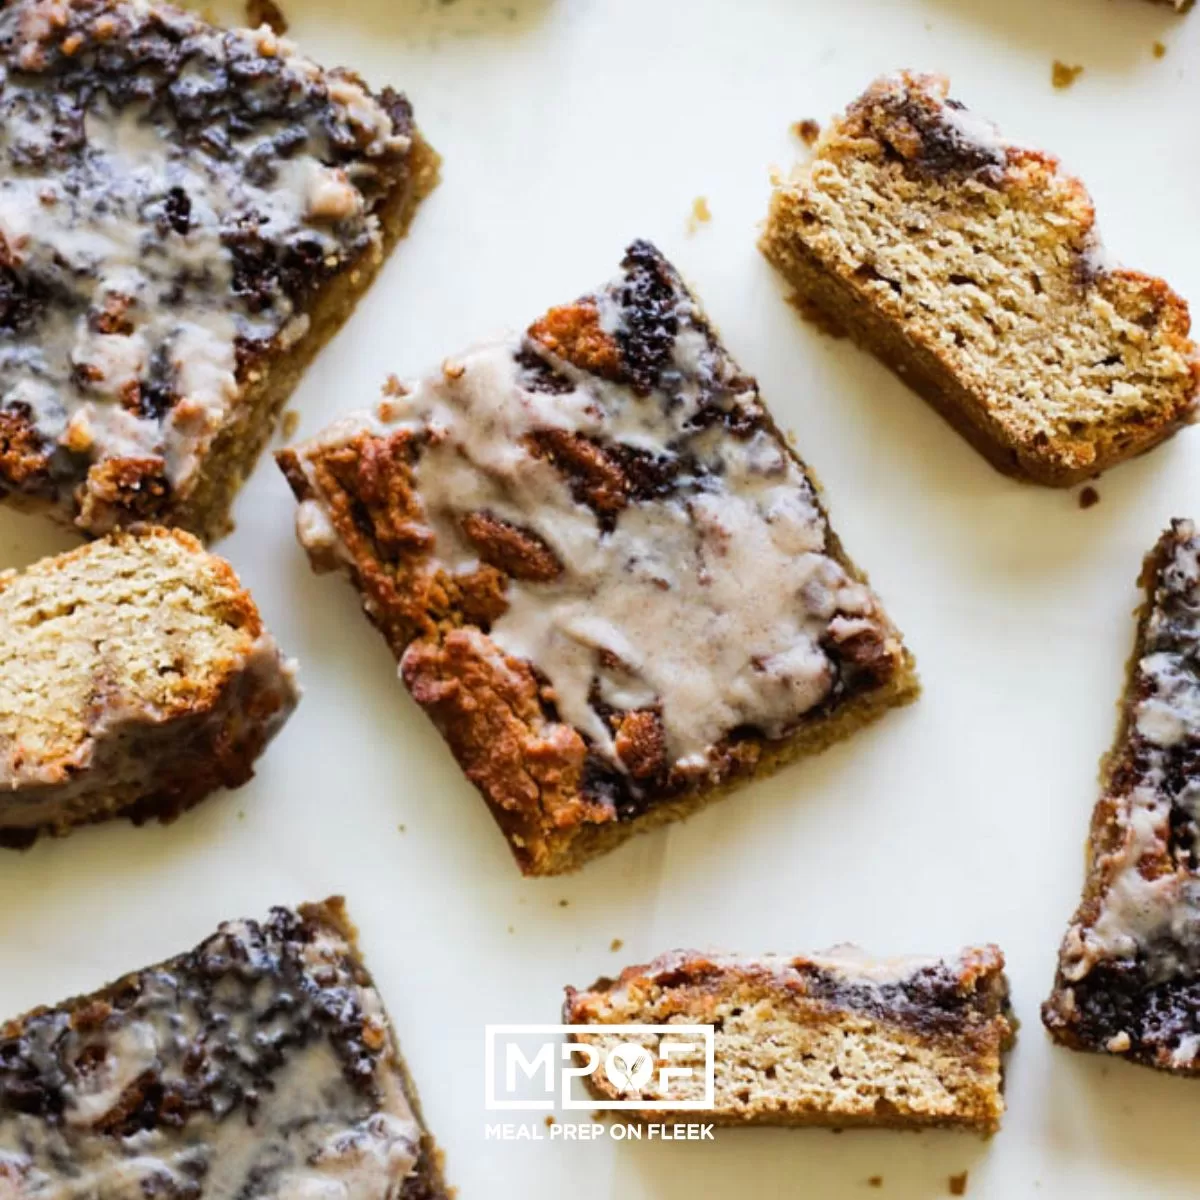
Cinnamon Roll Coffee Cake Meal Prep
-
AB&J Fat Bombs Meal Prep
-
No Bake Collagen Brownie Cups
-
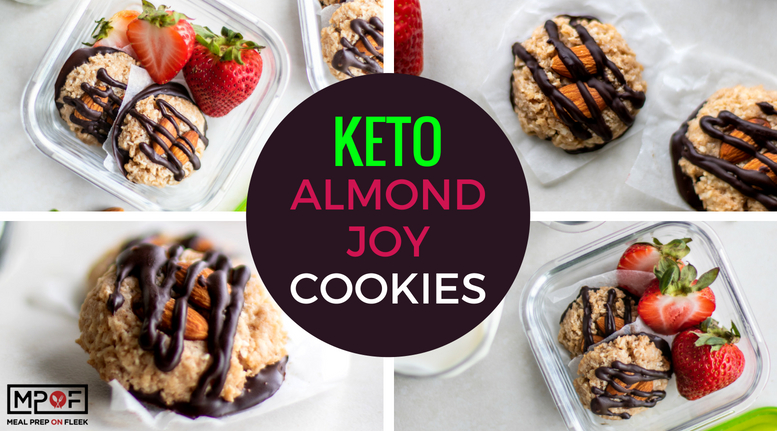
Easy Almond Joy Cookies
-
Brownie Batter Hummus
-
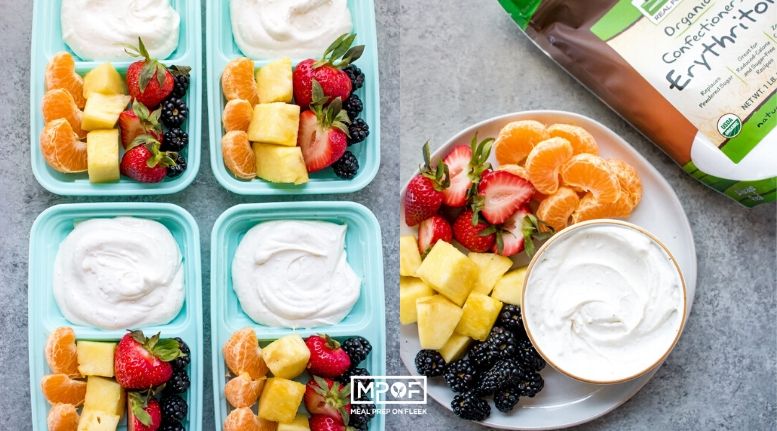
Cream Cheese Fruit Dip Snack Box
-
Peanut Butter Cheesecake Cups
-
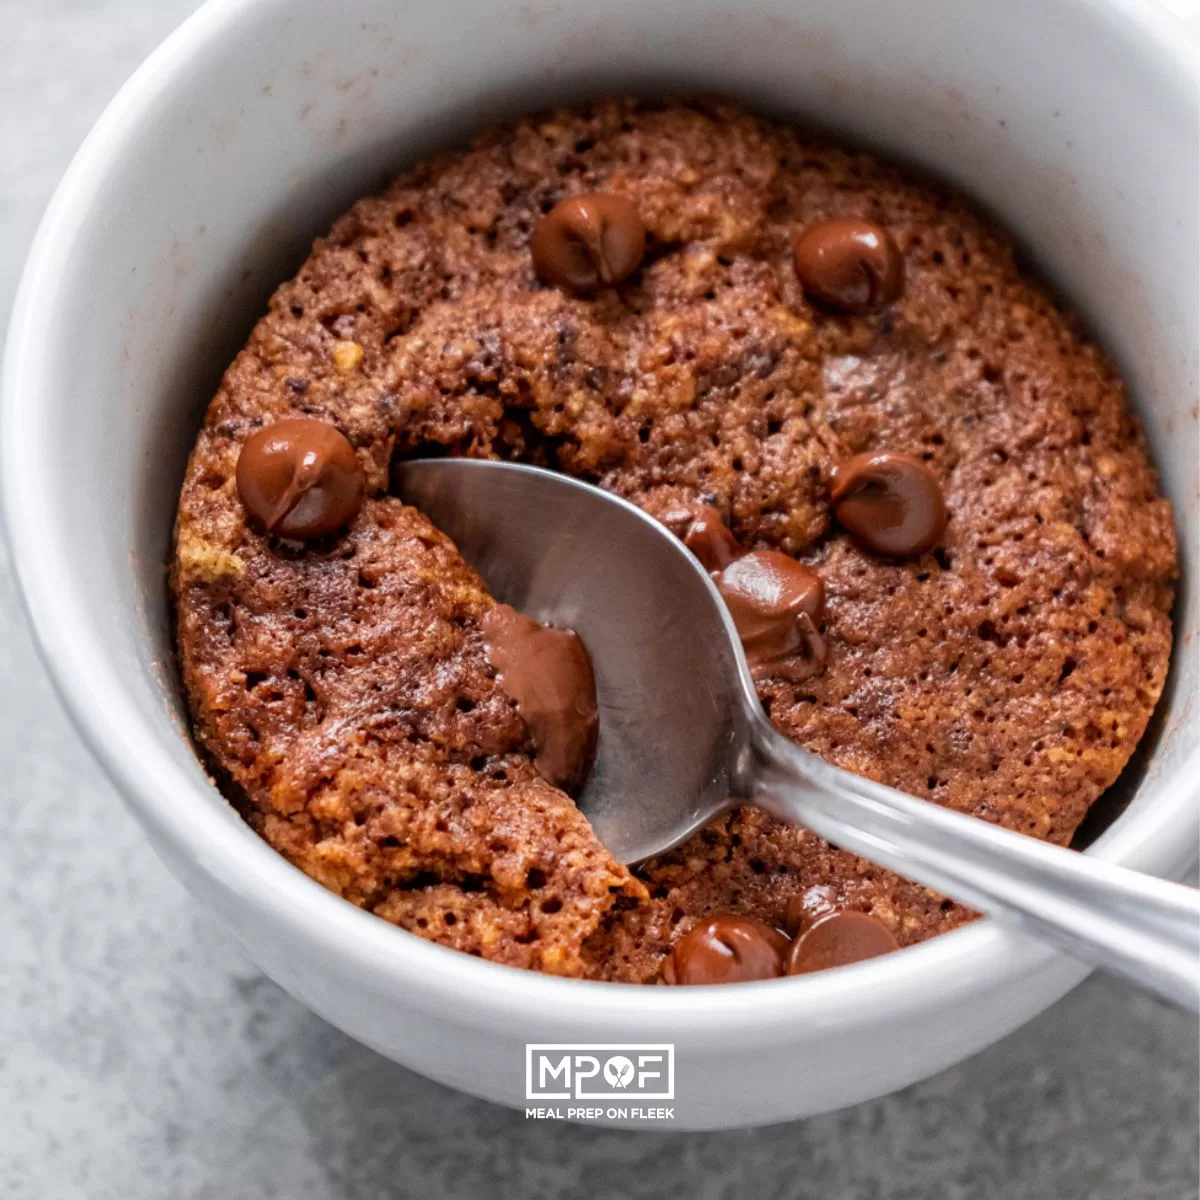
Keto Chocolate Mug Cake
-
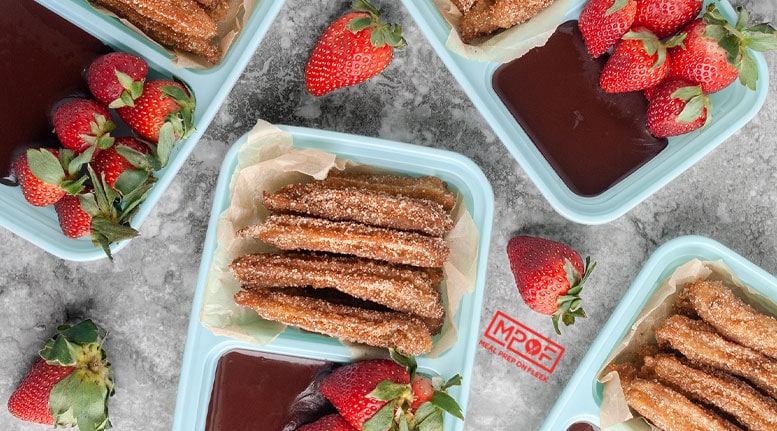
Tasty Churro Meal Prep
-
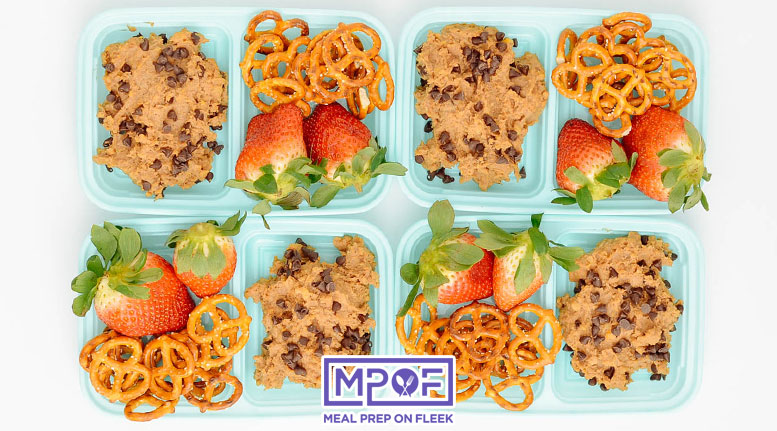
Chocolate Chocolate Chip Protein Cookie Dough
-
Double Chocolate Donuts
-
Chocolate Almond Butter Bark
-
Vegan Dark Chocolate Cinnamon Roasted Chickpea Bark
-
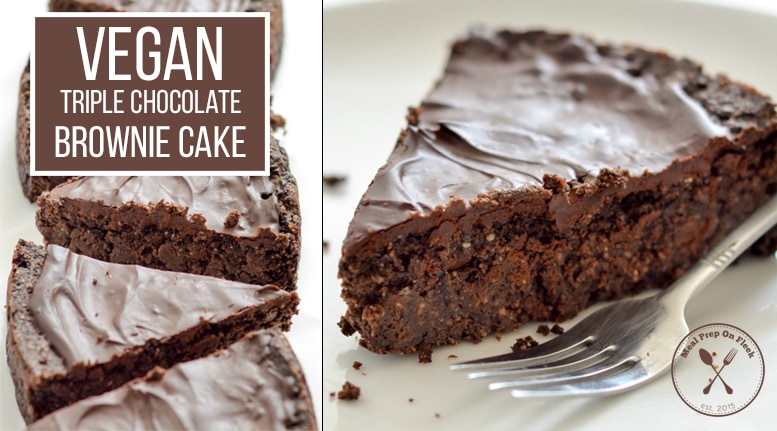
Vegan Triple Chocolate Brownie Cake
-
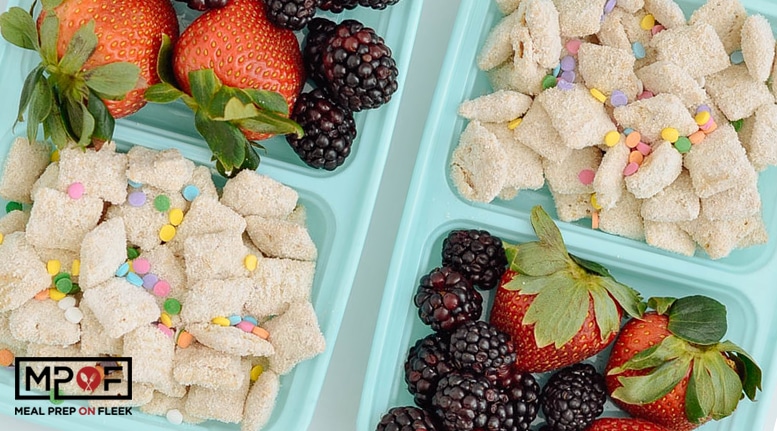
Funfetti Protein Puppy Chow
-
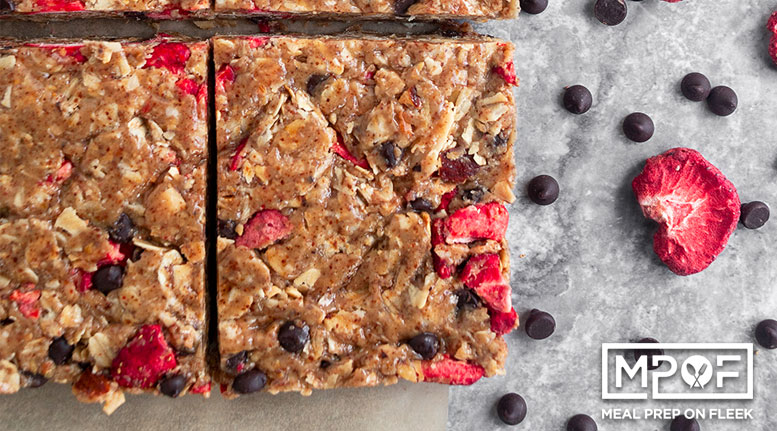
Strawberry Chocolate Almond Granola Squares
-
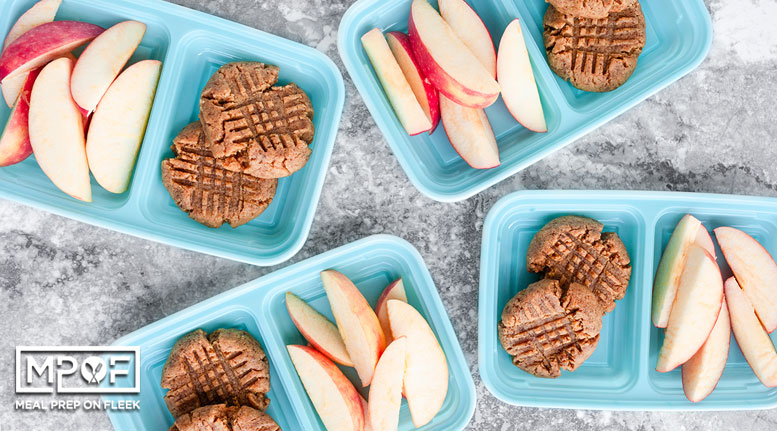
Keto Peanut Butter Cookies
-
Protein Almond Butter Cups
-
Gluten Free Gingerbread Cookies
-
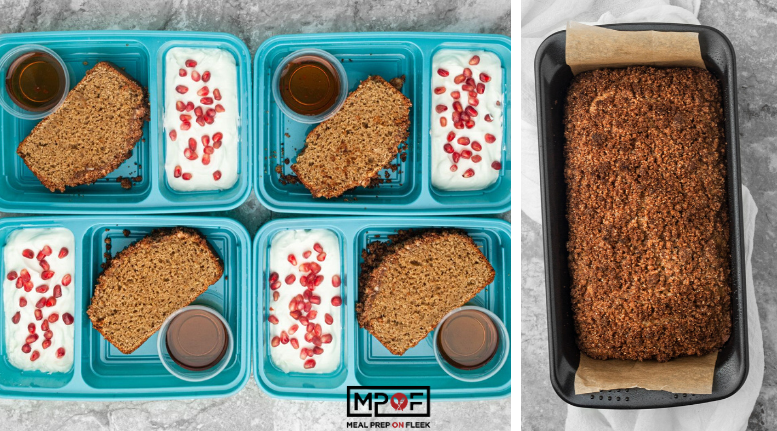
Pancake Bread
-
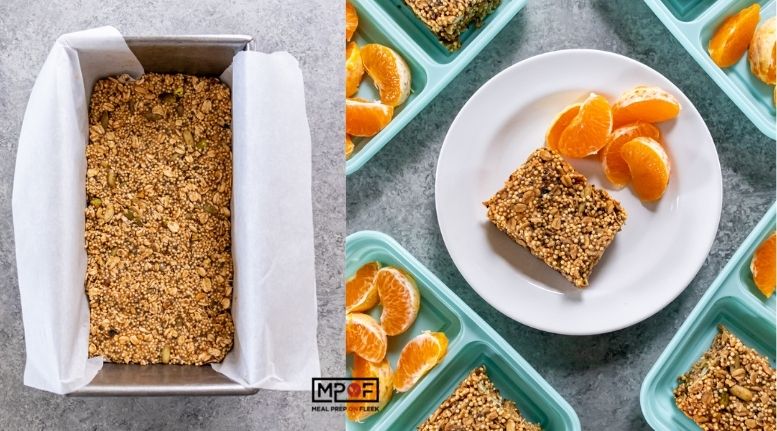
Quinoa-Oat Bars (Vegan, GF)
-
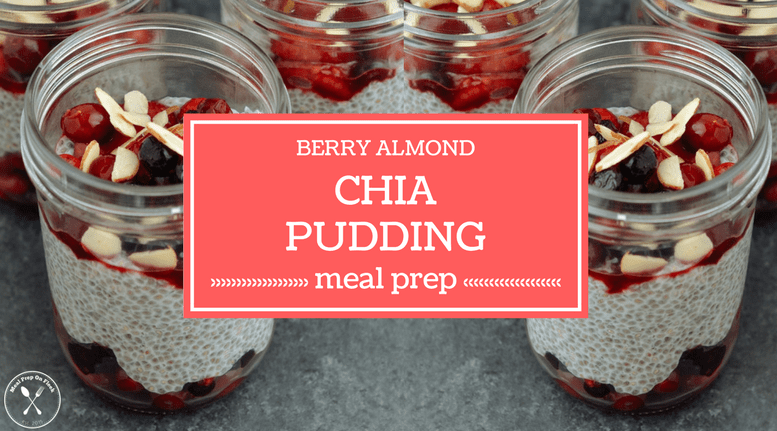
Berry Almond Chia Pudding Meal Prep
-
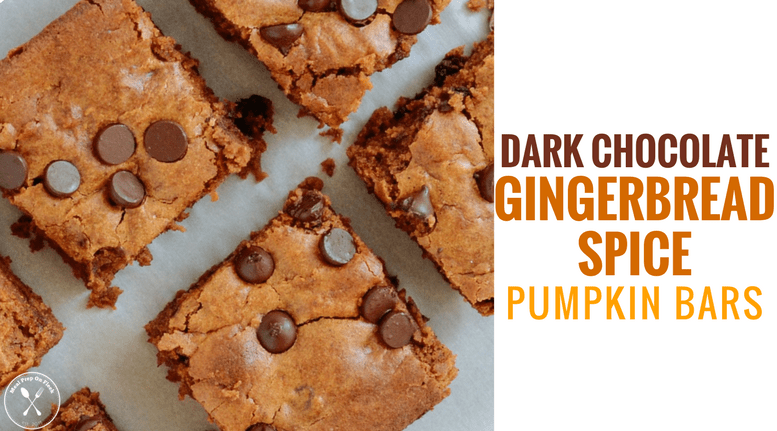
Dark Chocolate Gingerbread Spice Pumpkin Bars
-
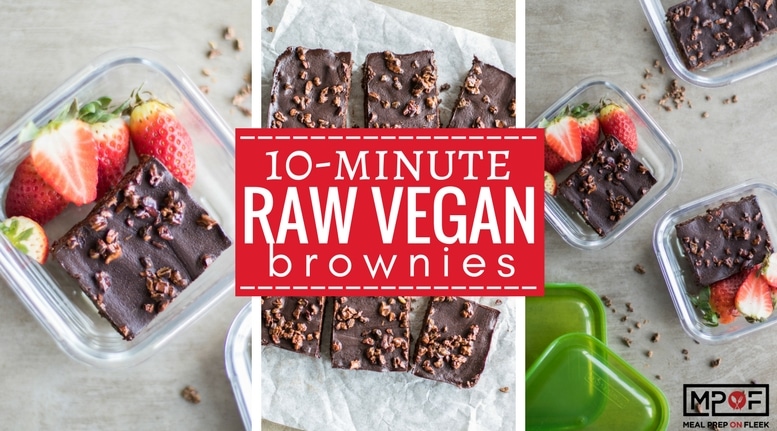
10 Minute Raw Vegan Brownies
-
Keto Raspberry Cheesecake
-
Cinnamon Apple Protein Bites
-
The EASIEST Gluten Free Brownies