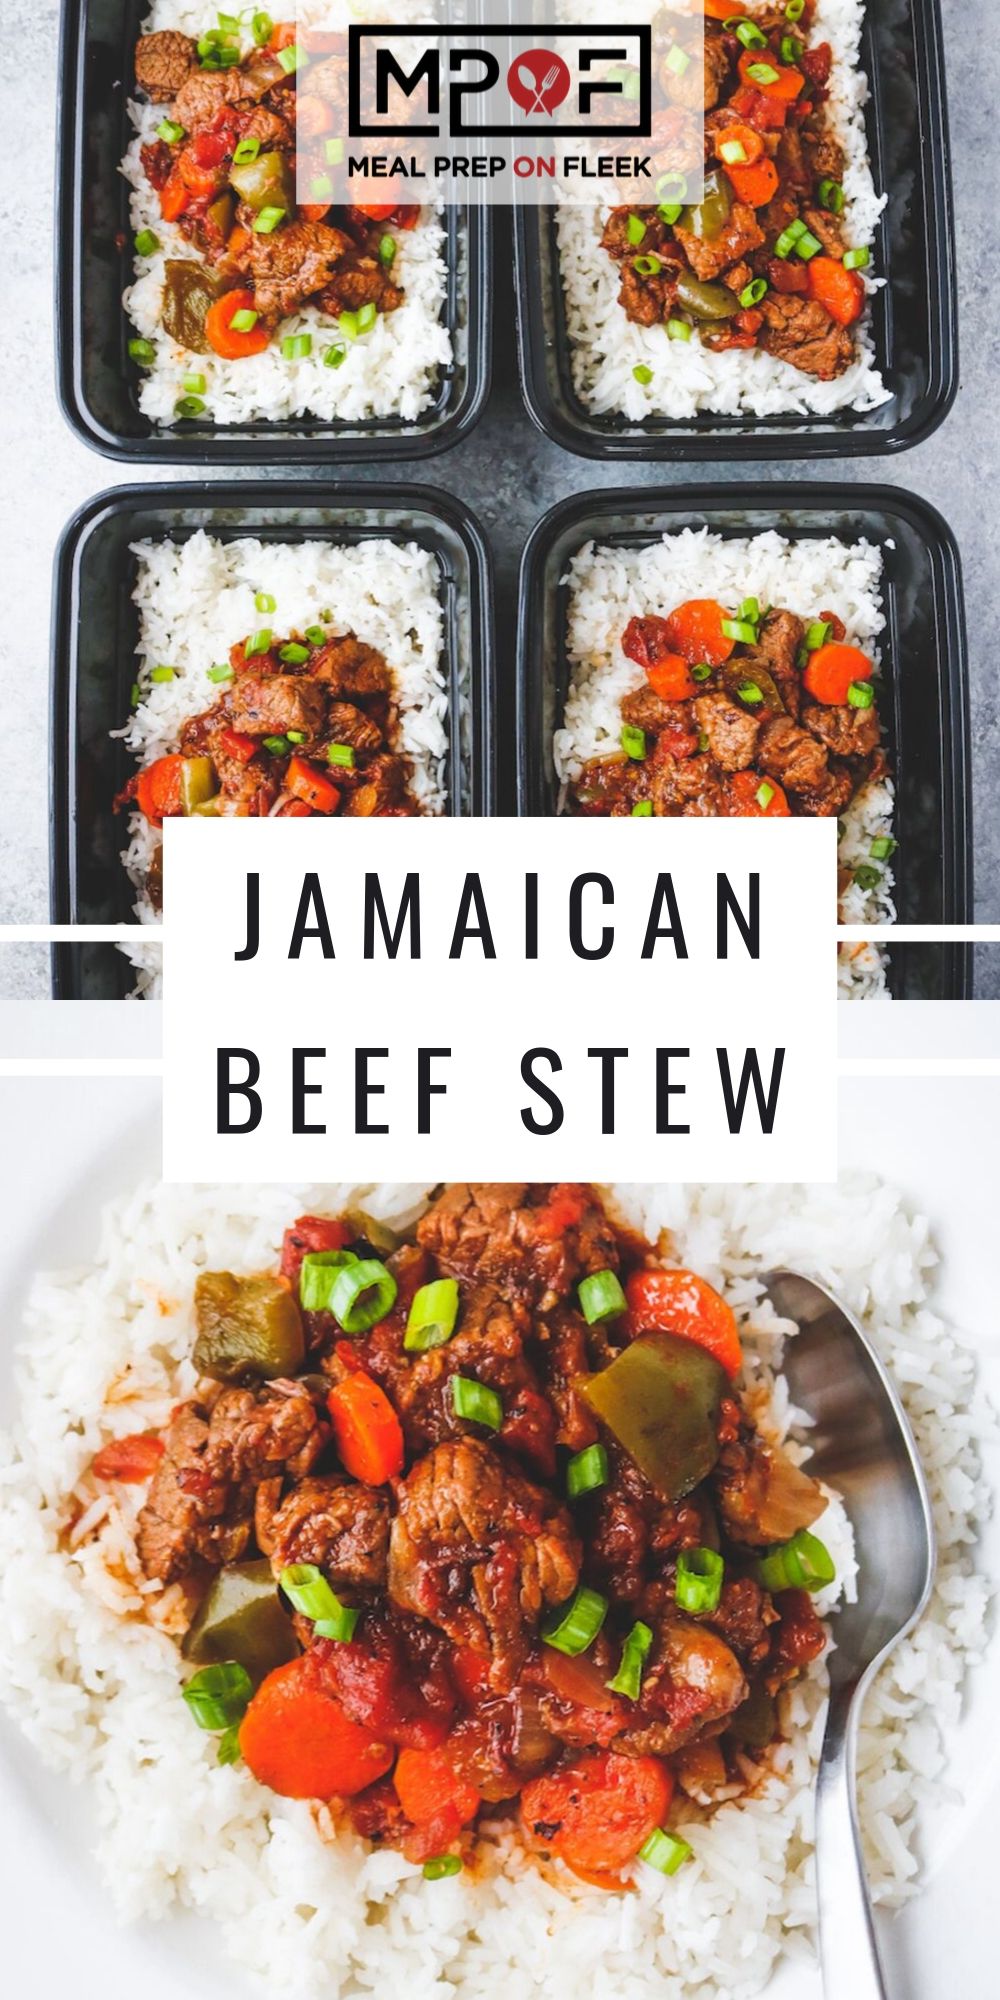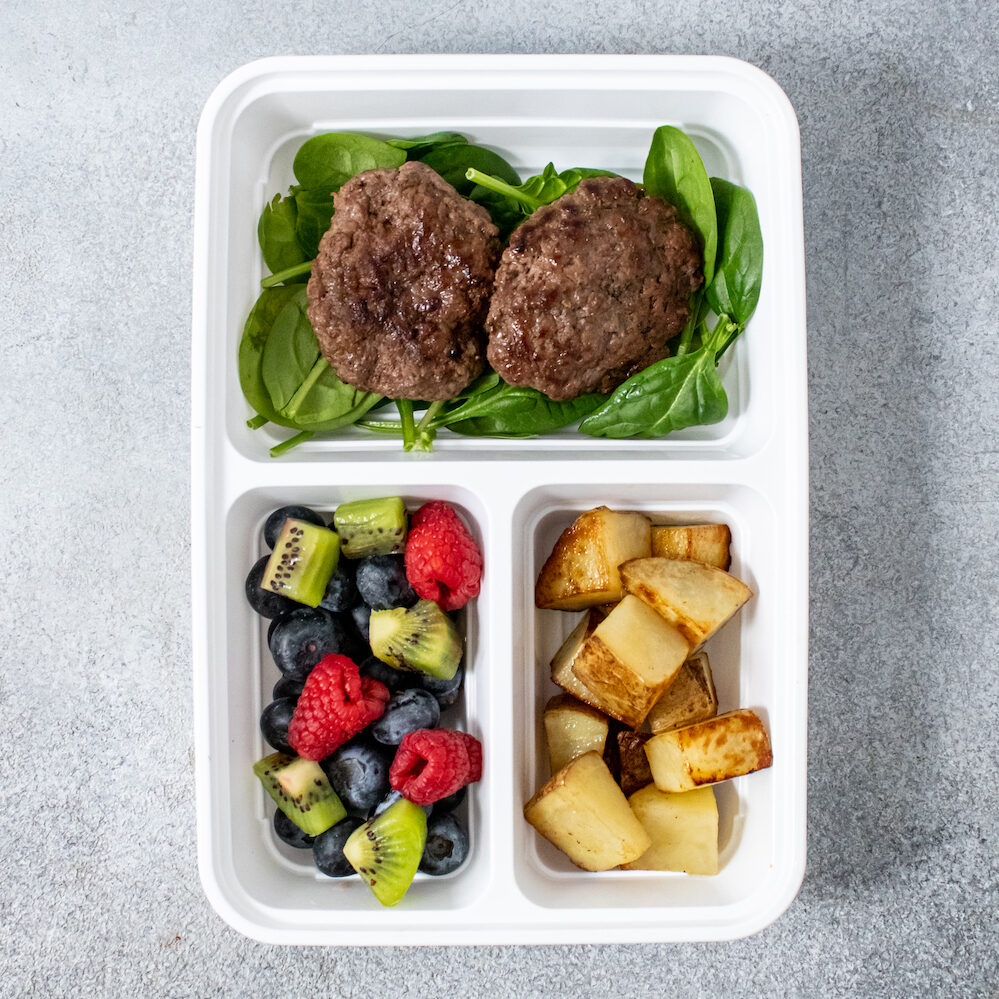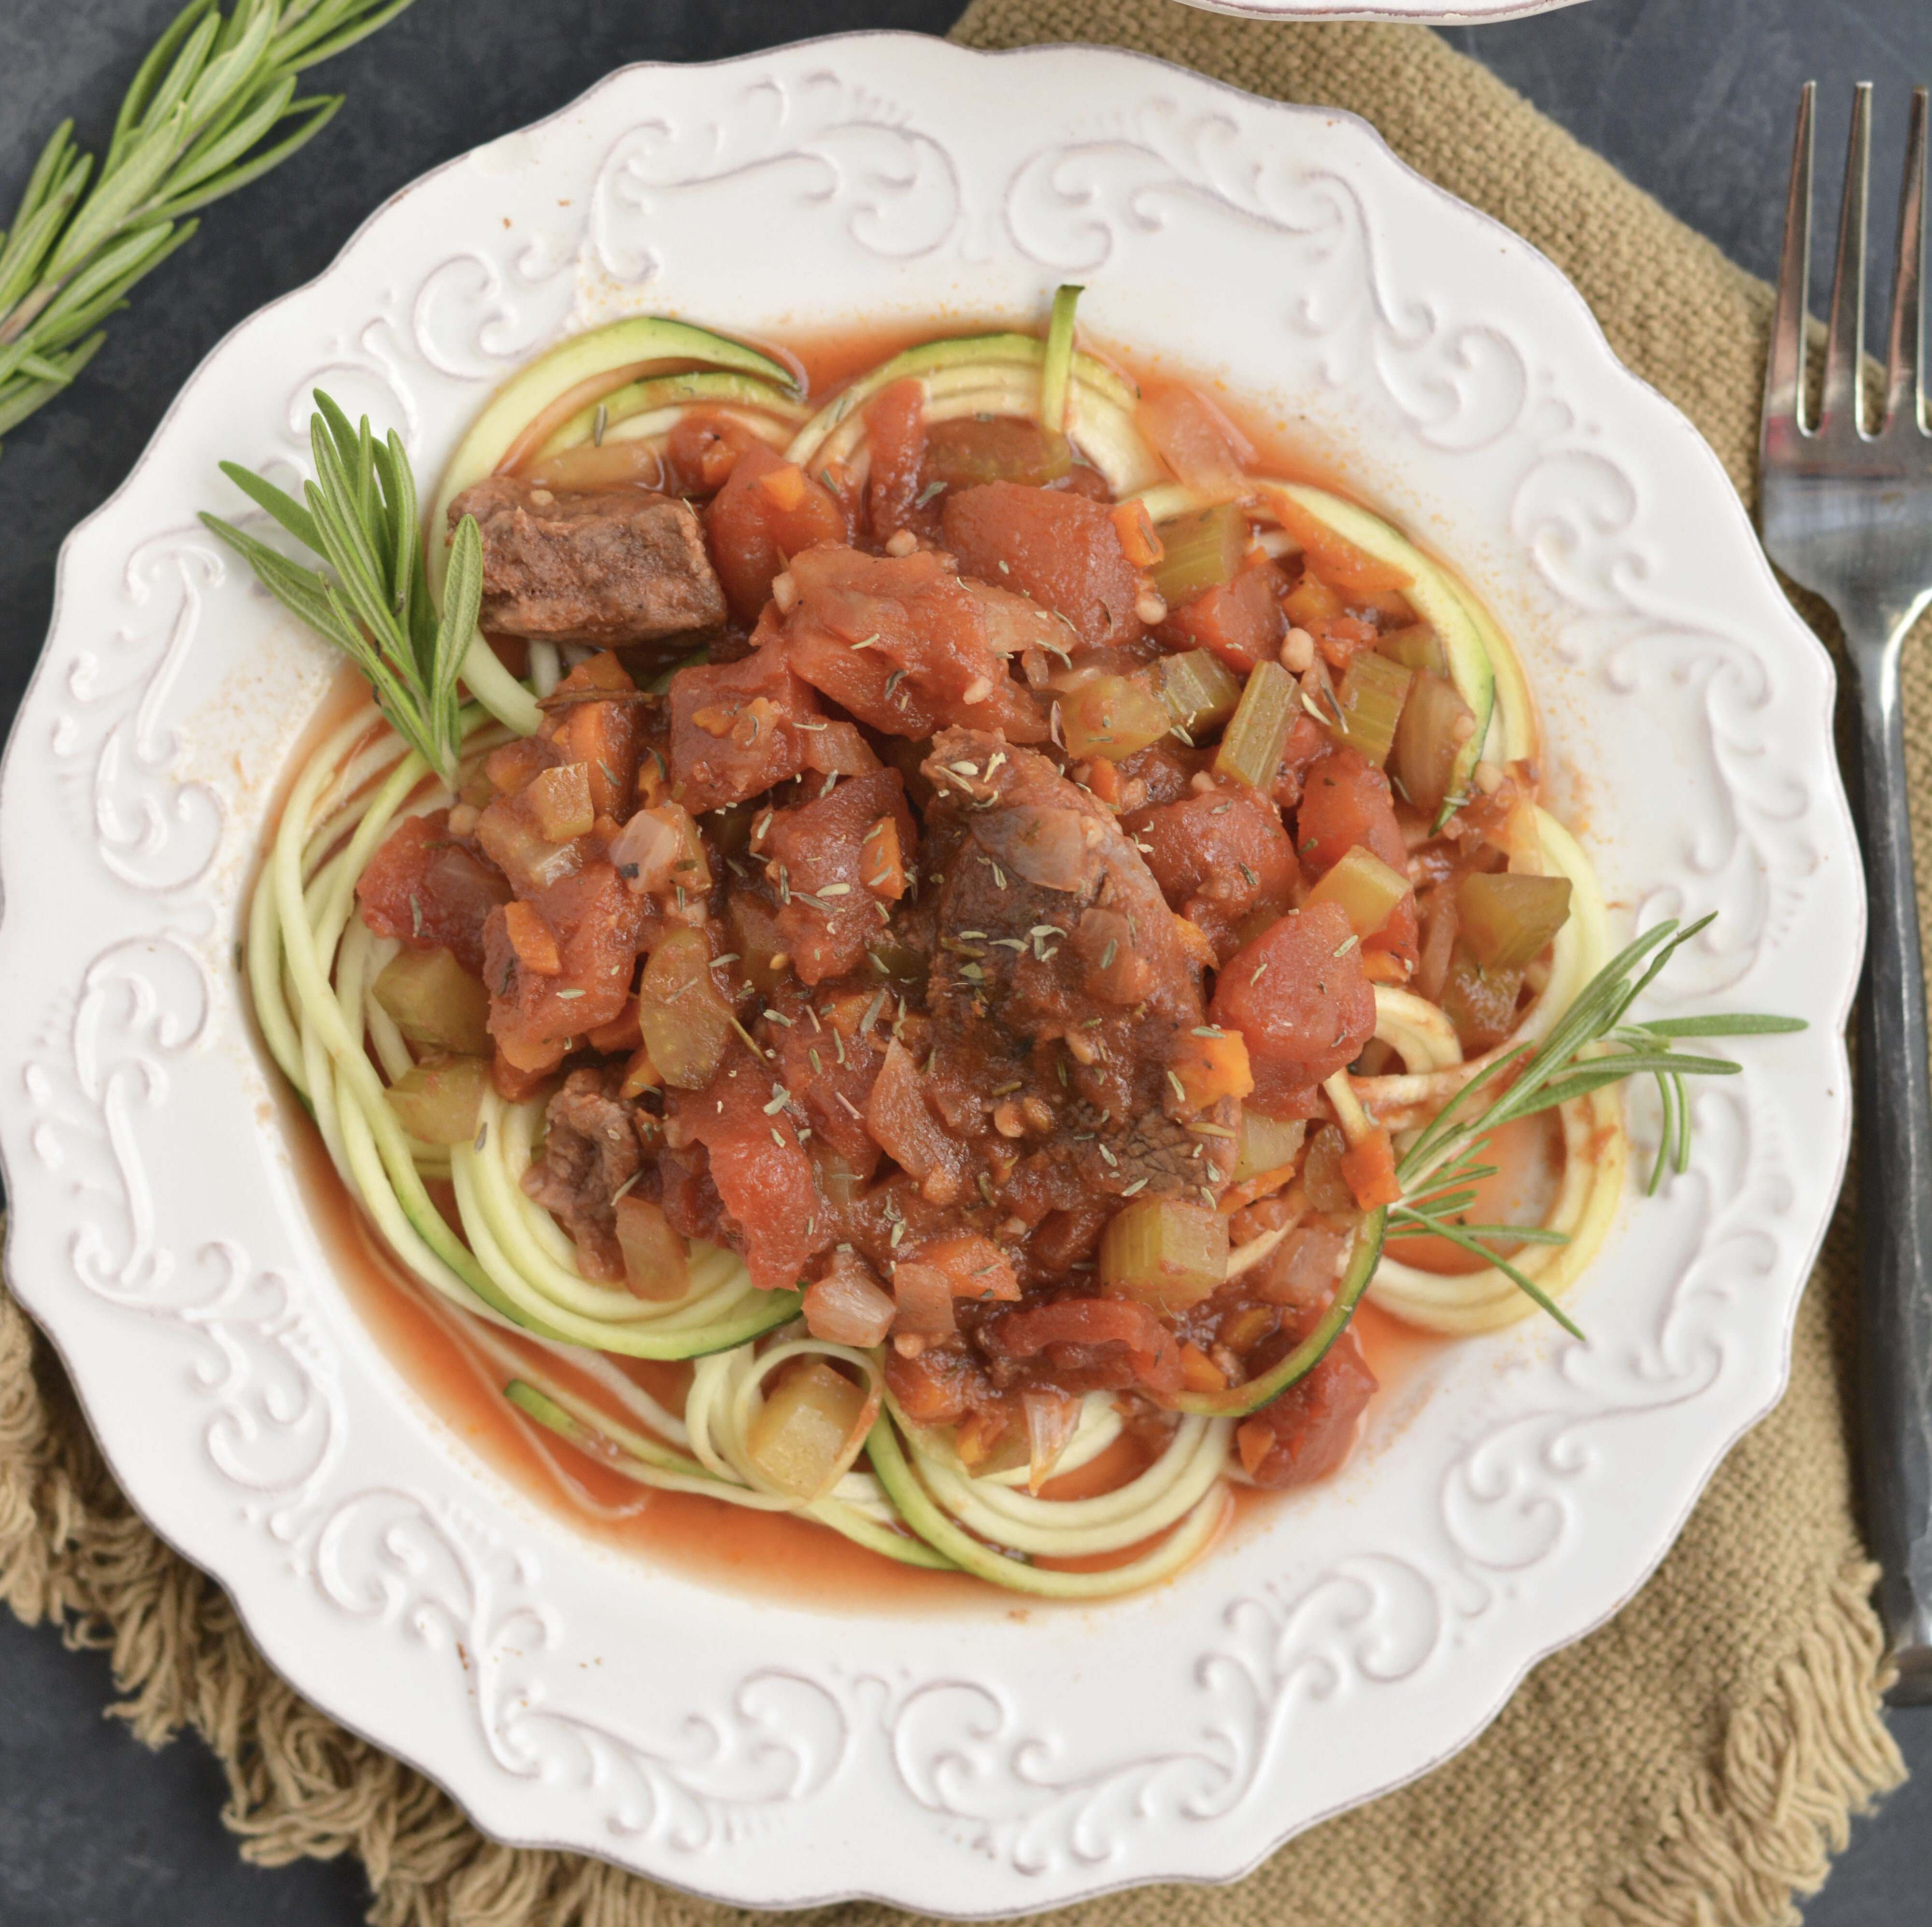
Slow-cooked beef in a rich tomato, herb, and red wine sauce that tastes like a five-star meal-with almost no hands-on work. This beef ragu simmers in the crockpot until it's fall-apart tender, then gets piled over zucchini noodles (or sweet potato noodles) for a cozy, lower-carb meal you can prep on a budget.
This one gives major comfort food vibes with simple ingredients you probably have on hand. It's the kind of set-it-and-forget-it dinner that makes weeknights feel easy, and it reheats like a dream for lunches. If you're leaning into a lower-sugar, lower-carb routine, browse our Low Carb Recipes and Slow Cooker & Instant Pot collections for more inspo.
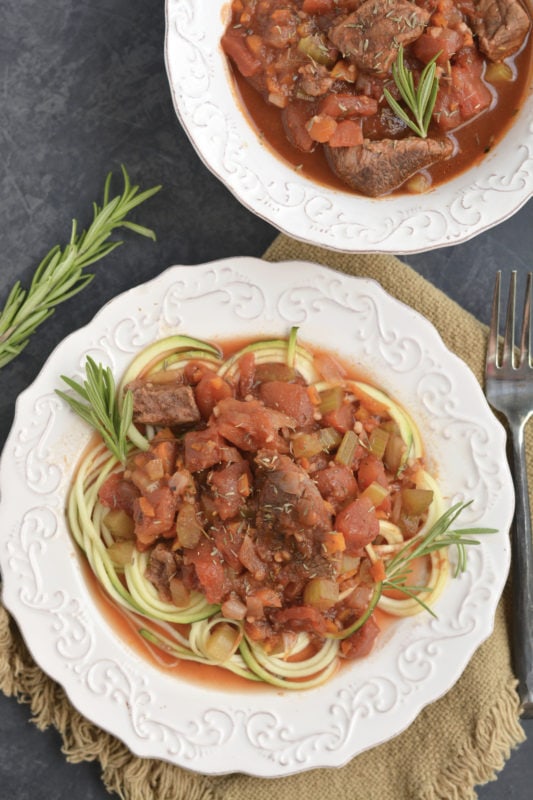
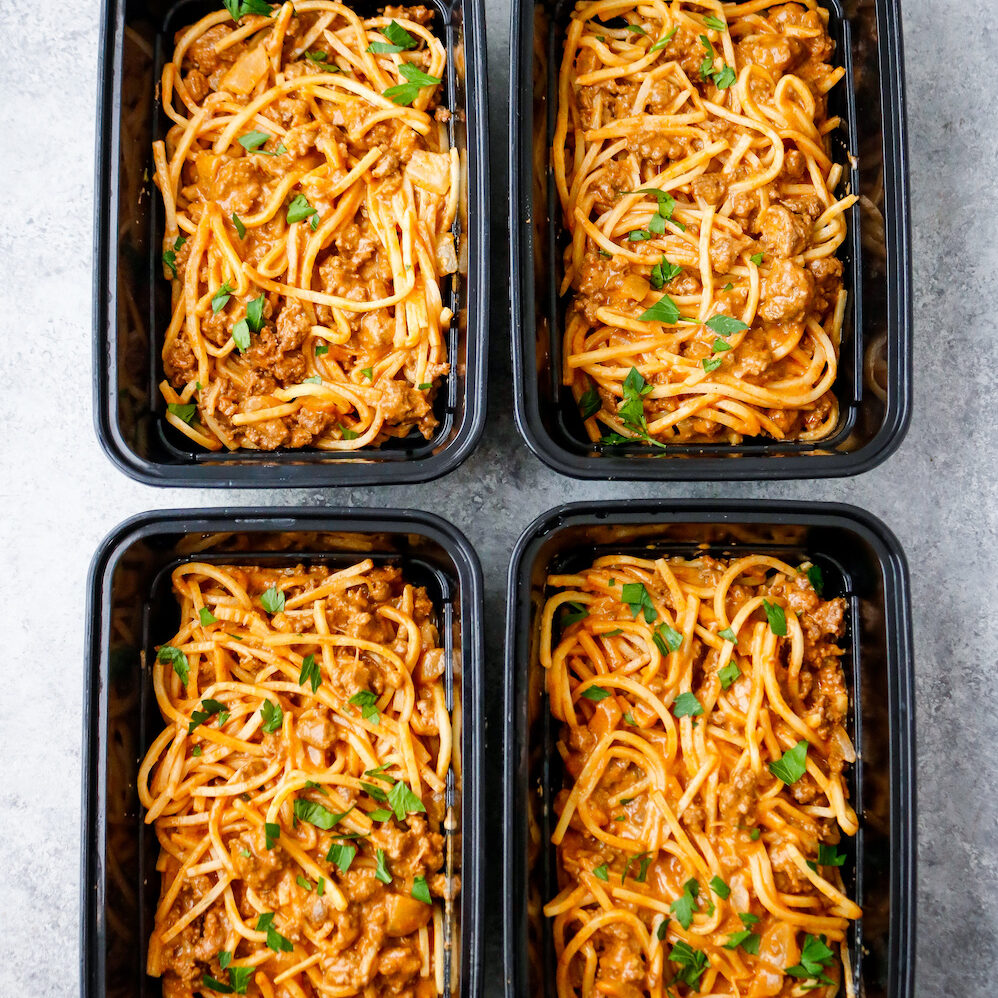
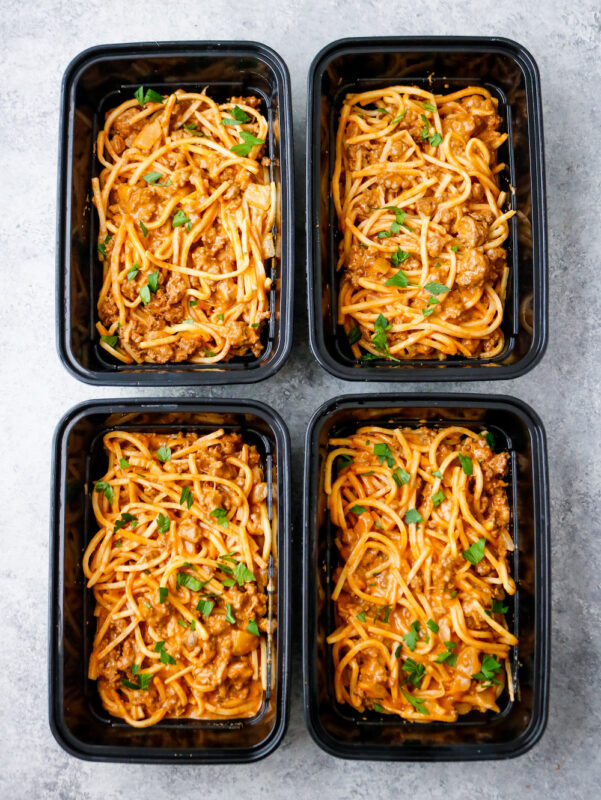
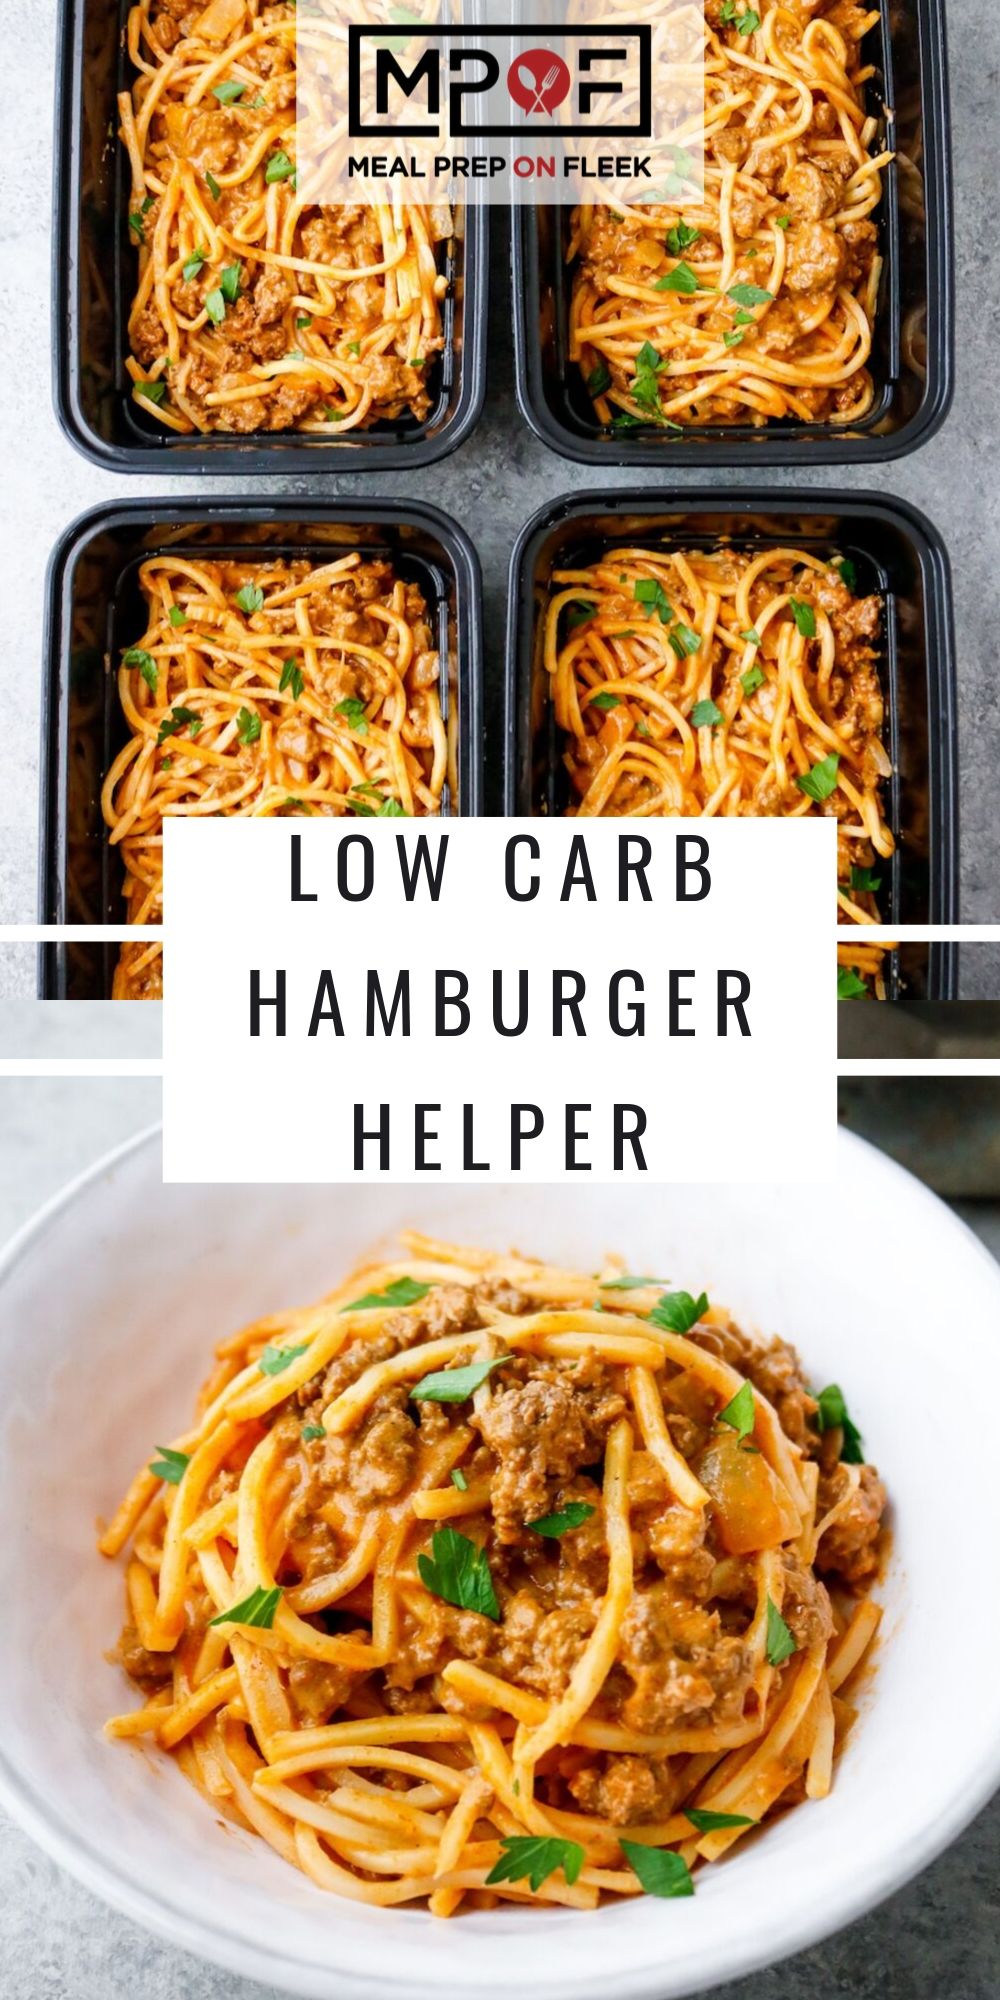
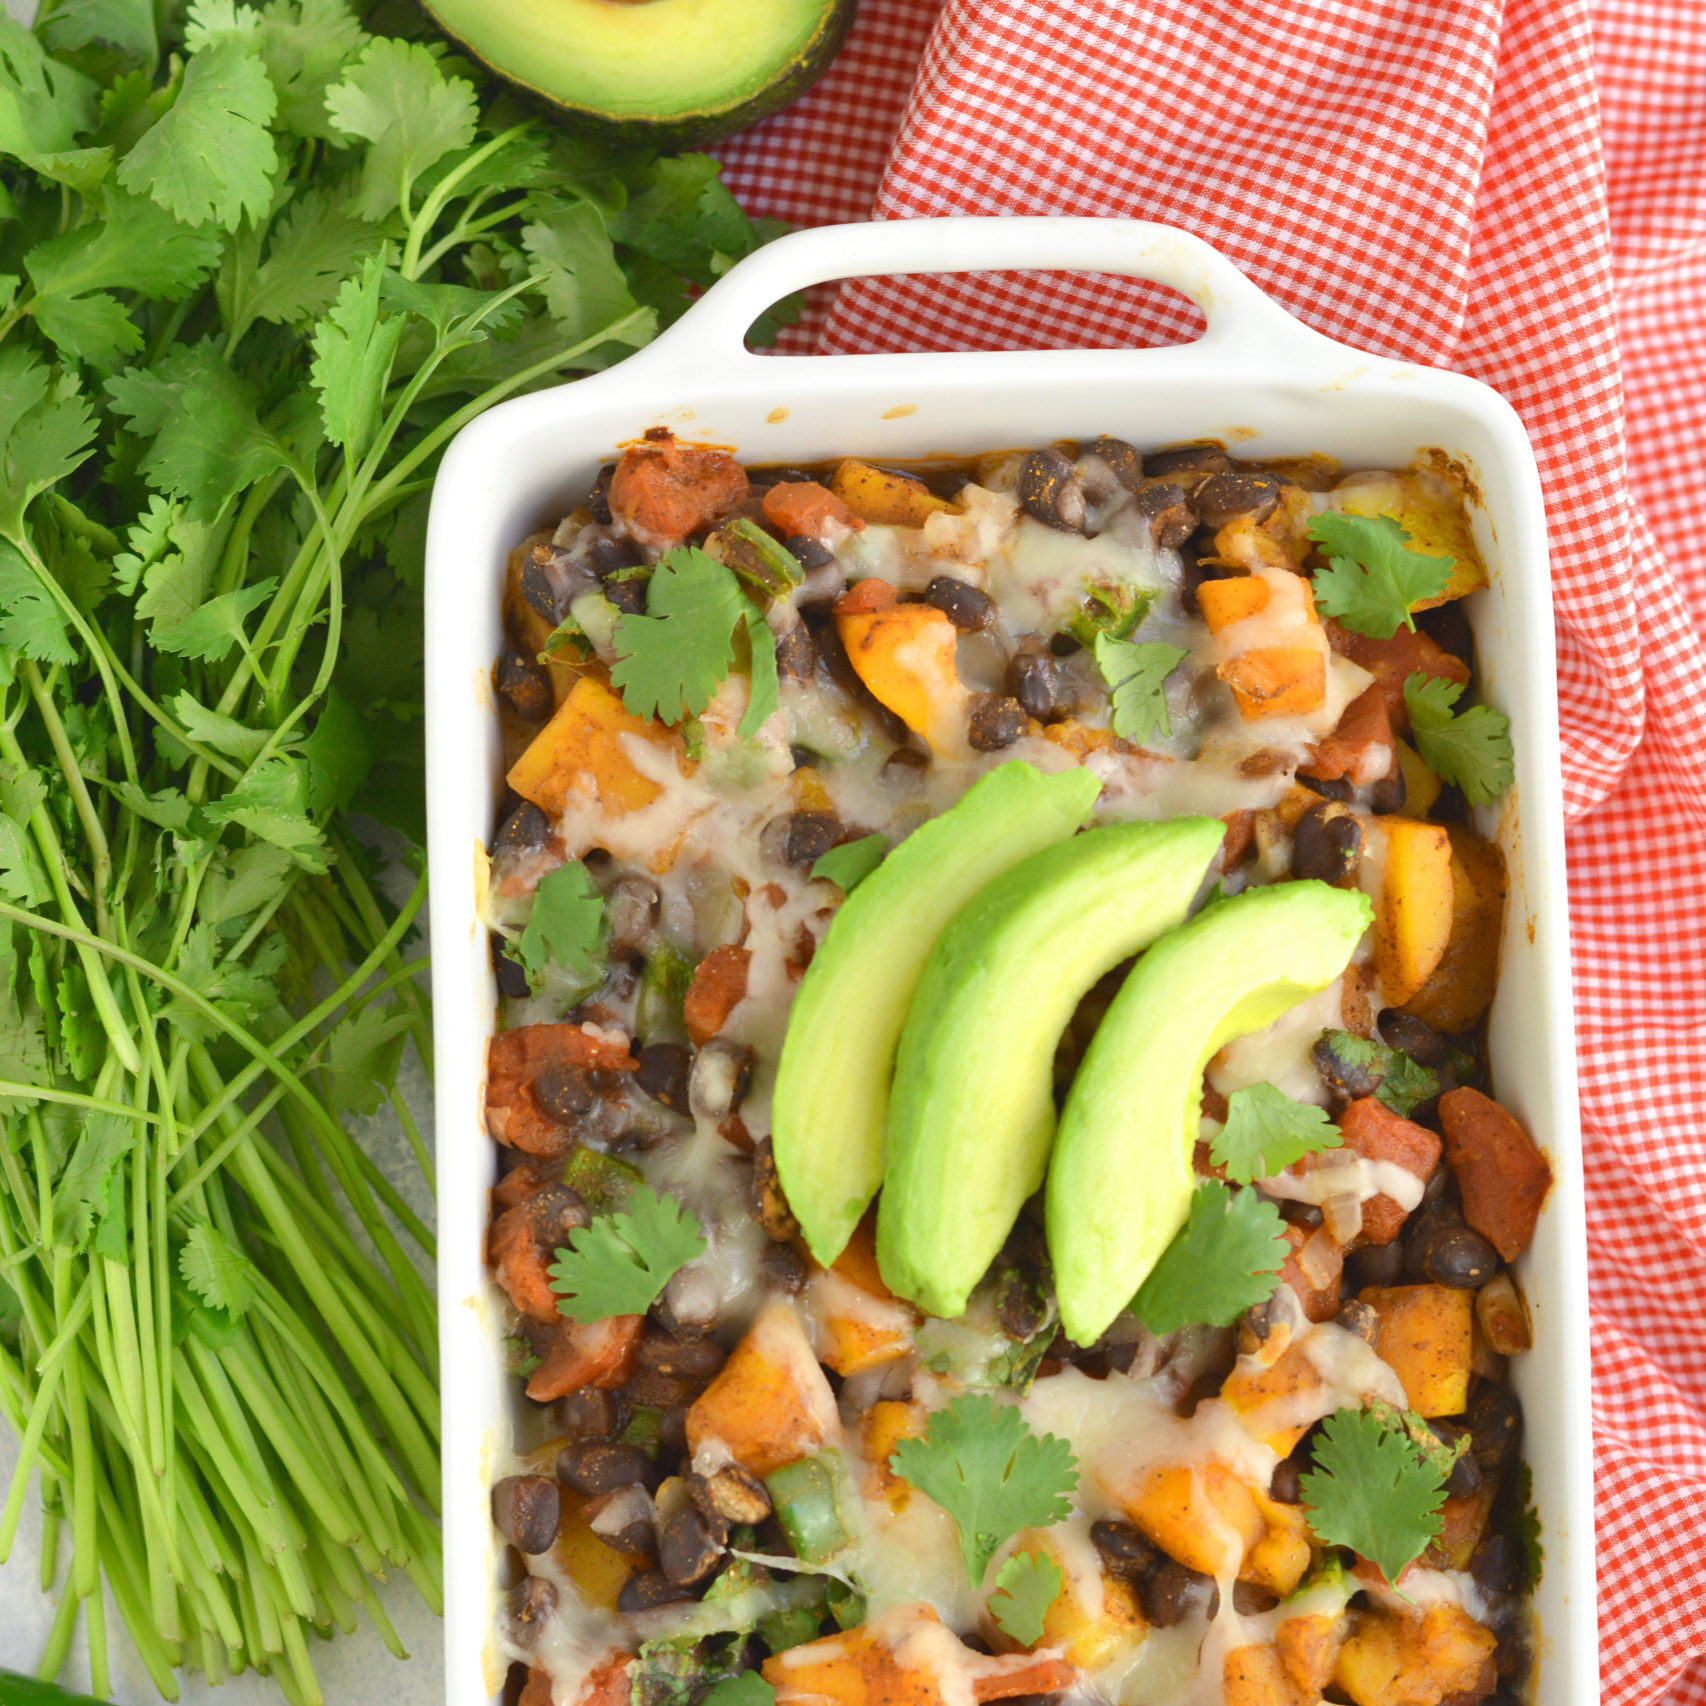
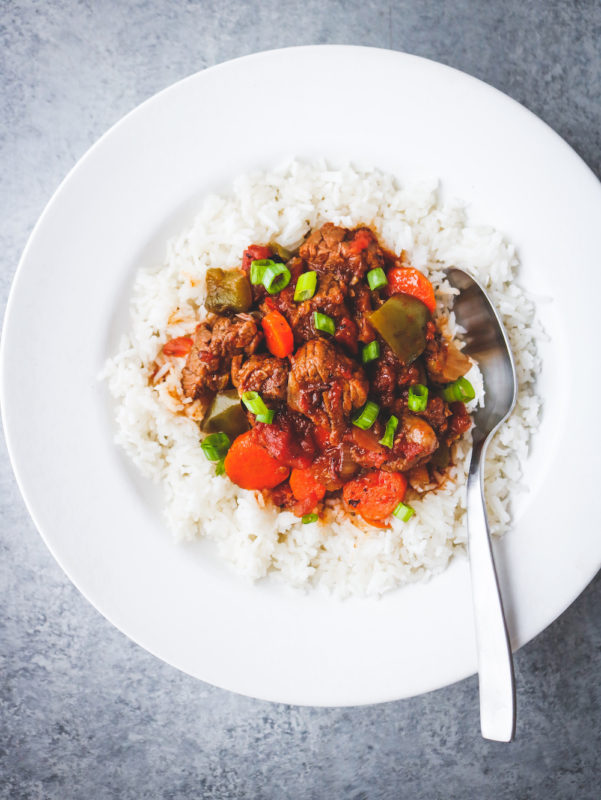
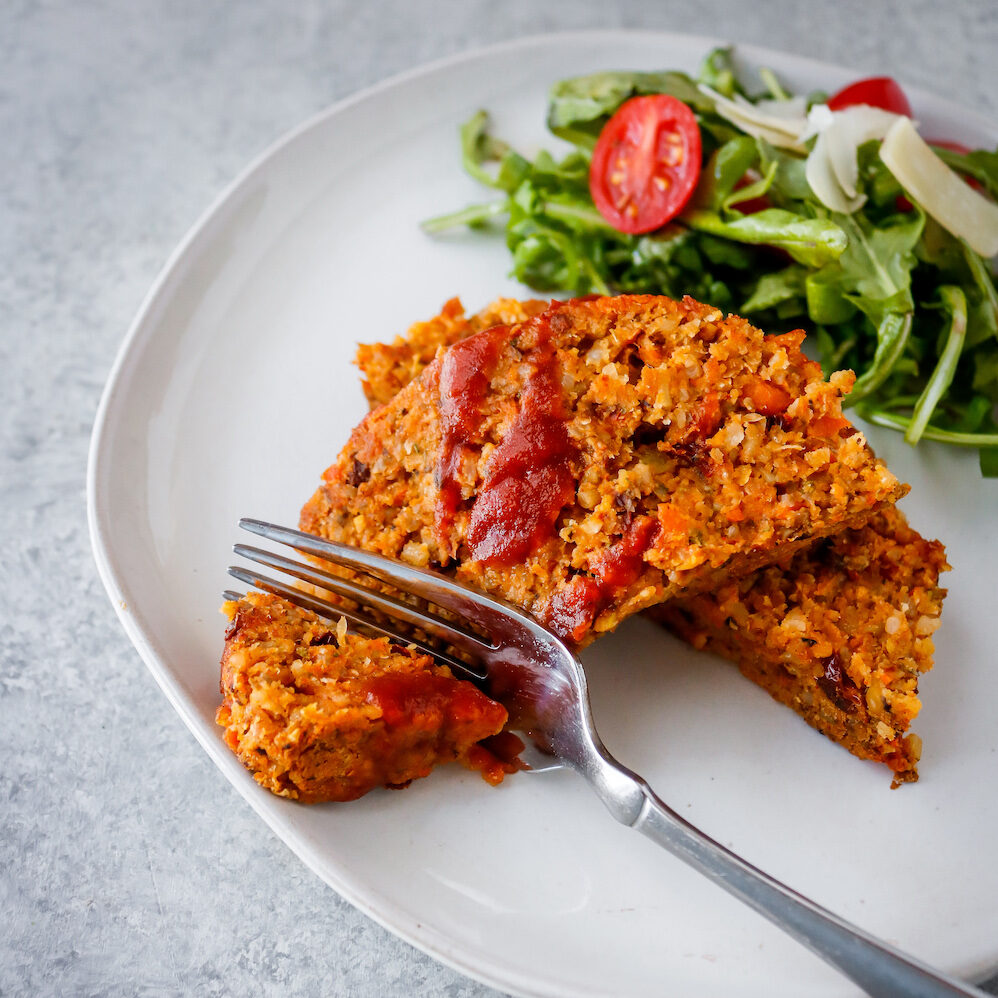
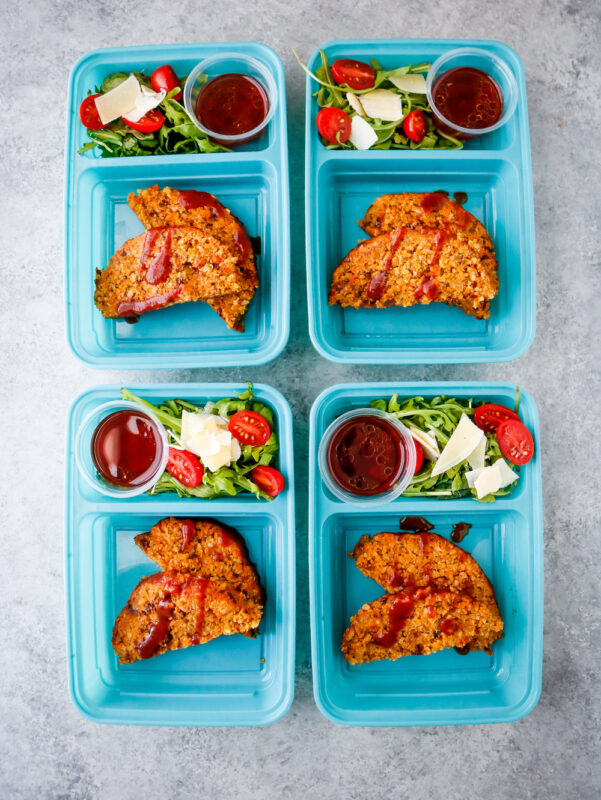
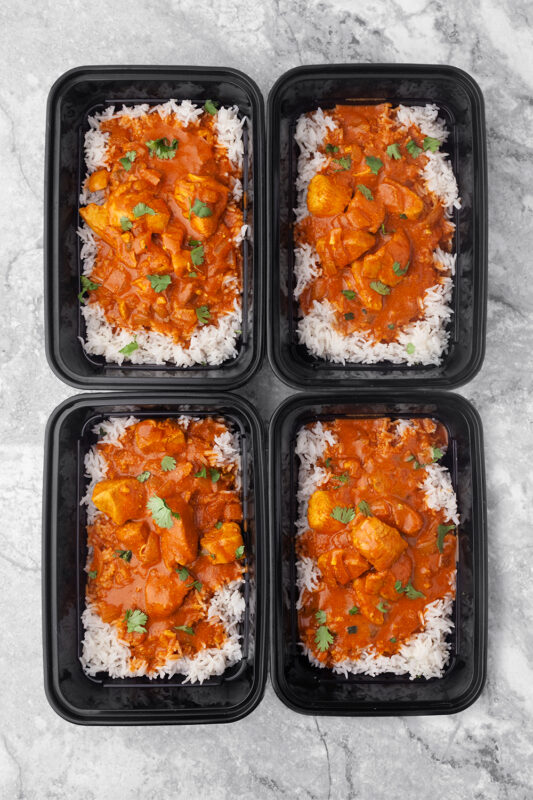
Slow cooked beef in an aromatic blend of tomatoes, spices and red wine! An impossibly easy dinner that tastes like a 5-star meal. Serve over zucchini or sweet potato noodles!
Why you'll love this recipe
- Deep, slow-cooked flavor from pantry staples and a touch of red wine (optional).
- Minimal prep: chop, dump, and let the crockpot do the work.
- Versatile serving options-zoodles, sweet potato noodles, cauliflower mash, or spaghetti squash.
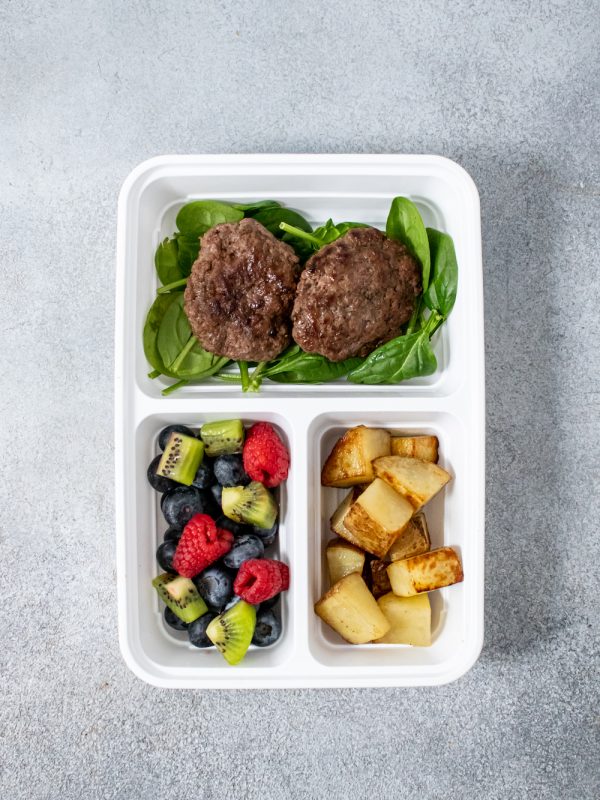
- Budget-friendly and meal-prep friendly; makes great leftovers and freezes well.

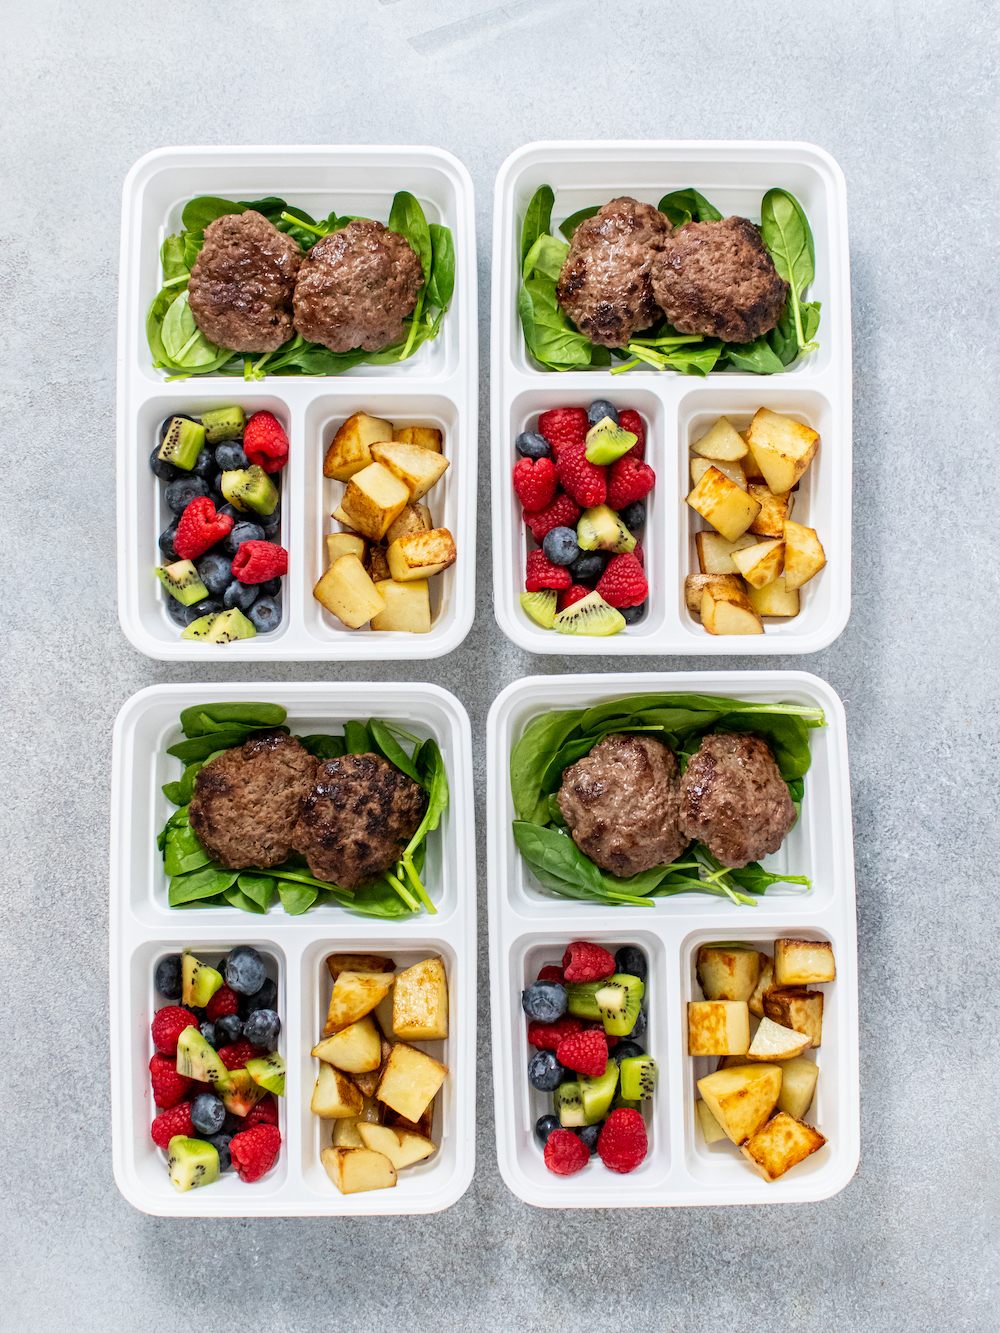
As a kid, I (Sarah), remember my dad in the kitchen every Sunday making big meals that we would enjoy midafternoon. In the winter months, he almost always used the crockpot, unless he was making a lasagna or another casserole. The house always had a comfort food feeling during the winter and by the time he was done cooking we had a freezer full of food for the week. All for cheap, of course, because we didn't have a lot of money.
We wanted to recreate a few hearty crockpot recipes that were easy to meal prep and cost-effective for everyone -- while giving you that comfort food feeling. Things like chili and pot roast are two of our favorites. But, we also wanted a low carb alternative and thought this recipe would fit the bill!
It brings together so many of the best fall flavors, while still be extremely easy and ringing in at under $4 a serving. It works well for lunch, dinner or even a big family Sunday brunch. Just to be sure to make extra because everyone will love this recipe! Oh, and if you happen to want to invite us over, we wouldn't turn down the offer 😉
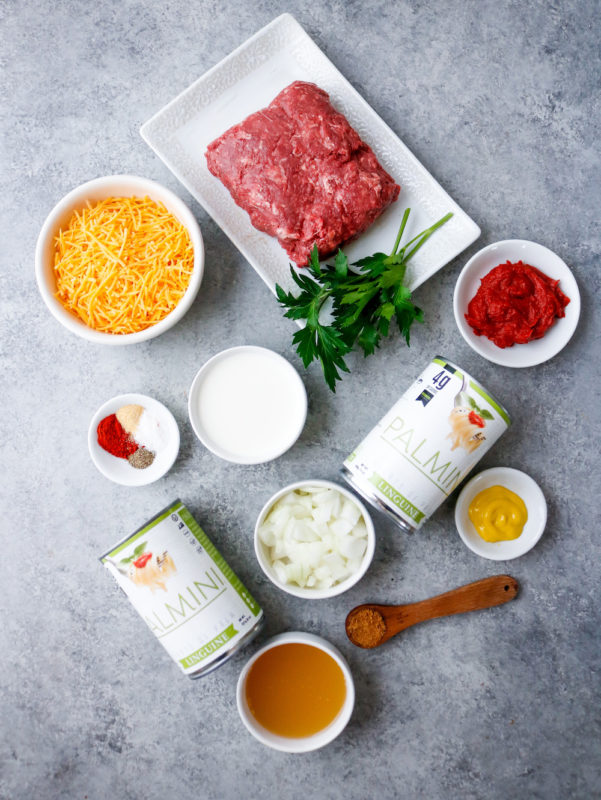
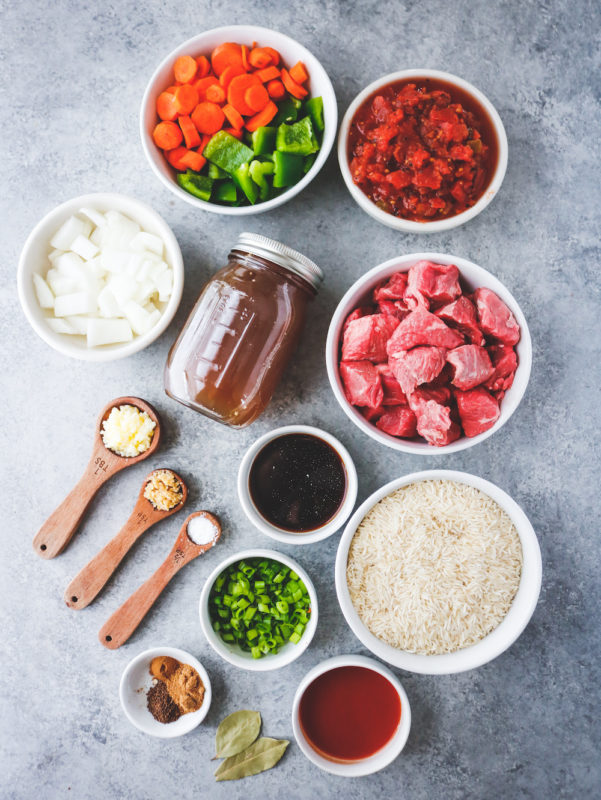
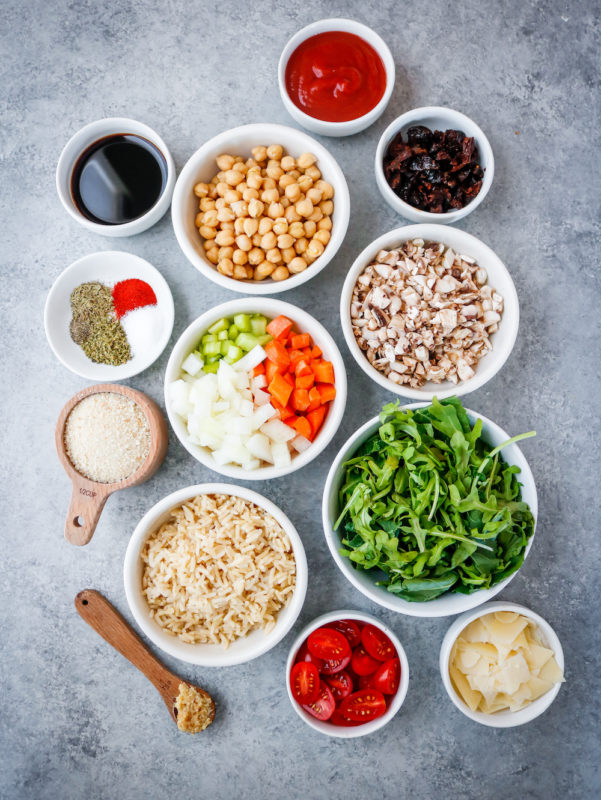
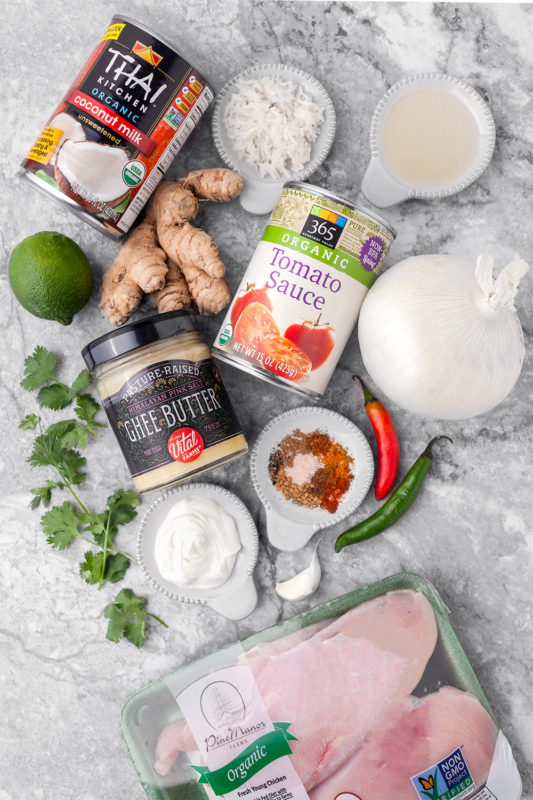
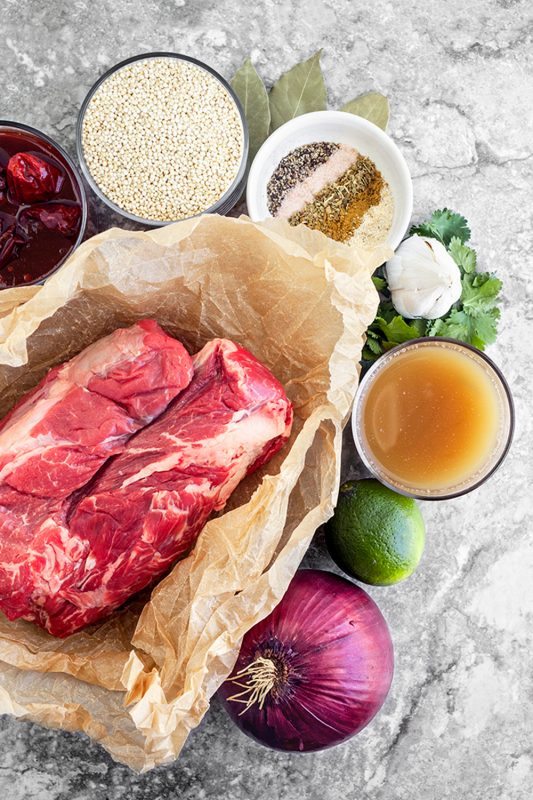
Low Carb Crockpot Beef Ragu Meal Prep Ingredients:
- 1 lb. beef stew, round roast or chuck roast
- 1 cup carrots, diced
- 1 cup celery, diced
- ½ cup green bell pepper, diced
- 3 tbsp. minced garlic
- 3 tbsp. white onion, diced
- 1 14 oz. can diced tomatoes
- 1 8 oz. can tomato paste
- ¼ cup red wine (if desired)
- 1 cup beef broth
- 2 bay leaves
- 1 tbsp. rosemary
- ½ tbsp. dried thyme
- salt & pepper to taste
- serve with: zucchini noodles

How to make
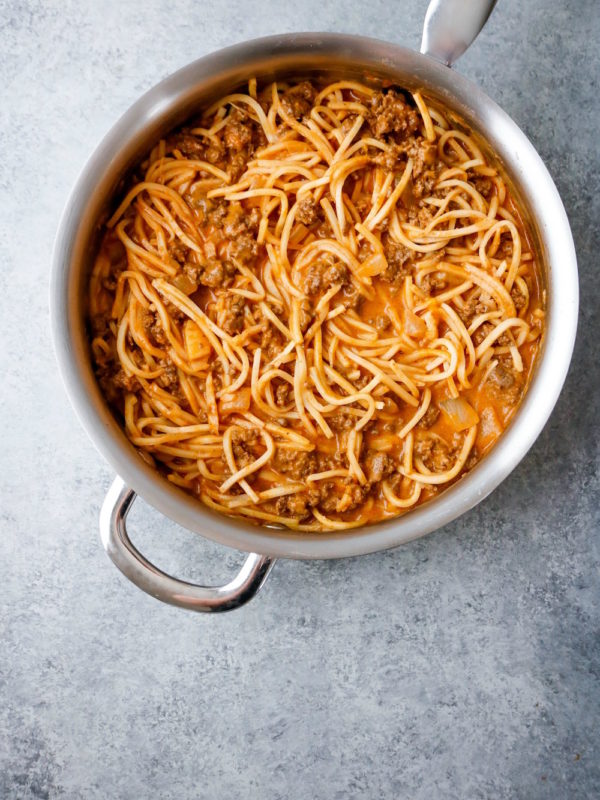
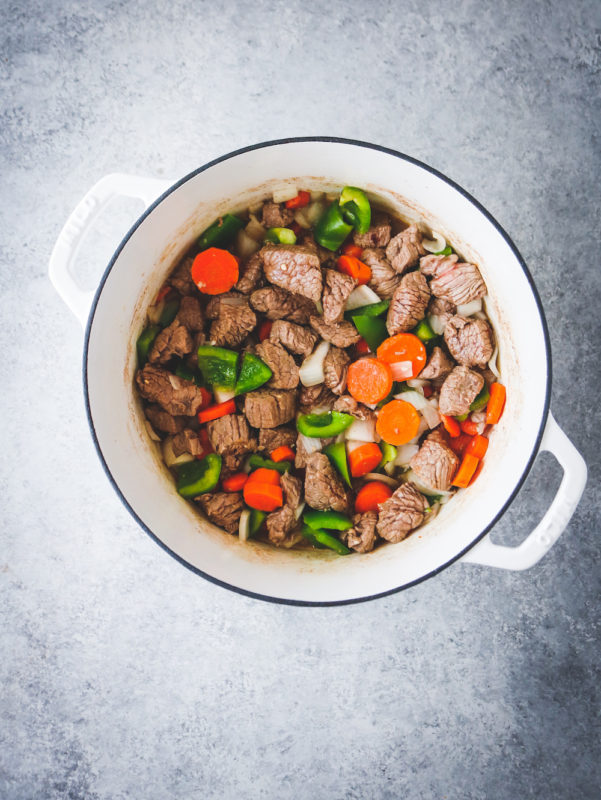
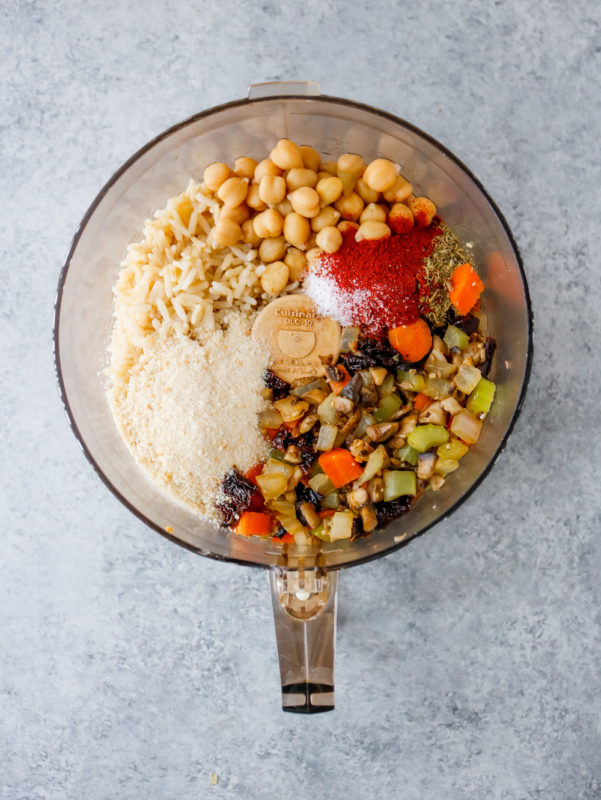
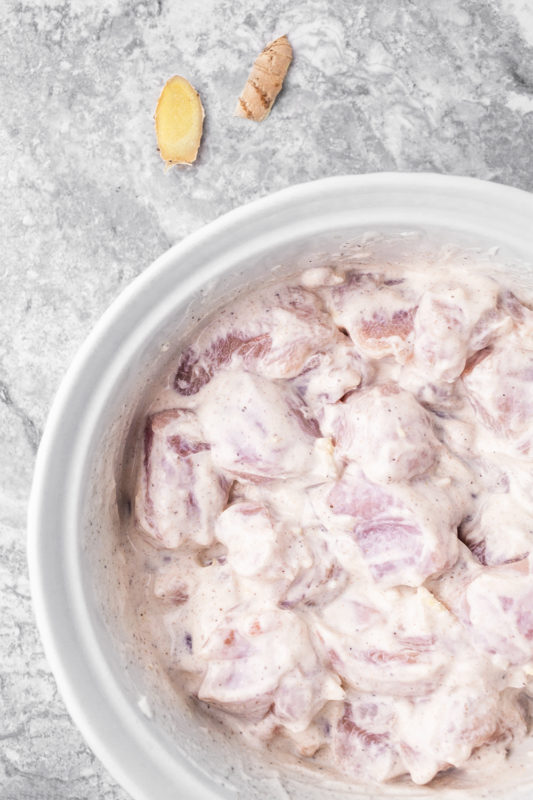
Step 1: Load the slow cooker
Place carrots, celery, bell pepper, garlic, and onion in the bottom of the slow cooker.
Step 2: Add beef & sauce
Season beef generously with salt and pepper. Place on top of the vegetables. Add diced tomatoes, tomato paste, red wine (if using), beef broth, bay leaves, rosemary, and thyme. Stir gently to combine.
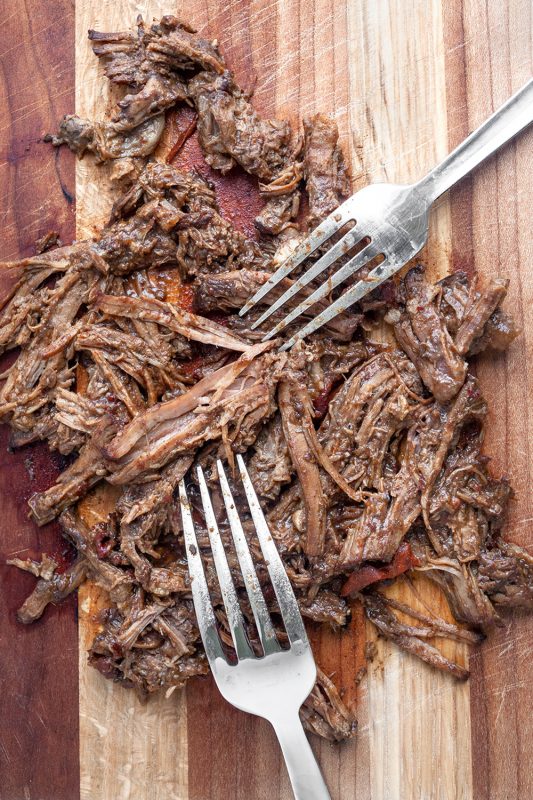
Step 3: Slow cook
Cook on LOW 6-8 hours or HIGH 4 hours, until beef is very tender and sauce is aromatic. Remove bay leaves. Taste and adjust salt/pepper.
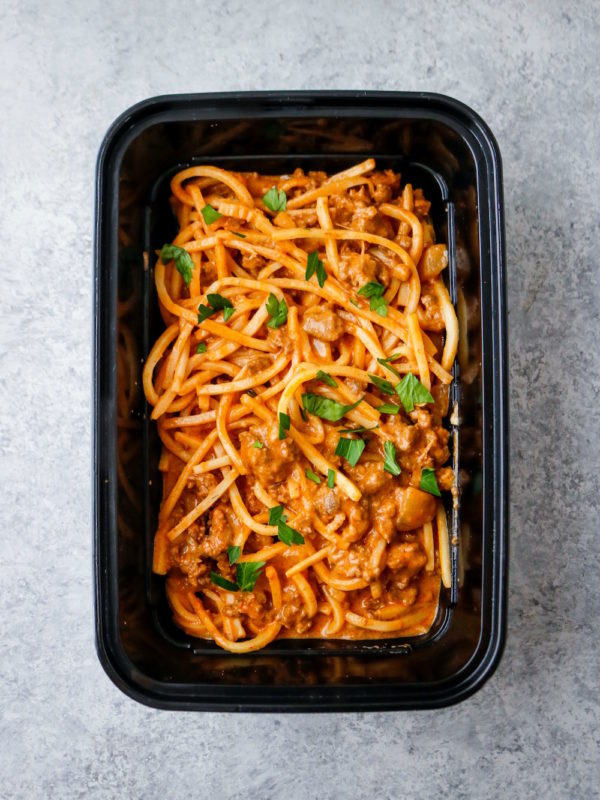
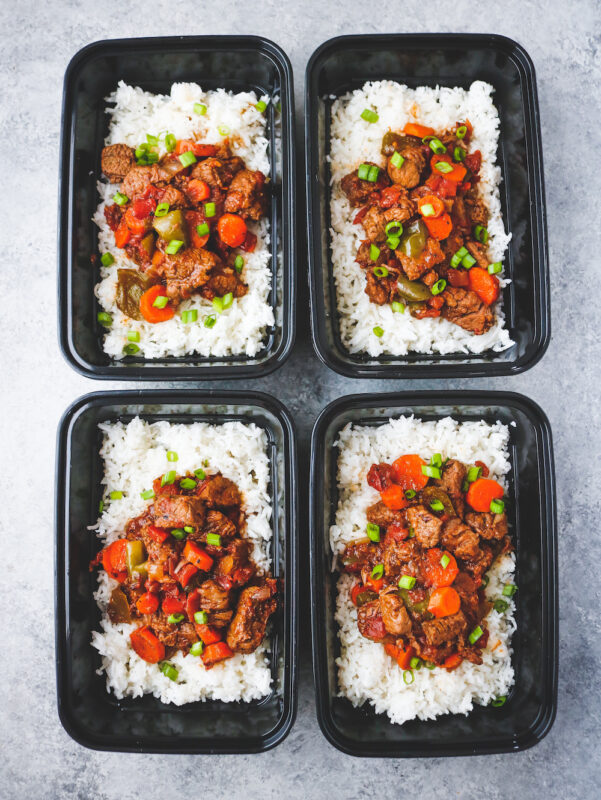
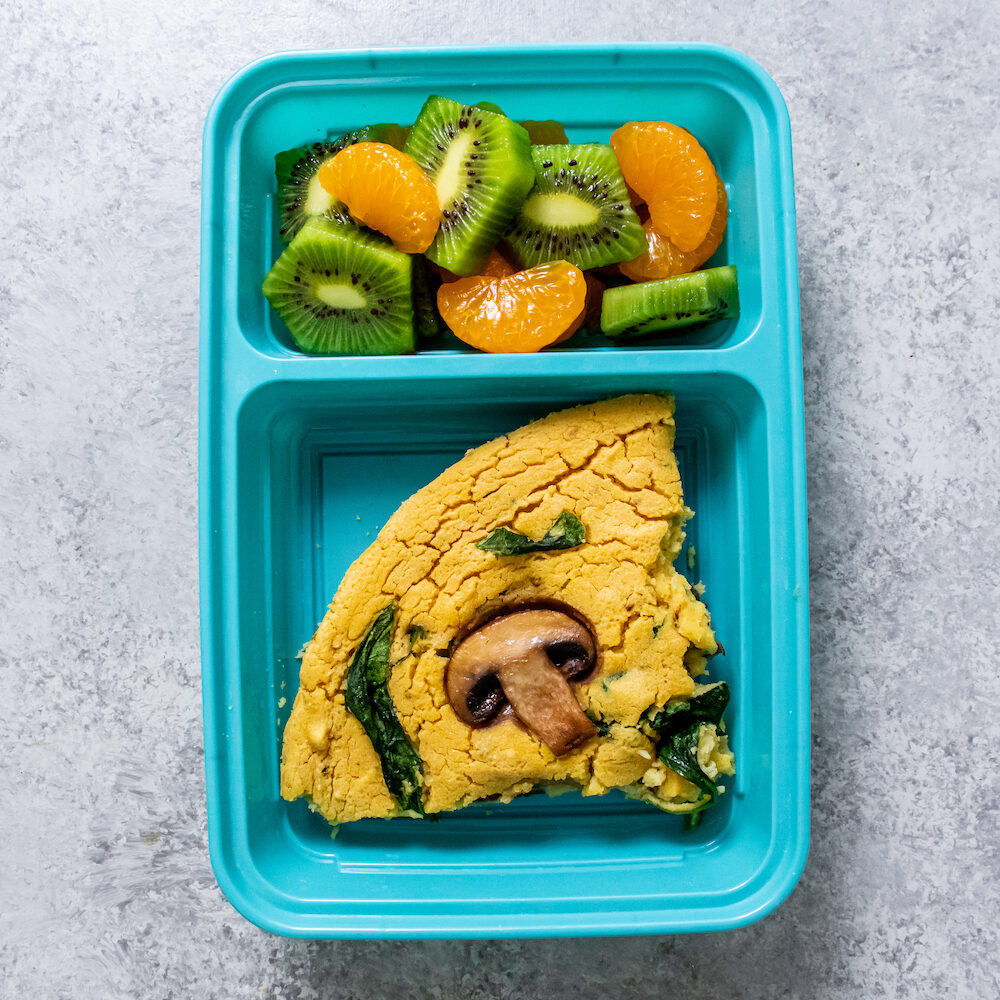
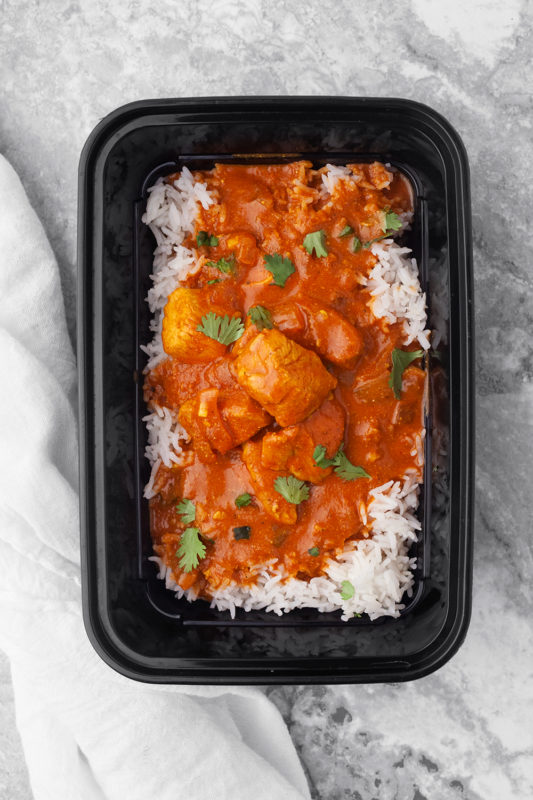
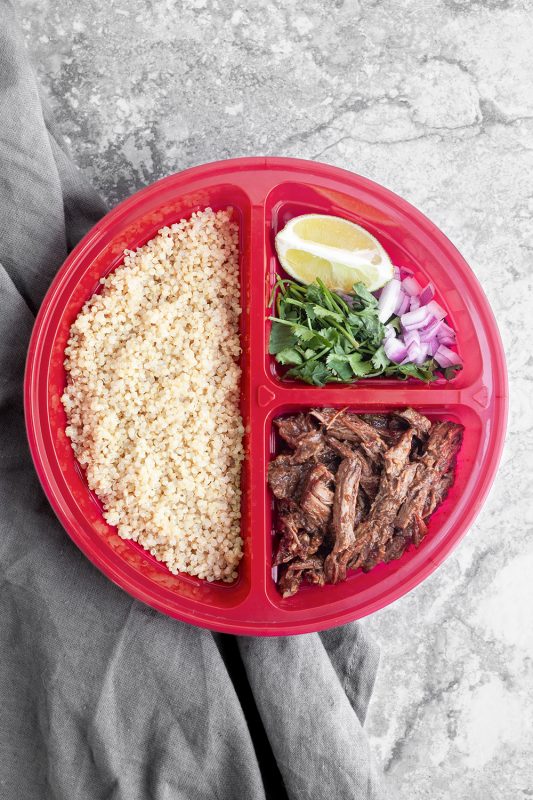
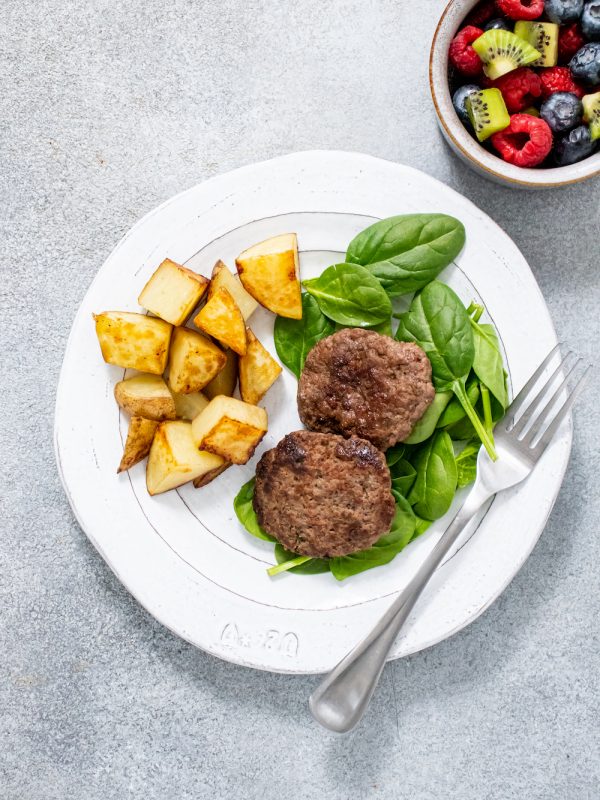
Step 4: Serve
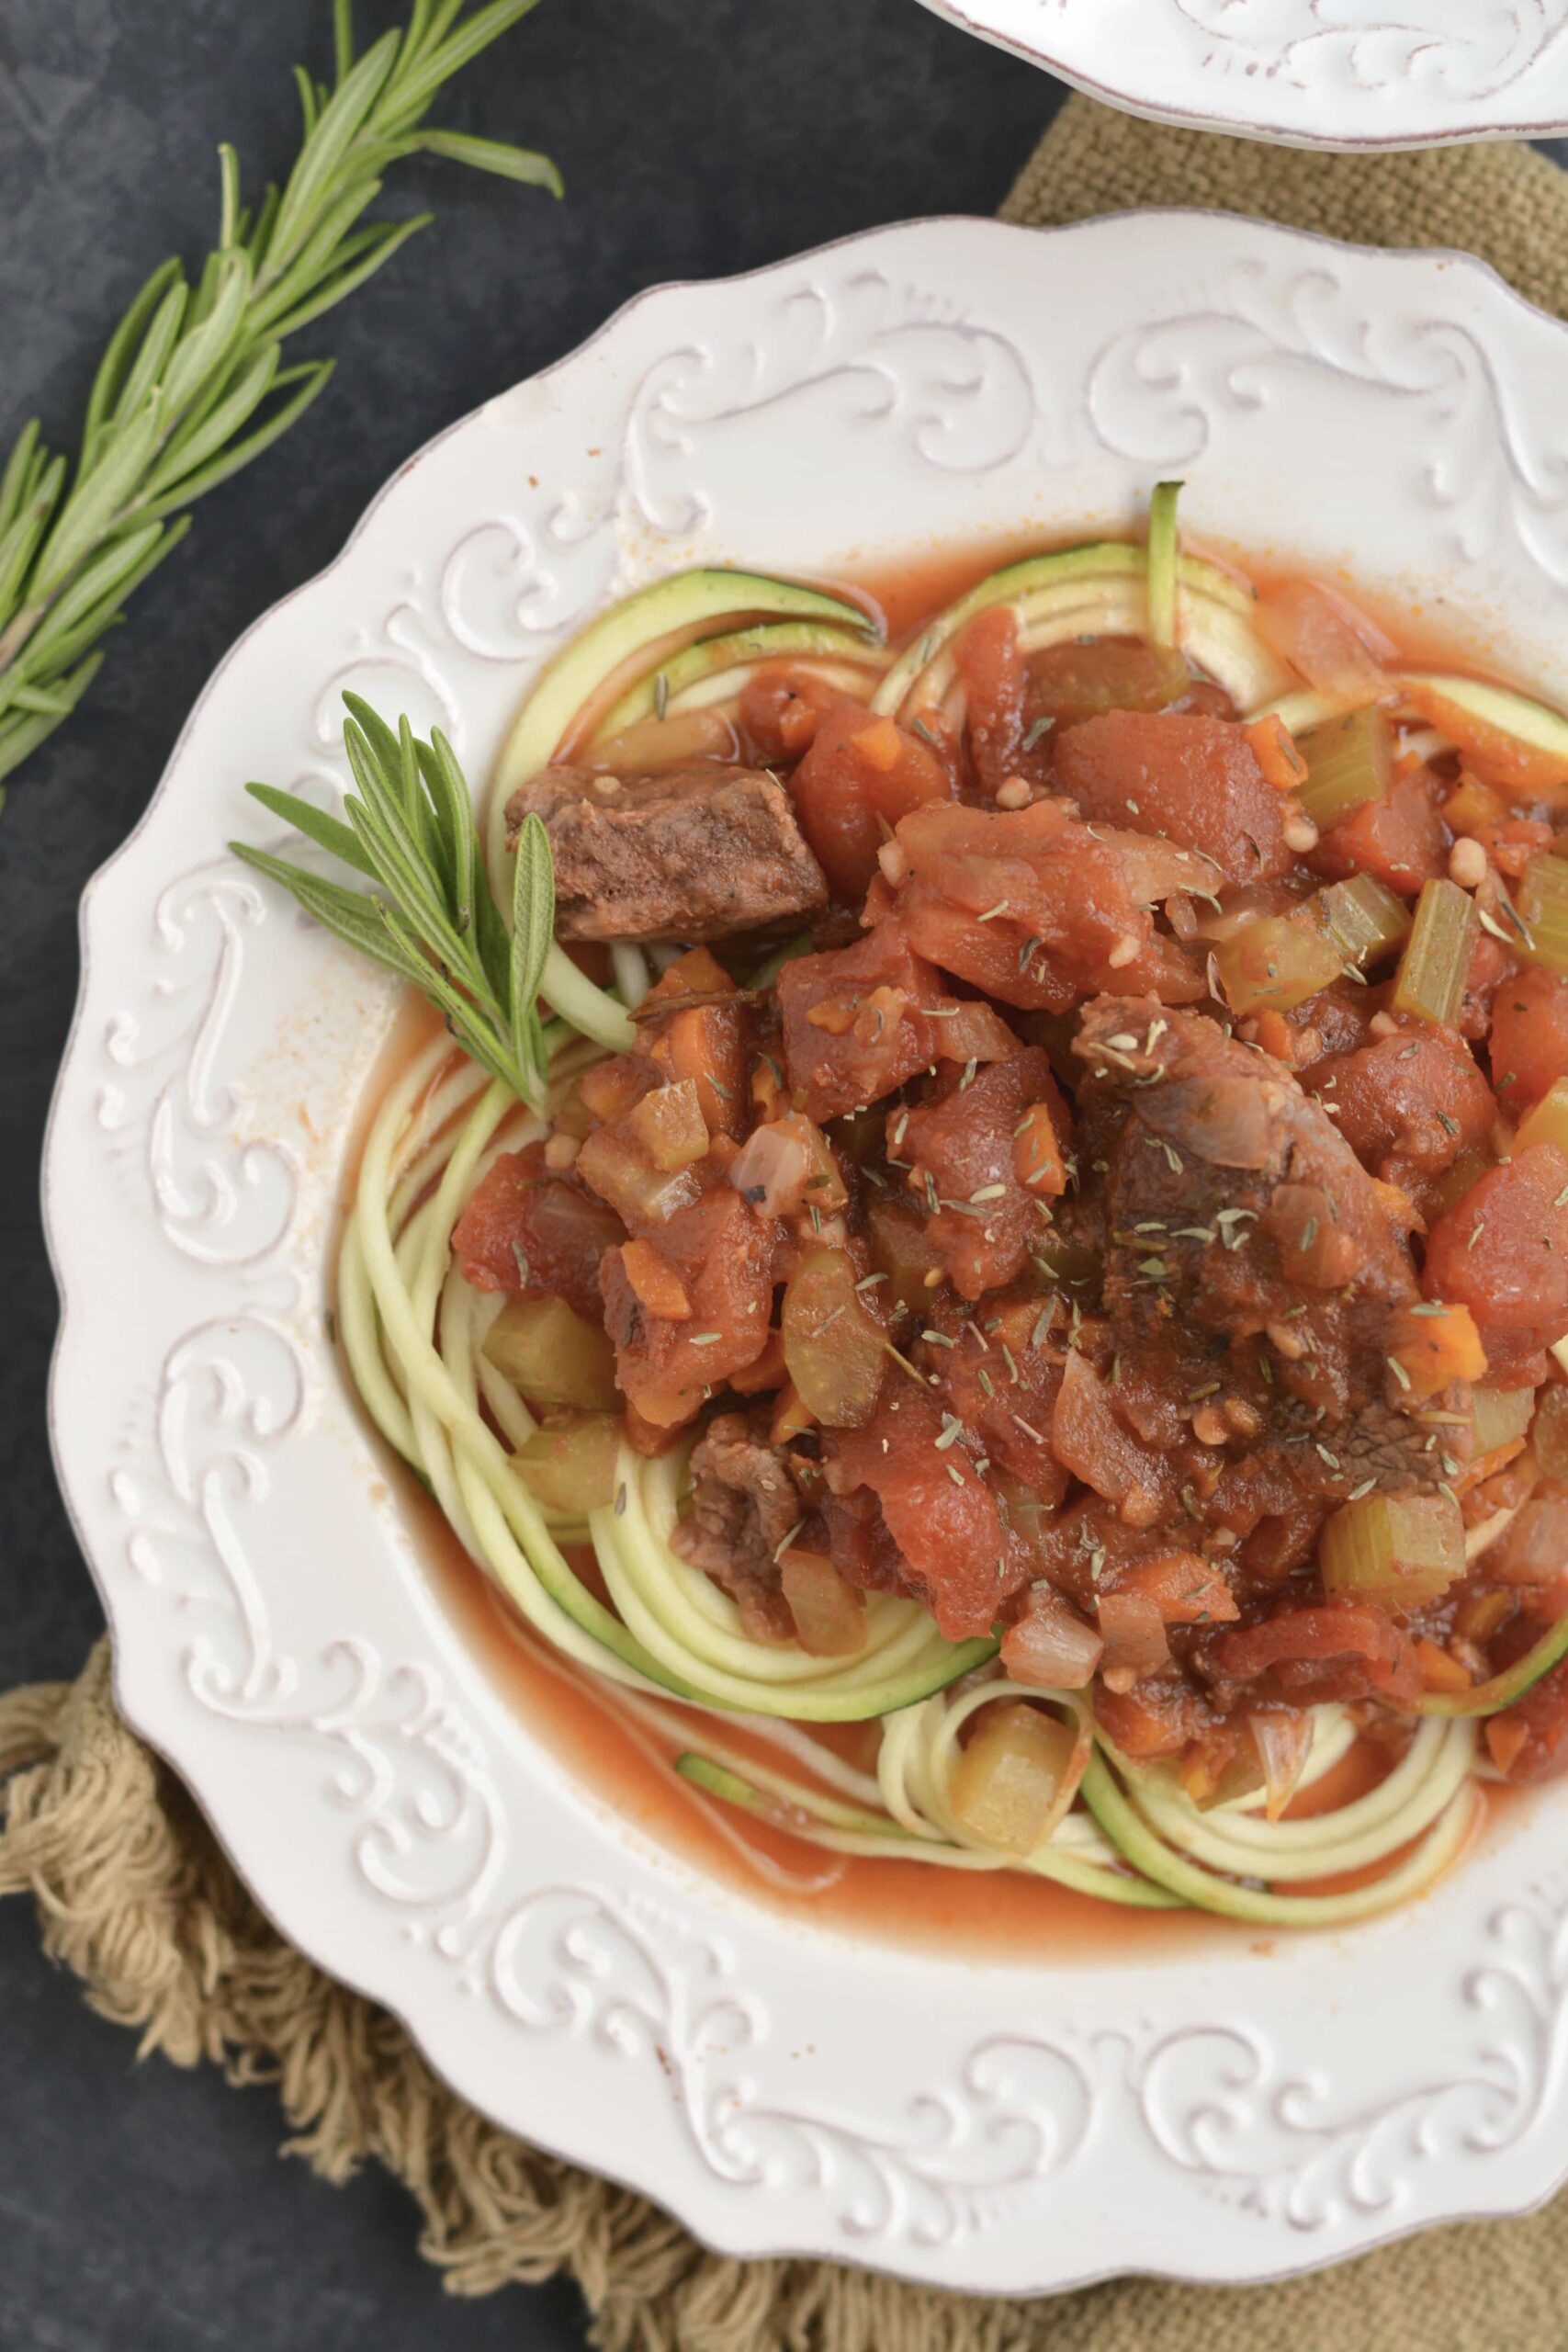
Serve the ragu over zucchini noodles or sweet potato noodles. Garnish as desired.
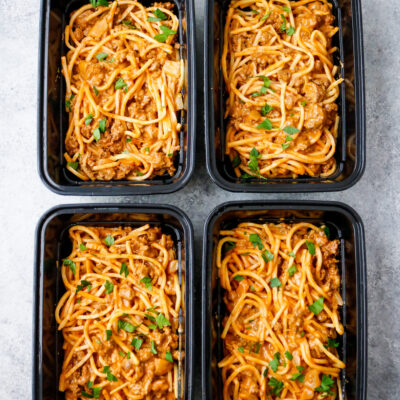
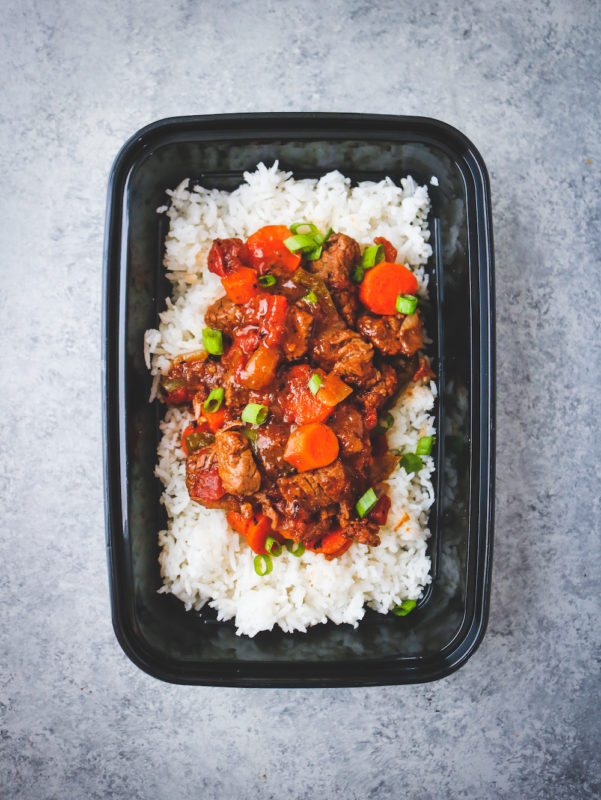
How to store
- Ragu (beef + sauce): Cool completely. Store in airtight containers up to 4 days in the fridge or 3 months in the freezer.
- Zucchini noodles: Store raw, spiralized zoodles separately in paper towel-lined containers up to 3 days. If cooking zoodles ahead, undercook slightly and drain well before storing.
How to reheat
- Stovetop: Warm ragu in a saucepan over medium heat, stirring occasionally, 5-7 minutes. Toss with zoodles in the hot sauce just until warmed.
- Microwave: 60-90 seconds per portion, stirring halfway. Add a splash of broth if needed.
Nutrition facts
Per 1 serving (¼ of recipe): 358 calories, 31g protein, 27g carbs, 14g fat.
Macros will vary based on your noodle choice; zoodles are lowest in carbs.

Helpful tips or ingredient swaps
- No wine? Substitute with ¼ cup additional beef broth plus 1 teaspoon balsamic vinegar for depth.
- Thicker sauce: After slow cooking, shred the beef and simmer uncovered (stovetop or high in the slow cooker) 10-15 minutes to reduce.
- Veg swaps: Add mushrooms or swap green bell pepper for red/yellow if that's what you have.
- Different protein: Boneless pork shoulder also works; cook times are similar.
- Serve it other ways: Over cauliflower mash, spaghetti squash, or your favorite gluten-free pasta if carbs fit your plan.
FAQs
Salt raw zoodles lightly and let sit 10 minutes, then pat dry. Or sauté in a dry skillet 1-2 minutes just until crisp-tender; drain before topping with ragu.
Yes. Brown the beef in a Dutch oven, add remaining ingredients, cover, and simmer on low 2-3 hours, stirring occasionally, until tender.
No. It's savory and herb-forward. If you like heat, add a pinch of red pepper flakes.
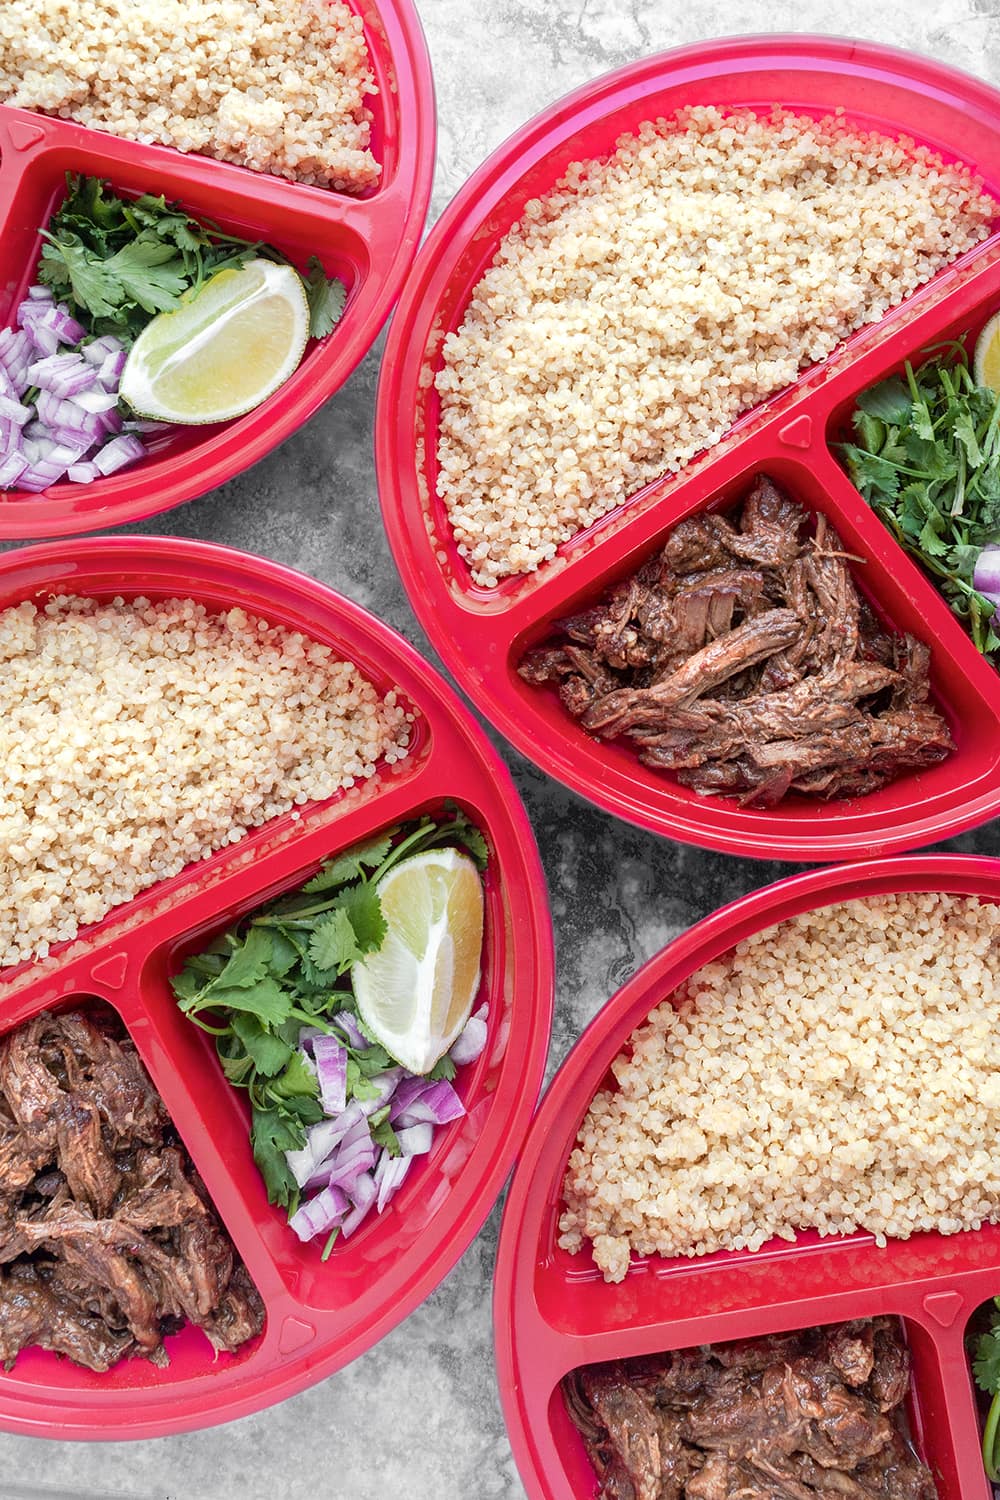
Final thoughts
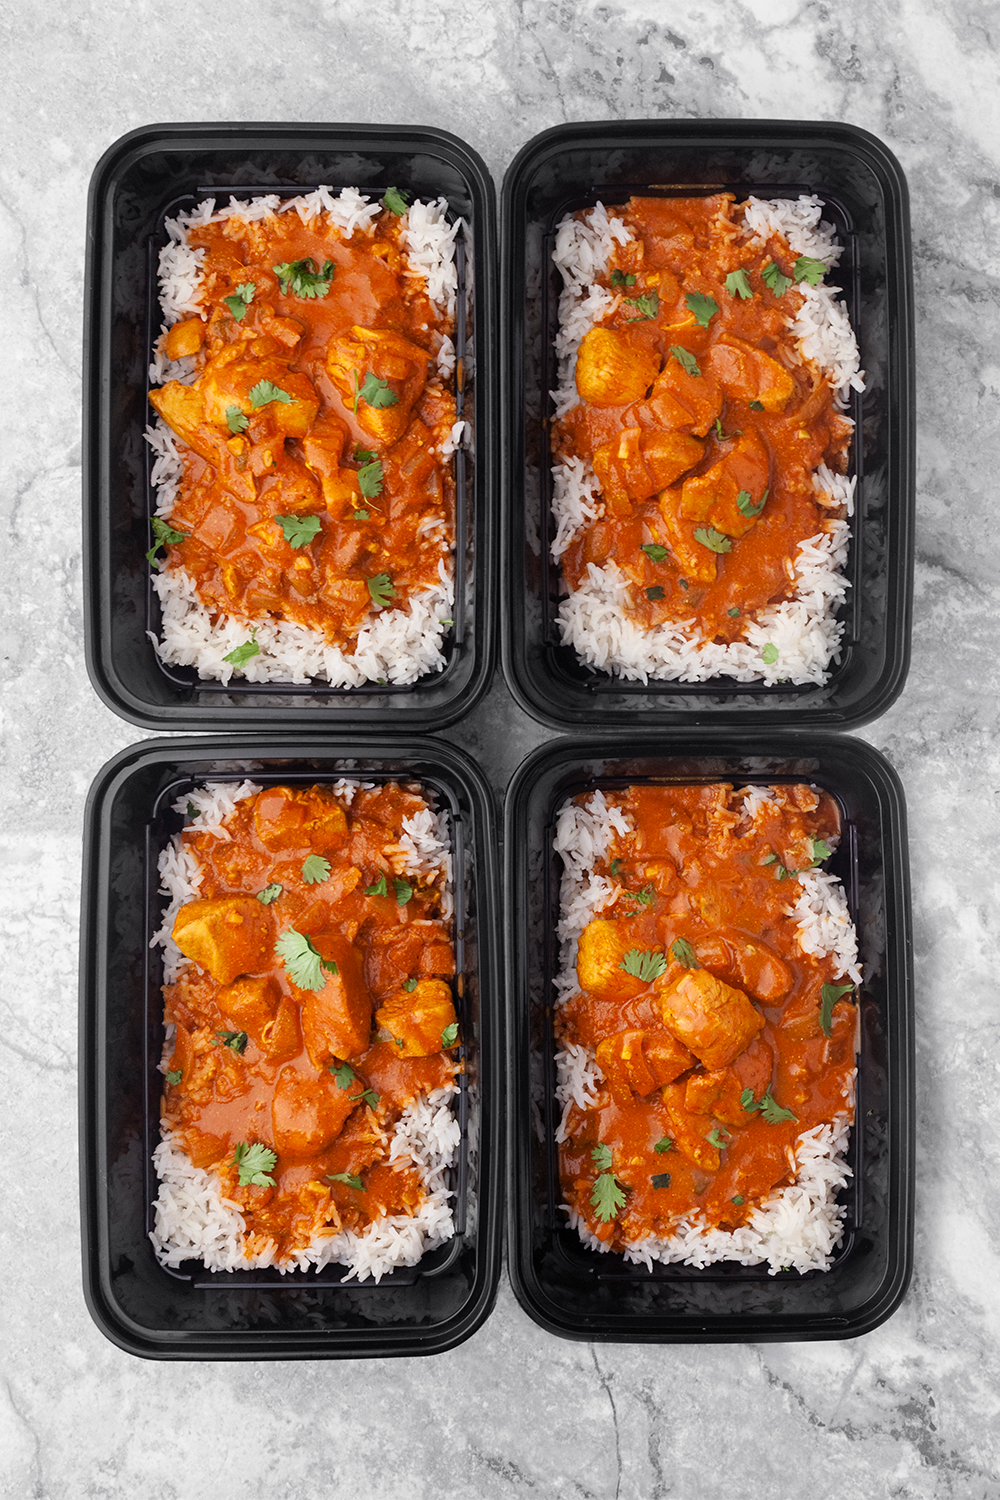
Everything we love about a Sunday sauce with weeknight effort. Make a batch, portion it up, and you've got cozy, protein-rich meals ready to go.
If you love this recipe, check out the Workweek Lunch Meal Planner to make healthy meal prep simple and stress-free all week long.
Ingredients
- 1 pound chuck roast can sub round raoast
- 1 cup Carrots diced
- cup celery diced
- ½ medium green bell pepper diced
- 3 tbsp. garlic minced
- 3 tbsp. white onion diced
- 14 ounces diced tomatoes
- 8 ounces tomatoe paste
- ¼ cup red wine optional
- 1 cup beef broth
- 2 bay leaves
- 1 tbsp. dried rosemary
- ½ tsbp. dried thyme
- salt & pepper to taste
- 4 cups zucchini noodles
Instructions
- Place carrots, celery, bell pepper, garlic and onion on the bottom of a crockpot set to high.
- Over the veggies, place the beef than add remaining ingredients.
- Cook about 4 hours on high heat or 6-8 hours on low heat, or until beef is tender and the stew is aromatic.
- Serve immediately over zucchini noodles.