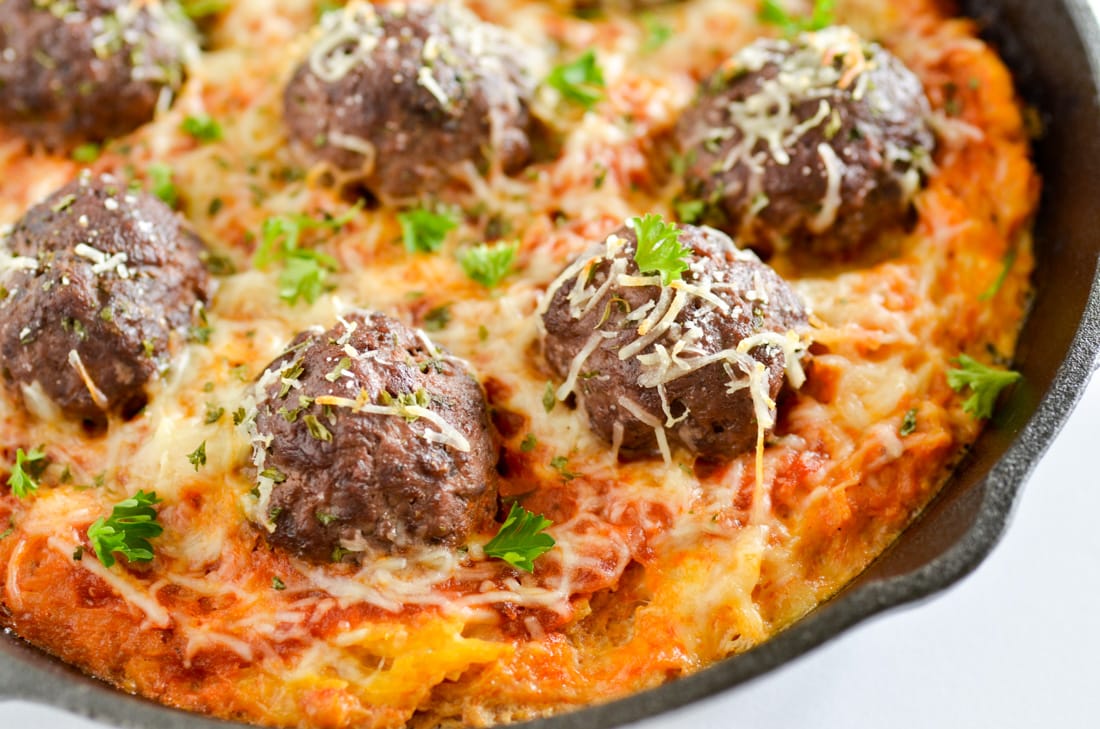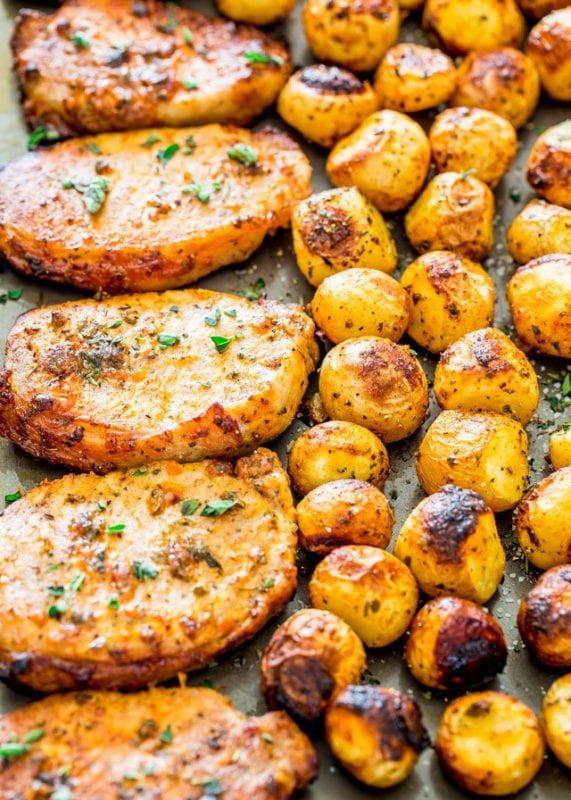
We bring you with this fun and easy lunch idea that your taste buds will love. It's our Sheet Pan Philly Cheesesteak meal prep recipe. Our deconstructed version of a Philly cheesesteak is a unique and healthy way to enjoy the much-loved deli favorite.
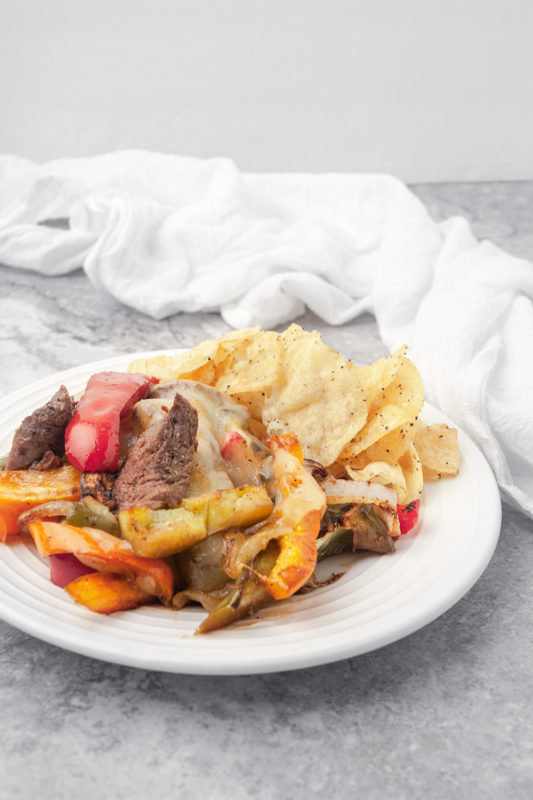
What makes Sheet Pan Philly Cheesesteak unique is removing the bread so you can enjoy it on a plate or bowl and easily take it with you on the go.
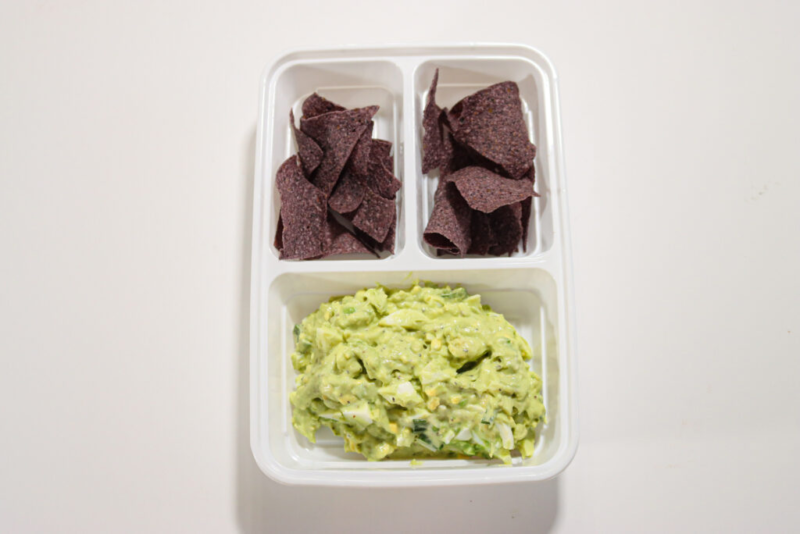
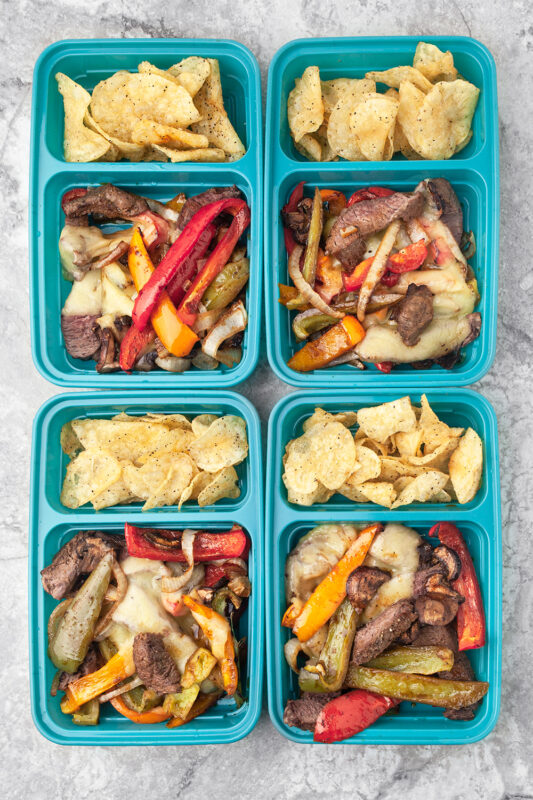
No mess and no gluten! We added a side of potato chips to make sheet pan Philly cheesesteak a substantial meal, and the chips add to the meal's textures and flavors. If this sounds interesting to you, keep reading so you can try this easy lunch idea yourself.
This delicious, gluten free twist packs tons of nostalgic and classic Philly cheesesteak flavors that are sure to satisfy!
Let's be honest, is there anything better than a "fresh from the deli" Philly Cheesesteak sandwich? Tender meat, savory veggies like mushrooms, onions, and peppers, plus lots of cheese? Not much that we can say for sure!
Grabbing a deli sandwich doesn't always align with our lifestyle, though. If we are trying to save money, eat better, hit our macros, or reduce sodium, then meal prepping is always a better option. But that doesn't mean that eating better has to be boring. This Sheet Pan Philly Cheesesteak recipe made with lean and affordable sirloin strip steak proves that point!
One pan. Good-for-you ingredients like protein from lean meat, veggies, and healthy fats from avocado oil and cheese. Macro friendly. It still contains all the flavors of your favorite sub, sans the bread, extra sodium, and fat. We even added in some kettle cooked chips on the side to make it feel more like a deli-style meal.
If you are following a low-carb or keto lifestyle, feel free to leave off the chips and serve yourself up an extra serving of the main event, the Philly Cheesesteak.
The star of this dish is the sirloin steak. We opted to use this cut because it is affordable, lean, and will cook fairly quickly. Plus, the sirloin will bring a great flavor that compliments the veggies so well! Those savory and umami flavors are what make this one-pan meal prep taste like a deli-style meal Monday through Thursday!
You can have this meal prep ready in under 30 minutes, which means less time in the kitchen and more time enjoying these warm summer days!
How long will Sheet Pan Philly Cheesesteak last for?
Philly cheesesteak will last for 3 to 4 days when properly stored in the fridge. Store your leftovers and planned sheet pan Philly cheesesteak meals in shallow, airtight containers.
Can Sheet Pan Philly Cheesesteak be frozen?
Yes. If you plan on freezing your cooked sheet pan Philly cheesesteak meal, don't cook it thoroughly. That way, when you reheat the meal, it tastes fresh - the steak won't be tough and your vegetables won't be soggy. You can store the Philly cheesesteak meal in gallon freezer bags or covered airtight containers.
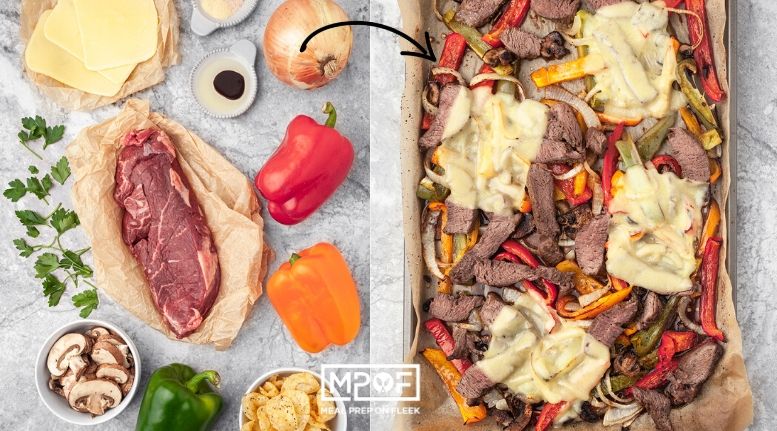
Sheet Pan Philly Cheesesteak Ingredients:
- 1 lb. Sirloin Strip Steak, excess fat trimmed
- 4 Slices Provolone Cheese
- 3 Medium Bell Peppers, sliced
- ½ Medium Yellow Onion, sliced
- 4 cups Salt and Pepper Kettle-cooked Potato Chips
- 1.5 cups Sliced Baby Bella Mushrooms
- 2 Tbsp. Avocado Oil
- 2 Tbsp. Worcestershire Sauce, gluten free
- 1 Tbsp. Garlic Powder
- 1 Tbsp. Italian Parsley
- 1 tsp. Himalayan Pink Salt
- 1 tsp. Ground Black Pepper

How do you make Sheet Pan Philly Cheesesteak?
Now you're ready to cook up some hearty cheesesteak goodness? Awesome! The recipe is simple and you'll have four delicious lunches in less than 45 minutes. So get your ingredients together and let's get started!
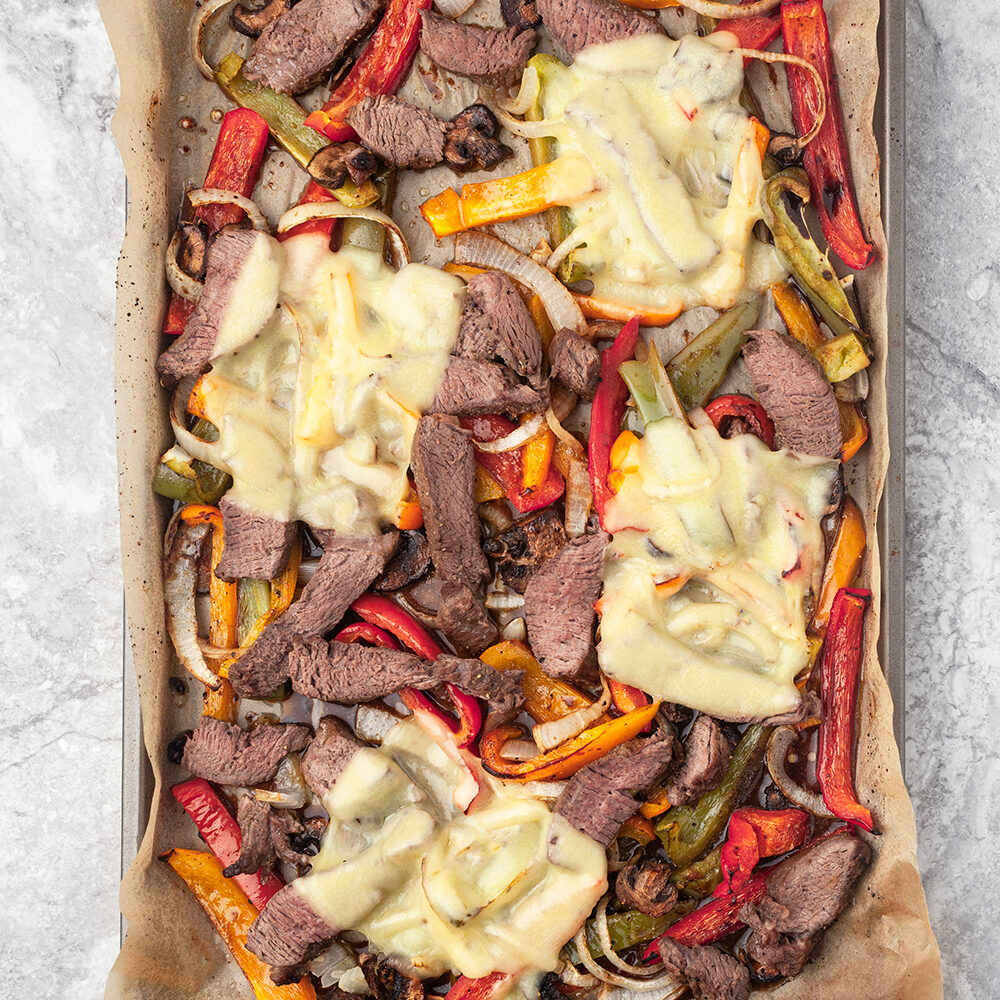
First things first, preheat your oven and line a sheet pan with parchment paper. Then grab a small bowl to whisk your sauce ingredients together. The Worcestershire sauce and seasonings go over the steak and veggies after you place them on the sheet pan. Toss the veggies in the sauce until fully coated so you don't miss out on each flavorful bite! Now your steak is ready to cook in the oven.
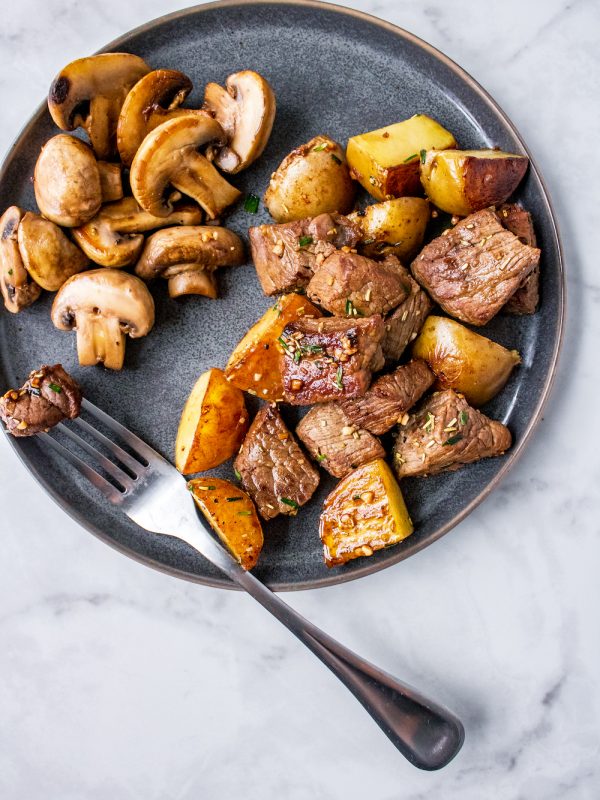
Put the steak and veggies in your preheated oven to cook for 15 minutes, followed by 5 minutes of broiling to caramelize the veggies. After cooking and broiling, remove the steak from the oven and let the steak rest before slicing it into strips. All that's left to do is slice the steak and top with cheese.
We all know that a Philly wouldn't be a Philly without melted cheese, so pop the cheese-covered steak strips in the oven and broil for 5 minutes. Once the cheese melts all over the steak, garnish your sheet pan Philly cheesesteak meal with fresh parsley.

How to portion Sheet Pan Philly Cheesesteak?
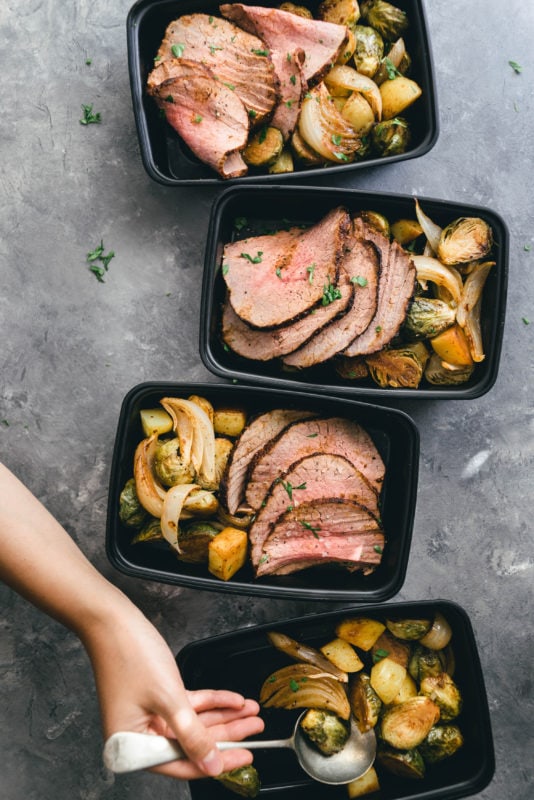
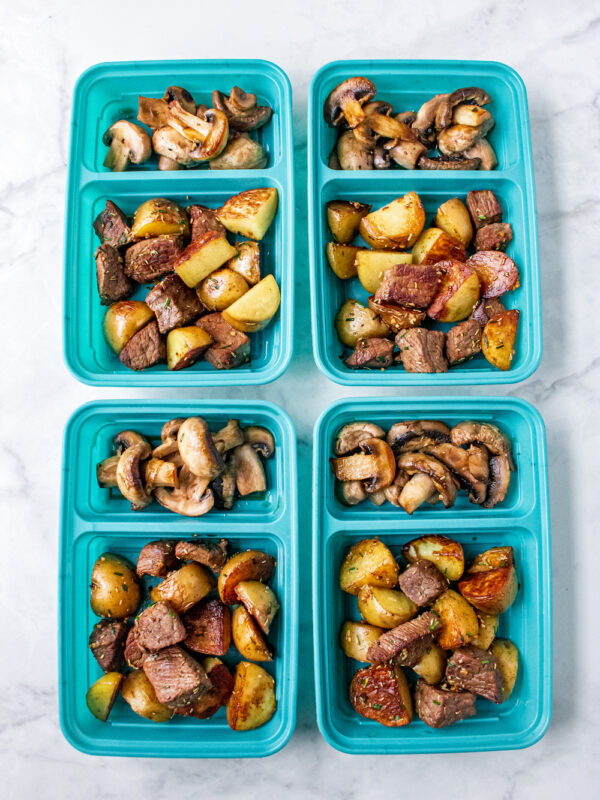
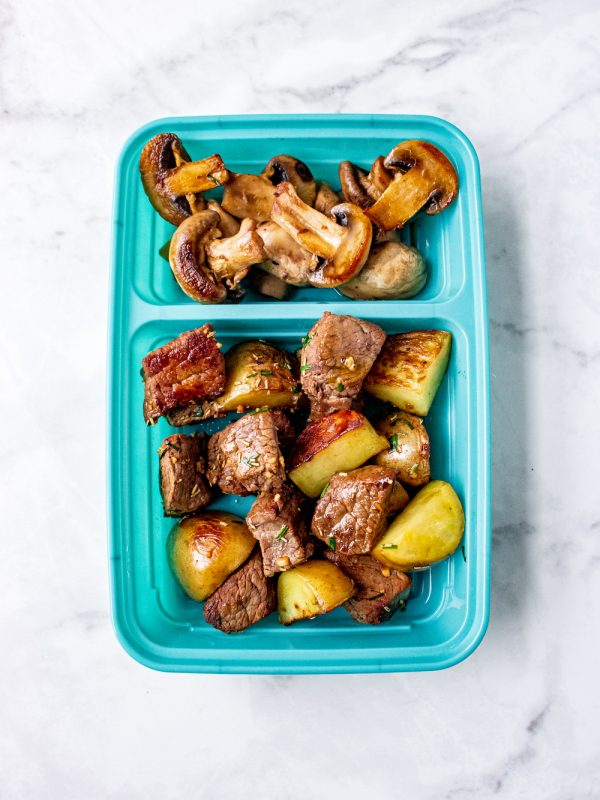
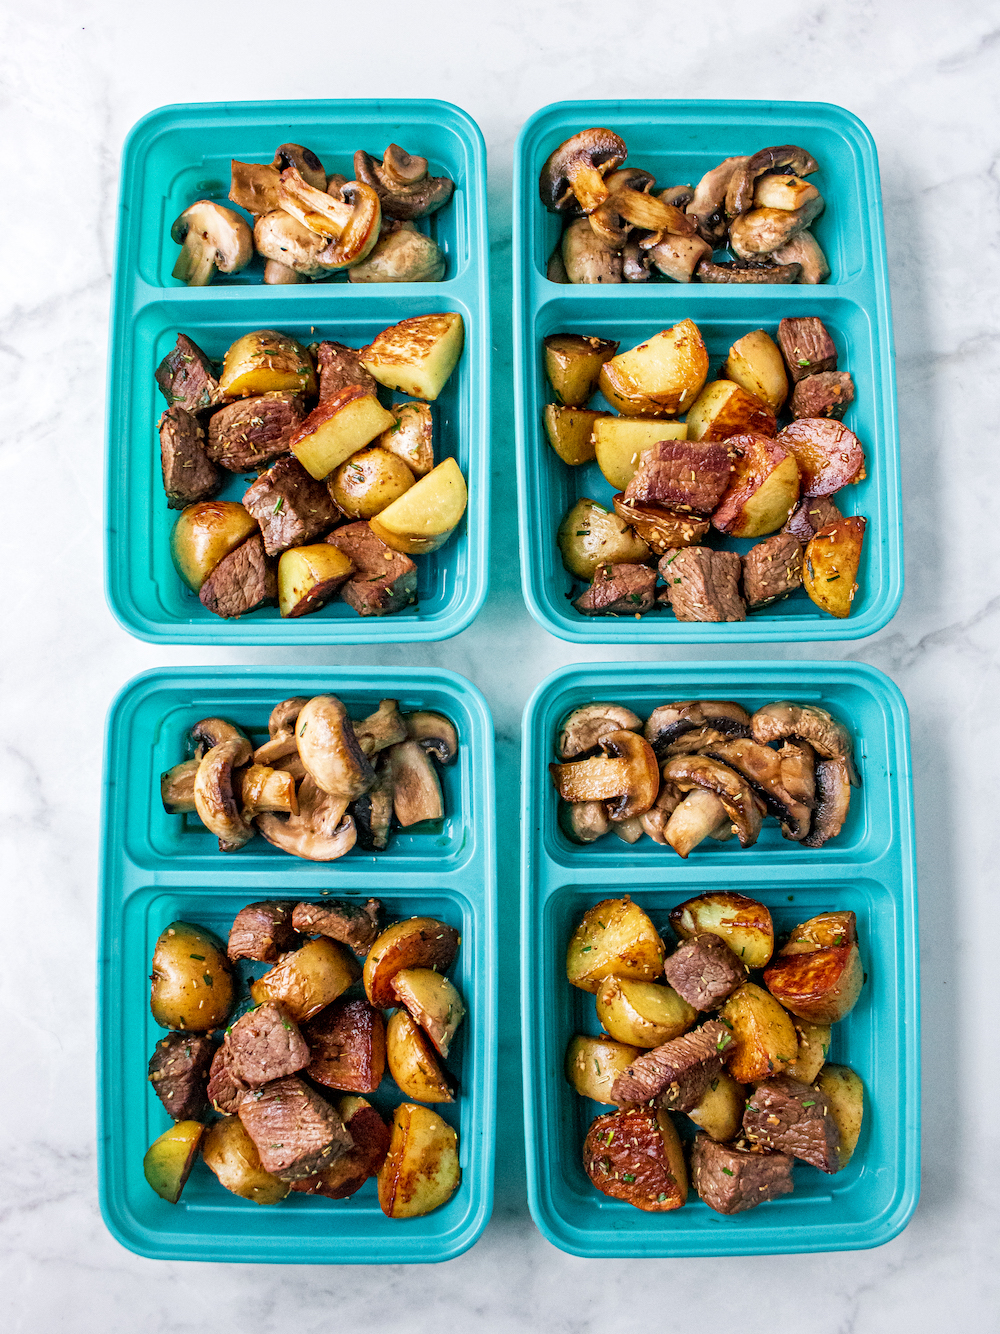
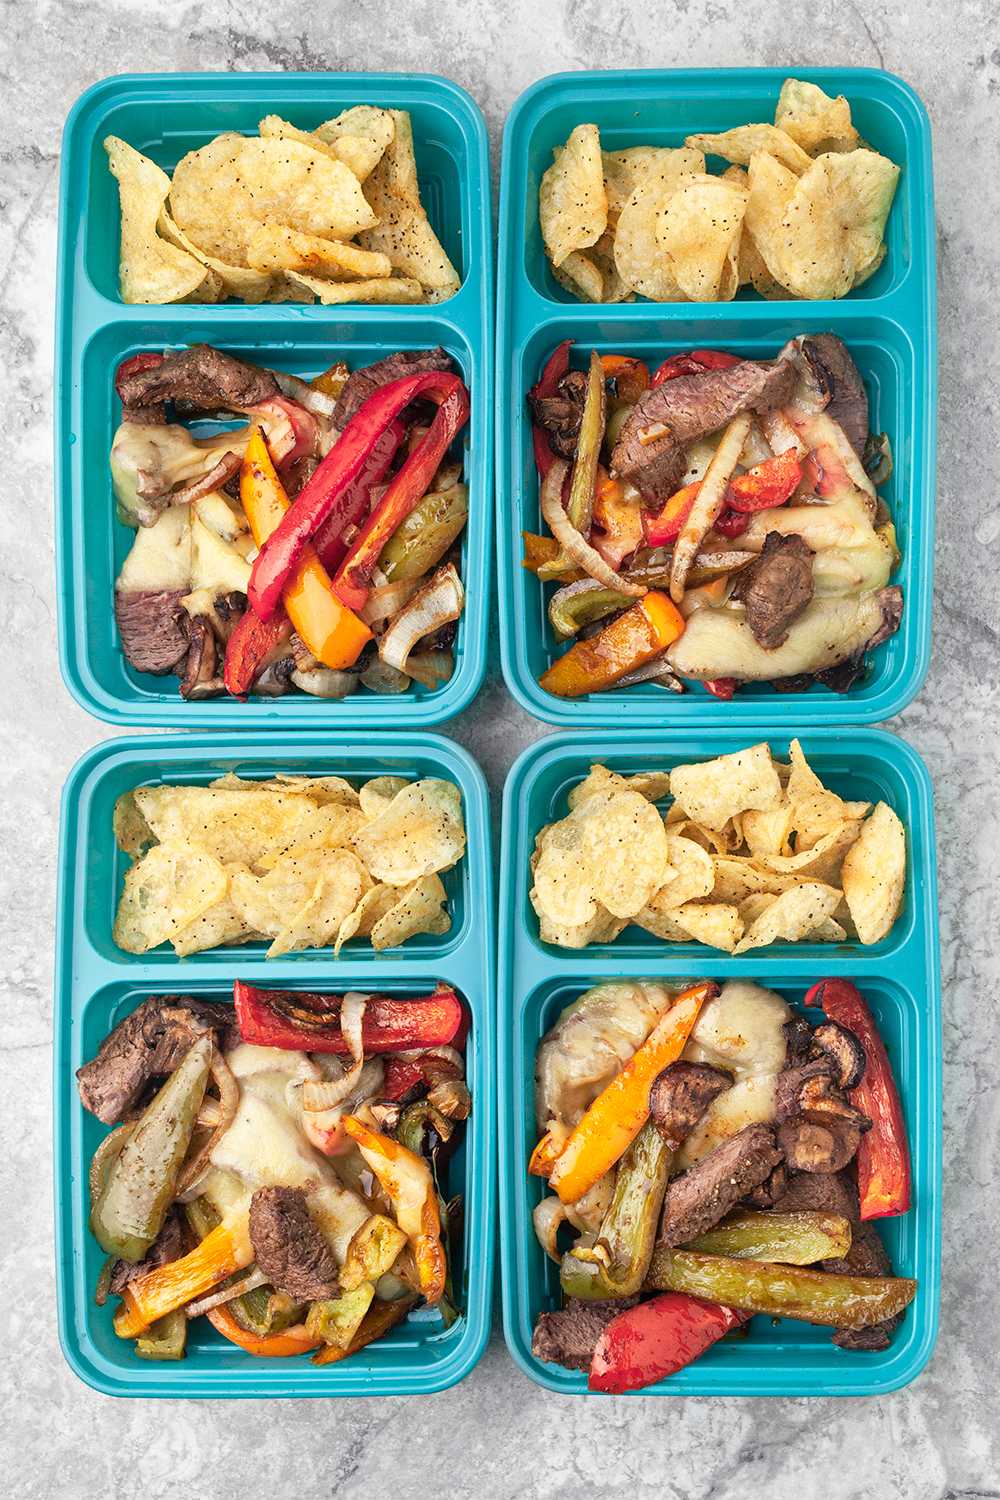
Since we're serving this easy lunch idea with potato chips, you need to keep the chips separate from the cheesesteak so they don't get soggy. You need four dual-compartment meal prep containers like these. Put your Philly cheesesteak in the bigger compartment and your chips in the other compartment. However, we suggest adding the chips the day you plan on enjoying this meal.

More sheet pan meal prep recipes:
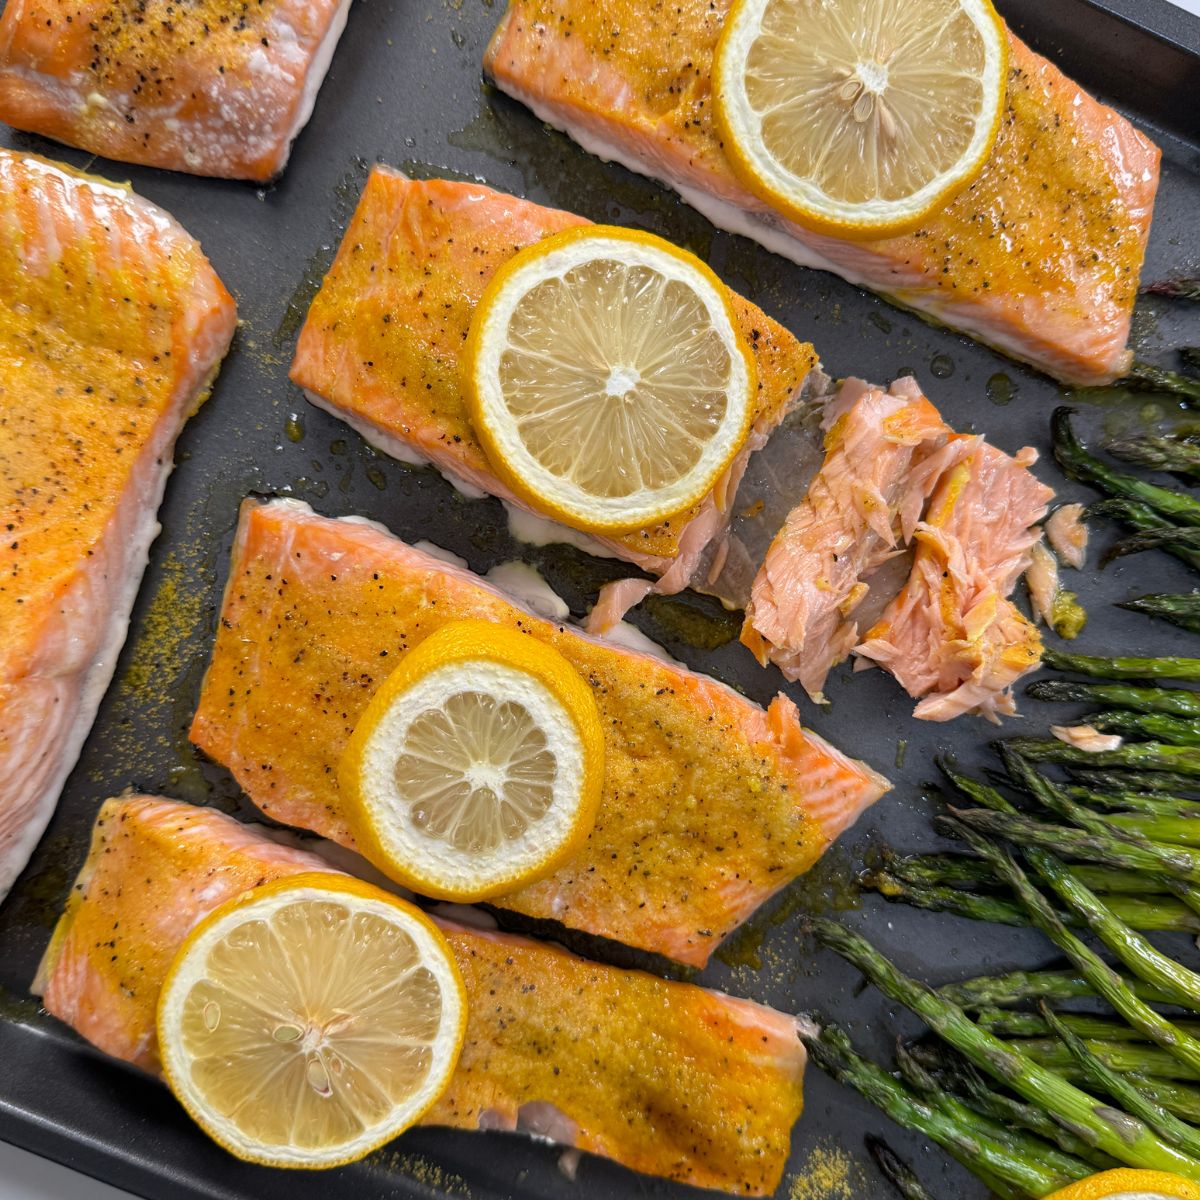
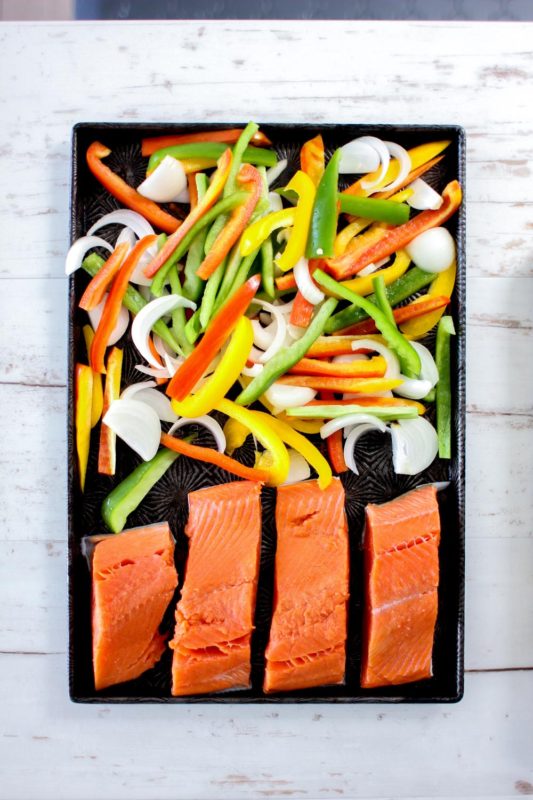
- Sheet Pan Salmon Fajitas
- Sheet Pan Shrimp Fajitas
- Sheet Pan Marmalade Sausage Meal Prep
- Sheet Pan Chicken Fajitas
And check out 35 Sheet Pan Meal Prep Recipes (That Will Change Your Life) for a mix of breakfast, lunch, dinner, and dessert meal prep ideas.
Other tips for making Sheet Pan Philly Cheesesteak:
Don't overcrowd your sheet pan so everything cooks thoroughly. The ideal size sheet pan to use is 13x18".
We opted to use this cut of sirloin because it is affordable, lean, and will cook fairly quickly. Plus, the sirloin will bring a great flavor that compliments the veggies so well! You can also use rib-eye.
Ask your butcher for thin cuts of steak.
Season your steak before cooking. Let the seasoning marinate by putting the steak in the fridge for at least one hour.

Visit www.BeefItsWhatsForDinner.com for more recipes and easy meal prep inspiration!
Equipment
- sheet pan
Ingredients
- 1 lb. Sirloin Strip Steak excess fat trimmed
- 4 Slices Provolone Cheese
- 3 medium Bell Peppers sliced
- ½ medium Yellow Onion sliced
- 4 cups Salt and Pepper Kettle-cooked Potato Chips
- 1.5 cups Sliced Baby Bella Mushrooms
- 2 Tbsp. Avocado Oil
- 2 Tbsp. Worcestershire Sauce gluten free
- 1 Tbsp. Garlic Powder
- 1 Tbsp. Italian Parsley
- 1 tsp. Himalayan Pink Salt
- 1 tsp. Ground Black Pepper
Instructions
- Preheat oven to 350℉ and line a large sheet pan with parchment paper. Set aside.
- In a small bowl, whisk together avocado oil, Worcestershire sauce, and seasonings until well-combined. Set aside.
- Place sirloin in center of sheet pan and disperse veggies around sirloin, in an even layer.
- Pour over sauce mixture, then gently toss veggies and coat sirloin all over in sauce.
- Place on middle rack of oven and let cook ~15 minutes.
- Then, turn broiler on and place on upper rack - let broil ~5 minutes or until veggies and sirloin have browned. Let meat rest ~3 minutes, then slice into thin strips.
- Next, place cheese slices over top and return to broiler for ~5 minutes or until cheese has melted. Garnish with fresh parsley.
- Serve with side of chips, store, and enjoy!