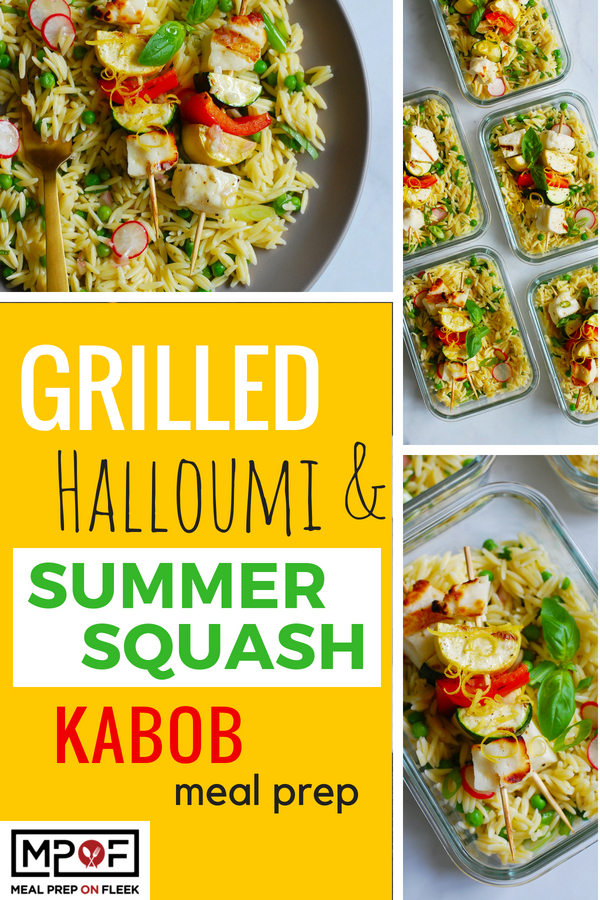
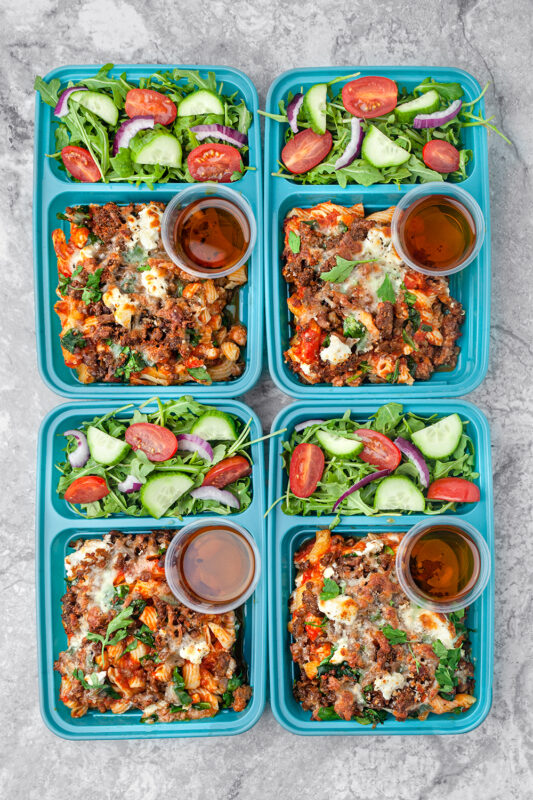
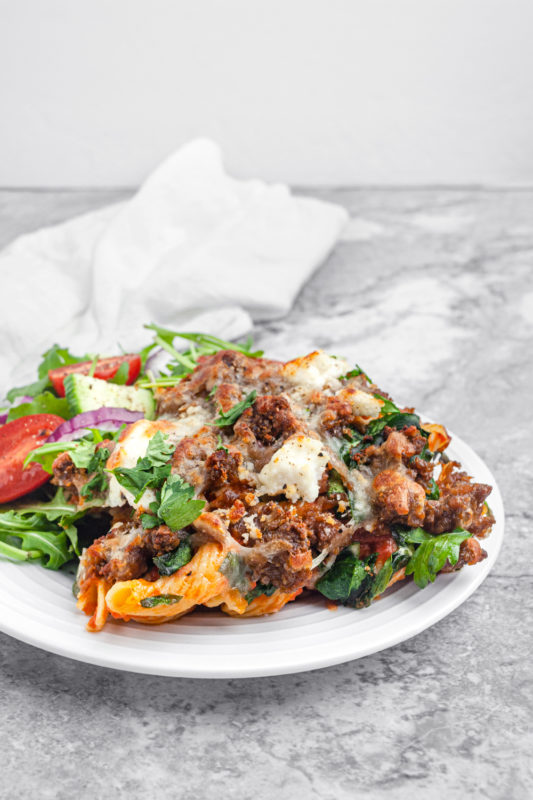
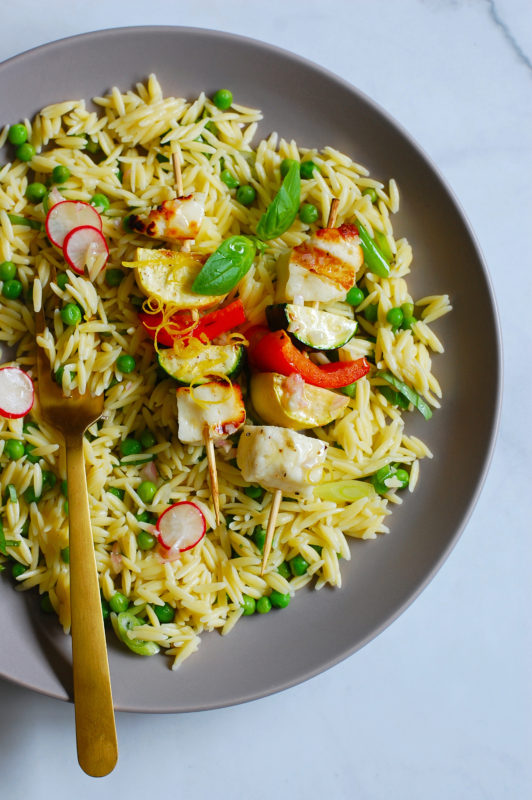
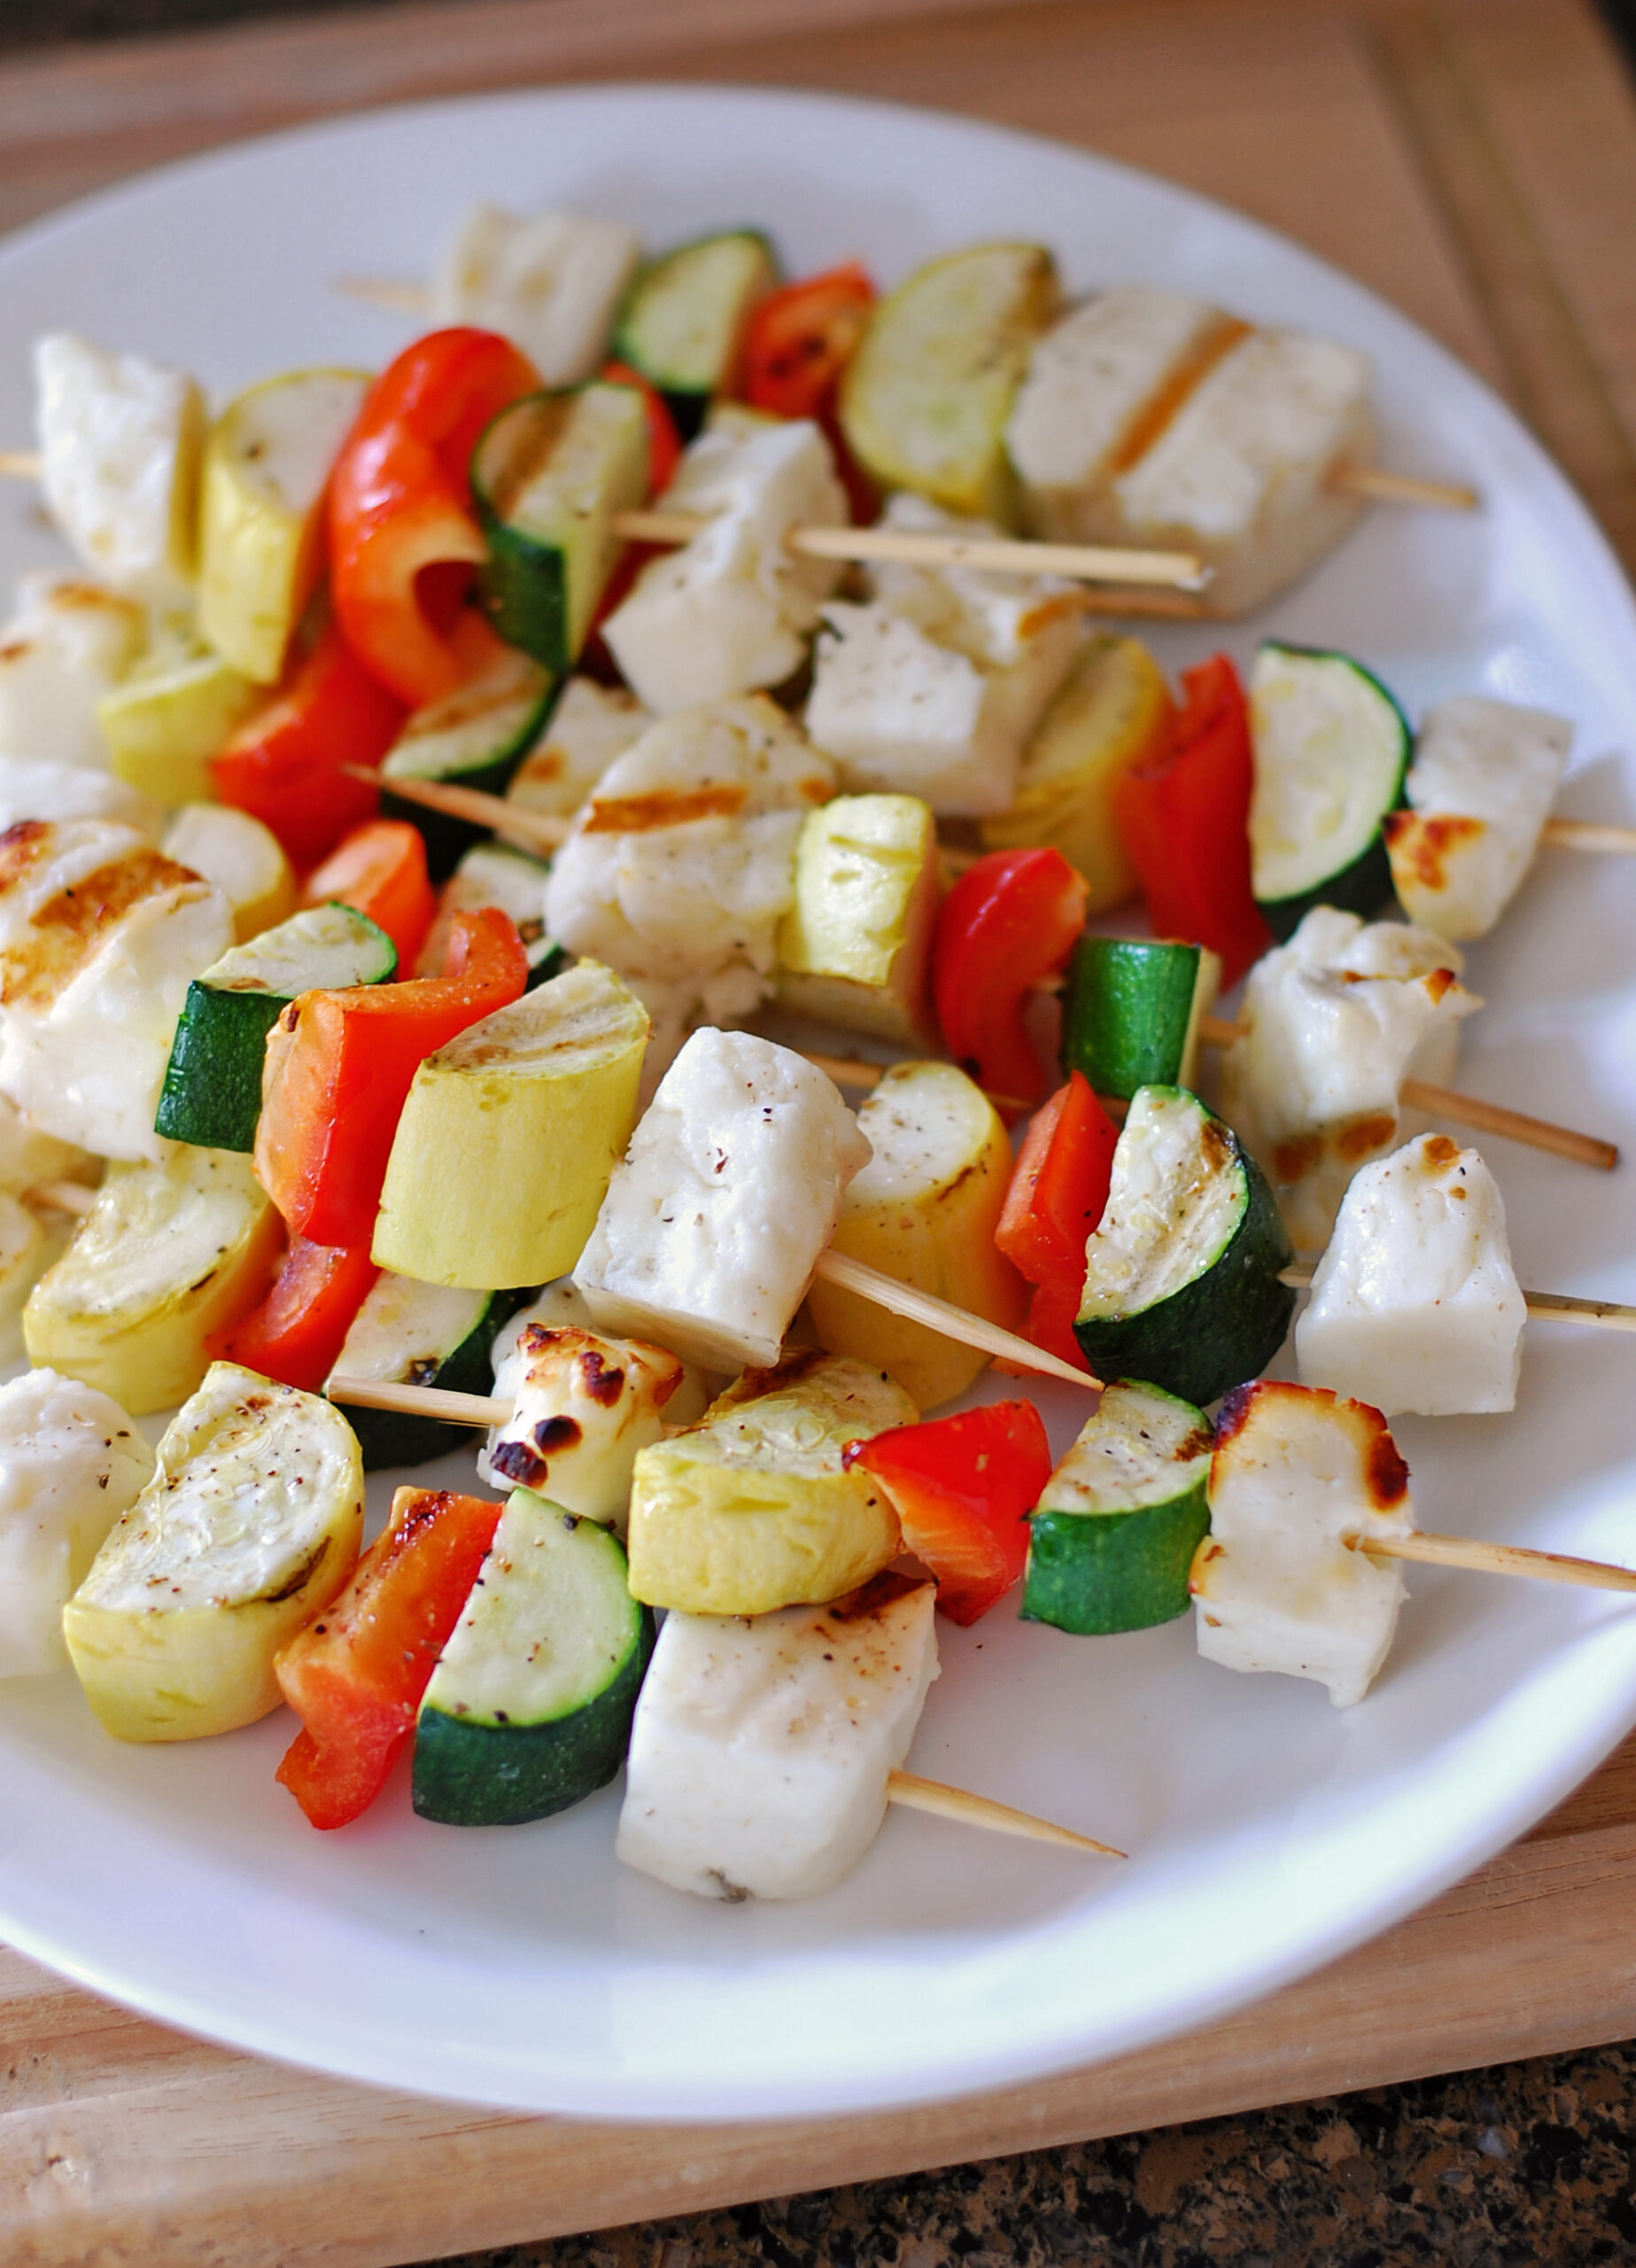
Nothing says summer like fresh veggies, skewers on the grill, and bold Mediterranean flavors. These Grilled Halloumi & Summer Squash Kabobs are the ultimate warm-weather meal prep: filling, protein-packed, and loaded with colorful seasonal produce.
Whether you're firing up the grill for the weekend or batch-cooking lunches ahead of time, this recipe delivers on flavor, texture, and nutritional value. Plus, it's a vegetarian-friendly option with a whopping 48g of protein per serving thanks to grilled halloumi cheese.

- What Is Halloumi and Why Is It Great for Meal Prep?
- The Nutritional Power of Summer Produce
- How to Store
- How to Reheat
- Grilled Halloumi & Summer Squash Kabob Meal Prep Ingredients
- FAQ: Grilled Halloumi & Summer Squash Kabobs
- More Mediterranean-Inspired Meal Prep Recipes
- Take the Guesswork Out of Healthy Eating
Why You'll Love These Kabobs
- Naturally lactose-free if you use traditional halloumi
- High-protein, vegetarian-friendly (48g per serving!)
- Packed with seasonal veggies and Mediterranean flavors
- Perfect for hot or cold meal prep
- Quick to cook and easy to customize
What Is Halloumi and Why Is It Great for Meal Prep?
Halloumi is a firm, brined cheese traditionally made from goat's and sheep's milk on the island of Cyprus. It has a high melting point, so you can grill, fry, or sear it without turning it into a gooey mess. It's hearty, salty, and delivers a chewy texture that holds up beautifully in meal prep containers.
If you're avoiding lactose, traditional halloumi is a safe bet-but double-check labels if it contains cow's milk.
Love halloumi? Try our Grilled Halloumi and Watermelon Salad next!
The Nutritional Power of Summer Produce
Zucchini
Zucchini is loaded with B6, vitamin C, and potassium, supporting digestion, energy, and heart health.
Red Radishes
Radishes often get overlooked, but they're low-cal (just 24 per cup!) and super high in vitamin C (28% RDA)-an antioxidant powerhouse that boosts collagen production and fights free radicals.
How to Store
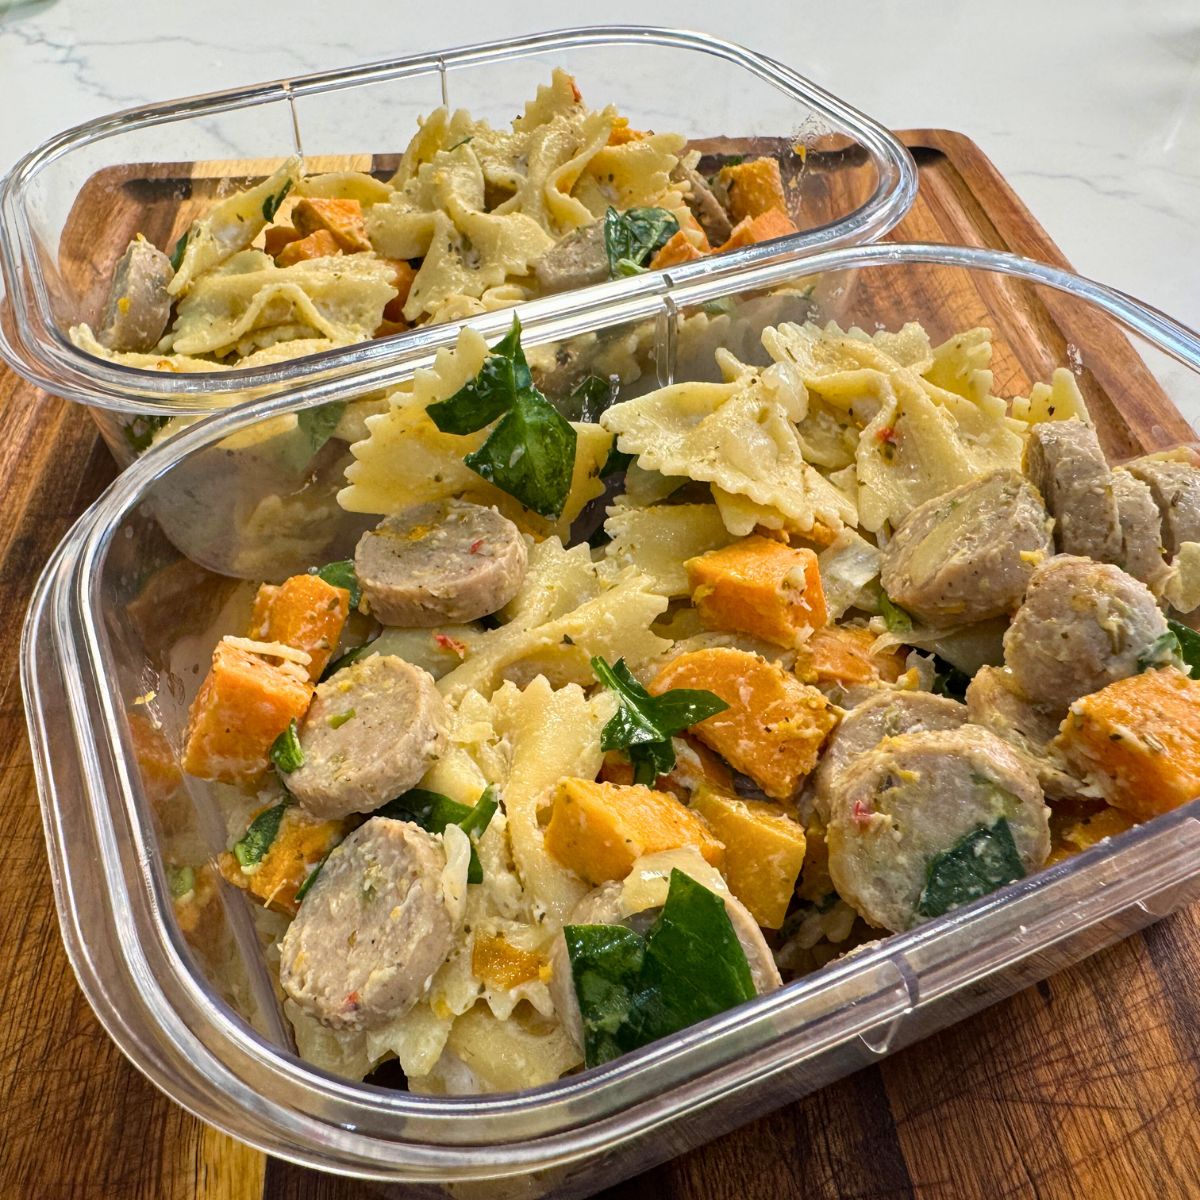
- Keep the kabobs and salad in the same container or separate if preferred.
- Kabobs: Store in airtight containers for up to 4 days in the fridge.
- Orzo salad: Keeps well chilled for up to 5 days.
How to Reheat
- Enjoy cold or room temperature as a refreshing summer lunch
- Or reheat kabobs gently in a skillet or microwave for 1-2 minutes
- Add a splash of lemon juice before serving to brighten the flavors

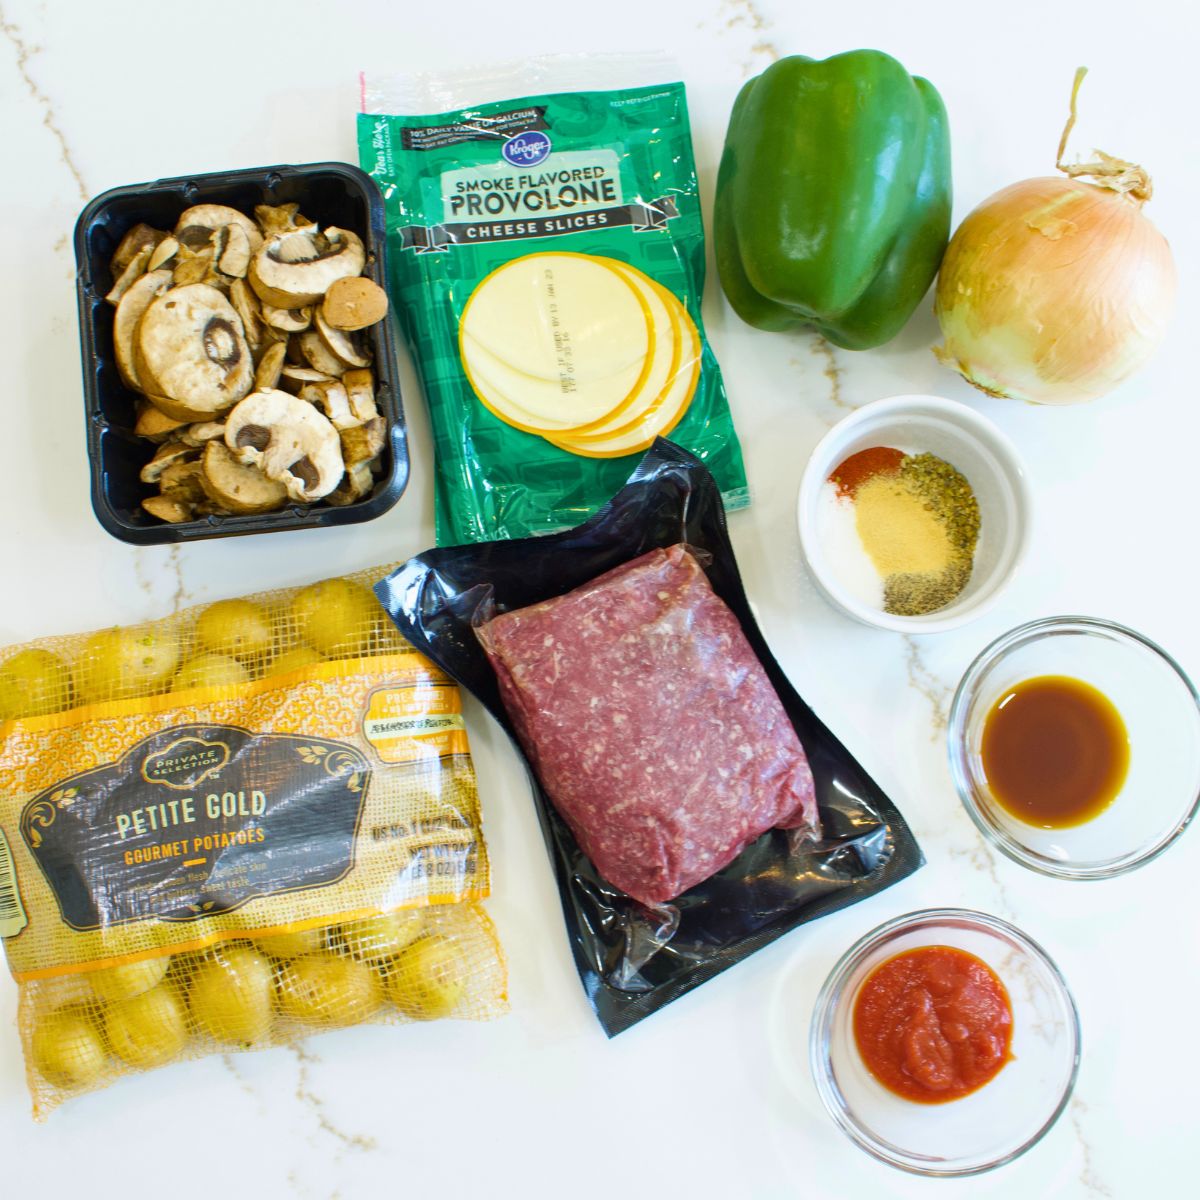
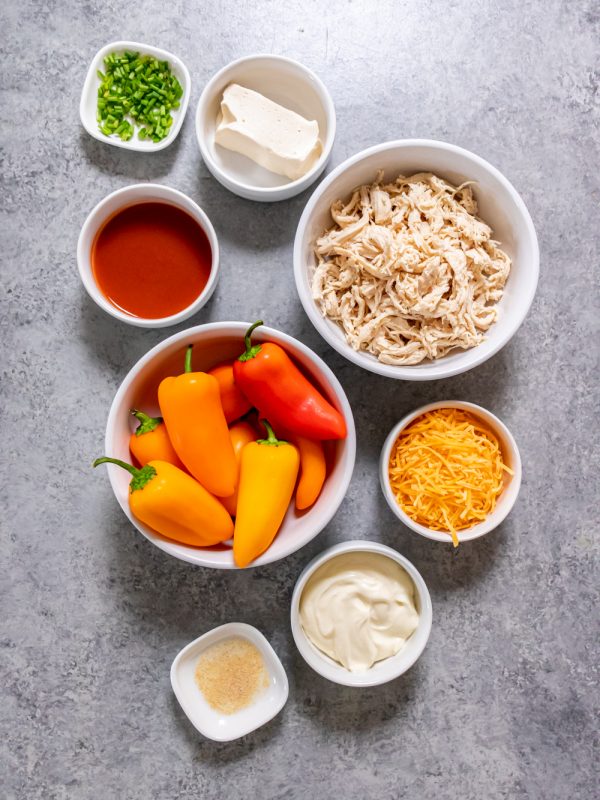
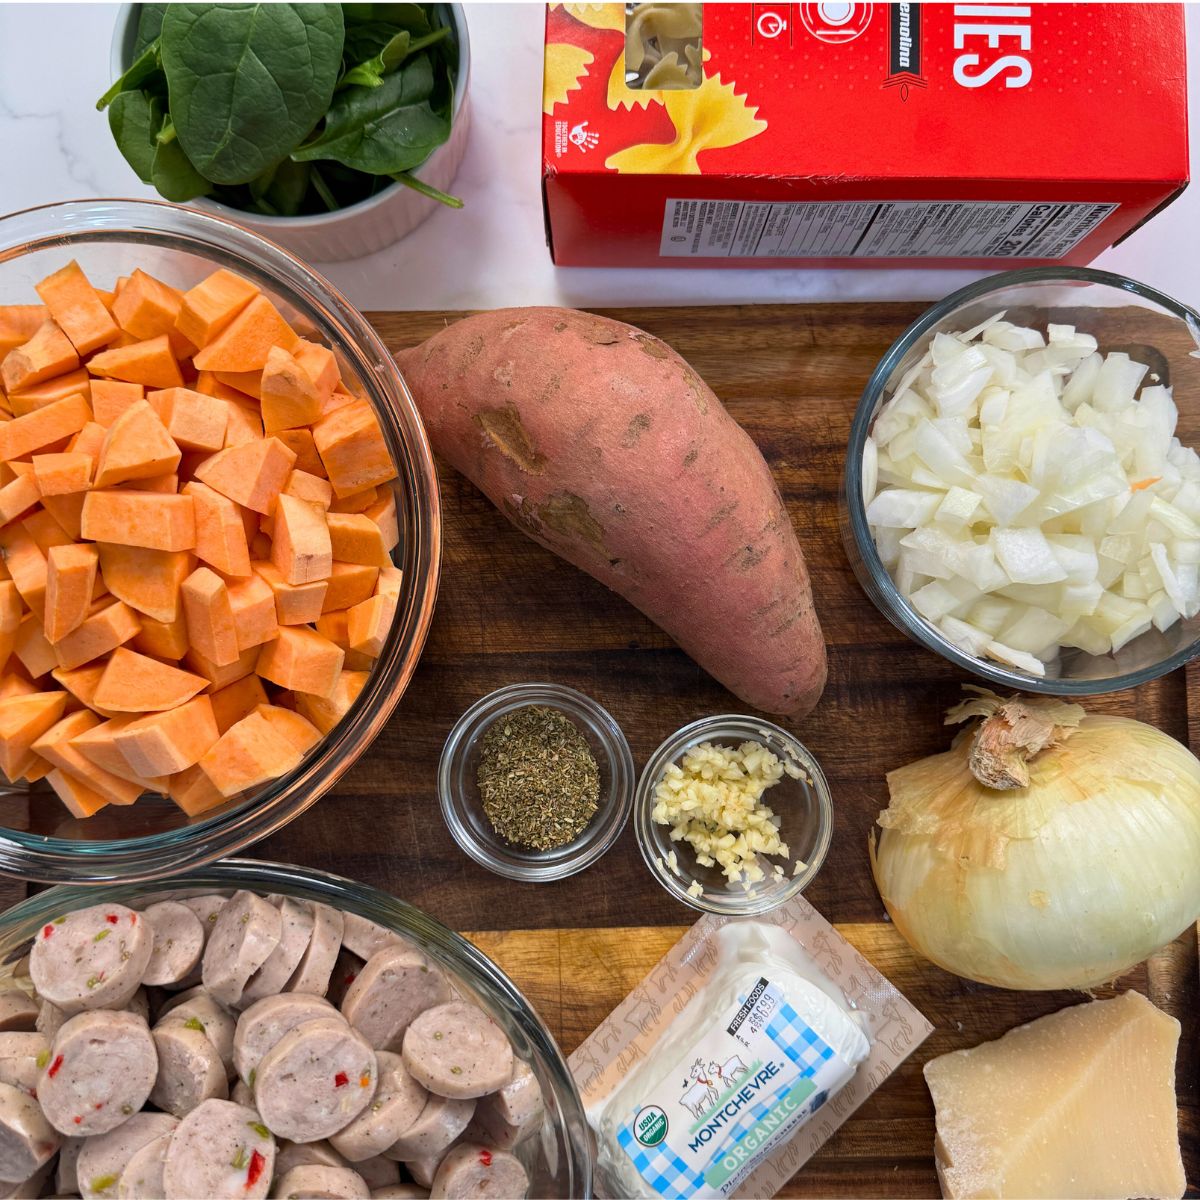
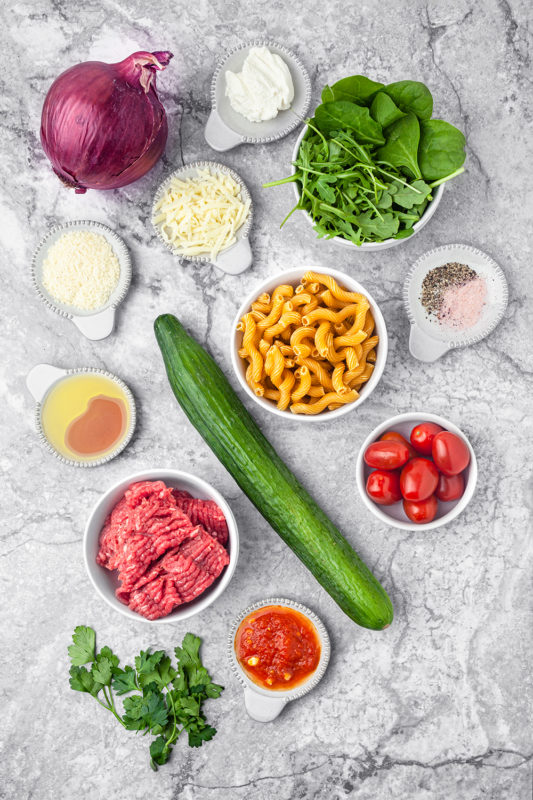
Grilled Halloumi & Summer Squash Kabob Meal Prep Ingredients
Supplies:
- 10-15 six-inch bamboo skewers (soaked in water to prevent burning)
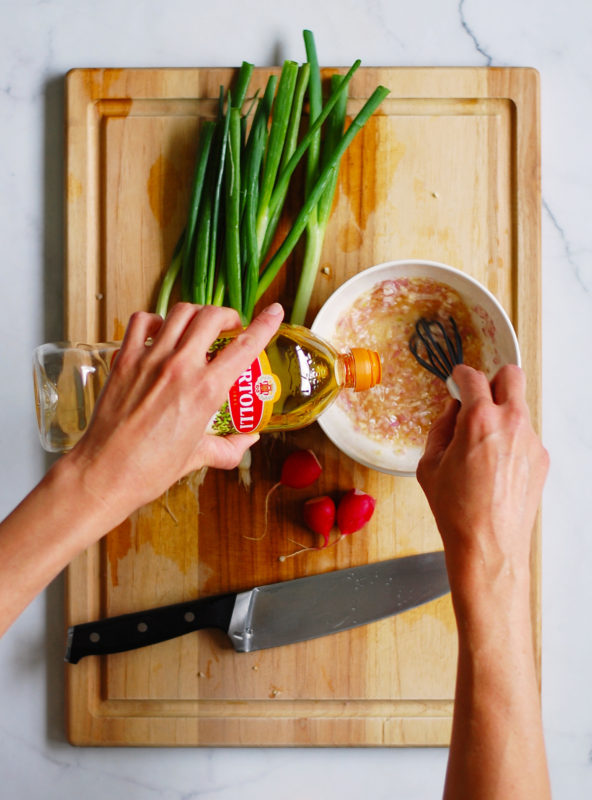
For the Marinade:
- ½ large shallot, minced
- 2 garlic cloves, minced
- Juice and zest of 1 lemon
- ¼ cup olive oil
- ¼ teaspoon salt
- ¼ teaspoon black pepper
For the Kabobs:
- 16 oz. halloumi cheese, cut into 1-inch cubes
- 1 large green zucchini
- 1 large yellow zucchini
- 1 red bell pepper
For the Grain Salad:
- Salt and pepper to taste
- 5 cups cooked orzo pasta
- 1 ½ cups frozen peas (thawed)
- 3 scallions (green parts only), sliced
- 5 red radishes, thinly sliced
- 6-8 basil leaves, julienned
- 2 tablespoon olive oil
FAQ: Grilled Halloumi & Summer Squash Kabobs
Is halloumi healthy?
Yes! Halloumi is high in protein and calcium. It's a filling, vegetarian-friendly option-just be mindful of sodium content if you're watching salt intake.
Can I use another grain instead of orzo?
Definitely. Try quinoa, couscous, farro, or even lentils for a gluten-free swap.
Do I have to grill these?
Nope! You can use a grill pan, air fryer, or stovetop skillet to get that golden, caramelized crust on the halloumi and veggies.
Can I make this recipe vegan?
You can substitute halloumi with marinated tofu or tempeh for a vegan option that still holds up well on the grill.
More Mediterranean-Inspired Meal Prep Recipes
If this dish is your kind of vibe, don't miss our roundup:
👉 15 Mediterranean Diet Meal Prep Recipes
Take the Guesswork Out of Healthy Eating
Whether you're into Mediterranean meals, high-protein lunches, or plant-based power bowls, we've got a tool to help you stay consistent.
The Workweek Lunch Meal Planner helps you:
✅ Plan your meals in minutes
✅ Stick to your nutrition goals
✅ Skip decision fatigue
✅ Save money and time with smart grocery lists
Make meal prep easier-and a lot more fun.

Ingredients
- ½ large shallot minced
- 2 cloves garlic minced
- 1 medium Lemon juiced & zest
- 6 tbs olive oil divided (¼ c + 2 tbsp)
- salt & pepper to taste
- 16 ounces Halloumi Cheese
- 2 large green/yellow zucchini
- 1 large red bell pepper
- 5 cups cooked orzo
- 1 ½ cup frozen peas thawed
- 3 Scallions thinly sliced (green part only)
- 5 red radish thinly sliced
- 6-8 basil leaves julienne
Instructions
- Place shallot, garlic, lemon juice, salt, and pepper in a small mixing bowl. Slowly stream in the olive oil and whisk until fully incorporated. Set aside.
- In a large mixing bowl, stir the orzo pasta, peas, scallions, radishes, and basil. Stir in all of the dressing but reserve 3 tablespoons on the side as a finishing sauce. Set orzo salad aside.
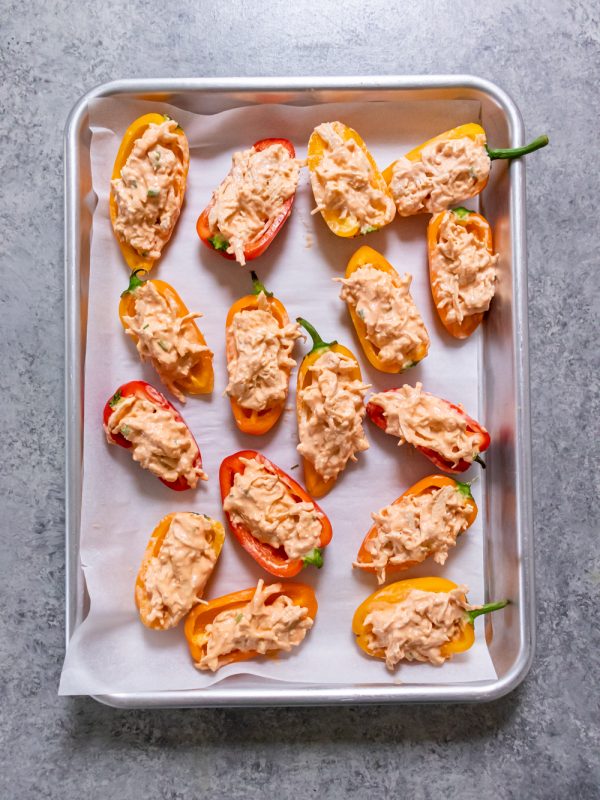
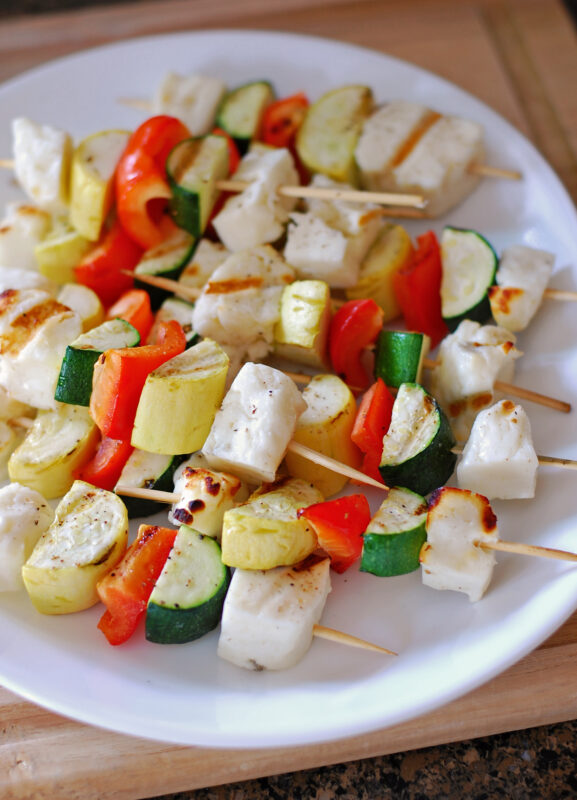
- Skewer the kabobs by threading Halloumi, yellow zucchini, bell pepper, green zucchini, and Halloumi in that order. Skewer the Halloumi slowly to prevent splitting. Baste the skewers with the 2 tablespoons olive oil, salt & pepper to taste.
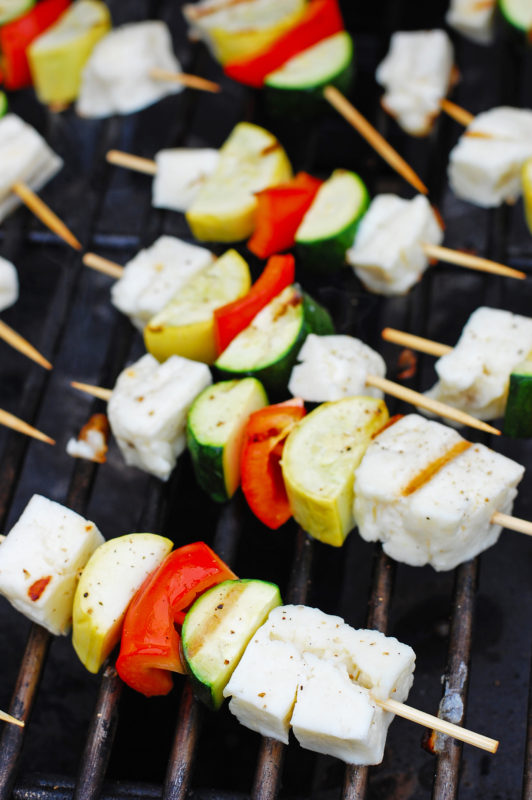
- Preheat a BBQ grill on medium heat. Grill the kabobs about 3-5 minutes per side until grill marks appear. Remove kabobs from the grill and set aside.
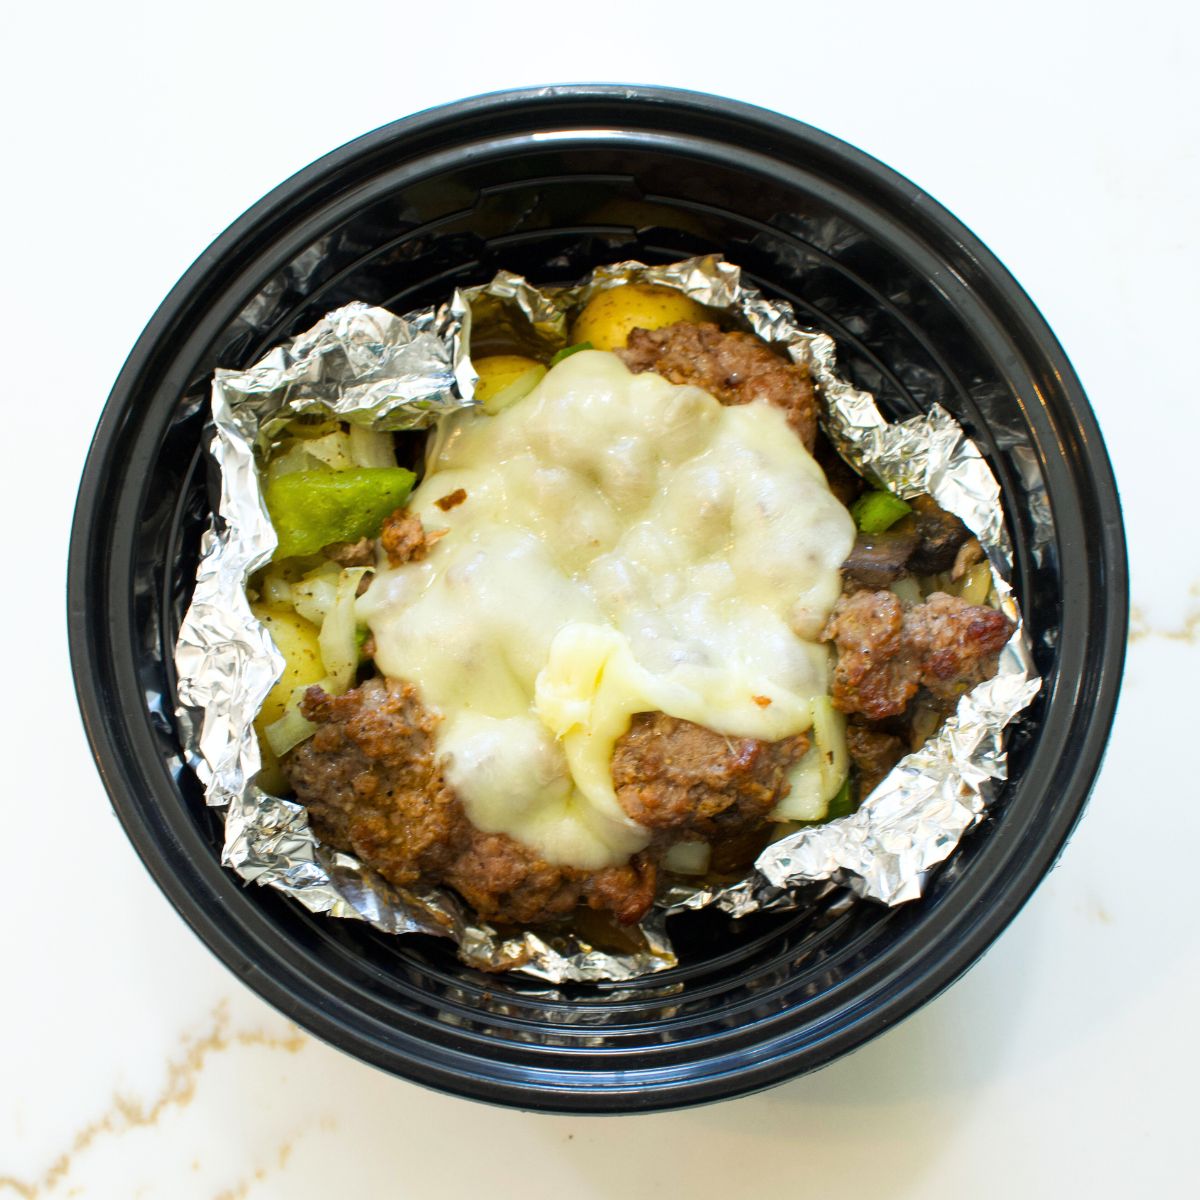
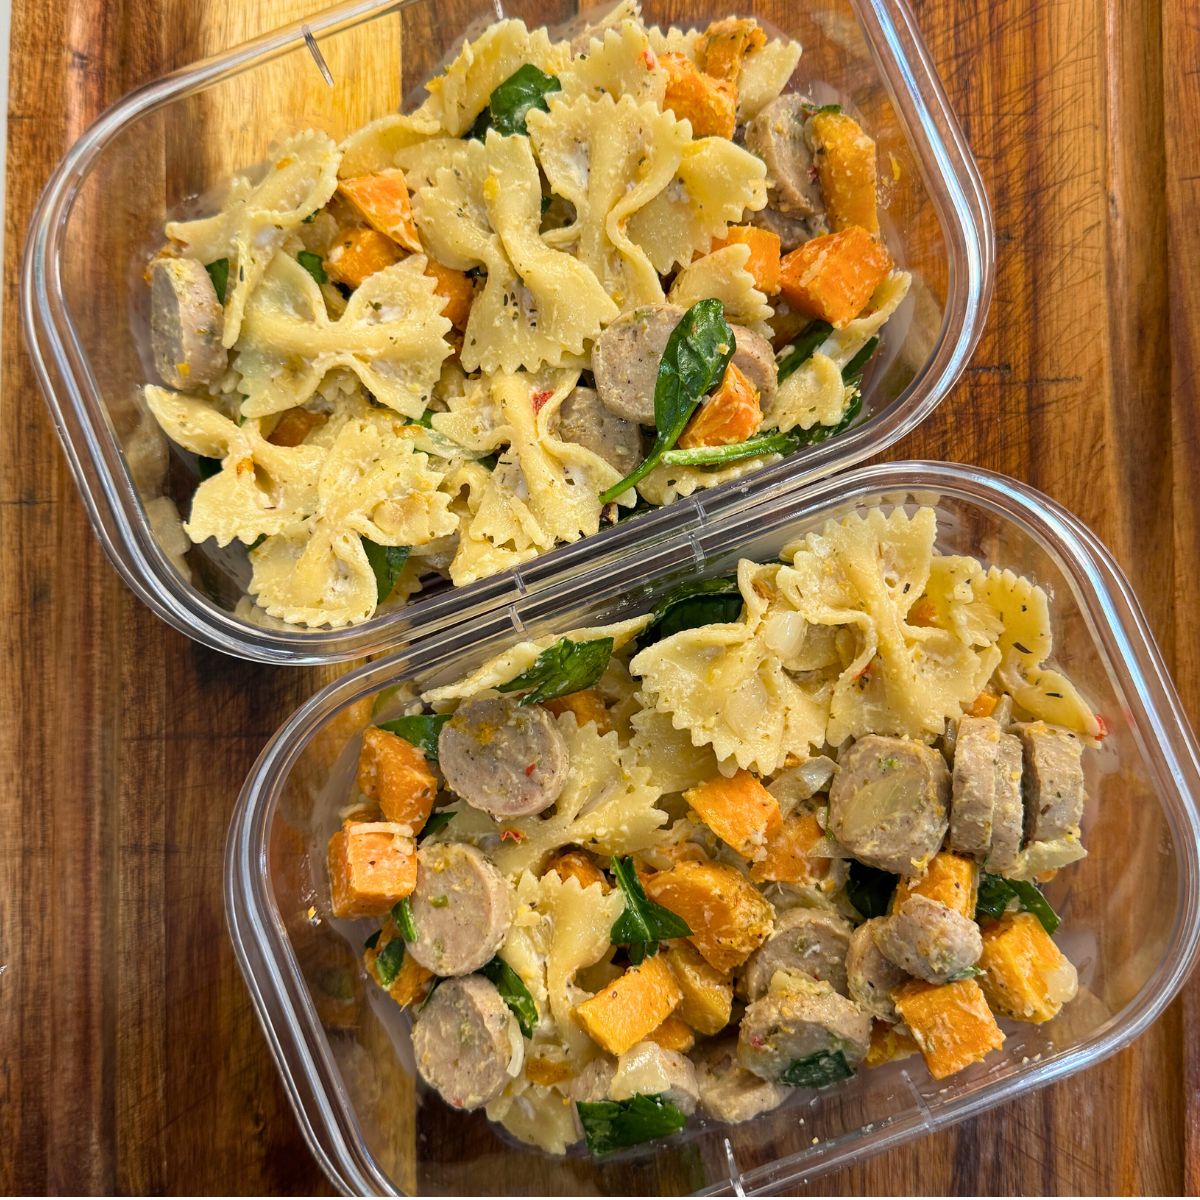
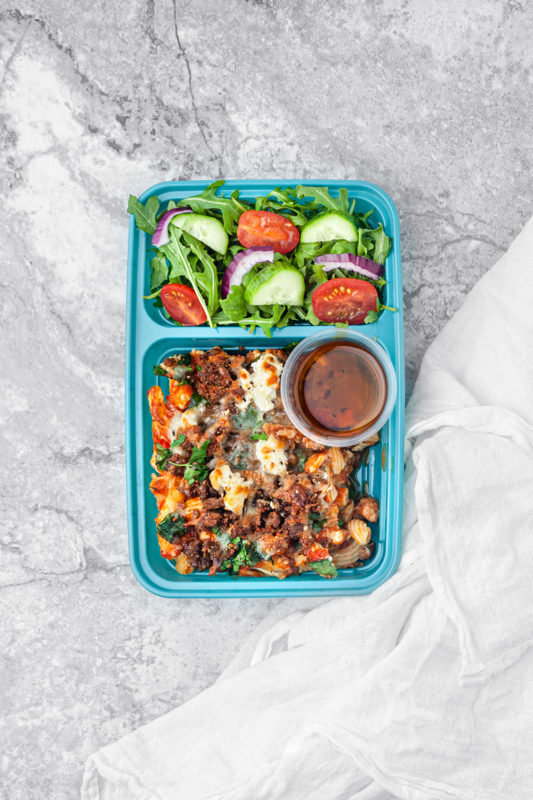
- Prepare the meal prep containers by spooning approximately 1 ½ cups of the orzo salad into the bottom, then top with two of the kabobs. Drizzle a spoonful of the remaining dressing over the kabobs and top with lemon zest.
Notes
Nutrition