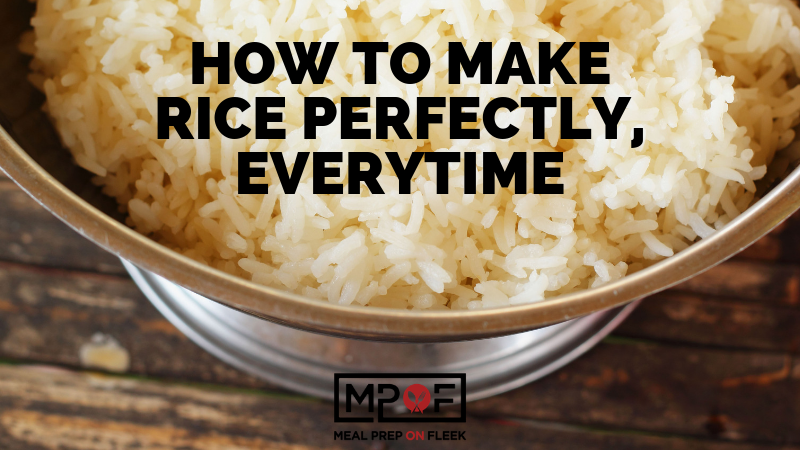
You will probably agree with us that rice is a tasty addition or complement to some of your favorite meal prep meals. But rice is also easy to mess up if you don’t do it right. We're sure you, like us, have cooked rice that ended up on the spectrum of soggy to hard instead of the light, fluffy kind that grandma makes. What IS that secret to cooking perfect rice? Maybe you have been stuck cooking it one way, not realizing that there are some other methods that might work better for your lifestyle.
Let's look at some standards that are the same for all methods of rice cooking:
First, let me tell you about an ancient Asian cooking tip that will allow you to cook any type of short grain or jasmine (aromatic) rice without a measuring cup. It comes out perfect every time. The secret is to put in the amount of rice that you want (remembering that it will absorb the water and expand) and then add enough water to be able to use the “fingertip method”. It will cover the rice about an inch so that if you touch the tip of your finger to the top of the rice, the water should come up to your top knuckle. Caveat: long grain varieties and brown rice require 2:1 ratios water to rice and longer cooking time. Check your rice packaging for those specific instructions.
The second universal rice cooking tip is to always rinse your rice before cooking. Why? Well, because rice, like beans, can be rather dusty and have extra starch clinging to them. Sometimes (rarely, but still…) they can even have tiny pebbles or other non-rice materials in them. Ew! Your first rinse will be rather cloudy. After the third rinse (it takes all of 30 seconds), you should be good to go. This process is worth it and will keep your rice turning out fluffy rather than sticky or gummy.
And if you're looking for white rice alternatives, check out some of these healthy white rice alternatives
How to Cook White Rice (4 Ways)
How to Cook Your Rice in the Rice Cooker
I have to admit this is my favorite method. Most rice cookers have one button-Cook. And when it flips off it goes to warm. It is literally that simple. Rice cookers range in price from about $30-$300. But once you put in the rice and water and rinse, rinse, rinse, and press the button, they cook a perfect pot of rice and click off to the warm setting when it is done. You have nothing to think about and it is done for you.
Ingredients:
- Short or medium-grain rice
- Water
Method:
1: Measure your rice accurately using the measuring cup that came with the rice cooker. Fill the rice above the brim, then level off the cup. Now pour the rice in the empty inner cooking pan.
2: Rinse rice under water until the water clears. Rub the grains of rice gently between the palms of your hands and drain.
3: Add water to the water level line that corresponds to the number of cups of rice you are cooking. If you are cooking 3 cups of rice, add water to water level 3 for “White Rice.” Be sure that all the grains of rice are submerged and the surface of the rice is flat and level to ensure even cooking.
4: Wipe off any excess water from the outside of the inner cooking pan and place it in the rice cooker. Select the “White Rice” menu setting and press START.
5: When cooking completes, allow the cooked rice to ‘rest’ for 15 minutes. If you have a Micom rice cooker, this is done automatically and you will not have to wait. Open the rice cooker and use the special nonstick rice spatula to fluff and serve your rice.
How to Cook Your Rice in an Instant Pot
Very similar to cooking in a rice cooker, the Instant Pot has a button specifically for rice. The difference, of course, is that the Instant Pot can do a whole lot more than just cook rice! It takes up about the same amount of counter space, so if you have the space and you want the versatility of making complete meals as well as cooking rice, maybe the Instant Pot is the right method for you.
Ingredients:
- Short or Medium-grain White Rice
- Water
- 1 tsp. Cooking Oil
- Salt
Method:
- Rinse rice under cold running water until the water runs clear.
- Add oil to the Instant Pot along with the rinsed rice (still damp), water and salt.
- Lock the lid and set the steam valve to its “sealing” position. Select the “RICE” button or follow the cooking chart below. Allow the pressure to release naturally for 10 minutes and then release any remaining pressure.
- Fluff rice with a fork and serve.
How to Cook Your Rice in the Microwave
Did you know that there are specific microwave-safe rice pots for your microwave? It has two parts; a base and a vented top to let out the steam. This is a super simple method and it doesn’t require any babysitting. It generally does take a little less time than all the other methods, but it does take a little bit of adjusting as to what time to set it at. At first, it will likely require some experience for your particular microwave. But all the prep of the rice is the same.
Pro Tip: The secret to microwaving rice is to add the right amount of water.
Too much water = soggy rice. Too little water = dry rice. Just right water = just right rice.
Ingredients:
- Rice
- Water
Method:
- Scoop the rice into the microwave-safe container or pot. Fill the pot with water and swish the water and rice with your hands. Pour out the water, keeping the rice in the pot (just cup your hands around the rice to prevent it from pouring out). Repeat for 2-3 more times until the water is just barely cloudy.
- Add enough water to cover the rice by about 1" - or place your finger straight down touching the top of the rice. The water should meet your first knuckle (ladies or men with small hands) and just under the first knuckle (men or ladies with big hands). For 1 ½ cups of rice, this is approximately 2 ¼ cups of water. Cover with lid.
- Microwave on high for 9 minutes. Let rest covered (no peeking!) for 3 minutes before fluffing.
How to Cook Your Rice on the Stovetop
If you are a complete traditionalist (and don’t mind a little more of a clean up process), then the stovetop method might be the way you want to go. No new equipment needs to be purchased. We all have everything we need in our kitchens already. This method is not as quick and easy and requires more monitoring. Once you have prepped the rice the way we discussed above, you will have to watch the pot until it boils. Once it boils for a few minutes, the heat needs to be lowered. Cover the pot and set a timer. You will probably have to experiment a few times to know what the perfect time is. But once you see that it looks like the water has been cooked into the rice, the heat needs to be turned off immediately. You want to do this because it is super easy to burn the bottom of the pot and overcook the rice. Keep the lid on the rice for a few minutes more to not dry out the top layer of rice. When you are ready to serve, take out a fork and fluff up the rice...and voila!
Ingredients:
- 2 cups water
- ½ teaspoon salt
- 1 cup white rice
Method:
1. Bring the water to boil in a medium saucepan. Add the salt
2. When the water has returned to a boil, stir in the rice. Let the water return to a light simmer. Stir again, cover the pot and turn the heat down to low. Keep the rice simmering slightly, and keep the pot covered. Start checking to see if the rice is tender and all of the liquid is absorbed at about 17 minutes. It may take up to 25, especially if you are making a larger quantity of rice.
3. When the rice is cooked, turn off the heat and let it sit for another couple of minutes to finish absorbing any liquid. Take off the lid, fluff the rice with a fork and let it sit for another 2 minutes or so, so that some of the excess moisture in the rice dries off.
One last word about cleanup.
A suggestion that can make cleanup a little easier is that some of these cooker pots (most have a non-stick coating) is to allow them to dry out and the rice will also dry out and you can basically wipe these pots clean, easily rinse them, and put them away for your next pot of perfection.
What has been your experience in cooking rice? Which method is your favorite?

