301-400 Calories
Meal Prep Recipes between 301-400 calories. All overfeeding studies have found that, when people eat more calories than they burn off, they gain weight. Know your calories
-
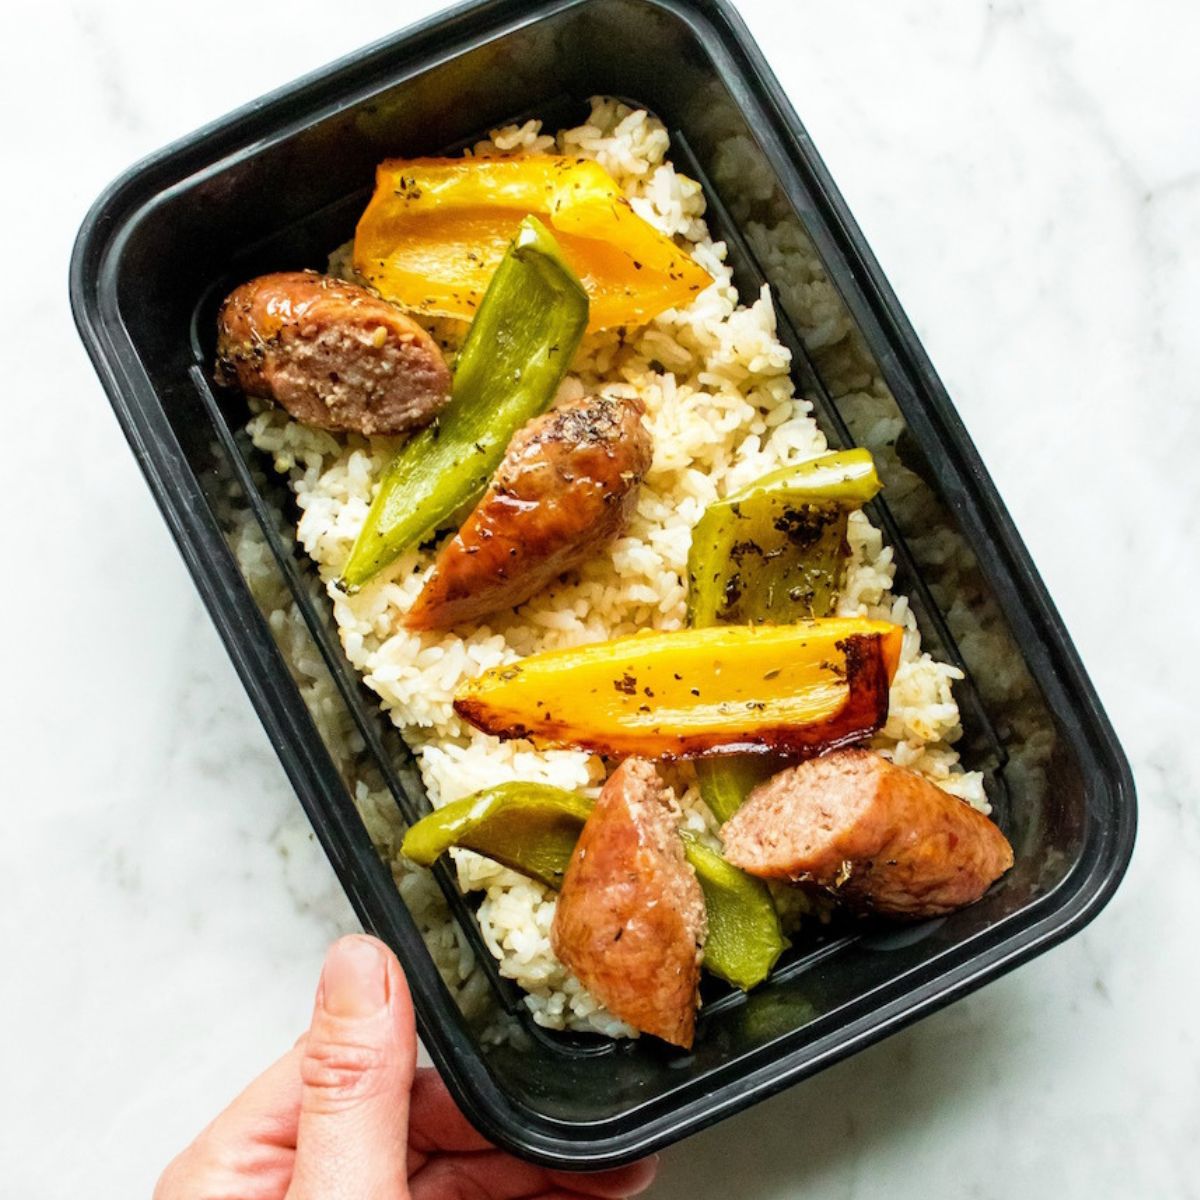
Sheet Pan Italian Sausage and Peppers
-
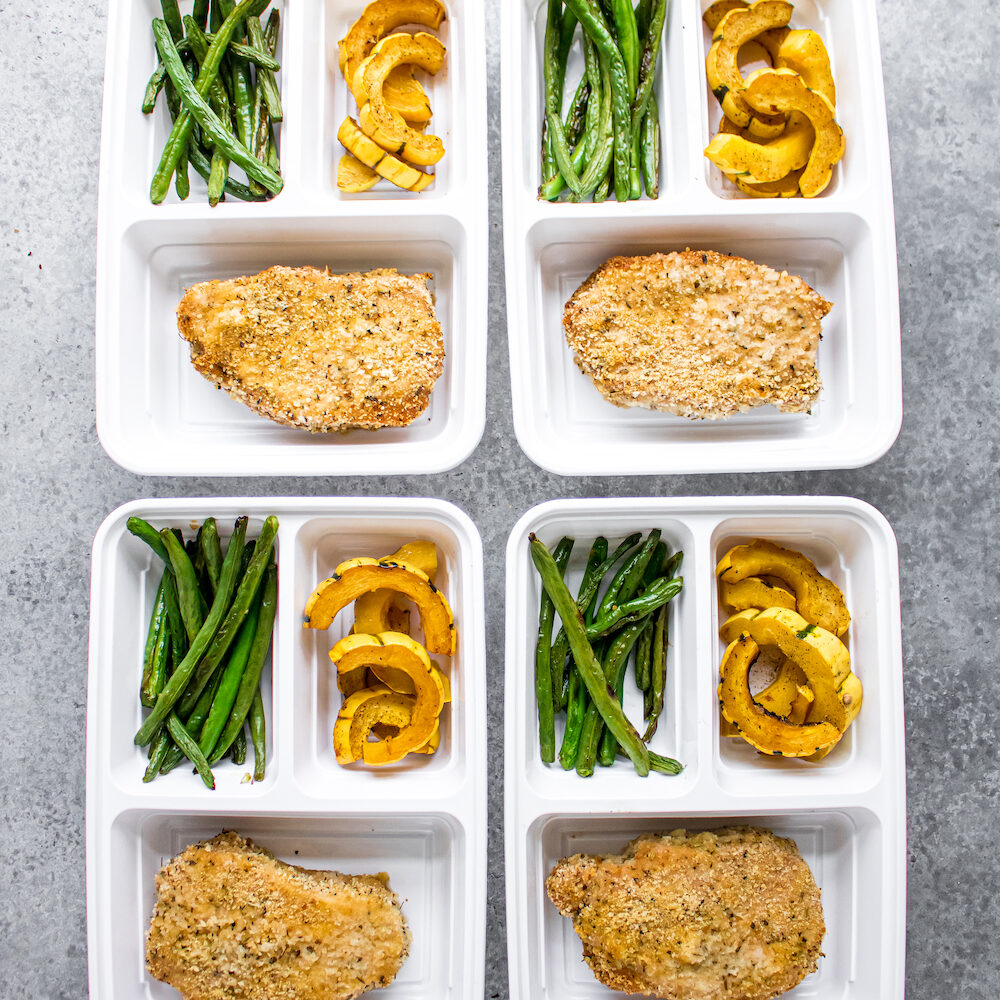
How to Make Extra Crispy Pork Chops and Roasted Vegetables
-
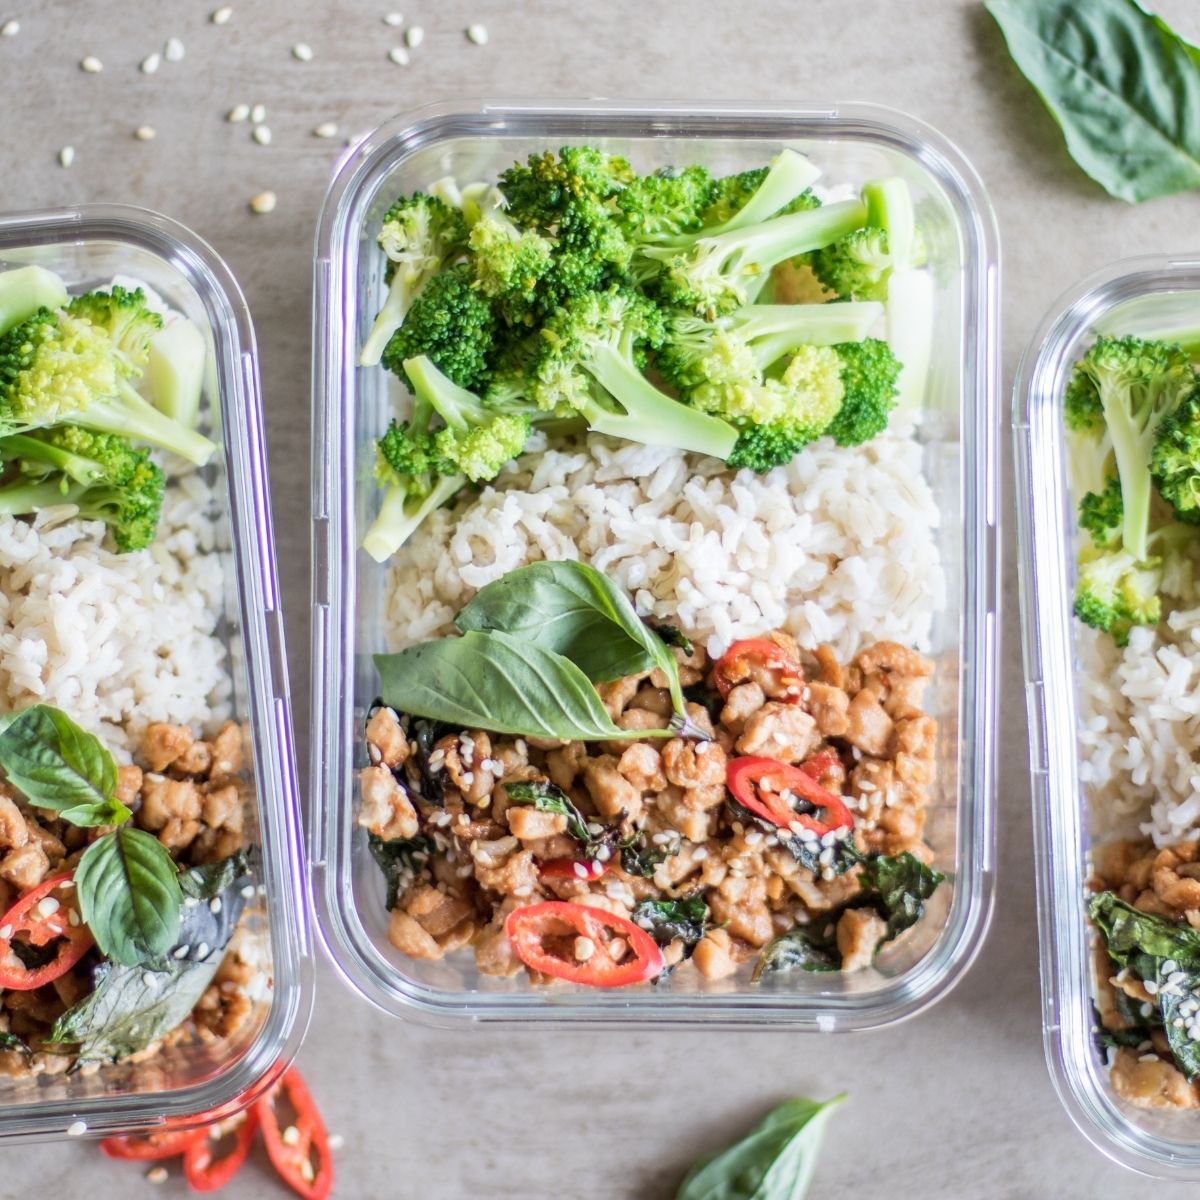
Thai Basil Chicken Meal Prep | Thai Larb
-
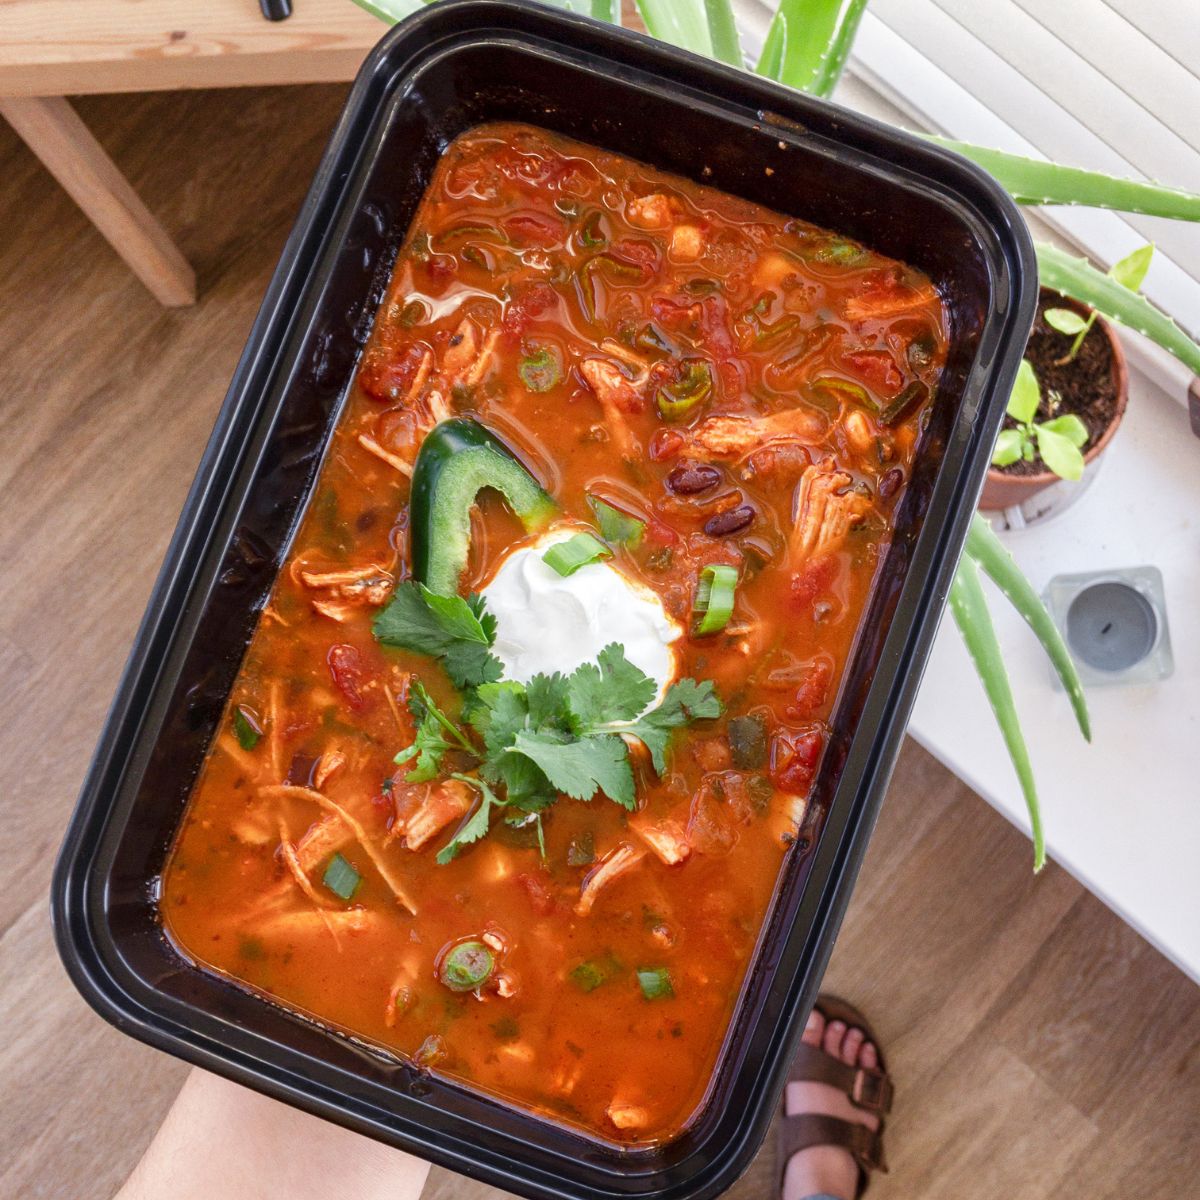
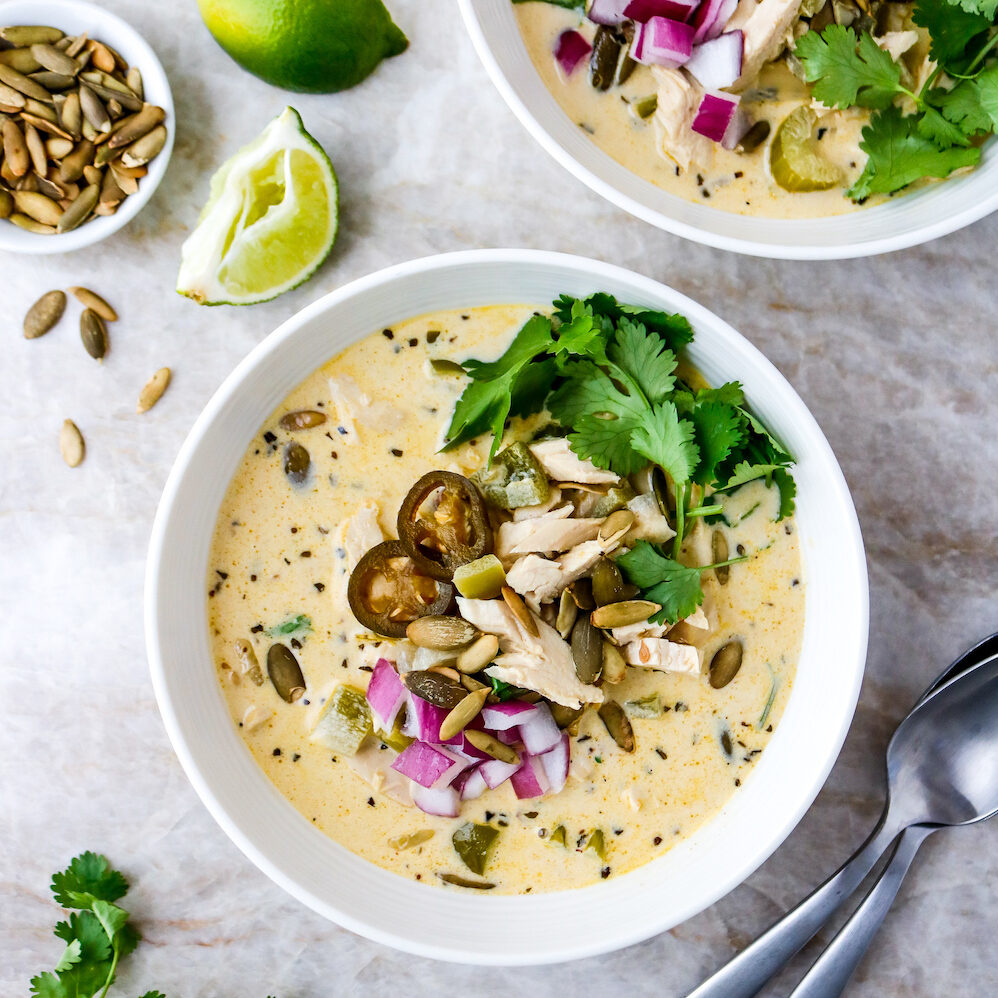
Instant Pot Chicken Enchilada Soup
-
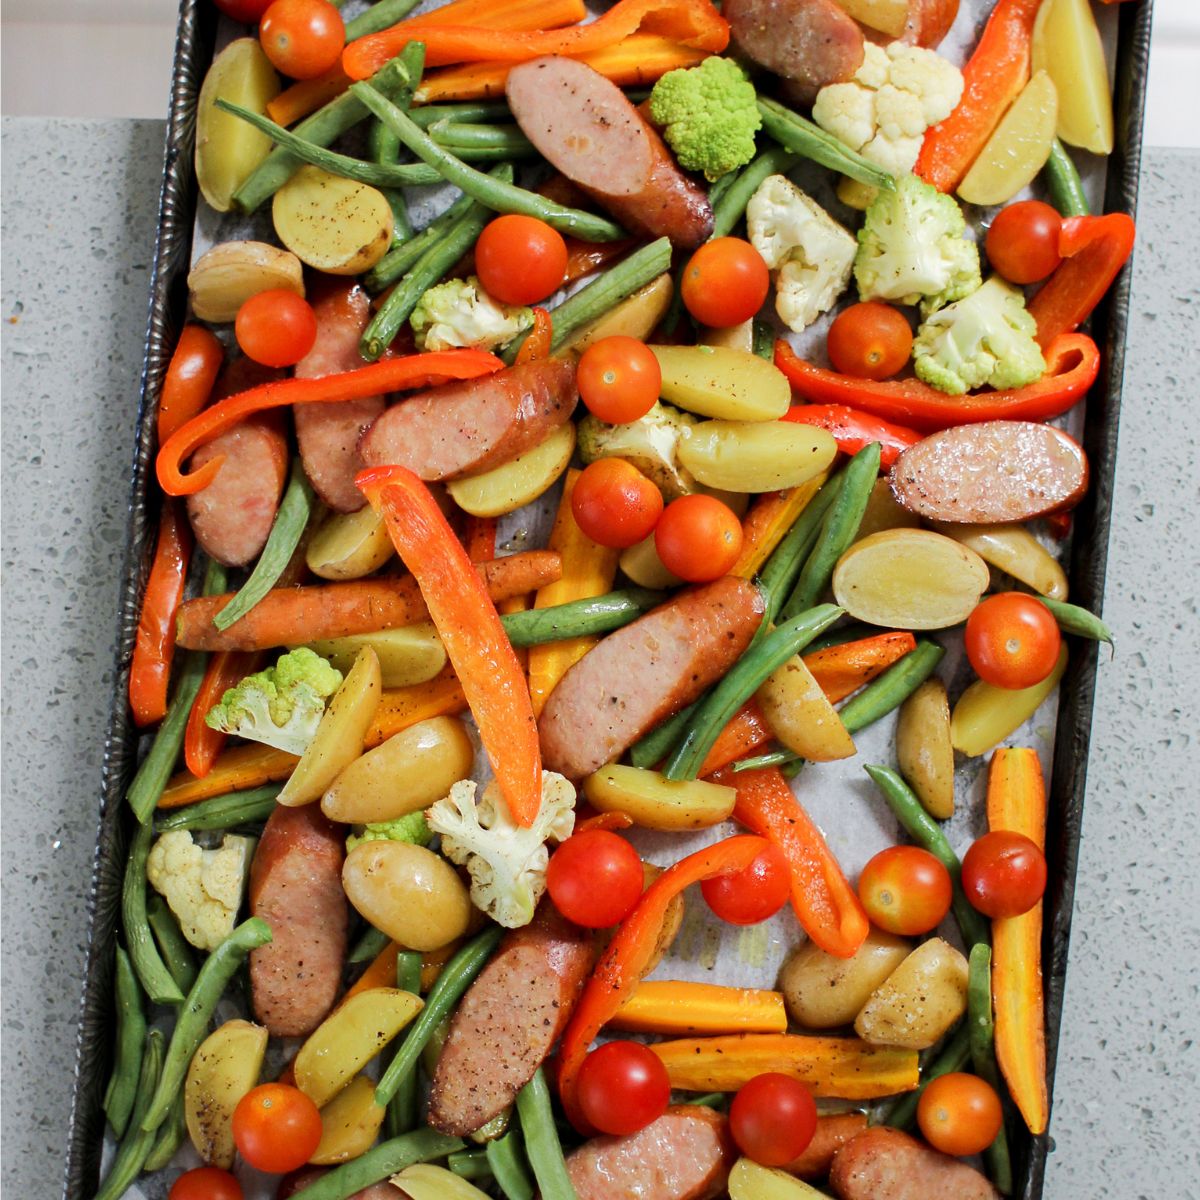
One Pan Sausage and Veggie Meal Prep
-
One Skillet Honey Dijon Pork Chops With Apples & Onions
-
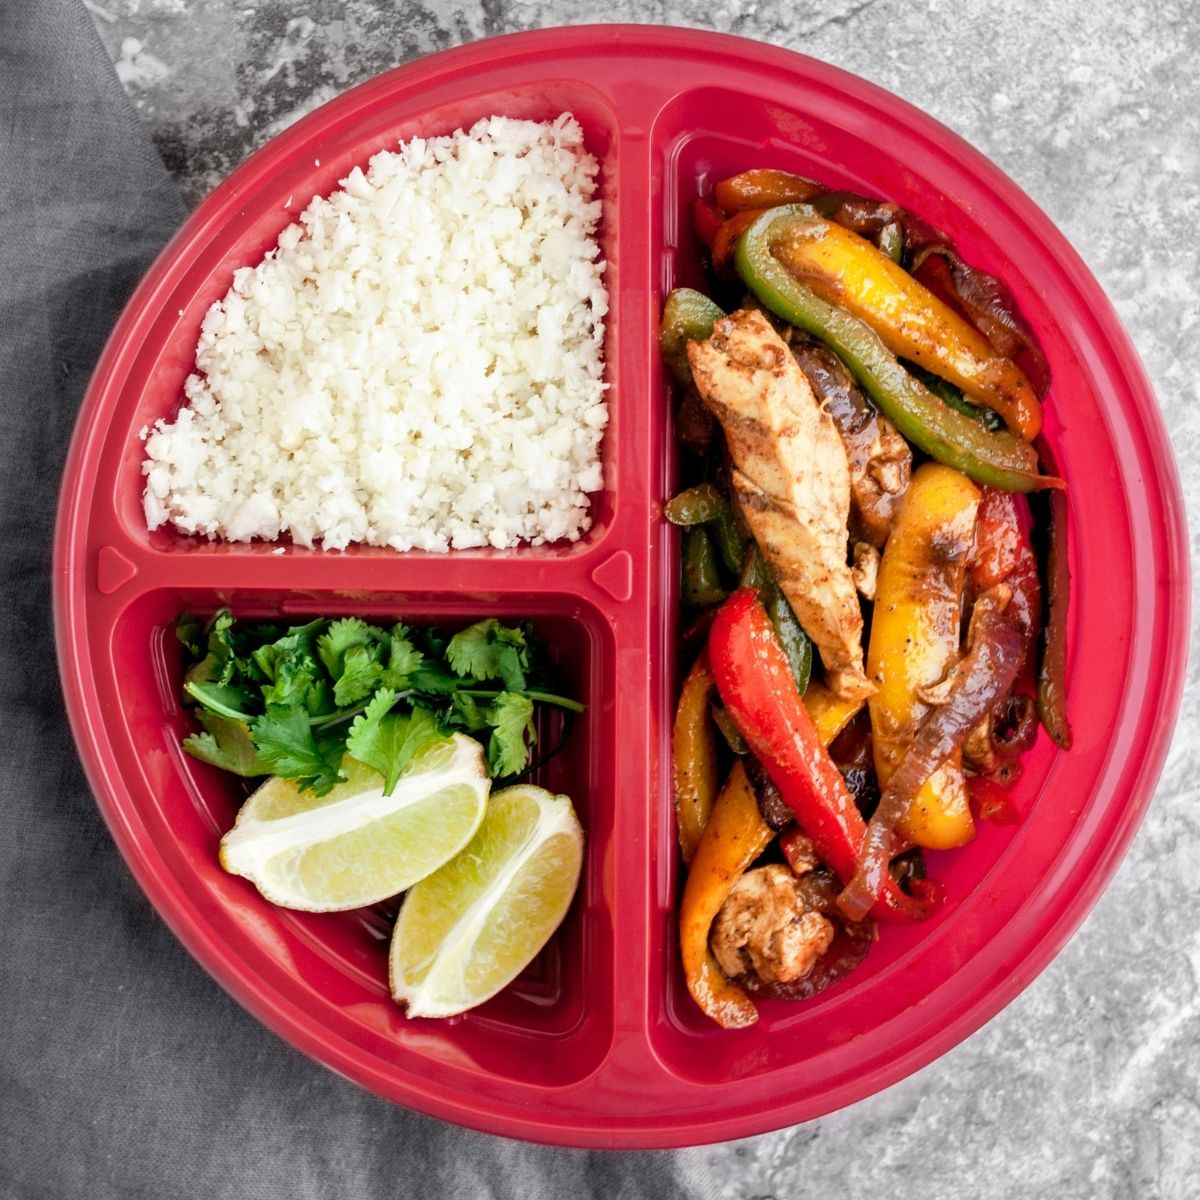
Chicken Fajita Veggie Meal Prep
-
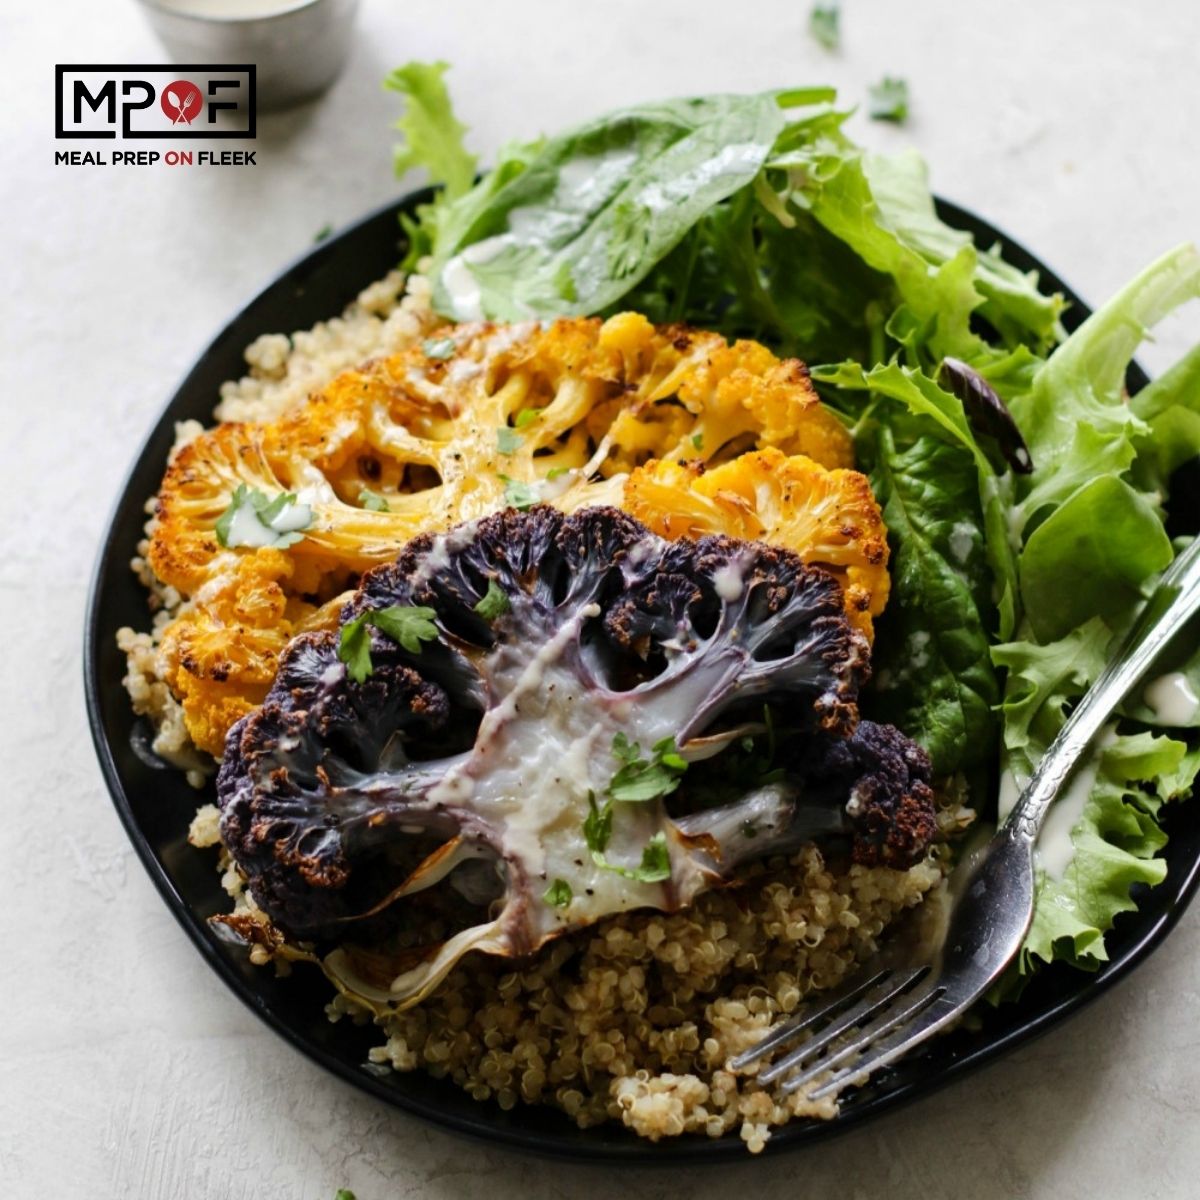
Cauliflower Steak With Quinoa & Tahini Meal Prep
-
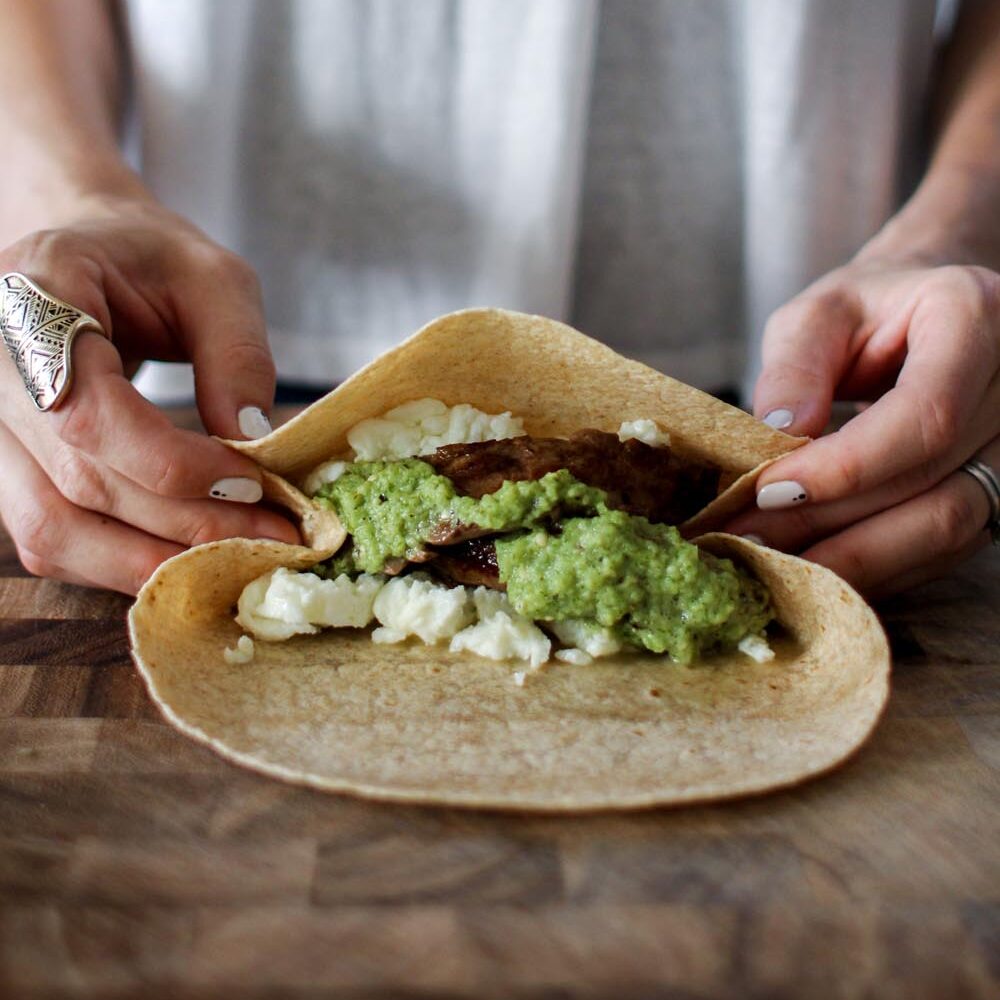
Steak & Egg White Salsa Verde Breakfast Wraps (High-Protein Meal Prep)
-
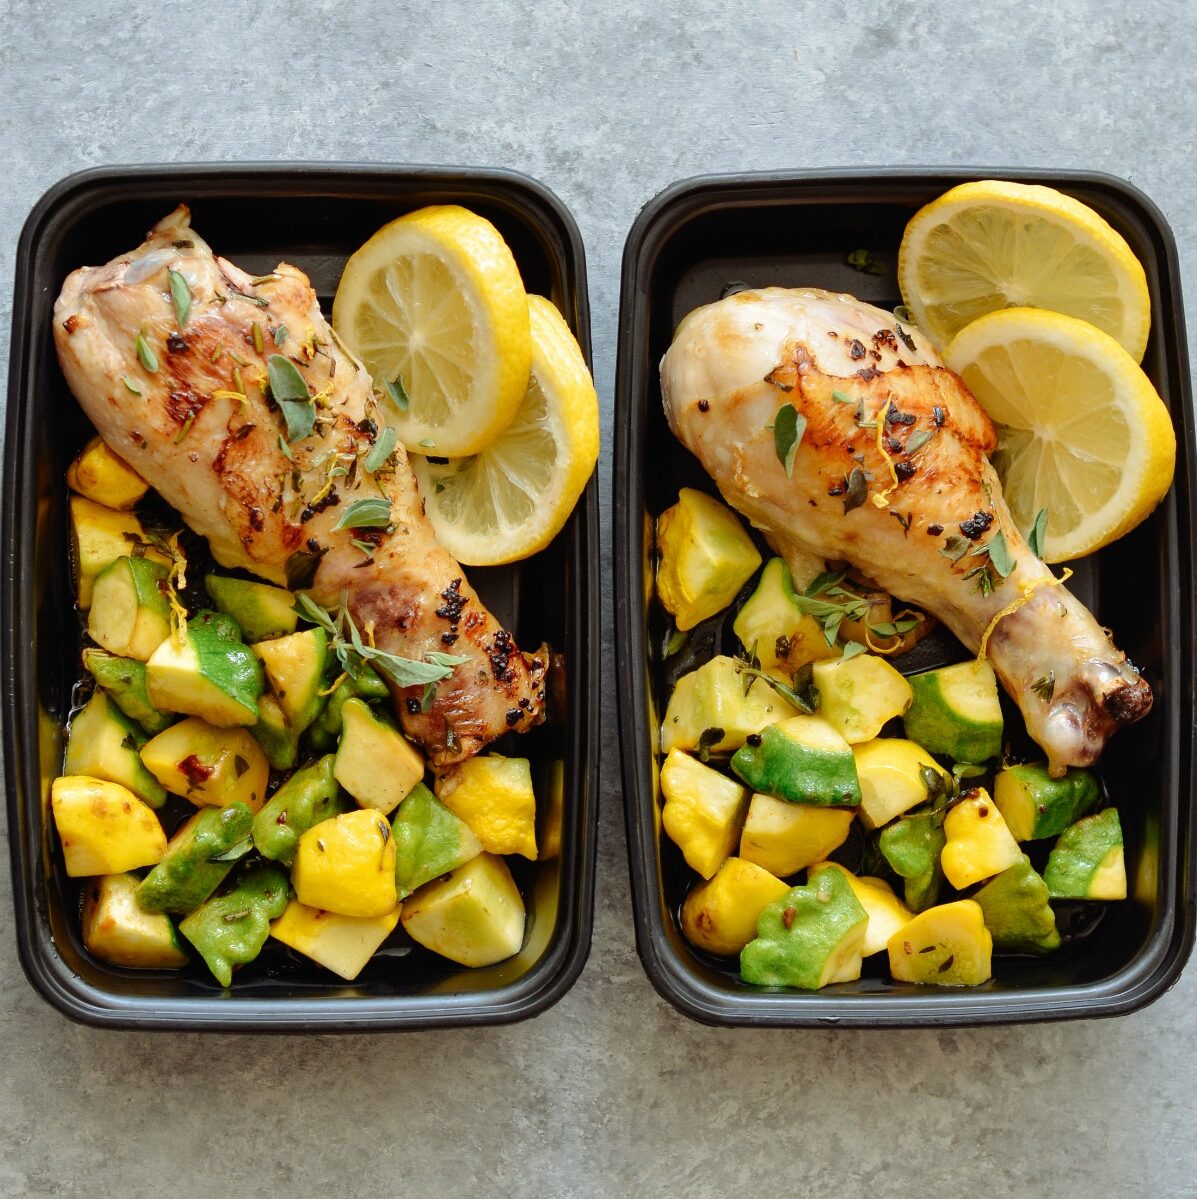
Lemon Herb Chicken and Potato Sheet Pan
-
One Pan Garlic & Herb Chicken Drumsticks with Patty Pan Squash
-
Apple, Bacon, Onion & Cheddar Breakfast Squares (GF, Low Carb)
-
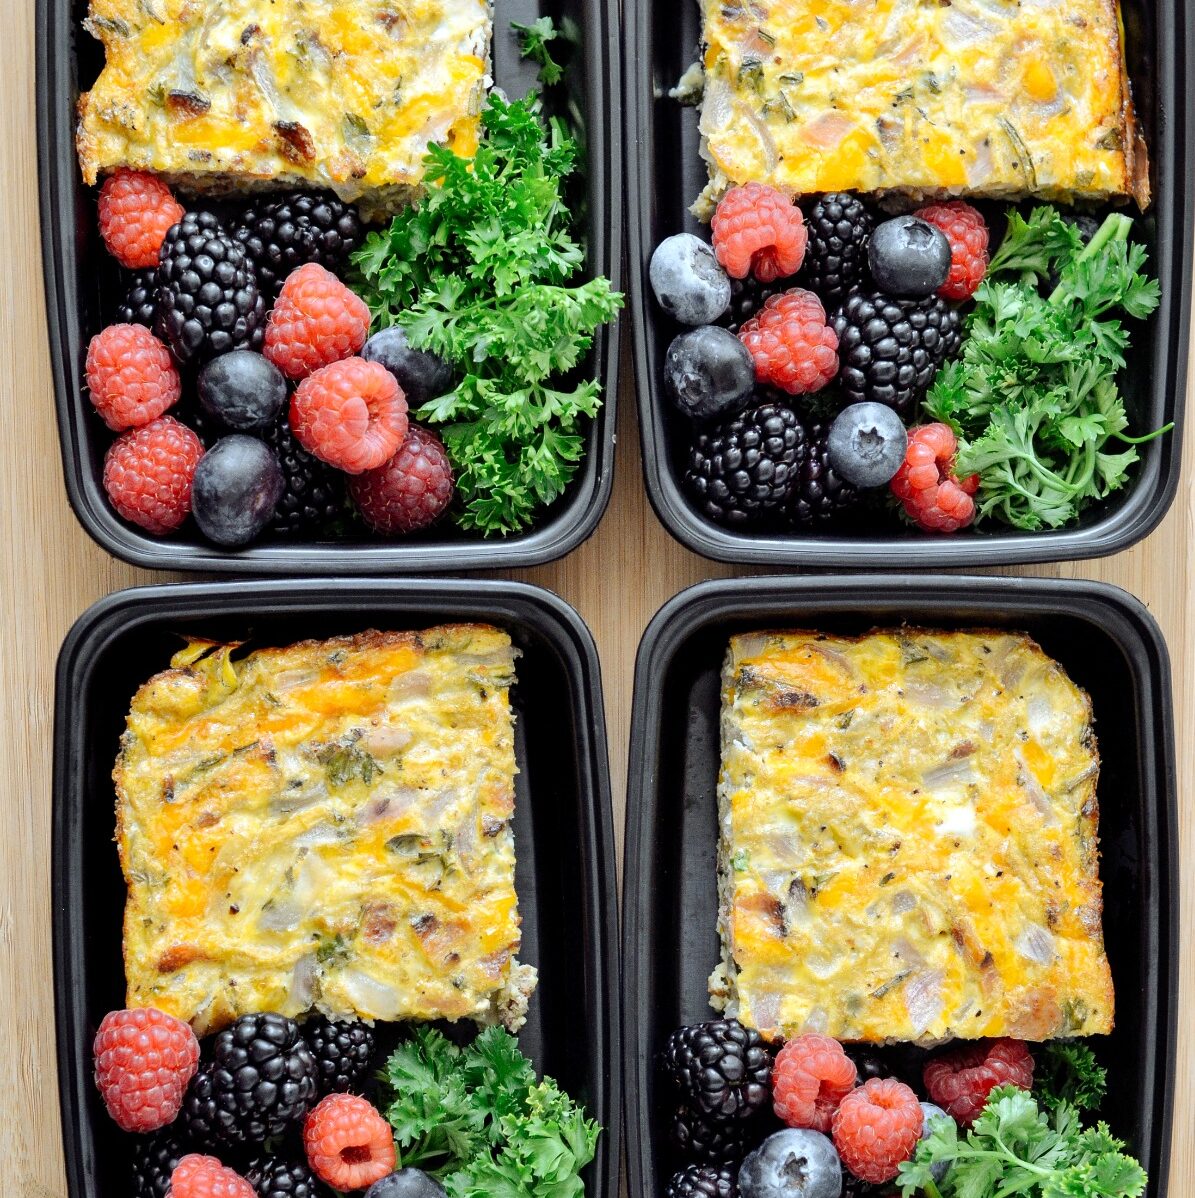
Crockpot Breakfast Casserole
-
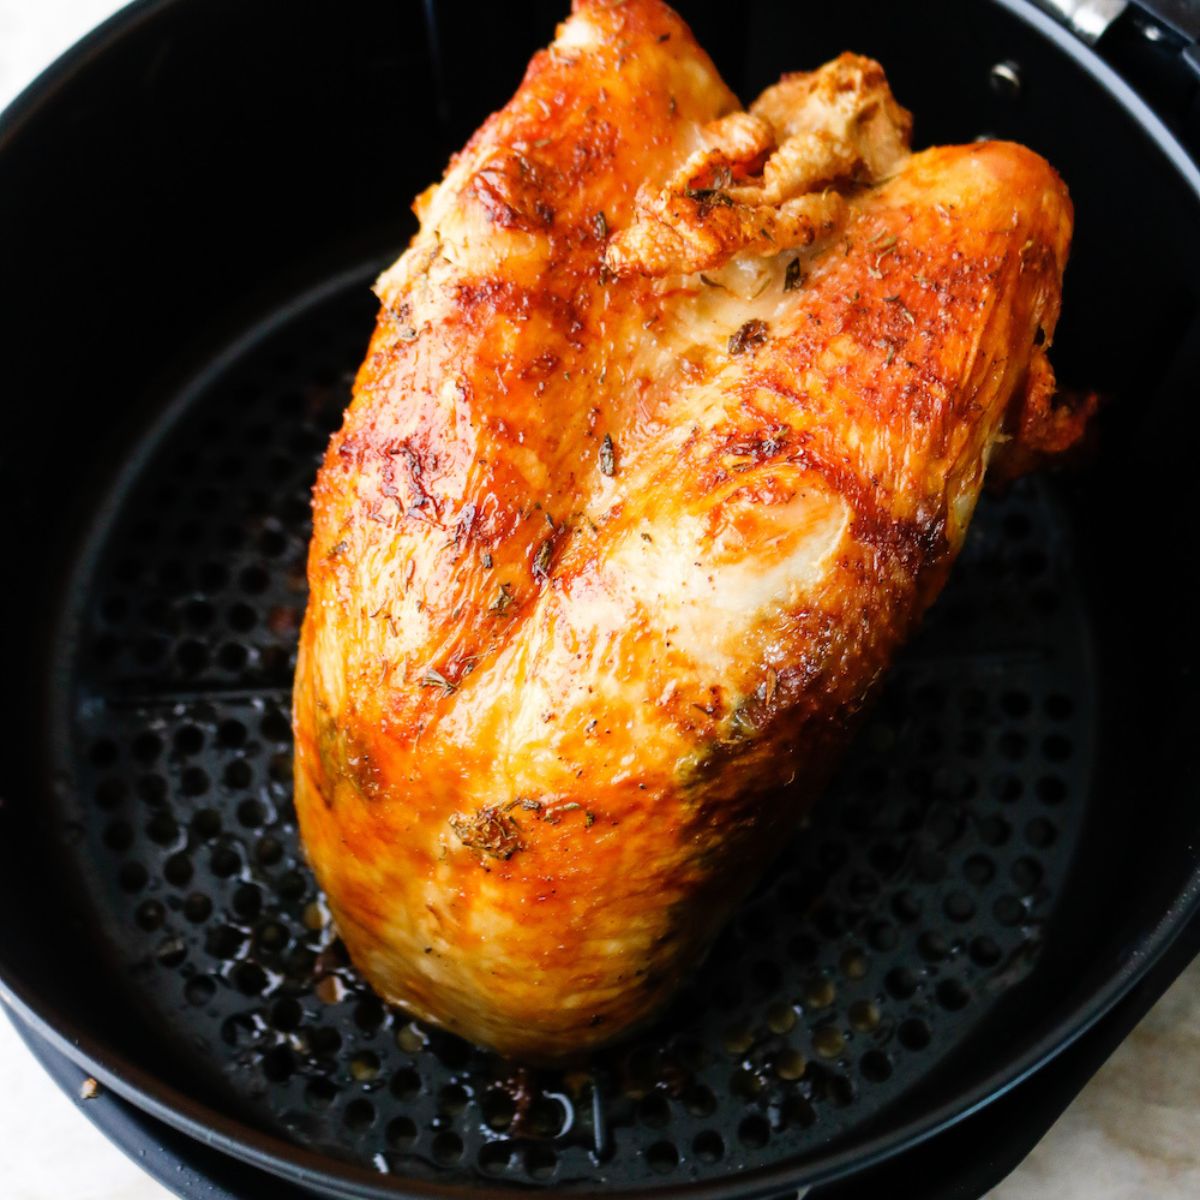
The Perfect Air Fryer Turkey Breast
-
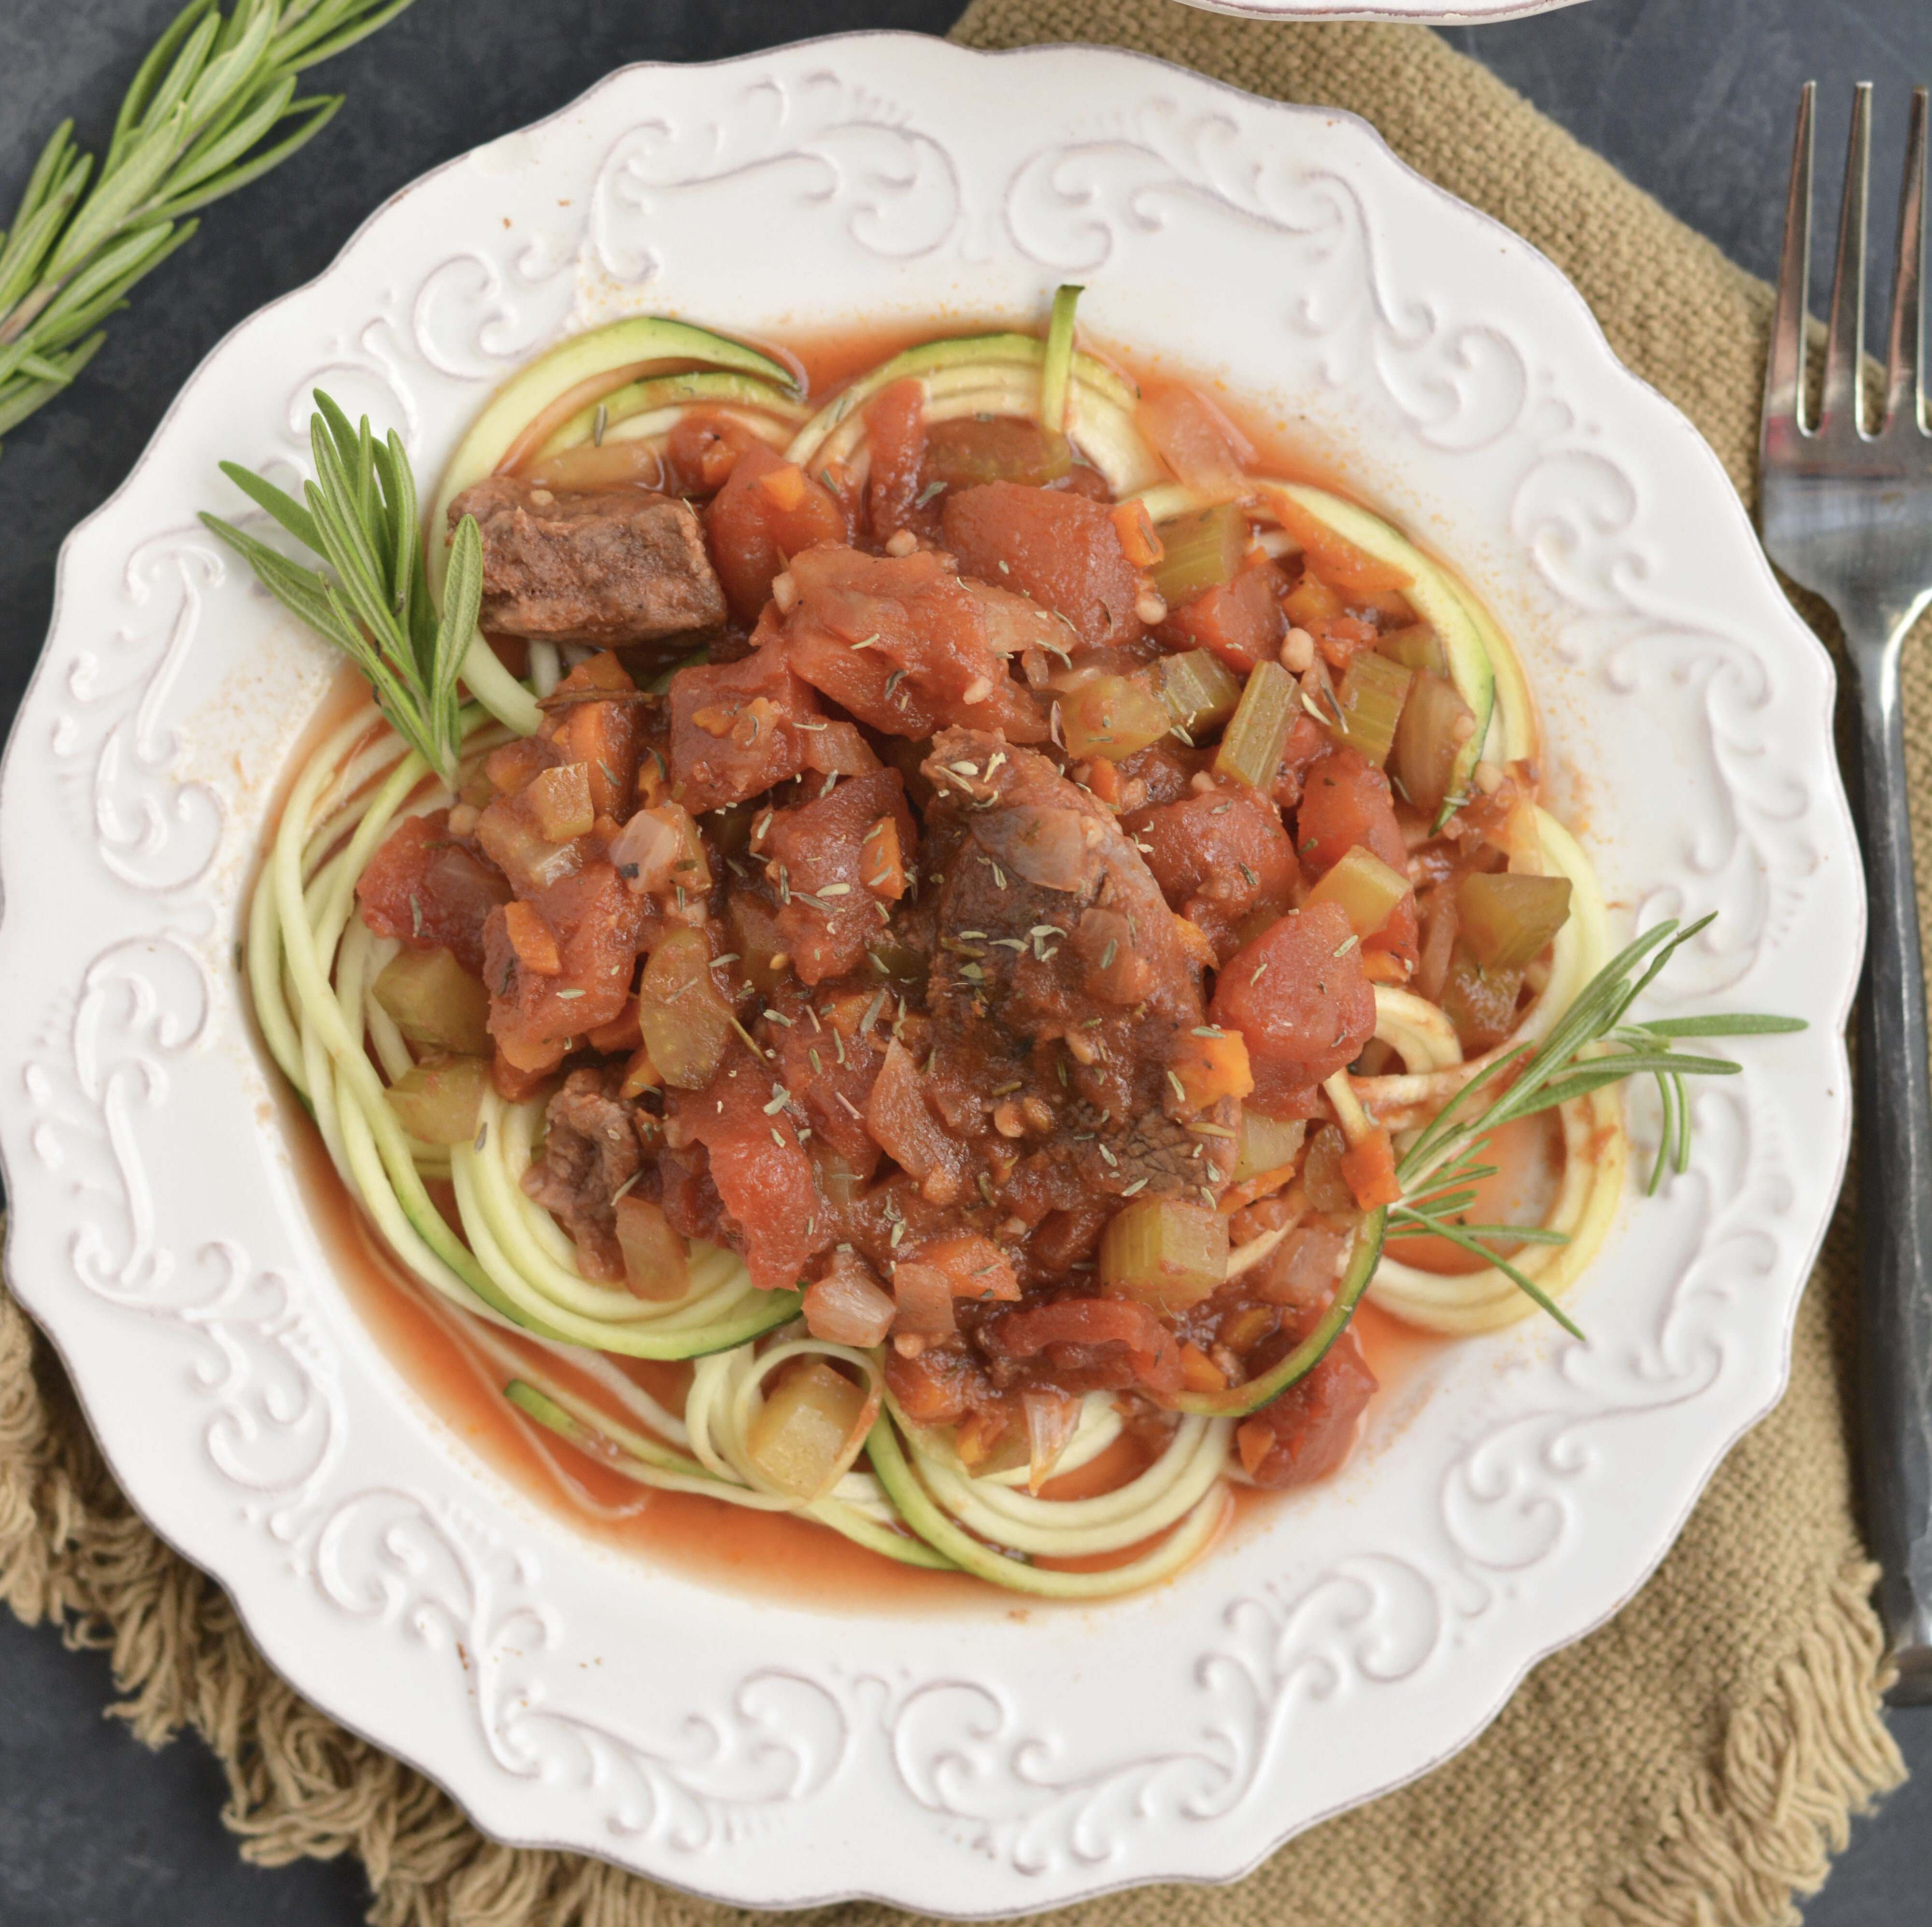
Low Carb Crockpot Beef Ragu Meal Prep
-
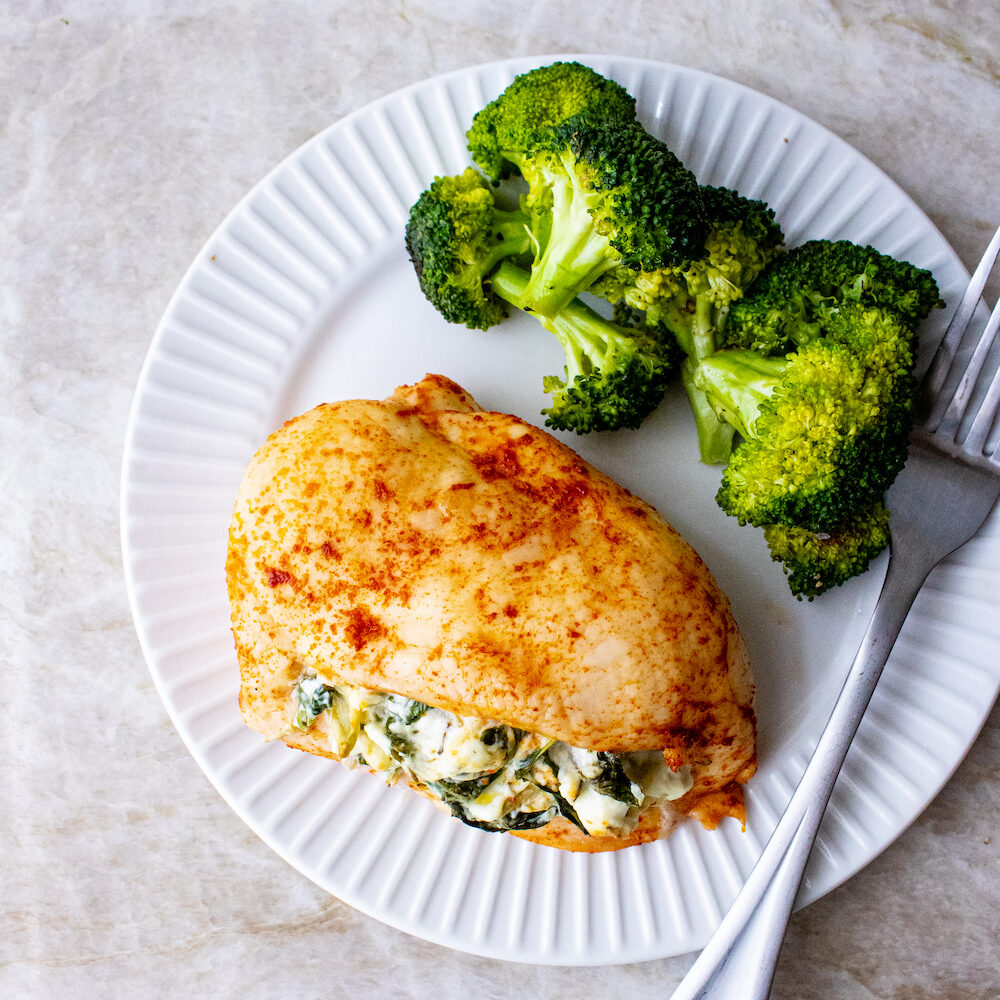
Watercress and Artichoke Stuffed Chicken Breasts
-
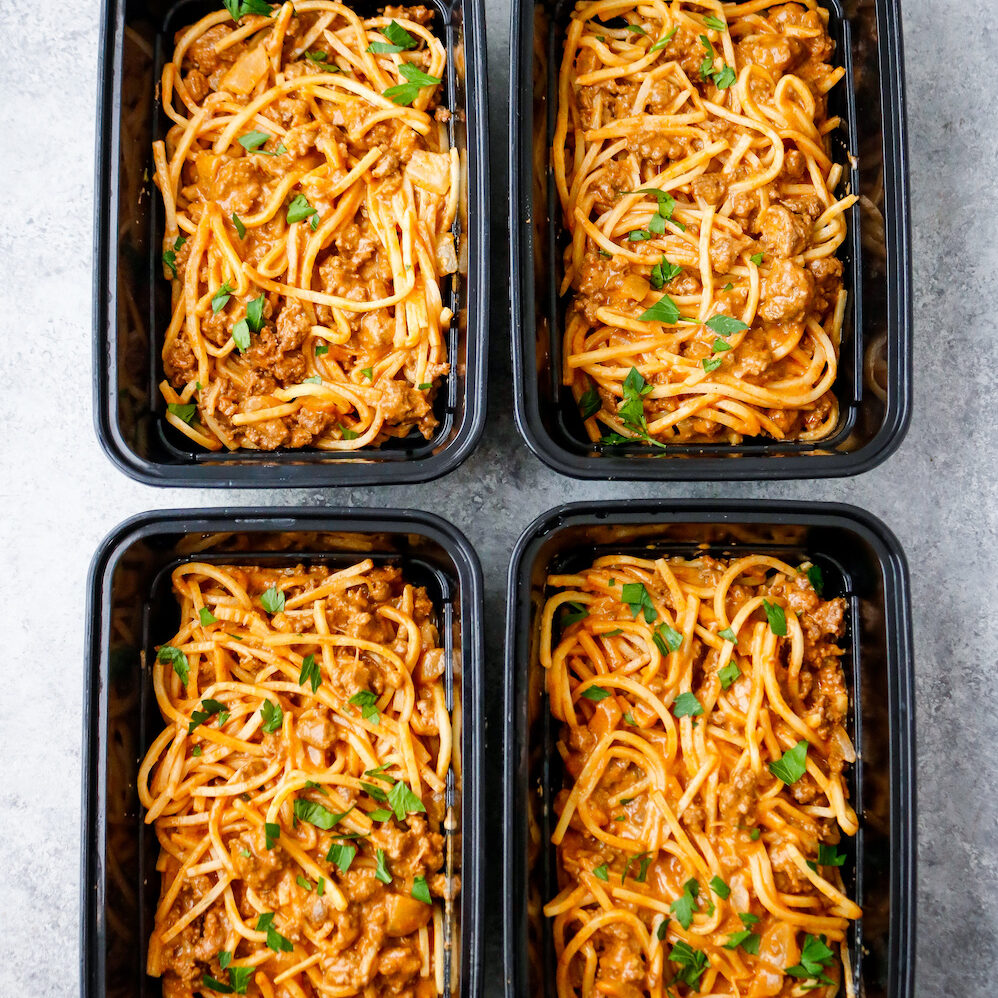
Low Carb Hamburger Helper
-
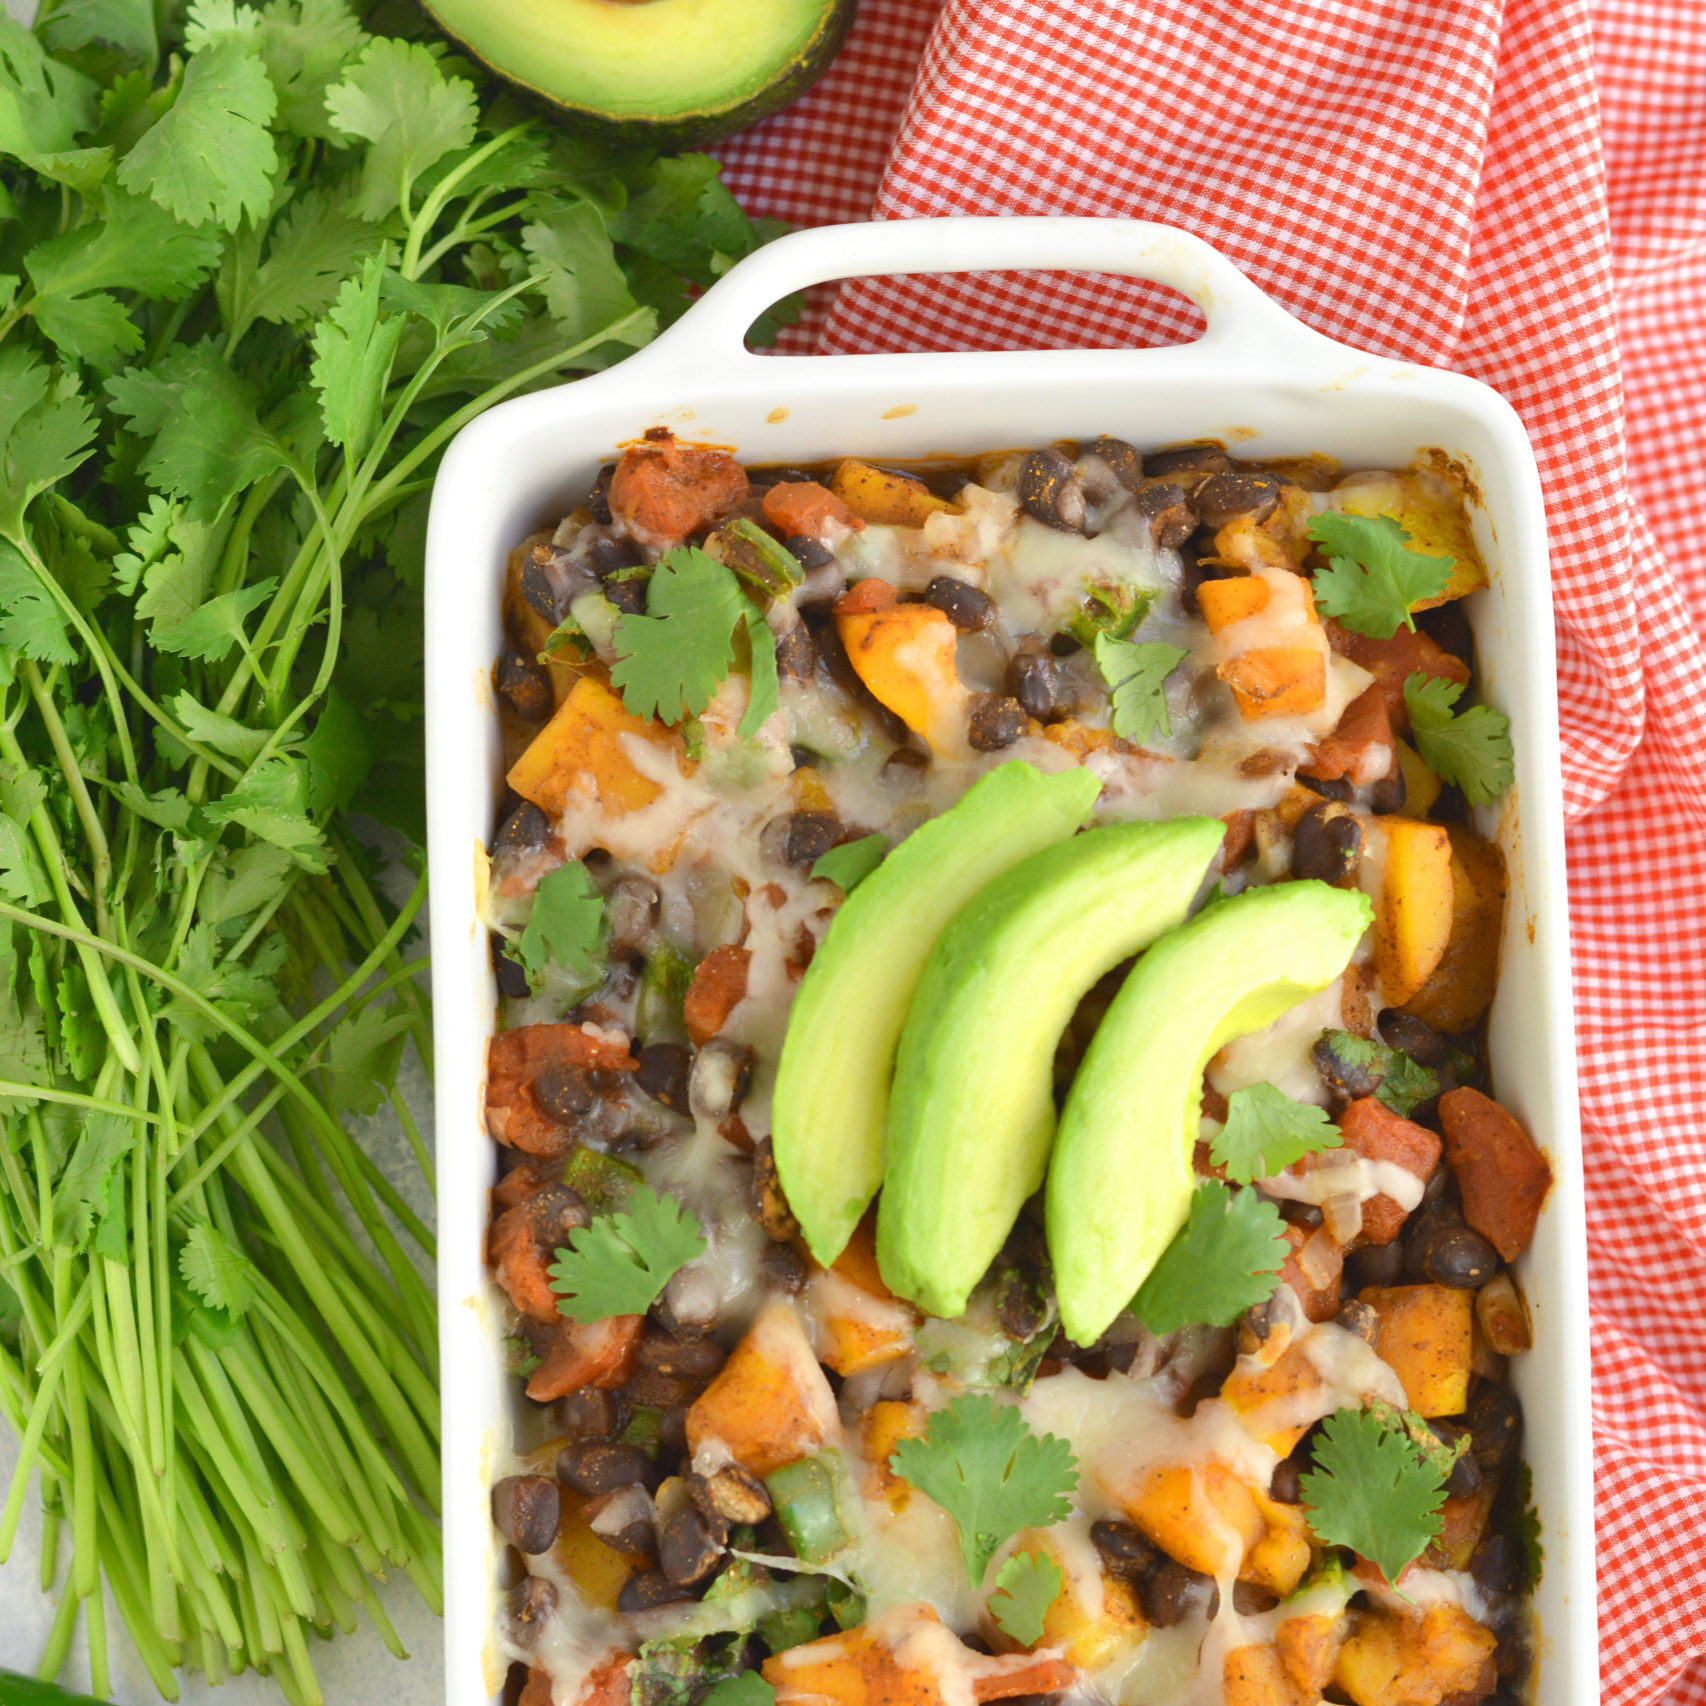
Vegan Butternut Squash Casserole Meal Prep
-
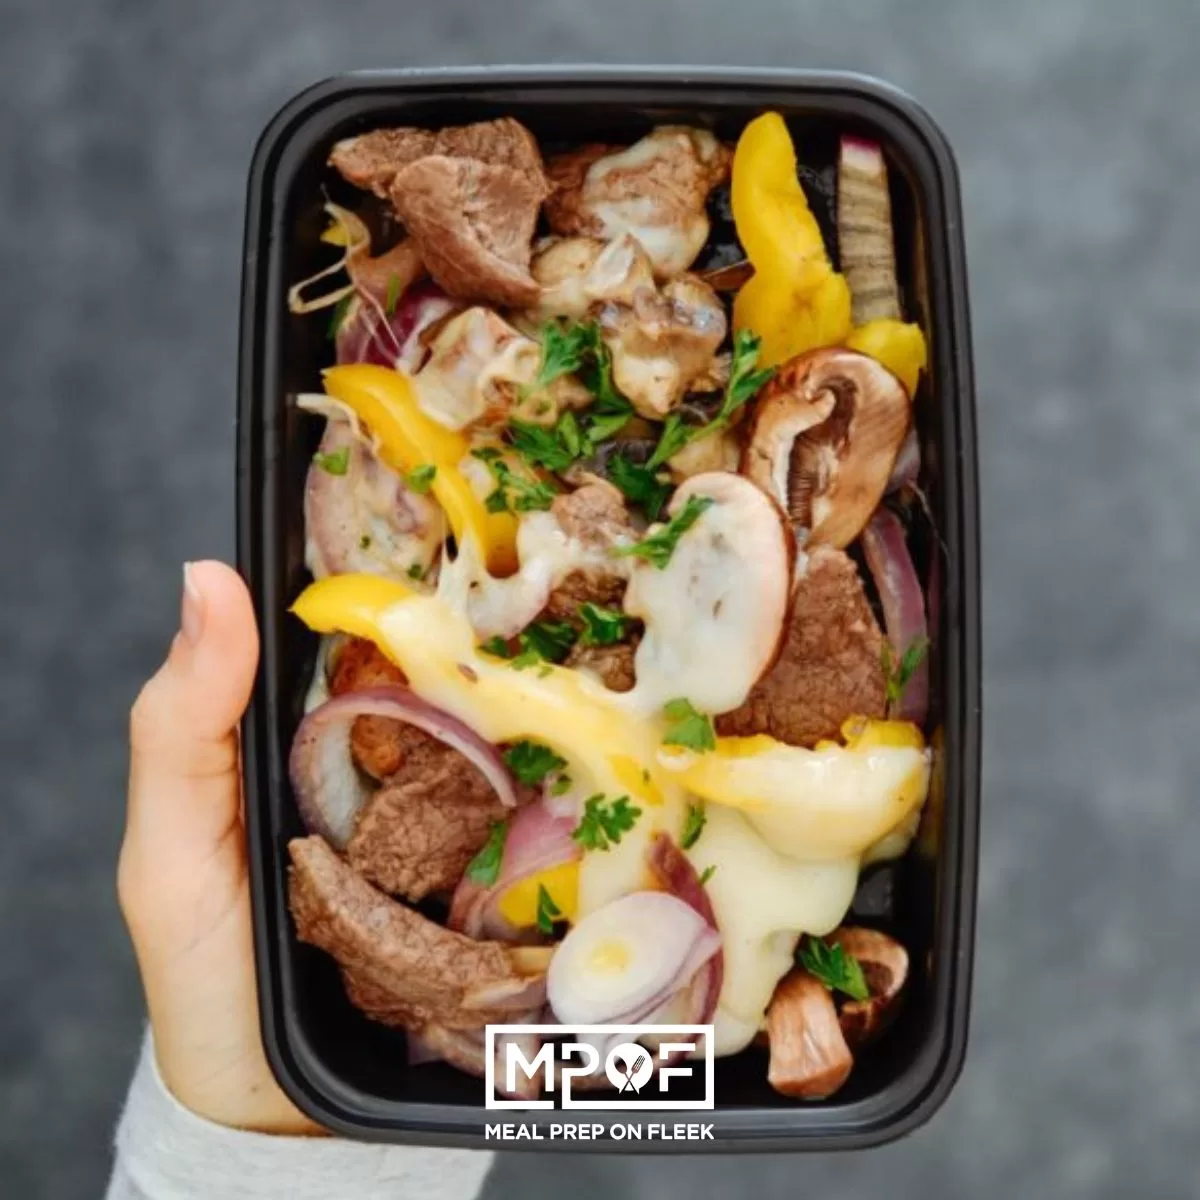
Low Carb Philly Cheesesteak Meal Prep (Griddle or Skillet Method)
-
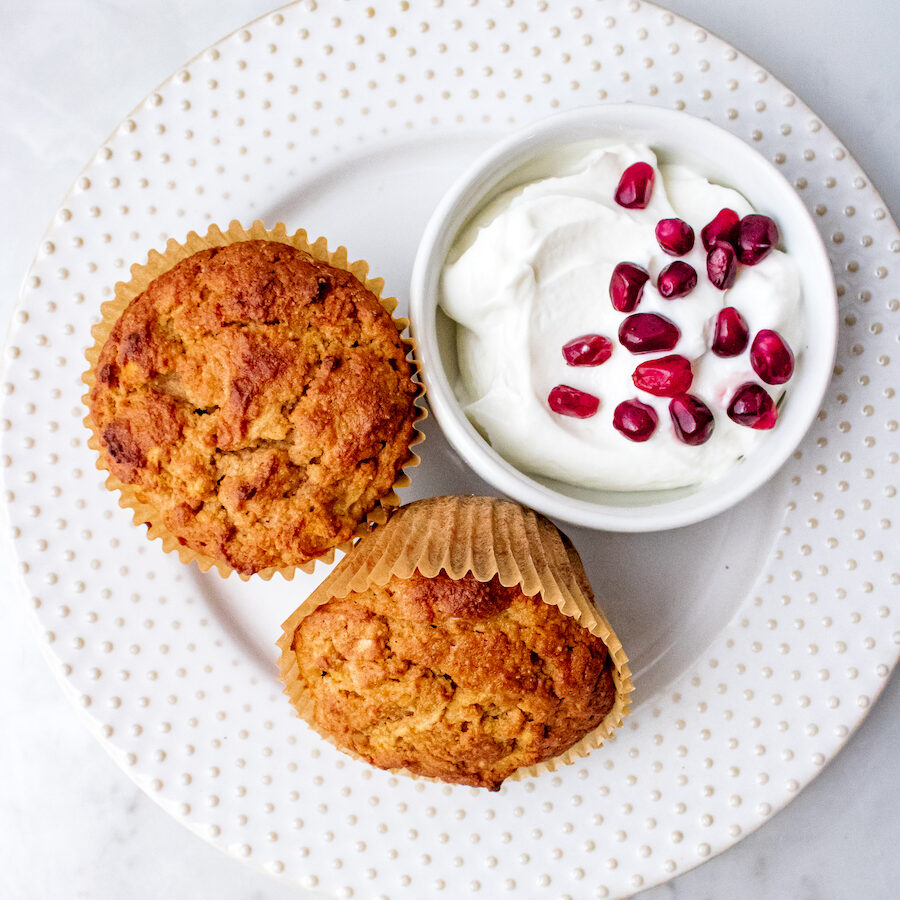
Low Carb Cinnamon Apple Muffins
-
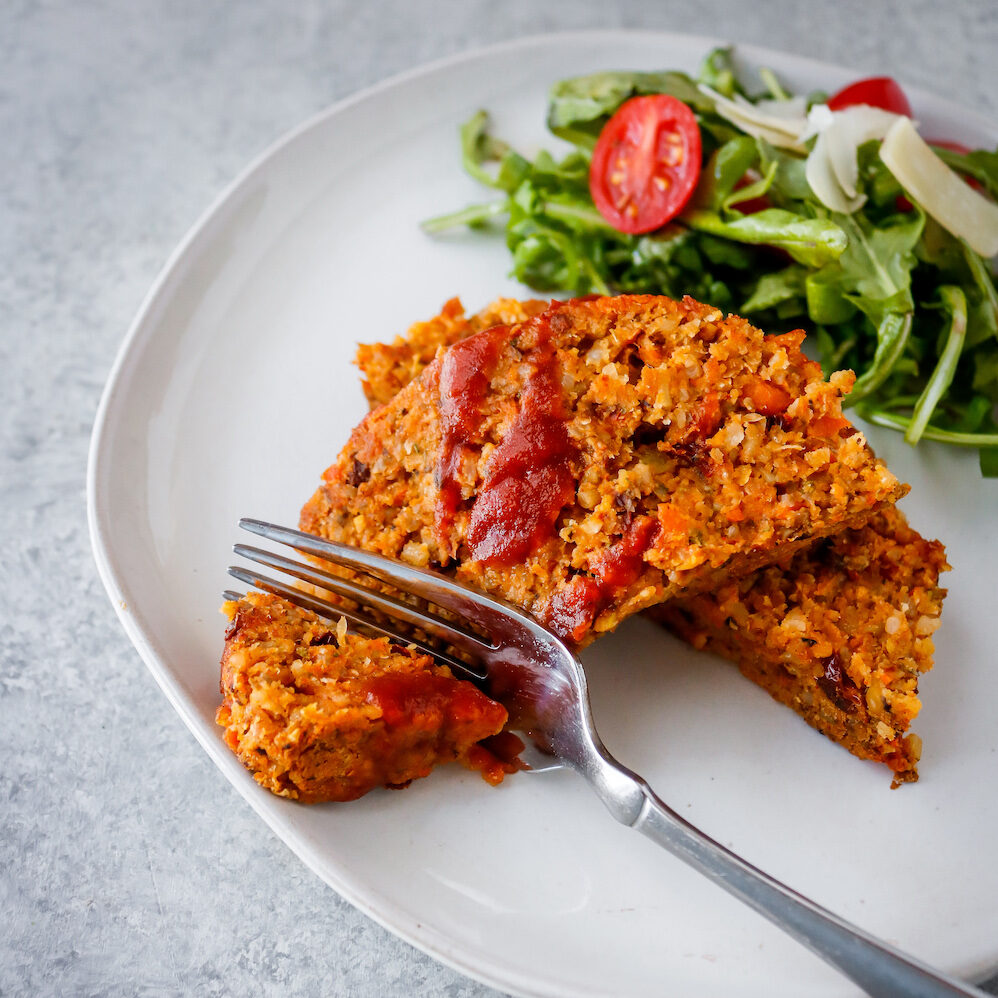
Sun Dried Tomato Meatloaf (Vegan + Gluten-Free Meal Prep)
-
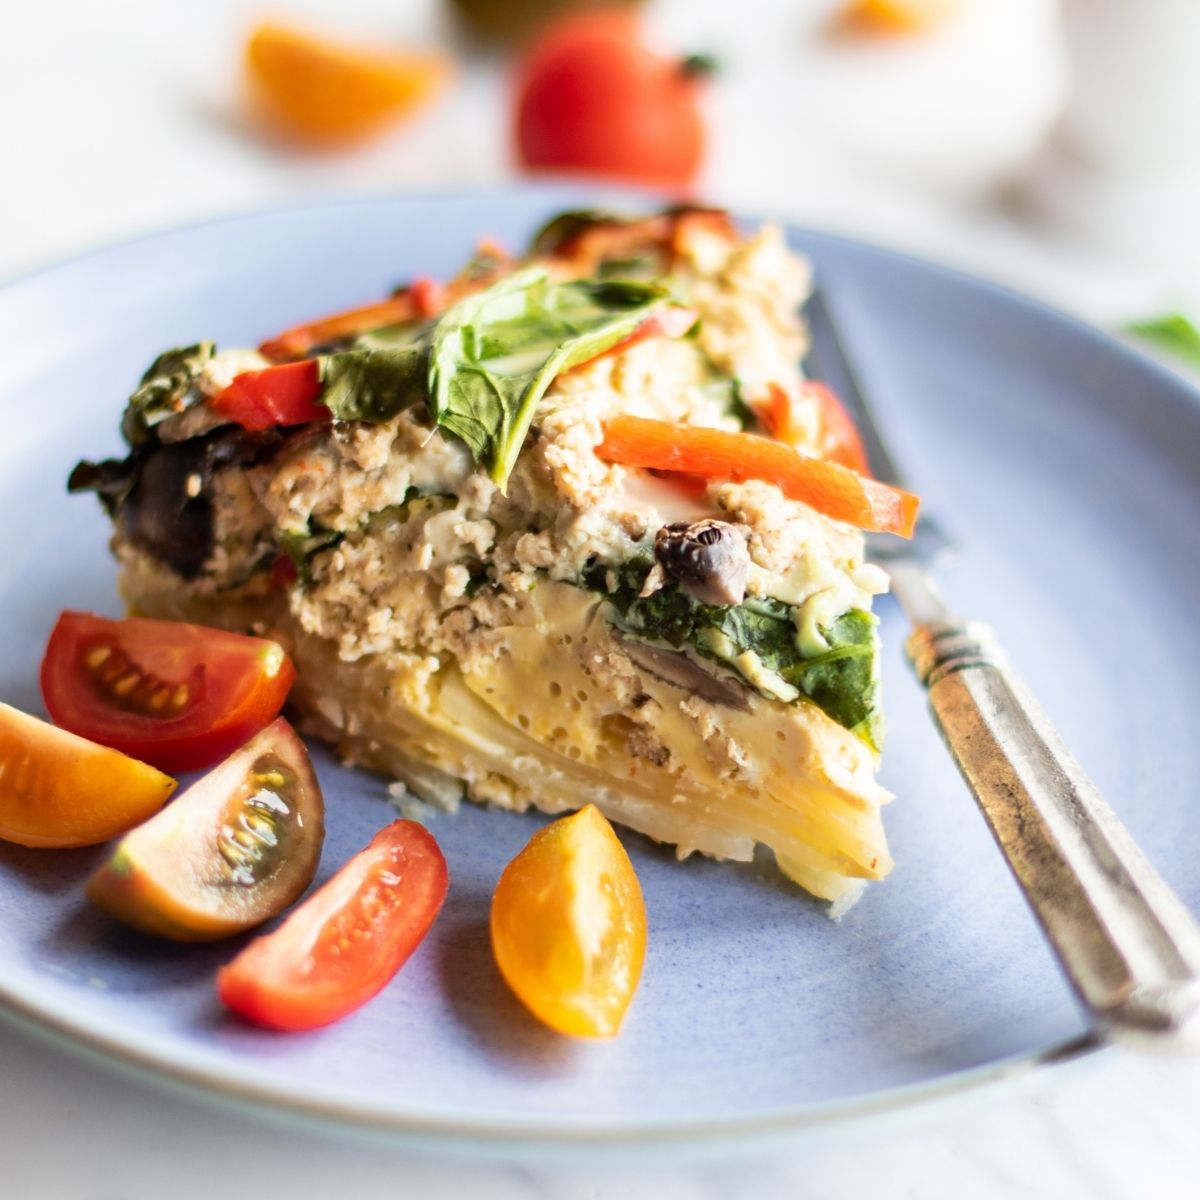
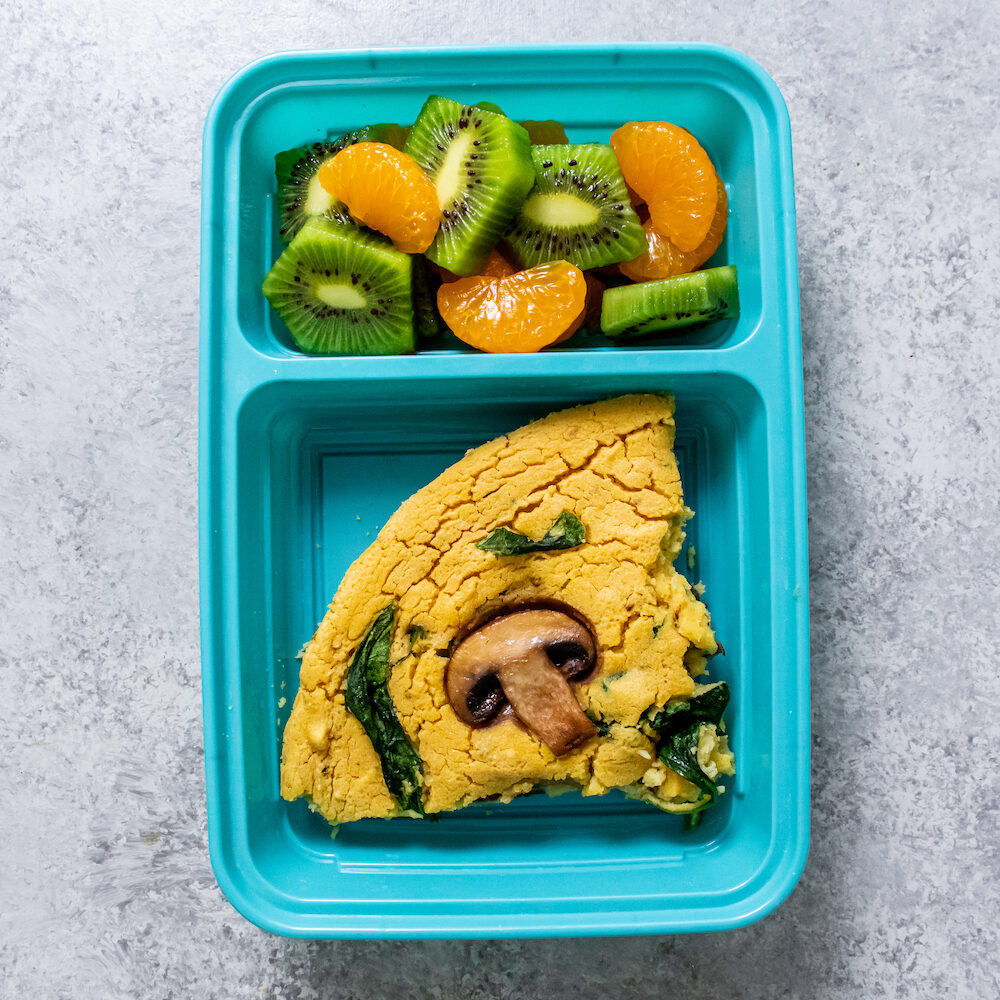
Chickpea Frittata Meal Prep (Vegan + Gluten-Free)
-
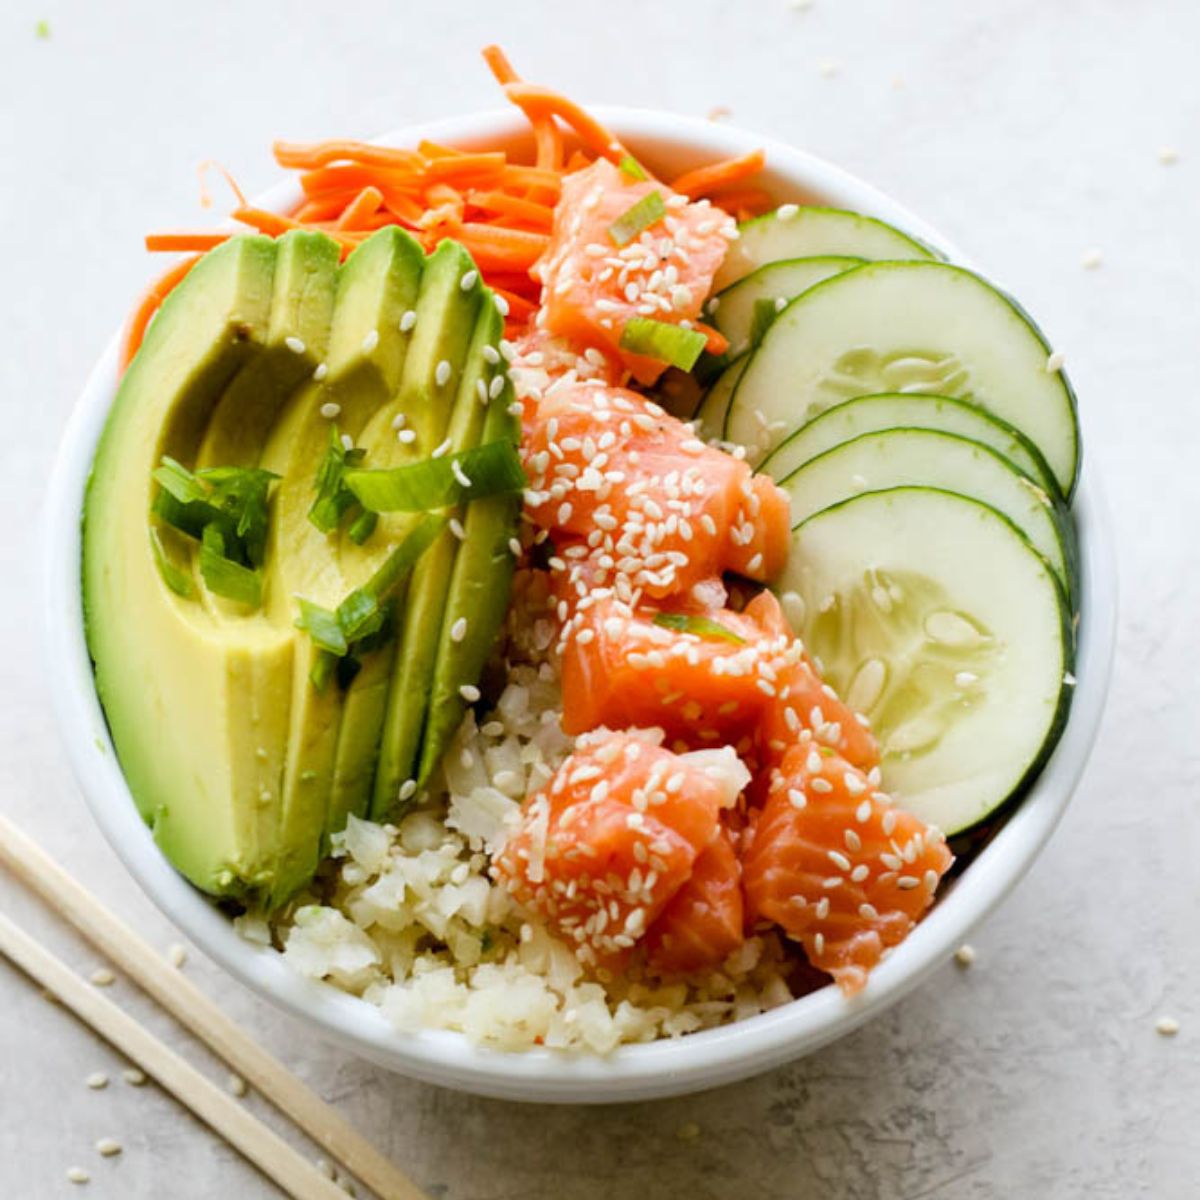
Cauliflower Rice Salmon Poke Bowl Meal Prep (Whole30 compliant)
-
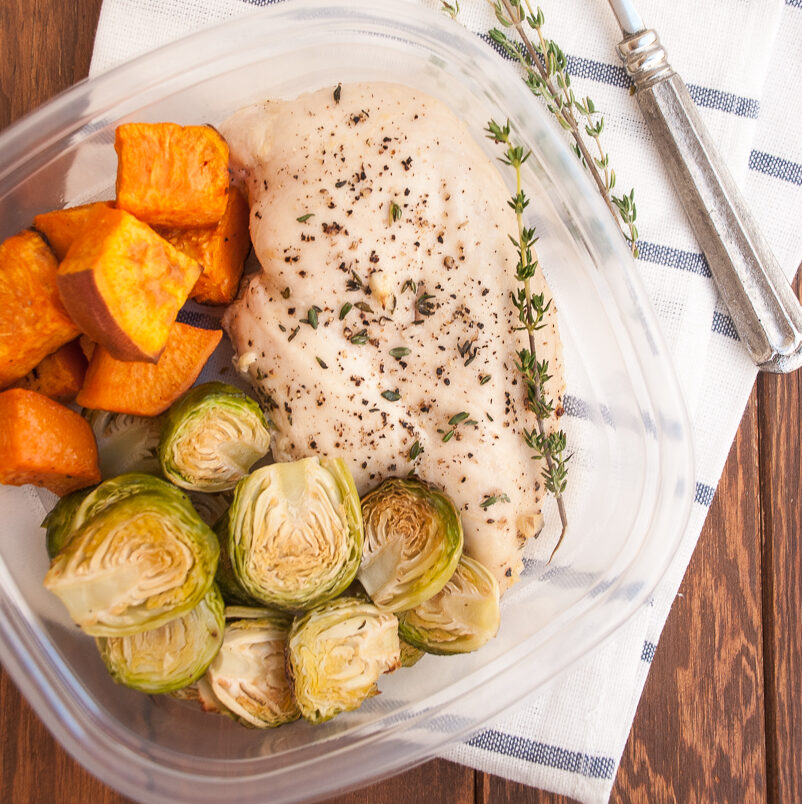
Garlic and Thyme Chicken Meal Prep (Whole30 Friendly)
-
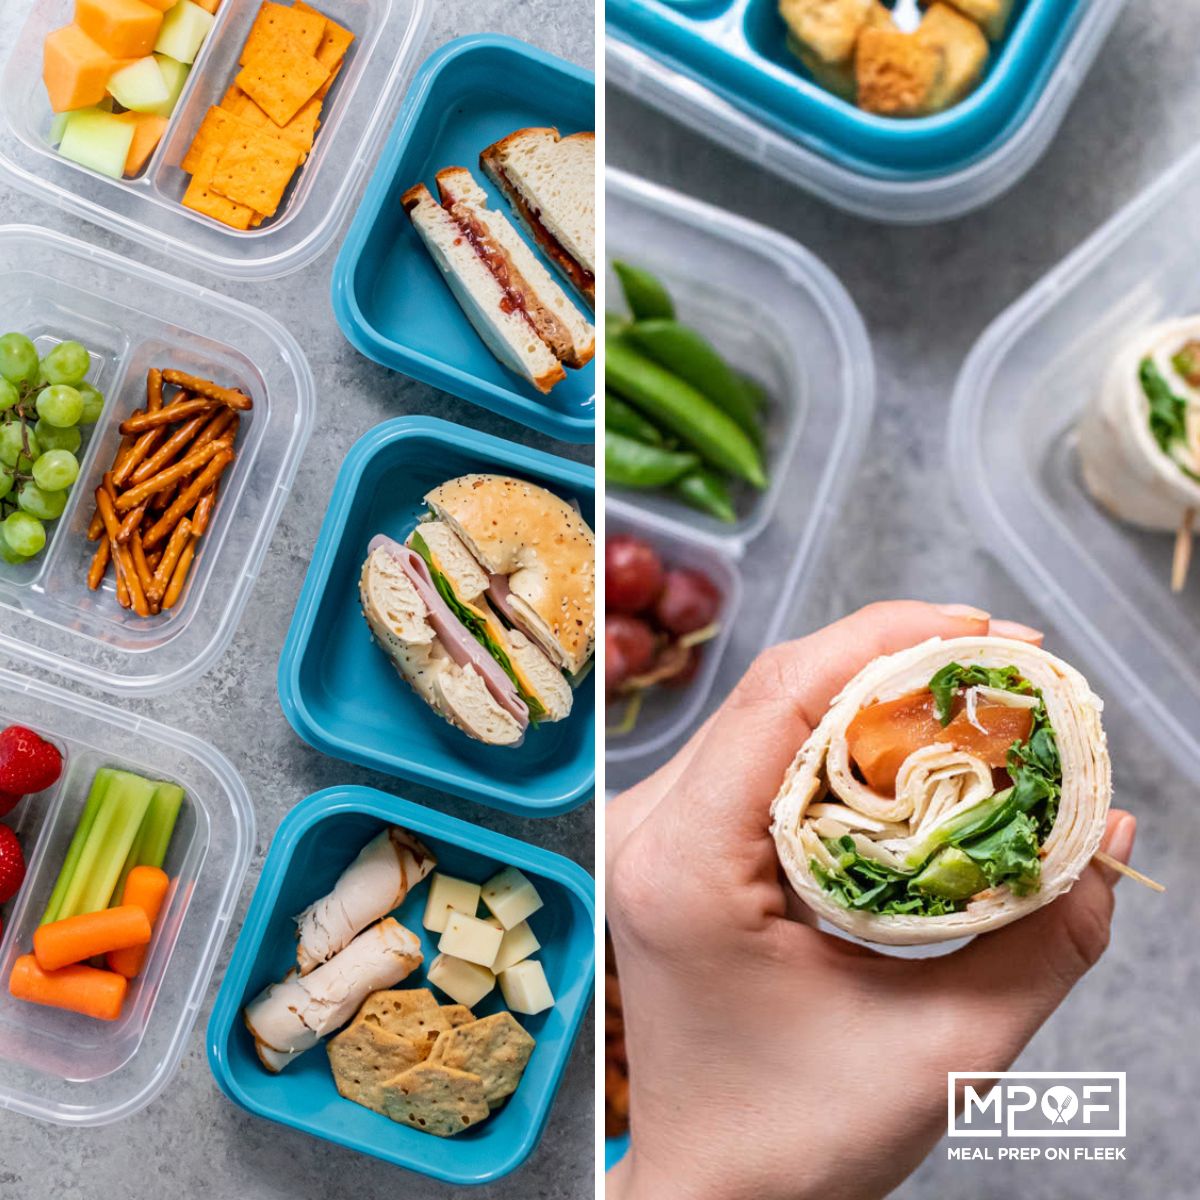
3 Kid-Friendly Back-to-School Lunch Ideas (No Cooking Required!)
-
Pizza Chicken Meal Prep Recipe (Low Carb, High Flavor)
-
Grain Free Granola
-
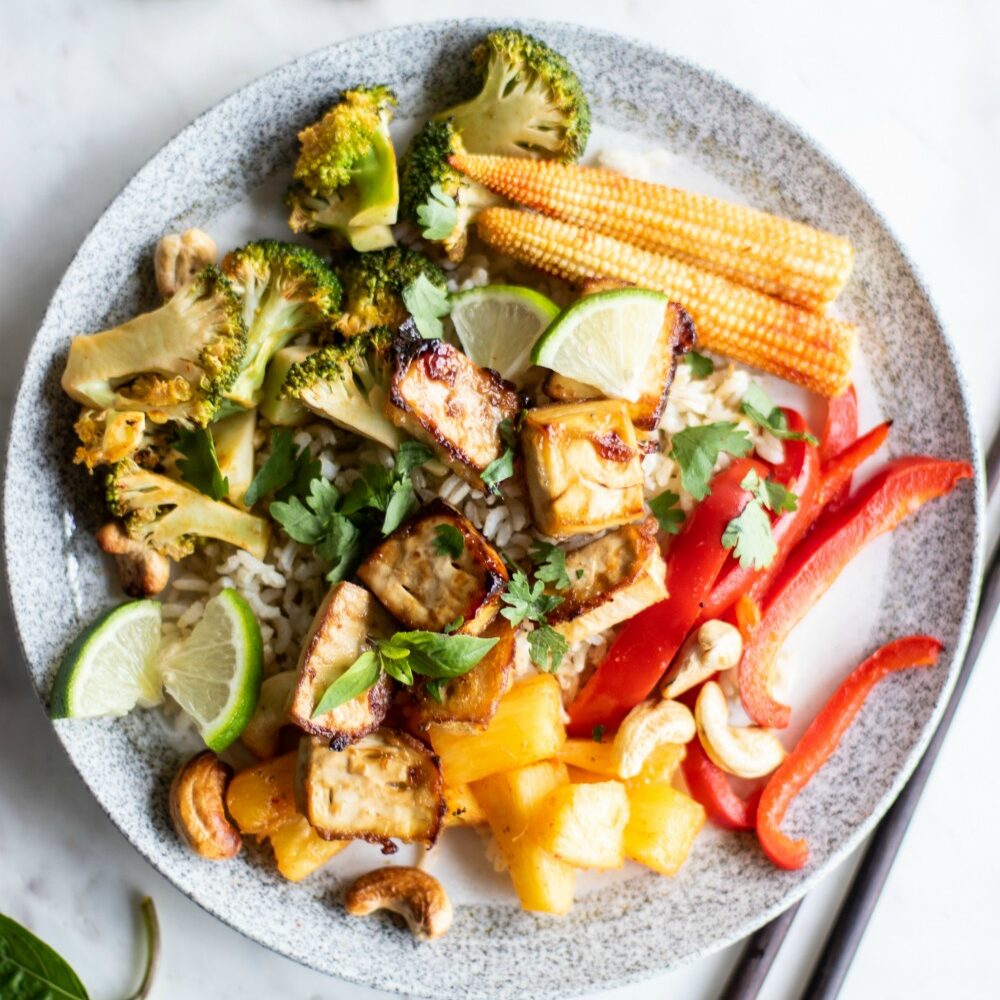
Thai Chili Tofu Sheet Pan Meal Prep
-
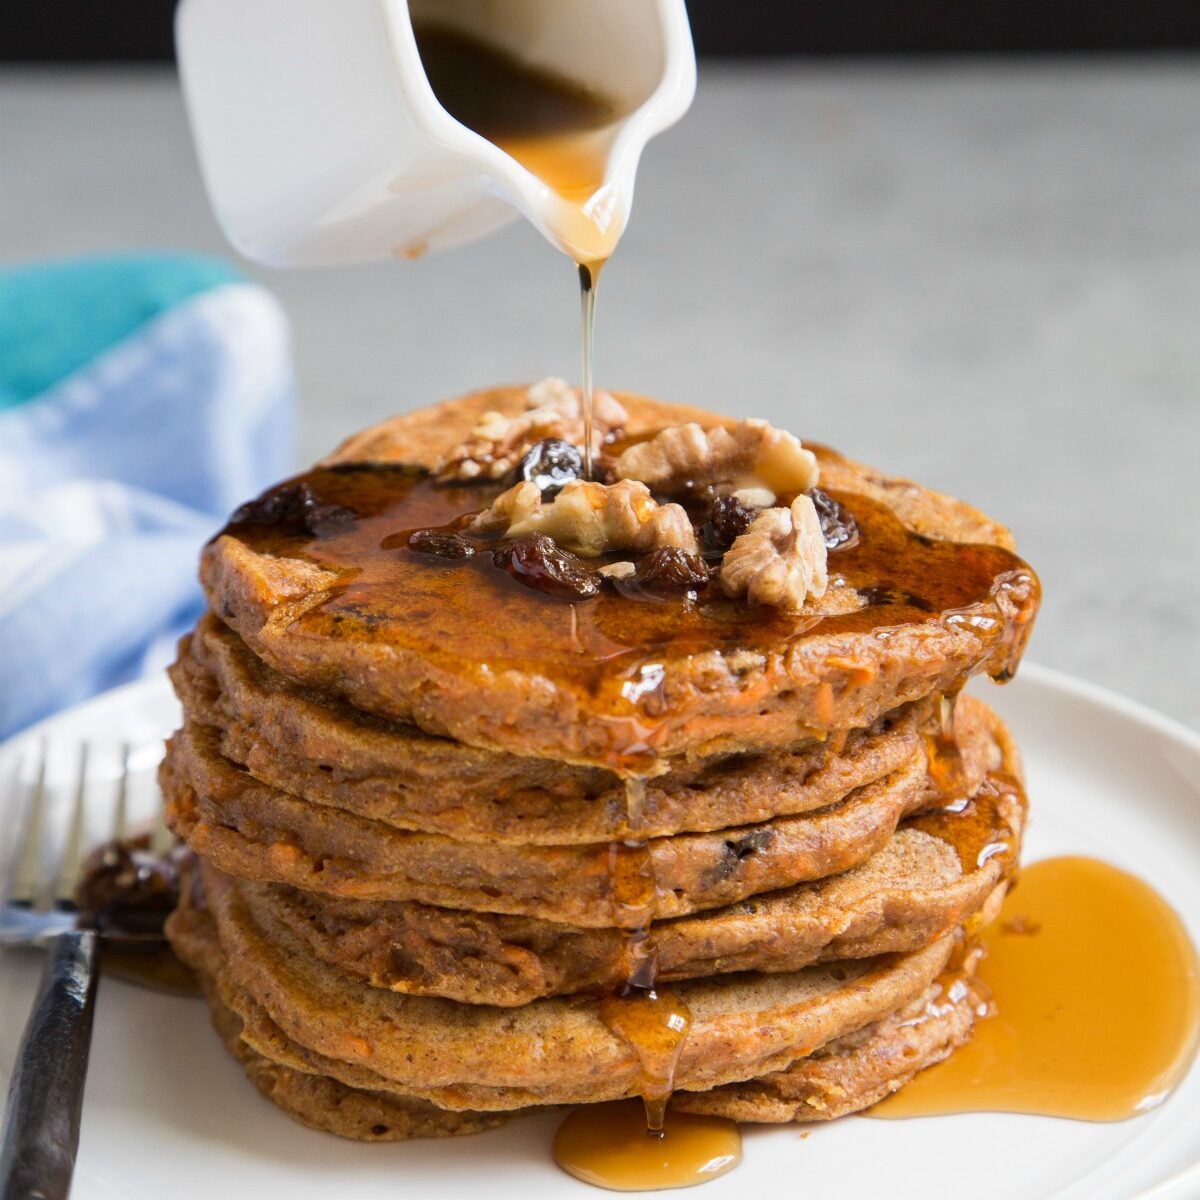
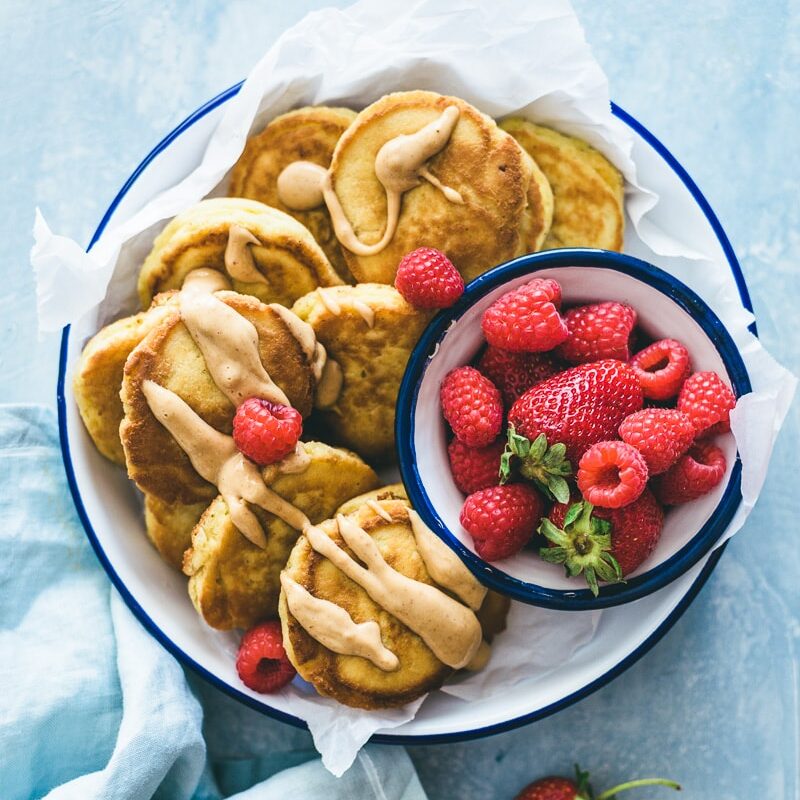
How to Make Carrot Cake Pancakes
-
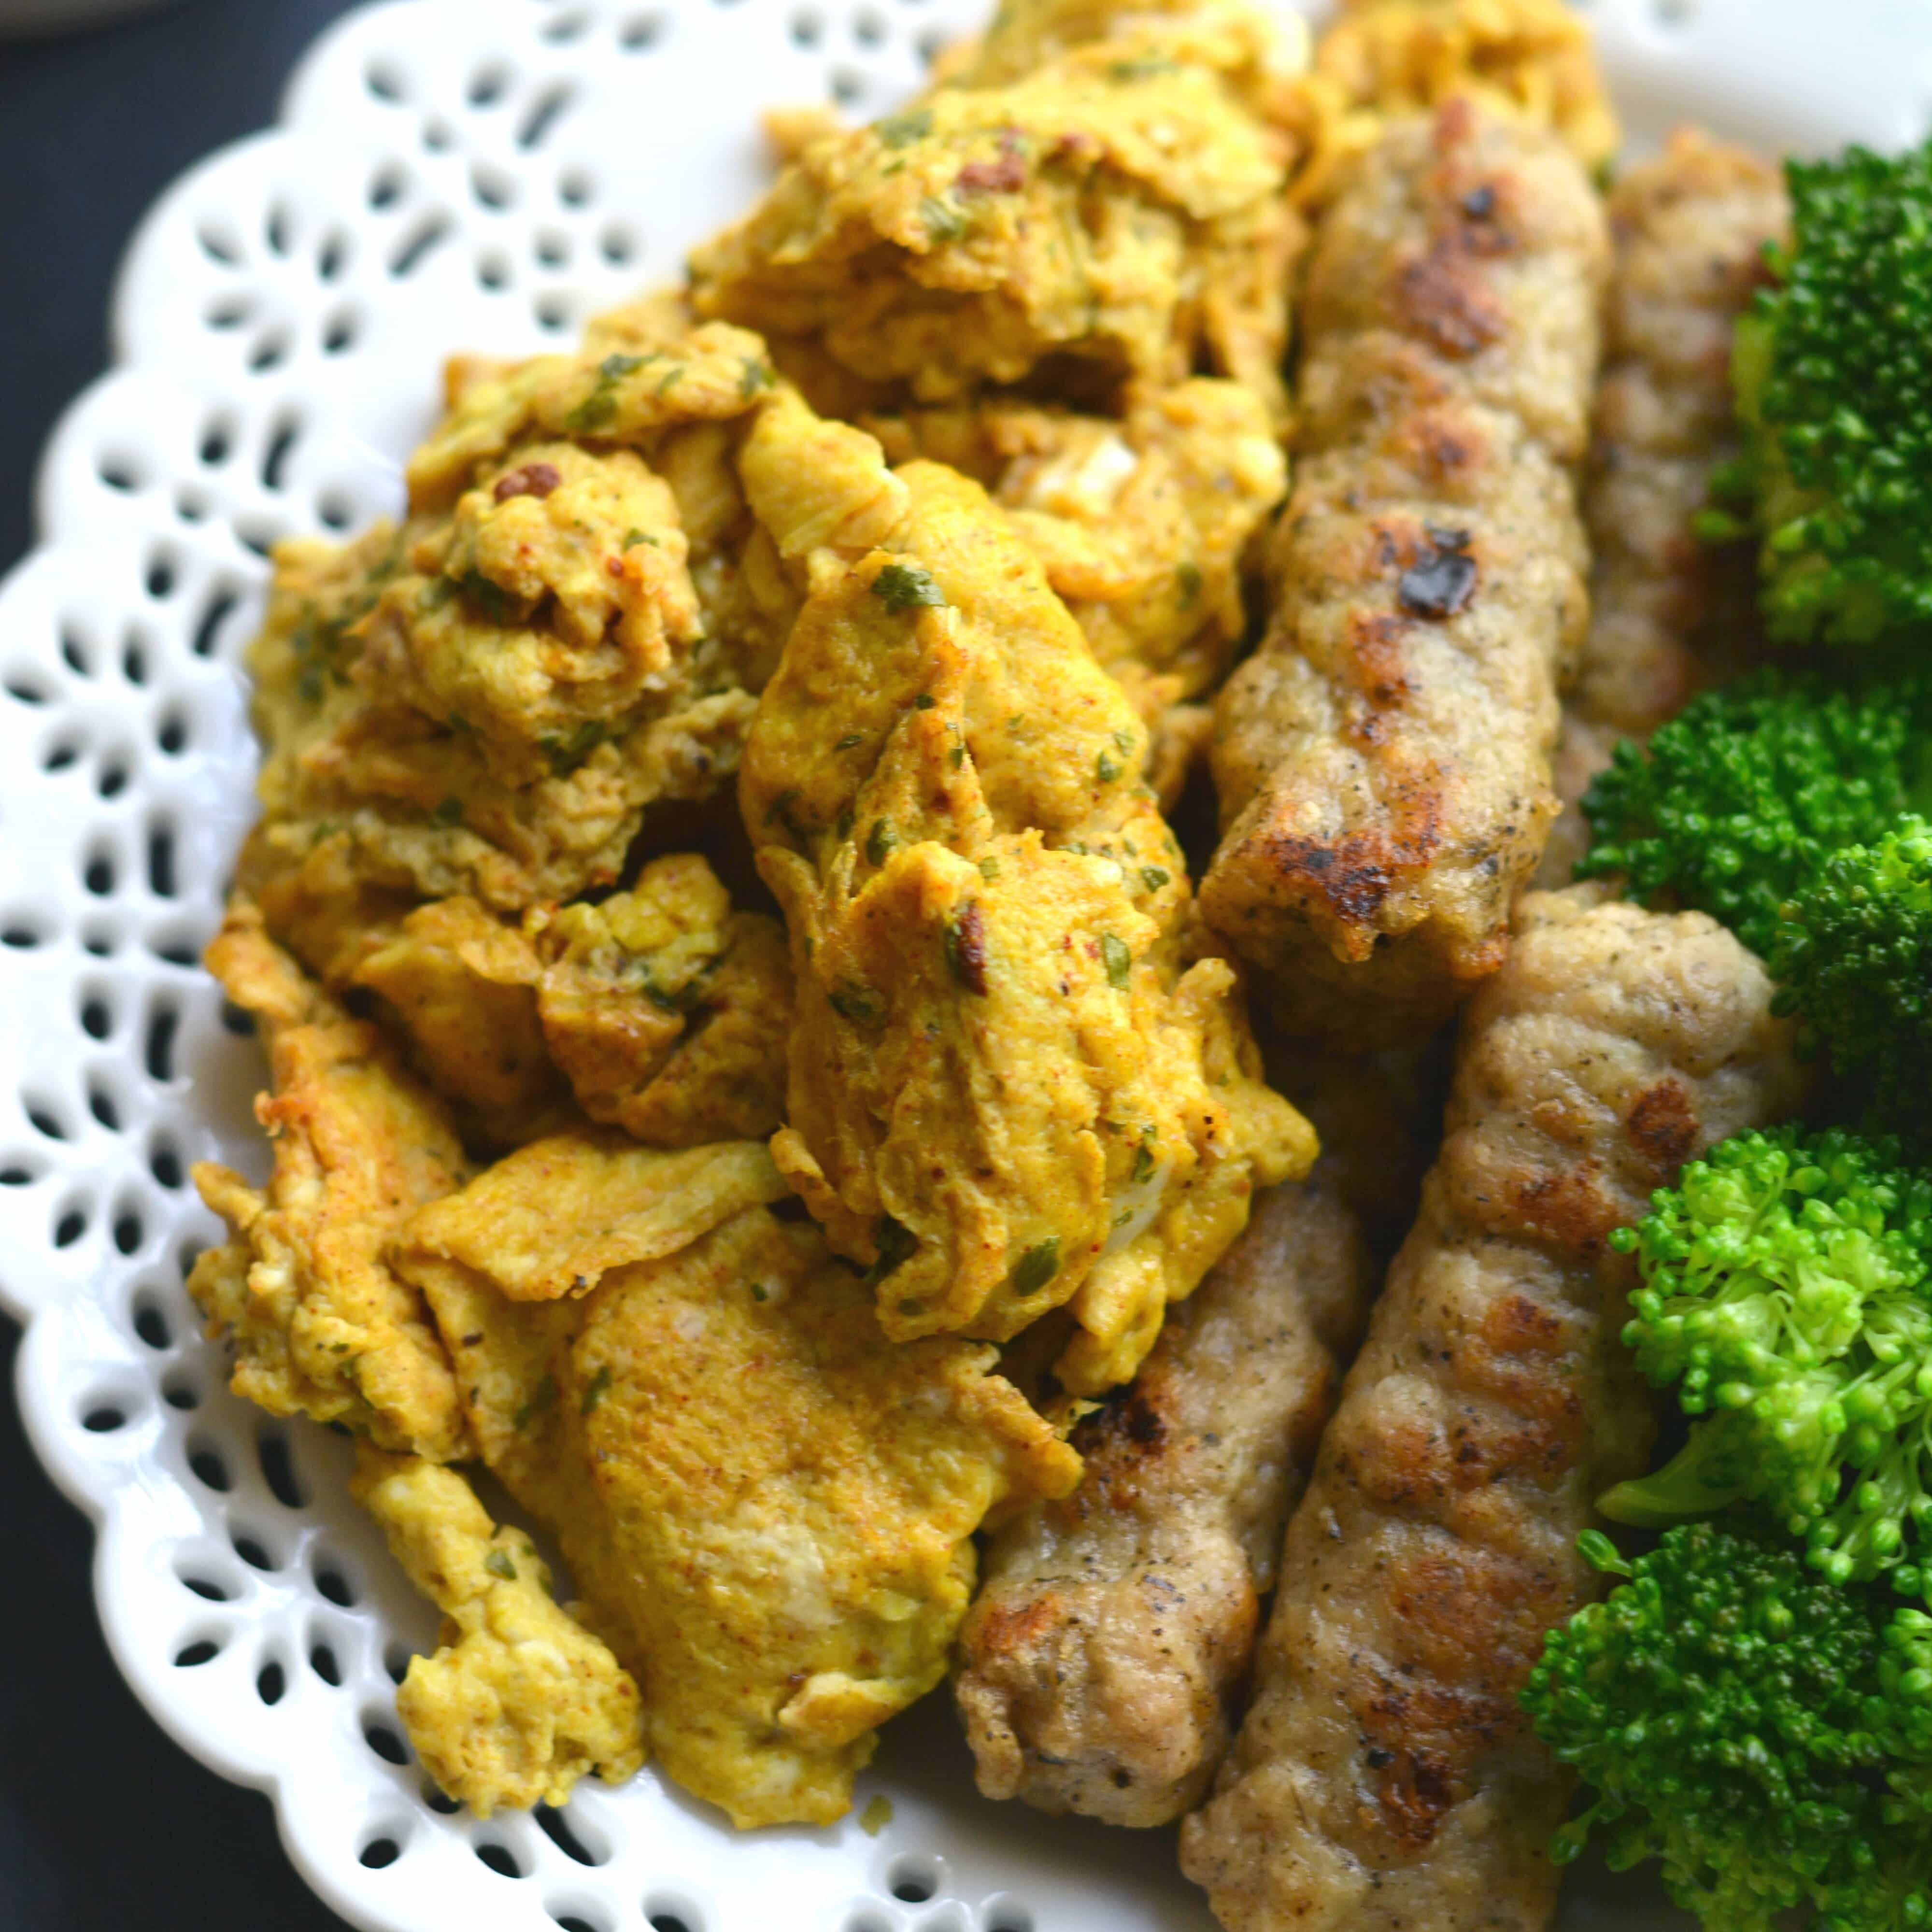
The Best Turmeric Scrambled Eggs for Breakfast
-
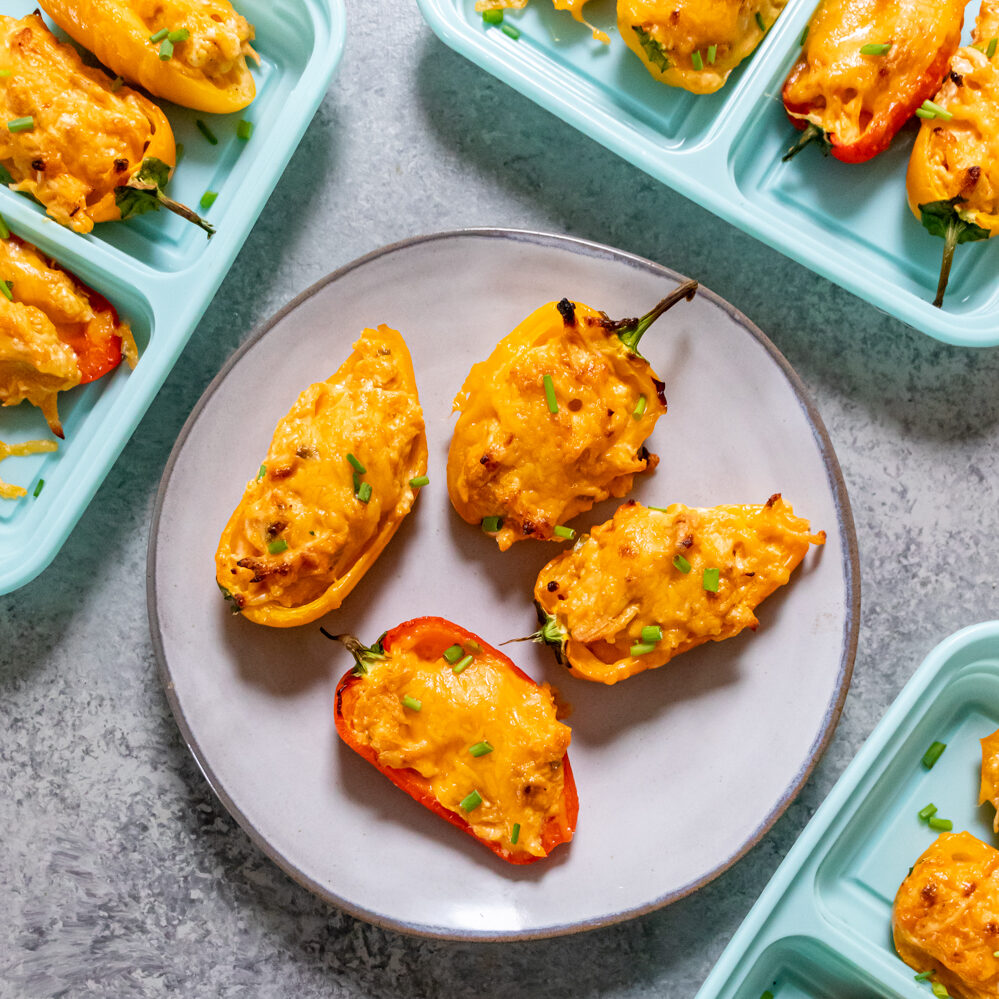
Low Carb Buffalo Chicken Mini Bell Peppers
-
Creamy Garlic Zoodles with Chicken
-
Easy White Chicken Chili (Healthy + Gluten Free)
-
Yes, You CAN Meal Prep Pancakes!
-
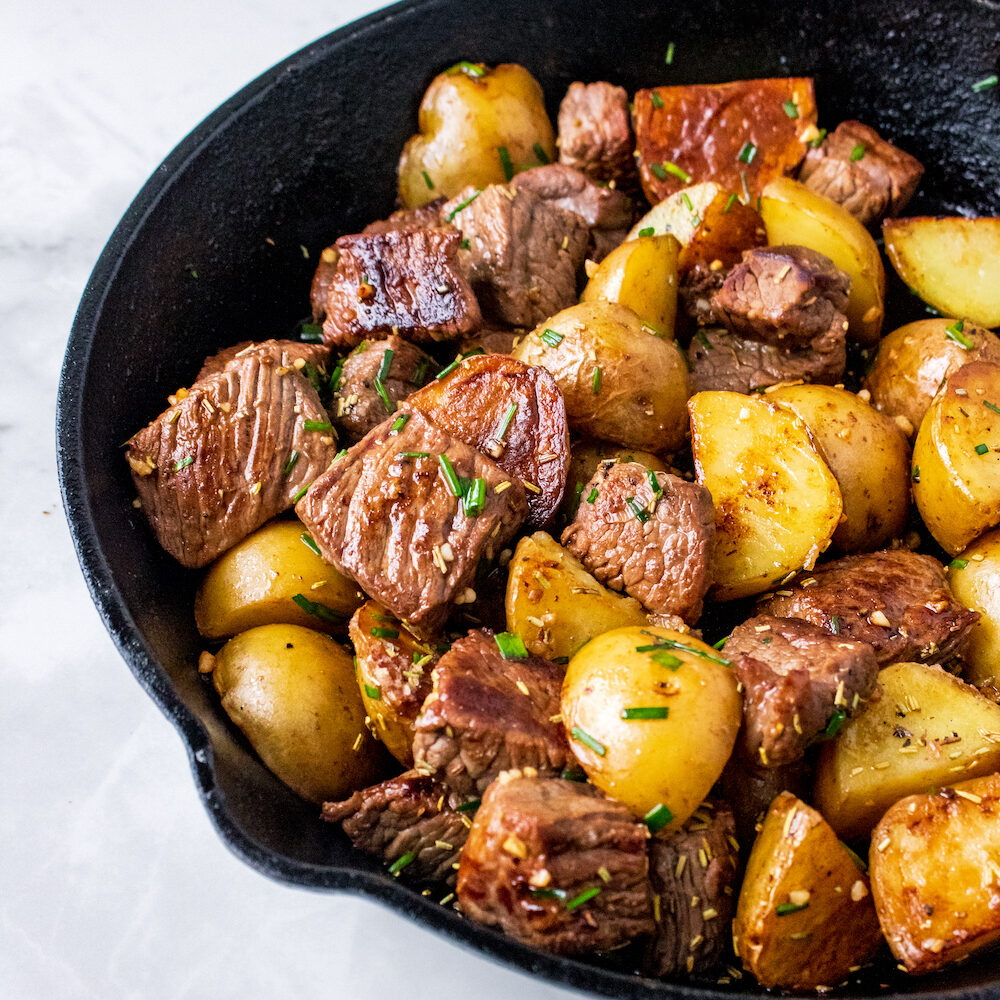
Easy Steak and Potato Bites
-
Sesame Chicken and Broccoli Stir Fry
-
Gluten-Free Thai Peanut Stir Fry Meal Prep
-
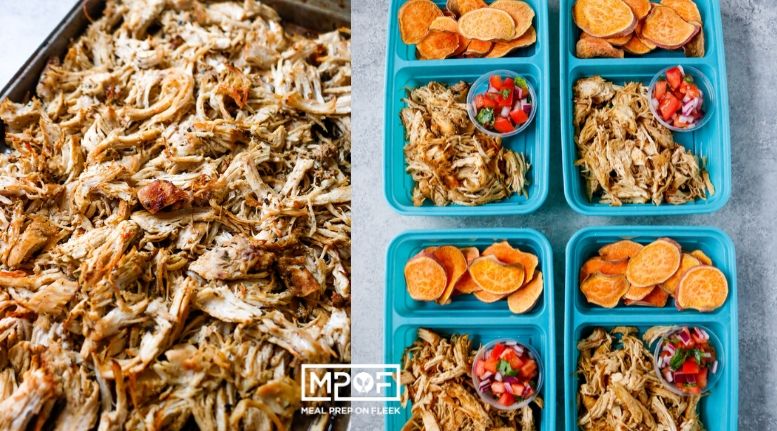
Chicken Carnitas Nachos
-
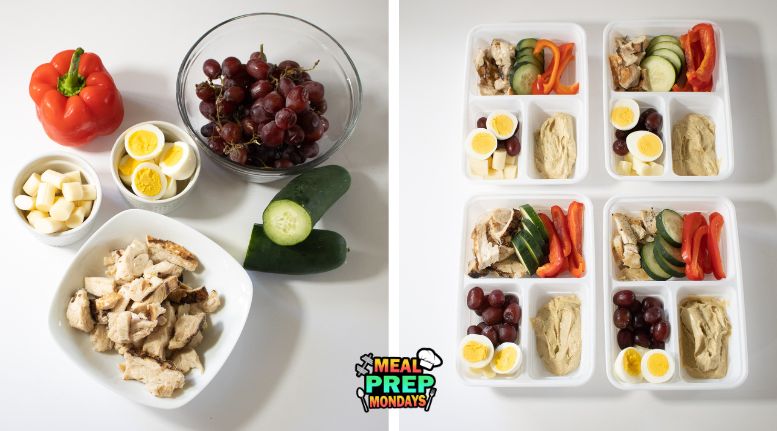
Simple Meal Prep Lunch Container
-
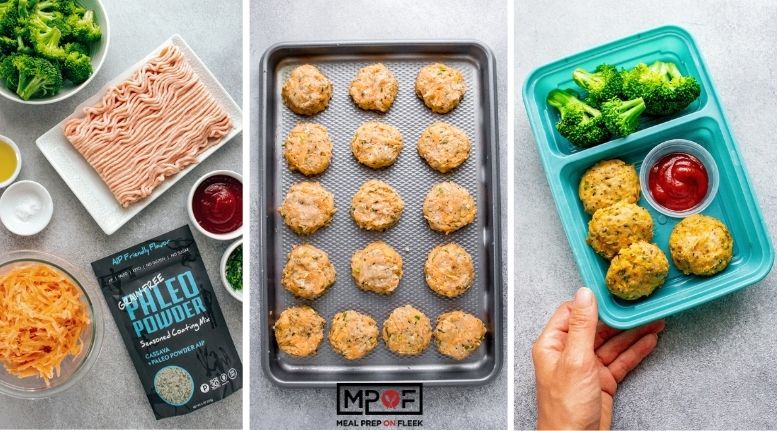
Sweet Potato Chicken Poppers (AIP friendly)
-
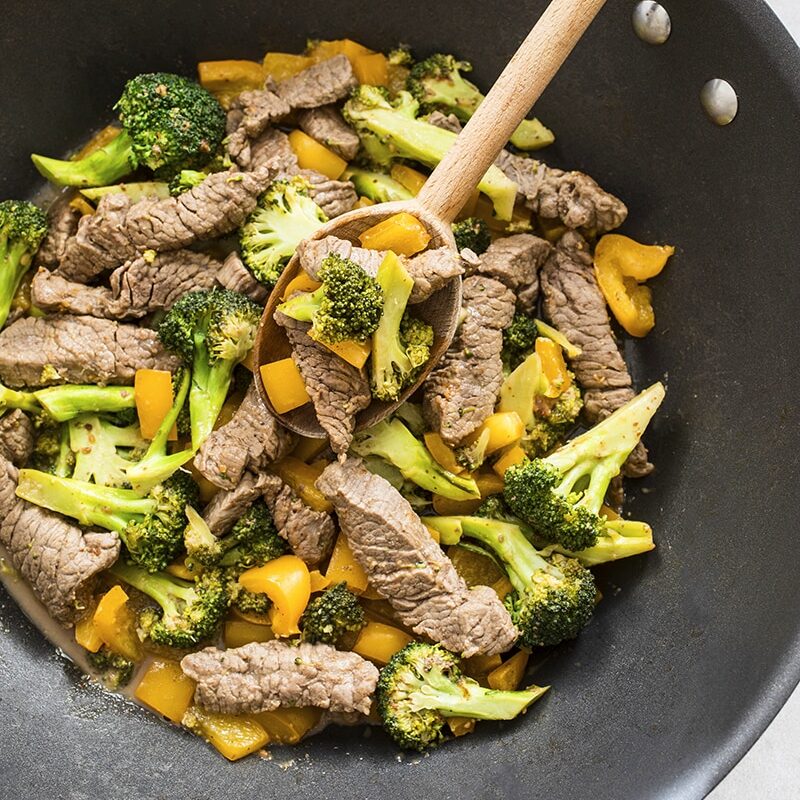
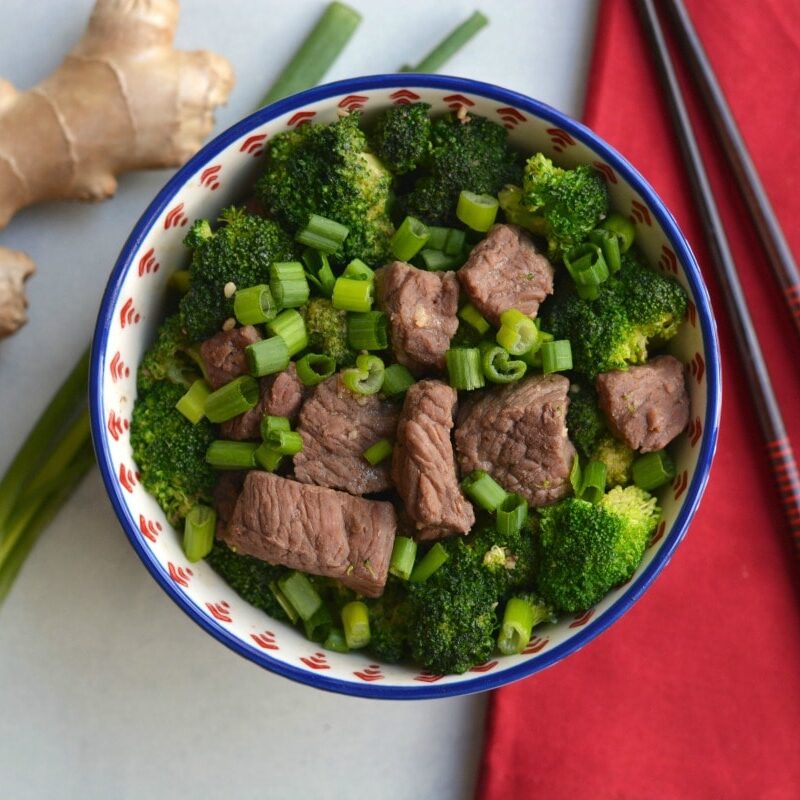
Easy Low Carb Beef and Broccoli Stir Fry
-
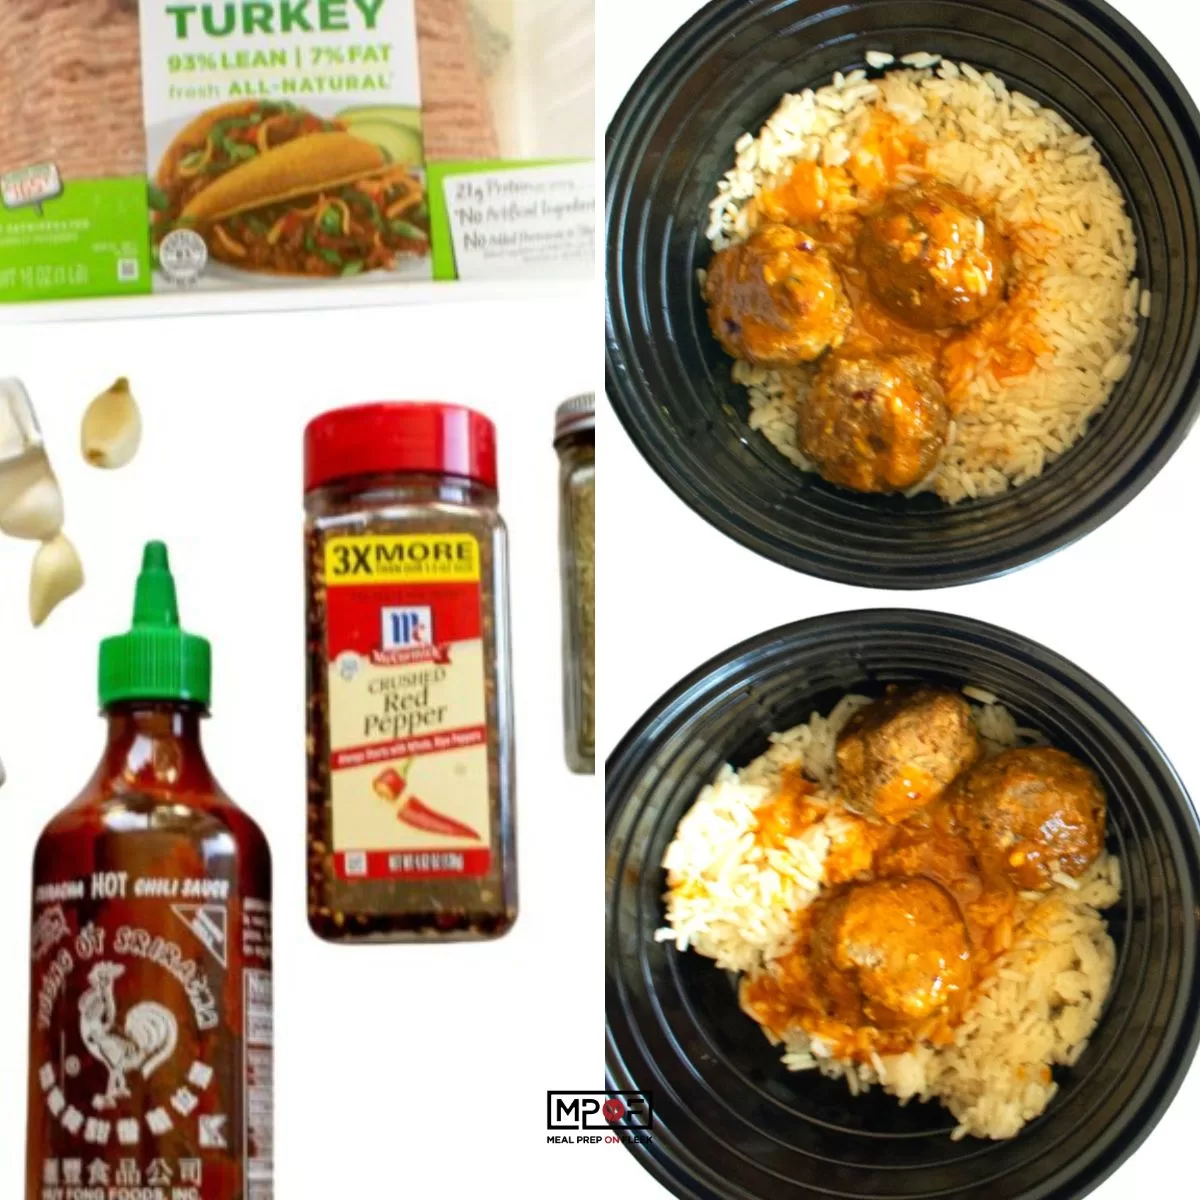
Spicy Turkey Meatballs and Rice