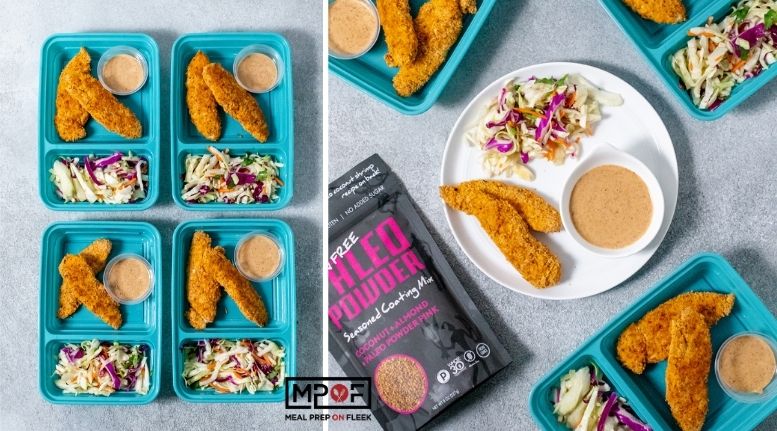

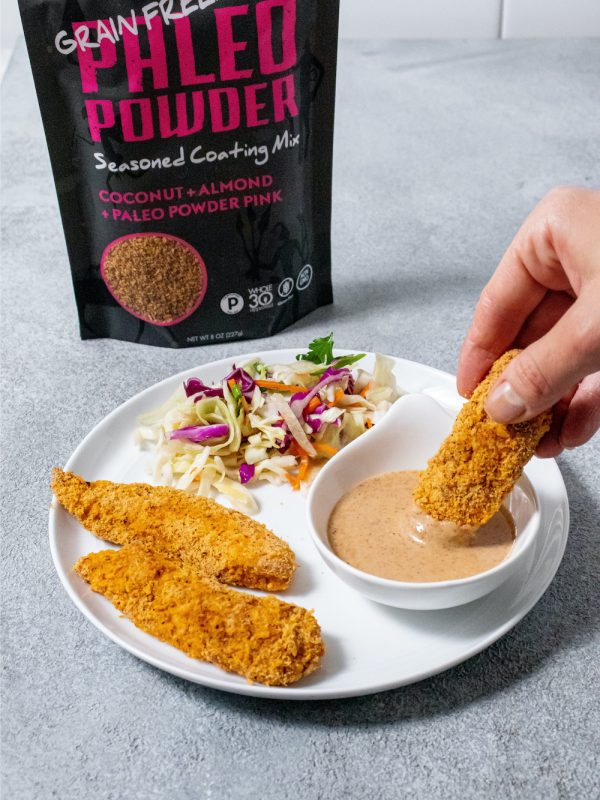
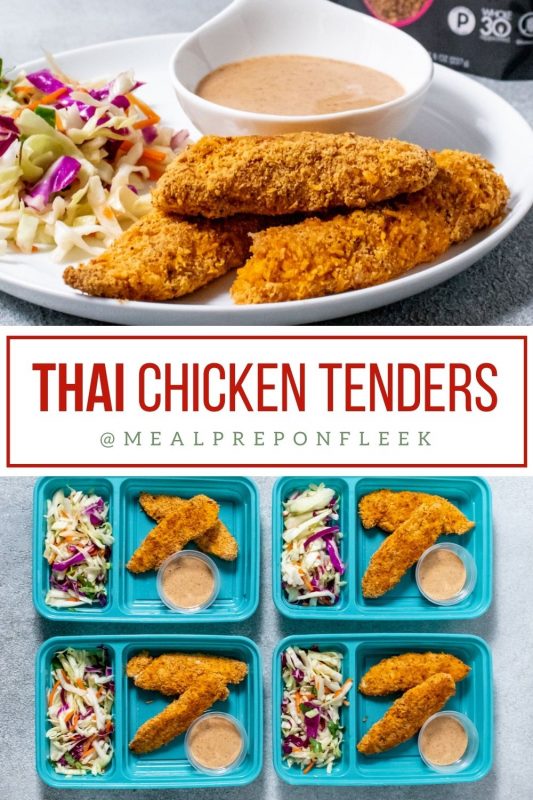
Have you heard of Thai chicken fingers? Chicken tenders is a common fast-food or takeout meal you see at the office. They're crispy, succulent strips of meat that go with French fries or a salad, or you can eat them alone with dipping sauces. If you're a fan of chicken tenders, give them a twist with our Thai Chicken Tenders Paleo meal prep recipe. You can never go wrong with this Thai chicken recipe because the outcome is nothing short of a great dish. The Paleo powder crunch takes the flavors to an entirely new level. We like offering a Paleo meal prep recipe that people of all ages enjoy. The spices and almond dipping makes the entire dish phenomenal.
Skip the drive-thru and make these oven-baked chicken tenders with an Asian twist! Coated in a spicy seasoned mix of almond and coconut flours and served with a cool, crunchy slaw and creamy dipping sauce. It offers a perfect blend of health indulgent!
Fun fact: Almond butter has monounsaturated fats, which is good for the heart. It lowers the bad cholesterol and increases the good cholesterol. Coconut milk, on the other hand, helps maintain a healthier body. Good for you and delicious!
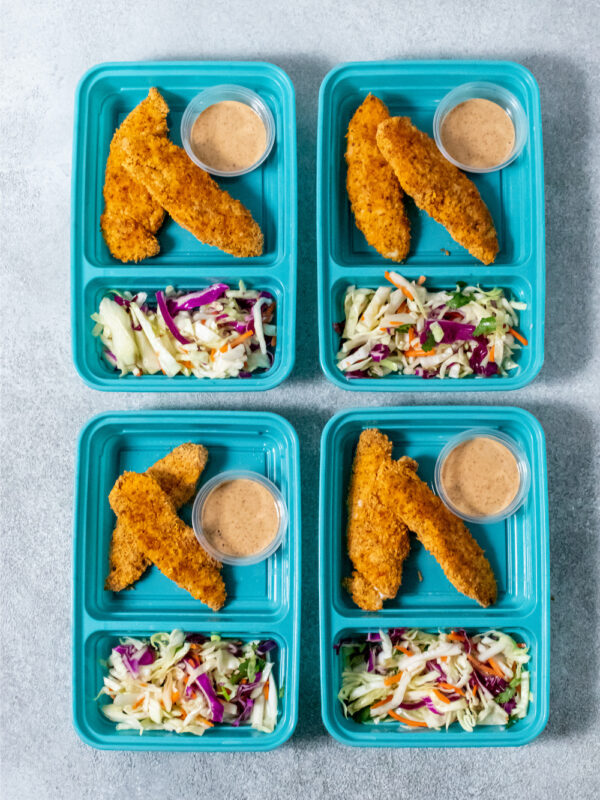
Skip the drive-thru and make these oven-baked chicken tenders with an Asian twist! Coated in a spicy seasoned mix of almond and coconut flours and served with a cool, crunchy slaw and creamy dipping sauce, it's the perfect mix of healthy and indulgent!
The Thai chicken tenders can last from 3-4 days in the refrigerator. Use a shallow airtight container to ensure they maintain the initial flavors and freshness.
Thai chicken tenders freeze well, and they can have the same good flavor for about 1-2 months in the freezer. Use our meal prep containers when storing away leftovers or meals. You can also use heavy-duty freezer bags, just make sure they're labeled before storage. Don't freeze the almond dipping sauce because when thawed, it becomes watery, runny, and bland.You'll have to make a fresh batch.
After thawing and using meal portions, you can leave extras in the refrigerator for another three days. However, it would be best if you consumed chicken thawed at room temperature immediately.
For Chicken Tenders
For Asian Slaw
For Creamy Almond Dipping Sauce
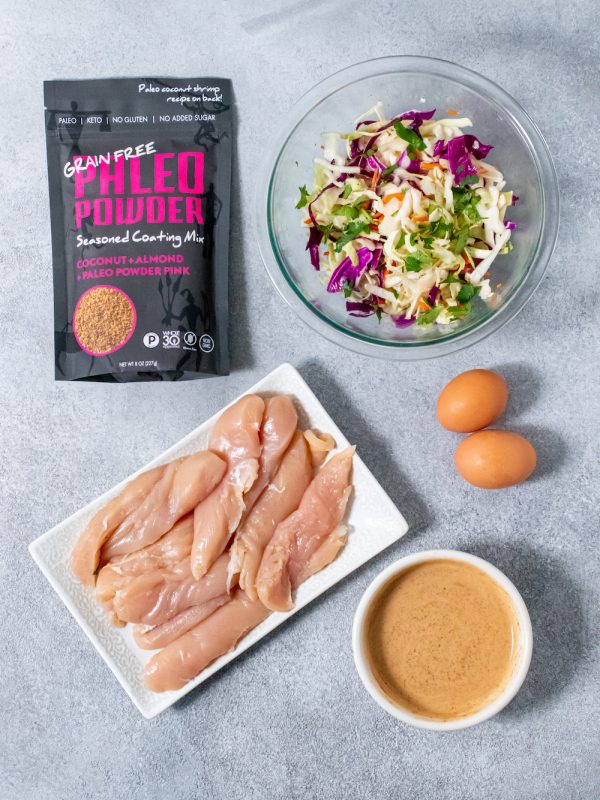
Making our Thai chicken tenders Paleo meal prep recipe is easy, and it looks so pretty afterward. It looks really good, but is done in less than one hour. One thing that's important in meal prep is accessibility and convenience. We want you to enjoy exotic flavors while employing a healthy approach without stress and confusion. With that said, gather all the ingredients and prepare the oven, then boom, you're ready to go!
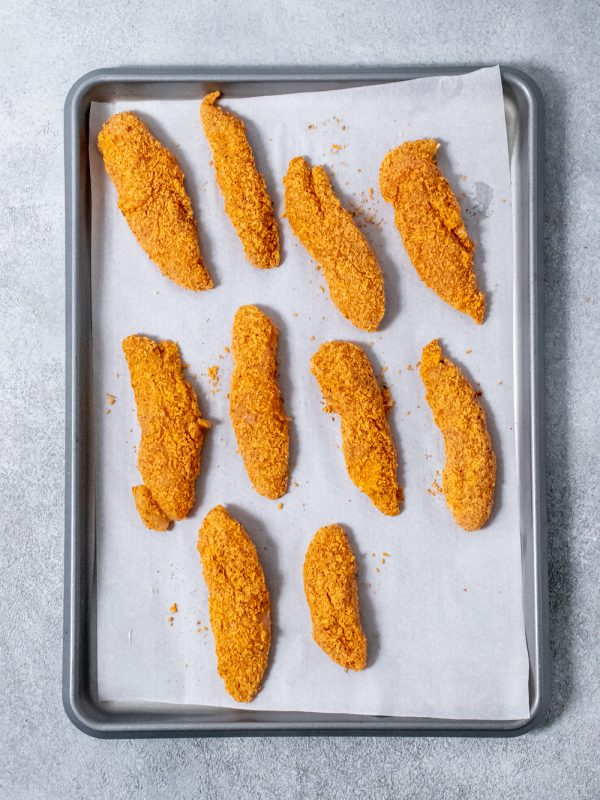
First, preheat the oven to 350 Fahrenheit and line a medium baking sheet with parchment paper. Pat the chicken tenders dry using a paper towel. Then whisk the eggs in a bowl, and add Paleo powder to a second shallow bowl. Dip each chicken tender in the egg wash while shaking off excess wash, then dredge in the Paleo powder to coat the tenders completely. Place them on the baking sheet and bake for 30-35 minutes. As the chicken tenders cook, make the coleslaw and dipping sauce. All that's left is plate, store, and enjoy!
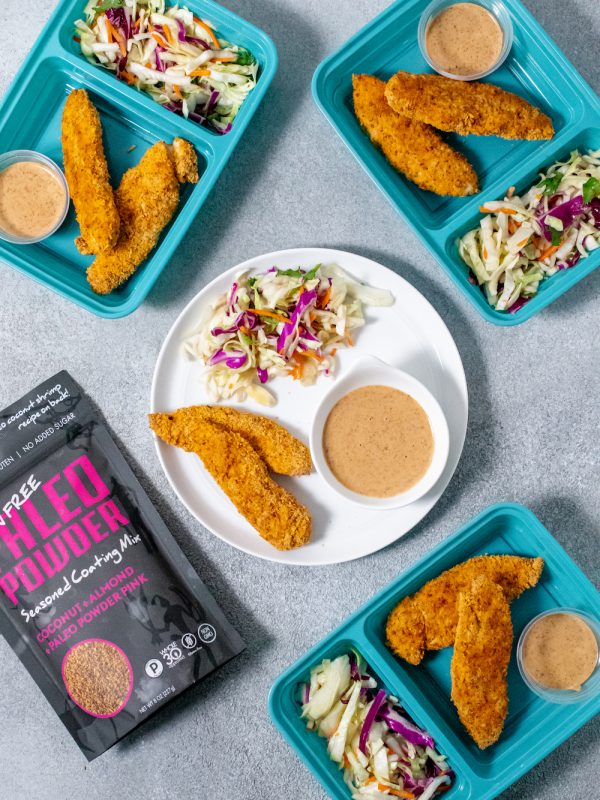
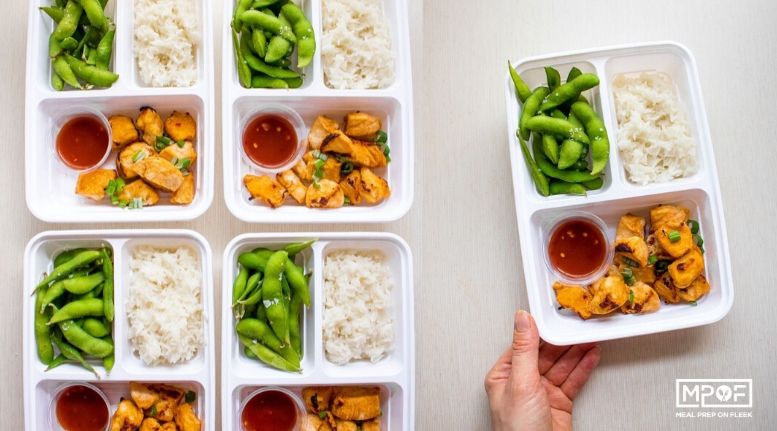
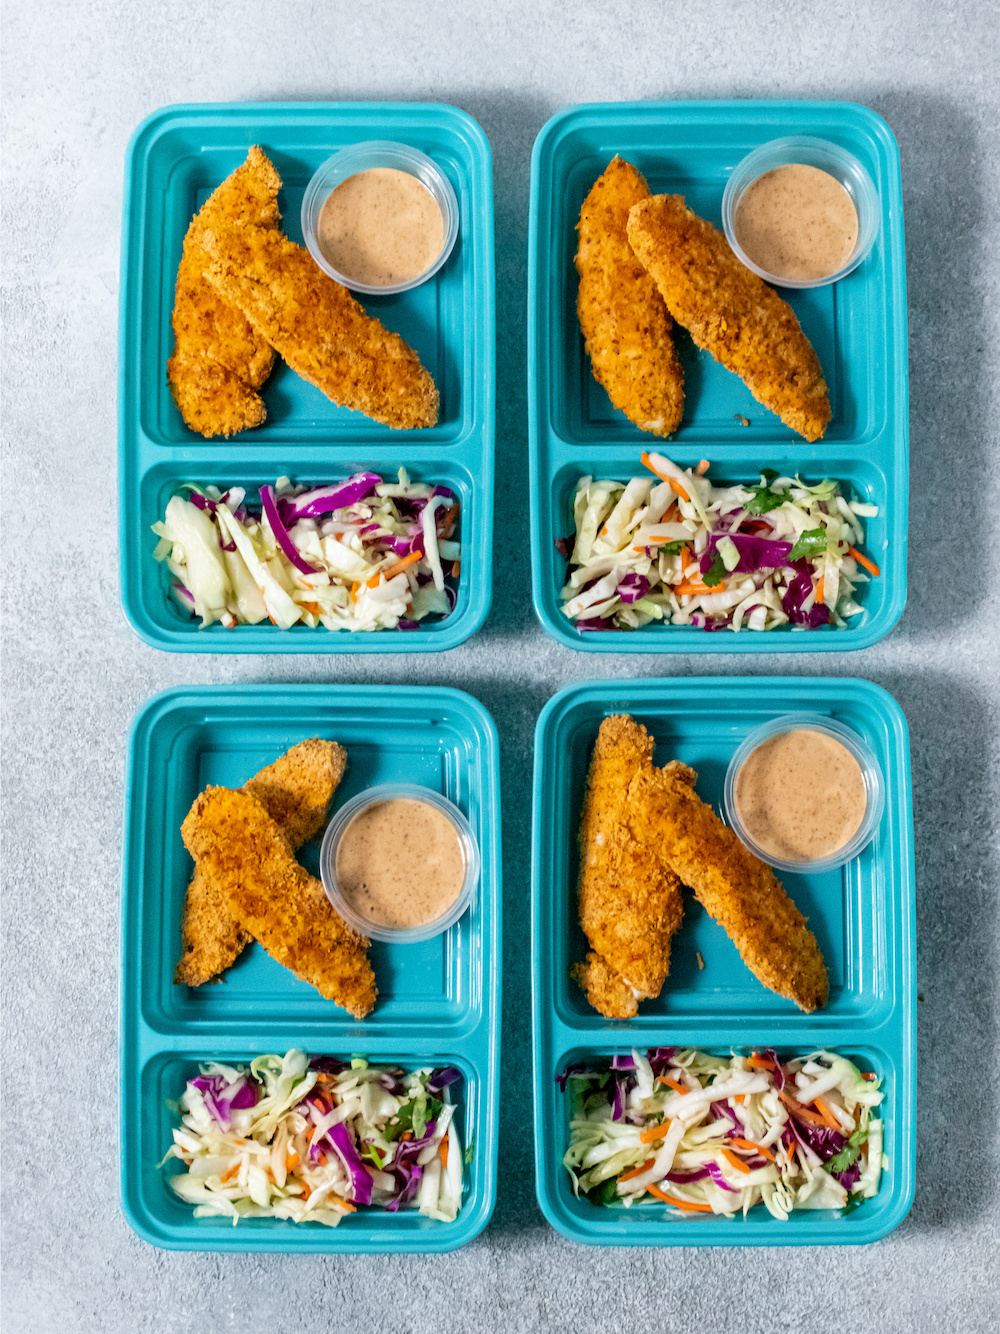
Our Good Cook® meal prep container can adequately store your Thai chicken tenders. Put the chicken tenders in the large compartments of 4 teal meal prep containers. Put the Asian slaw in the small compartments and divide the almond dipping sauce into small cups. Put the sauce cups with the chicken tenders.

One Pan Paleo Sticky Sesame Chicken Thighs
Whole30 Baked Buffalo Chicken Casserole
Buffalo Chicken Stuffed Pepper Meal Prep
And there's a lot more! Search "chicken paleo" in the search bar at the top of the page.
Other tips for making Thai Chicken Tenders with Creamy Almond Dipping Sauce:
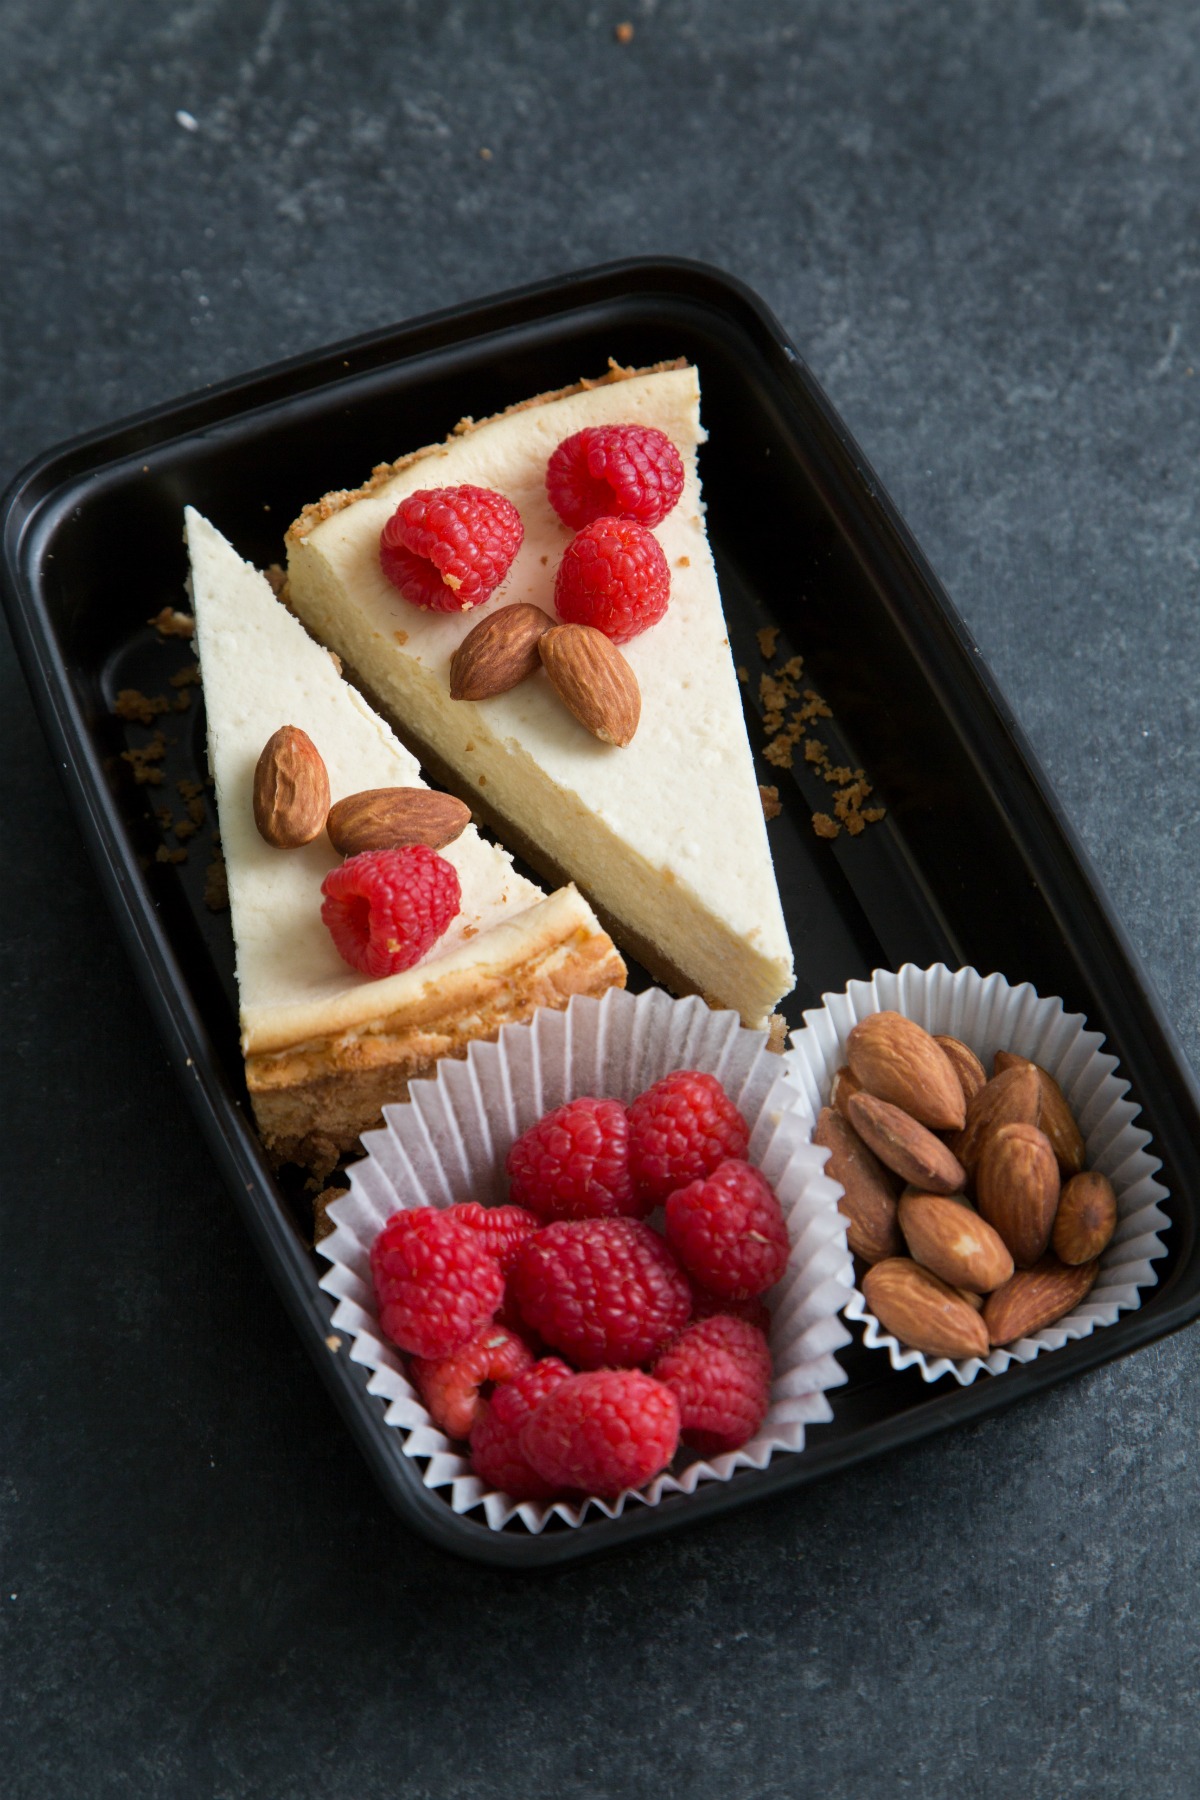
Have you ever imagined a perfect ending to your meal with our keto raspberry cheesecake? It also happens this mouthwatering delicacy is sugar-free, gluten-free, and the best dessert alternative for those on a Keto diet. We love how the creamy and rich texture aligns with all your dietary needs!
If you are a raspberry enthusiast, then this keto dessert recipe should be your radar of new desserts to try! Our cheesecake features a smooth and crumbly almond flour crust. For the toppings, add nuts of your choice or keep it simple with just fresh raspberries. It's perfect for holidays, and it makes for a fantastic dessert and a treat that non-Keto family and friends won't think twice about trying out.
Did you know the raspberries are a great source of minerals, vitamins, and antioxidants? They also provide anti-aging benefits and protect the body against chronic illnesses.
Also, check out our keto cashew cheesecake bites for more style options and other delicious Keto dessert recipe flavors!
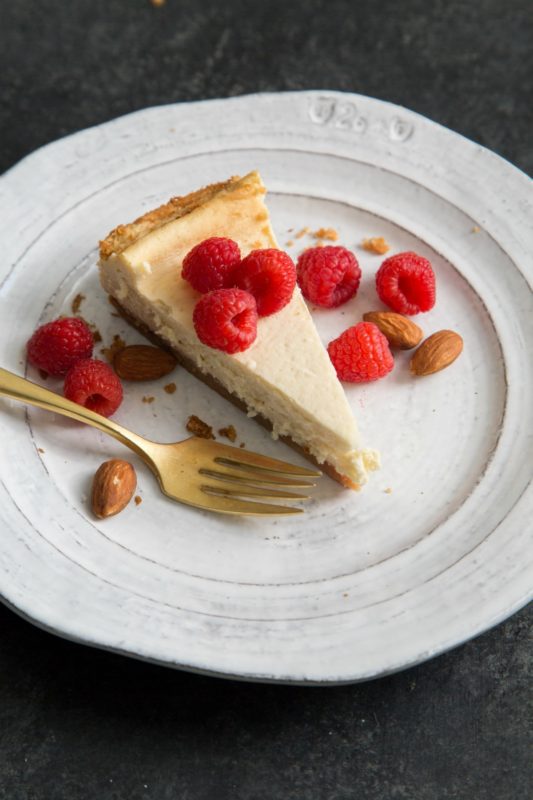
This cheesecake is gluten-free and made without refined sugars. It can be topped with fresh raspberries or nuts of your choice.
This keto dessert can last up to four days. Use a single compartment prep container to store your raspberry cheesecake. Use our Good Cook® meal prep containers for maximum freshness, which is 3-4 days.
Yes, you can freeze your Keto raspberry cheesecake. Just remove the toppings, put it in an airtight container, and place it in your freezer. The cheesecake can last for up to two months in the freezer. However, the cheesecake's original flavor will last for up to one month in the freezer.
Before eating, thaw the cheesecake on the kitchen counter or in the refrigerator.
Crust:
• 2 cups almond flour
• 2 Tablespoons Monk Fruit sweetener with erythritol
• 1 teaspoon ground cinnamon
• ½ teaspoon kosher salt
• 6 Tablespoons unsalted butter, melted
Filling:
• 16 oz cream cheese
• ½ cup sour cream
• ½ cup Monk Fruit sweetener with erythritol
• 2 large eggs
• ½ teaspoon kosher salt
• 1 Tablespoon pure vanilla extract
Topping:
• Fresh raspberries
• Almonds
To have the most fantastic keto dessert recipe, you require a few items. The best thing is that all these tools are pretty standard kitchen materials.
Since the oven does most of the work, it's a simple recipe ready in under 40 minutes. First, start by preheating the oven to 325 degrees Farenheit while getting the ingredients ready. In a large bowl, mix salt, cinnamon, sweetener, and almond flour.
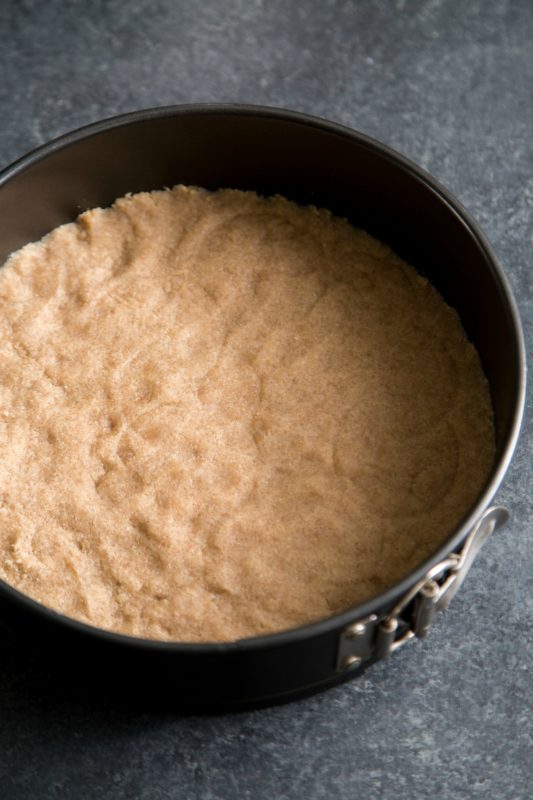
Then, add the melted butter and whisk until the mixture is evenly moistened. Transfer the mixture into a 9-inch springform pan and then use the bottom of a glass to press it into the pan's bottom.
Next, use a hand-mixer to beat the cream cheese until it smoothes evenly. Then you need to add sweetener and sour cream to the creamy, sweet smelling mixture. You may want to use a spatula to scrape the sides of the bowl for optimum mixing. Add vanilla, salt, and eggs then whisk together until the ingredients combine nicely.
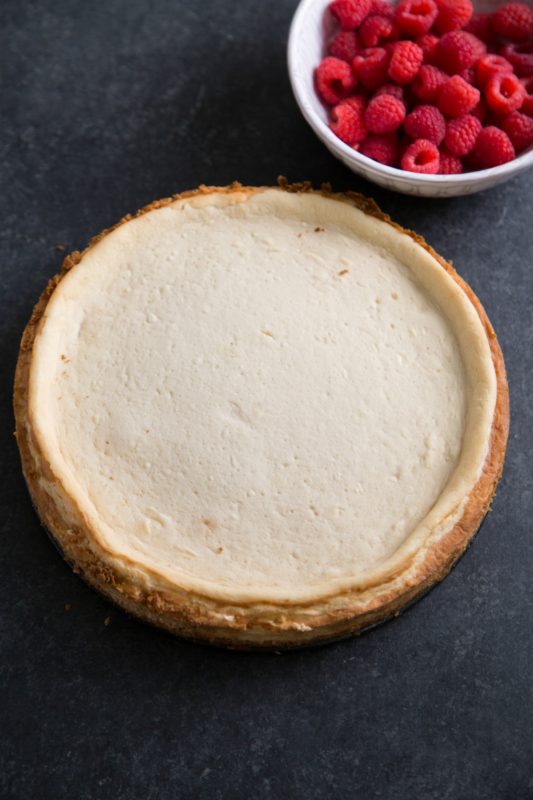
Pour the mixture into the prepared crust, then spread it into a layer. Bake the cheesecake for around 35-40 minutes, or until your keto dessert recipe is ready. Let the cheesecake rest in the oven until it cools to room temperature. Remember that allowing the cheesecake to cool while in the oven prevents cracks from forming on the surface.
Once done, refrigerate the cheesecake once it cools at least for two hours on the counter (do it overnight for the best results). When you're ready to enjoy your Keto raspberry cheesecake, serve with almonds and/or fresh raspberries!
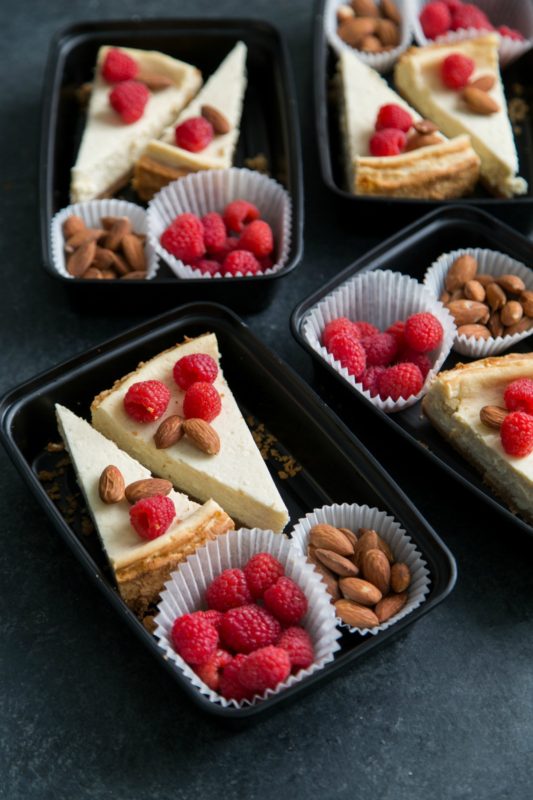
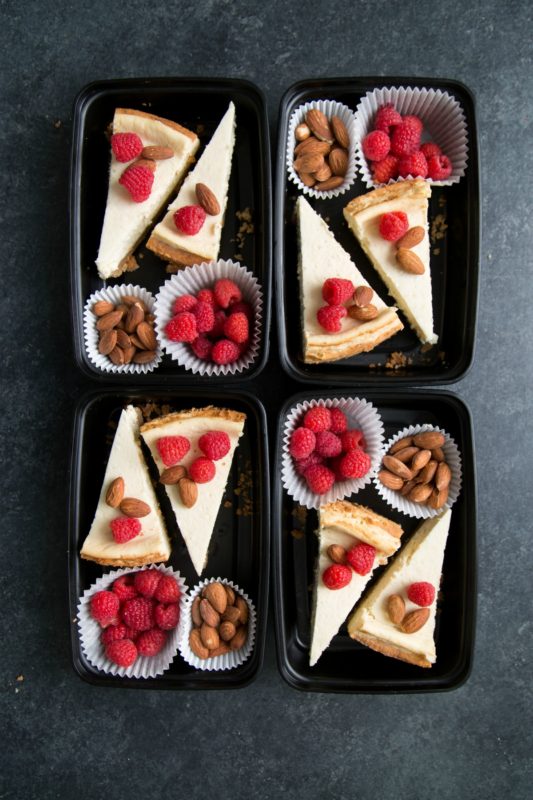
Once the raspberry cheesecake cools down, store it in our Good Cook® Meal Prep containers. Don't forget to add the almonds and raspberries on the side!
Keto Cashew Cheesecake Bites as dessert during the holidays with family and friends.
Keto Chocolate Snack Boxes for parties and picnics.
Low Carb Pecan Bars as a work or after school snack or dessert with coffee.
Sugar Free Coconut Balls as an after gym treat
No Bake Chocolate Peanut Butter Bars because chocolate and peanut butter!

Other tips for making Keto Raspberry Cheesecake:
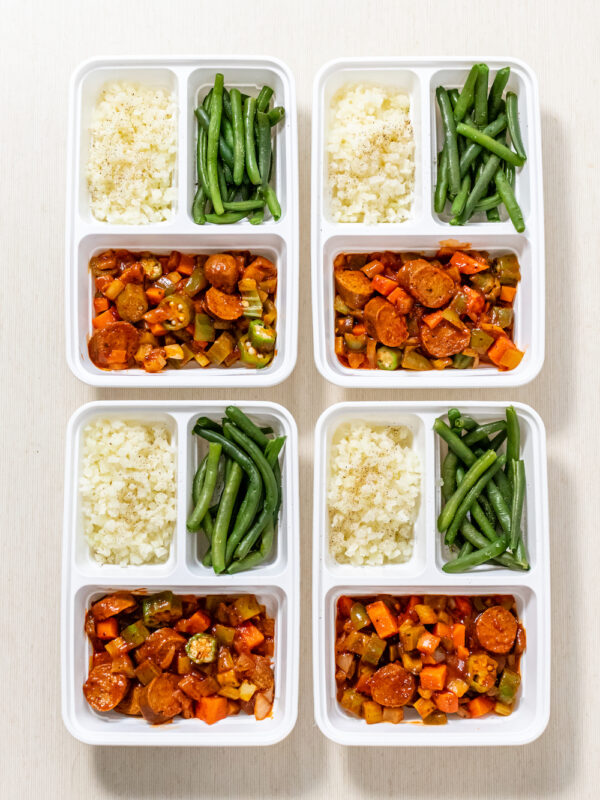
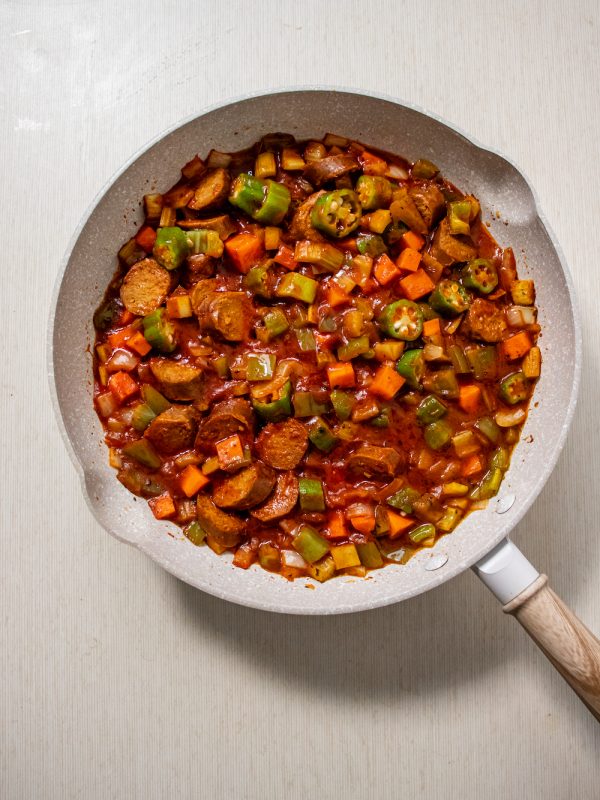
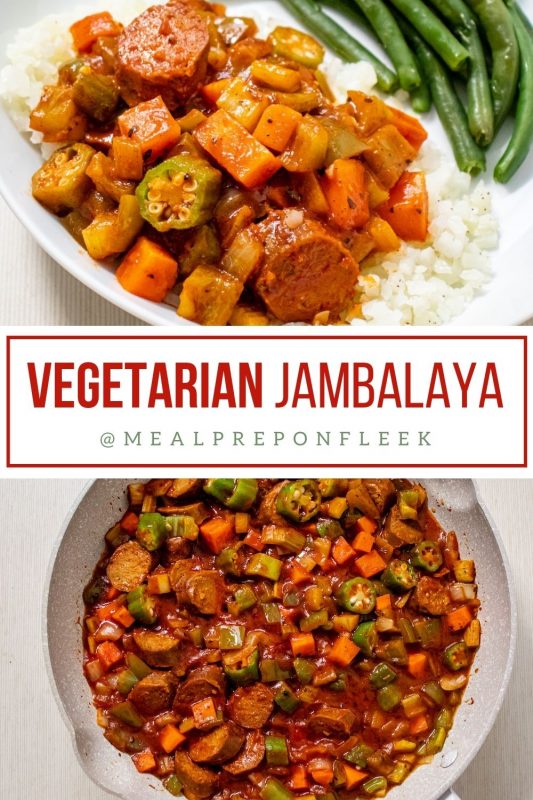
Are you looking for a delicious, vegetarian spin on a savory meal? Try making our vegetarian jambalaya! Our Vegetarian Jambalaya is full of flavor that compliment cauliflower rice and steamed green beans. There’s nothing as satisfying as eating a super tasty, fast, and nutritious vegetarian meal prep recipe! This is the perfect vegetarian meal for beginner vegetarians, and those who’ve been vegetarian for years. The comforting flavors and meal heartiness from our vegetarian jambalaya leaves everyone wanting more!
Fun fact: Jambalaya originated in South Louisiana and has its origins in French and Spanish cuisines, especially the paella and jambalaya Spanish dish.
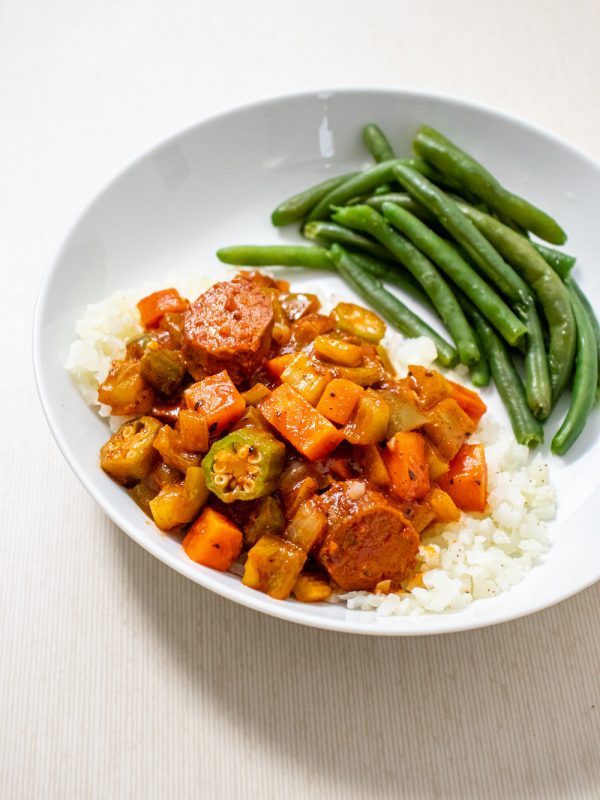
This veggie-packed jambalaya is a plant-based delight with a meaty vegetarian sausage adding protein and spicy cajun-style seasoning. Use your favorite plant-based bratwurst or andouille sausage to compliment the flavors of the dish.
Vegetarian Jambalaya will keep fresh for about 3-4 days in the refrigerator, along with the sides. For maximum freshness, store this vegetarian meal prep recipe in our three-compartment Good Cook® meal prep container. You can also store the Jambalaya and sides separately in single-compartment meal prep containers. Reheat your vegetarian Jambalaya meal by steaming, microwaving, or stove top in a pan.
You can freeze vegetarian Jambalaya for about 2-3 months. Just be sure to freeze the Jambalaya and sides separately, in freezer bags or freezer-friendly storage containers. Freezing the meal in parts ensures that the legumes and veggies maintain their taste and texture. Sausages and some veggies may become flabby when reheated. So if you plan on freezing this vegetarian meal prep recipe, don’t cook the sausage and vegetables all the way through.
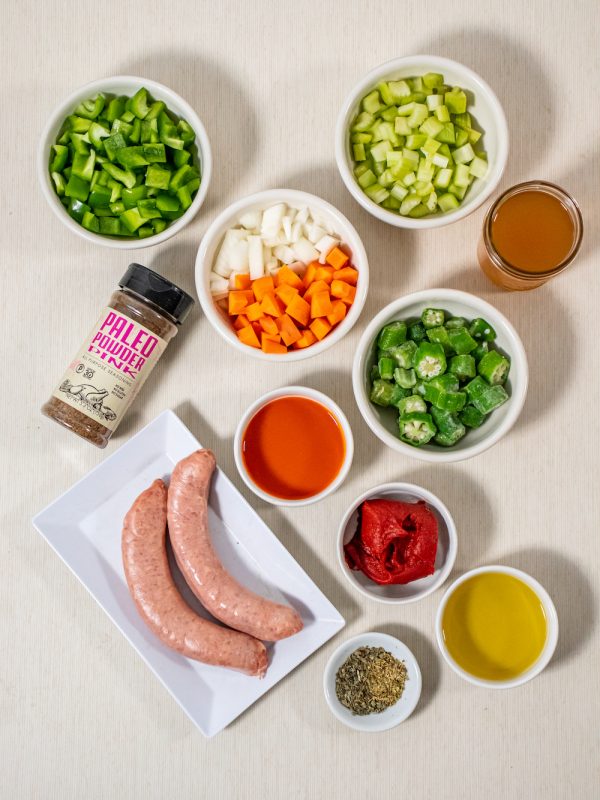
For Jambalaya
For Serving
This vegetarian meal prep recipe brings forth a medley of fresh and flavorful ingredients that leave that tantalizing feel with each bite. You’d think that such an intricate meal takes forever to cook and prep, right? Well, not our vegetarian Jambalaya! It’s an easy-to-make meal prep recipe that is ready in under one hour.
Let’s start by cooking the sausage. We use gluten-free sausage by Beyond Meat because it tastes just like a restaurant-style Bratwurst! To cook the sausage, heat olive oil over medium heat in a Dutch oven or large skillet. Add the entire sausage links to your heated skillet. Keep turning the sausage links in the pan for about 6-8 minutes until they brown. Once fully browned, set the sausage aside to cool for a few minutes before slicing. Next, put onion, carrots, bell pepper, and celery into the oiled skillet or pan and sauté for 5 minutes while stirring regularly. Then add vegetable stock, tomato paste, hot sauce, Paleo Pink Powder seasoning, oregano, and thyme to the pan. Bring everything to a simmer and cook for 18-20 minutes stirring occasionally. You’ll know the combination is done when the vegetable stock is absorbed and carrots are tender. Finish cooking by stirring in sliced sausage and okra, then cook for an additional five minutes. That’s the last step and your vegetarian Jambalaya is ready for plating!
Be sure to cook the sides while cooking the Jambalaya so everything finishes together. Unless you have a batch of cauliflower rice already prepared. We have a standalone recipe for cauliflower rice here.
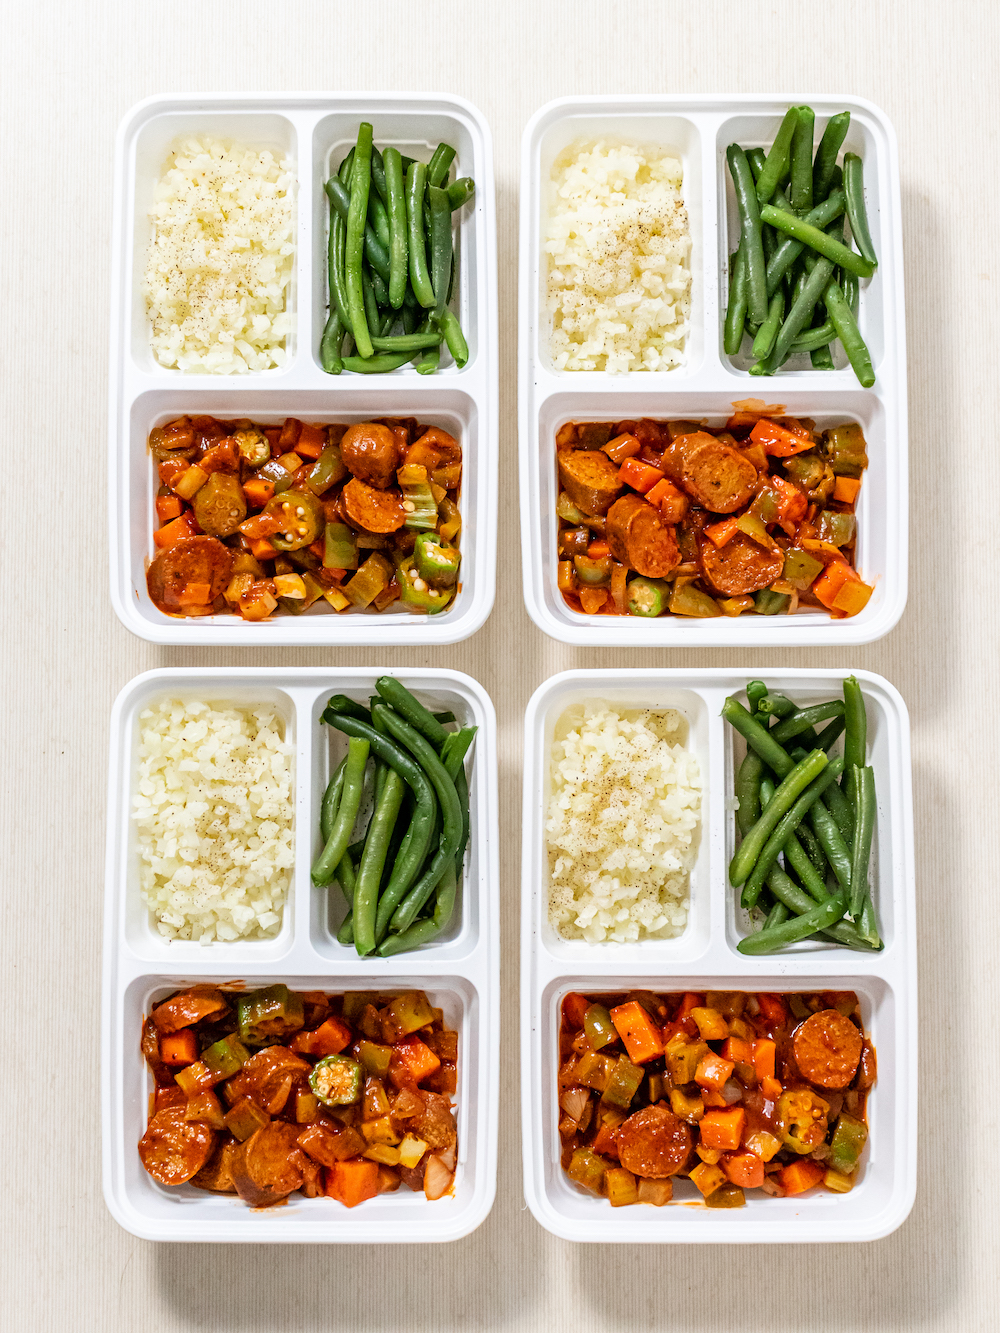
Divide the vegetarian Jambalaya meal prep recipe into four of our Good Cook Meal Prep 3 Compartments containers. Put the cauliflower rice and steamed green beans into each of the 1-cup compartments, and put the Jambalaya into the 2-cup compartments.

We have so many vegetarian meal prep recipes for breakfast, lunch, and dinner! Here are a few to get you started.
Cajun Sausage Breakfast Scramble
Vegetarian Chorizo and Quinoa Stuffed Peppers
Vegetarian Italian Sausage Egg Cups
Vegetarian Cobb Salad Meal Prep
Also check out:
6 Vegetarian Meal Prep Ideas for Next Week
Buffet Style Meal Prepping: Vegetarian

We hope these simple weekly meal prep plans/ideas help keep you on track or, at the very least, making some of your weekly meals extra delicious! If you feel as if you've been stuck eating the same meals or flavors over and over again, don't forget that we have hundreds of recipes on the site for you to choose from!
As always, head below if you are looking for swaps to fit your dietary needs/macros/lifestyle. All of this week’s recipes can be made vegetarian or vegan friendly, too!
If you have any questions or need ideas for alternate swaps, head over to our Facebook Group to ask or email me at [email protected]!
*Please note that any changes to ingredients will alter the macros on each recipe.
With the start of the new season comes the start of new habits, healthy changes, and mindsets! Oh, and the whole30 reset for many. So, we are kicking off the new year with an easy, and very customizable Whole30 meal plan. But you don't need to be doing the whole30 to follow this plan. This plan is good for anyone who wants to get more nutrient-dense meals into their day.
Although most people enjoy meat proteins while doing the whole30, we have swaps listed below for our vegetarian friends! Plus, many of the recipes are freezer-friendly, so you don't have to let food go to waste.
Typically during the Whole30 snacks aren't allowed and you don't eat out much. That is why we have the snacks listed as optional and meals laid out for 6 days. Day 7 can be a "finish up what you have" or "grab a meal from the freezer" day.
However, it is important to do what is right for you! So, if you need snacks to fuel your workouts and stay satisfied, feel free! If you need larger portions or smaller portions) adjust them as necessary. At the end of the day, it's about listening to your body and doing what is right for you!
This week's recipes
Optional snacks
How To Customize*:
Please note that if you are following the Whole30 diet then you must use swaps that are whole30 compliant. If you have questions, head over to our Facebook Group to ask or email me at [email protected]!
Vegetarian Swaps (if not doing whole30):
*Please note that any changes to ingredients will alter the macros on each recipe.
Special Thanks to Z-Line for partnering with us on this post and thank YOU for supporting the brands that help make Meal Prep On Fleek possible. All opinions are our own.
With a crazy year almost behind us (2020), March was the perfect month to undertake a home project of this size. As a regular meal prepper, I spend a lot of time in the kitchen as-is. With all the shutdowns this year, I have been able to start, finish, and enjoy a new kitchen more than I had expected.
Cooking is not a joy for everyone in my house, but the ability to gather in the kitchen is a common joy we all share. More often than not, we can feel the strain of a dim lit and dreary kitchen when everyone is sitting down for dinner, which was just the motivation I needed to make the change.
Challenge accepted. You ready for a look?
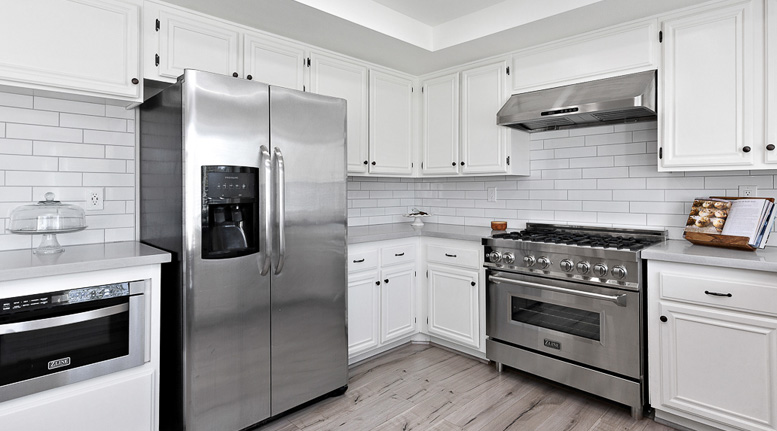
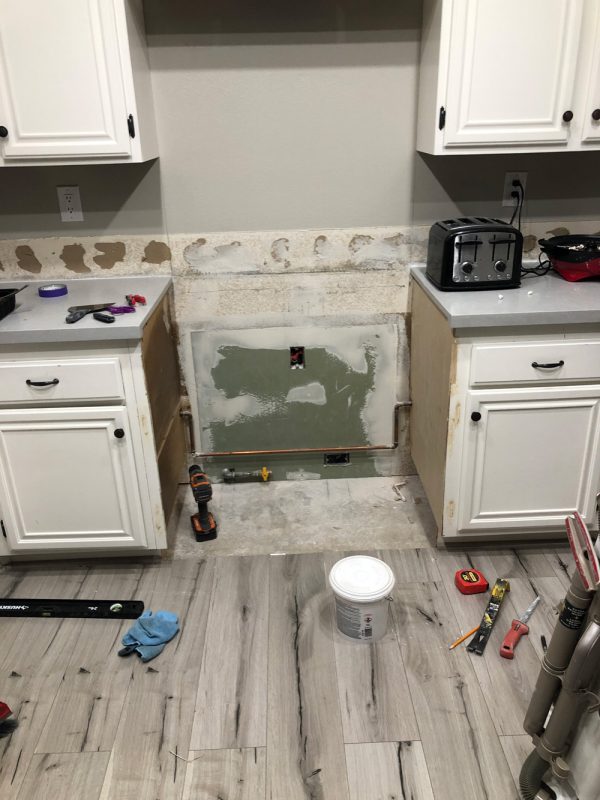
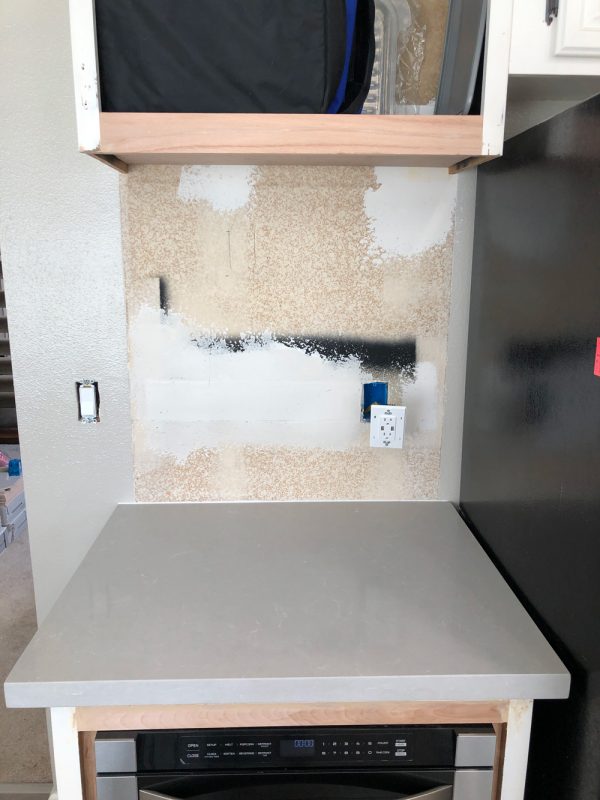
Before: Meal Prep on Fleek "test" Kitchen:

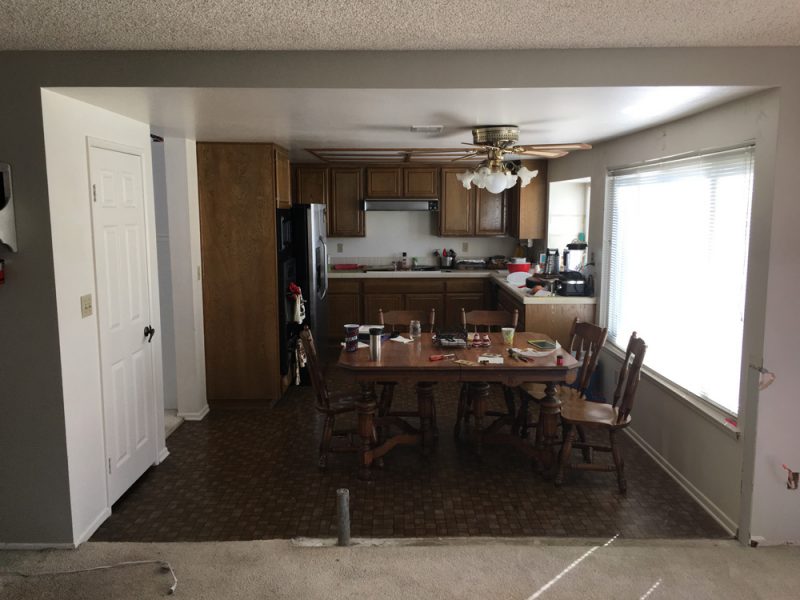
The kitchen had low ceilings, a small and narrow footprint, a half-wall diving the living room and the kitchen, very little lighting, and old brown cabinets. (Slow, sad, violin playing)
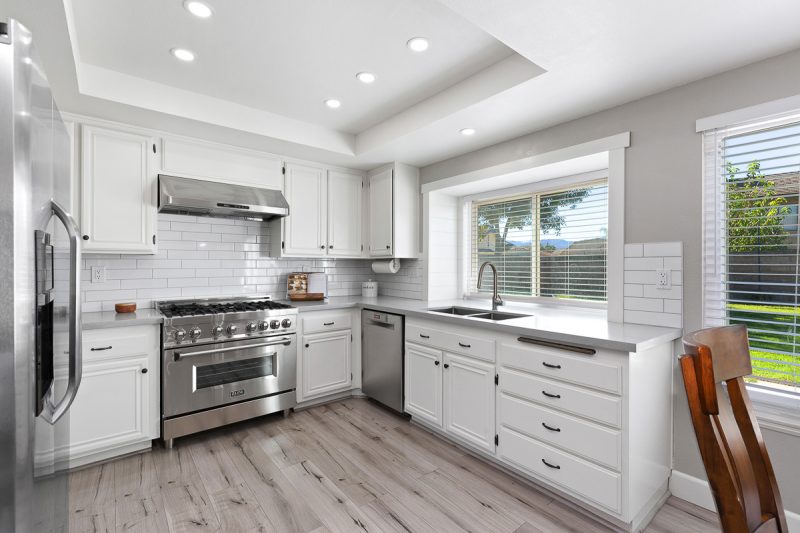
Countertop: Quartz BCS Mist Gray
Range: Z-Line 36" Dual Fuel Range (RA-36)
Hood: Z-Line 36" Undercabinet Hood
Dishwasher: Bosch 24" 800 Series Dishwasher
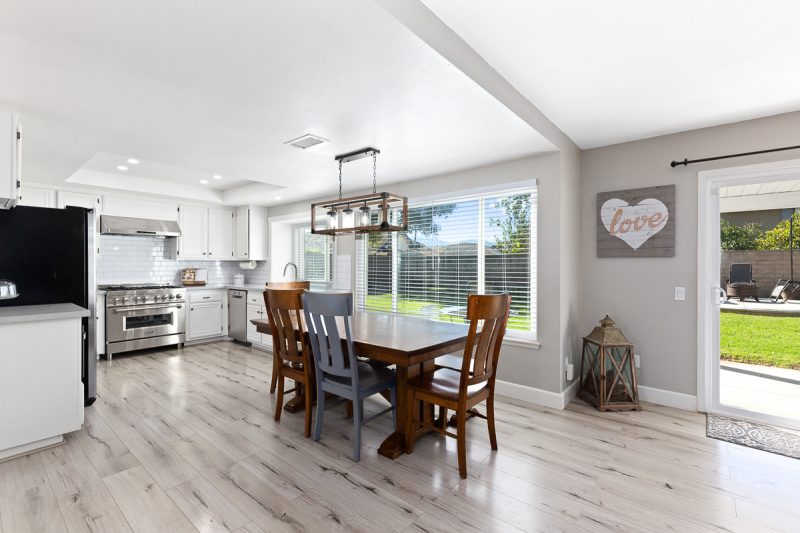
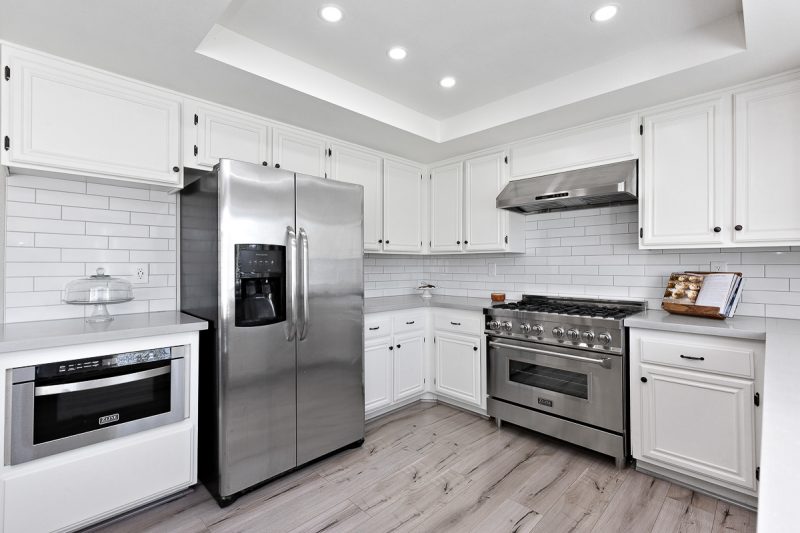
Refrigerator: Frigidaire
Microwave Drawer (my wife's favorite addition!): Z-Line MWD-1 Microwave Drawer
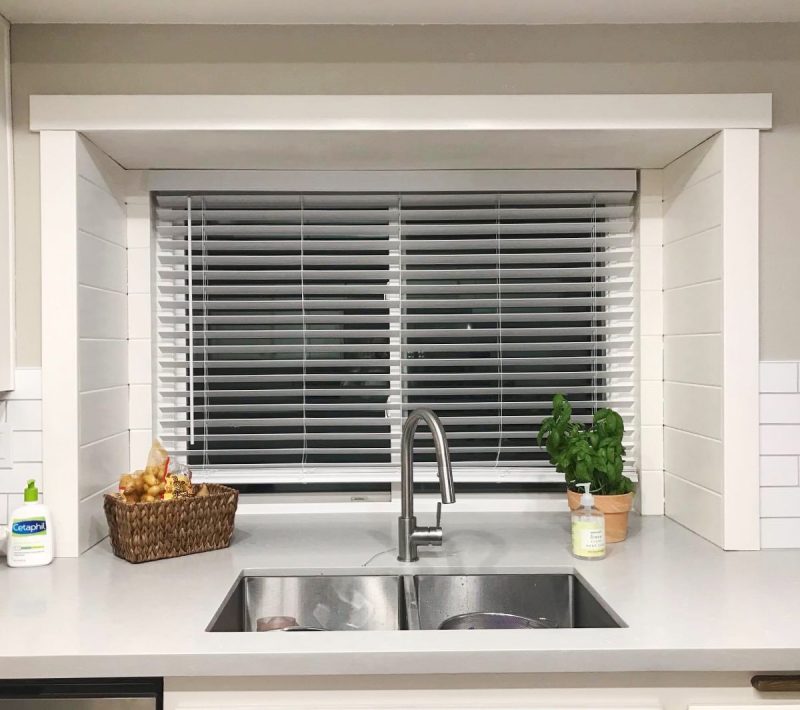
Faucet: Z-Line Arthur FPTB-SS Faucet
Sink: Z-Line SR50D-36 Stainless Undermount Sink
With the new, fresh, open feel my family has been able to join me in the kitchen and even help with my meal prep sessions. Making more room for some of our favorite Kitchen Tools!
RELATED: 3 Best Kitchen Appliances for Meal Prep
My hat goes off to my wife for the incredible job of design!
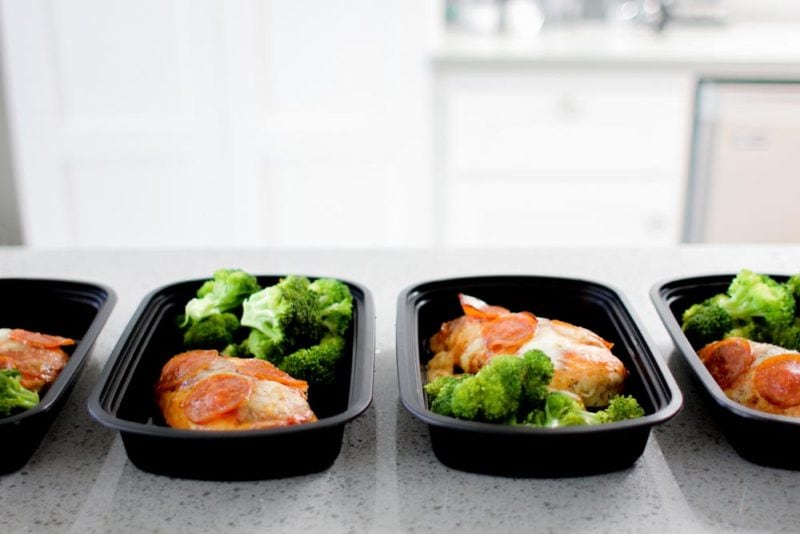
If you're wondering what the first recipe was that I meal prepped in the new kitchen, believe it or not... it was Pizza Chicken! =)
Thank you to Now Foods for sponsoring this Low Carb Pumpkin Spice Bagel recipe post, and thank YOU for supporting the brands that help make Meal Prep On Fleek possible. All opinions are our own.
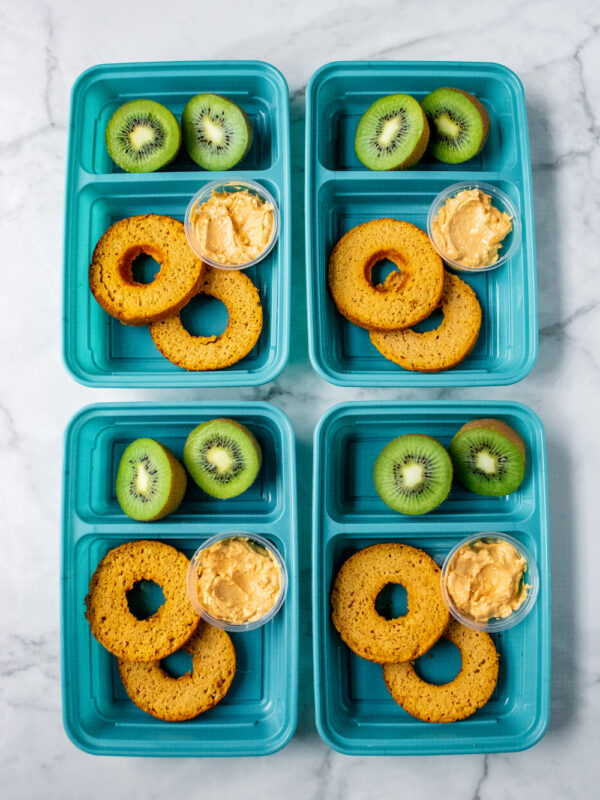
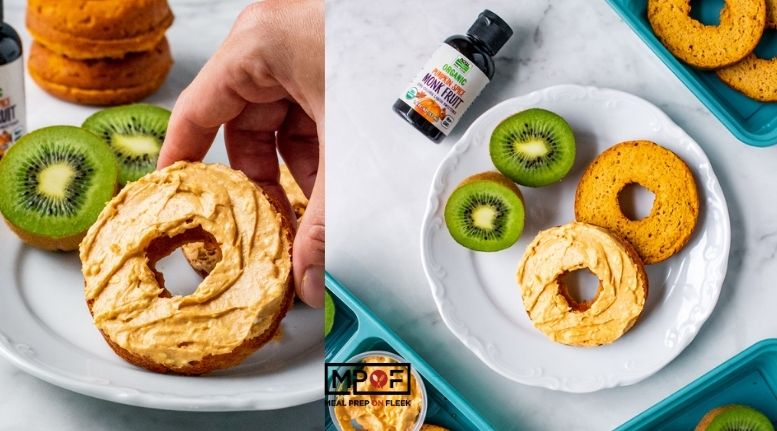
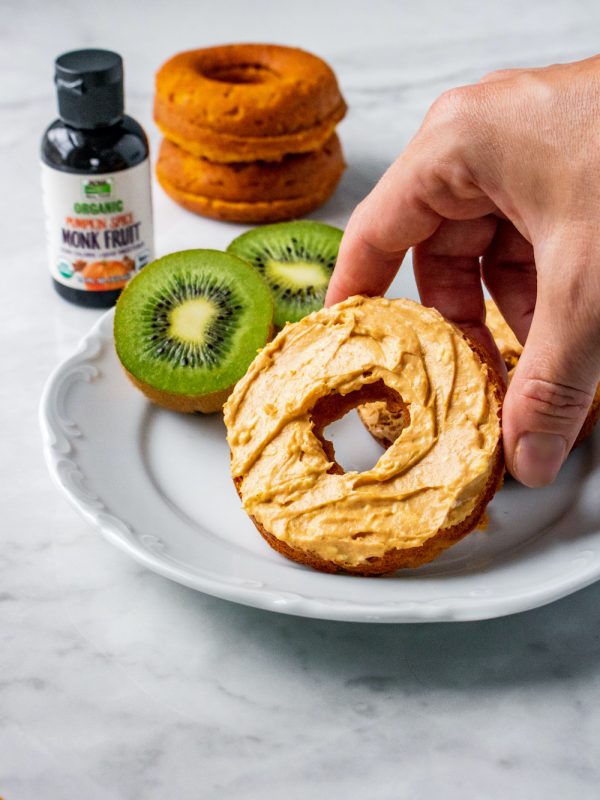
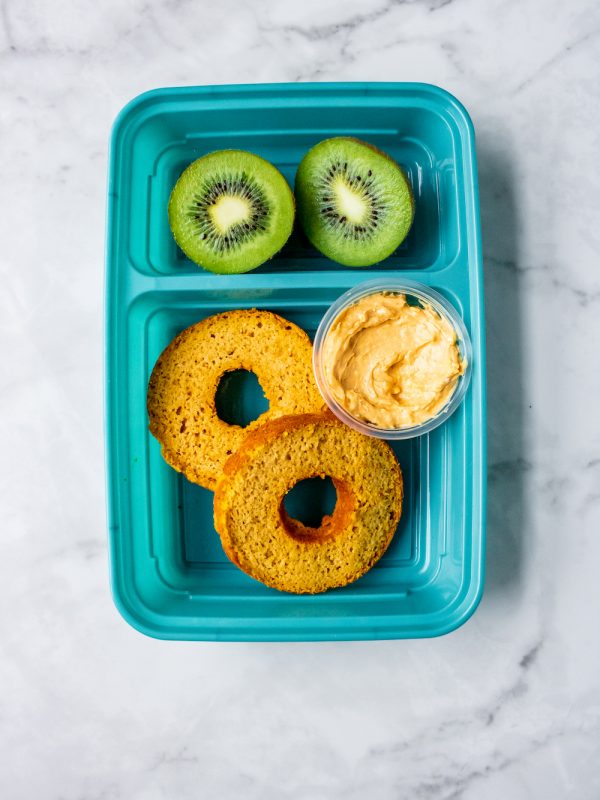
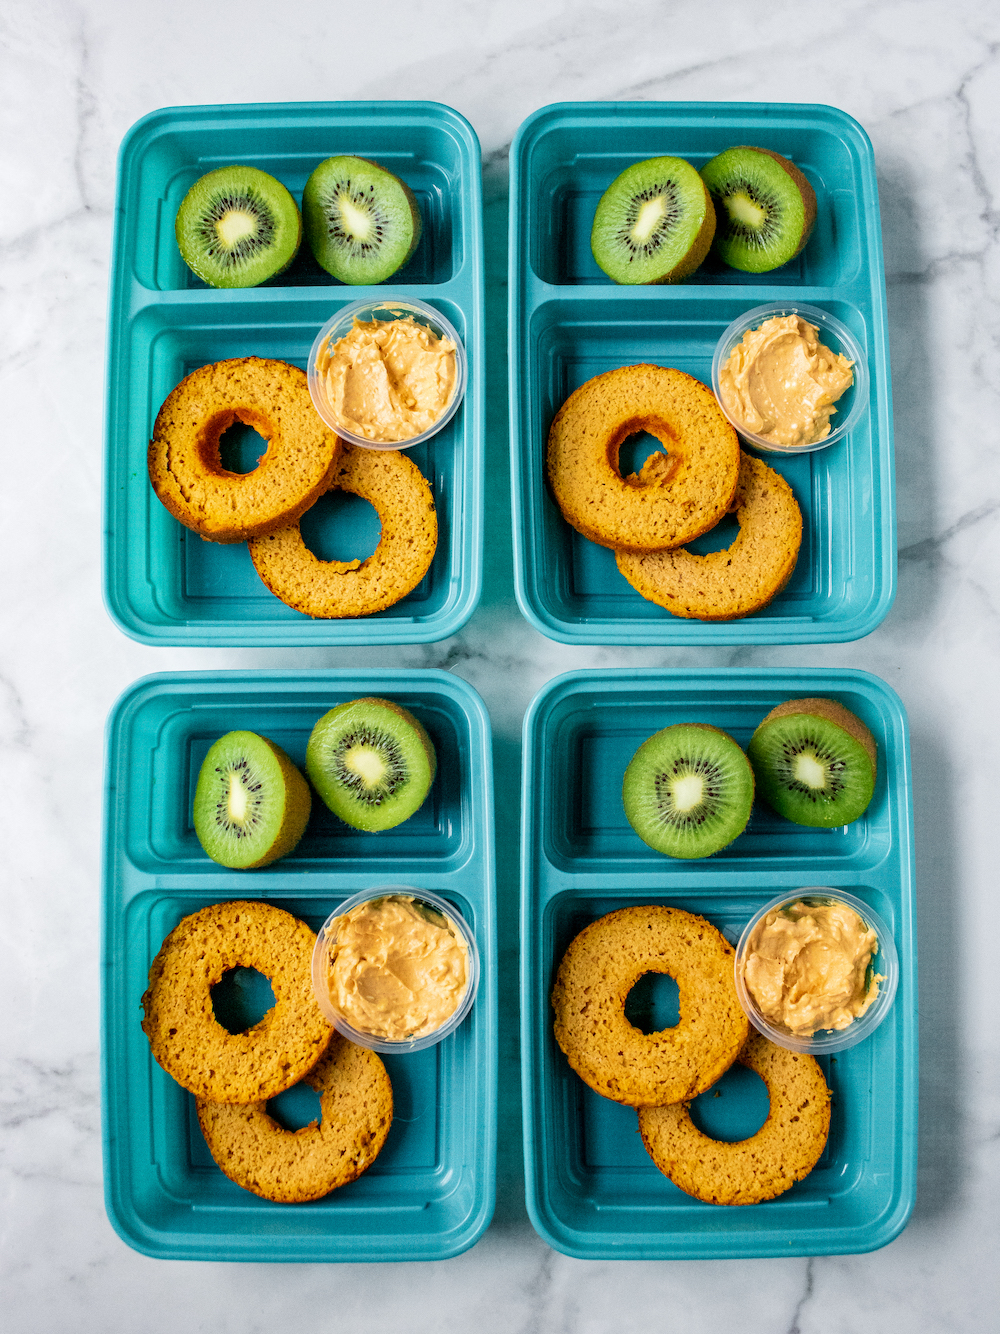
These pumpkin spice bagels are perfectly portioned to meet all of your low carb needs! They're sweetened with a pumpkin spice monk fruit sweetener for low-glycemic impact with fall flavor! Real pumpkin adds potassium and fiber while almond flour keeps the bagels low carb. They can even be toasted in a toaster just like traditional bagels!
View this post on Instagram
Give us all the bagels, but don't forget to make them pumpkin spice, and with no added sugar and low in carbs. Is that too much to ask? We used to think so until the new Now Foods Pumpkin Spice Mink Fruit Sweetener launched. To say we have been obsessed with it would be an understatement. We first tried it in our morning coffee, and let's just say, WOW! The flavor is spot on.
We have gone from zero to one hundred with all things pumpkin spice. That's where the pumpkin spice bagel with pumpkin spice cream cheese comes into play! Not only is this recipe great for meal prep, but we guarantee your entire family would love to sit down to a Sunday brunch with a table full of these bagels and cream cheese.
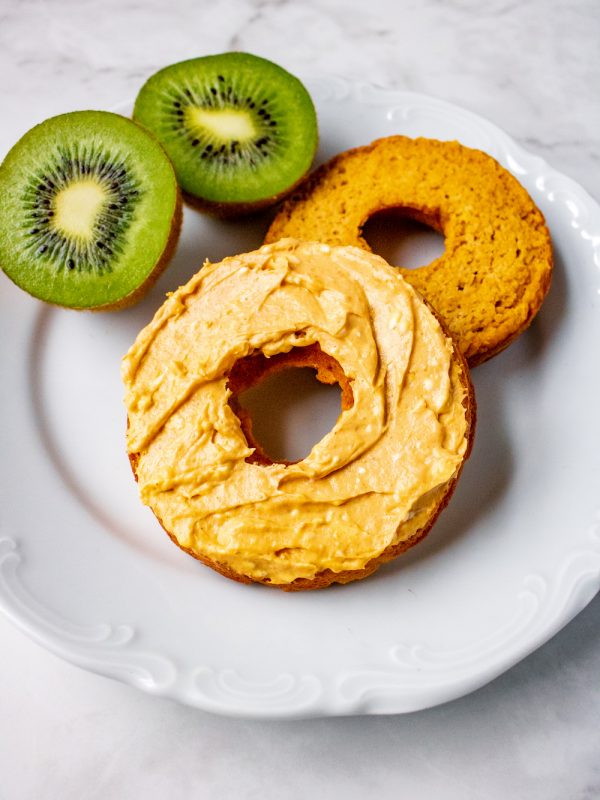
They have no added sugar thanks to the monk fruit sweetener and are made with simple ingredients that you most likely already have on hand. Other than grabbing the pumpkin spice monk fruit and some almond flour at the store, you will be ready to hop on the homemade bagel trend and get cooking!
Don't let the use of your new favorite monk fruit sweetener be limited to only these bagels either! Add a couple of drops to a smoothie, your bowl of oats, muffins, bread, cakes, pies, etc! Any place you crave that pumpkin spice flavor is a place where you should just go ahead and add in that delicious Now Foods monk fruit!
For Pumpkin Cream Cheese
For Serving
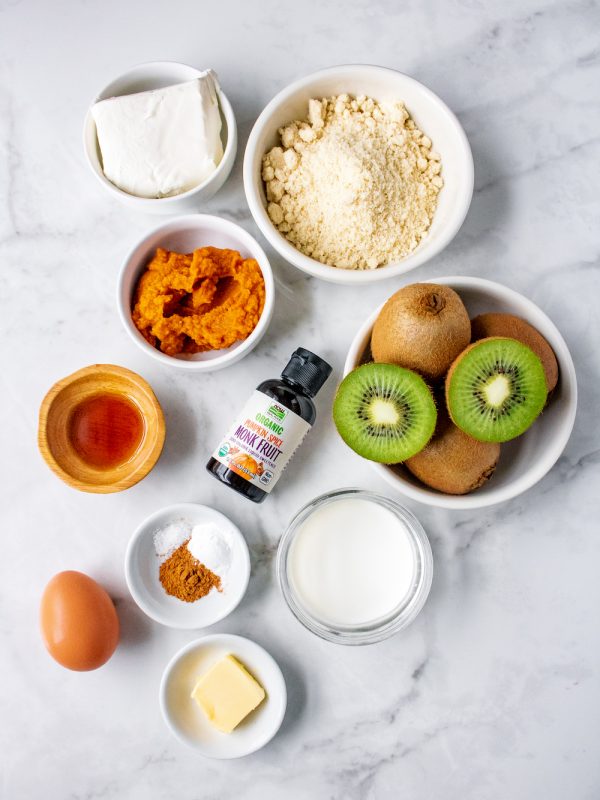
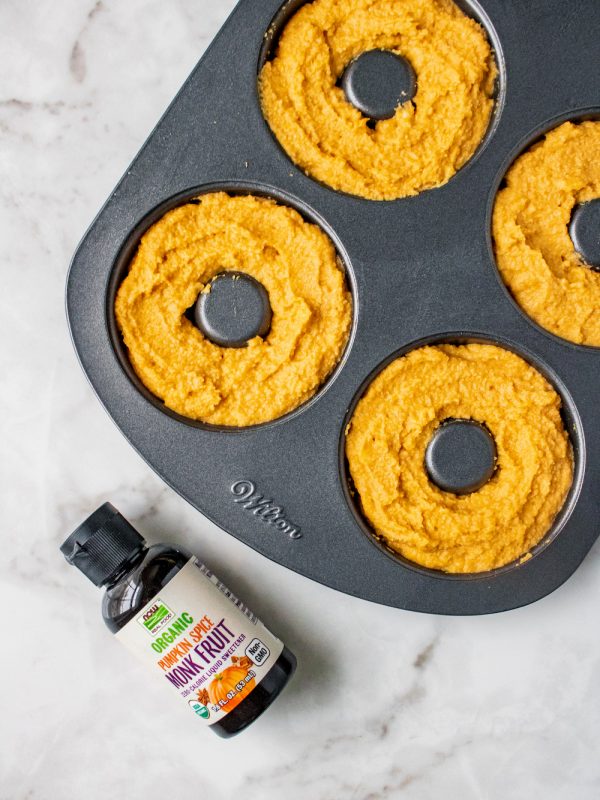
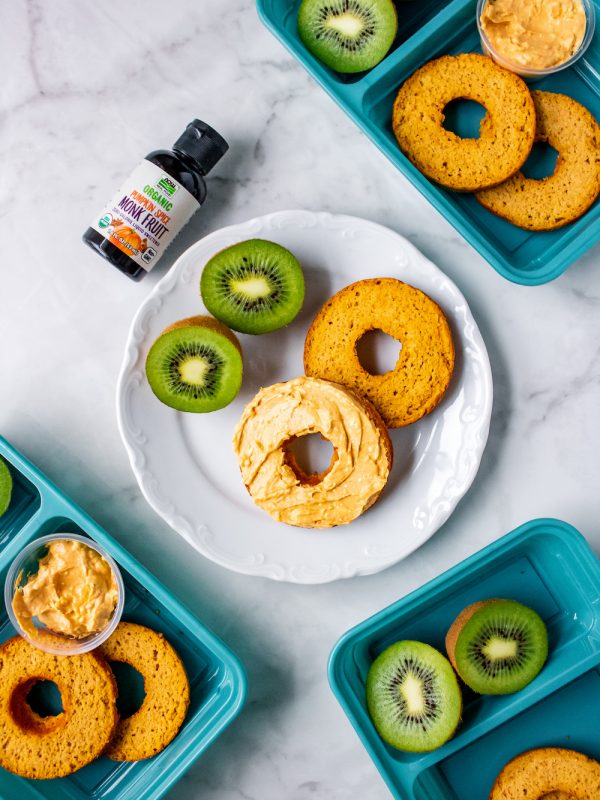
Want more delicious monk fruit recipes? Check these out!
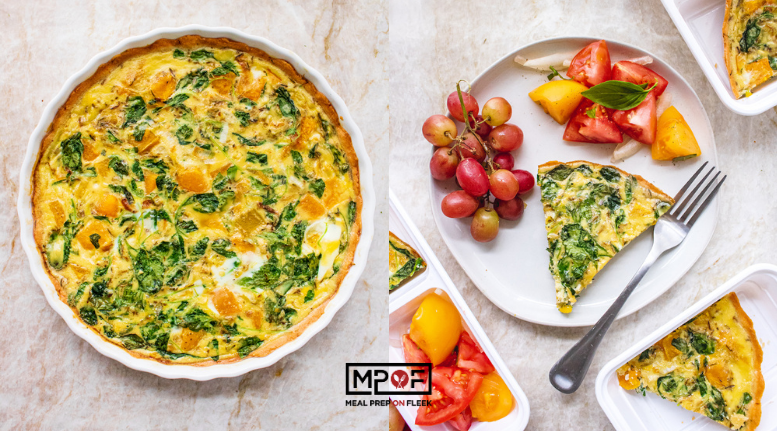
Thank you to B & W Quality Growers for sponsoring this Watercress, Leek, and Butternut Squash Quiche recipe post, and thank YOU for supporting the brands that help make Meal Prep On Fleek possible. All opinions are our own.
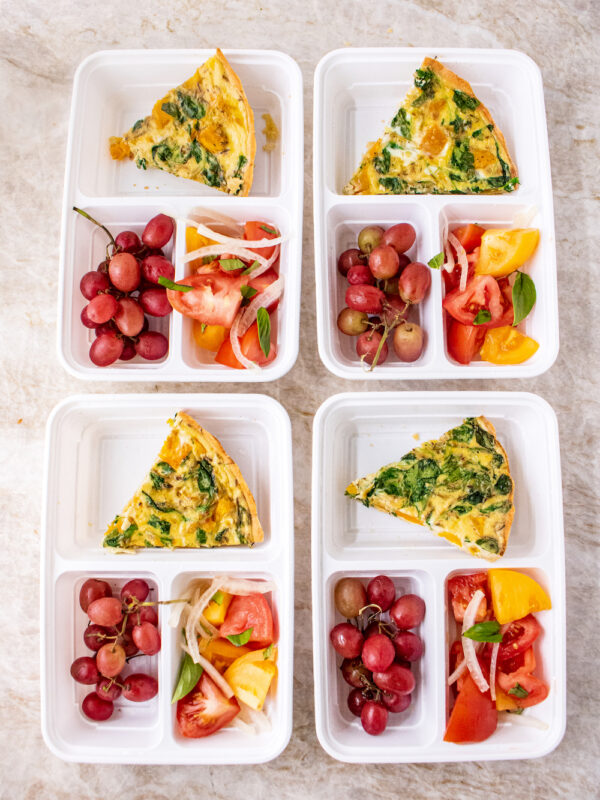
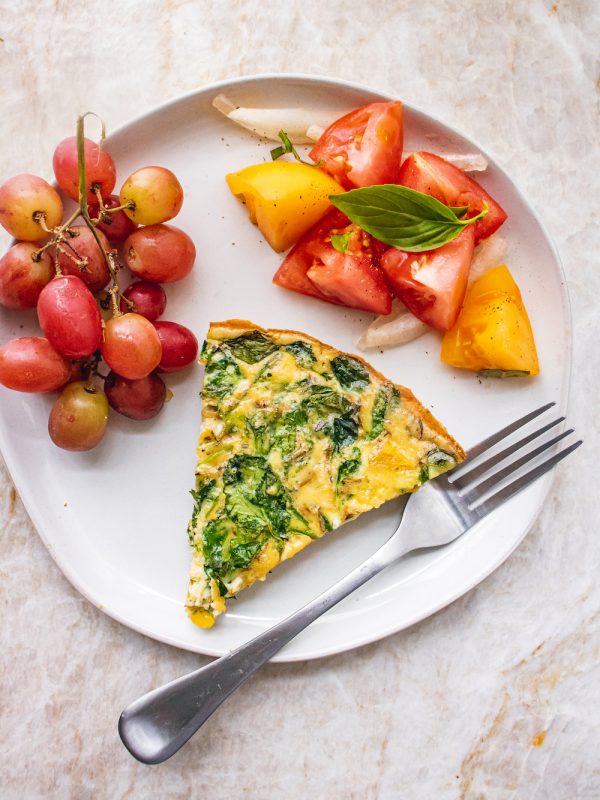
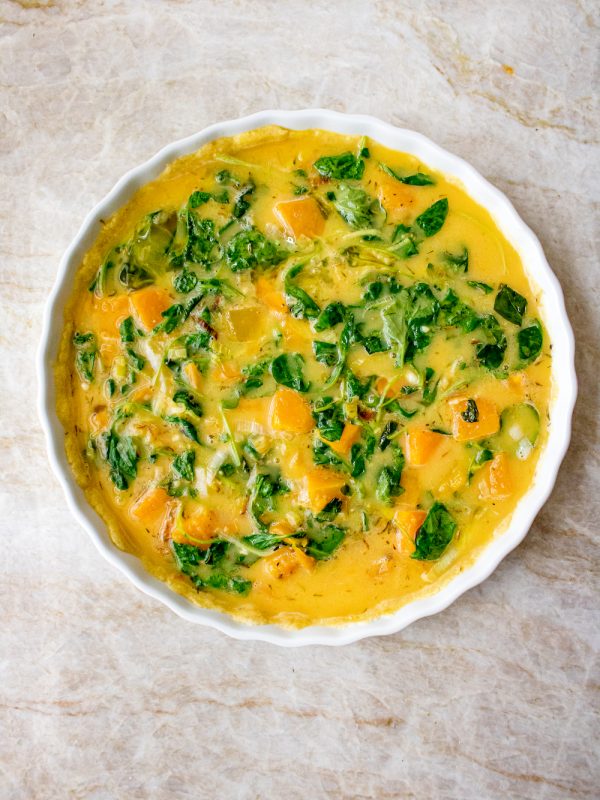
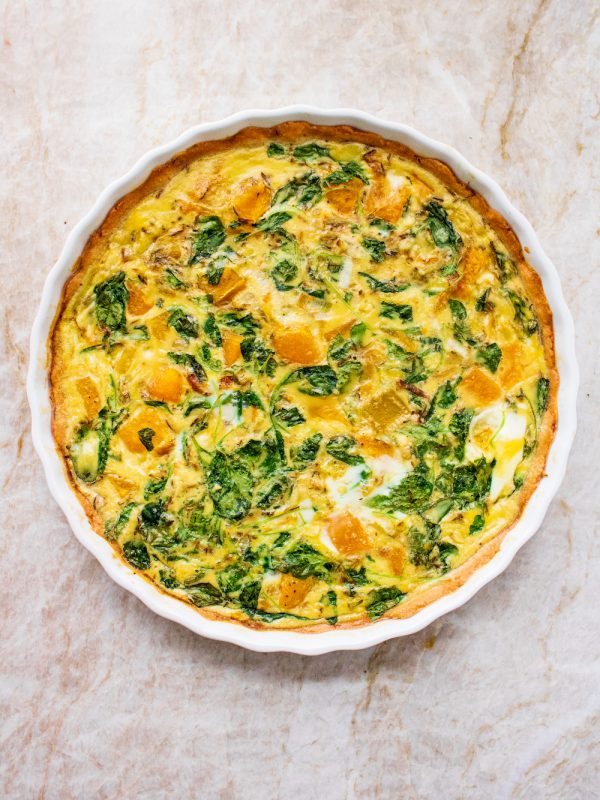
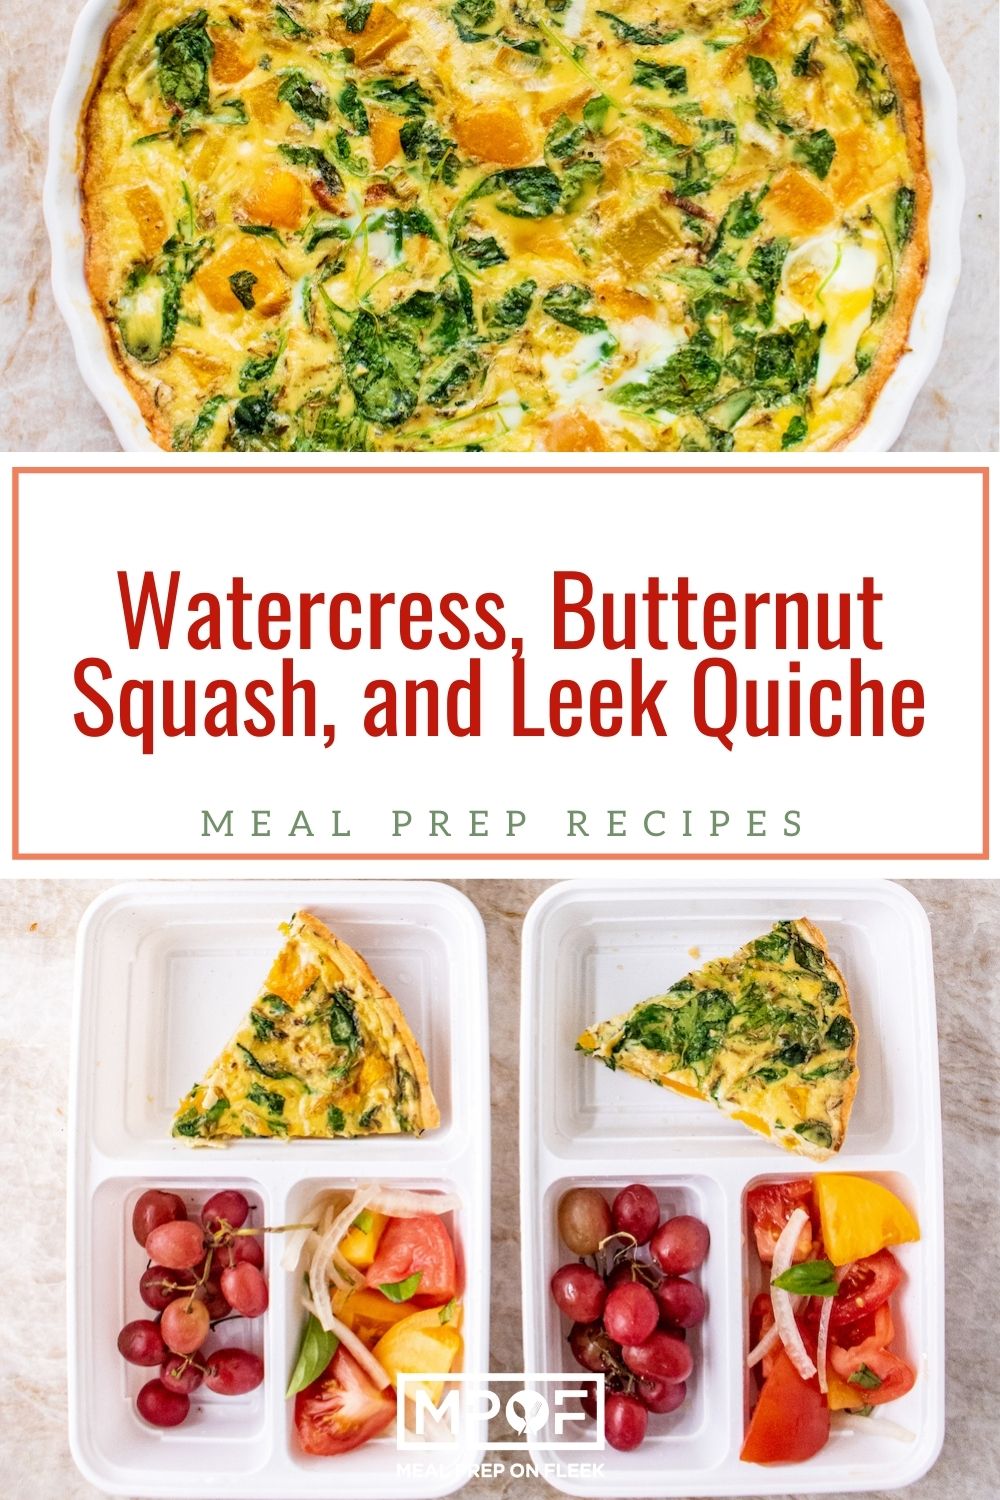
This autumn quiche comes complete with a gluten-free buttery crust. The crust is filled with sauteed watercress, leeks, and butternut squash before baking adding a hefty dose of vitamin-C. Serve it for breakfast, lunch, or dinner for a protein-packed meal.
There are some veggies that we just can't get enough of, and watercress is one of them! It adds such a nice, peppery taste, to food, without adding a lot of calories or carbs to a meal. Plus, without even realizing it, watercress is upping the nutritional value of our meals! It's packed with antioxidants which may lower your risk of certain diseases, it is loaded with vitamin K, and is great for your heart! If those aren't a few reasons to sneak that extra yummy veggie into your next meal prep, we don't know what is!
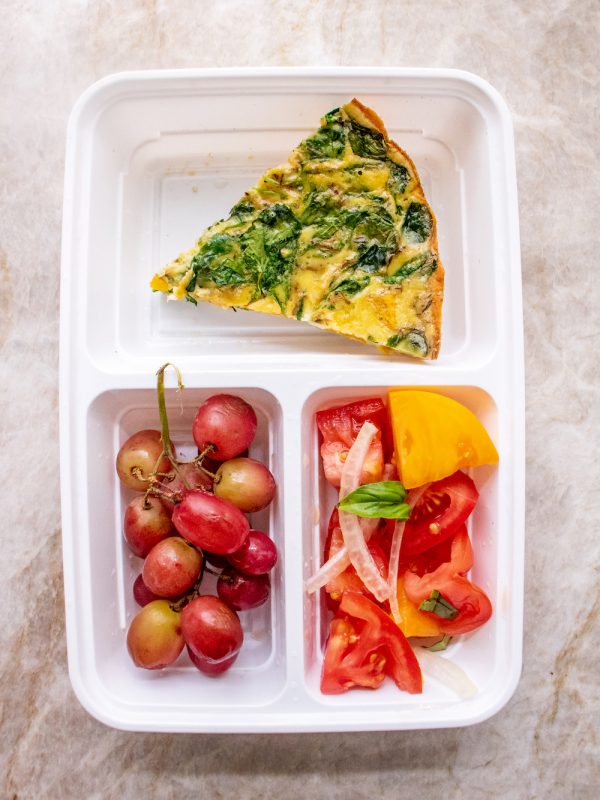
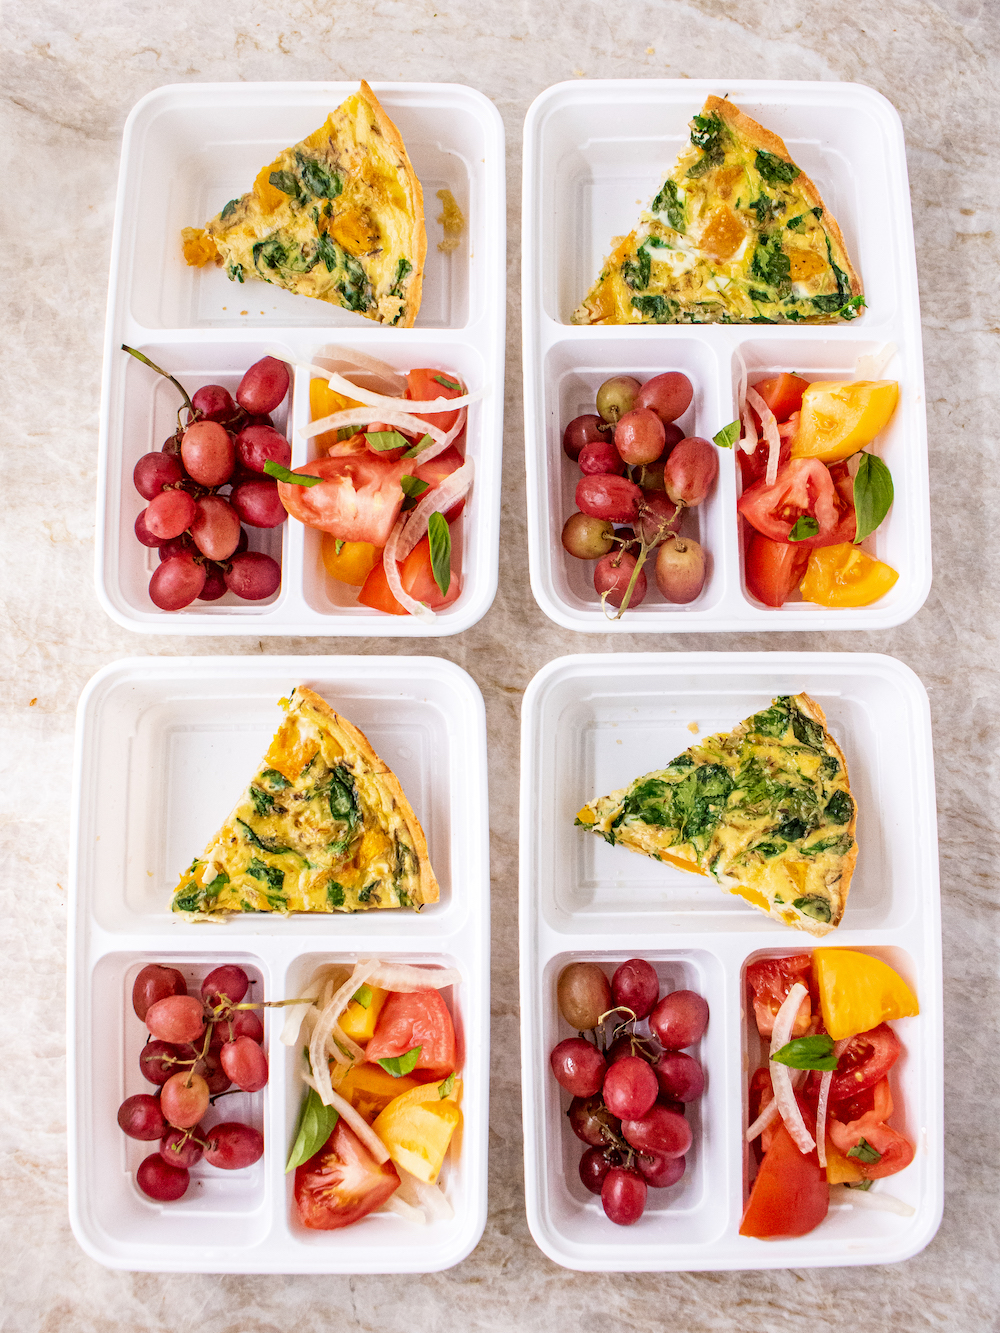
As you know, we love a good meal prep recipe that can also double (or stand-alone) as the main meal for your family. This Watercress, Leek, and Butternut Squash Quiche does just that! It is the perfect recipe for a Sunday brunch or your weekly meal prep. It's also one of those recipes that, when paired with a side such as fresh fruit, works great for a light dinner.
We made our own crust at home for this quiche, but if you want a shortcut, we recommend a crust such as wholly wholesome, to ensure this recipe stays gluten-free. If you aren't gluten-free, feel free to use any crust you'd like.
The great thing about this recipe is how customizable and easy it is! The quiche itself really can be a dumping ground for whatever veggies or proteins you have on hand. Just make sure not to forget that watercress! We kept this one veggie-based with our favorite fall items, but you could easily toss in chopped broccoli, onions, spinach, Brussel sprouts, diced potatoes, and any meat. Things such as bacon, ground turkey, sausage, etc. would all work nicely in this!
If you want a little sweet addition, toss in some diced apples or pears. Oh, cheese! We can't forget the option to add that in! Something tangy like goat cheese, or salty like feta would pair so nicely.
The possibilities are endless with recipes like a quiche. Just make sure to cater to the dietary needs of both yourself and your family.
We went with a sweet and savory side combo to round out this meal prep: grapes, plus a tomato salad, but feel free to use what appeals to you and your family most! Heck, you can even serve this sans sides and it would be just as delicious! Whichever route you go, we guarantee you will enjoy this flavorful watercress quiche!
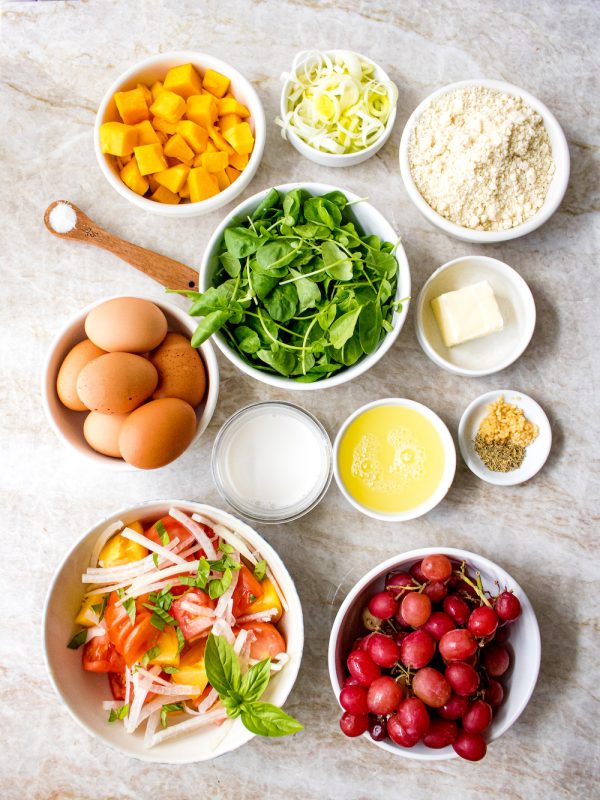
For Crust
For Filling
For Serving
Looking for more delicious ways to use Watercress? Give one of these easy and versatile recipes a try!
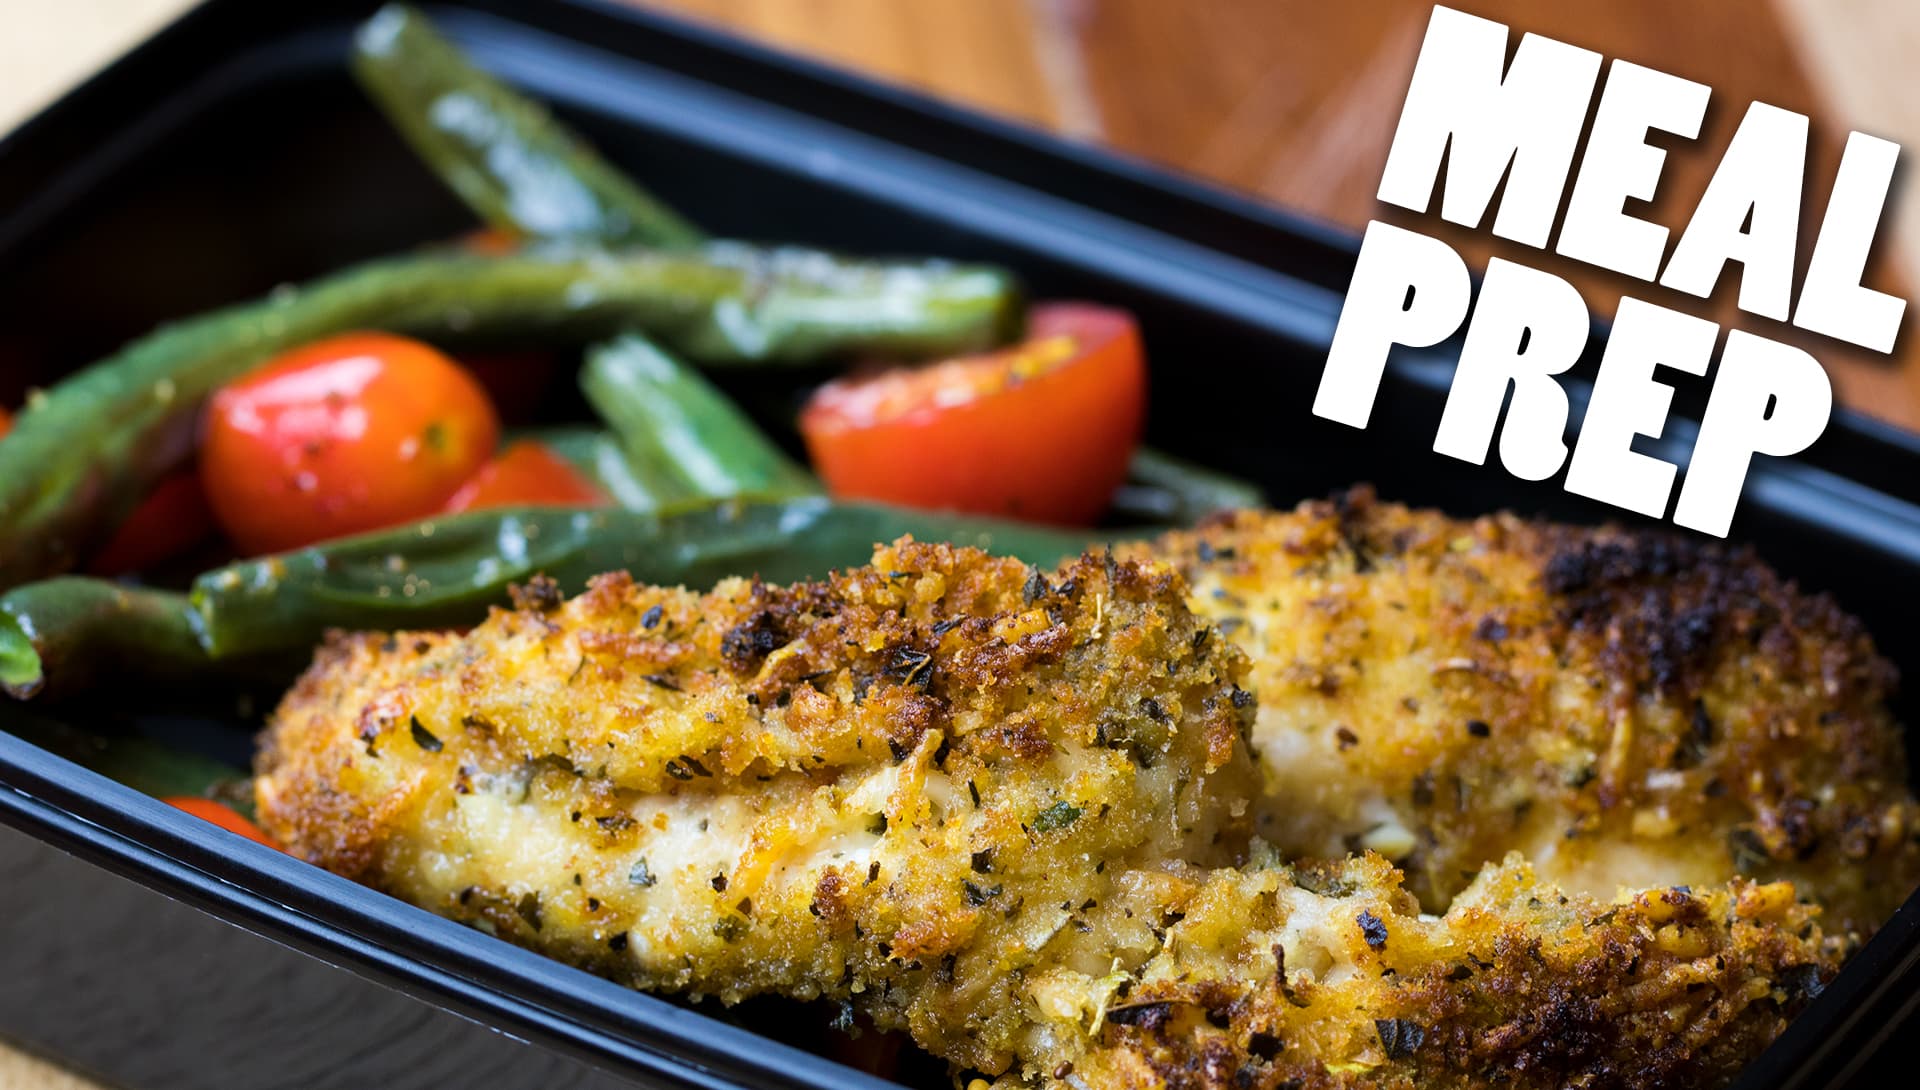
If you are craving a tasty, breaded chicken tender without the deep-fried guilt, then you have come to the right place! MPOF has created this Parmesan Chicken Tenders meal prep recipe with you in mind. The delicious crunchy coating married with just the right amount of parmesan cheese will have your taste buds jumping for joy while keeping your health goals on track. This is a fantastic low-calorie meal that has many versatile options and can be served for either lunch or dinner.
We know you are busy and need recipes that are simple and fast to prepare. Since this is prepared in a sheet pan and baked in the oven, you will find that prep and cleanup of this awesome meal prep recipe are just what you are looking for.
It's pretty impossible to go wrong with chicken breaded in parmesan and breadcrumbs. Luckily this recipe calls for green beans and tomatoes so that if they ask, you can tell your friends you're eating healthy. Although IDK, why you'd, wanna be friends with people like that anyways.
Watch the Parmesan Chicken Tenders Meal Prep recipe video below:
[recipe-video]
The video was done in collaboration with Foodbeast
Produce provided by Melissa's Produce

Parmesan Chicken Tenders meal will last 3 to 4 days in the fridge when properly stored. We recommend you use these amazing 1-compartment meal prep containers. They are microwave, dishwasher, as well as fridge and freezer safe, so storing and reheating the Parmesan Chicken Tenders couldn't be any easier.
Parmesan Chicken Tenders meal prep recipe can be frozen for up to 3 months. However, be aware that the tomatoes will not freeze well, so if you plan to freeze them, omit the tomatoes from the recipe and add fresh tomatoes after reheating.
Once the meal is completely cooled, divide the meal into 4 containers, seal the lids and label the meal and date and place in the freezer. To reheat, remove the lid, and microwave on high for 30 seconds. Remove from the microwave and flip over the chicken pieces and microwave again for 30 seconds. Repeat at 15-second increments until heated through. To revive a bit of the crunchy texture on the chicken, consider microwaving for 30 seconds to a minute to thaw slightly, and then place the parmesan chicken tenders in an air fryer for 1-2 minutes until heated through.
This Parmesan Chicken Tenders meal prep recipe only takes about 10 minutes to prepare and can be ready to eat within 30 minutes from start to finish. We are sure this will be one you will want to make over and over again because it is super quick and easy, and will please even the pickiest eaters.
The process is simple. Just preheat the oven to 400 and prepare a large rimmed baking sheet by lining it with parchment paper. Take a shallow dish and whisk together bread crumbs, parmesan, and seasonings, and in a separate shallow dish, add your olive oil and minced garlic.
Take each chicken tender, one at a time, and dredge in the olive oil and then dip in the breadcrumb mixture, pressing to adhere the crumbs and coat both sides. On the opposite side of your baking sheet, add the green beans and toss with olive oil and spread to the edge of the pan. Sprinkle with salt and pepper, or any of your other favorite seasonings.
Put the baking sheet in the oven and bake for about 12 minutes. Return to the oven and bake for another 10-12 minutes, or until chicken is golden brown and beans are crisp-tender.
This recipe makes 4 servings. Portion approximately 3 parmesan chicken tenders into each 1-compartment plastic meal prep container, and divide the beans evenly between all four containers.
Here are a couple of other recipes similar to Parmesan Chicken Tenders. Check them out here:
Thanks for checking out this awesome recipe for Parmesan Chicken Tenders! Let us know what you think.
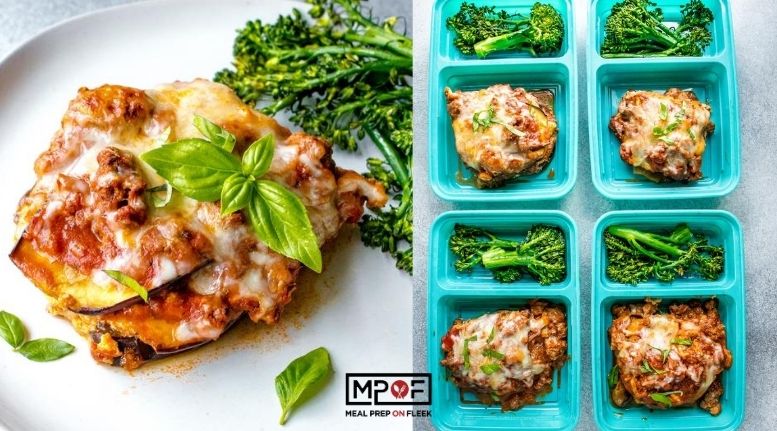
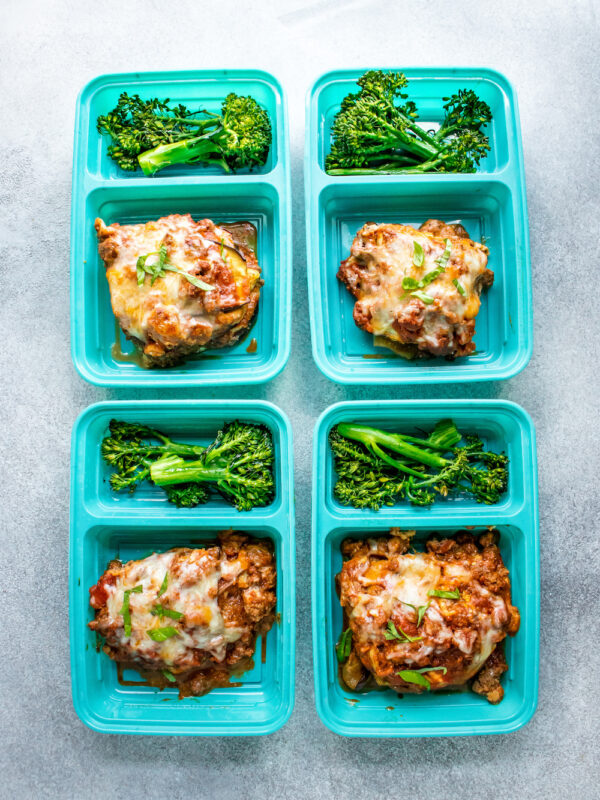
Are you looking for a low-carb, gluten-free alternative to lasagna? Then you'll greatly appreciate our eggplant lasagna meal prep recipe. We swap out lasagna noodles for thinly sliced sheets of eggplant but keep the rest of the traditional lasagna flavors. This easy swap makes a hearty lasagna keto-friendly, gluten-free, and low-carb without sacrificing taste. Using eggplant sheets instead of noodles also ups the nutritional value since eggplant has many nutrients, is rich in antioxidants, and is known for promoting blood sugar control, among other health benefits.
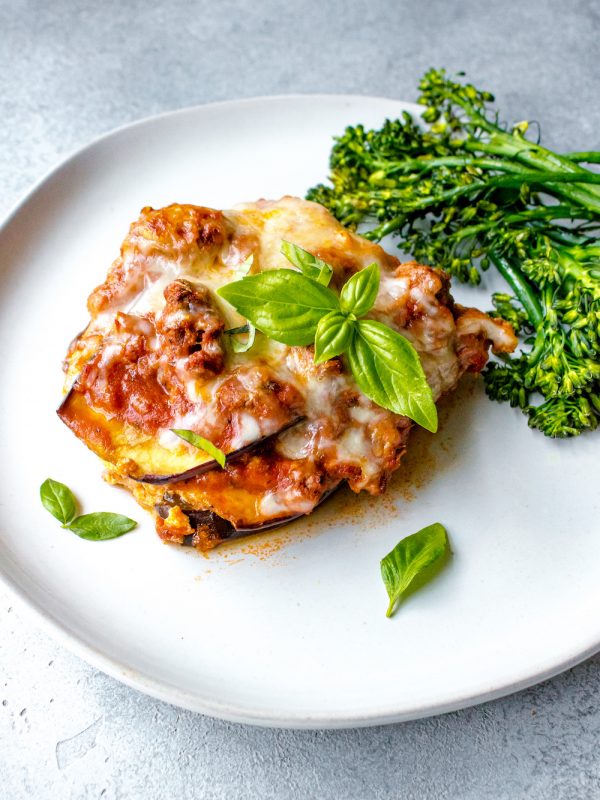
This lightened-up lasagna is full of the flavors you know and love like mozzarella cheese and creamy ricotta, but swaps in thinly sliced sheets of eggplant instead of lasagna noodles. Eggplant gives the recipe the cozy feel of noodles without the high carb count.
Keto eggplant lasagna lasts for up to 4 days in the refrigerator when stored in airtight containers. If you save the eggplant lasagna without the broccoli, you can use our GoodCook® single-compartment meal prep containers.
Yes, you can freeze eggplant lasagna, and it will last for 2 to 3 months in the freezer. If you're cooking keto eggplant lasagna in batches to save for later and plan on freezing them, roast your eggplant ahead of time to get rid of the excess moisture. Excess moisture causes soggy lasagna when it's reheated. Nobody wants that!
For Meat Sauce
For Broccolini

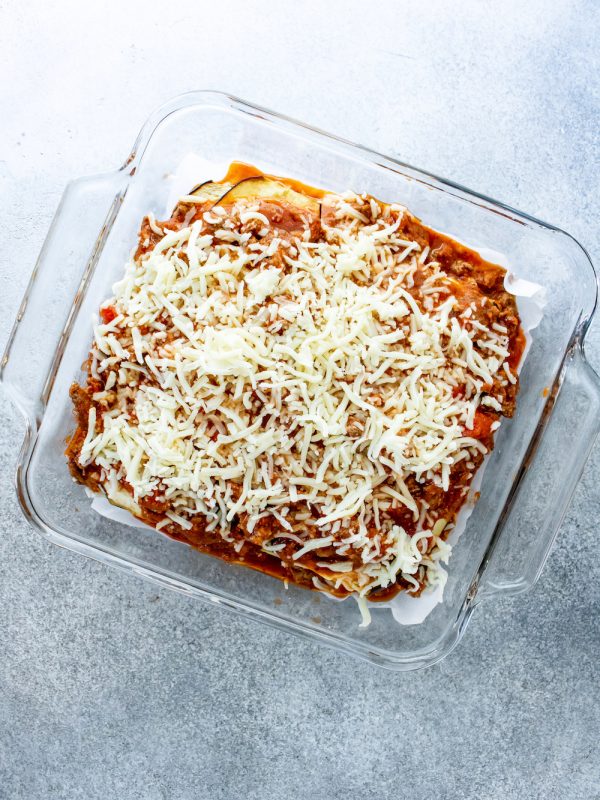
This lasagna recipe is pretty simple and doesn't take as long as traditional lasagna. Traditional lasagna takes anywhere from an hour and a half to two hours, whereas eggplant lasagna takes just over an hour to cook. So far, eggplant lasagna is healthier, delicious, and takes less time to cook!
And that's how you make eggplant lasagna! Once the food cools, portion the four meals out and store them in the fridge to enjoy in the coming days.

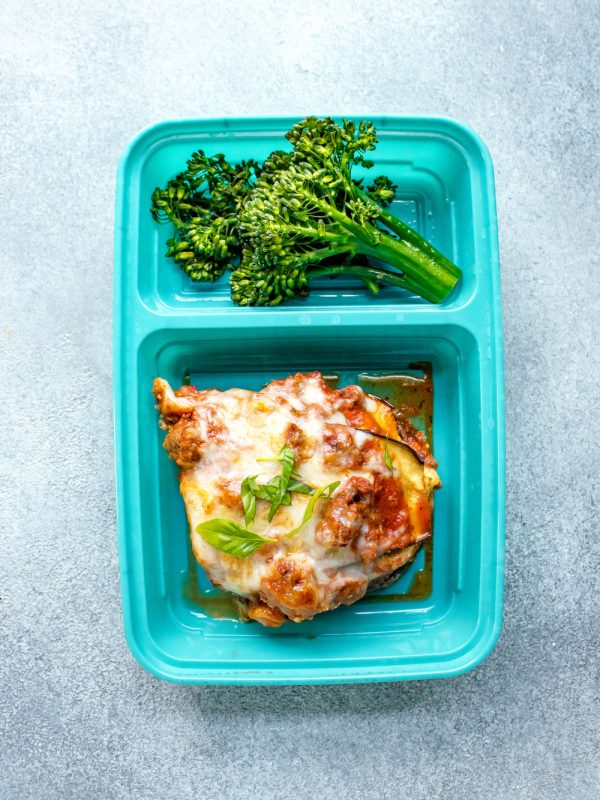
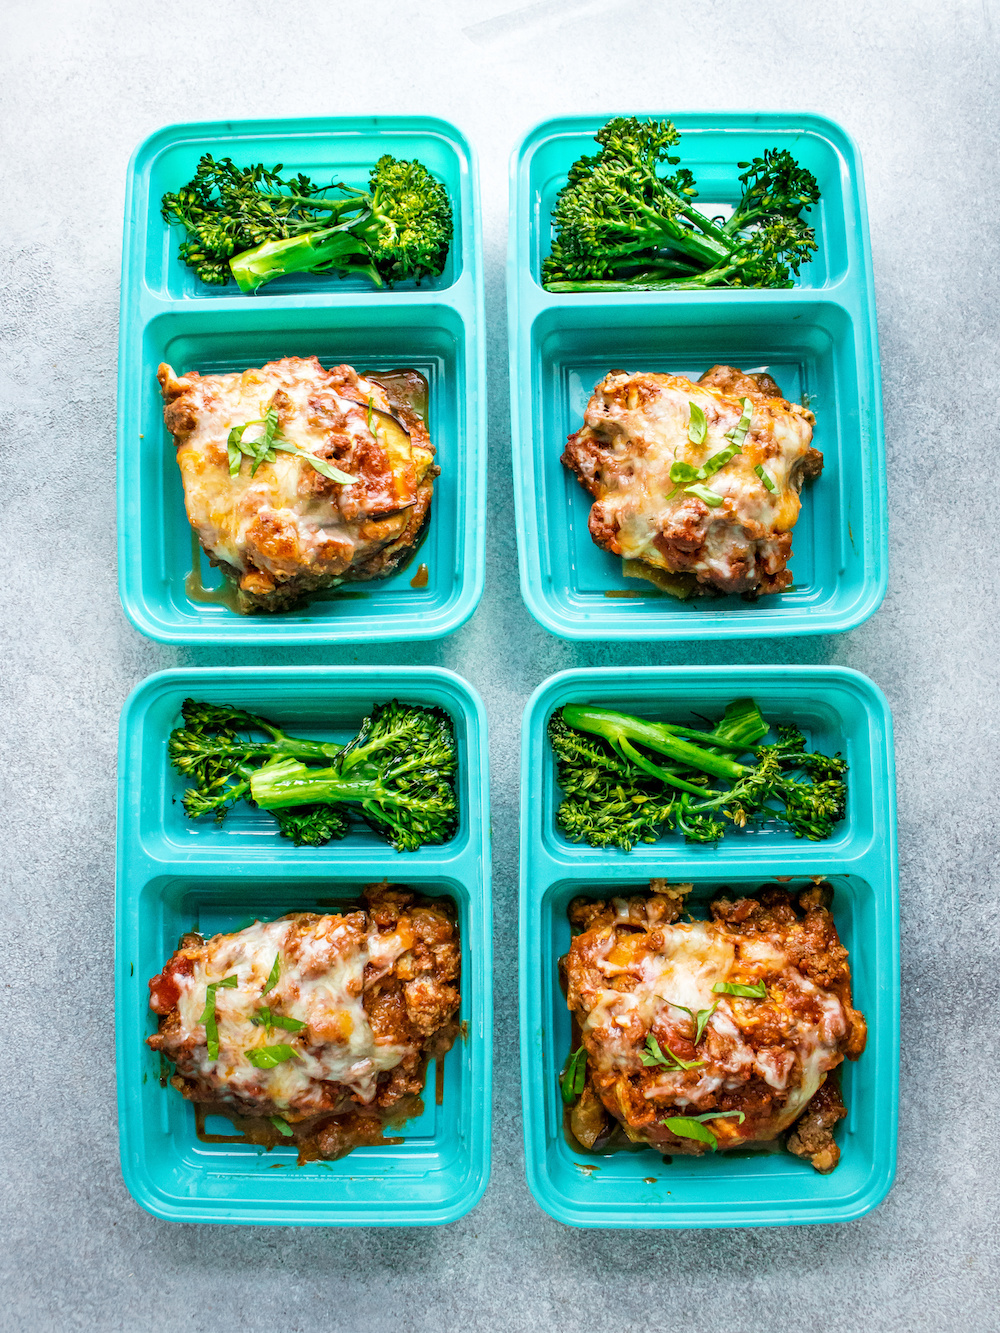
Separate the lasagna and broccoli into four meals and put them into 4 MPOF GoodCook® meal prep containers. Slice the lasagna into four pieces when it cools down and place it in the 2-cup compartment. Then put broccoli in the 1-cup compartment.
Eggplant is an easy vegetable to add to your diet, especially low-carb diets. Try these recipes and tell us what you think!
Eggplant Meatballs and Zoodle Meal Prep
Pork Burger Meal Prep (eggplant bun)

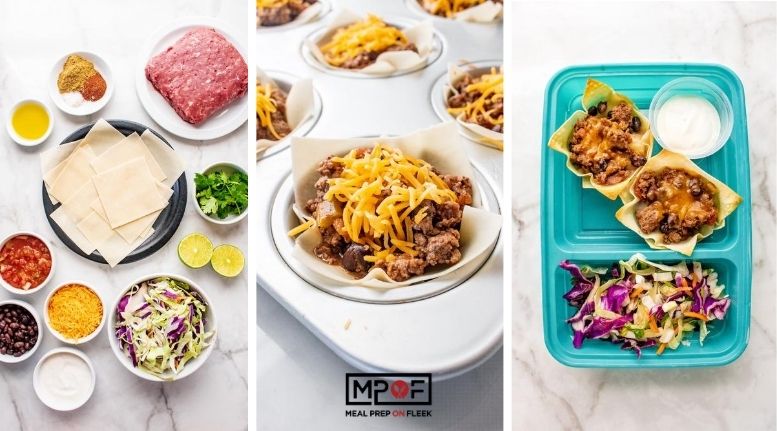
Oh, do we have a fun fusion treat for you with our Asian-Mexican-inspired Taco Wontons! We merge Asian style with a Mexican cuisine favorite, the taco salad. Instead of a fried tortilla shell, we use wonton wraps and fill them with ground beef, black beans, salsa, and cheese topped with light sour cream and more salsa. This meal prep lunch idea is served with a cilantro-lime slaw made with shredded coleslaw, purple cabbage, and carrots. You get a mix of flavors and texture that add some fun to lunchtime! If you're ready to take a trip down the exotic cuisine fusion road, then keep reading for the recipe, similar recipes, and cooking tips for the best taco wontons you've ever had!
Taco flavors get an Asian twist using wonton wrappers instead of tortillas. Baked up to crispy goodness in muffin tins, these taco wontons have built-in portion control for a low-calorie meal with big flavor.

For Wontons
For Cilantro-Lime Slaw

Taco wontons will last for 2 to 3 days. Store taco wontons in our Goodcook Meal Prep containers for maximum freshness.
Yes, you can freeze taco wontons. Store them the way you would if refrigerating them, but put them in the freezer instead. Or, you can put them back into the muffin tins lined with parchment paper and covered with plastic wrap or a freezer bag.


You need 8 muffin tins sprayed with cooking spray. Preheat your oven, and start putting the wonton wrappers in the muffin tins. Then cook your ground beef, black beans, and salsa mix to spoon into the wontons for baking. As your taco wontons bake, make the cilantro-lime slaw and place it in the refrigerator until the wontons are done. When everything is done cooking, put your four meals in containers and store them in the fridge. Since the wontons last for up to 3 days, feel free to eat some or freeze them.
This meal prep lunch idea only takes 35 minutes. Taco wontons are a delicious portion-controlled lunch for everyone. See the full recipe here.

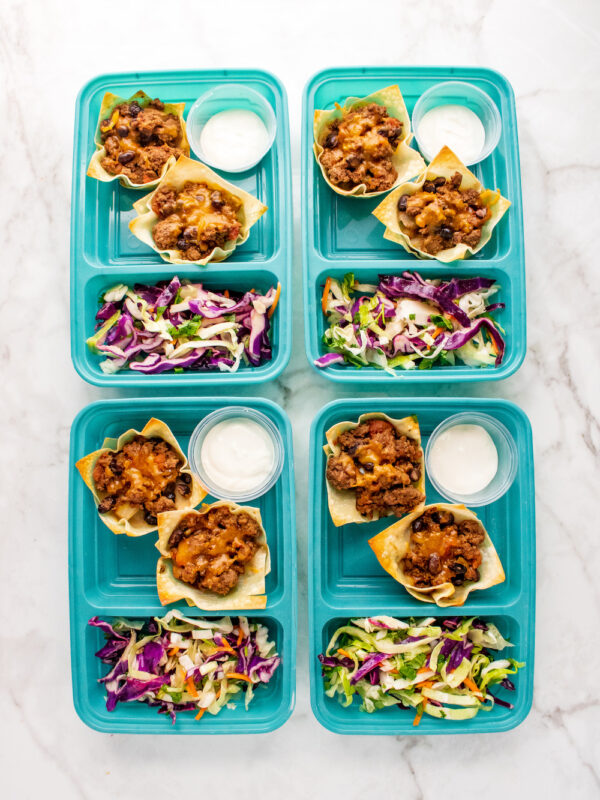
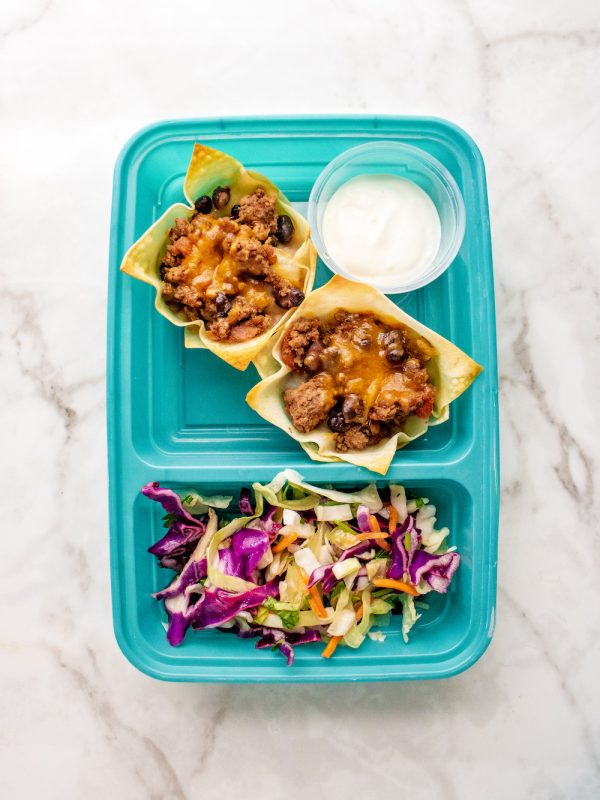
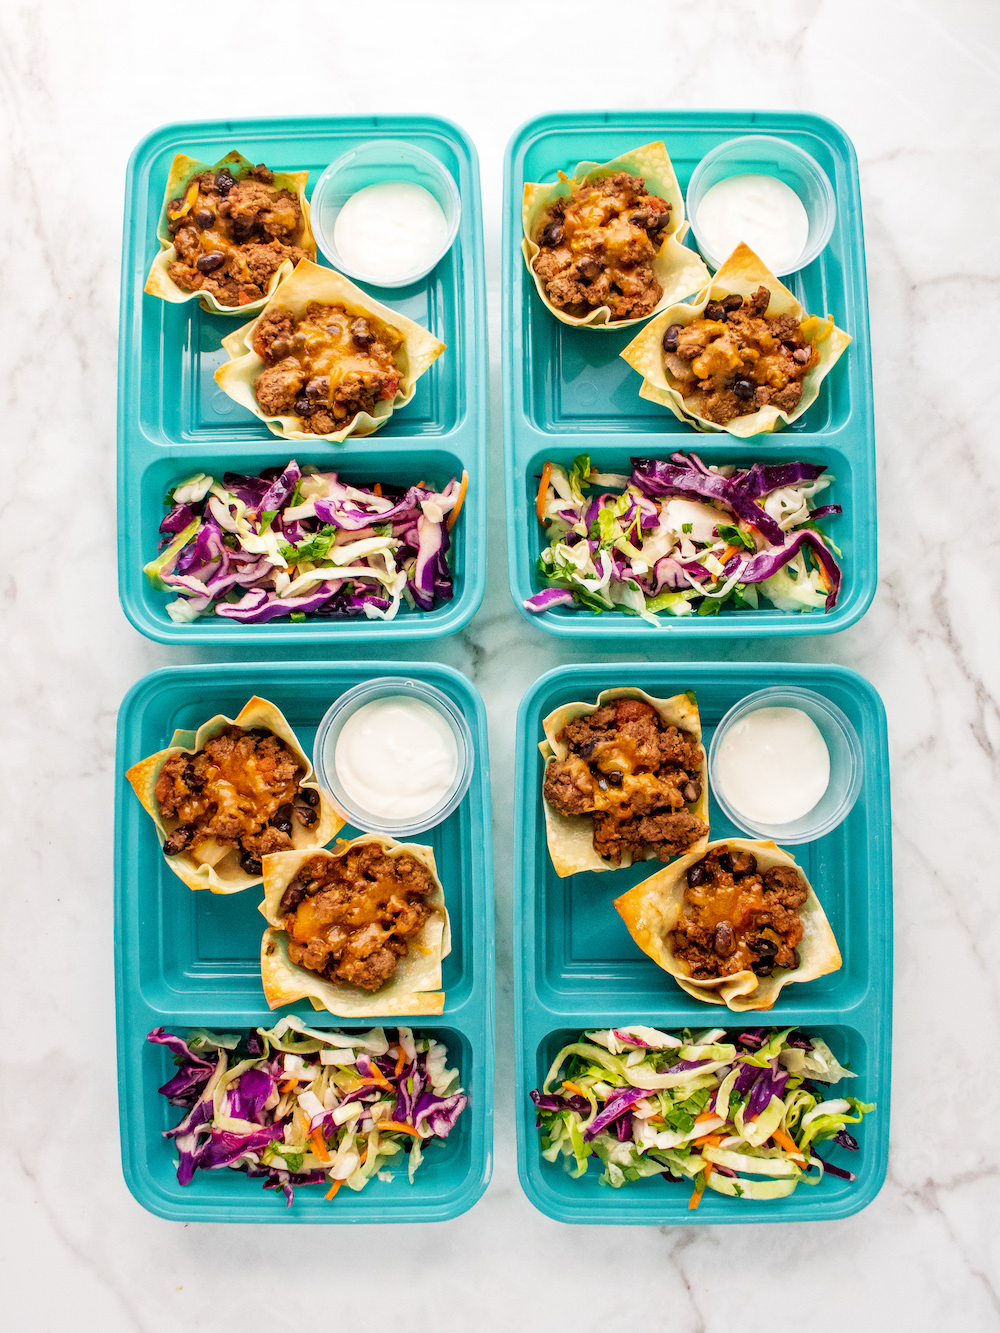
Place two taco wontons, light sour cream, and cilantro-lime slaw in 4 MPOF Goodcook Meal Prep containers.

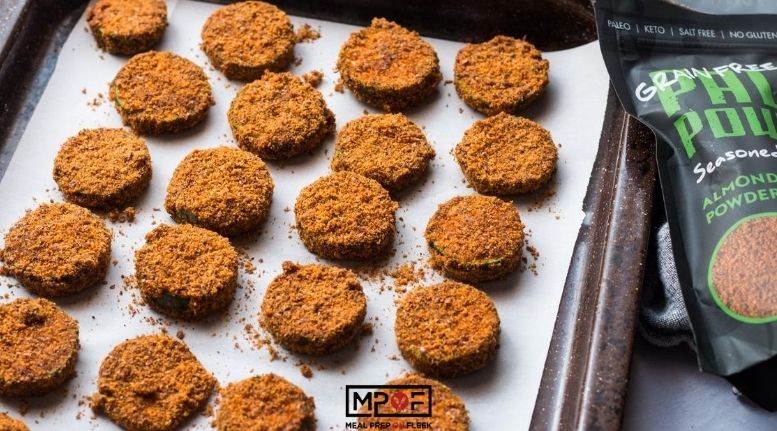
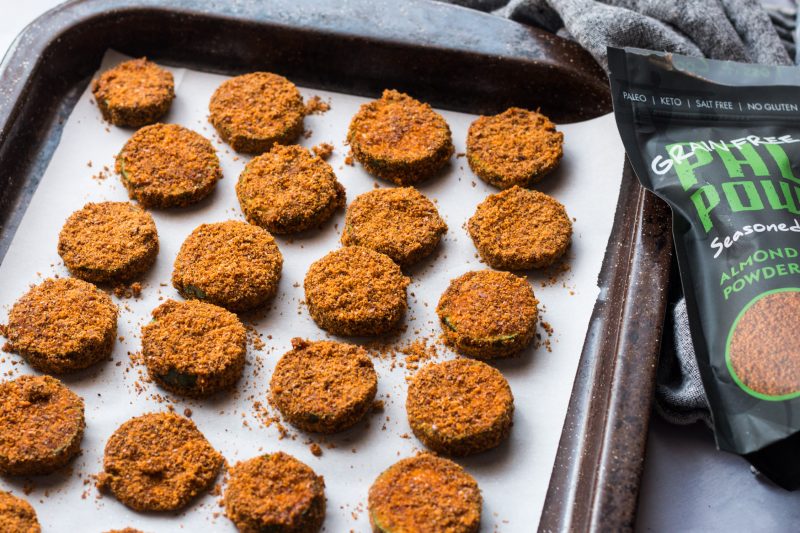
Its easy snack-time fun with our Italian inspired Baked Breaded Zucchini Bites (say that 10 times fast). Doesn't this meal prep snack remind you of Carl's Jr.'s fried zucchini? Ours is a healthier, paleo-friendly version and paired with marinara sauce instead of ranch. These baked zucchini bites are baked into crispy, dippable delights on a sheet pan and only take 35 minutes to prepare. Are you ready for this nutritious & delicious on-the-go snack? Then let's dig in!
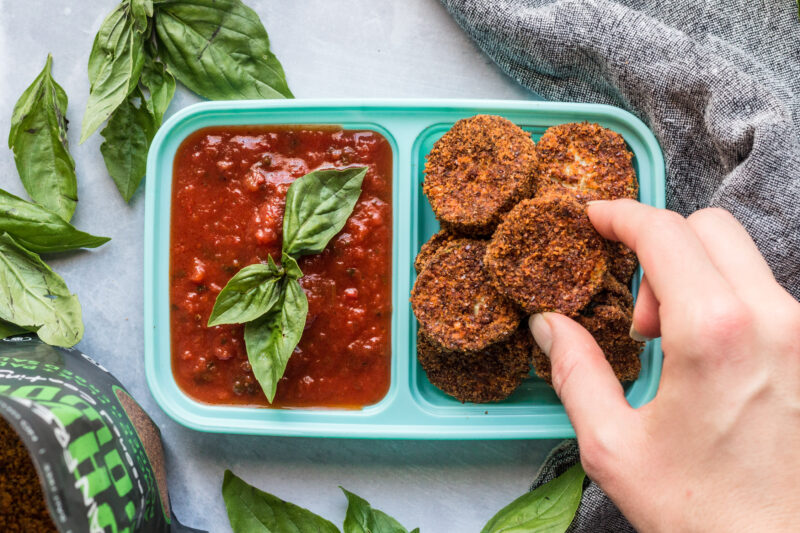
Simple and delicious! These Baked Breaded Zucchini Bites with Marinara are so easy to make and are a healthy alternative to the fried version! Whole30.
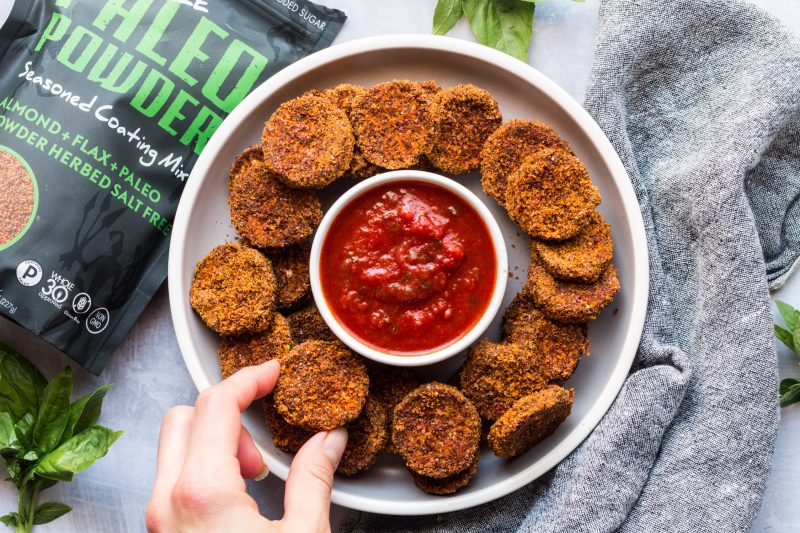
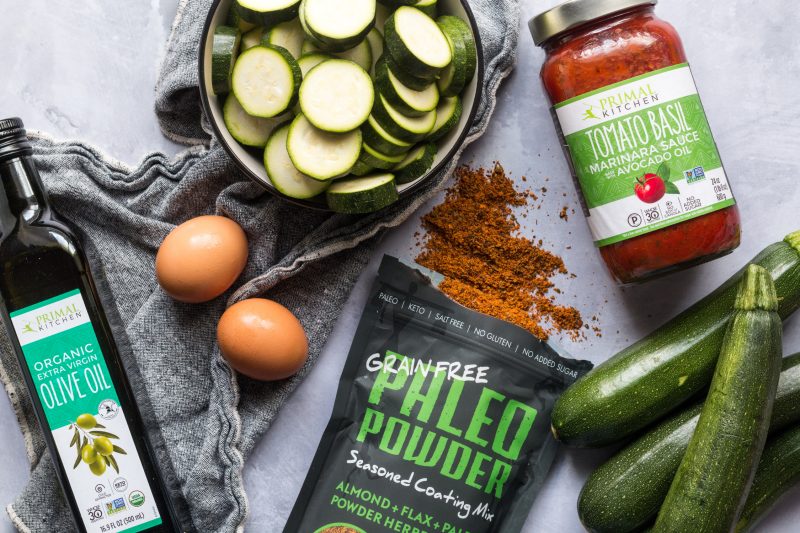
Baked zucchini bites stay fresh for 2 days when packaged in an airtight container or ziplock bag and store in your refrigerator. This meal prep snack recipe yields 3 servings, so enjoy one immediately and save the rest!
Yes, baked zucchini bites freeze well! The beauty of freezing breaded baked zucchini bites is that you don't have to cook them to freeze them. Simply prepare the zucchini bites to the point of breading them. Then, store them in an airtight freezer-friendly container. If you decide to bake the bites then freeze them, do a pre-freeze before freezing them. Since they're not fried, they won't get soggy when you reheat them. The breaded zucchini bites keep their flavor for up to 6 months.
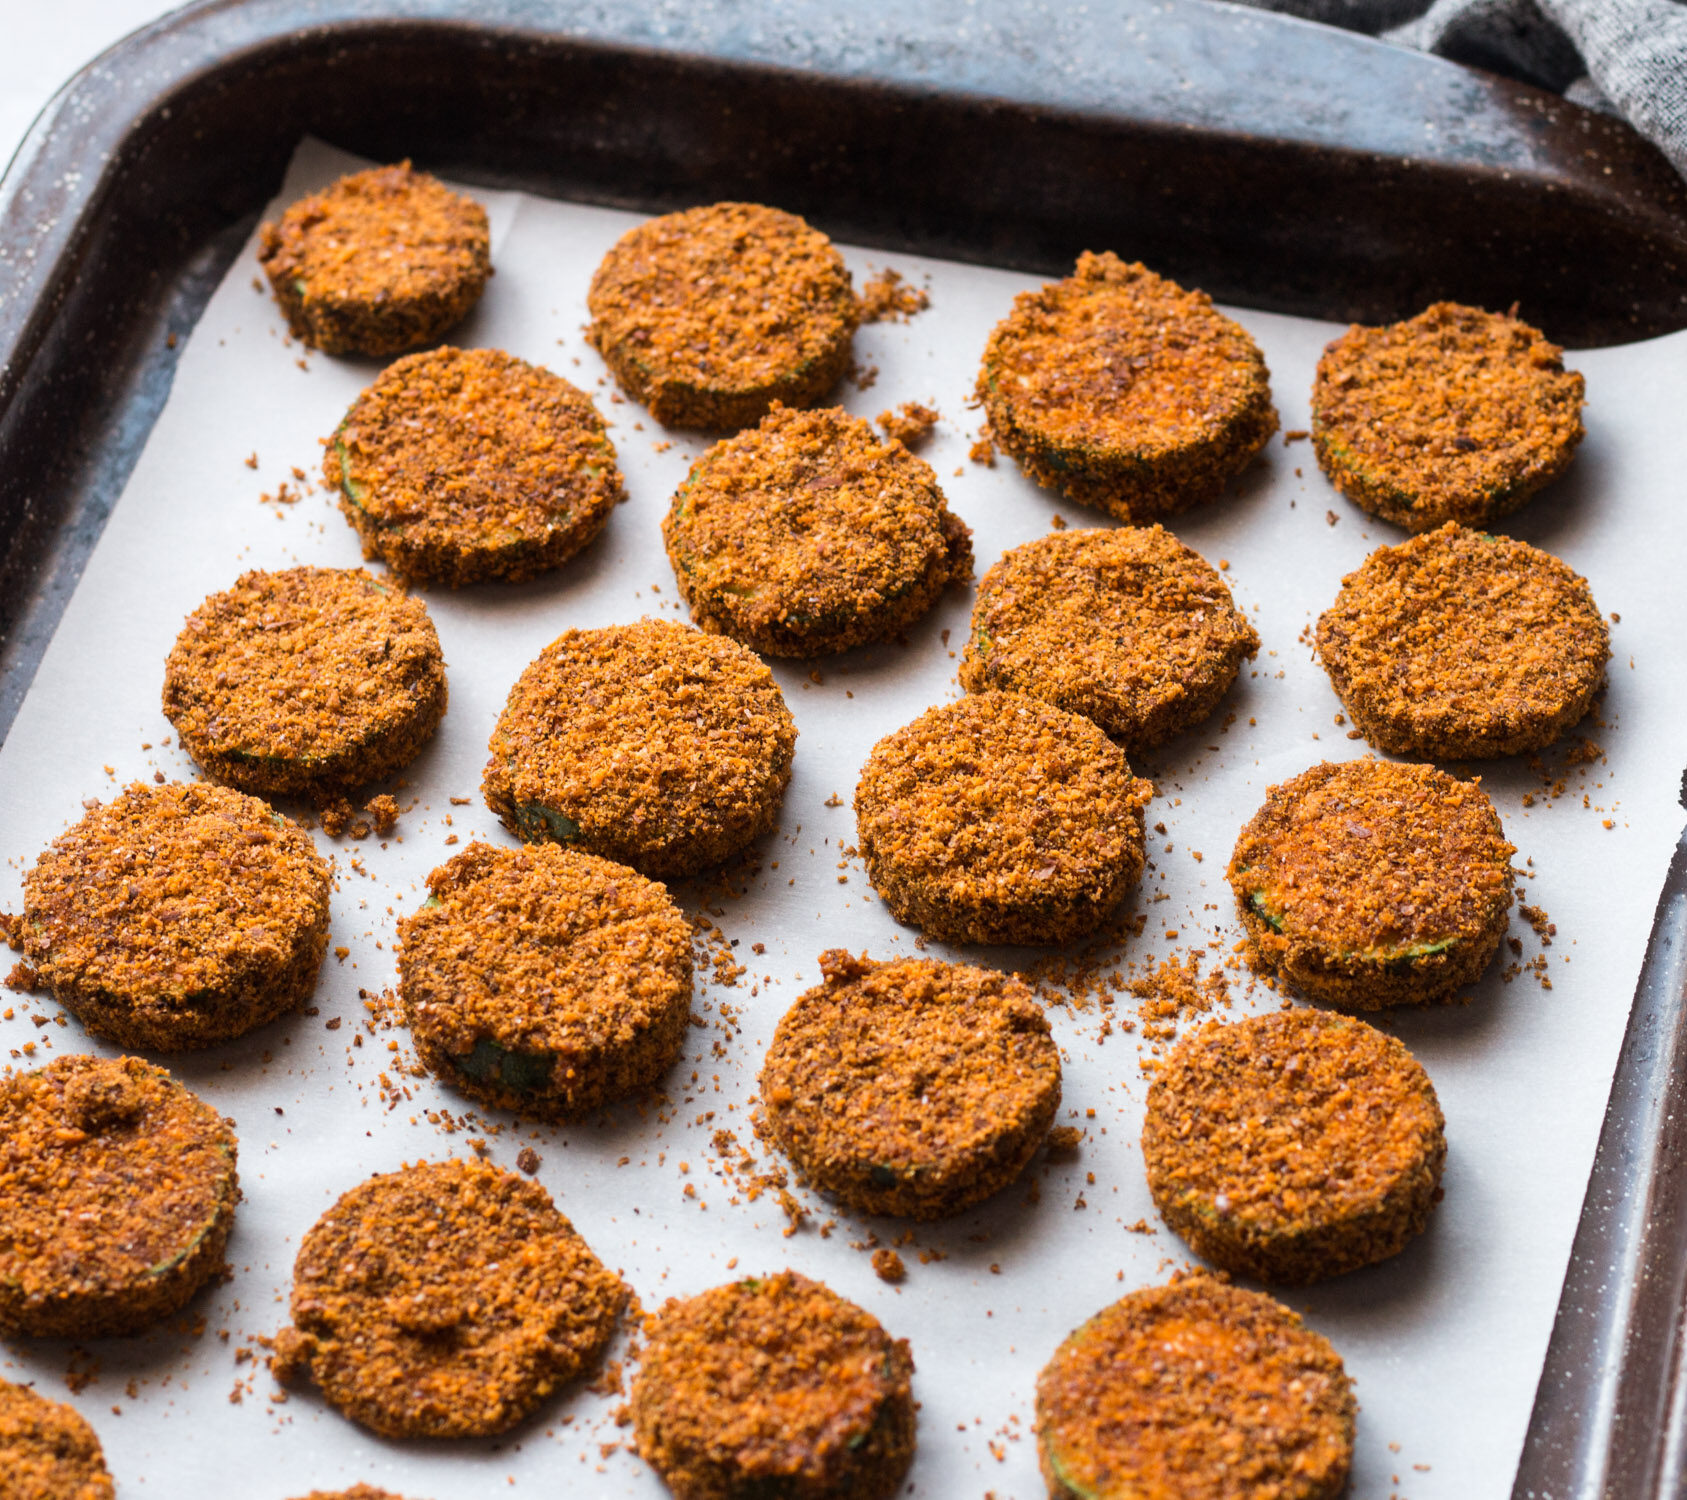
This is the fun part because it's so easy! Set yourself up for dipping and dredging the zucchini slices and preheat your oven. You need two shallow glass bowl for the whisked eggs and Paleo Powder. Start dredging with the egg wash, then dredge in the Paleo Powder, and place the coated zucchini pieces on a lined sheet pan. Repeat this process until all the zucchini slices are gone. Once done, bake the zucchini bites in the oven at 375 degrees for 10 to 15 minutes. Easy, right? Here's the full recipe.
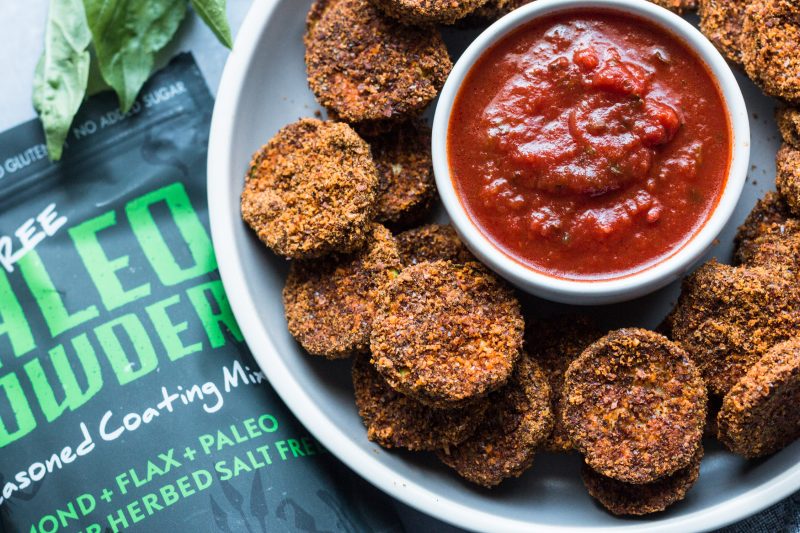
Put your crunchy & delicious baked zucchini bites in our baby blue Goodcook Meal Prep containers with marinara or tomato sauce. Garnish the sauce with fresh basil leaves if you wish - why not give your snack a little flair (and more flavor)?
Garlic Sweet Potato Wedges With Hummus
Gluten-free Healthy-ish Pop Tarts
Sweet Potato Wedges With Tahini

Thank you to GoodCook for sponsoring this Buffet Style Meal Prepping:WHOLE30 post, and thank YOU for supporting the brands that help make Meal Prep On Fleek possible. All opinions are our own.
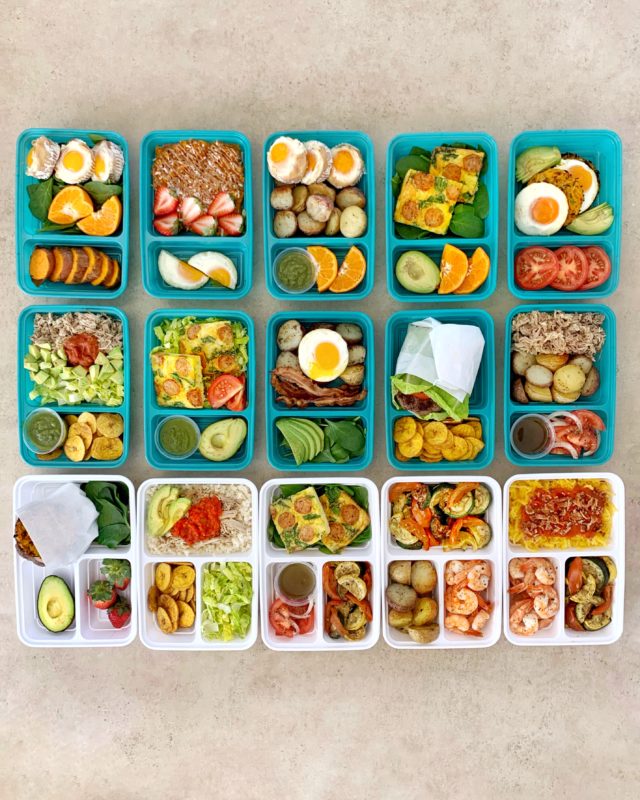
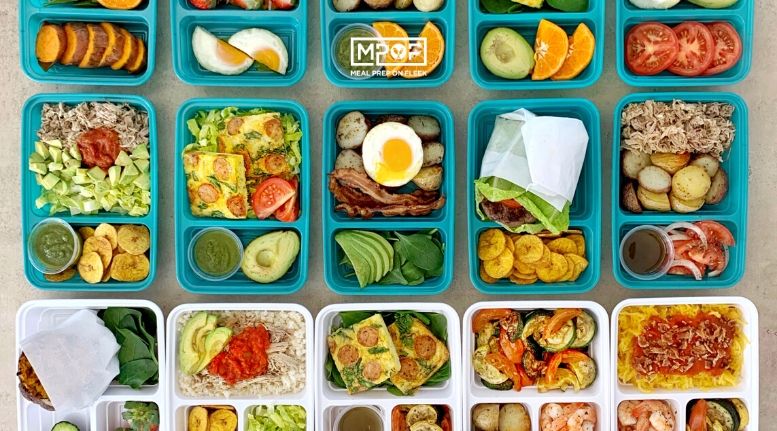
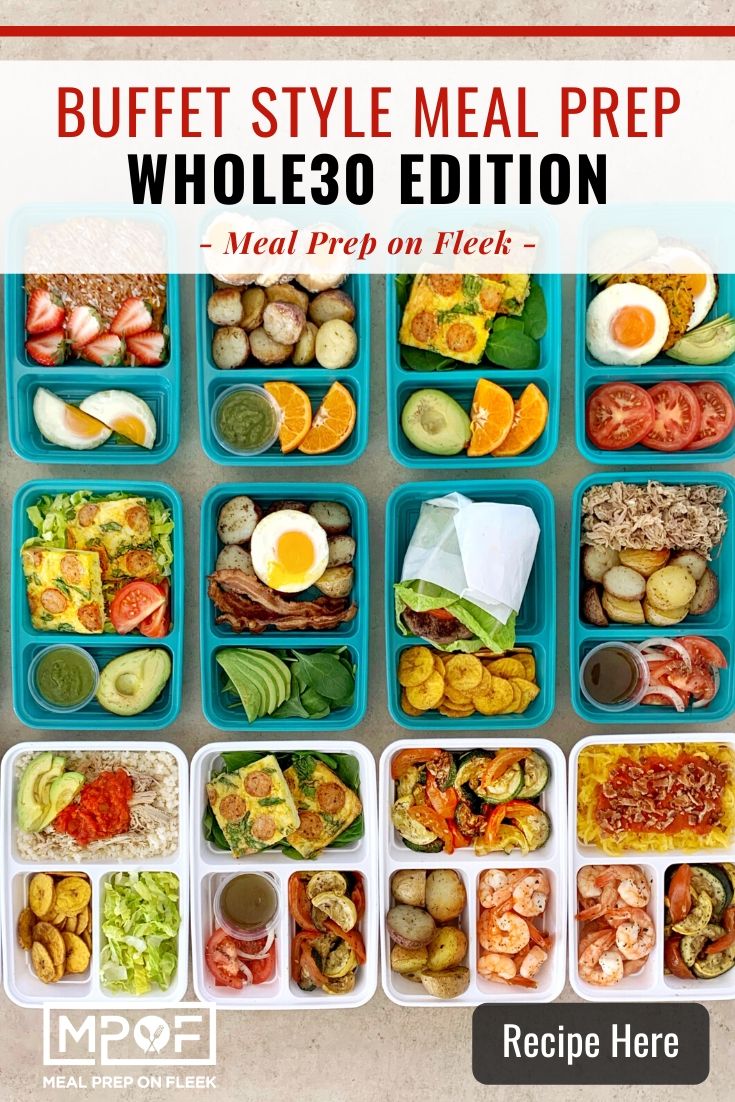
Buffet Style Meal Prepping: Whole30 - Make your next whole30 easy with a buffet style meal prep set up! 5 days of breakfast, lunches, and dinners. All prepped in GoodCook portion-controlled containers to make life easier!

If you've been hanging around here a while, then you have seen our series with buffet-style meal prepping. In case you missed them, or you are new to our page (WELCOME!), we started the series with a gluten-free plan and then shared a vegetarian one.
If you aren't familiar with buffet-style meal prepping at all, we recommend reading our Buffet Style Meal Prepping 101 post first. This will give you call the tips, tricks, and tools (including the best containers) you need to be successful at any kind of meal prepping. Once you have completed that, we recommend calculating your macros to get your base caloric starting point.
If you are pretty familiar with meal prepping and don’t care about macros (hello intuitive eating friends!), then dive right into this blog post.
This Whole30 meal prep isn't just designed for those doing the whole30. It is a meal plan that is comprised of whole foods that are affordable, easy to combine, and will ensure you are working within your macros. Kinda hard to overeat sweet potatoes, don't you think? If you worry that your portions will get out of control, fear not! This entire meal prep is done in our favorite portion-controlled containers by GoodCook. Each container compartment tells you the exact amount, so you don't have to worry about measuring! The containers are also microwave, freezer, and dishwasher safe!
Feel free to swap in (or out) any ingredients. If you're following the Whole30 diet, make sure the items are compliant with the program and are allowed as stated by the "rules" of this eating style. If you aren't doing the whole30, but want to add more "whole foods" to your diet, feel free to mix in some things like oats, quinoa, or lentils.
Make sure to grab your containers before you head to the store so that you are ready to go on meal prep day! You can grab all of the containers here!
Protein
Canned & Jarred (make sure there are no added sugars or preservatives)
Produce
Starches
Miscellaneous
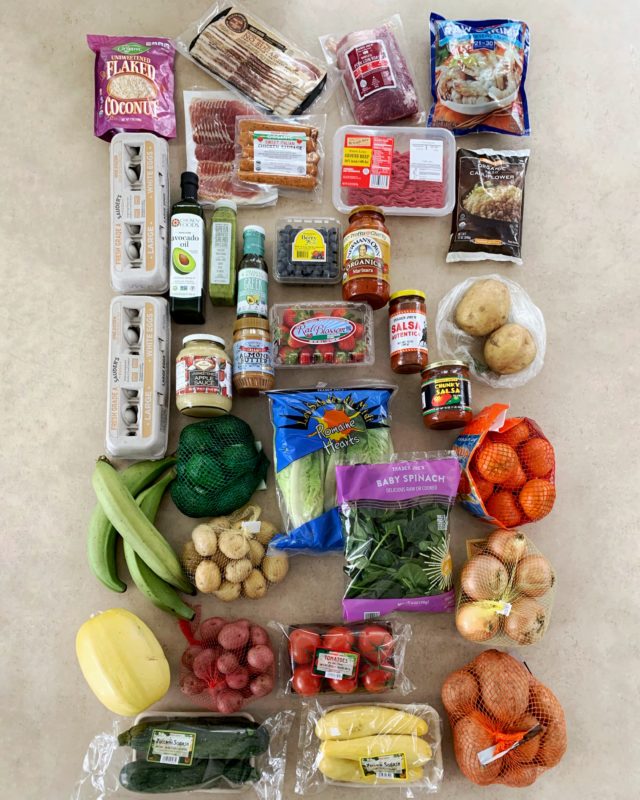
Protein
Starch
Vegetables/Fruit
Sauces (make sure there are no added sugars or preservatives)
Total Prep Time: 2 hours
Total Cost: $132
Total Meals: 15
Cost Per Meal: $8.80 per meal
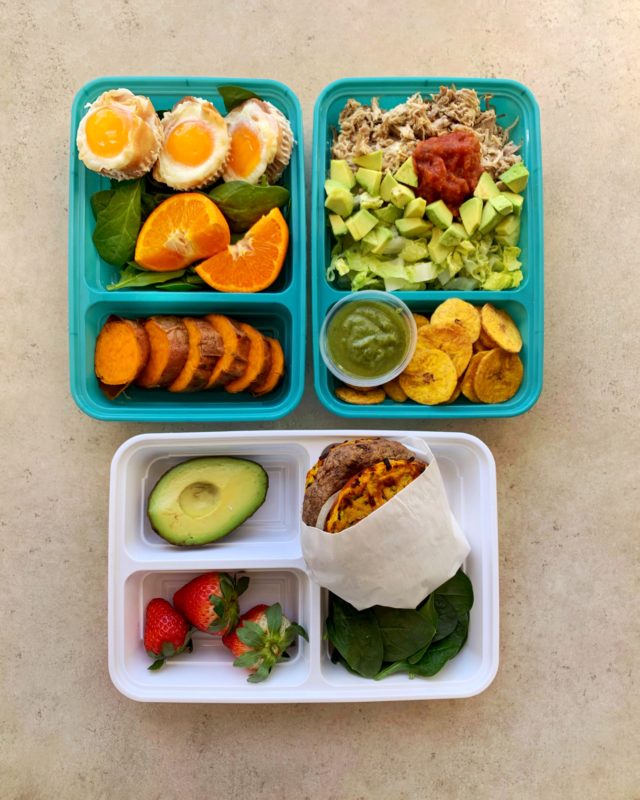
BREAKFAST: Prosciutto egg cups with sweet potatoes, spinach, and mandarin orange.
LUNCH: Taco salad: shredded lettuce, shredded pork, avocado, salsa, plantain chips, green goddess dressing
DINNER: Burger: beef patty sandwiched between two zucchini sweet potato hash brown patties, served with strawberries and avocado
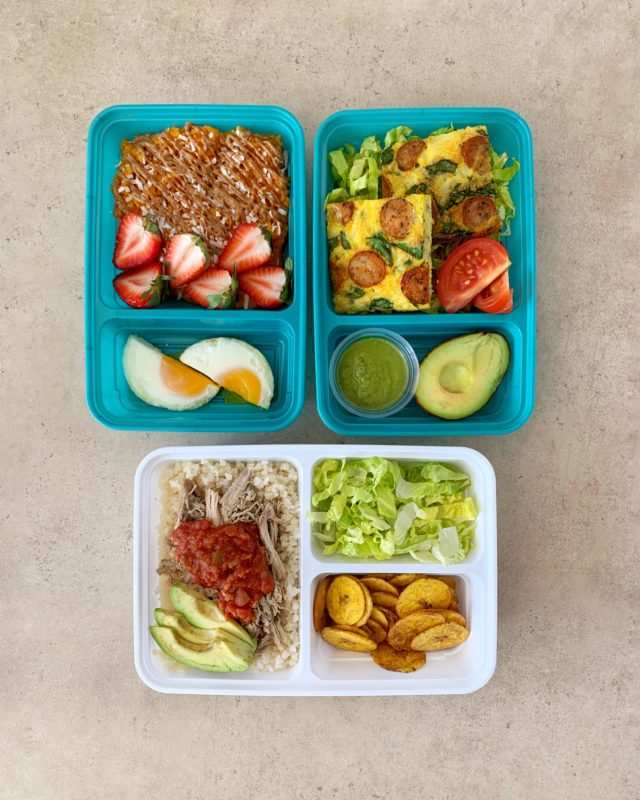
BREAKFAST: Sweet potato bowl: sweet potatoes mashed with apple sauce, served with almond butter and coconut flakes on top, strawberries and an egg on the side.
LUNCH: Sausage lover’s hash brown casserole, shredded lettuce, avocado, tomatoes, and green goddess dressing
DINNER: Burrito bowl: cauliflower rice, shredded pork, salsa, avocado, lettuce, and roasted plantain chips
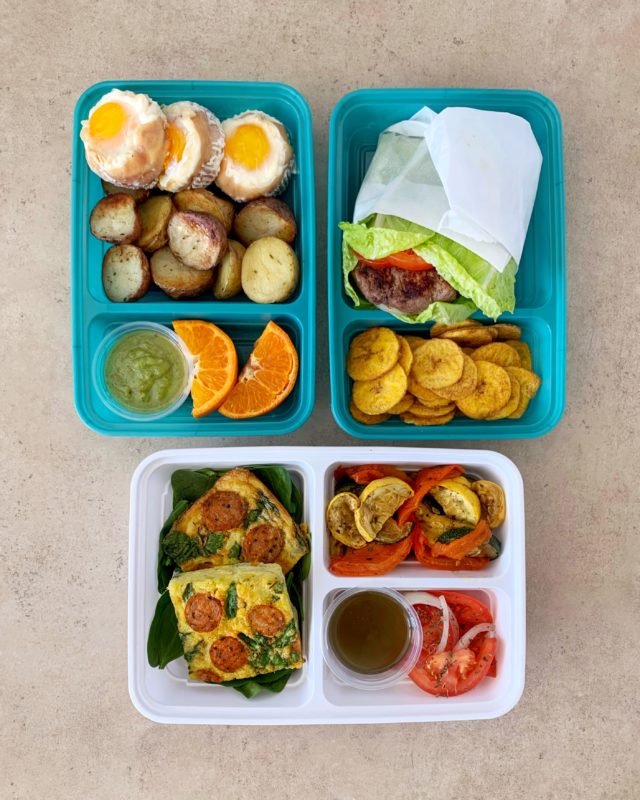
BREAKFAST: Prosciutto egg cups, roasted new potatoes, green goddess dressing, and mandarin orange
LUNCH: Bun-less burger: beef patty wrapped in lettuce with tomatoes and onions served with roasted plantains
DINNER: Sausage lover’s hash brown casserole, spinach, roasted veggies, tomato, and onion salad and Greek vinaigrette.
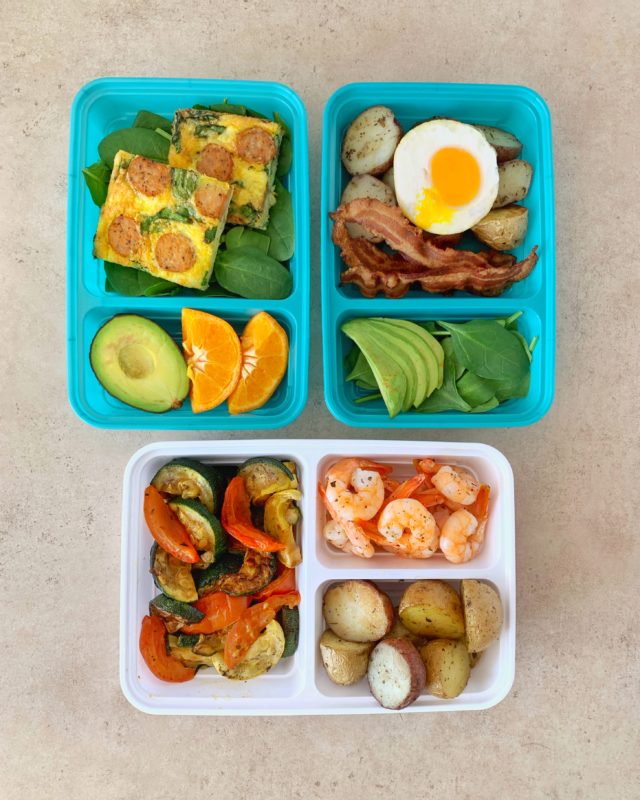
BREAKFAST: Sausage lover’s hash brown casserole, spinach, avocado, and mandarin orange
LUNCH: Roasted potatoes, egg, bacon, spinach, and avocado
DINNER: Deconstructed sheet pan dinner: Roasted veggies, roasted shrimp and roasted potatoes
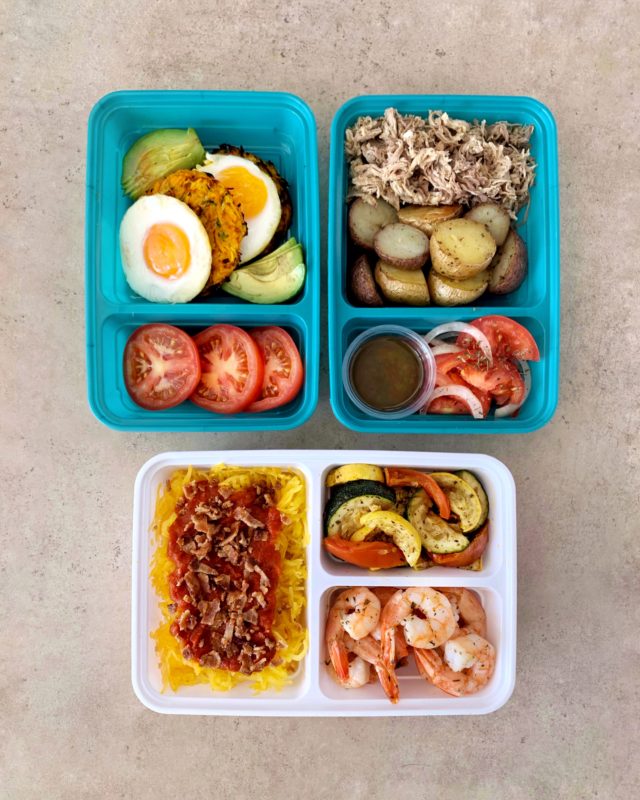
BREAKFAST: Zucchini sweet potato hash brown patties with eggs, avocado, and tomatoes
LUNCH: Shredded pork, roasted potatoes, tomato, and onion salad and greek vinaigrette
DINNER: Spaghetti squash topped with marinara sauce and bacon served with roasted shrimp and roasted veggies on the side
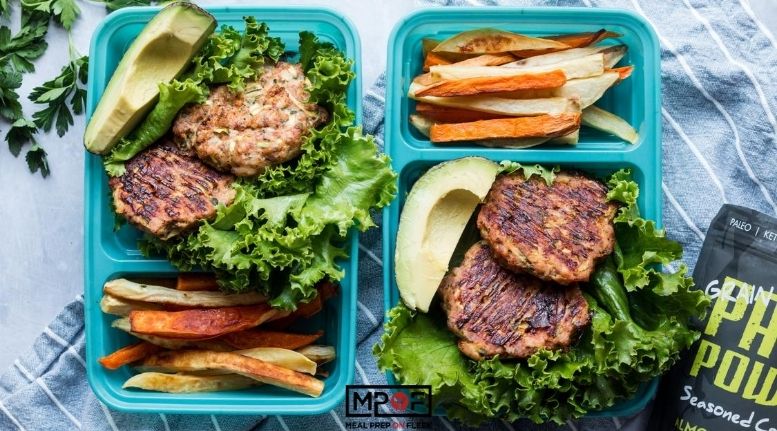
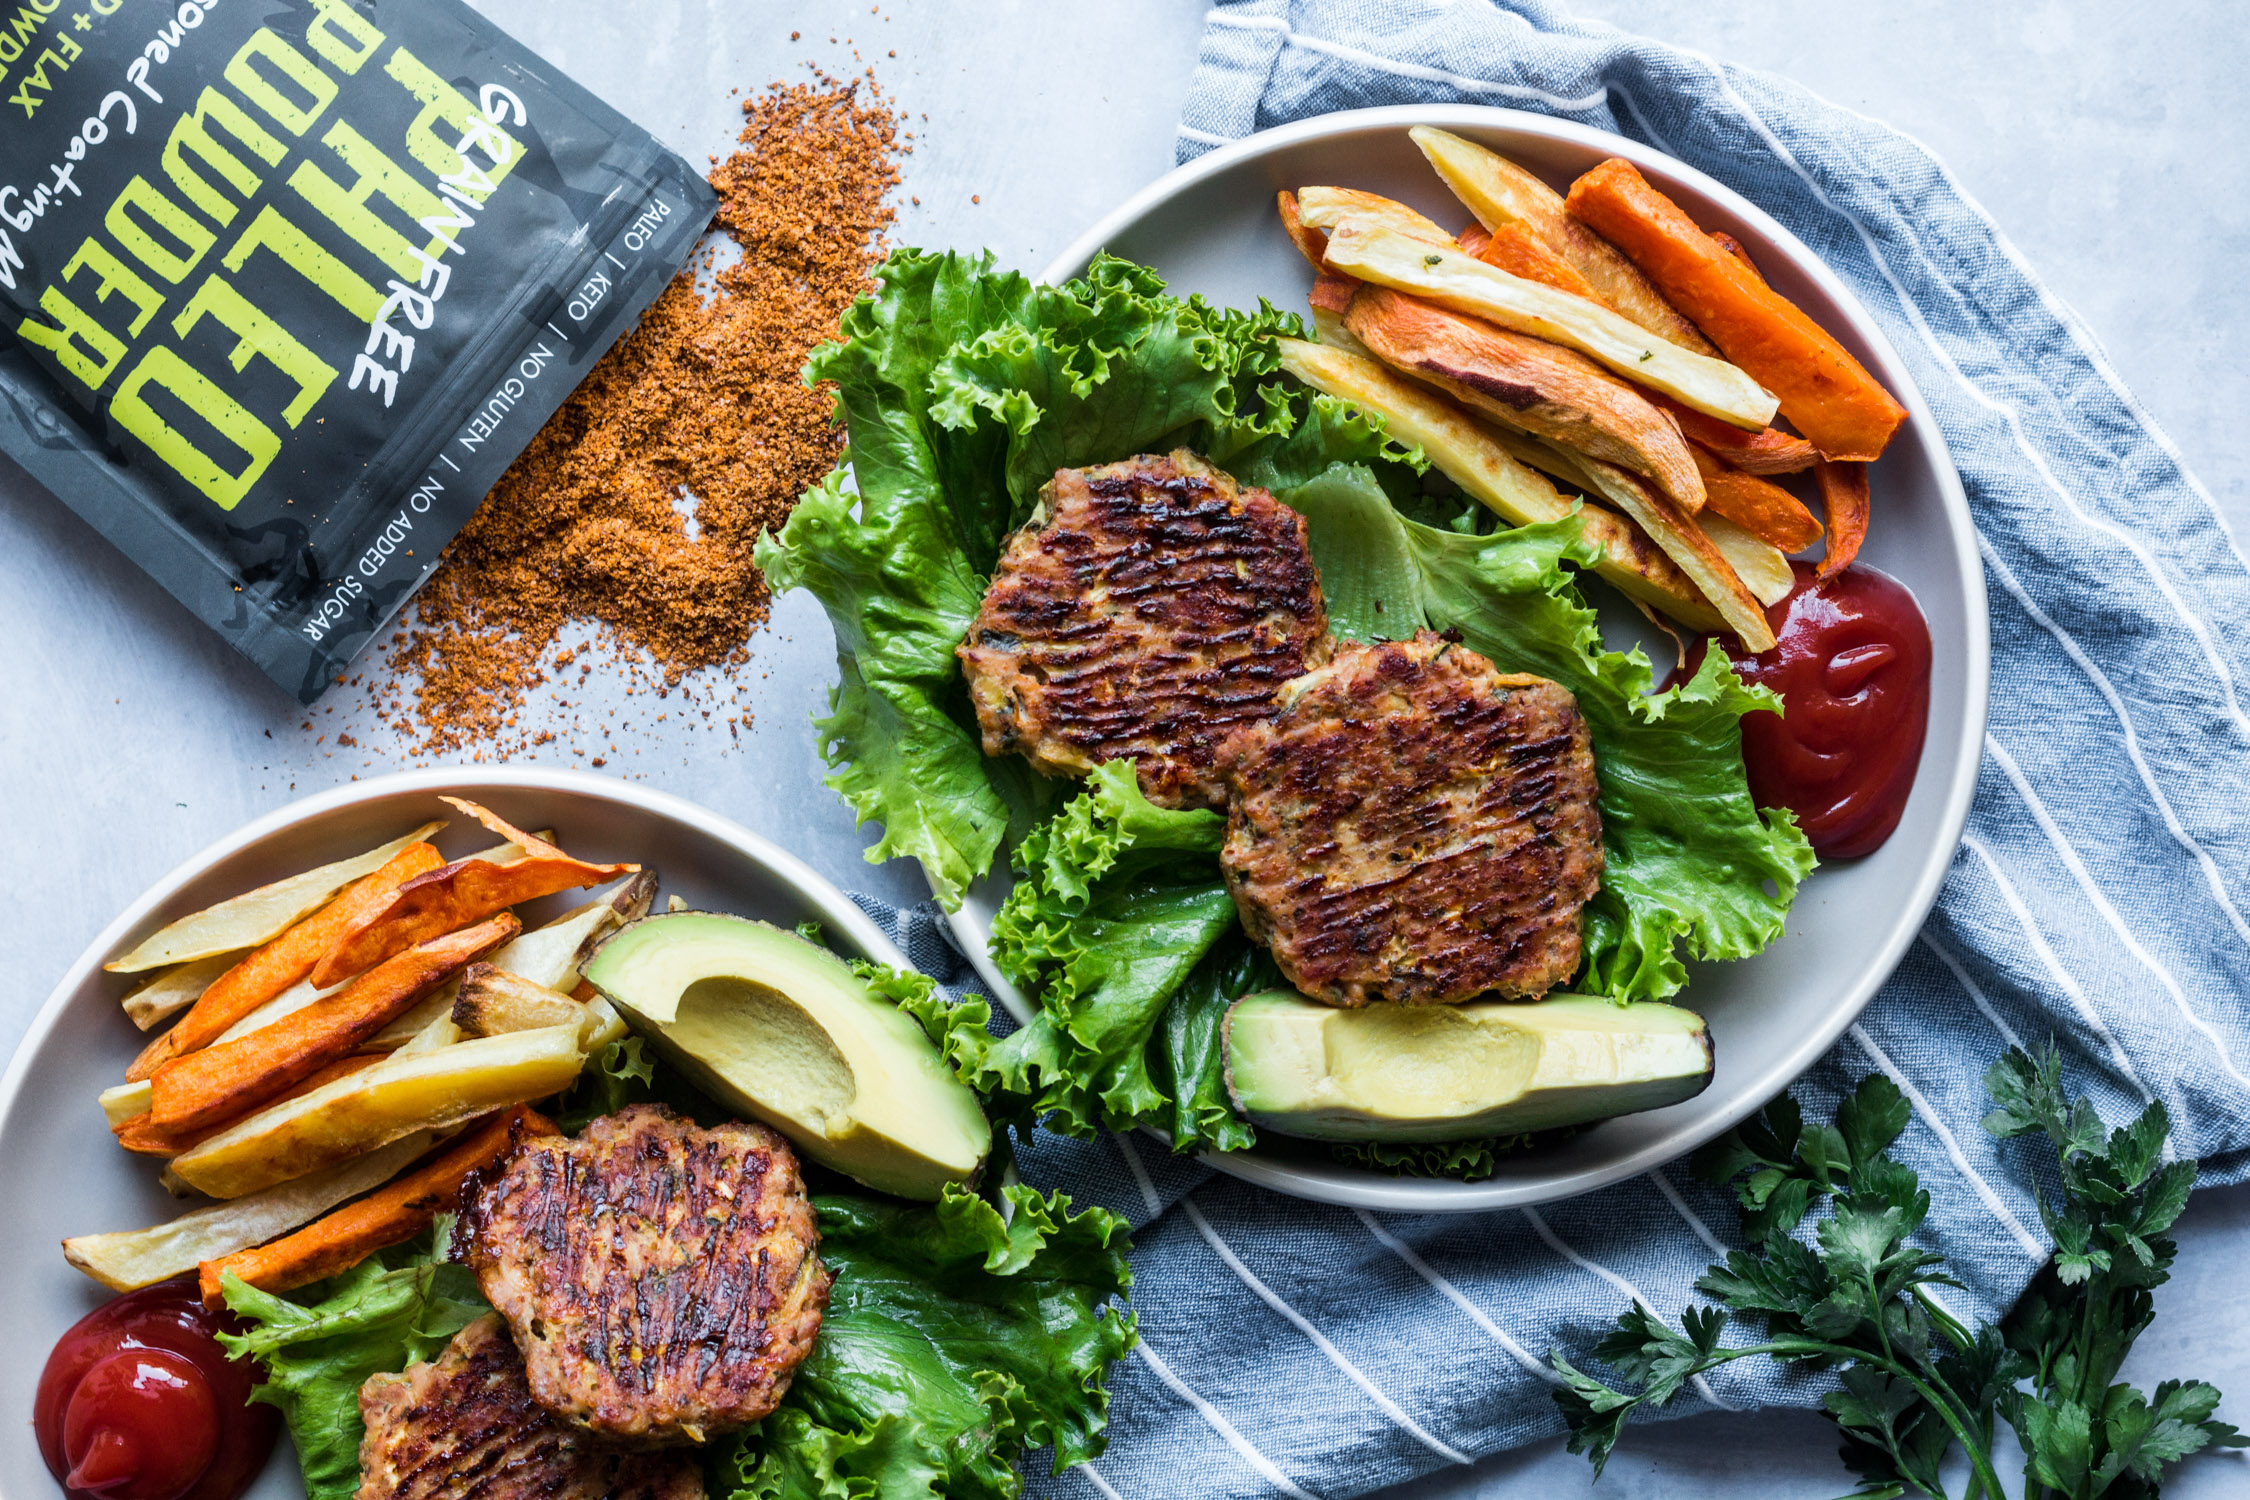
Yummy-yum! Check out or Chicken Zucchini Burgers paleo meal prep recipe! Doesn't this meal look so delicious? And, you cannot tell that these are chicken zucchini burgers because they look like beef burgers. Your friends, family, and coworkers will be surprised as you devour these burgers in front of them. We combine ground chicken thighs, Paleo powder, and grated zucchini to make the burgers. The protein-packed goodness is paired with sweet potato fries and topped with ketchup, mustard, and lettuce to give you all of the burger-joint feels without the beef, fat, and cost. Our Chicken Zucchini Burgers are perfect for lunch or dinner and are ready to heat & eat in our Goodcook Meal Prep containers.
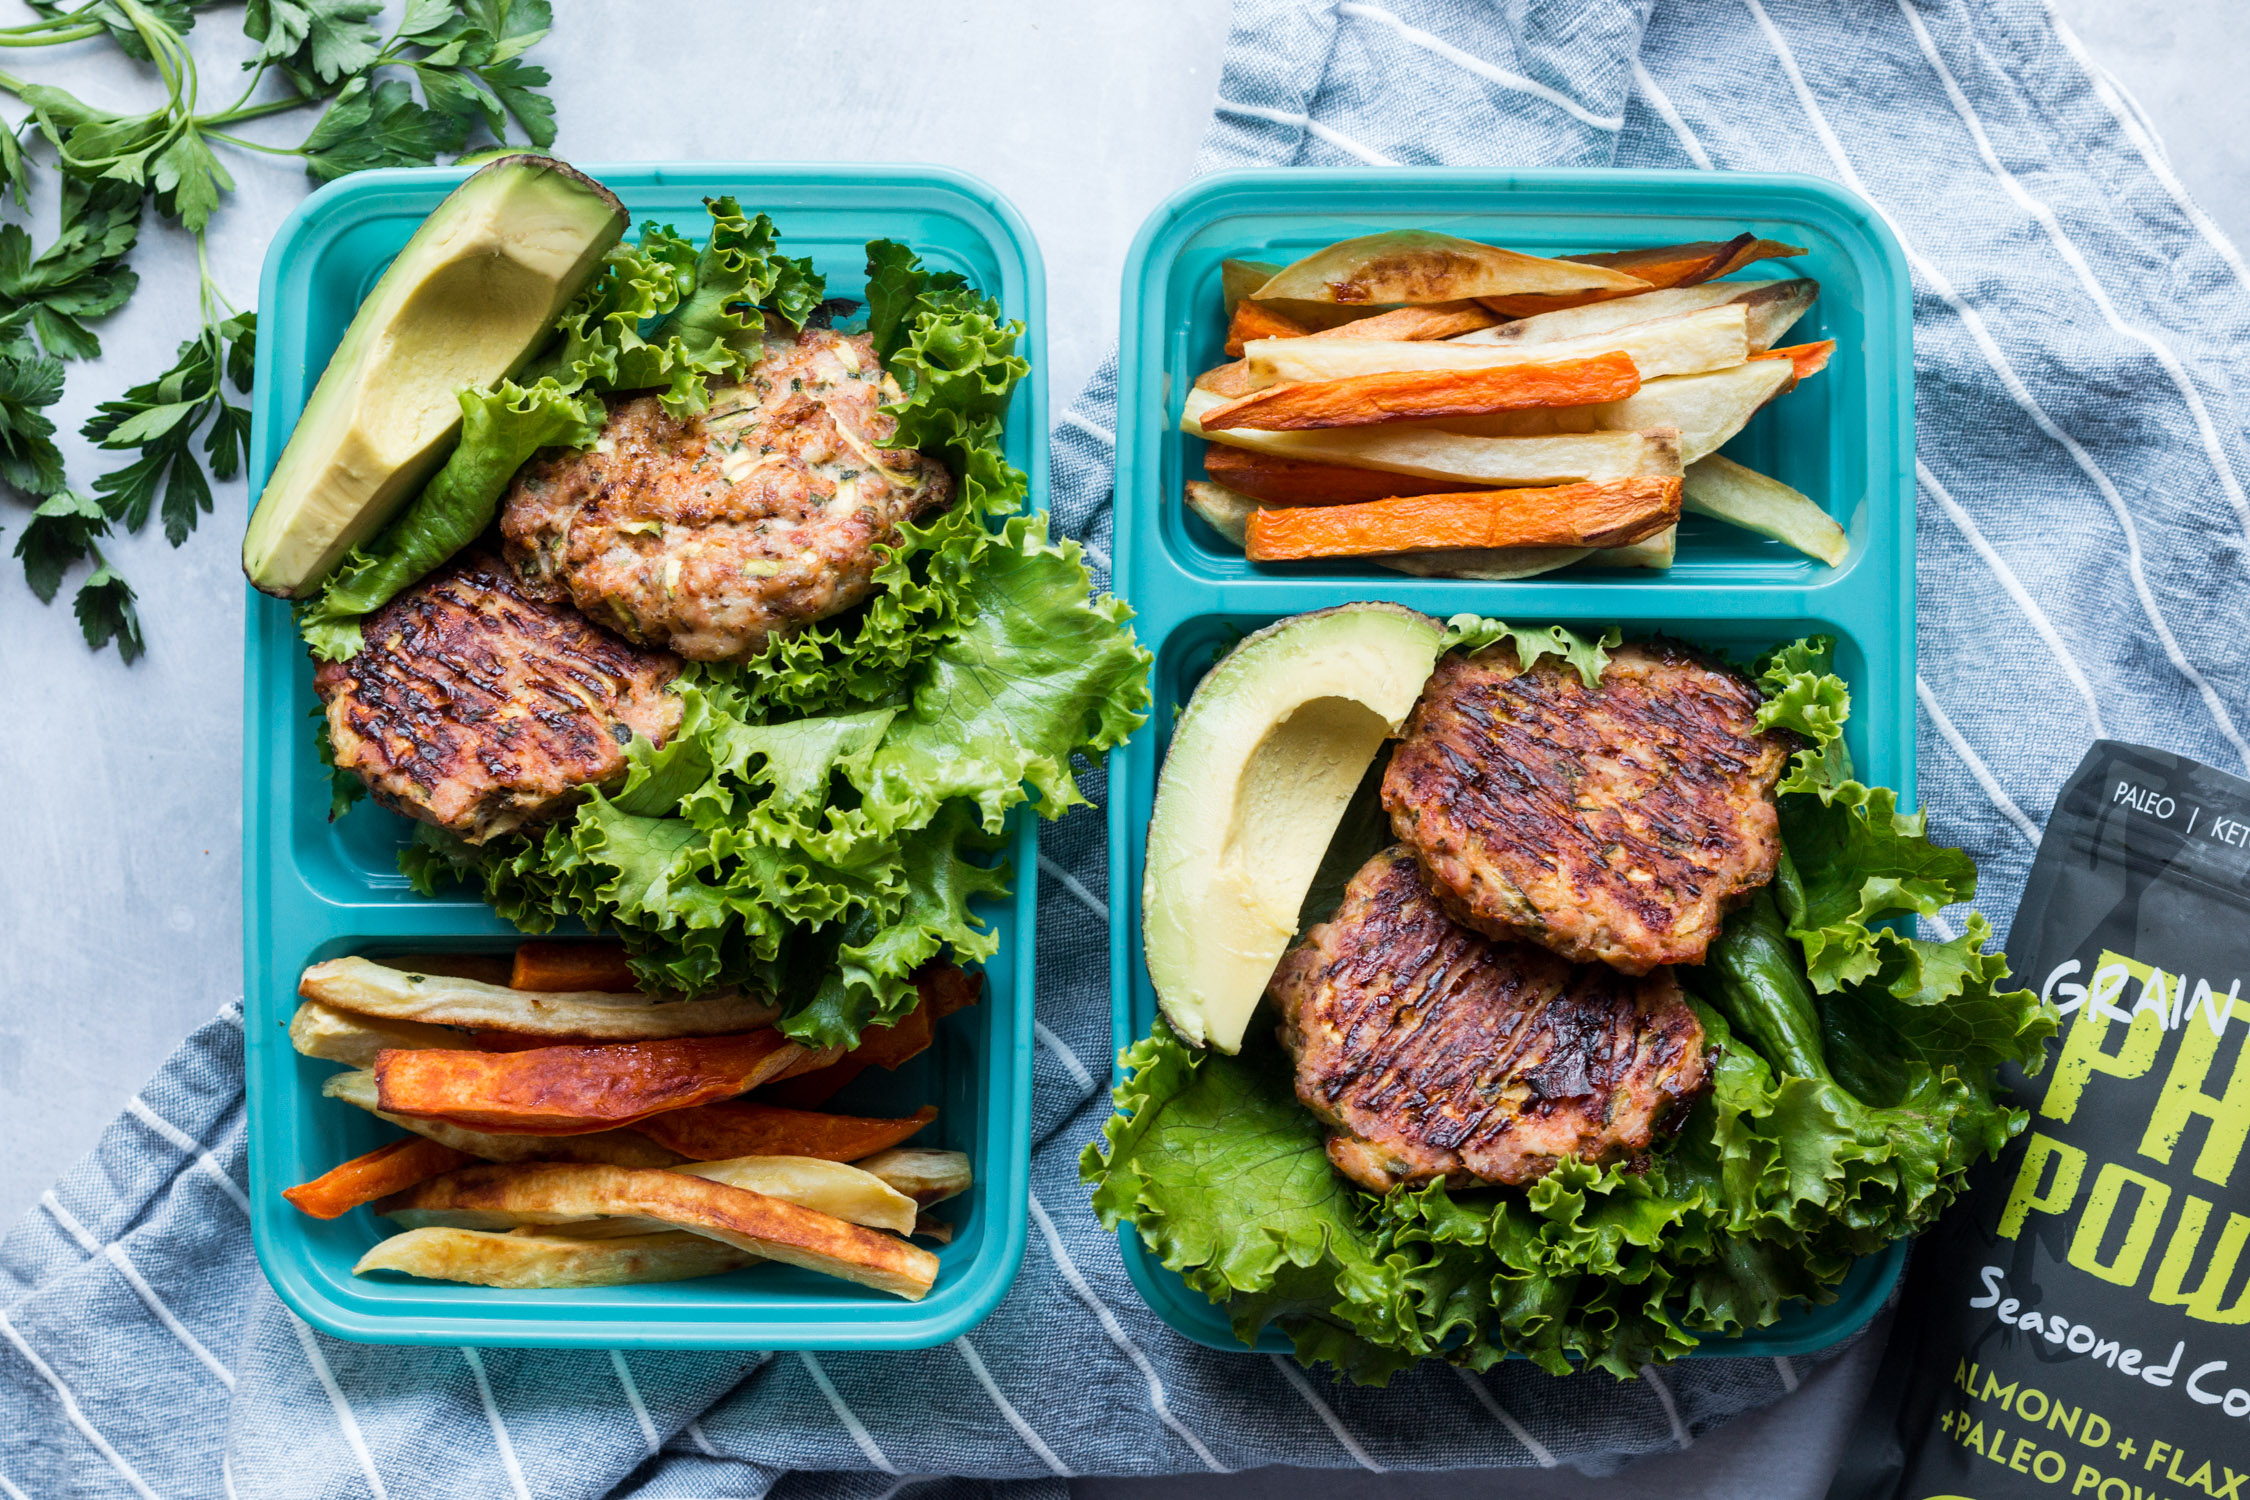
Ground chicken makes a great alternative for these paleo and whol30 compliant Chicken Zucchini Burgers. High protein. Gluten Free.
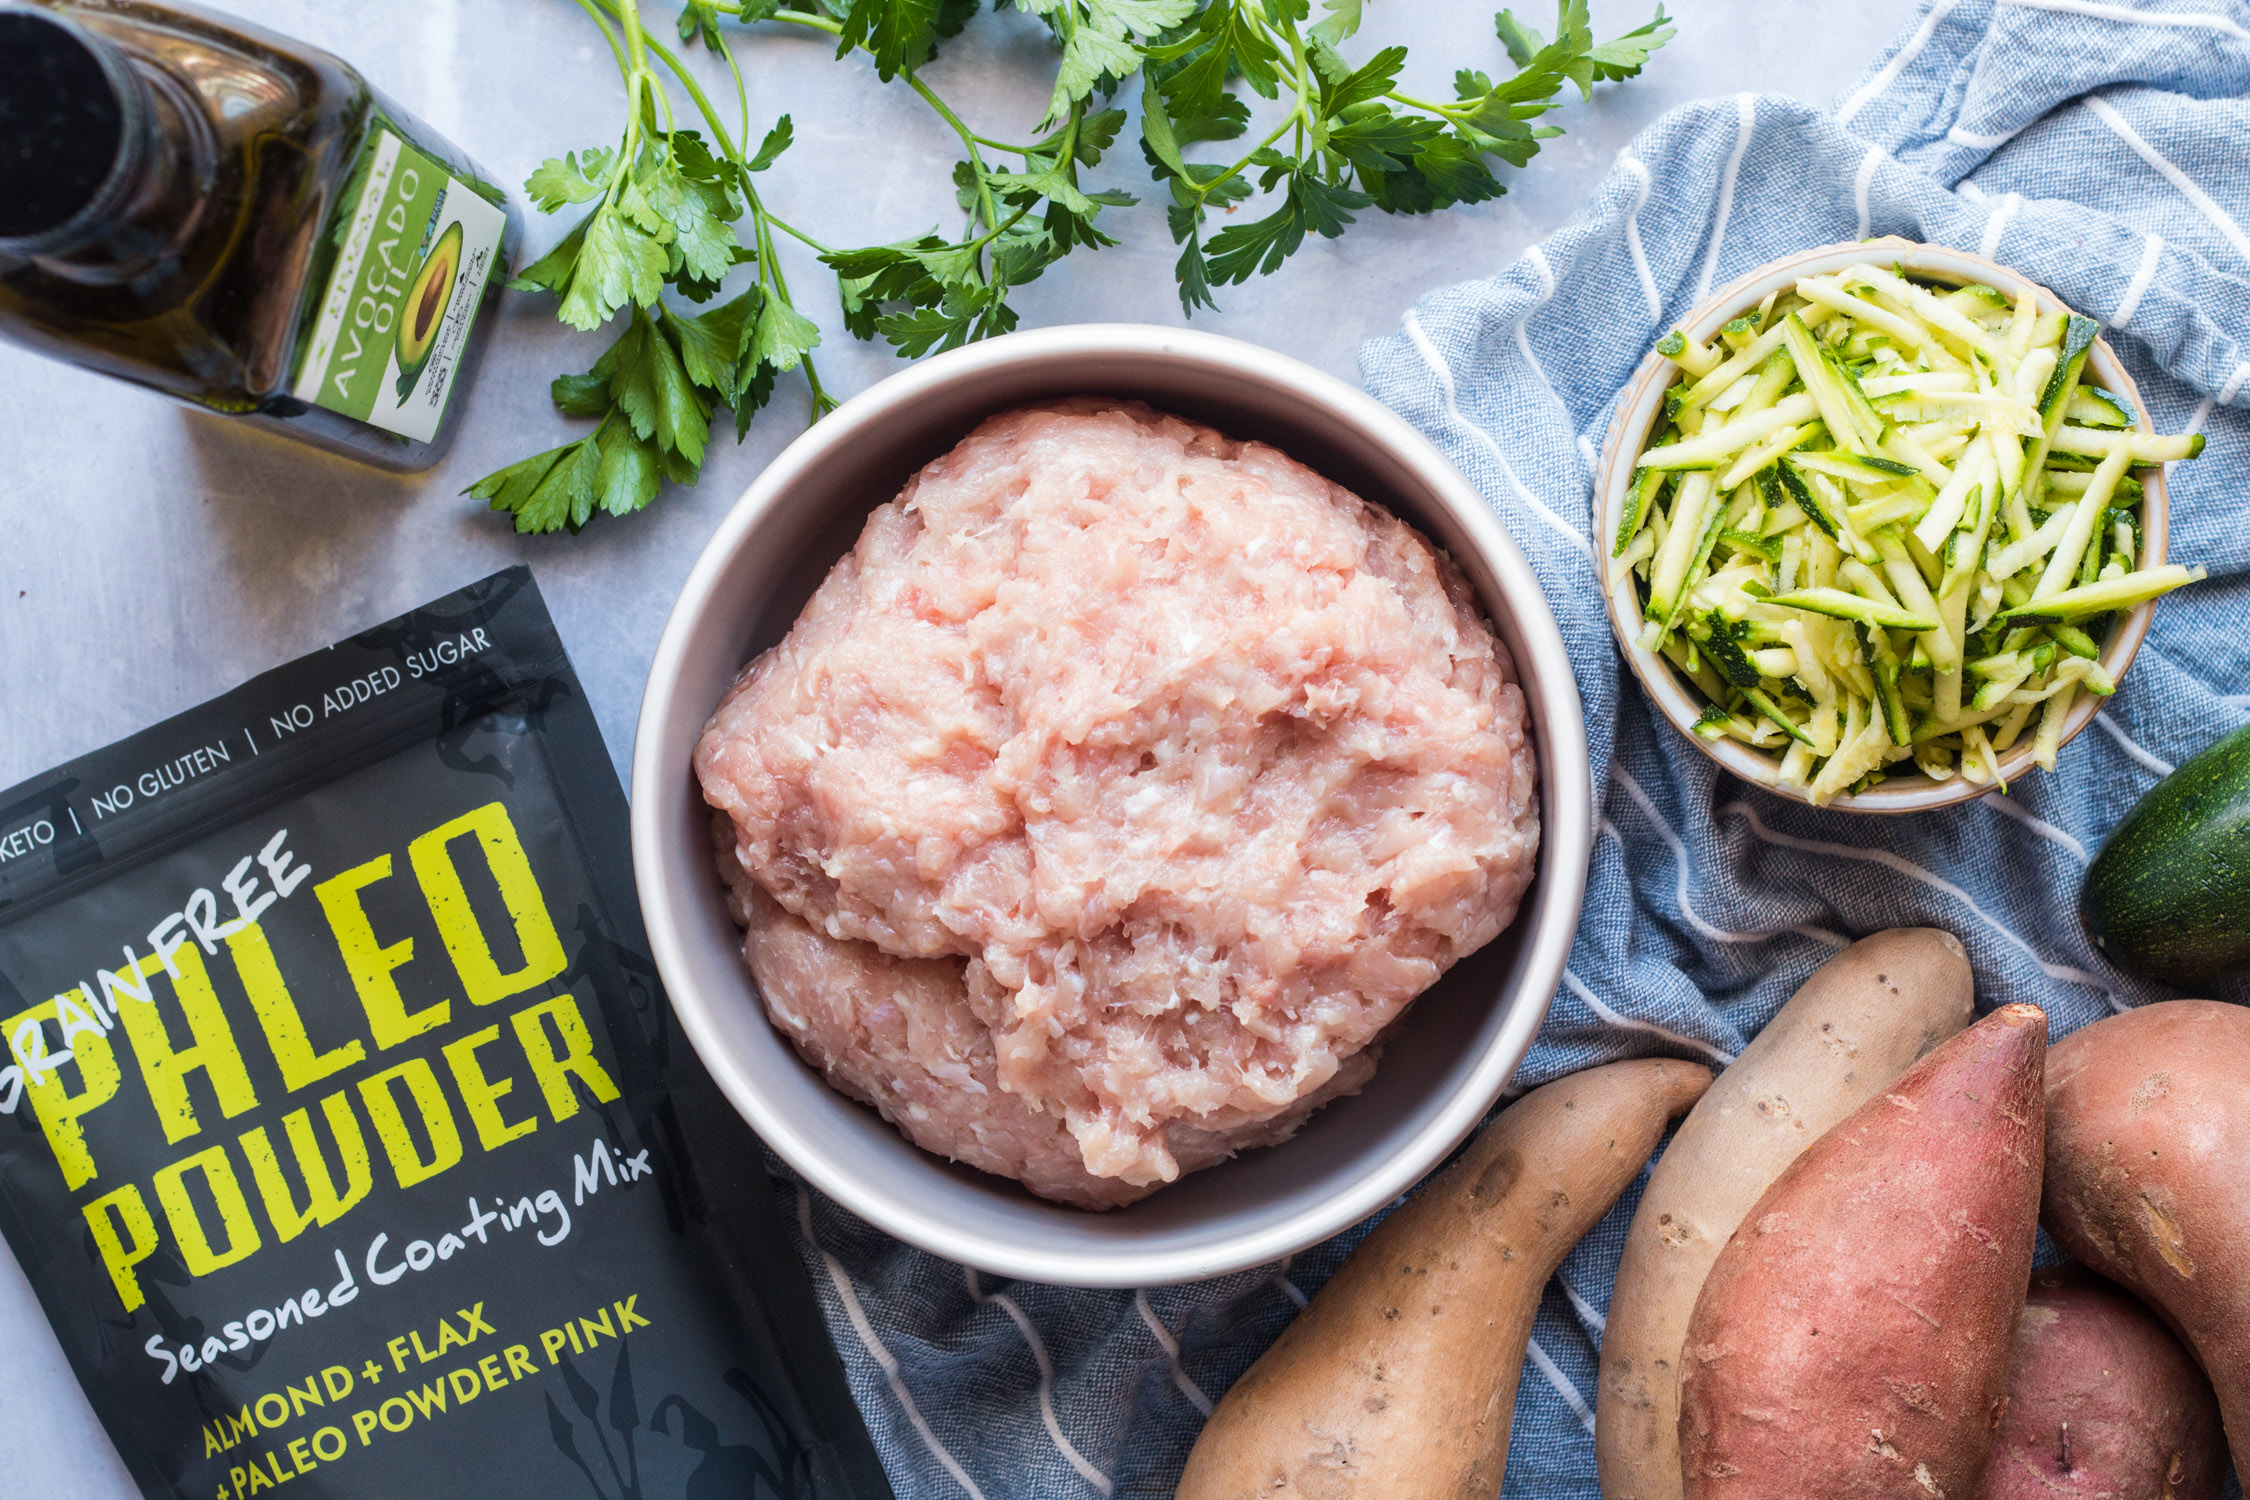
The chicken zucchini burgers will last up to 4 days when properly stored in the refrigerator. Proper storage means putting your burgers in a ziplock bag or storing them in an airtight container after they cool. The sweet potato fries can last up to 5 days in the refrigerator.
Yes! Chicken zucchini burgers freeze well and stay fresh in the freezer for up to 3 months. Feel free to cook up a batch of burgers and prep some sweet potato fries to freeze for later meals. Save time and money!
For being such an amazing meal, Chicken Zucchini Burgers and sweet potato fries are a cinch to make. Both parts of the meal are baked in the oven on a sheet pan, but not the same one because the burgers cook longer than the fries and go into the oven first. This Paleo meal prep recipe is ready in less than 1 hour.
As mentioned, start with the burgers. Prep the ground chicken and zucchini, then combine with the Paleo Powder Coating in a mixing bowl. Place the burgers on a parchment paper-lined sheet pan and bake in the oven at 375 degrees for 25 minutes. While the burgers cook, cut the sweet potatoes up into fries and coat with olive oil and salt. Bake the fries in the oven for about 15 minutes, flipping and then browning them. All that's left after is cool and store!
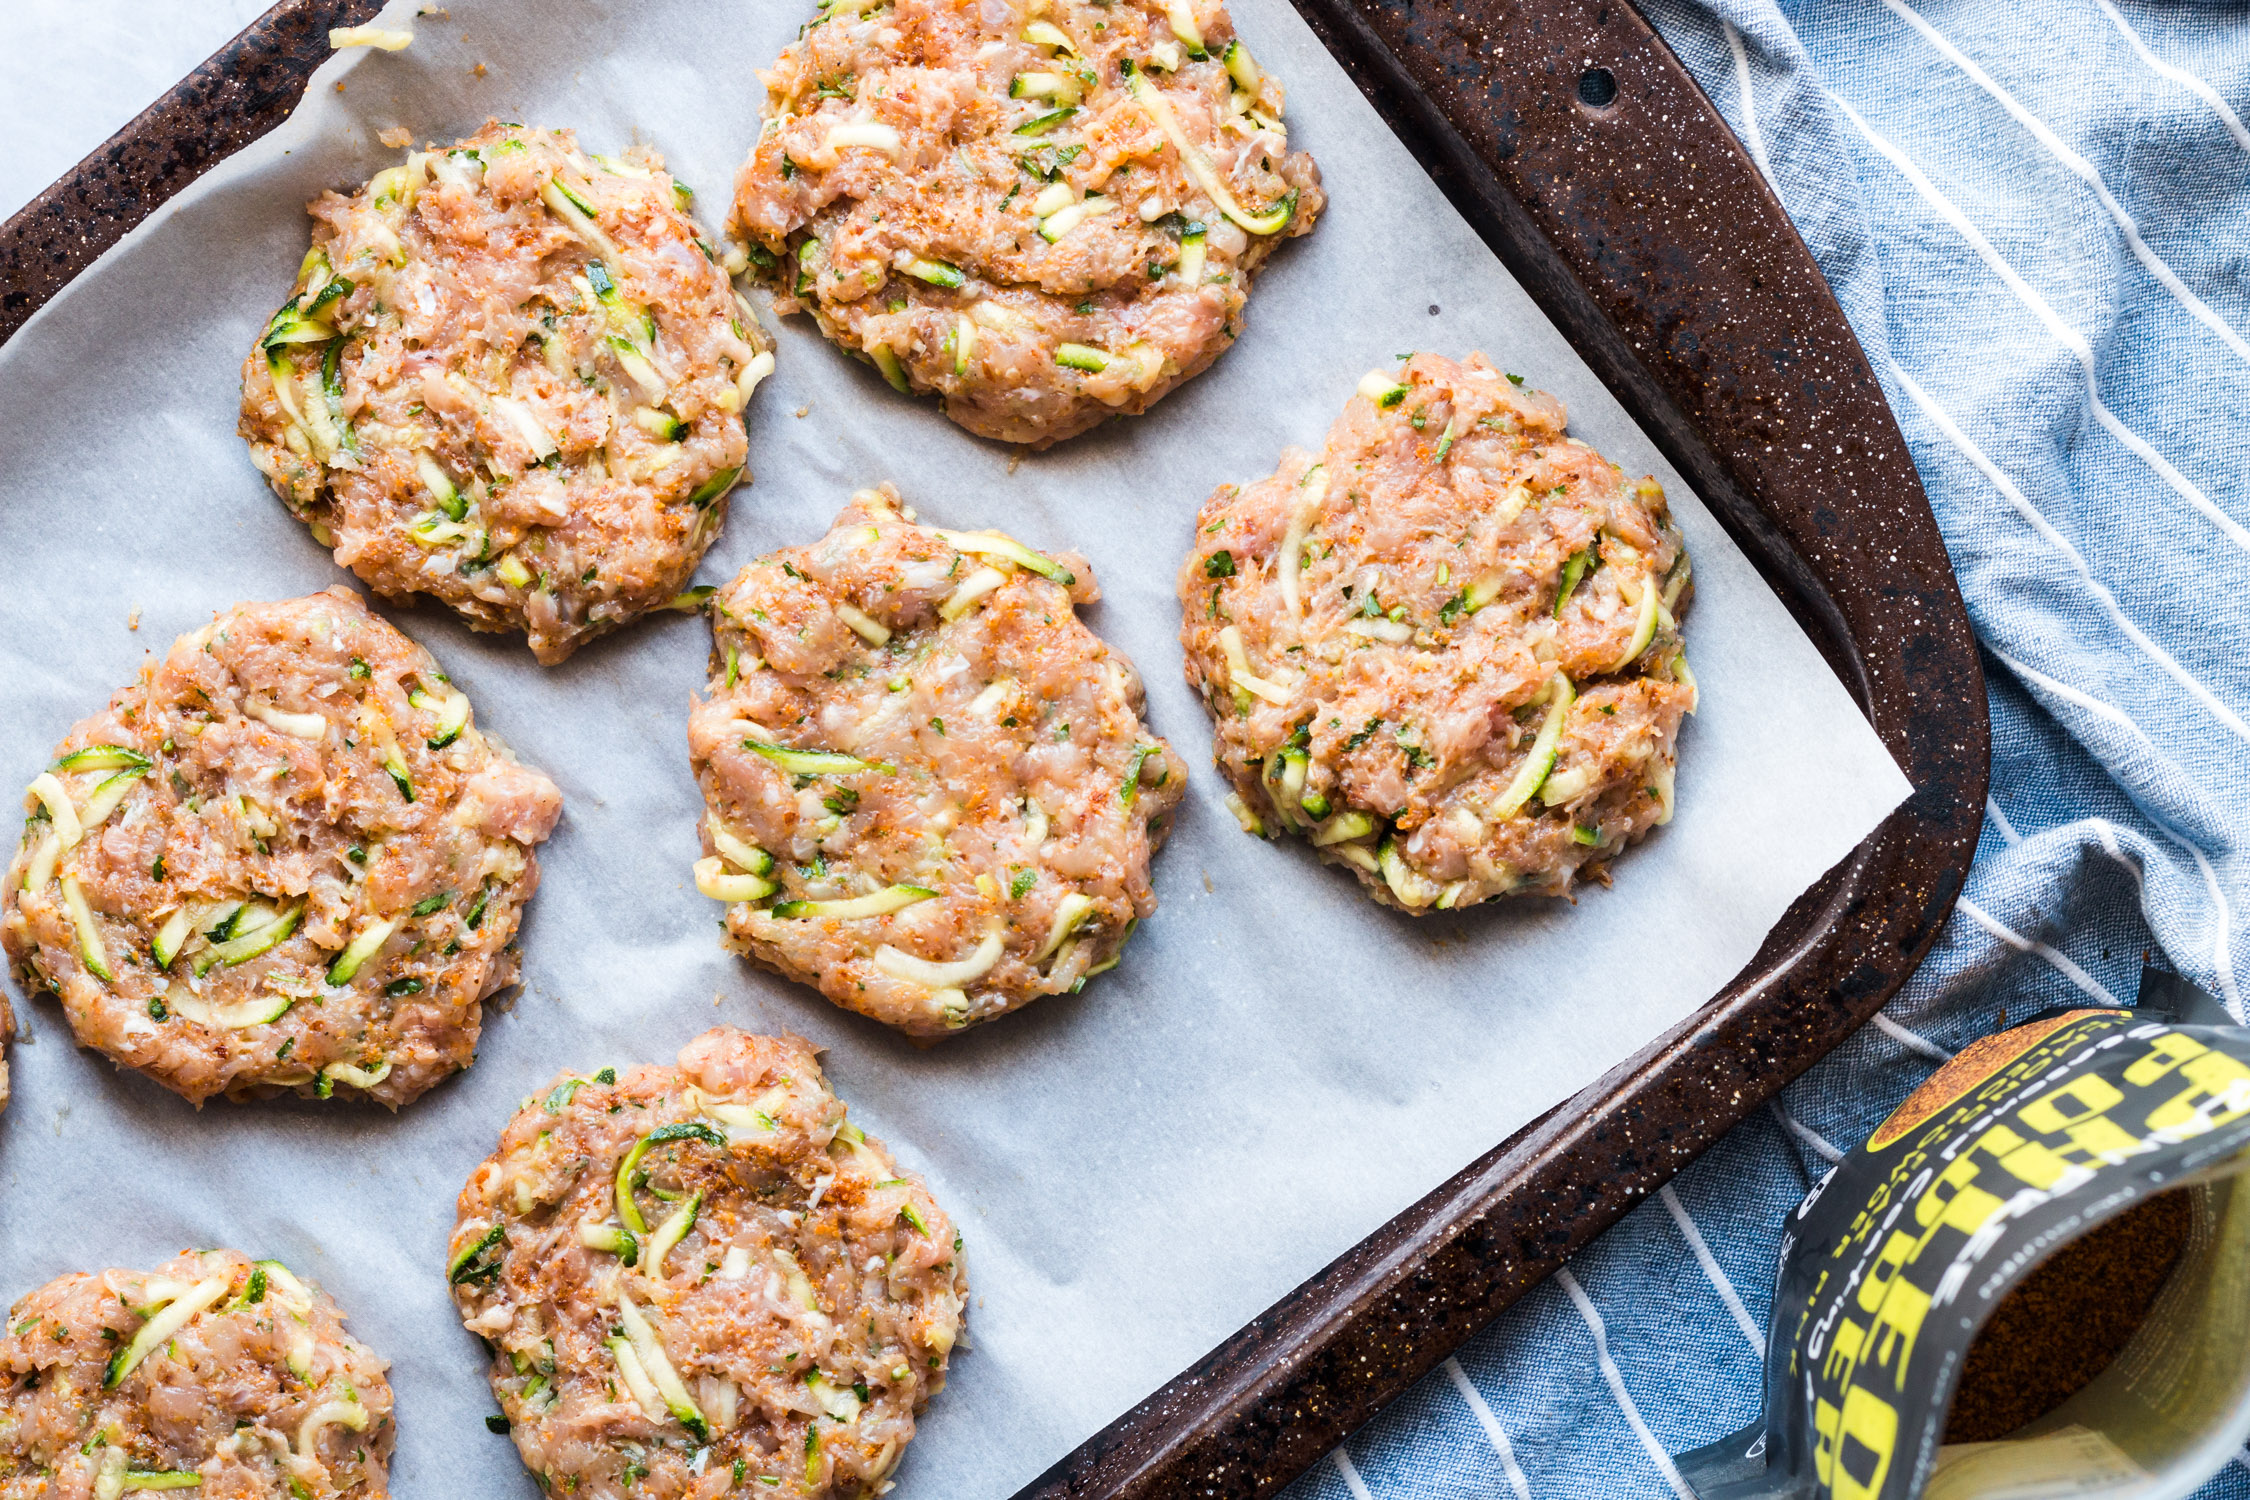
Store your chicken zucchini burger meal in our Goodcook Meal Prep containers, placing the burgers on top of lettuce to wrap and the fries in the other compartment. Don't forget to pack your ketchup and mustard in dipping sauce cups!
Are burgers your thing? Try these other variations!
Sweet Potato & Black Bean Veggie Burger Meal Prep
Jalapeno Sliders With Sweet Potato Bun Meal Prep
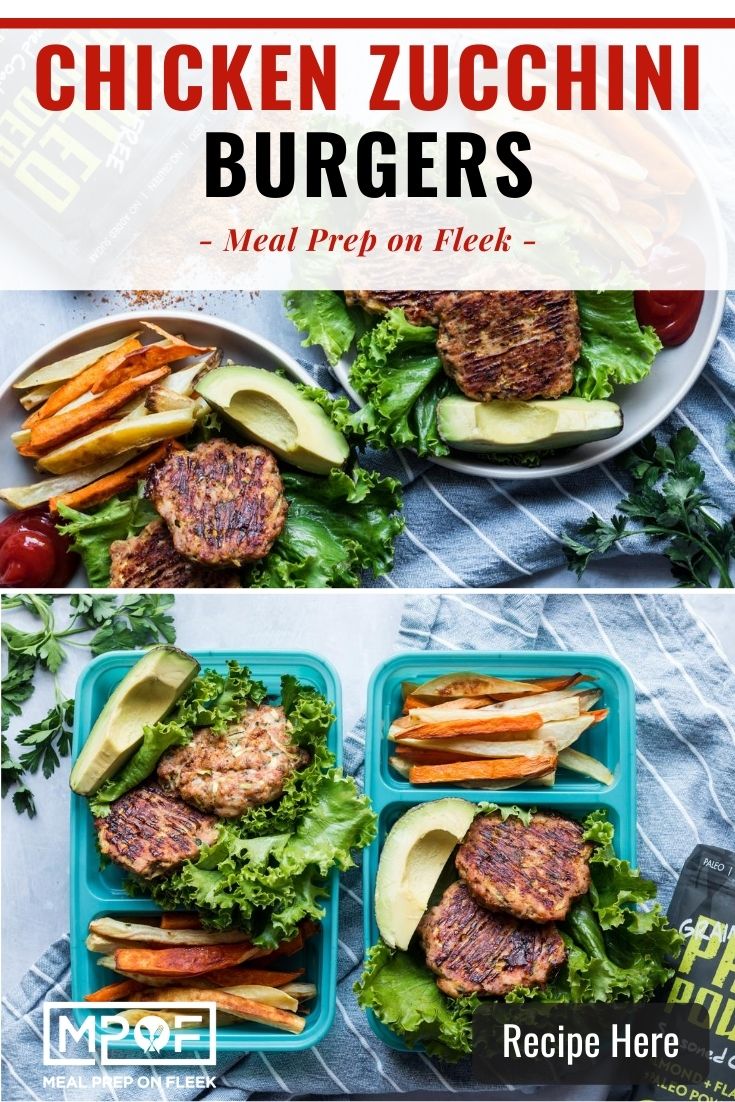
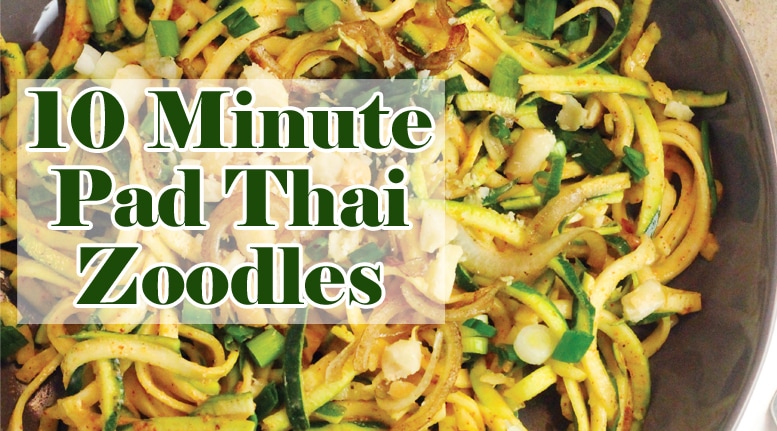
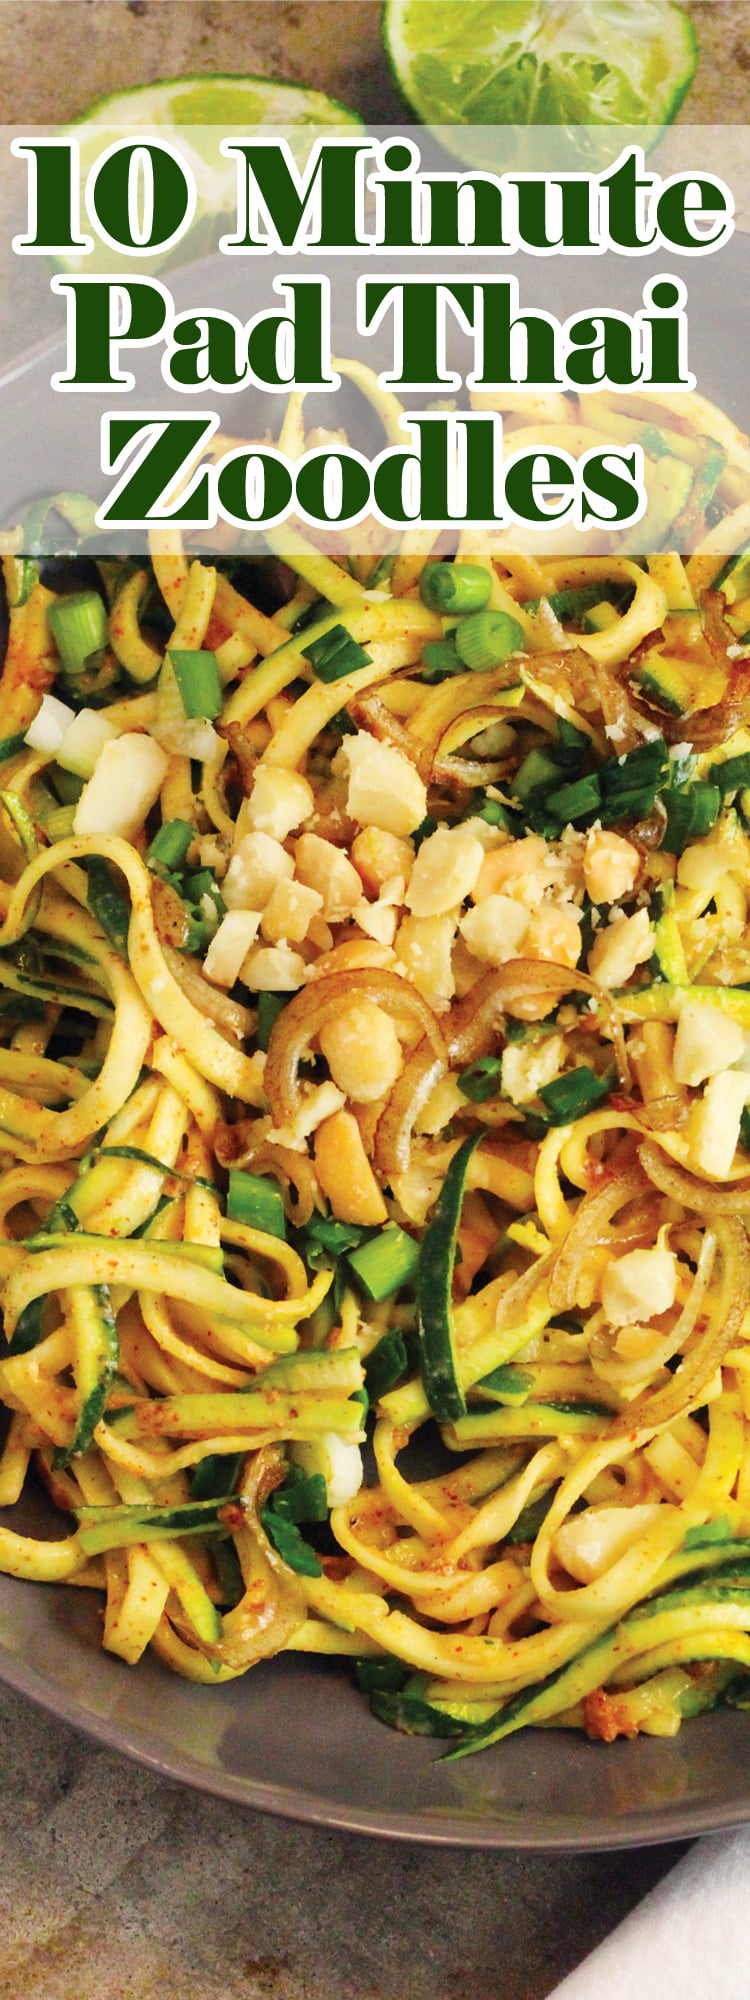
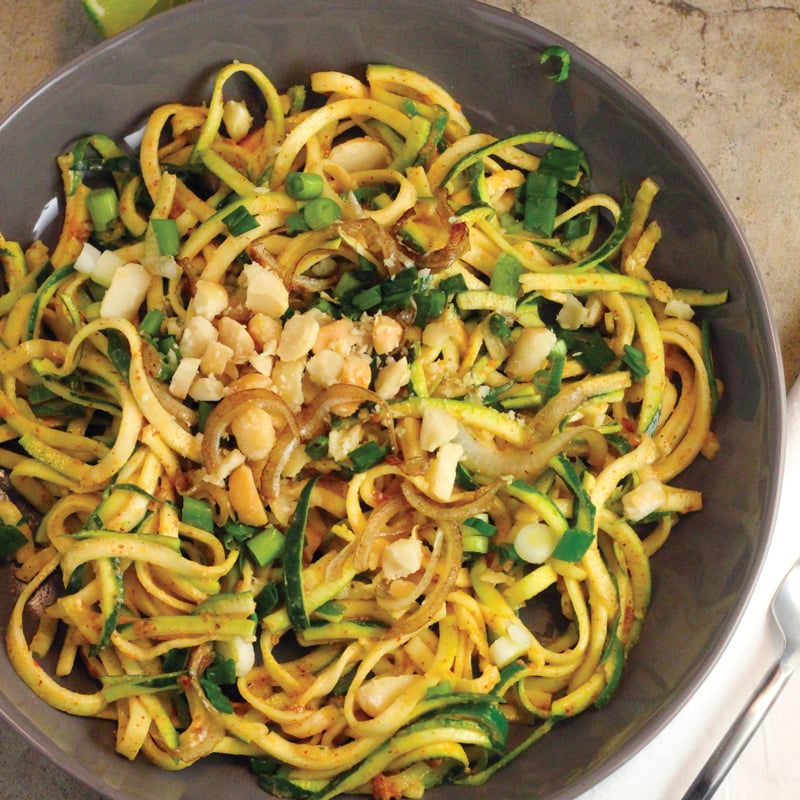
Satisfy your takeout craving in less than 10 minutes with this 10-Minute Pad Thai Zoodles recipe using spiralized zucchinis as noodles. The sauce is made with creamy almond butter and coconut aminos, which complement the sautéed zoodles perfectly. You can add an additional egg, or even some chicken or salmon for extra protein.
This recipe is Vegan and Dairy Free
Ingredients:
75 ml water
3 tablespoons (45 ml) creamy unsweetened almond butter
1 tablespoon (15 ml) coconut aminos
1 teaspoon (5 ml) chili sauce or hot sauce
2 tablespoons (30 ml) coconut sugar
1 garlic clove, minced
½ lime, juiced
2 tablespoons (30 ml) Avocado Oil
1 egg,* whisked (optional)
½ sweet onion, chopped
3 tablespoons (45 ml) chopped nuts (of your choice)
3 tablespoons (45 ml) scallions, chopped
2 medium zucchinis, spiralized
This recipe is from Mark Sisson's new book The Keto Reset Diet: Reboot Your Metabolism in 21 Days and Burn Fat Forever
Learn how to make perhaps the most profound health and weight loss boosting lifestyle change you will ever make—transforming your body from carbohydrate dependency to become a fat burning beast. In his new book, Mark Sisson reveals his proven effective ketogenic eating strategy for losing weight and improving health. When you go keto, you will reset your metabolism for effortless fat loss using a targeted ketogenic diet of high-fat, low-to-moderate protein, low-carb foods, and complementary lifestyle practices that help optimize metabolic and hormonal functions. 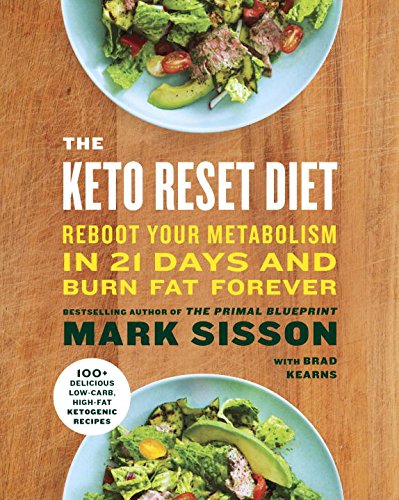
Unlike other ketogenic plans, Sisson first teaches readers the real secret to rapid and sustained weight loss, which is in becoming "fat-adapted" before entering full nutritional ketosis. This process allows your body to learn to burn fat more efficiently, resulting in increased and sustained weight loss over the long-term. It takes as little as 21-days to reprogram your metabolism to burn fat for fuel, by ditching processed grains, sugars, and refined vegetable oils in favor of nutrient-dense, high fat, primal/paleo foods--and you'll see immediate results. Next, you’ll fine-tune with Intermittent Fasting and then foray into full ketogenic eating for a further weight loss boost and improved health. In this way, you will achieve the highest level of what Sisson calls metabolic flexibility—the key to health, weight control, and longevity.
With The Keto Reset Diet, you can eat to total satisfaction by enjoying rich, high-satiety foods, and even weather occasional slip-ups with high carb treats or undisciplined vacation binges and not go into a tailspin. Instead, you can quickly recalibrate back to fat-adaptation, and use keto as a lifelong tool to stay trim, healthy, energetic, and free from the disastrous health conditions caused by the high carb, high insulin producing modern diet. With step-by-step guidance, daily meal plans and a recipe section with over 100 delicious keto-friendly recipes, this is the definitive guide to help the keto-beginner or the experienced health enthusiast understand the what, why, and how to succeed with ketogenic eating.
[ezcol_1half][/ezcol_1half]
[ezcol_1half_end][/ezcol_1half_end]
Pin these Keto Pad Thai Zoodles for later or you could bookmark this page:
As you may have already guessed the keto diet is high in fats and low on carbohydrates. Carbohydrate-rich foods are broken down into glucose. Insulin must be produced to process the glucose so it can be transported around the body. This action results in the fats consumed are stored as opposed to being used to provide energy instead of carbs. However, by lowering the intake of carbs, the body is induced into a state known as ketosis.
Click Here for More Keto Meal Prep Ideas
Thank you to GoodCook for sponsoring this 3 Easy Grain Bowl Meal Prep Recipes post, and thank YOU for supporting the brands that help make Meal Prep On Fleek possible. All opinions are our own.

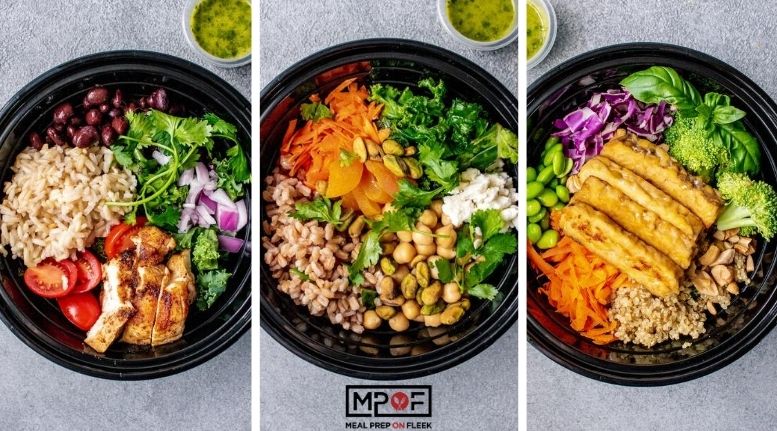
Grain bowls are a delicious and nutritious way to make lunch or dinner easy and loaded with flavor! Flavors such as Thai Crunch, Chipotle Brown Rice, and Moroccan Farro will keep your tastebuds happy! No boring meal prep recipes around here!
What is more fun and affordable than mixing and matching ingredients to create a fresh and delicious meal for every day of the week? We can't think of many recipes besides these 3 easy grain bowl meal prep recipes!
You might be wondering, "what exactly is a grain bowl?" and that is a great question! To be honest, you have probably made a grain bowl, or two, over time. They are simply a grain such as brown rice, quinoa, farro, jasmine rice, millet, barley, etc. tossed into a bowl with other veggies and finished off with dressing. They are simple, affordable, and absolutely delicious!
The flavor combinations are endless! Take the three that we went with today: Thai Crunch Quinoa, Chipotle Brown Rice, Moroccan Farro. All three packed a chewy texture from the grains, a fiber punch from the veggies, and tons of flavor from the homemade dressings. Yes, that's right! We went with homemade dressings to make them even more affordable and keep the ingredients wholesome. But, if you're looking for a time-saver, then feel free to grab your favorite dressing at the store.
Of course, a grain bowl isn't really a grain bowl unless it's.....served in a bowl. 😉 That's why we were so excited to see GoodCook launch their new salad meal prep containers that are bowl-shaped! Not only are they the perfect shape and size for these three grain bowl recipes, but they also come with a mini dressing container on top to ensure that your main ingredients don't get soggy between Sunday meal prep and when you enjoy them during the week. How fun is that?! Long gone are the days of soggy salads, grain bowls, and other meal prep dishes!
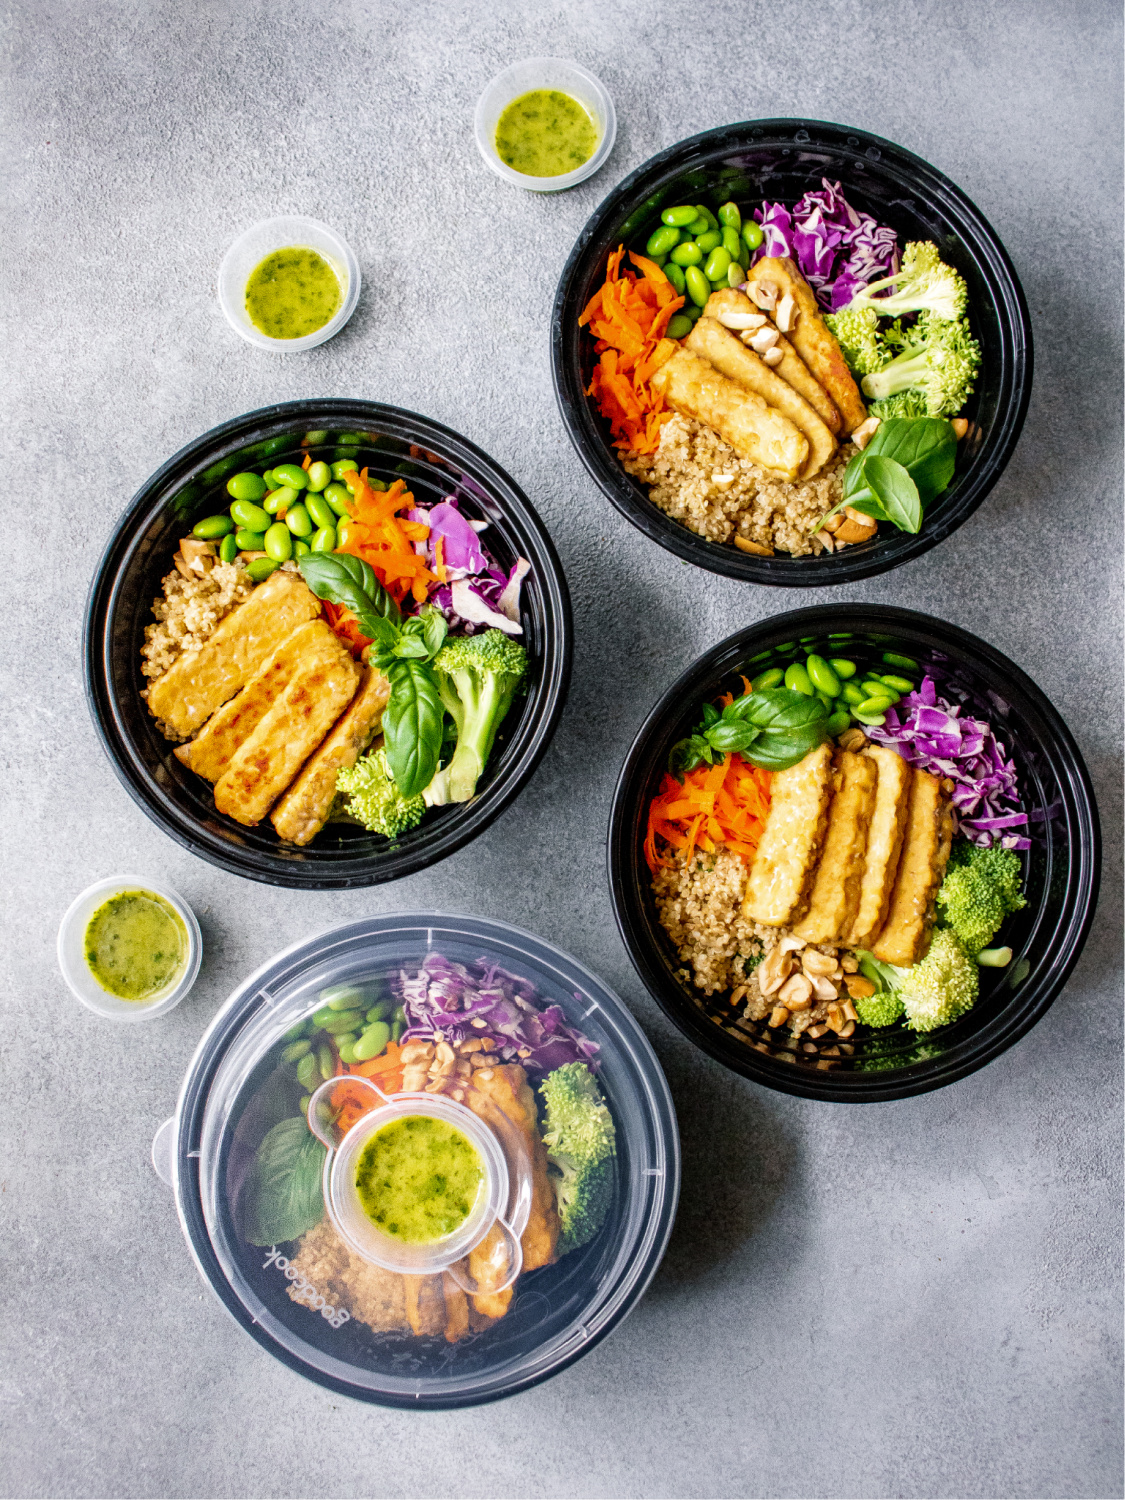
We have even found the dressing container (see that fun little holder in the photo above?) to work great for pasta sauce, salsa, maple syrup, and other dipping sauces. Plus, it's a great holder for shredded cheese, sliced olives, or other salad ingredients.
Let's take a look at these 3 easy grain bowl meal prep recipes that we are currently loving!
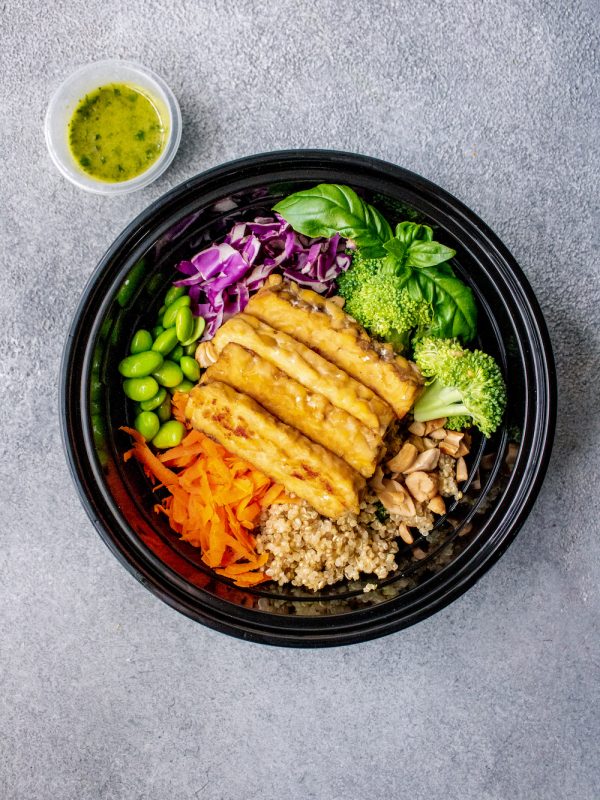
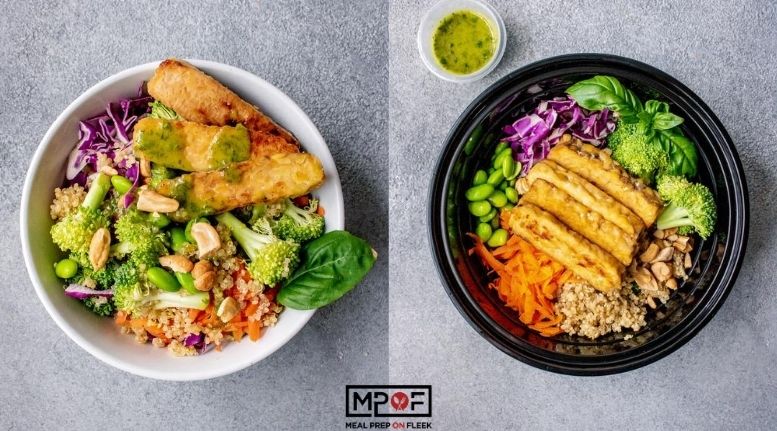
This plant-based quinoa bowl contains all nine essential amino acids for a complete protein-packed meal. Crunchy cruciferous veggies add antioxidants and fiber!
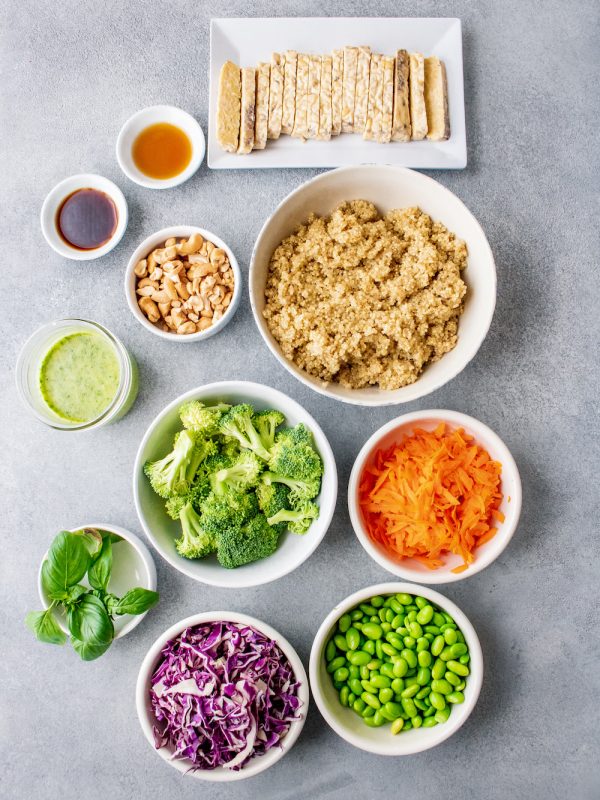
To make this veggie-packed bow you will need:
Cilantro-Basil Dressing
For Tempeh
For Bowl
You can grab the full recipe HERE!
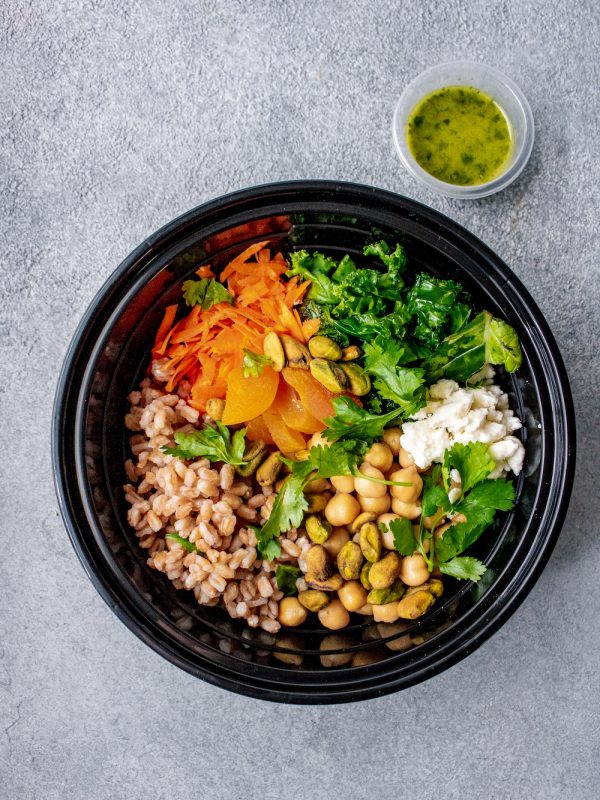
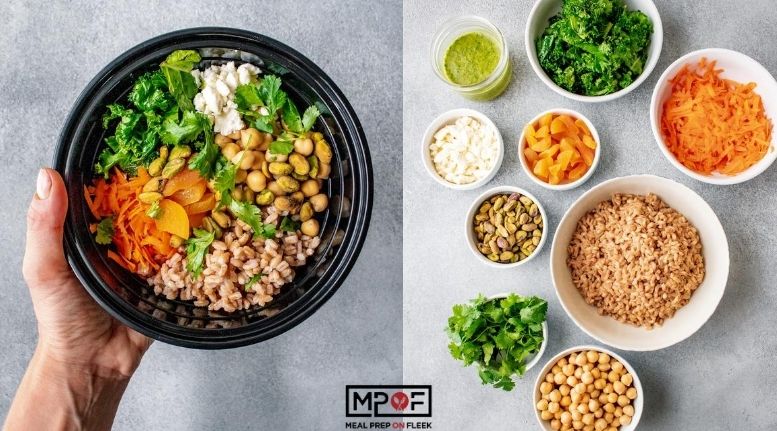
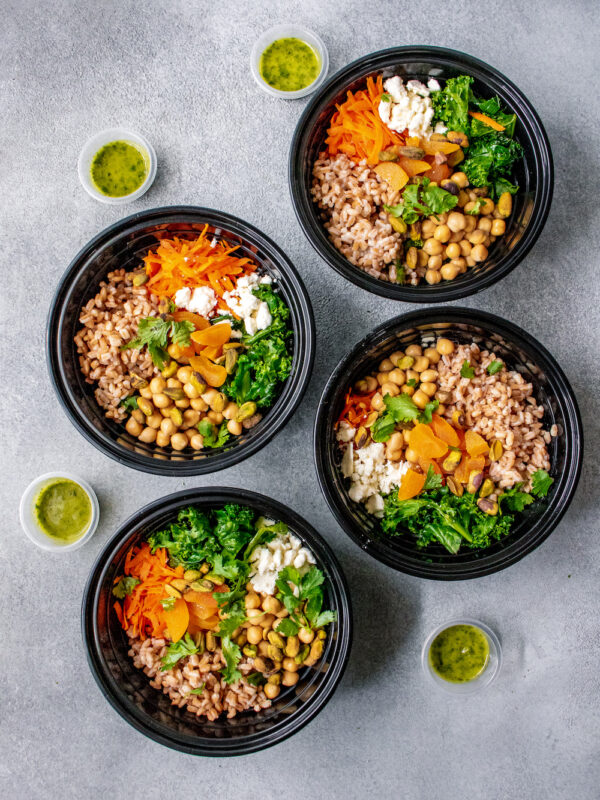
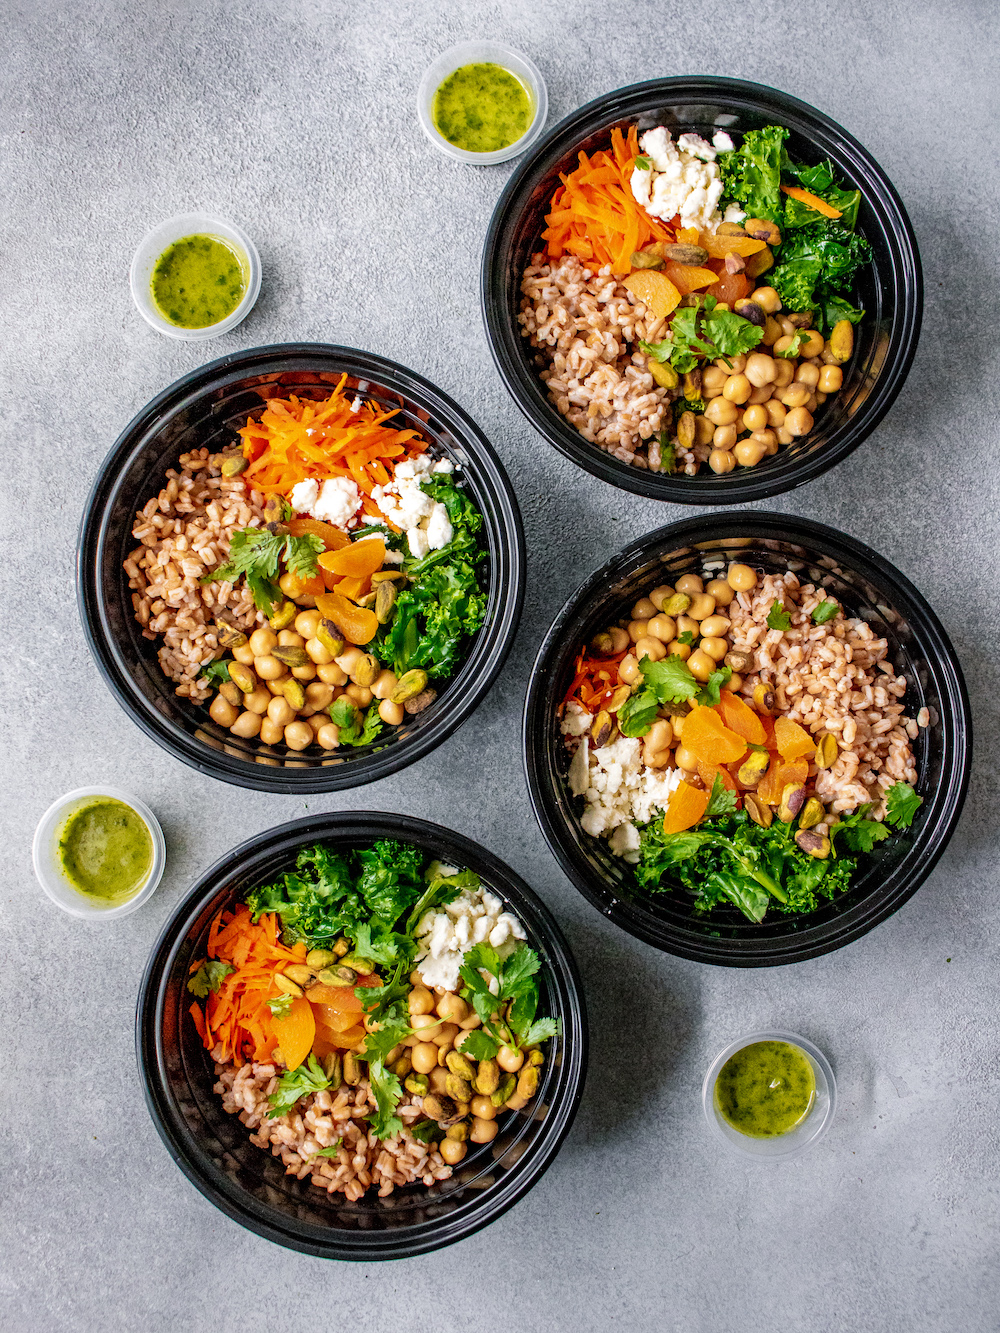
Enjoy exotic flavor in every bite with this Moroccan-style farro grain bowl. Chewy farro, tangy feta cheese, pistachios, and dried apricots mix for a bowl that is anything but boring! This grainy bowl is high in fiber and adds a dose of plant-based protein thanks to chickpeas.

To make this internationally inspired, sweet and savory bowl, you will need:
For Cilantro Basil Dressing
For Kale
For Bowl
Grab the full recipe HERE!
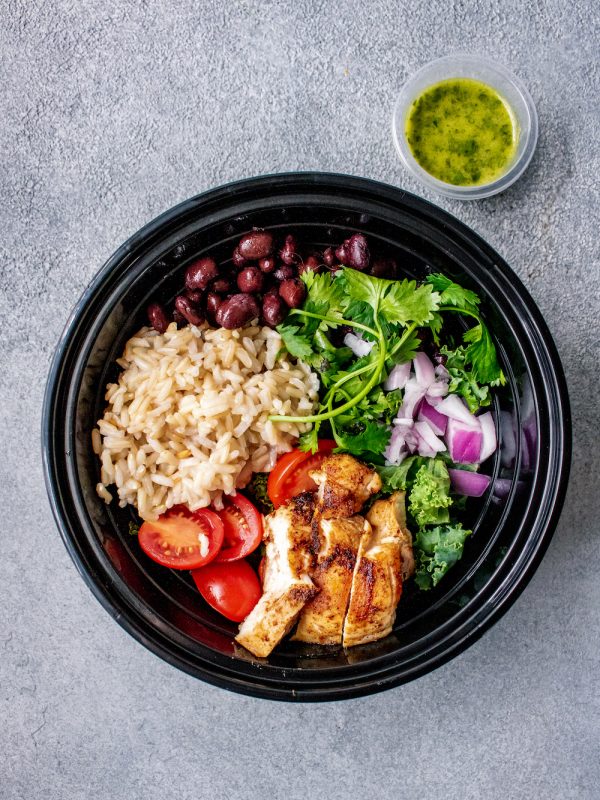
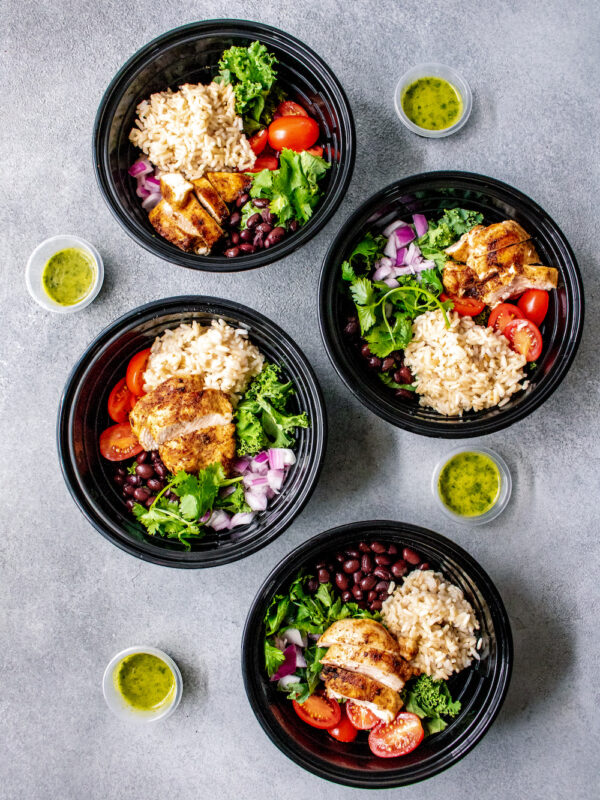
If you're craving the spicy flavor of your favorite Mexican spot, try this chipotle bowl with fiber-rich black beans, brown rice, and smoky grilled chicken.
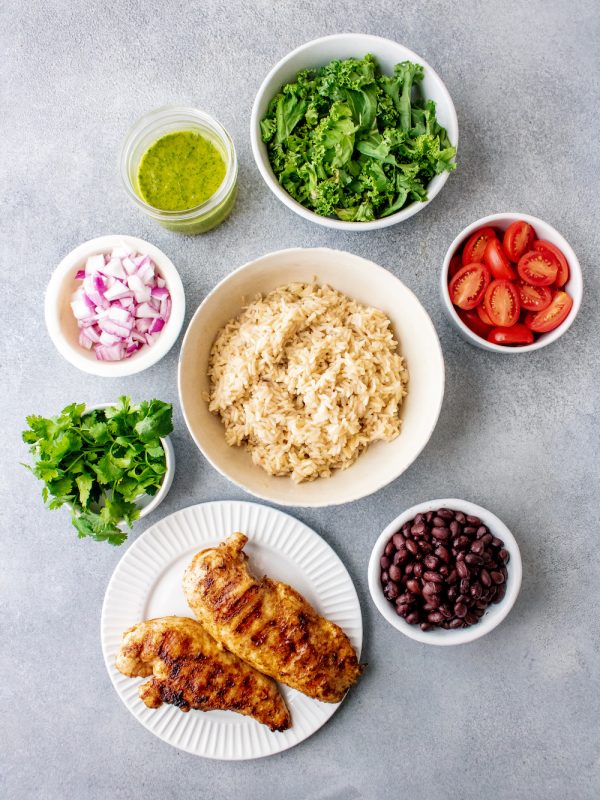
To make this high-protein grain bowl, you will need:
Cilantro-Basil Dressing
For Chicken
For Bowl
Grab the full recipe HERE!
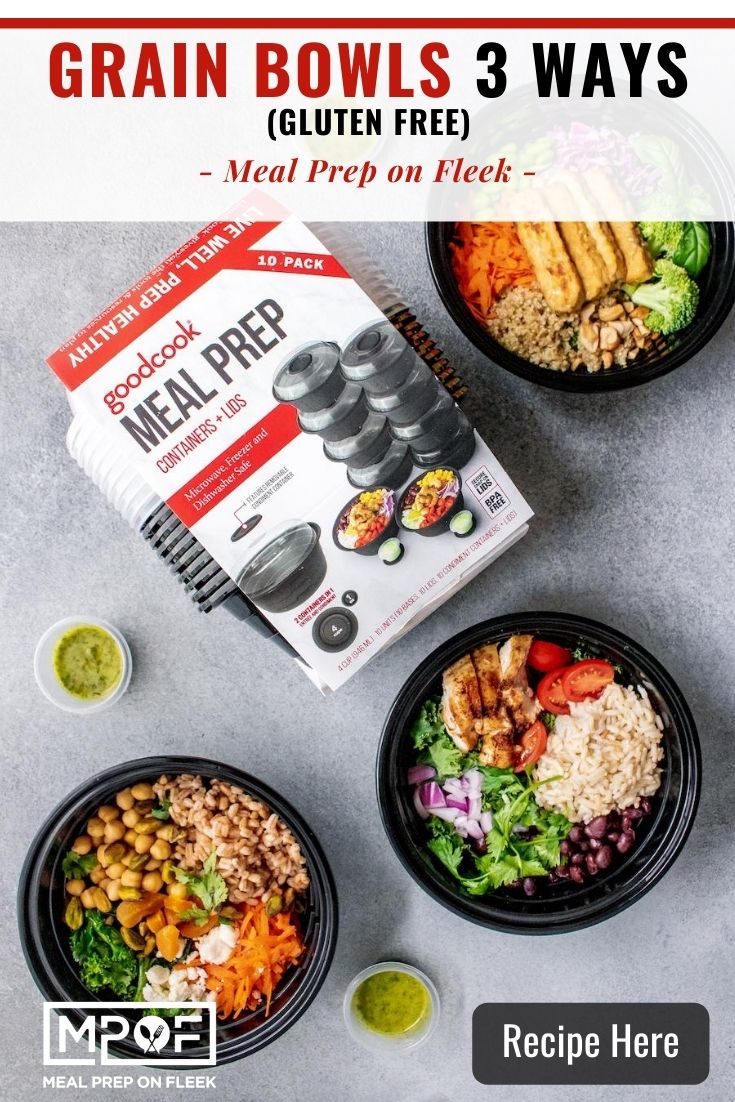
On top of being the perfect fit for these grain bowls, the GoodCook meal prep containers have a domed shaped lid so you can toss your salad/grain bowl and dressings together with ease. They also have cup measurements on them for easy portioning/macro counting, are 4-cups in size, and come in a set of ten!! That is enough bowls for two people for an entire week! Less daily clean-up is always a win in our book!
Enjoy exotic flavor in every bite with this Moroccan-style farro grain bowl. Chewy farro, tangy feta cheese, pistachios, and dried apricots mix for a bowl that is anything but boring! This grainy bowl is high in fiber and adds a dose of plant-based protein thanks to chickpeas.
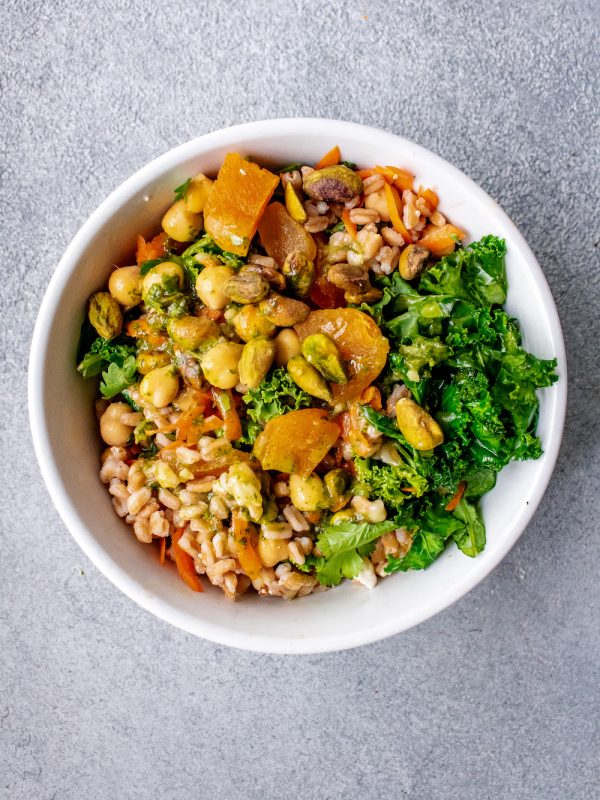
You know those days when you're sitting at work and wishing you were someplace exotic? This Moroccan Farro Grain Bowl is your answer! The warm spices, nutty farro, sweet cranberries, and tangy feta cheese will take your tastebuds to places you normally only dream about!
The cilantro basil dressing ties everything together making it a fast and delicious idea for lunch or dinner! No matter which meal you serve it for, the GoodCook meal prep salad containers are key! They help keep the main bowl ingredients fresh while storing the dressing in the built-in dressing container on the outside of the bowl. This makes all of that hard work on meal prep Sunday taste just as delicious on day four as it does on day one!
For Cilantro Basil Dressing:
For Kale:
For Bowl
Farro grain bowls hold up nicely in your fridge for 4 to 5 days. Cooked farro last for five days, sautéed veggies are good for up to 7, and feta lasts for up to 5 days after opening. Your four Moroccan Farro Grain Bowls should stay fresh in the fridge for closer to 5 days. But, trust us - you don't need the extra day to enjoy this hearty and exquisite farro grain bowl!
You sure can! Be sure to pre-freeze the farro on a baking sheet first, or else end up with one big clump of frozen farro that is harder to use. As for freezing the rest of the bowl and dressing, please note that you can freeze cooked kale, but plan on using it within six weeks. Everything else is so easy to prep that you do not need to freeze or even cook the ingredients. We also recommend making the cilantro dressing fresh.
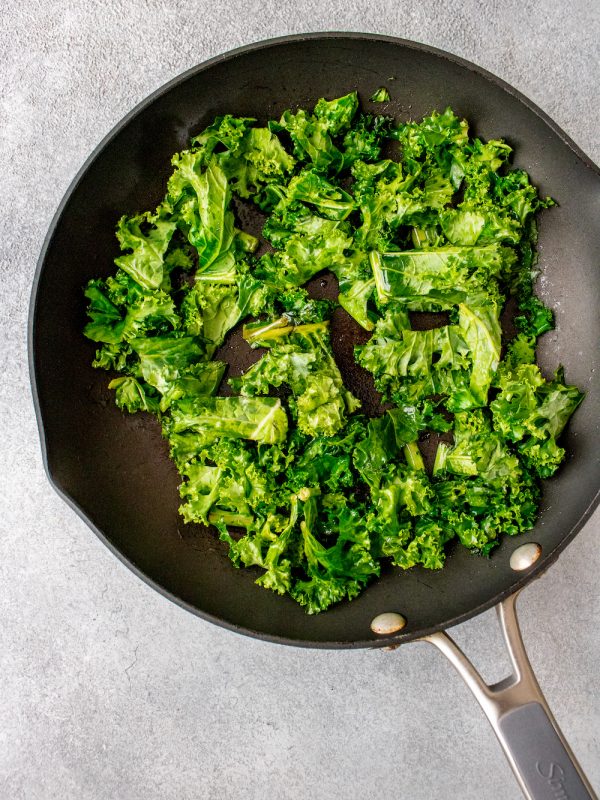
This farro grain bowl looks like a menu item from a quaint, new hipster restaurant, but the farro grain bowl is very simple to make yourself. Here's a quick rundown:
Start with the dressing. Make your cilantro dressing by combining all of the ingredients into a blender or nutribullet. Blend the ingredients until smooth. Sauté the kale over medium heat for 5 minutes. Combine farro, sautéed kale, chickpeas, shredded carrots, apricots, feta cheese, pistachios, and cilantro into a bowl. Super easy, right?
Put all of your ingredients into a Goodcook Meal Prep Bowl, refrigerate, and take one for lunch when you need to!
Chipotle Brown Rice Grain Bowl
Thai Crunch Quinoa Grain Bowl Bowl
*Other bowls you might like:
Vegan Sweet Potato Chipotle Bowl
General Tso's Cauliflower Bowls
Mexican Whole Grain Rice & Quinoa Casserole Meal Prep
Cauliflower Rice Salmon Poke Bowl Meal Prep
Bacon Wrapped Asparagus Breakfast Bowls
Greek Rice & Turkey Meal Prep Bowls
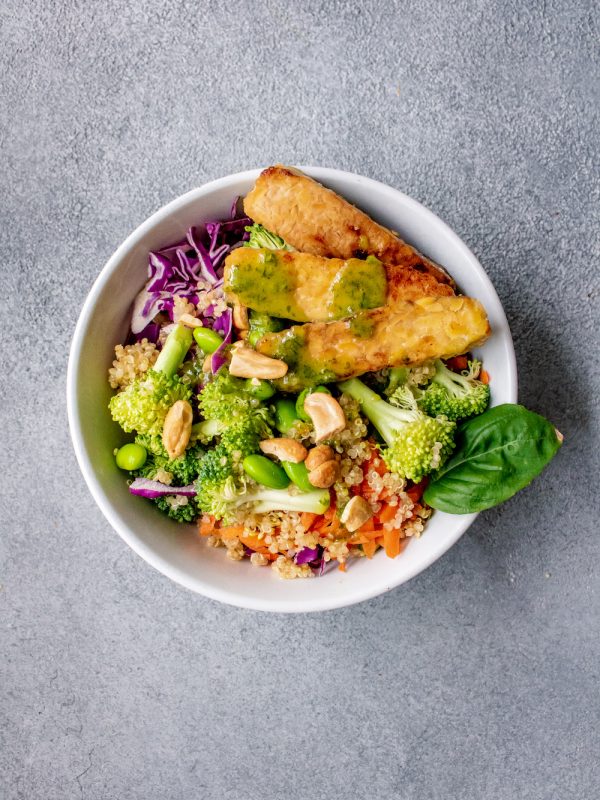
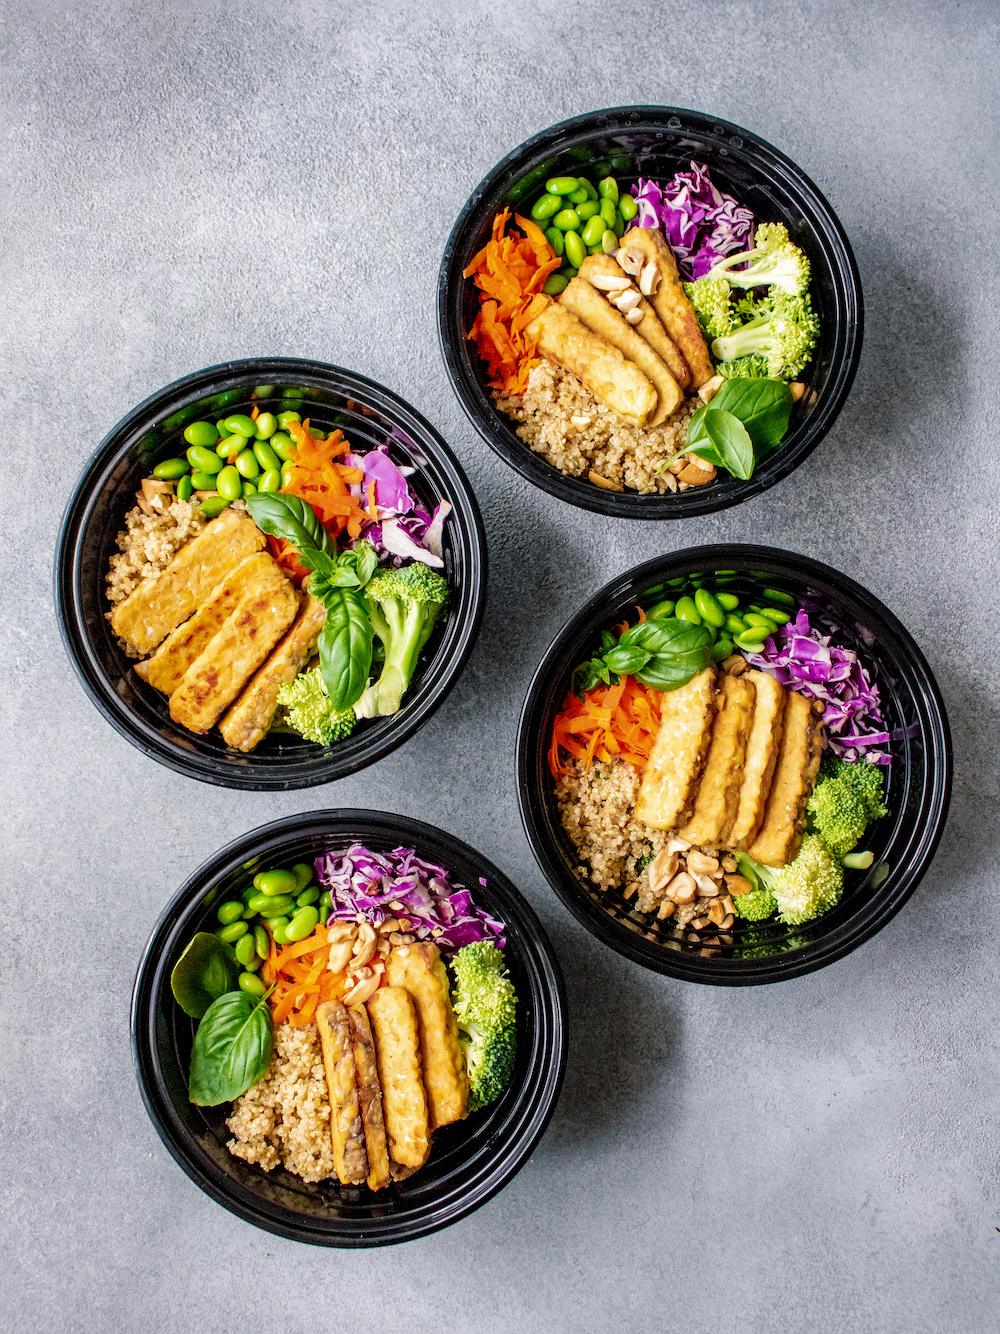
Thai Crunch Quinoa Grain Bowl is a totally plant-based meal that satisfies your cravings for veggies, crunchy foods, and tons of protein in one very full bowl!
This plant-based quinoa bowl contains all 9 essential amino acids for a complete protein-packed meal. Crunchy cruciferous veggies add antioxidants and fiber! Do not underestimate the power of a plant-based meal to pack in protein. This Thai Crunch Quinoa Grain Bowl has 23g of fiber-rich protein. That is as much protein as one serving of chicken. Talk about healthy meal prep, right?
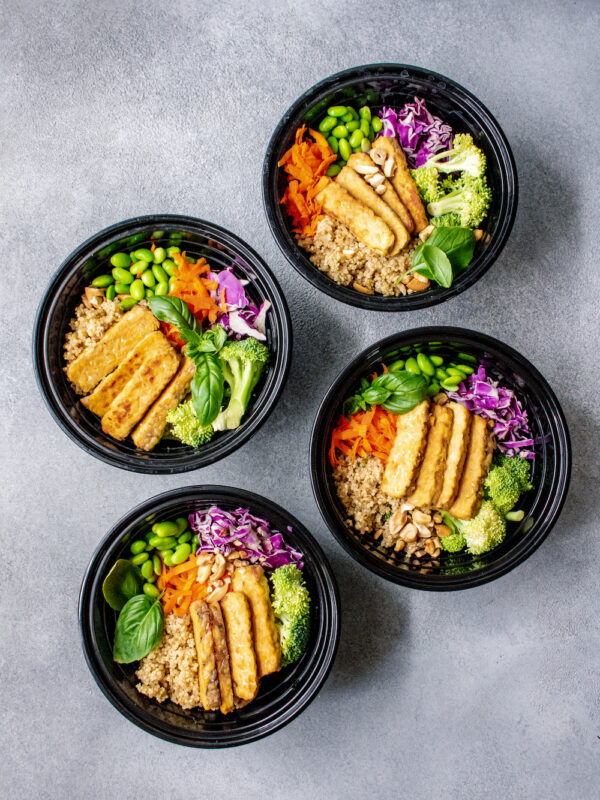
The rainbow of veggies and crunchy cashews provide a great contrast of textures and flavors against the chewy quinoa and tempeh. The whole thing is dressed with a sweet and tangy cilantro-basil salad dressing for a plant-based grain bowl that you will be craving for lunch and dinner. (Don't forget to pack everything in your Goodcook meal prep container so the dressing and main bowl ingredients stay fresh until you're ready to eat.)
Cilantro-Basil Dressing :
For Tempeh:
For Bowl :
Ok, so admittedly there are some components to assemble here, but this dish isn't tough to execute. Promise! That's because half of the ingredients are raw, as in a salad, and we're hoping you have some quinoa cooked at the ready. (If not, go get that started!)
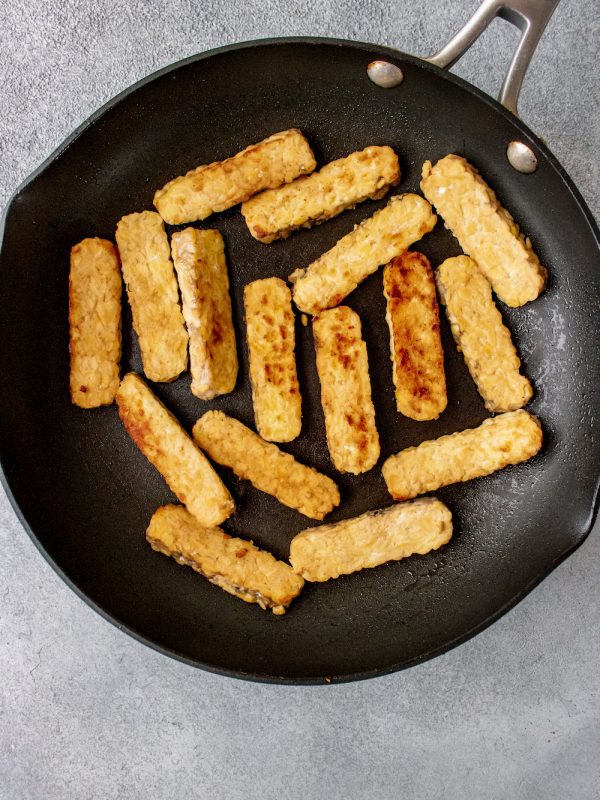
First, you make the dressing and set that aside. Easy! Then, you marinate the tempeh and cook it in a skillet over medium-high heat. Set that aside. Take your prepped quinoa and all those veggies, and arrange them all so colorfully and beautifully right in a big bowl. Add the tempeh. Drizzle the dressing on top of this Thai Crunch Grain bowl. And you're done!
We recommend eating these bowls within 4 or 5 days. But you shouldn't have a problem with that, as we suspect this is so filling you might even eat it twice in one day, or love it so much you share it with someone else to convert them to it, too. Keep it in the fridge in air-tight meal prep containers.
We don't recommend freezing this meal prep. (You can, however, freeze quinoa after you make it, if you make it ahead of time, and then defrost it to use in this meal prep. But that's just a tip for ya.) We also don't think you need much else with this particular meal prep, because it's so chockablock with both veggies and protein.
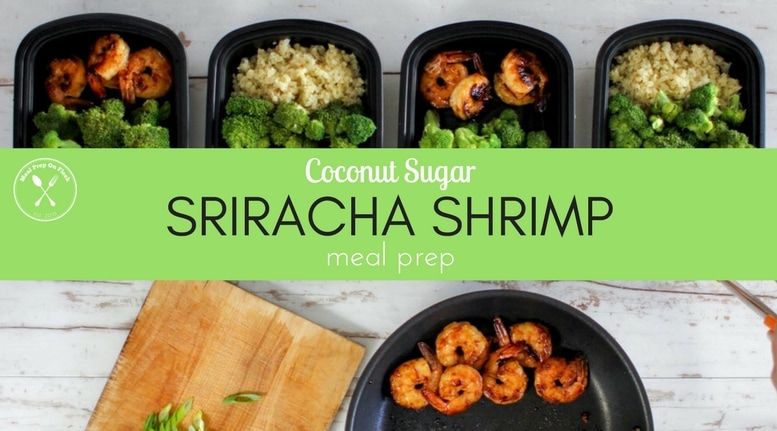
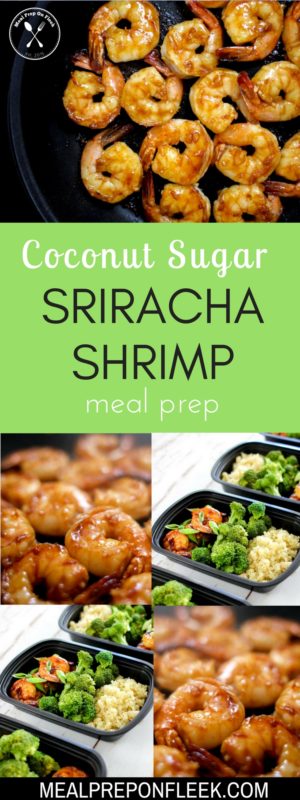
If you are a spicy food lover, our new sriracha shrimp meal prep recipe is just for you! The whole family can enjoy a comfort meal with a kick of garlic anytime for lunch or dinner. We also love some sriracha in this dish because of the extra spiciness and tangy sweetness. The shrimp and veggies are quick, easy, and look stunning. All paired with coconut sugar and served with cauliflower rice. Yum! This meal will leave you salivating and looking forward to your next meal. We hope we've given you enough reason to make this incredibly delicious dish! See how fun meal prepping is? Plus, if you're watching your weight, coconut sugar Sriracha shrimp is your absolute go-to meal because it's low in calories and Paleo-friendly.
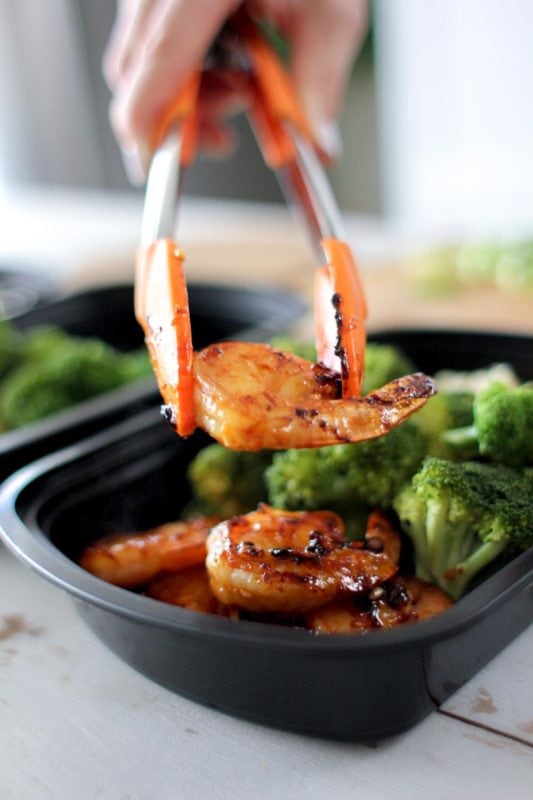
This Coconut Sugar Sriracha Shrimp Meal Prep recipe is fast, easy and incredibly delicious! It is the perfect balance of sweet and spicy to satisfy your taste buds! Made in less than 10 minutes, this Paleo-friendly, gluten-free meal prep recipe will leave you plenty of time to still enjoy your weekend.

Coconut Sugar Sriracha Shrimp Meal Prep Ingredients:
¼ cup coconut sugar
3 tbps. sriracha
2 tbsp. olive oil
salt & pepper, as desired
2 cloves garlic, minced
1 pound shrimp
2 tbsp. chives, optional
2 cups cauliflower rice
2 cups broccoli
Our coconut sugar sriracha shrimp meal prep recipe will last in the fridge for around 3-4 days when stored in an airtight container.
You can freeze leftover coconut sugar sriracha shrimp meal prep, but eating it soon enough ensures you enjoy the spiciness and flavors. When shrimp stays frozen for a long time, it becomes rubbery upon reheating. Storing your food in high-quality meal prep containers will ensure the dish maintains its freshness. You can also use a labeled freezer bag for easy reheating in a pot. However you decided to store your shrimp meal prep recipe, you'll need to quick freeze the shrimp first.
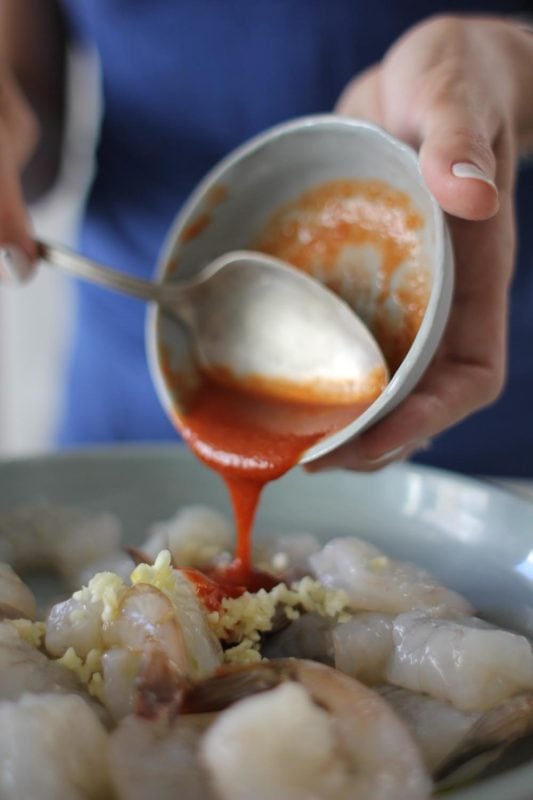
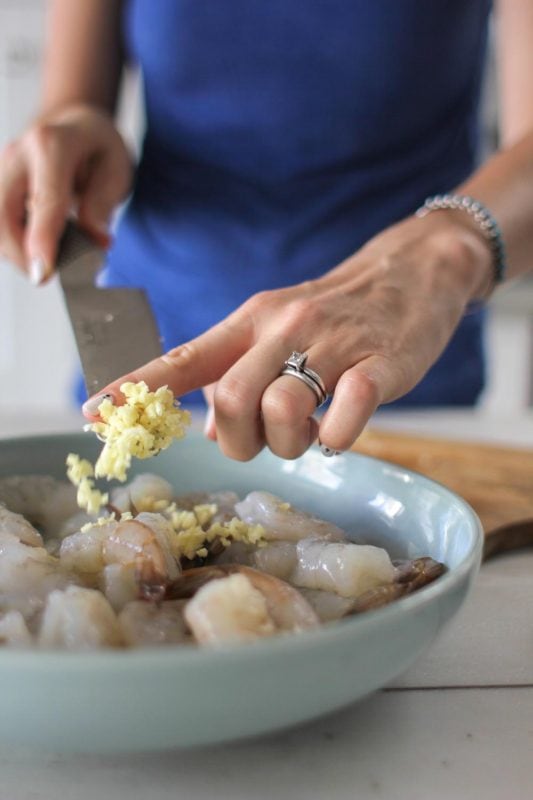
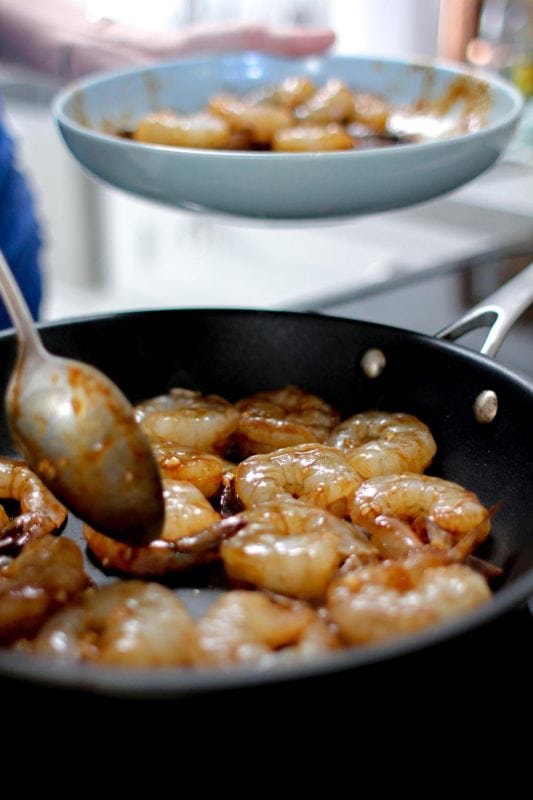
Start by putting the shrimp, coconut sugar, sriracha, olive oil, salt, pepper, and garlic into a medium-sized bowl. Mix all of the ingredients well until the shrimp is fully coated in marinade. Cook the marinated shrimp in a nonstick skillet over medium heat for 3 minutes. Flip shrimp and cook for another 2 minutes or until opaque with pink and bright red accents.
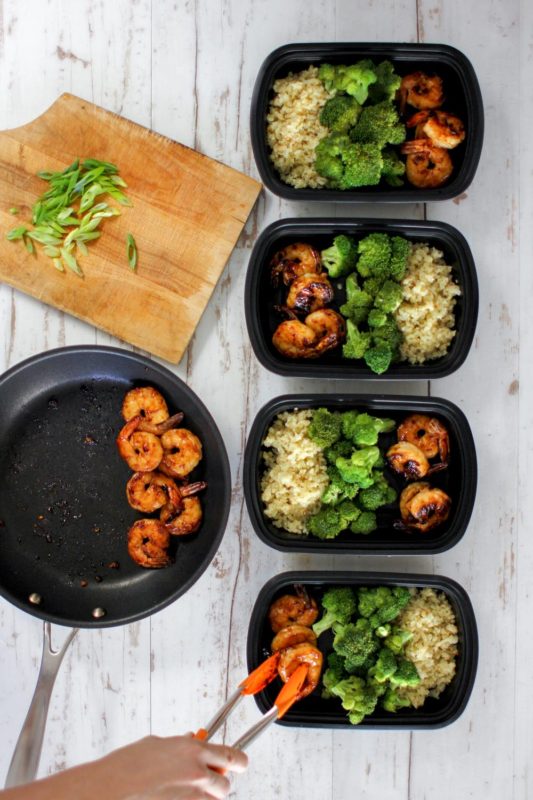
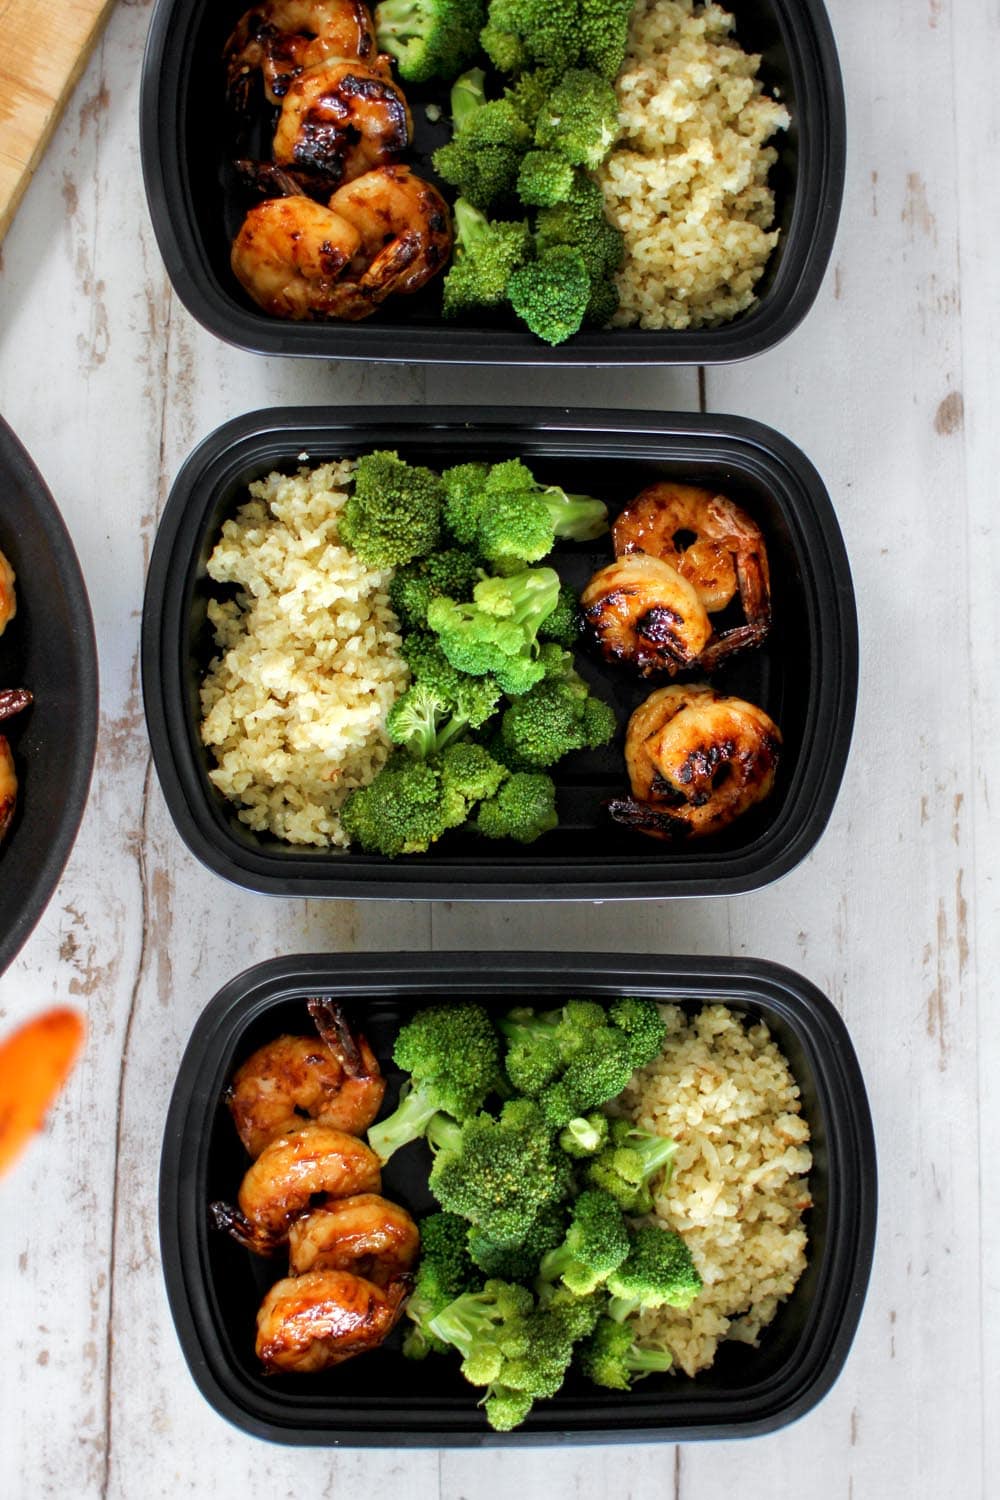
It's finally time to plate and/or eat our delicious shrimp meal prep recipe! Serve over cauliflower rice and broccoli. Store the leftovers in the refrigerator for up to 4 days.
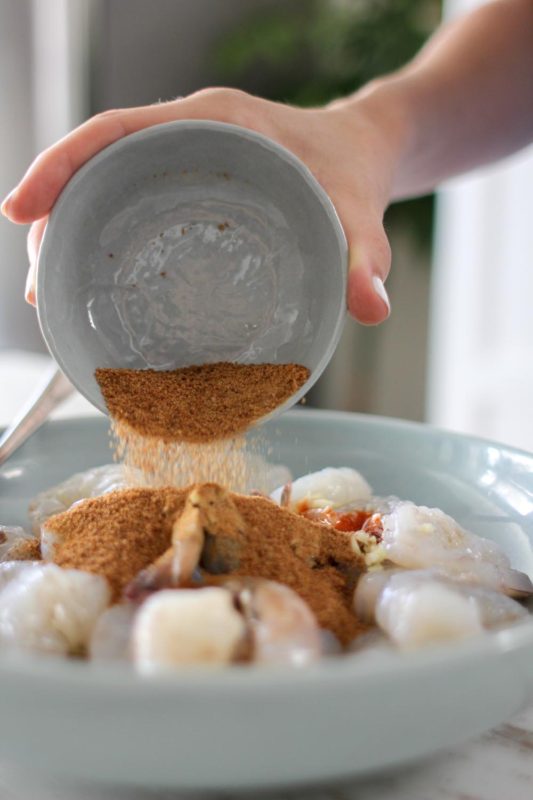
Our Good Cook® Meal Prep Containers are adequate for storing this flavorsome shrimp meal prep recipe. Serve alongside cauliflower rice and steamed broccoli, then garnish with chives for an herby flavor.
Sheet Pan Butter Herb Shrimp Corn and Potato Bake
Sheet Pan Arugula Pesto Shrimp Meal Prep
Garlic Shrimp and Broccoli Meal Prep
Shrimp Quinoa Broccoli Meal Prep | Garlic Shrimp Recipe
Skillet Shrimp with Tomato and Avocado
Cauliflower & White Bean Soup with Shrimp Meal Prep
Ah, cauliflower! Where do we even begin! Besides being one of our favorite vegetables due to its versatility, cauliflower is also one of the most nutrient dense vegetables on the planet. It is chock full of vitamin C as well as many other cancer preventing phytonutrients. We are always down for a vegetable that is both easy and versatile to meal prep, plus has an added health bonus. Let us know if you love any of these delicious cauliflower recipes in the comments below
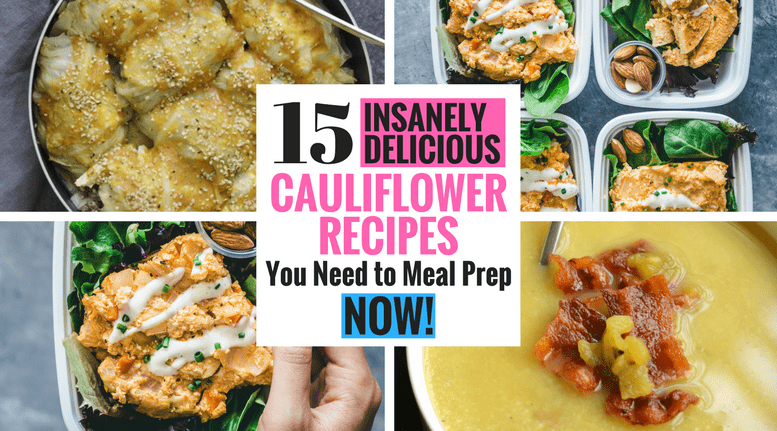
With so many people following a variety of diets, cauliflower can fit into almost any of them; keto, low-carb, whole30, paleo, gluten-free, vegan, vegetarian, the list goes on. This makes it much easier to create a recipe that fits a variety of dietary needs for you and/or your family.
Not only does said cauliflower fit most diets, but it can be cooked/meal prepped in a variety of ways. Our favorite is hands down, riced cauliflower. Have you ever tried making it? If not, you need to give it a go. You will see below that it makes some of the most insanely delicious cauliflower recipes -- that you need to meal prep NOW! But, if you don't have the patience to rice it or are lazy like we can be on occasion, then you can head to almost any local grocery store and grab a fresh or frozen bag.
As you can see below, second to riced cauliflower is mashed. But the ways to meal prep cauliflower don't just end with these two options! We challenge you to hit Pinterest and see what you find!
For those of you who are looking for a macro-friendly food that will add volume to your meal prep without a lot of calories, cauliflower is the way to go! Three ounces (3 ounces) packs in 25 calories, only 5grams of carbs, 2 grams of protein and a whopping 3g of fiber! Plus, 77% of your daily vitamin C. How 'bout 'dem macros 😉
And if you just straight up hate cauliflower or vegetables for that matter you are in luck! Cauliflower has an almost neutral flavor profile, so you won't even know it is in most of the recipes below. It's like a secret veggie win! Sans the veggie flavor!
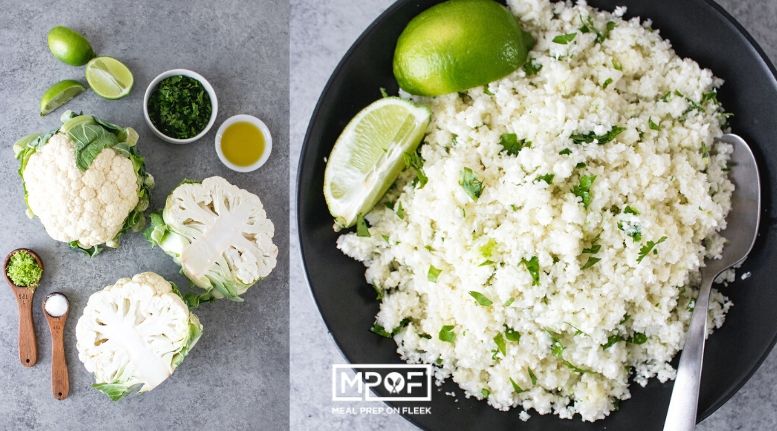
Before we get started, make sure to book mark THIS RECIPE: Cilantro Lime Cauliflower rice! You'll thank us later
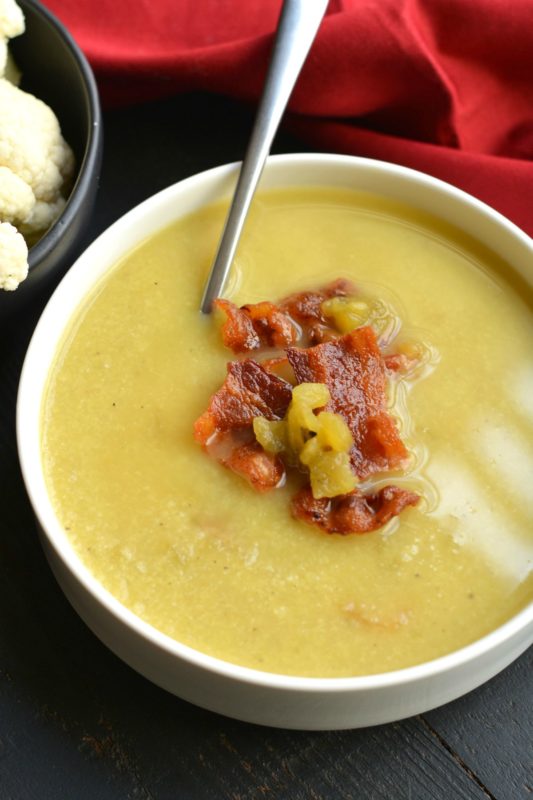
Low Carb Bacon Cauliflower Soup
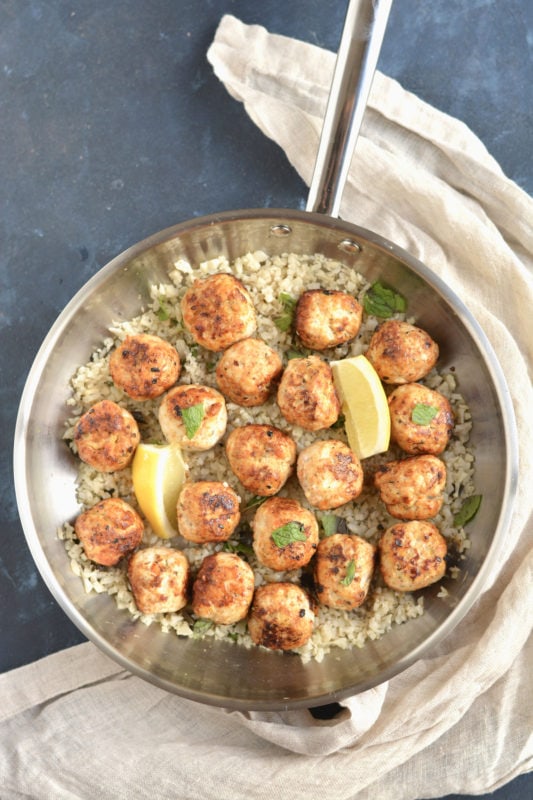
Carrot Meatballs With Mint Cauliflower Rice
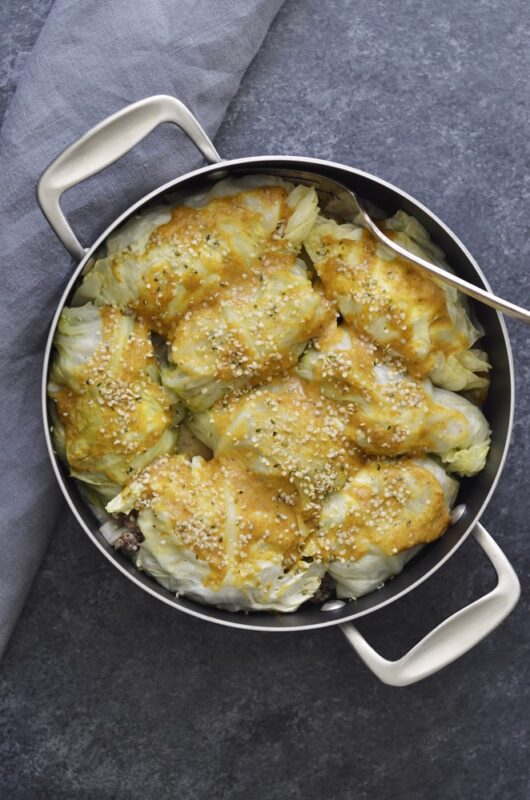
Whole30 Pumpkin Mustard Stuffed Cabbage
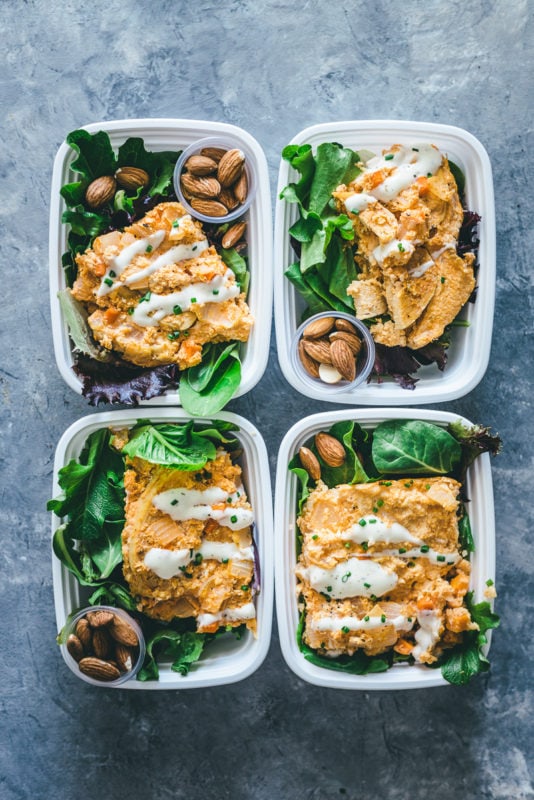
Whole30 Baked Buffalo Chicken Casserole
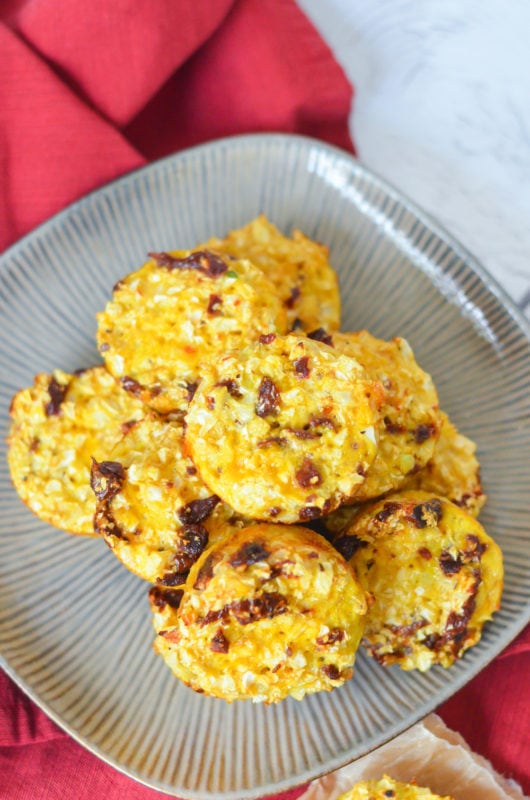
Low Carb Sun Dried Tomato Egg Cups
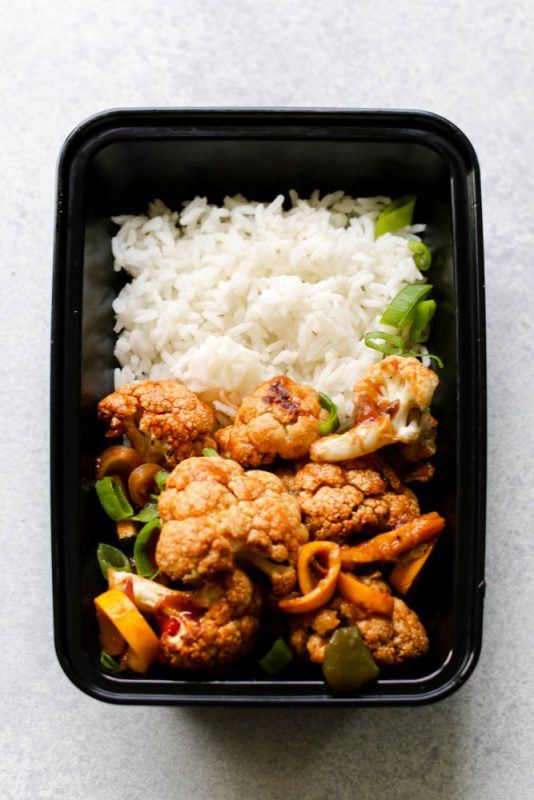
Sweet and Sour Cauliflower Bites
Fiesta Chicken With Mexican Cauliflower Rice


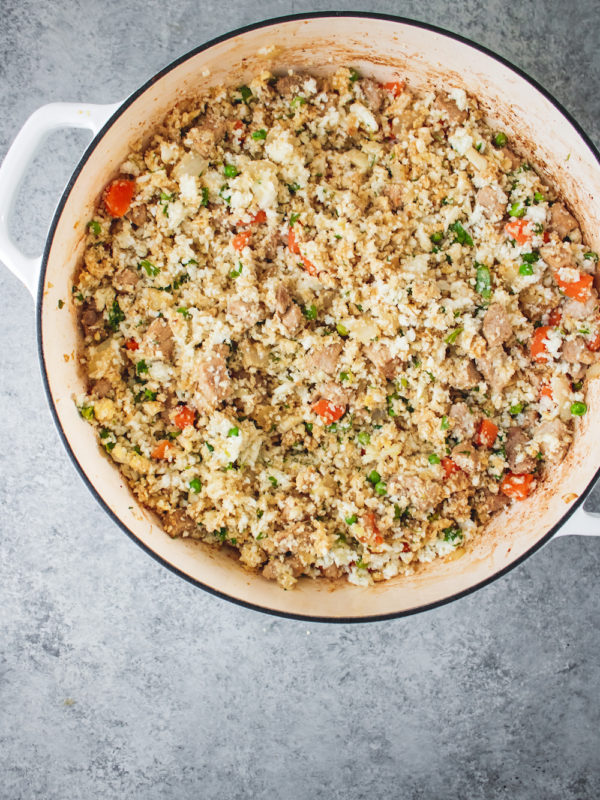
Paleo Chicken Cauliflower Fried Rice


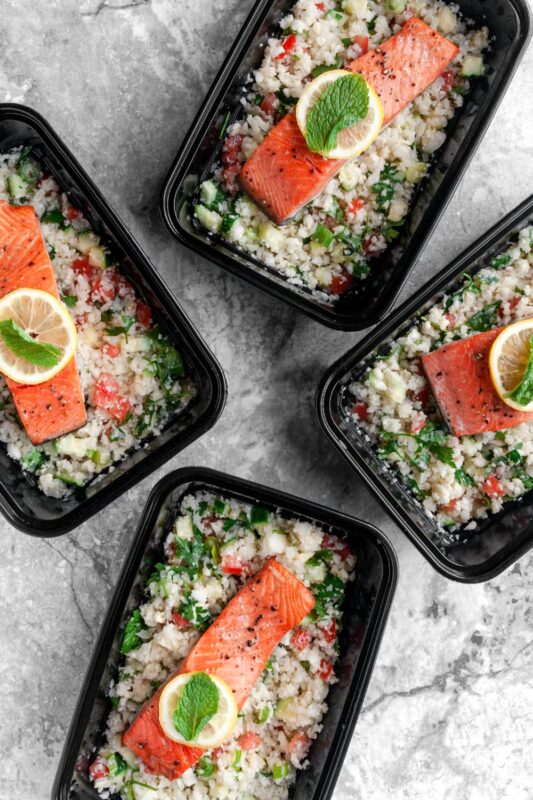
Cauliflower Tabouli and Salmon Meal Prep

Freezer Cauliflower Rice & Black Beans Burritos

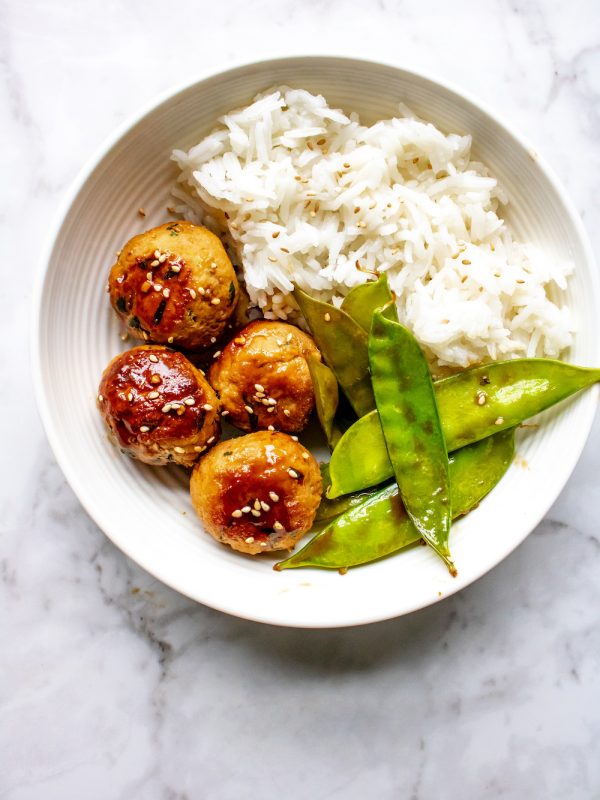
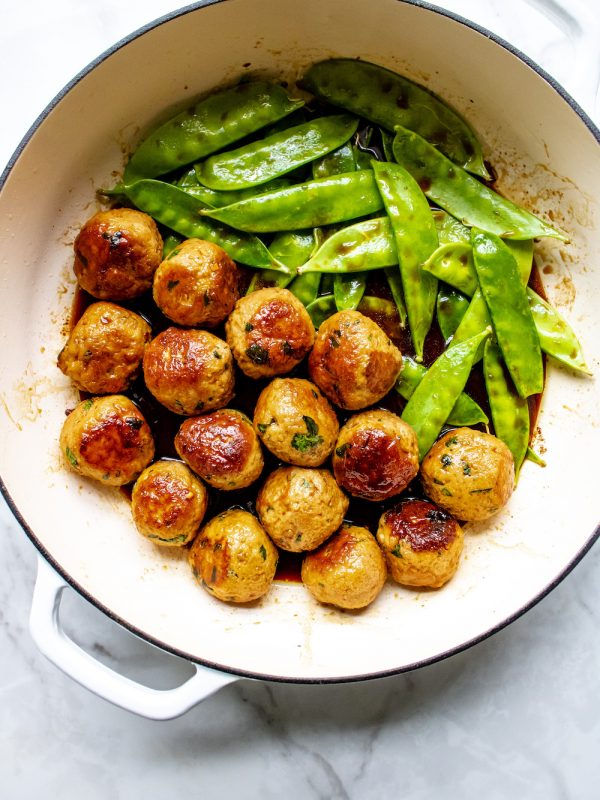
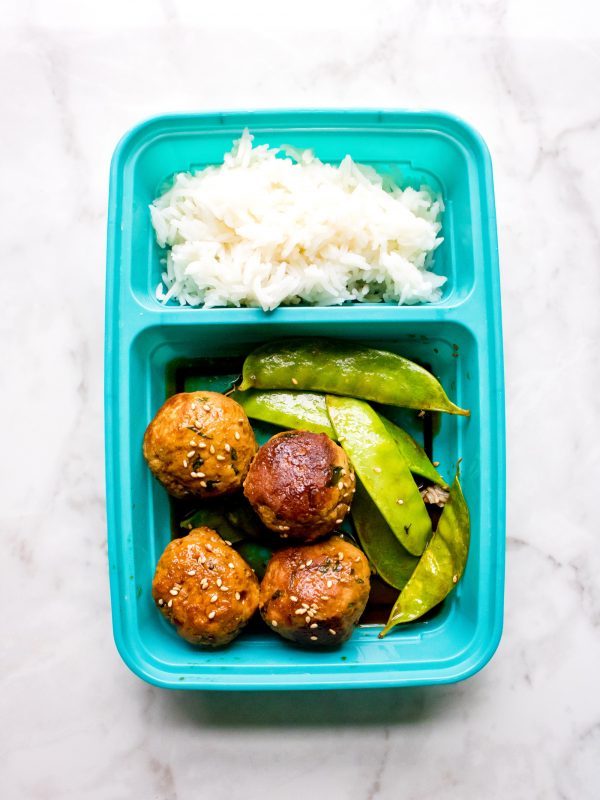
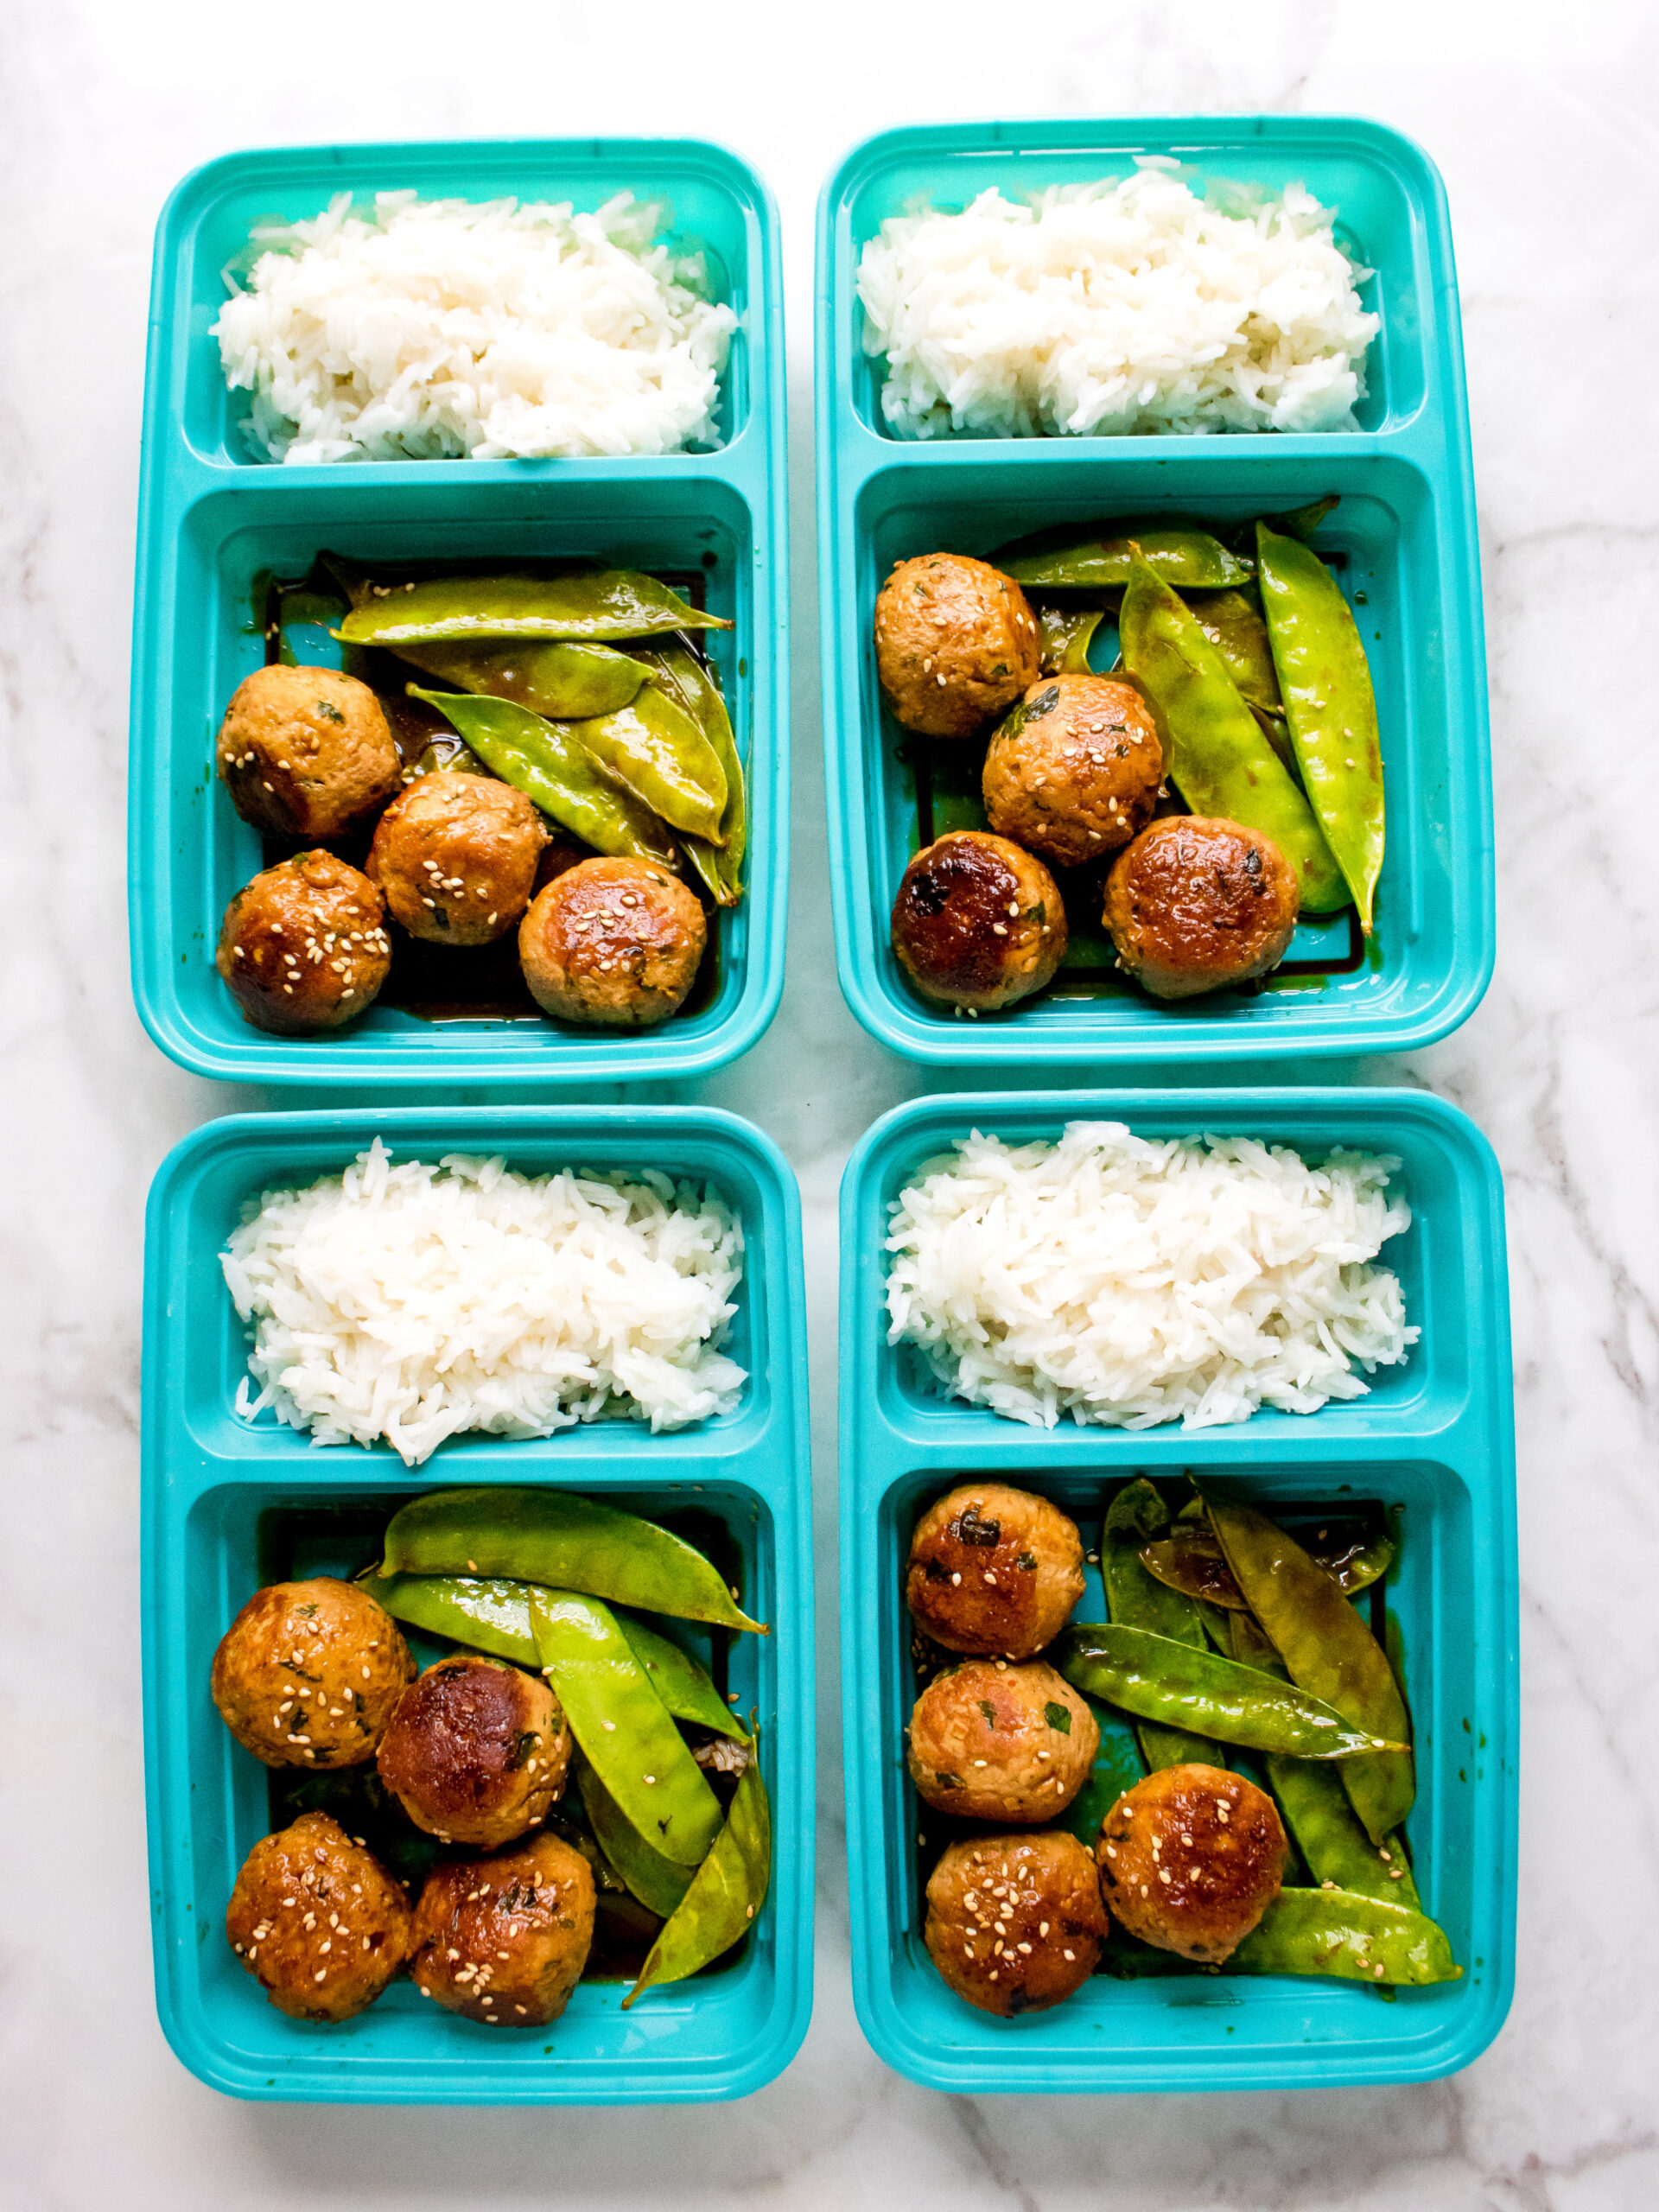
Do you love Asian-inspired meals, but need something different? Then look no further than our One Pan Asian Turkey Meatballs. We infuse these flavorful meatballs with bursting flavors that will make your taste buds dance. We pair the turkey meatballs with pea pods and white rice for a vibrant sight to see and filling turkey meal prep recipe to eat.
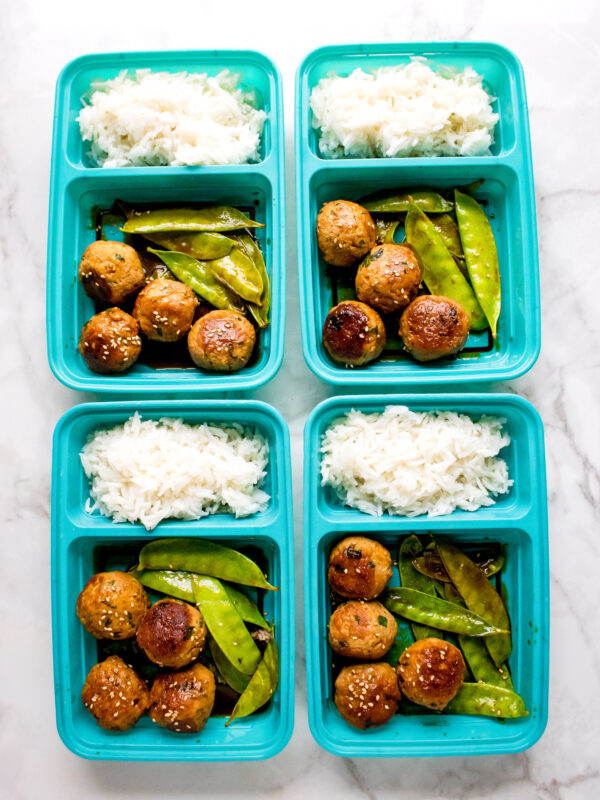
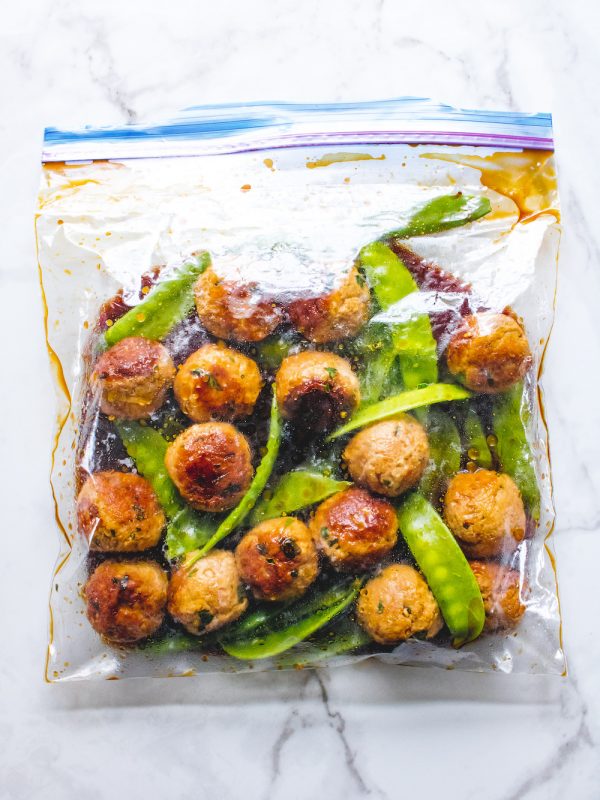
These tender and juicy hoisin meatballs are high in protein and feed a hungry appetite with 4 meatballs per serving, white rice, and pea pods. They're browned on the outside and cooled before storing in a zip-top bag with an Asian hoisin sauce. This makes for less work on busy days. Just thaw and simmer in the sauce!
Your turkey meatballs will last up to 4 days in the refrigerator if properly stored. Store your one pan Asian turkey meatballs in shallow airtight containers, or wrap them in plastic wrap or aluminum foil.
Yes, you can freeze one pan Asian turkey meatballs in one of two ways. You can form the meatballs and place the meatballs in a ziplock bag with the sauce. That way, your meatballs are ready to go on another day. Or, you can cook the meatballs and freeze them after the turkey meatballs cool. How you freeze the meatballs depends on your plans for future meals, but you always want to use freezer bags to store your meatballs. Using freezer bags makes sense for thawing and reheating meatballs and takes up less freezer space.
For Meatballs
For Sauce
For Serving

Now we get to the fun part! Start by forming the meatballs by combining all the meatball ingredients into a medium-sized bowl. You will form 16 savory meatballs and place them on a parchment paper-lined sheet. Then you brown the turkey meatballs for 8 minutes. From here, place your meatballs, pea pods, and sauce ingredients in a ziplock back. You can either freeze this turkey meal prep to use later or let it sit in your fridge for two hours to marinate before cooking. When you're ready to finish One Pan Asian Turkey Meatballs recipe, cook the meatballs and sauce mixture in a large pan for 18 to 20 minutes. Just like that, you have Asian-inspired turkey meatballs in less than 30 minutes!
Store your meals in four MPOF meal prep containers, placing the meatballs and pea pods in the 2-cup compartment and the rice in the 1-cup compartment. Put the meals in the fridge and you've got deliciously easy lunches or dinners for four days.
Also, check out The Ultimate Guide To Meatballs Recipes - turkey, chicken, beef, and more!

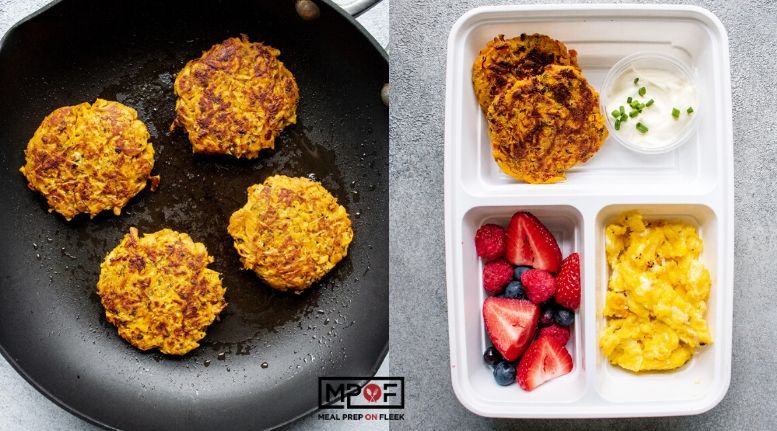
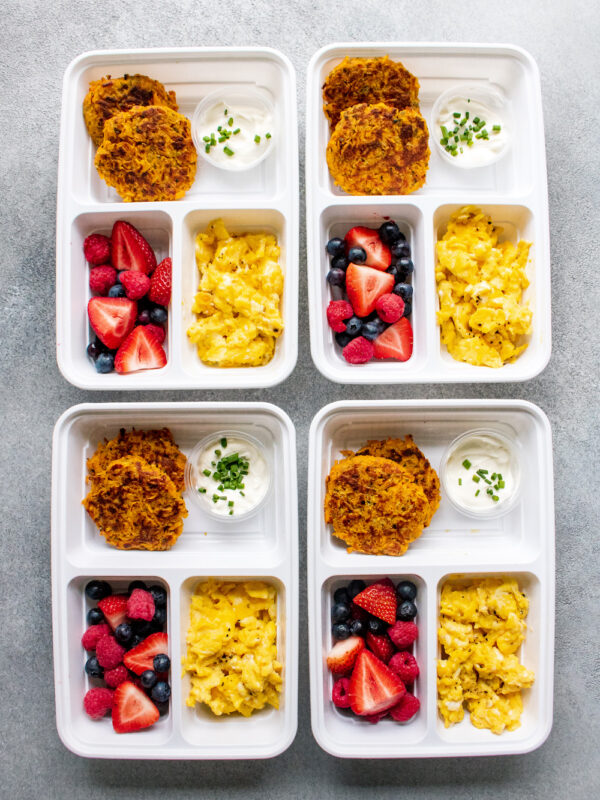
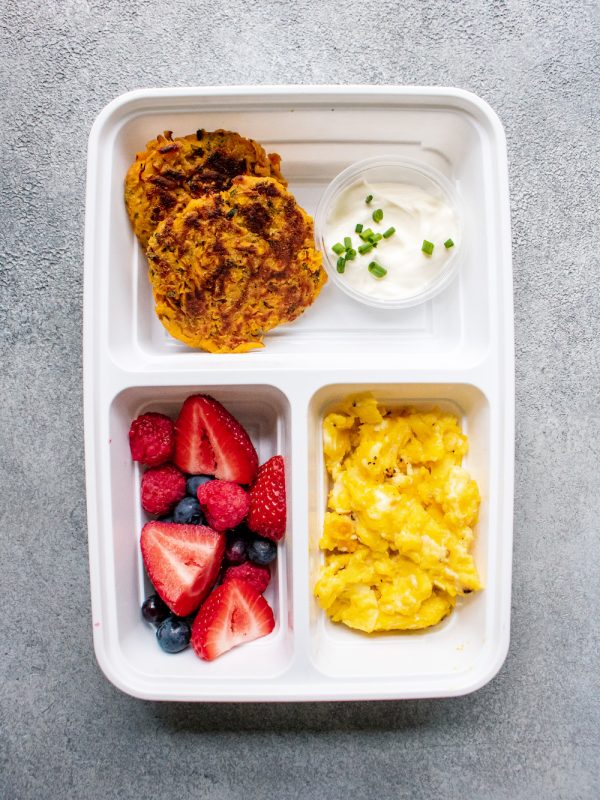
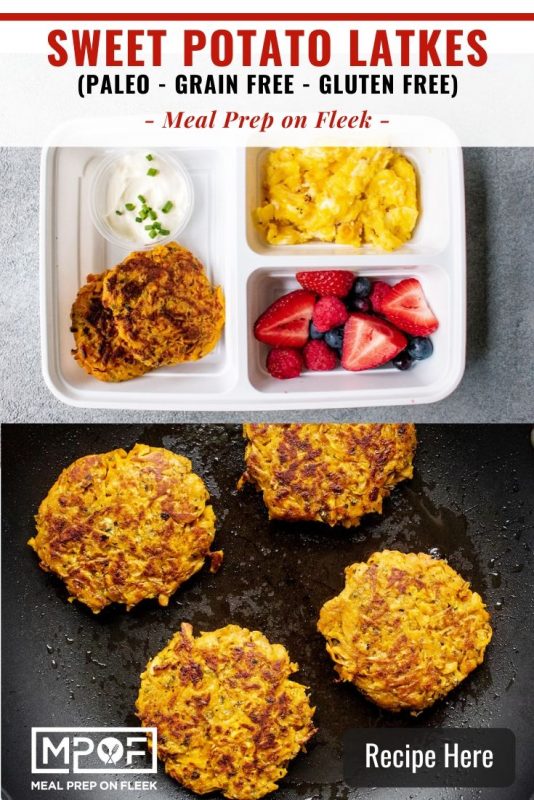
Are you ready for a deliciously wholesome breakfast that gets you excited for the day? If so, you're going to absolutely love our sweet potato latkes meal prep snack! Our sweet potato latkes are perfect for any time of the day because they're nutritious, light, and satisfy your tastebuds. For this meal prep recipe, we pair sweet potato latkes with scrambled eggs and fruit for a complete breakfast. We top the latkes with sour cream and chives to bring the flavors together. If you're taking sweet potato latkes with you as a snack, have the sour cream in a plastic cup ready for dipping!
These sweet and savory sweet potato latkes are rich in fiber and antioxidants. Cassava flour helps bind the latkes with a built-in herb seasoning that’s Paleo and AIP compliant.
Once you cook sweet potato latkes, they will last for up to 2 days in the refrigerator. Make sure they are cool before refrigerating them and only refrigerate one layer of latkes. Do not stack them. Latkes keep better when covered in plastic, so use plastic wrap or bags. With that said, the best way to store your latkes is to freeze them.
Yes, you can freeze sweet potato latkes once they're cooked. As mentioned above, this is the best way to store them since moisture and fried potatoes don't mix. Your sweet potato latkes will last for up to two weeks in the freezer. As with refrigeration, make sure the latkes are cool before freezing. Then freeze them on a cooking sheet in a single layer. When frozen, transfer your sweet potato latkes to freezer bags. When you're ready to enjoy them for a meal, defrost the latkes in your refrigerator the night before.
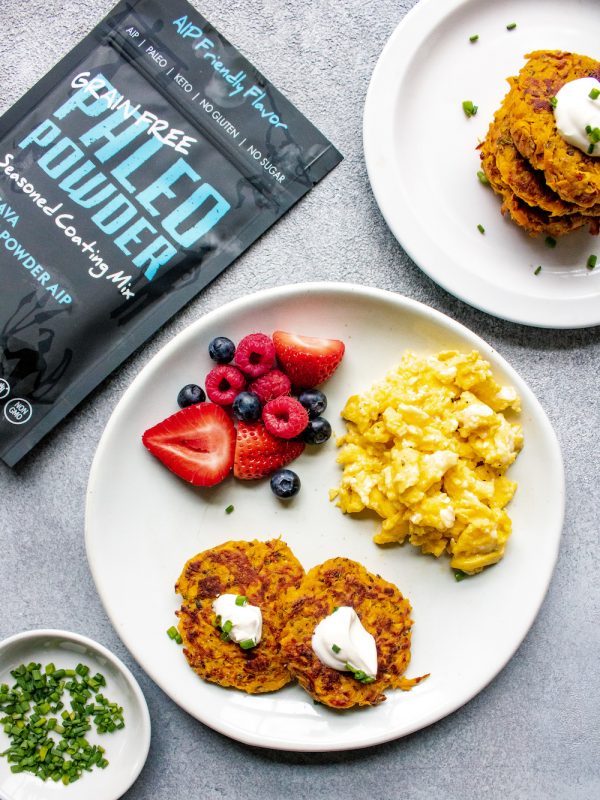
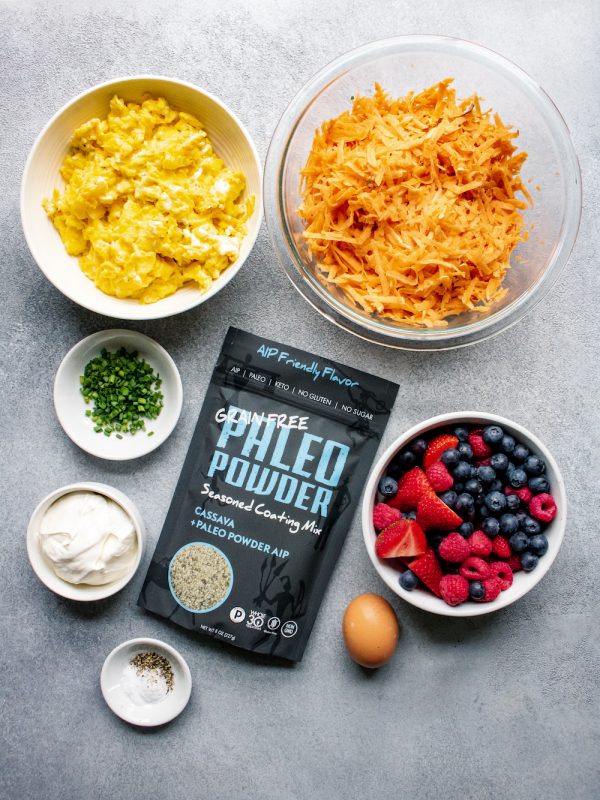
For Latkes
For Serving
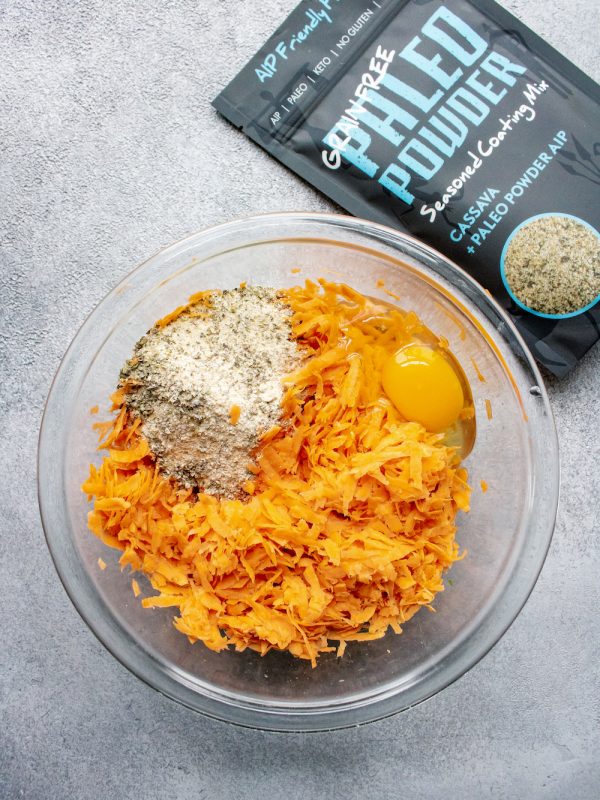
Let's get ready for crispy sweet potato latkes in only 31 minutes! To start, squeeze out all moisture from your shredded sweet potatoes with a towel. Then, put the shredded sweet potatoes into a bowl with your egg and Paleo powder, mix well. Form eight 3-inch latkes and fry them in a heated pan for 4 minutes on each side. Allow your latkes to cool before serving.
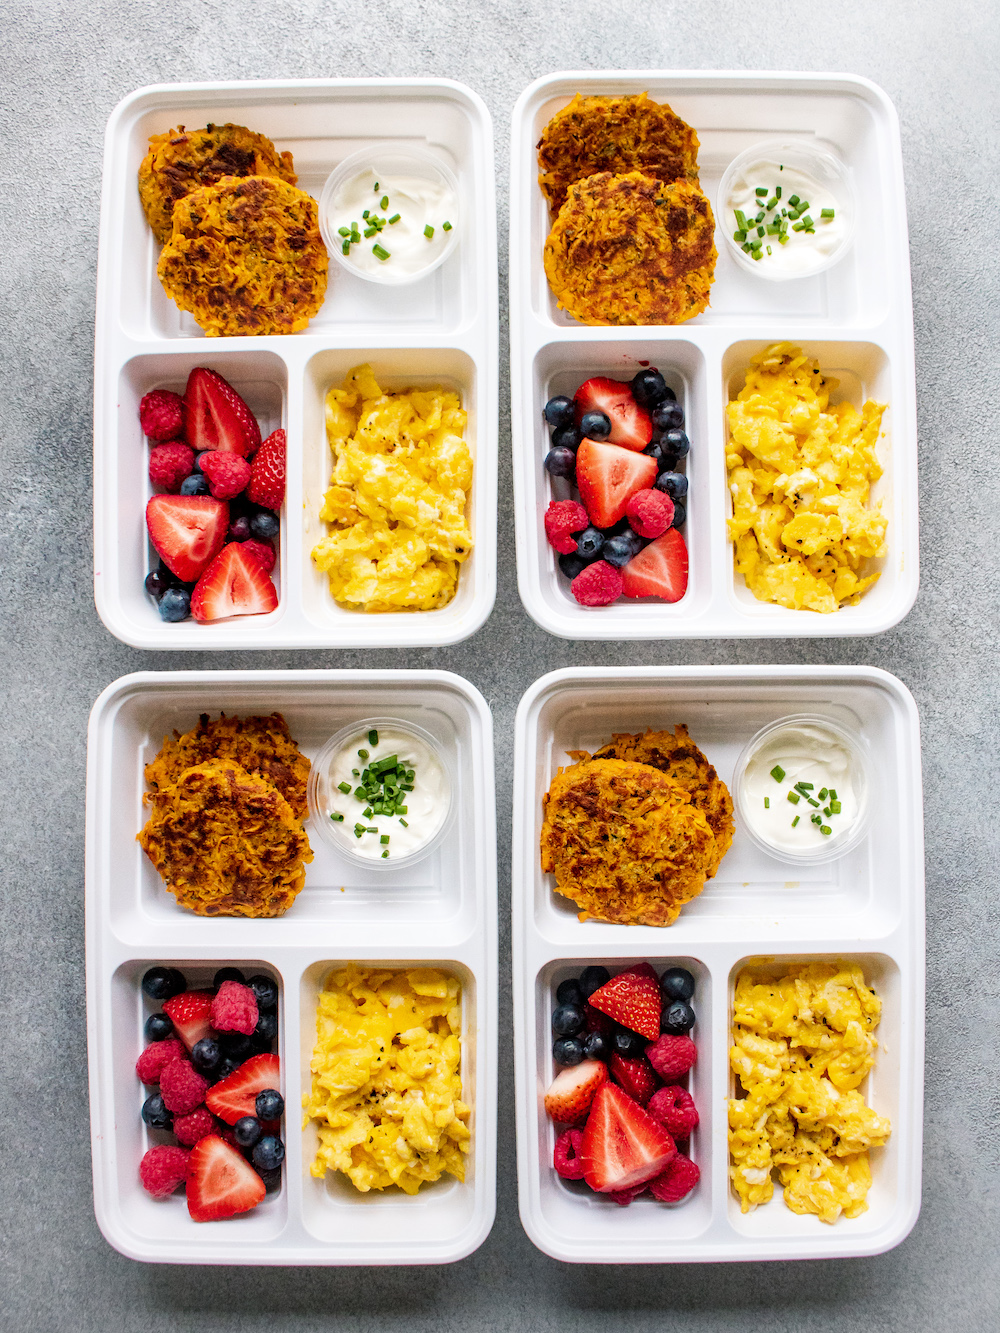
Enjoy Sweet Potato Latkes as a snack or pair them with sides for a complete meal. This meal prep recipe is for breakfast and stored in four of our MPOF three-compartment meal prep containers. Place two latkes in each container with a side of sour cream and chives with fruit and scrambled eggs in the 1-cup compartments.
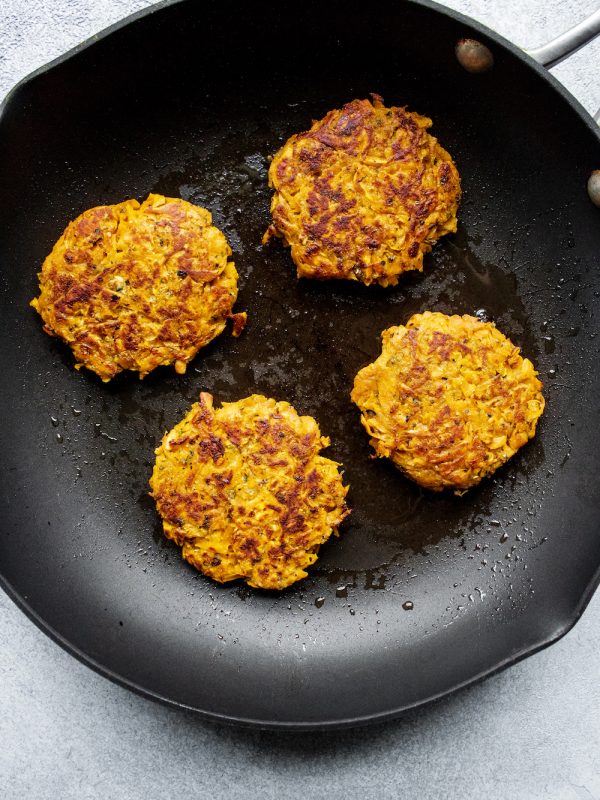
Sweet potatoes are full of antioxidants and other nutritional benefits, making them an ideal substitute for regular potatoes (check out our blog 10 Best Health Benefits of Sweet Potatoes for more information). Try these sweet potato recipes and tell us what you think!
BBQ Pulled Chicken Stuffed Sweet Potatoes
Vegan Sweet Potato Chipotle Bowl
Southwestern Stuffed Sweet Potatoes
Garlic Sweet Potato Wedges With Hummus
Buffalo Chicken Stuffed Sweet Potato Skins
Sheet Pan Sweet Potato Breakfast Hash
Steak, Sweet Potato and Apple Hash Meal Prep
Leftover Turkey Sweet Potato Shepherd's Pie
Quinoa Stuffed Sweet Potato Meal Prep - 3 Ways!
Pulled Pork Sliders With Sweet Potato Buns
Scrambled Egg Stuffed Sweet Potato Meal Prep
Sweet Potato Wedges With Tahini
Sweet Potato & Black Bean Veggie Burger Meal Prep
Gluten Free Sweet Potato Pizza Meal Prep
Baked Lentil Sweet Potato Falafels with Avocado Cream Sauce
Whole30 Zucchini & Sweet Potato Hashbrown Meal Prep
Cinnamon Raisin Sweet Potato Snack Bread
Jalapeno Sliders With Sweet Potato Bun Meal Prep
BBQ Chicken Meal Prep with Roasted Brussels Sprouts and Sweet Potato
Do not cook over 4 latkes at a time.
Flip sweet potato latkes when you see them browning. Only flip them twice.
Use a food processor to shred your potatoes instead of a grater. You can use a grater, but a food processor gives you shoestring-consistent potatoes. The shoestring-consistency lends itself well to frying because the potato pieces will stay together. Plus, a food processor will grate the sweet potatoes faster.
We recommend using a towel to dry your potatoes, but if you can, use cheesecloth instead.
When you drain the sweet potatoes, wring out the water and use the starch as a binder to form the latkes.
Add salt to your latkes right before frying.
Try frying with canola or peanut oil for crispier latkes.
Feel free to substitute sour cream for plain Greek yogurt.
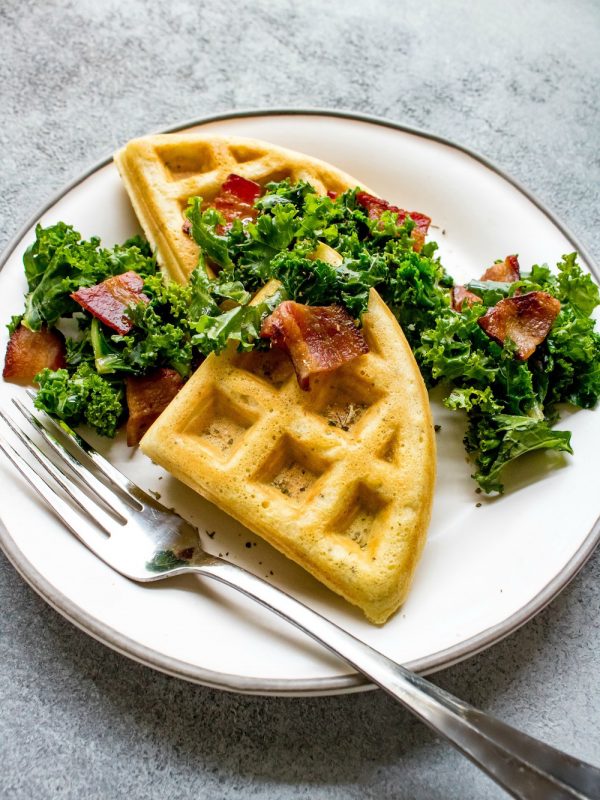
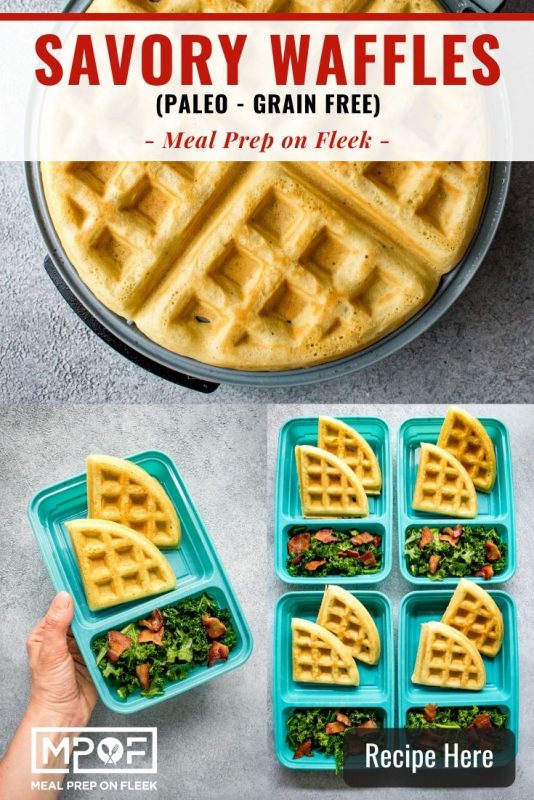
Waffles are a breakfast staple in many households and one of the popular breakfast items ordered at diners for those weekend outings with friends or family. Typically, you top waffles with syrup, fruit, and/or whipped cream to make a sugary, dessert-like breakfast. But some places around the world prefer savory breakfasts over sweet ones. So, we thought, why not cook savory waffles for breakfast? Savory waffles are a unique and welcomed change to breakfast because you can enjoy waffles for breakfast more often without worrying about high sugar intake. The fluffy and slightly crispy, sage-seasoned waffles paired with earthy-flavored kale and succulent crispy bacon will give your tastebuds and body a nutritiously delicious adventure first thing in the morning. That sounds like an amazing start to the day, doesn't it?
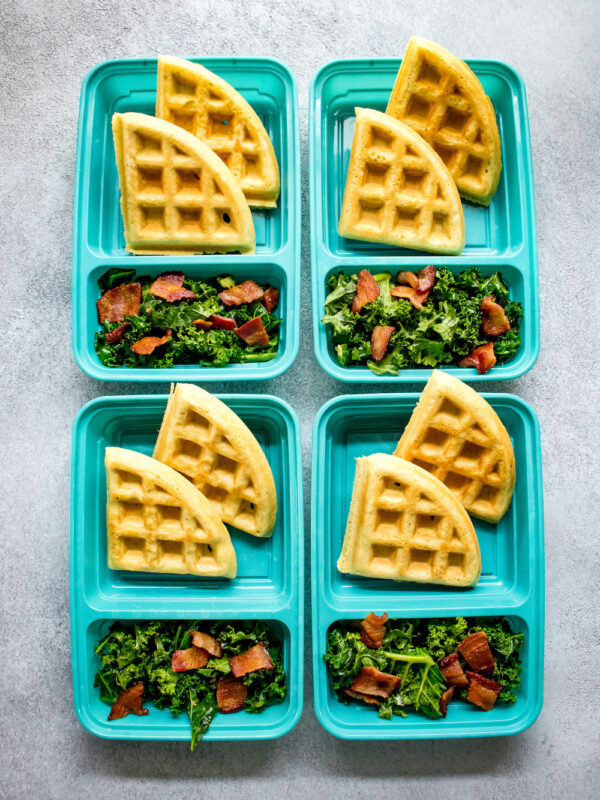
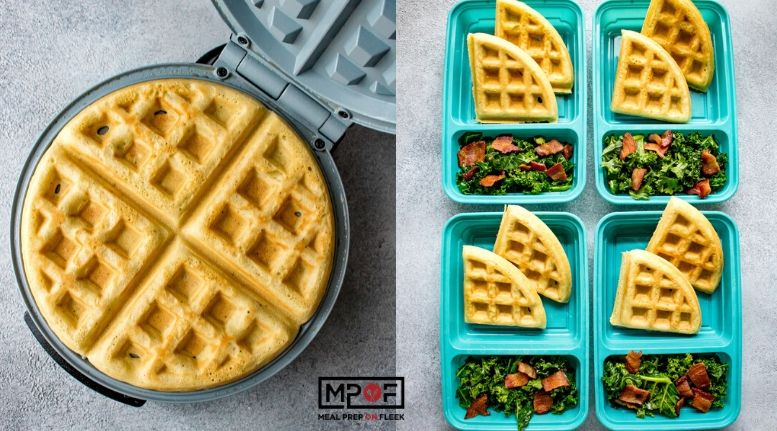
Waffles get a savory Paleo makeover in this hearty recipe topped off with smoky bacon and sautéed kale. Waffles cook up fluffy, seasoned with sage, basil, pink Himalayan sea salt all in one convenient seasoning blend.
On average, savory waffles will last for 3 days in the refrigerator. The kale and bacon can last up to 5 days. For this savory breakfast idea, you can freeze the waffles, then add them to the kale and bacon when you're ready to the meal with you. You need not defrost the waffles because you can reheat them in the microwave, toaster, waffle iron, or oven. When serving up your meal to store and eat, we recommend storing Savory Waffles with Kale and Bacon in an airtight container, just like our meal prep containers.
Yes, you can freeze our savory breakfast idea after you've cooked it. Savory waffles freeze well. To freeze savory waffles, let them cool after cooking. Once the waffles are cool, line a baking sheet with wax or parchment paper. Place the waffles on the sheet in a single layer and put them in the freezer and they will freeze in a few hours. When they're stiff, place the waffles into a freezer bag with wax or parchment paper in between each one. If you want to freeze the kale and bacon, place it in a freezer-friendly container or freezer bag.
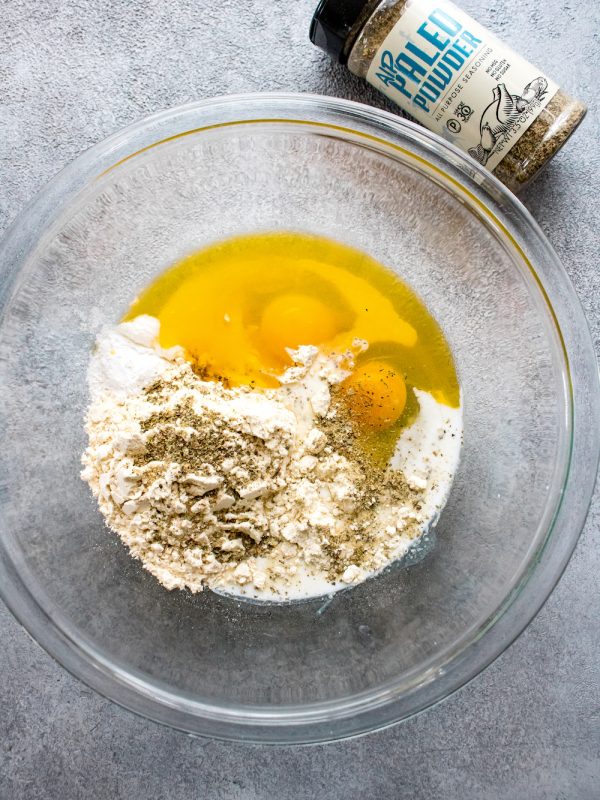
For Waffles
For Topping

This savory breakfast idea is super simple and done in no time so you can get on with the rest of your day. We love keeping things simple! After all, meal prepping is supposed to make your life easier!
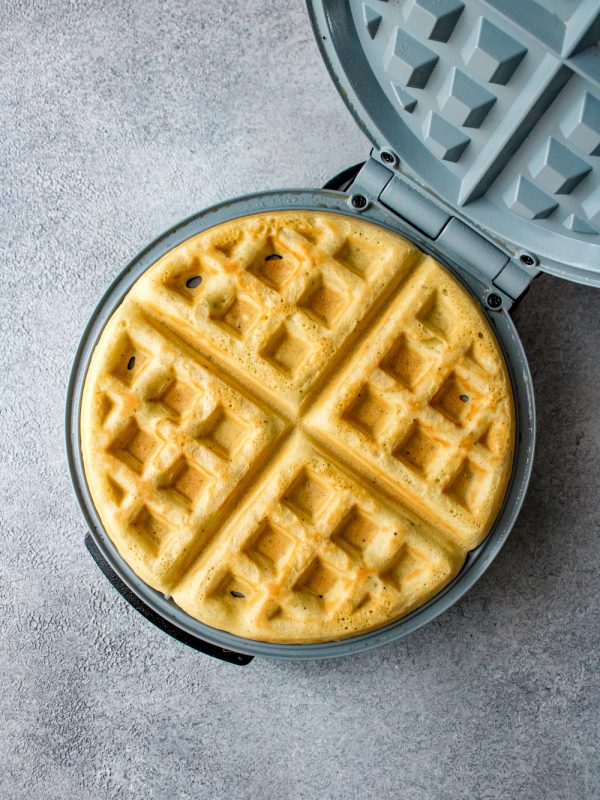
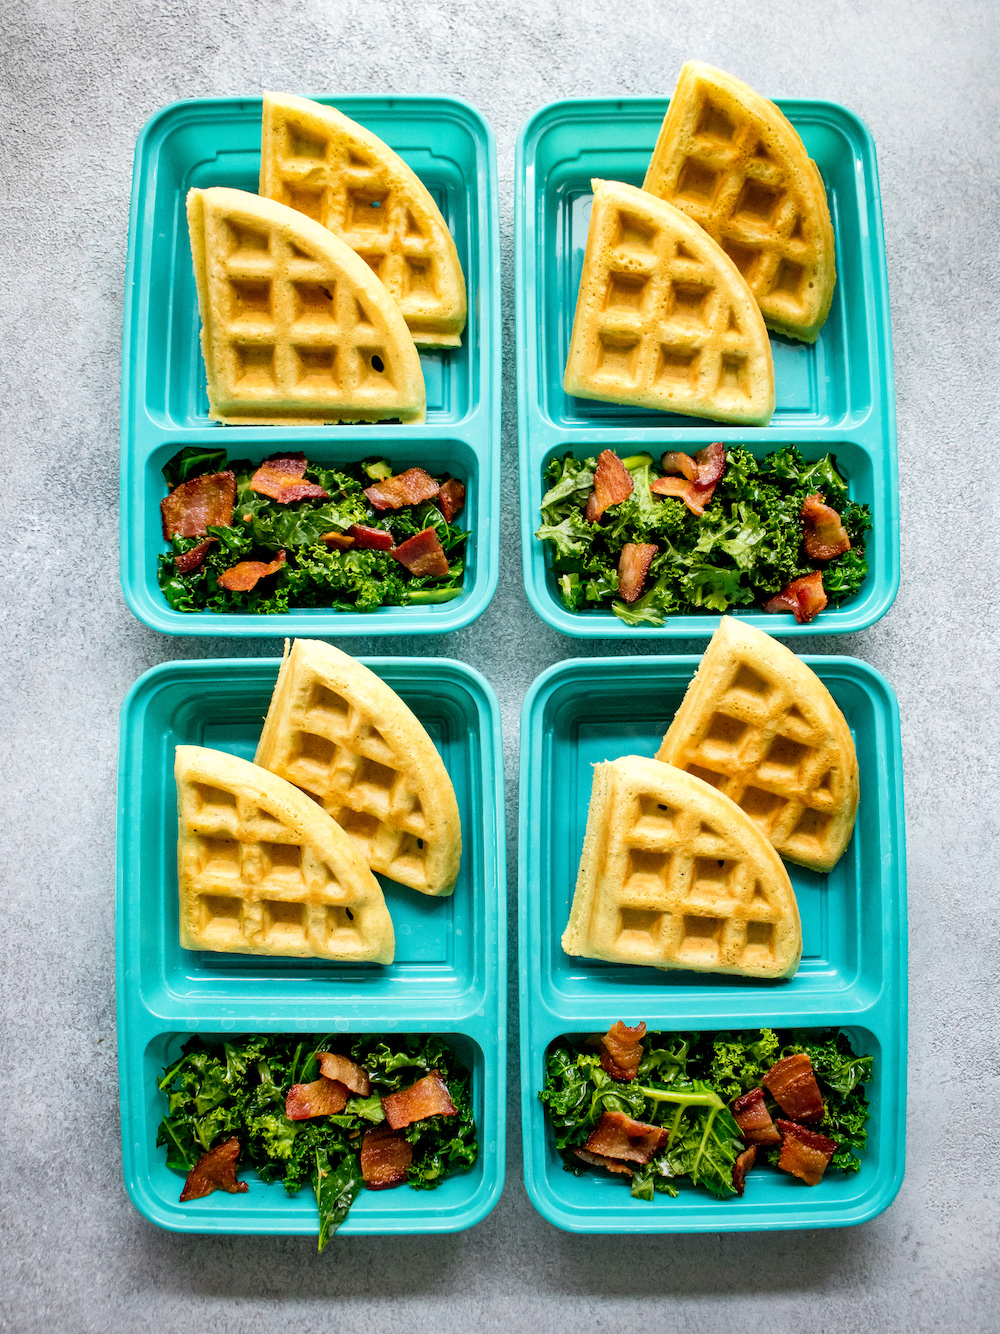
Savory Waffles with Kale and Bacon takes less than 30 minutes and has minimal cleanup. To cook this meal, start by making the bacon. Mmm mm, the smell of cooking bacon! Cook the bacon, set aside, then sauté your kale in the bacon drippings for 2 minutes. Remove the kale from the heat, chop up some bacon pieces, and top the call with the bacon pieces. Set the kale and bacon aside as you make the waffles. Heat your waffle maker and prepare the savory waffles batter. Once the waffle maker is ready to go, spray it with cooking spray and make two waffles, using ⅔ cups of batter for each one. The waffles cook in 4 to 6 minutes. Cut the waffles into eight triangles (four triangles per waffle). That's it! Store your savory breakfast in meal prep containers or freezer bags if you want to freeze the waffles.
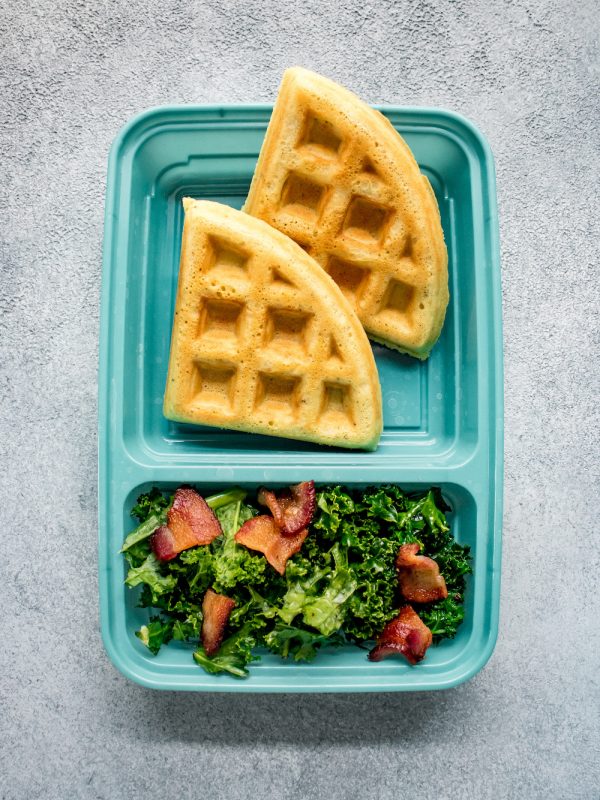
Place two triangle savory waffles into a meal prep container and add one cup of kale and bacon.
Whole30 Bacon & Strawberry Breakfast Salad
Apple, Bacon, Onion & Cheddar Breakfast Squares
Vegetarian Italian Sausage Egg Cups
Follow your waffle maker's instructions verbatim.
For light and fluffy savory waffles, separate your eggs. Add the beaten yolks to the wet ingredients of your batter. Then beat the egg whites until stiff and fold them into the last batter.
Don't over-mix the waffle batter.
Add yellow onion to your kale and bacon for more flavor depth.
Don't be afraid to add a little syrup if you desire. The savory and sweet combination is to die for!
Mamma mia, do we ever love Italian food at MPOF. There's just such a wonderful myriad of flavors to enjoy, whether it's fine wines, desserts, or eggplant parmigiana. Of course, one massive staple of Italian cuisine is the pasta, and that's exactly what we have for you today-A delectable One Pan Baked Pasta Primavera meal prep recipe!
Forget boiling pasta! As far as this one pan recipe is concerned, that's an unnecessary, time-expensive step. Instead, we incorporate cooking the pasta to a perfect al dente while the entire recipe bakes, so you can streamline your meal prep time and get on with your busy schedule! Read on for more.
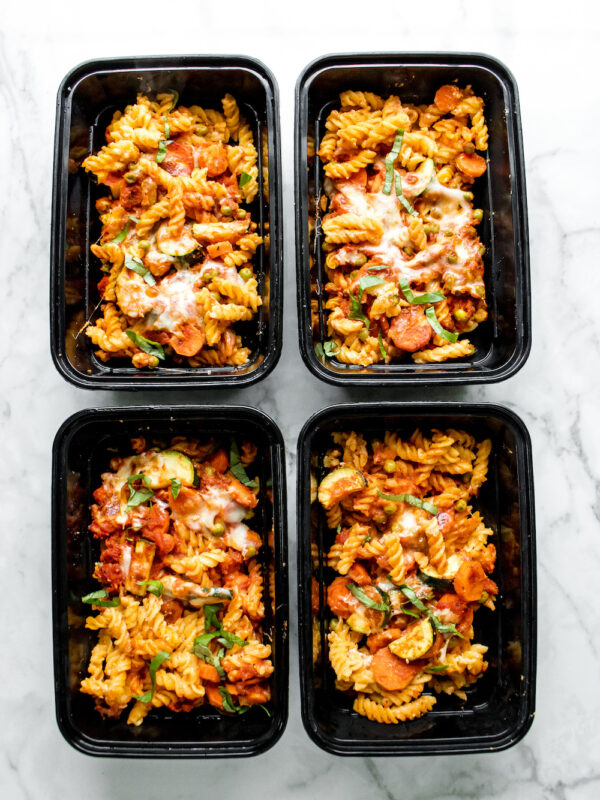
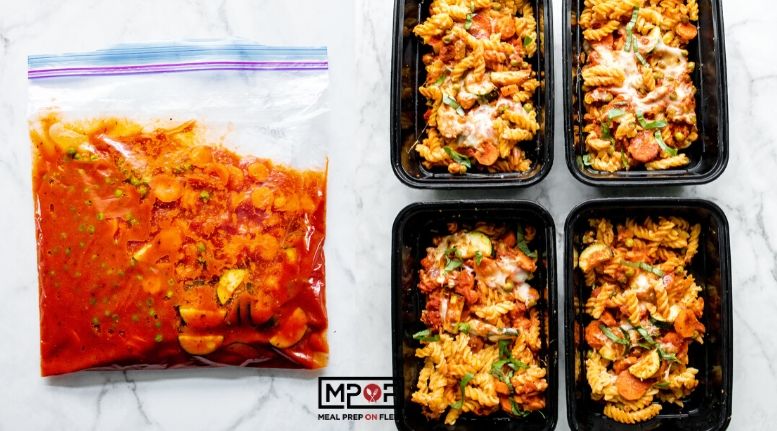
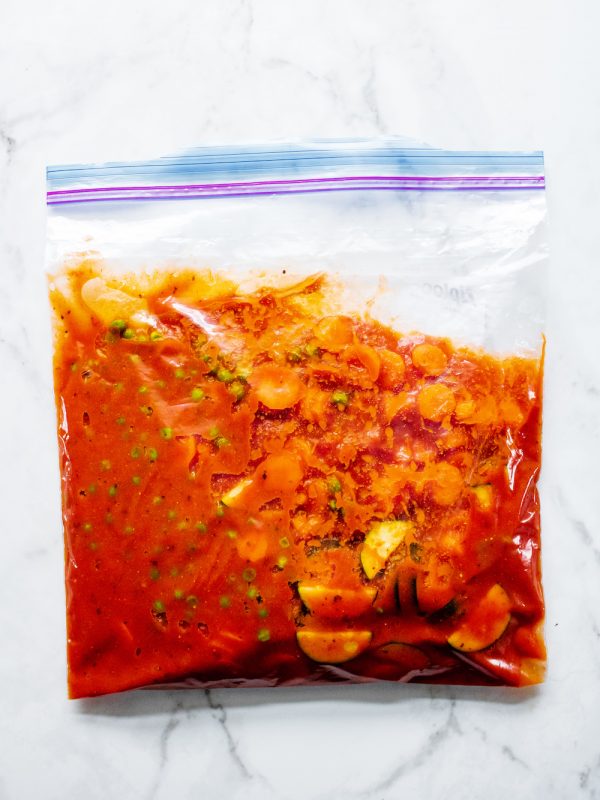
This no-boil pasta bake saves on time by baking noodles in milk instead of boiling. Pasta sauce and veggies are combined in a zip-top bag then dumped over pasta then baked until mozzarella is golden and bubbly.
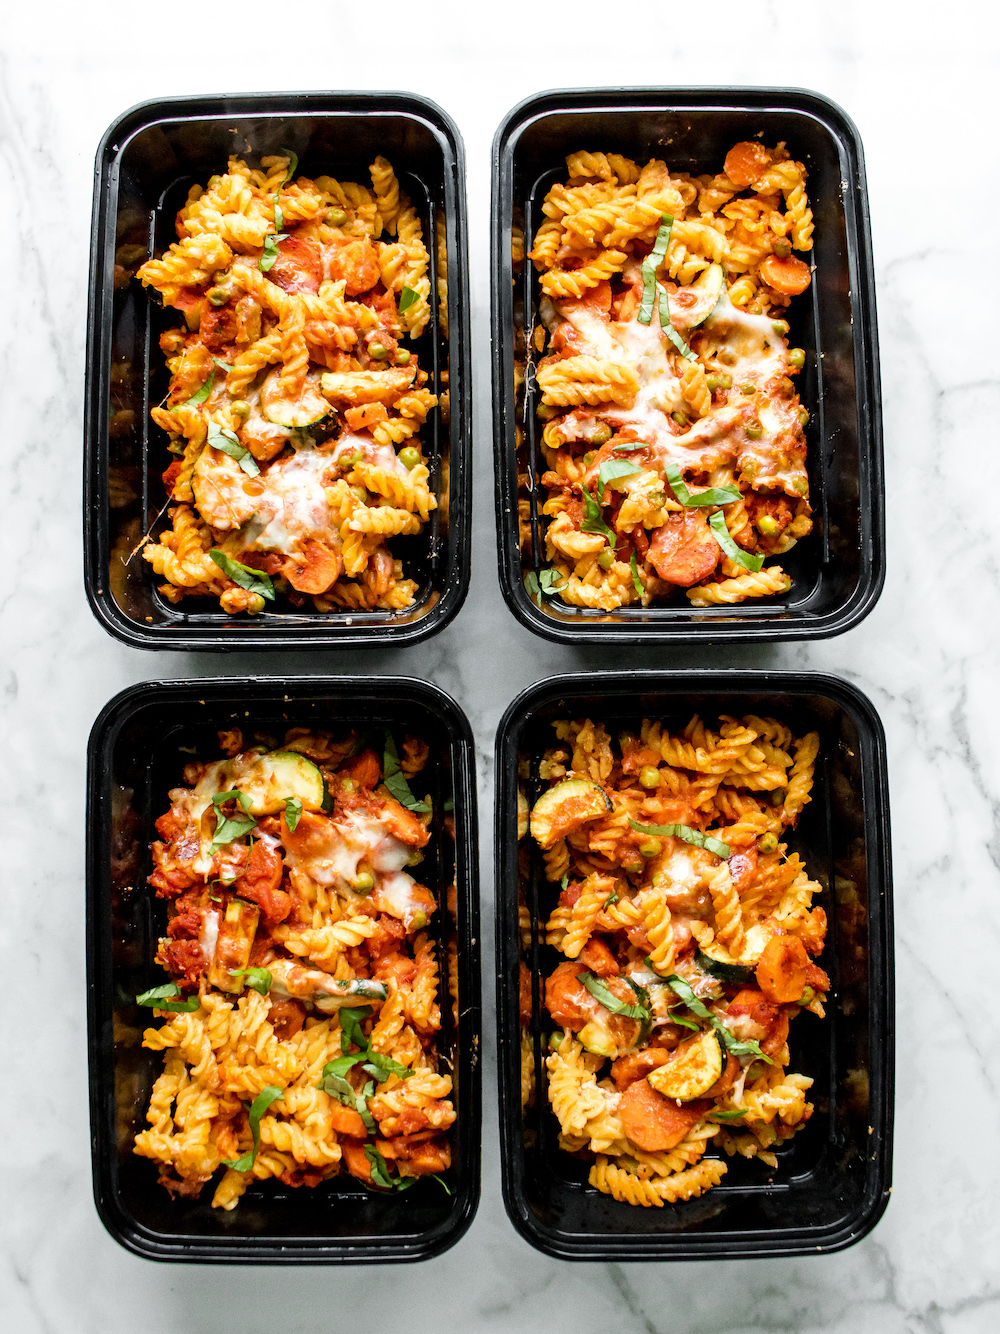
Pasta of any variety will last you 3-5 days in the refrigerator-Which is perfect, because this one pan recipe makes four portions! Just be sure to store it properly in single compartment airtight containers.
Yes! It absolutely can be, so long as it's not overcooked! It should last 1-2 months in your freezer for enjoyment later on.

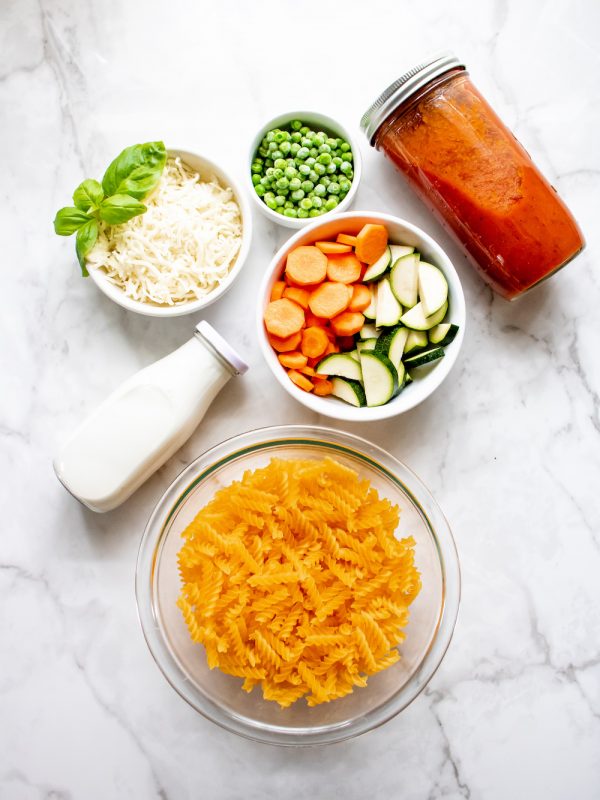
You can start this one pan recipe by combining your veggies and pasta sauce in a 1-gallon zip-top bag and refrigerating it for 24 hours before use
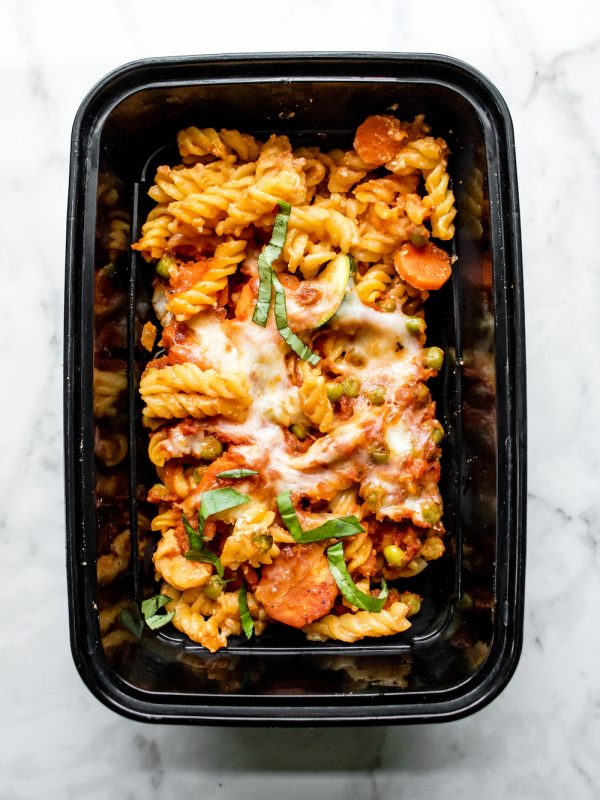
Once the storing has been done, preheat your oven to 400°F and spread the rotini pasta in the bottom of a 7x11 baking pan. Now, pour the almond milk over the pasta to evenly coat, then cover it with your sauce and vegetables. Sprinkle the top with mozzarella cheese, cover with aluminum foil, and bake everything for 35 minutes. Remove the foil and broil for 5 minutes. After that, remove the dish from the oven and let it cool for 10 minutes. Scoop pasta into 4 black MPOF containers and refrigerate until enjoying. Serve topped with chopped basil.

Divide this one pan meal into four even portions, then put each one into these simple single compartment meal prep containers for refrigeration.
Love the simplicity of one pan cooking? So do we! Check out these other one pan recipes for your future meal prep:
One Pan Roasted Salmon, Asparagus & Potatoes Recipe
One Pan Paleo Sticky Sesame Chicken Thighs
One Pan Whole30 Sausage and Veggie Meal Prep
One Pan Fajita Salmon Meal Prep
One Pan Roasted Brussels Sprouts, Grape and Sausage Meal Prep
One Pan Garlic & Herb Chicken Drumsticks with Patty Pan Squash
One Pan Mushroom, Pomegranate & Feta Wild Rice
One Pan Asian Turkey Meatballs
Have an almond allergy? Don't worry, feel free to substitute the almond milk with a milk of your choosing.
Experiment with the veggies you include! As always, the more the merrier!
Chop your veggies into the smallest pieces you can. They'll cook evenly this way.
Pasta is more or less pasta - You can experiment with any kind you prefer for this dish.

Thank you to The Kansas Beef Council for sponsoring The Ultimate Guide To Affordable Beef Recipes post, and thank YOU for supporting the brands that help make Meal Prep On Fleek possible. All opinions are our own.
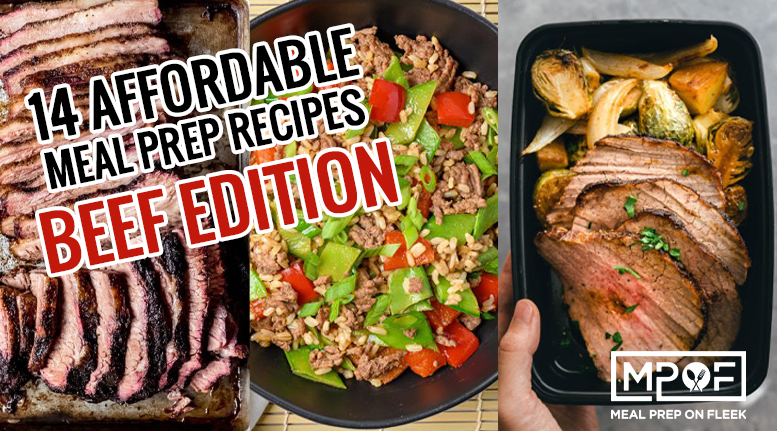
Beef. It's what's for dinner (and lunch) many days! There is a good reason why we love meal prepping with beef. Not only is it versatile and extremely delicious, but it is also affordable, as well as, an excellent source of protein. One type of beef can be used in multiple ways, so if you are a shopper who likes to buy in bulk, fear not! You don't have to worry about eating the beef the same way over and over again. Instead, you can divide it up and use it on a couple of the recipes below or use half now and freeze half for later.
But, no matter your budget, we have something to satisfy that beef craving!
Price per pound of beef can fluctuate week by week and even region by region in the country. But, if you're looking for the most affordable cuts of beef to use in your meal preps, these are it! Oh, and the list doesn't stop here! You can check out the full list of affordable beef cuts here!
View this post on Instagram
Ground beef is perfect for just about anything! It is not only limited to burgers and meatballs! You can also serve it for breakfast in a hash or turn it into egg cups! The possibilities with ground beef are endless!

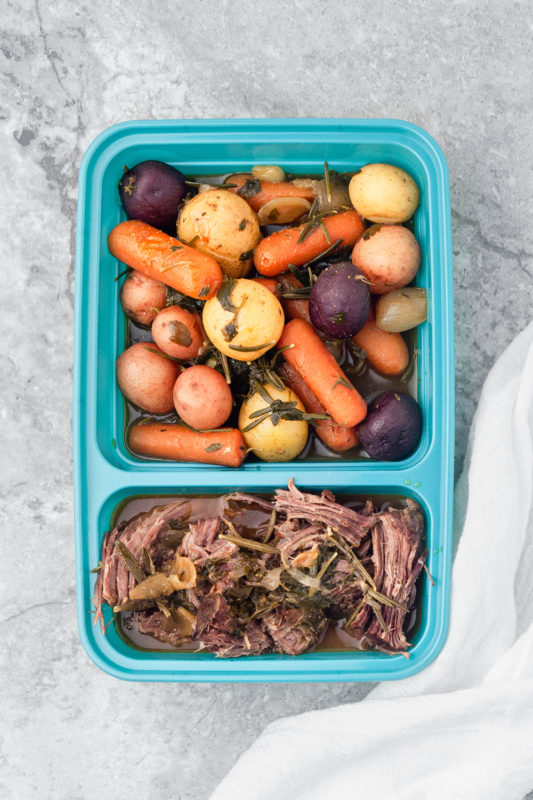
Chuck roast is perfect for a slow cooker or pressure cooker recipe! When you need something, but don't feel like really 'cooking,' this is where it's at!

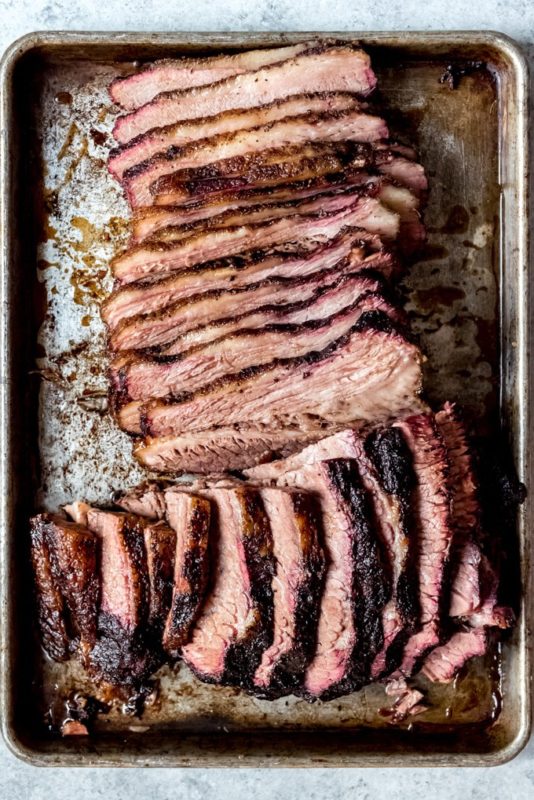
Ready for summertime grilling? Then, grab yourself some brisket! One part of it, the brisket flat, is considered lean. It's the leaner half of the whole Brisket also known also as the "first cut," this full-flavored meat can be sliced or shredded. You can either buy Briskets whole, or the flat from stores. This cut of beef is ideal for low and slow grilling or using in a slow cooker! Have a smoker, then this is a must-try!


Top Sirloin is a great choice because it's flavorful, but also tender and can be used on anything from salads to steaks to stir frys and kabobs.


Skirt steak is great when you want tons of flavor and something done fast! This cut of meat is best when marinaded and sear quickly over high heat! Can we save, "time-saver?"
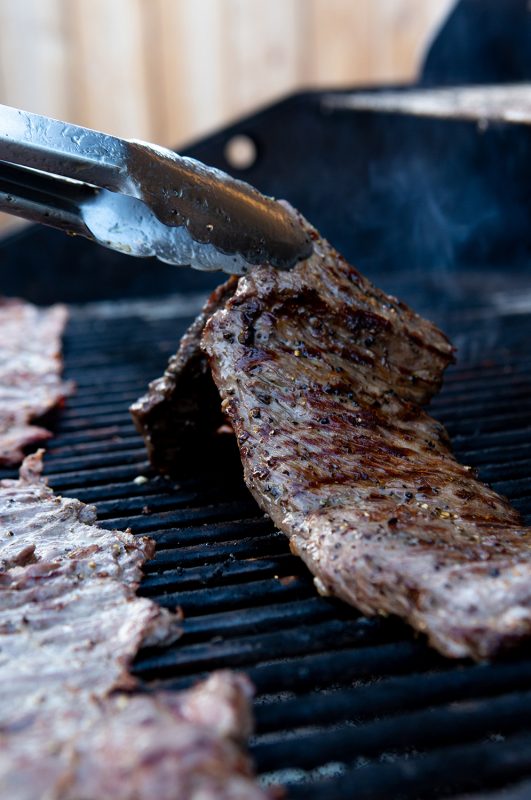
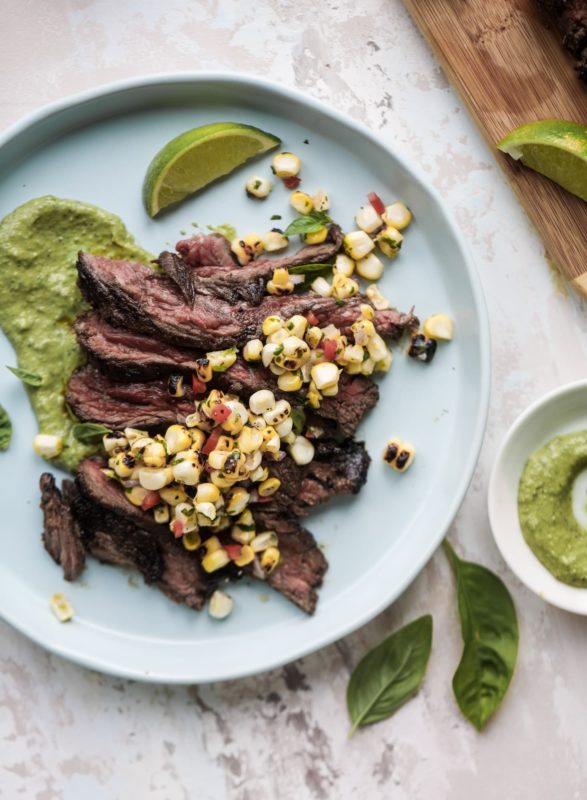
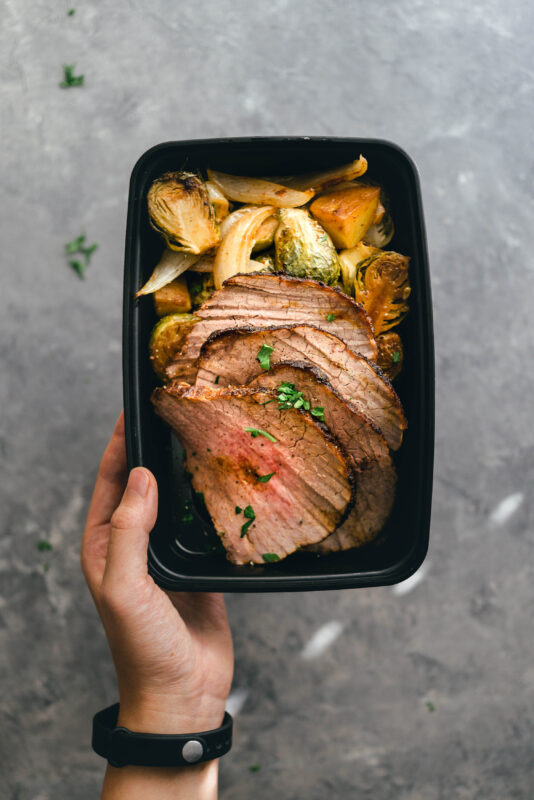
Top round is a lean and inexpensive cut that is great for a variety of meal prep recipes! It's an easy way to get extra protein into your meals.

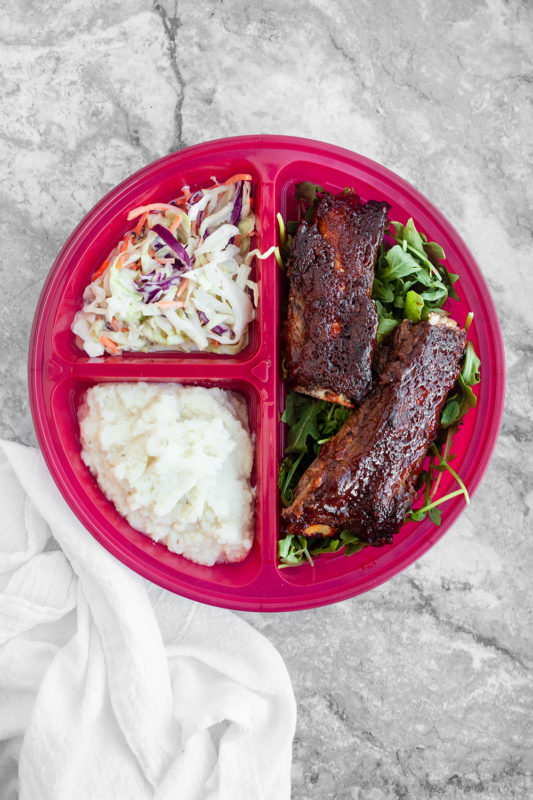
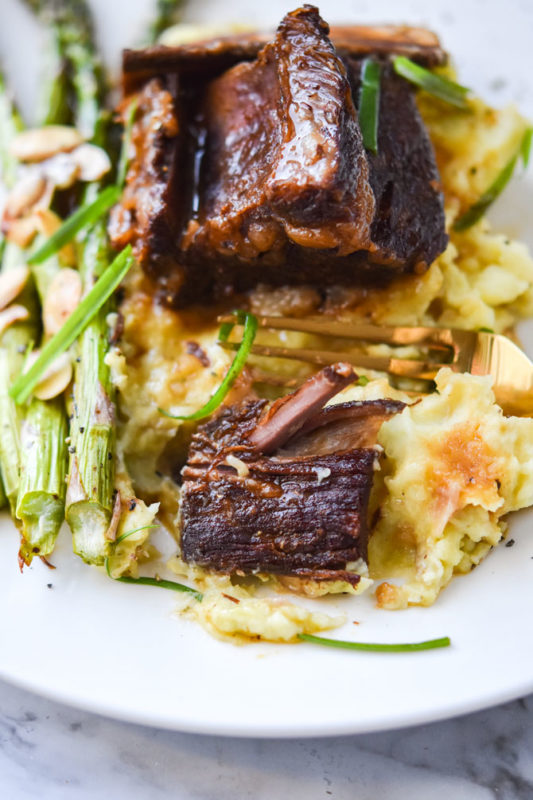
Beef ribs come in many varieties! They are great for grilling, oven baking, cooking in your pressure cooker, and more!
Gut Health: It's More Important Than You Think!
Did you know that approximately 70% of the body's immune system resides in the gut? Seriously! Since the immune system is important to suppressing disease, paying attention to the health of your gut is one important key to keeping your body holistically healthy. But what does it really mean when you hear friends, or your doctor, refer to "the gut" or "gut health"? Let's take a look
First of all, when we say "the gut", what do we mean? Well, we mean the digestive system components of the stomach, the small intestine, and the large intestine (aka the colon). There are other organs associated with the digestive system, but these are the major players.
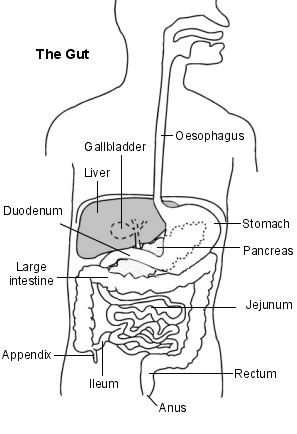
The gut is like a playground for all sorts bacteria; some good and some bad. This bacteria, also called microbes, flourish in the digestive tract. We each have a varied grouping of these microbes that make up our own individual bacterial profile (or microbiome). Some of each profile is inherited, while some is a result of a person's lifestyle choices. Many doctors now believe that the bacterial balance of the gut has a greater impact than previously believed on many diseases; from irritable bowel syndrome to cancer.
The bacteria in the digestive tract need to have a balance of good over bad. Gut bacteria plays an important role in protecting the body from disease and for playing all of the roles that they do and to keep the body healthy. Bacteria is responsible for producing certain vitamins the body needs and for sending important microbial messages to the immune system and the brain.
Some biologists believe that in the future, your bacterial profile will be able to be determined by something as easy as a blood test. If your profile is found to be one that is prone to disease, they predict an individualized probiotic "cocktail" of sorts could be prescribed that can even out some of the bad bacteria that the body produces to promote long-term gut health. Until then, there are some good things that we can do to promote good overall gut health through our dietary choices today.
The gut is very central to our bodies and connected to many vital organs. Poor digestive health can compromise the immune system and cause inflammation in the body. It is important to have the right balance to keep a strong immune system, eliminate waste well, and have good digestive functioning. A healthy gut will work well to eliminate dangerous toxins and to metabolize nutrients that are essential.
Several in the medical profession are predicting that we will be hearing much more about restoring the integrity of the gut as therapy for all kinds of diseases in the next 5-10 years.
An unhealthy digestive tract can be linked to a variety of health problems as previously mentioned above. Some might be rather obvious, but some will possibly surprise you. What are some good indications that some extra attention should be paid to your gut?
And more....
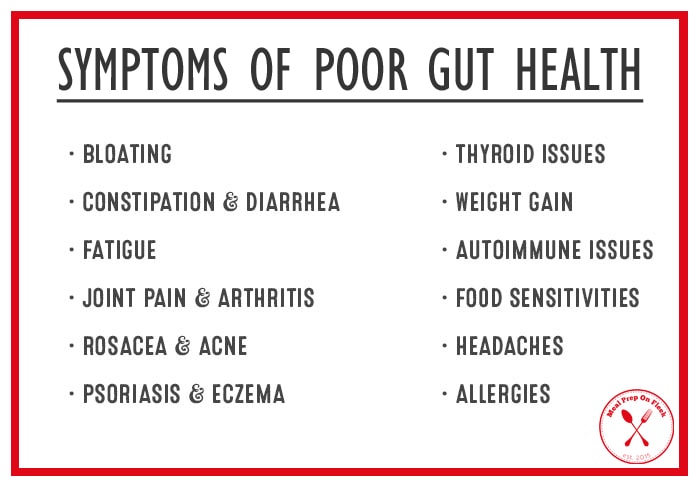
So if you if you suffer from any one of these things, looking into what you can do to heal and restore your gut is one of the first places you should look for relief. But how? Where should a person start?
Start this way:
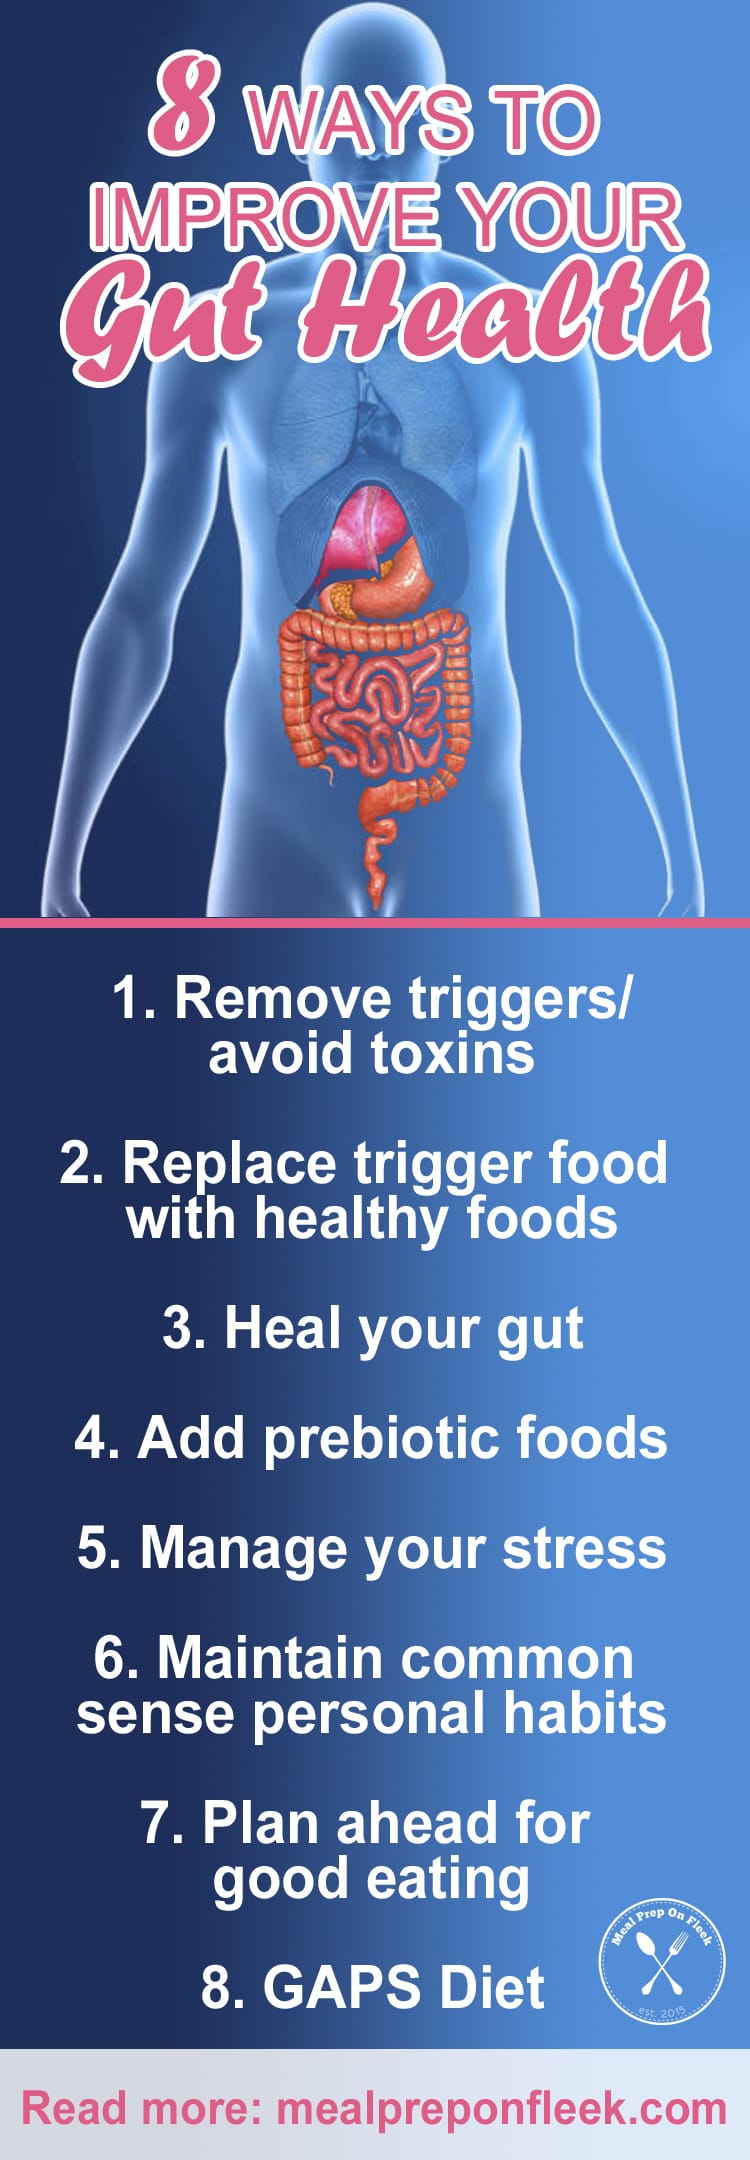
Let us know in the comments section below how you plan to eat your way to better health and improve your own gut health!
Collagen protein... It's the hottest trend in supplementation right now because of it's amazing health benefits. It contains an incredible amount of protein, helps with weight loss, aids in digestion improves your joints and bones and also makes your skin look incredible! Oh, and also improves your sleep! It sounds like a miracle supplement, doesn't it?
Collagen is the most abundant protein in our body. It is essential for the connective tissue of the bones, muscles, blood cells, cartilage, arteries, and organs. Did you say you wanted to build muscle? Yup, you better keep those muscles strong with collagen because as we age the amount of collagen our bodies produce decreases....and there can be side effects. So, instead of dealing with the negative effects down the road, get ahead of the game by adding collagen to your diet now! It truly is what holds your body together.
Where do we even begin! There are so many! But let's talk about a few of our favorite reasons!
Collagen helps to soothe and heal the digestive tract. It also helps to break down the protein and fat from your meal making them easier to digest. Have you been feeling bloated? Try adding collagen.
Did someone say weight loss? We are in! By including collagen in your diet, you could help increase your metabolism through the additional lean muscle you are putting on your body. No, adding collagen won't turn you into a muscle making body builder. But, collagen along with a moderate exercise plan can help improve that metabolic rate. That extra burn might just be enough for an extra cookie now and again 😉
The amino acids in collagen help to reduce inflammation, repair tissue and provide relief from discomfort. Do you ever feel stiff or achy? Add in that collagen! You are too young to be dealing with that nonsense yet!
Collagen is the building block for your hair, skin, and nails. It also helps to improve the moisture level of your skin, the smoothness, and the wrinkles! You already have your meal prep and exercise regiments in line to keep you feeling good, now it's time to add collagen so you look as young as you feel!
Collagen provides the body with glycine. Gycine is the amino acid that works with the neurotransmitters in your brain and aids in improved sleep quality. Did you know that rest is more important in achieving your health goals than your workouts are? Yup, it's that important! You will also find yourself more alert and happier during the day after a good nights rest!
...and there's more!
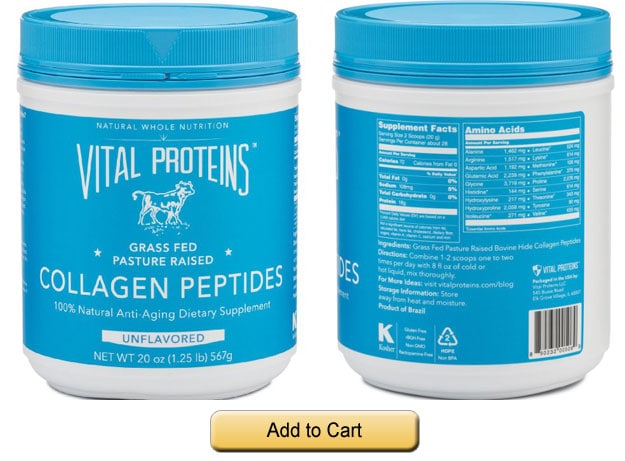
It's much easier than you think! Here are six simple ways you can starting adding collagen into you routine:
One of the easiest ways is to add a scoop to your morning coffee (or protein shake if you don't drink coffee). There is no flavor so you will not have to worry about it alternating the flavor of your perfect cup of joe.

That's right! Collagen works so well in your meal prep breakfast recipes! Plus, who doesn't love waffles or pancakes all week?

Just like adding collagen to your coffee, mixing it into your oats or porridge is another quick way to add it into your day without altering the flavor of what you are eating.

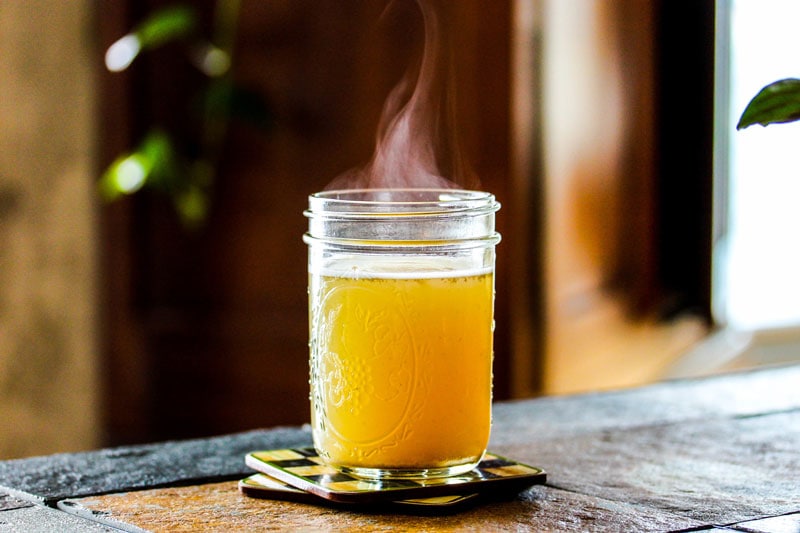
Here's a easy guide to making bone broth from Fairy Gutmother:
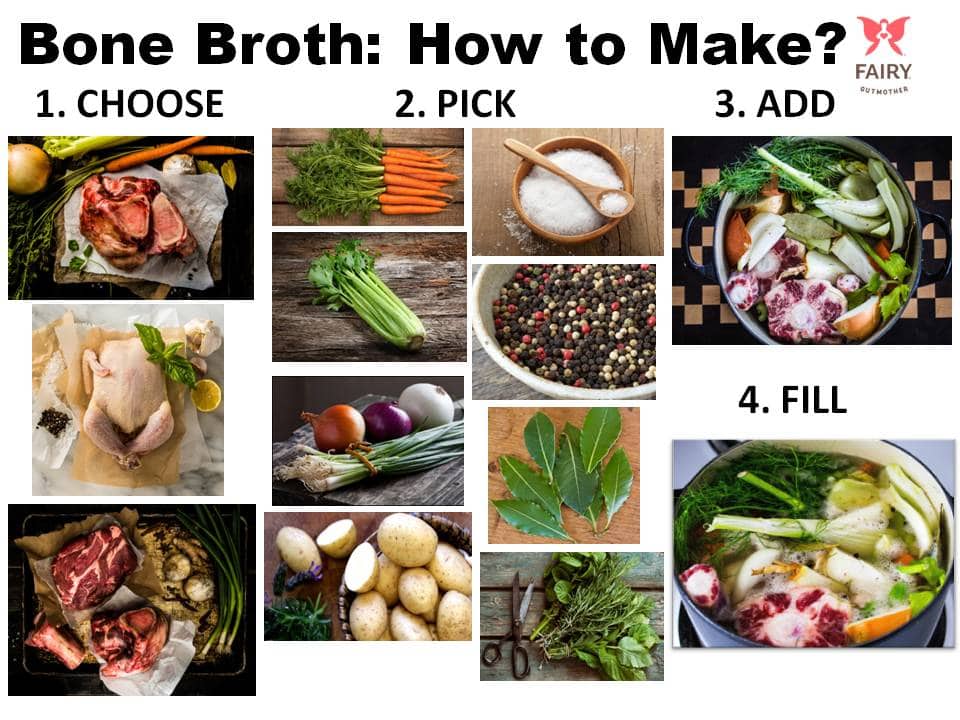
Who would have thought to use it like this?! But if it involves chocolate and almond butter, we are in! This homemade recipe is perfect for topping your oats, pancakes, waffles, dipping with apples or just eating with a spoon!

Homemade Chocolate Almond Butter Recipe
Sold at peanut butter cup. But when collagen is added in for an extra health benefit we might just have to go with two! I mean, we are burning more calories since our metabolism is higher now, right?

Peanut Butter Cup Recipe
Bottom Line: If you are looking to achieve a health goal, want to stay looking and feeling young and clearly eat delicious food then it is time to start including collagen into your diet. What have you got to lose besides maybe a few extra pounds!
Ok, lets be honest. We are die hard breakfast lovers! And even more specifically, egg cup lovers. So much so that we even made an Ultimate Guide on Egg Cups. Whaaaatttt!
It's pretty hard not to love eggs when you can make so many delicious recipes that are meal prep friendly. But, at some point (like when you're doing the Whole30), you need to switch up your game. No one wants to start growing feathers because they subside on eggs alone. Amirite?
These 17 breakfast recipes with NO eggs are no yolk. Get it? haha Ok, but seriously, they are no joke...and have no yolks (kind of!) 😉


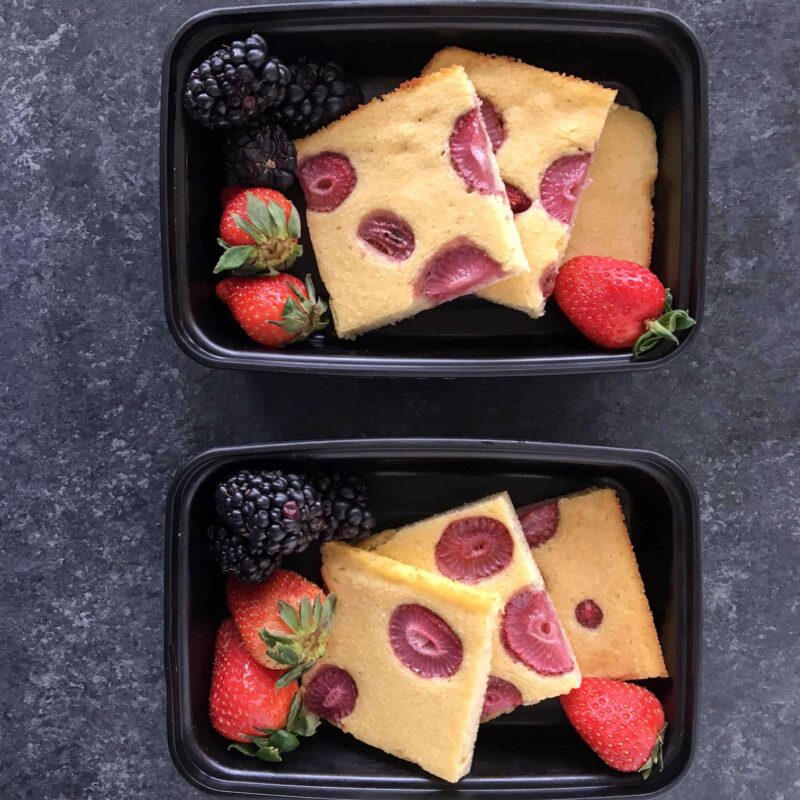


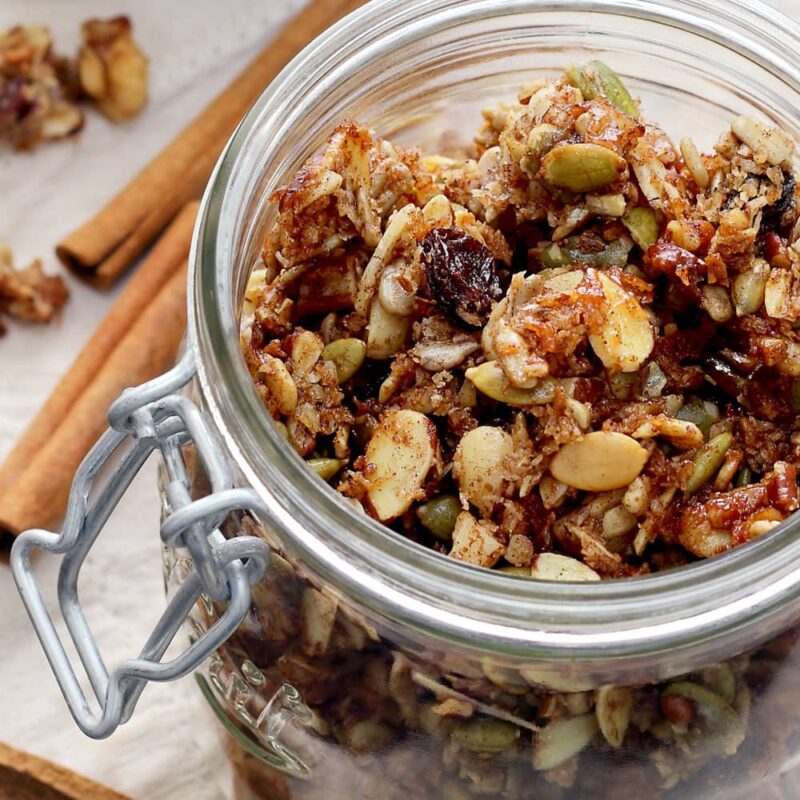


Are you ready for fried chicken with a twist? Our recipe for Air Fried Chicken Schnitzel is just what you're looking for! Schnitzel is a recipe that found its way to Germany through Austria, and there are variations of the dish. They make schnitzel with pork, veal, beef, or chicken. They pound the meat for thinning and then deep-fry it to a golden, crispy piece of perfection. Our recipe makes for a healthy and easy dinner idea. Instead of deep-frying, we air fry chicken breast that's coated with gluten-free flour. We pair Air Fryer Chicken Schnitzel with potatoes and broccoli for a comforting home-cooked meal for lunch or dinner.
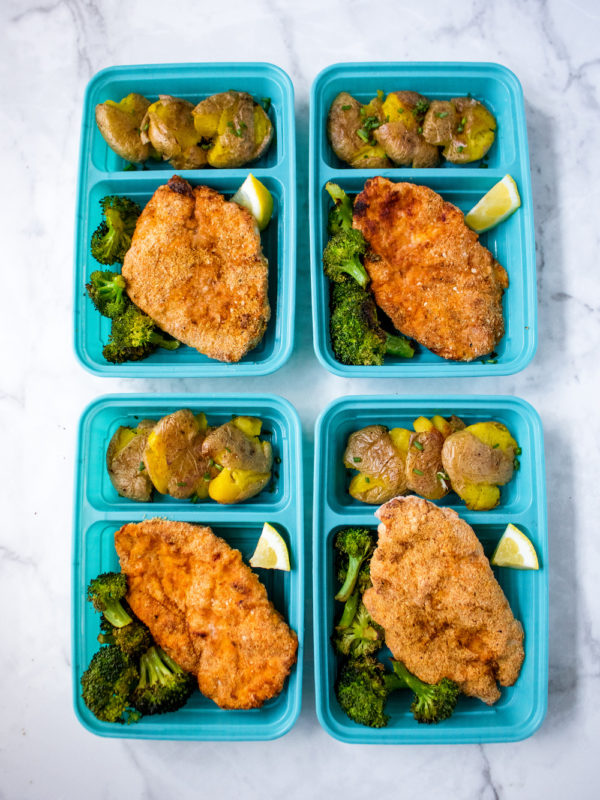
This German flavor gets a low fat makeover using the air fryer to crisp chicken instead of frying in oil. The end result is tender, crispy chicken that is Whole30 compliant!
Your complete Air Fryer Chicken Schnitzel meal will last for up to 4 days in the refrigerator. For maximum freshness, store and keep your meal in an airtight container.
Yes, you can. Put the chicken in a shallow, freezer-friendly container or wrap each piece in aluminum foil and stick them in a freezer bag. As for the roasted vegetables, we don't recommend freezing those. But if you do, leave the vegetables slightly undercooked. Air Fryer Chicken Schnitzel will last for 6 to 12 months in the freezer, depending on the temperature.
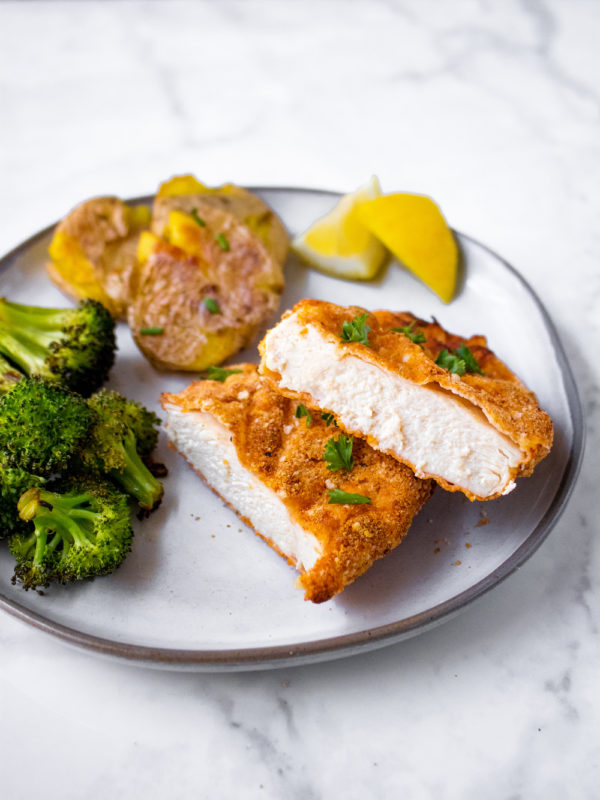
For serving
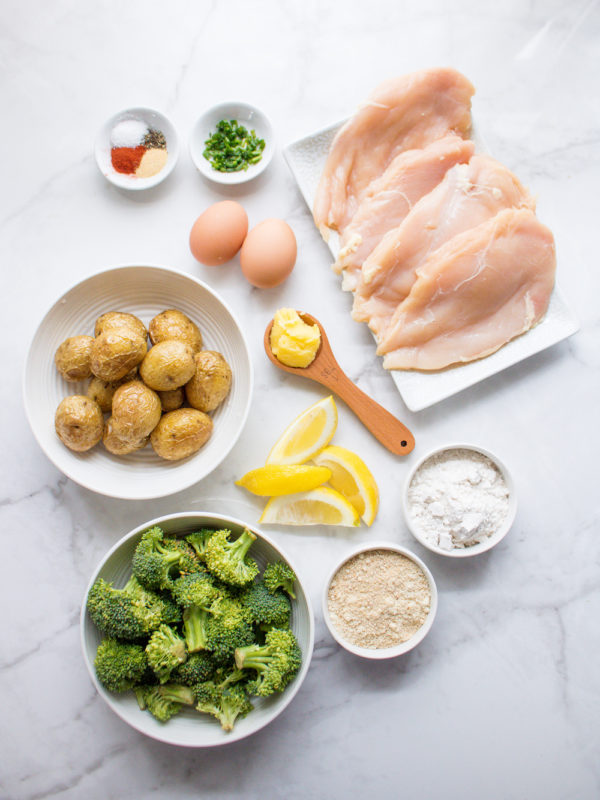
Since we're using an air fryer, this will be a simple recipe to cook and serve. Grab all of your ingredients and start by pounding the chicken between two sheets of parchment paper. Once you pound the chicken to half-inch pieces, beat your eggs in a shallow bowl. Get two more shallow bowls for the flours. Use one for the arrowroot flour and the other for the almond flour and seasonings. Now you're all set up for dredging the chicken!
Start with two pieces of chicken at a time. Dredge the first piece of chicken in the arrowroot flour, shaking off excess flour. Then dip that piece into the eggs, followed by dredging it in the almond flour mixture. Dredge the second piece the same way. Fry both pieces of chicken in your air fryer for 9 minutes at 390 degrees. Flip the chicken and continue to fry for another 9 minutes. Repeat this process for the other pieces of chicken. As your chicken cooks, start roasting the vegetables. Preheat your oven to 425 degrees and line a baking sheet with parchment paper. Place broccoli and potatoes on the pan, gently mashing the potatoes to flat. Pour ghee over both the broccoli and potatoes, then bake for 20 minutes. When the vegetables finish cooking, sprinkle chives on the potatoes and sea salt onto the broccoli.
That's it! Your Air Fryer Chicken Schnitzel meal is complete in less than one hour. Wasn't that an easy dinner idea?
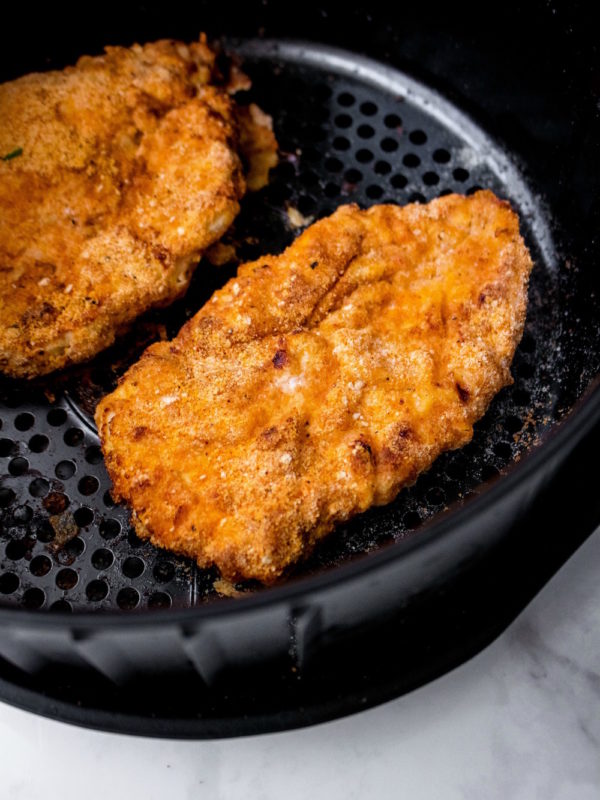
Divide your meal into 4 dual-compartment meal prep containers with one piece of chicken Schnitzel and three potatoes per container. Add 1 cup of broccoli to each container. Don't forget a lemon wedge next to the chicken for flavorful zest!
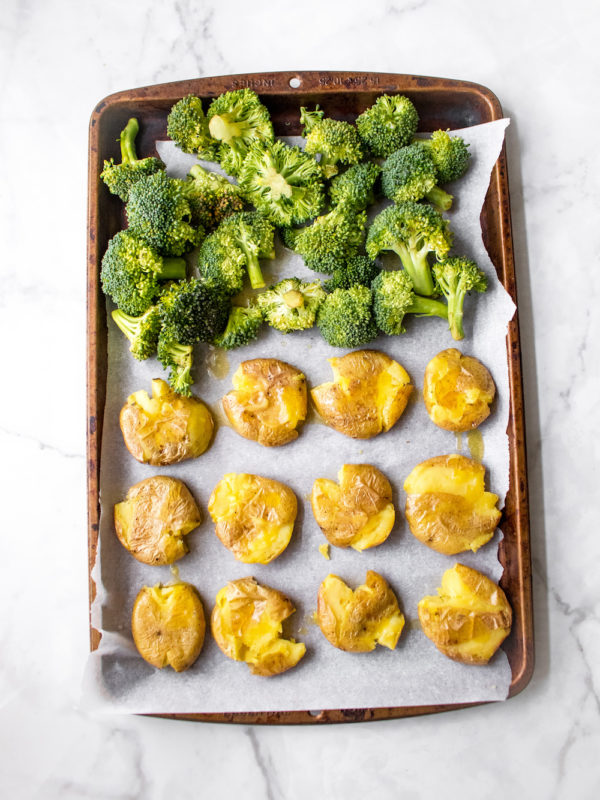
Air Fryer Garlic Parmesan Chicken Wings
For more air fryer recipes, check out these 25 Air Fryer Recipes That Will Change The Way You Meal Prep
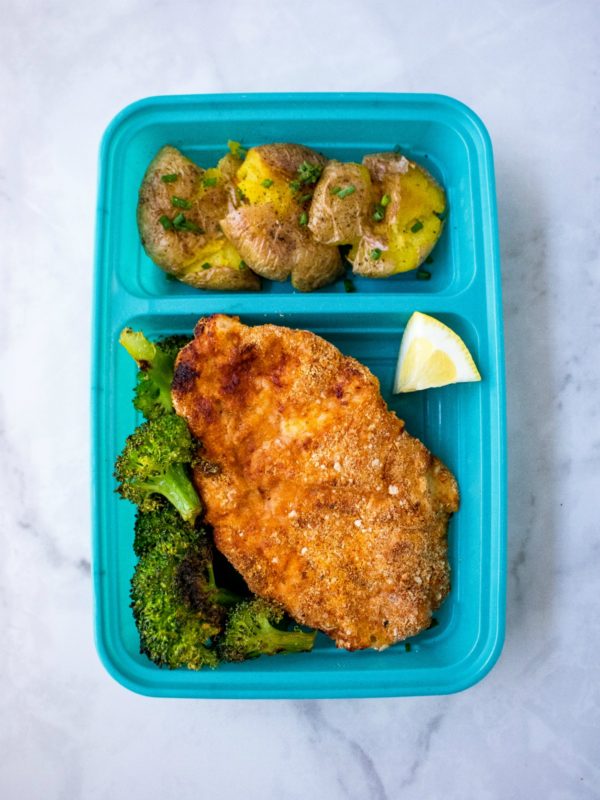
You can pound the chicken between parchment paper or in a plastic bag.
Pound the chicken with a wooden mallet, rolling pin, or heavy bottom pot or pan.
If you don't have an air fryer, you can fry the chicken in a cast-iron skillet with olive oil.
Substitute the chicken for veal, beef, or pork.
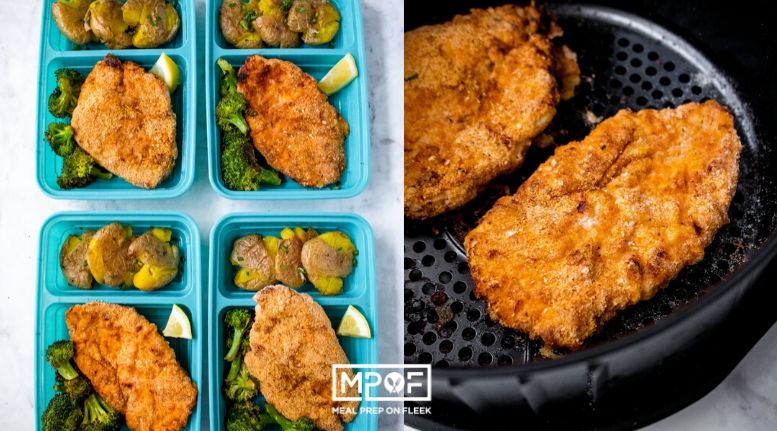
Give your chicken, rice, and vegetables-meal a spicy kick with Air Fryer Firecracker Chicken! There are many variations of chicken and rice for a few reasons; you can eat the meal for lunch or dinner, get all of your nutrients in one meal, and it is a simple meal to prepare. The only problem is that eating chicken, rice, and vegetables all the time can get boring. We're all about making meal prepping convenient and fun, so we're putting an Asian-inspired twist on your chicken and rice meals while staying gluten and oil-free.
Firecracker chicken will last for four days. Store the chicken in an airtight container and put it in the refrigerator.
Yes, you can freeze air fryer firecracker chicken for 2 to 6 months. Place your chicken in labeled freezer bags or containers and store. You can freeze the sauce, too.
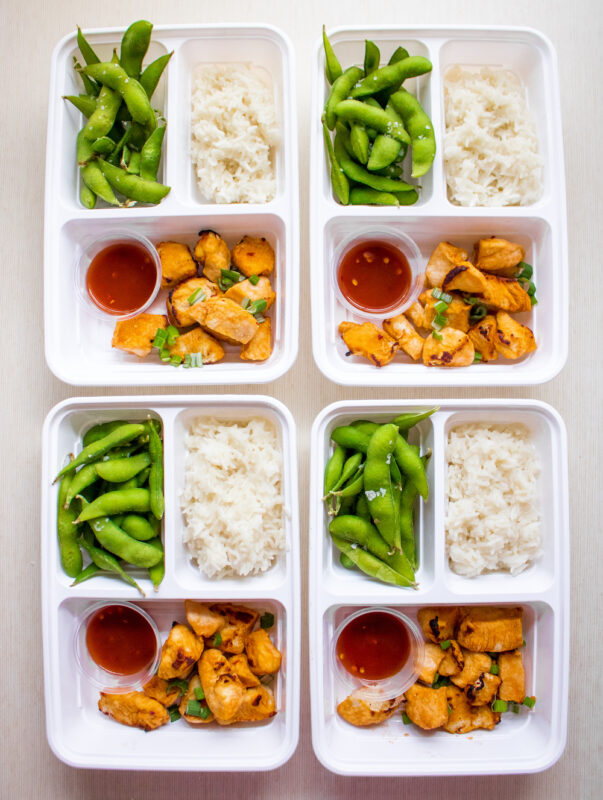
This spicy sweet chicken recipe is bursting with flavor from tangy hot sauce, honey and umami coconut aminos for a gluten free air fryer recipe with zero oil.
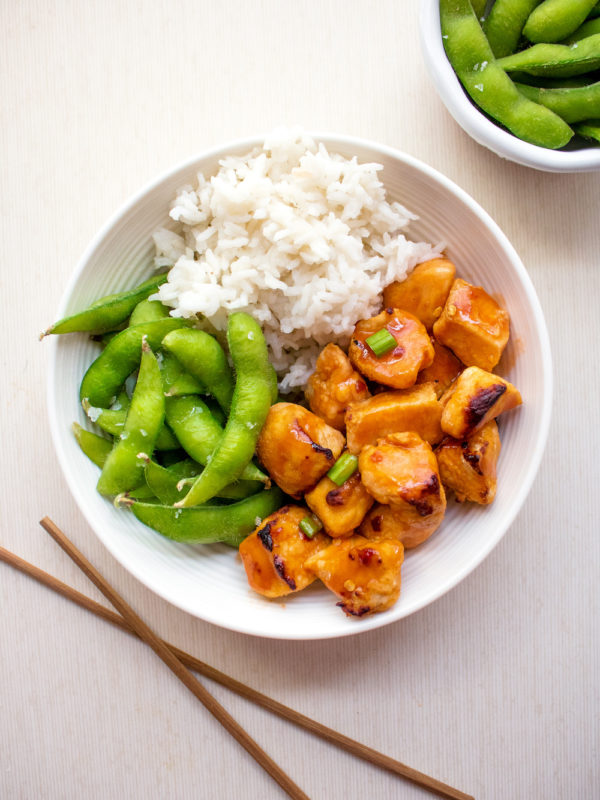
For Serving
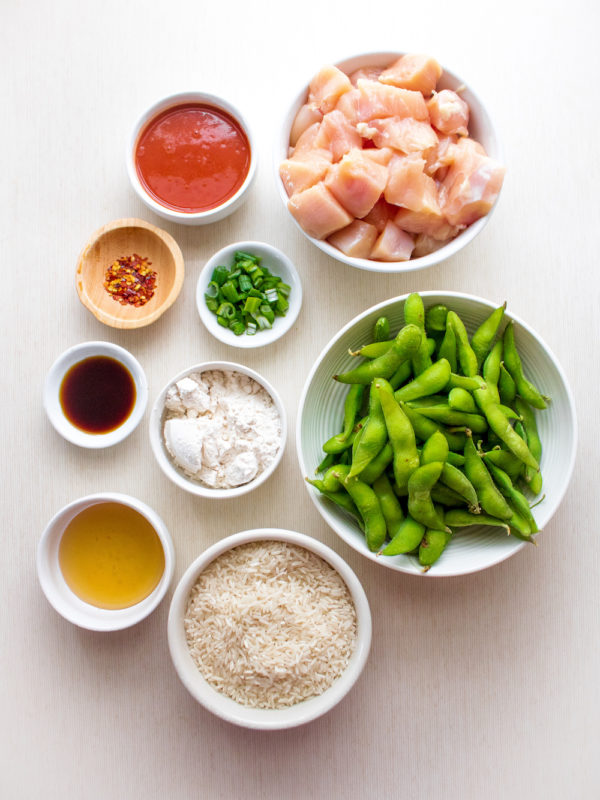
Start cooking your rice and edamame. The meal is complete once the chicken is ready. Start cooking your firecracker chicken while the rice and edamame cook. Start cooking the chicken by heating hot sauce, honey, coconut aminos, and red pepper flakes over medium-low heat until steaming. Pour the sweet & savory mixture into a small bowl. Now get the chicken ready by blotting chicken pieces dry with a paper towel. Place the chicken in a medium mixing bowl, add gluten-free flour, and toss the chicken to coat. Once you cover the chicken in flour, spread chicken evenly in an air fryer basket. Close and air fry at 390ºF for 8 minutes. Shake basket and fry the chicken for 8 minutes longer. Grab your firecracker sauce and spoon half of it over chicken and shake to coat evenly. Fry the chicken for 5 minutes longer. Use the remaining sauce to drizzle over the chicken before eating.
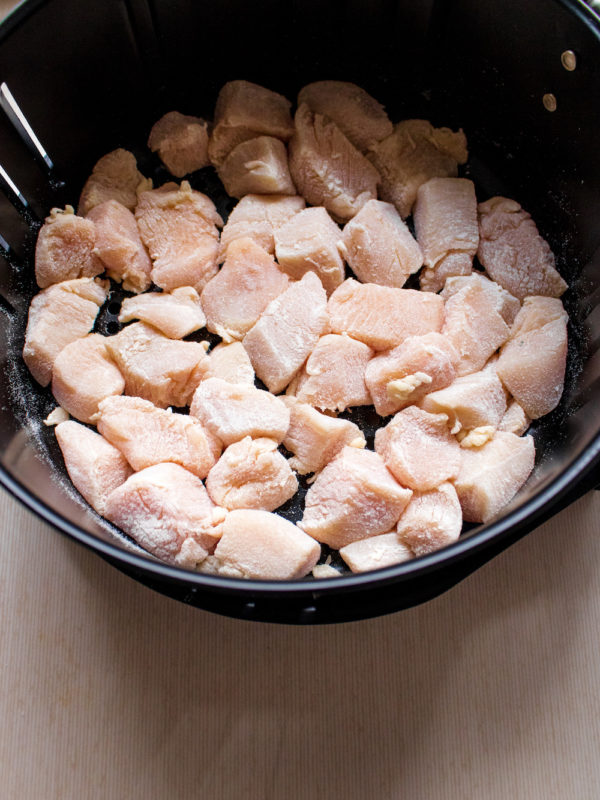
Get four MPOF meal prep containers and divide the remaining firecracker sauce between four sauce cups. Put your firecracker chicken in the large compartments and sprinkle with green onion. Divide rice between one of the 1 cup compartments and edamame in the other. Sprinkle edamame with sea salt and drizzle remaining sauce on chicken before devouring!
Step your chicken meal prepping game!
Air Fryer Garlic Parmesan Chicken Wings

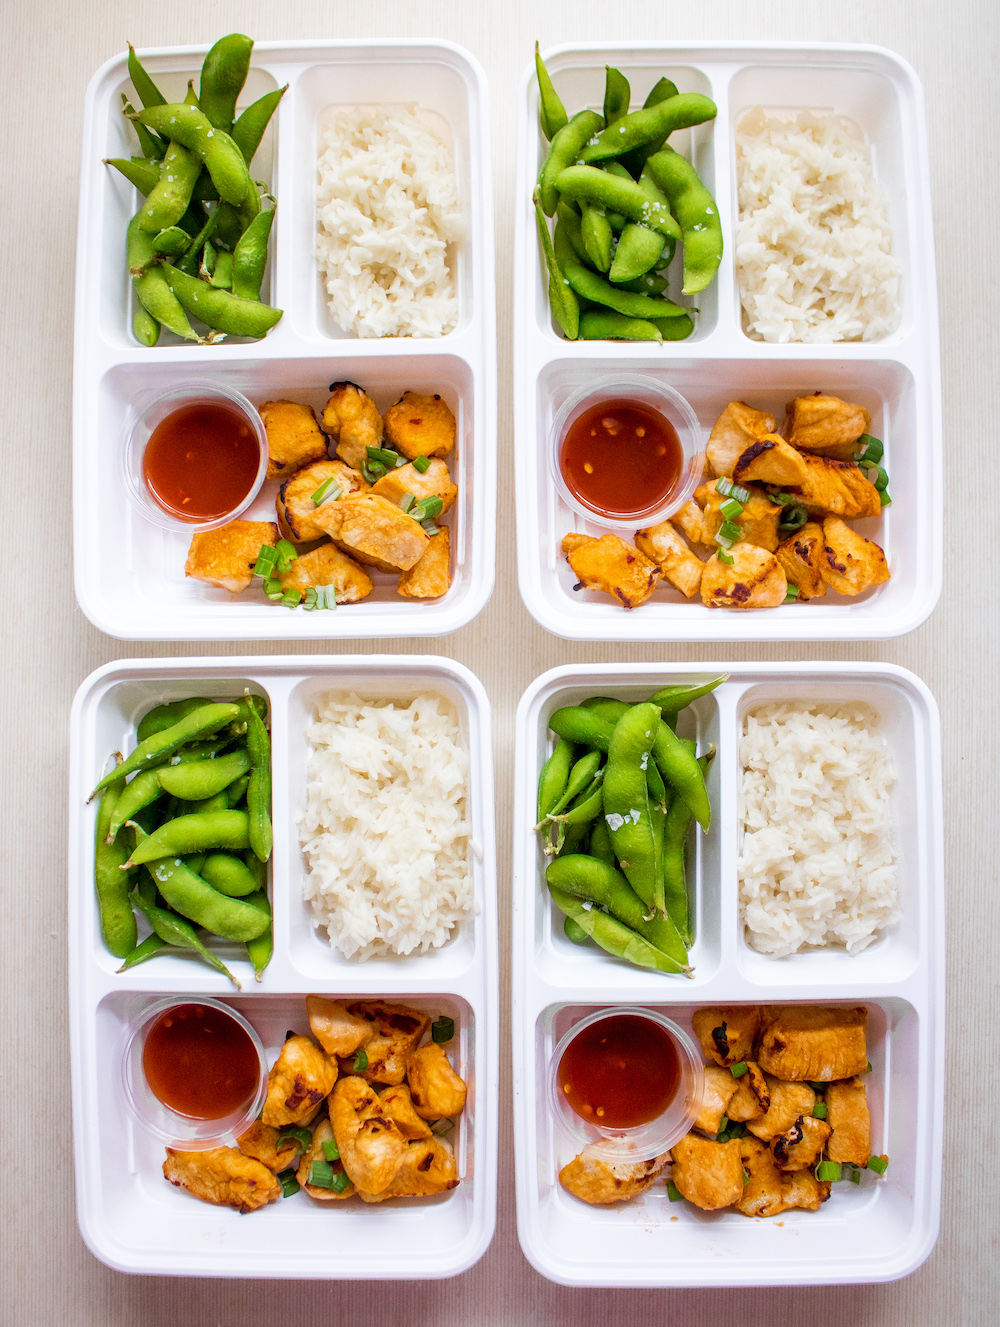
Don't pack your air-fryer basket with chicken. Fry a few pieces at a time to give the chicken space to get crispy.
If you want to turn down the heat a bit, omit the red pepper flakes.
You can serve firecracker chicken with Cilantro Lime Cauliflower Rice, rice noodles, or chow mein noodles. If you have any extra leftovers, use them in our Cauliflower Fried Rice.
Increase your air-frying temperature for crispier chicken.
We love providing recipes that leave a tasty vibe on your tongue while ensuring you get all the good nutrients that boost your health. In this case, one pan baked cod and veggies isn't only healthy and straightforward, but it also produces various recipe spinoffs. This helps your recipe repertoire to grow while ensuring your meals stay exciting.
This cod meal prep recipe comes together in less than 30 minutes. It is full of flavor and completely Whole30, and Paleo approved! It works well for a quick weeknight dinner or a leisurely Sunday meal prep.
Fun fact: Eating a lot of fish helps maintain a good weight. Cod is a source of lean and healthy protein, packed with omega-3. Do you want to keep a slender waistline and reduce inflammation! You know how! Incorporate more fish into your diet.
This One-Pan Baked Cod and Veggies recipe comes together in less than 30 minutes. It is full of flavor and completely Whole30 and Paleo approved! It works well for a quick weeknight dinner or an easy Sunday meal prep.
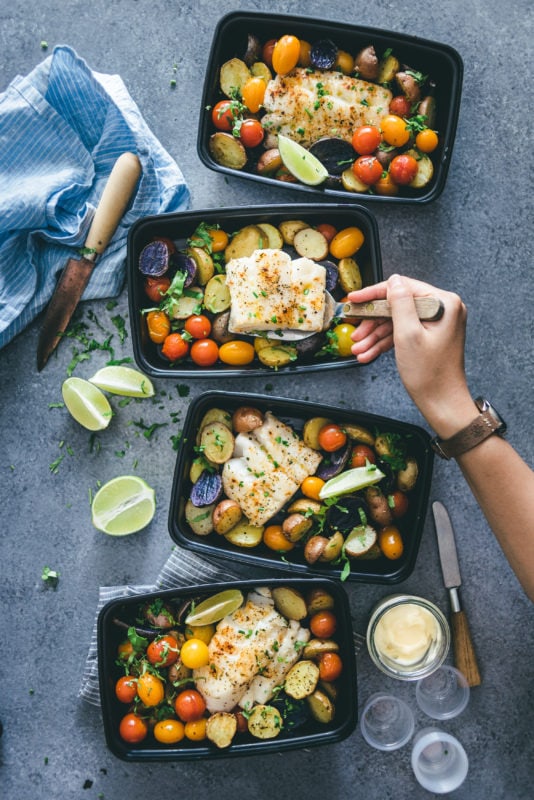
We recommend eating this meal in three days or less. Although it can still be good on day four, we don't recommend more than three days because of the variation in storage temperature. You can eat for dinner and have leftovers for lunch. Reheat in the oven, and boom boom, bang, you're good to go!
For optimum results, store appropriately in an airtight container (our Good Cook® meal prep containers are perfect for refrigerator or freezer storage). For easy reheating, store the potatoes and cod separately.
This cod meal prep recipe doesn't freeze well, and it's best when eaten within three days. Potatoes don't freeze well either, as they could turn mushy when reheating. If you do freeze the potatoes, don't cook them thoroughly so they're not mushy when reheated. Cod becomes bland when frozen and then reheated. So, sorry meal preppers, we don't recommend freezing one pan baked cod. If you're looking for freezer-friendly cod meal prep recipes, try our Crispy Fish Sticks and Baked Fish and Chips. Notice that the cod in these recipes have a batter, so that may be the secret to freezing-friendly cod!
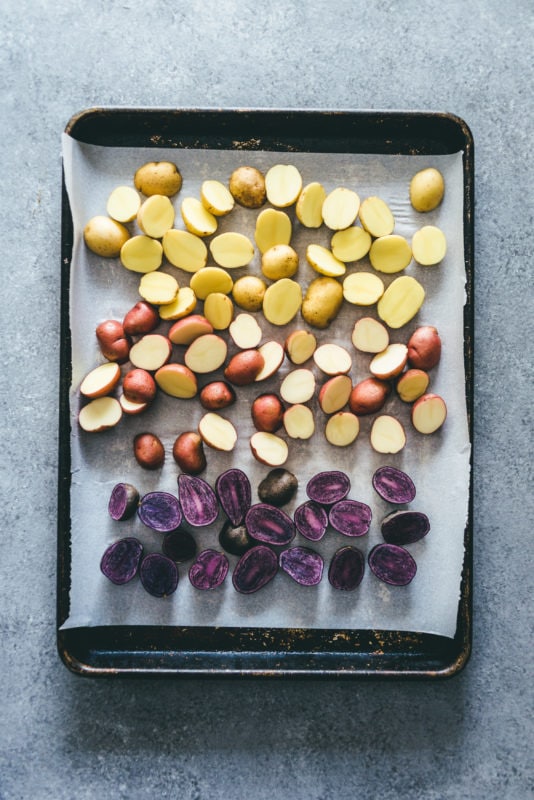
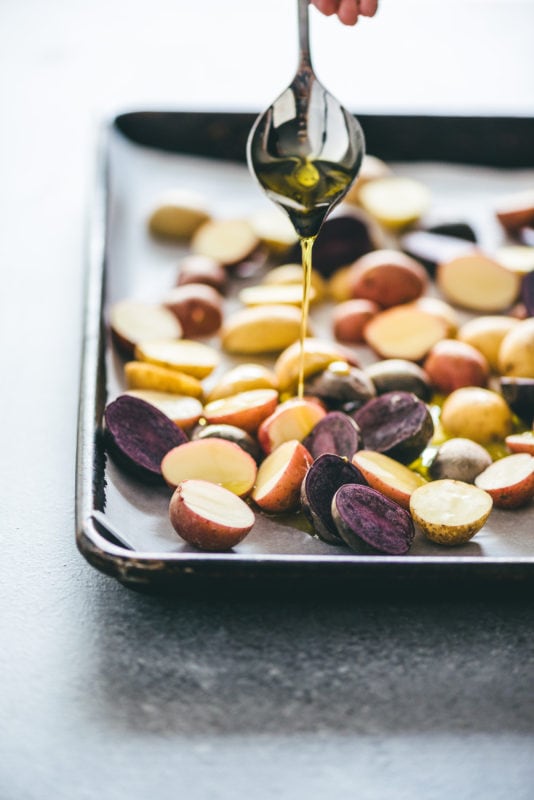
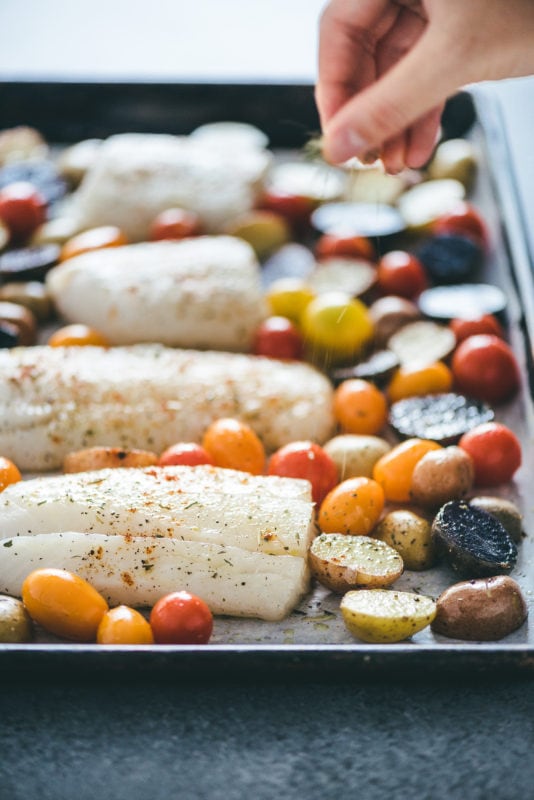
One pan baked cod is really easy to make! The flavor profile and presentation say otherwise. Doesn't a meal taste better when it is simple to cook?
To complement this fresh cod meal prep, we bake the fish using cherry tomatoes and seasoning. (Also, know that cherry tomatoes provide a decent taste all year long, making it possible to make baked cod with tomatoes whenever you prefer.)
To get started on cooking one pan baked cod, you need the right tools. The right cooking tools lead to the best possible execution of the meal prep recipe! If you don't always have the right tools, you can always Google alternatives, and sometimes we'll recommend products.
When making one pan baked cod, you need a good-sized baking sheet so the fish and vegetables cook thoroughly and evenly at the same time. The best size sheet pan for our one pan baked cod and veggies meal prep recipe is a standard 9x13-inch baking (or sheet) pan that holds up to 3 quarts of food. That's plenty of room for the amount of vegetables and cod you're cooking. Use our Good Cook® Essential Non-Stick Cookie Sheet. Also, an instant-read thermometer will ensure your fish is fully cooked. Now that we've got our cooking tools, let's meal prep!
First, preheat the oven to 400 degrees Fahrenheit. Then, toss diced potatoes into half of your oil and place them on the baking sheet. Roast the vegetables in the oven for 15 minutes. Feel free to enjoy the aroma coming from the roasted veggies. That's one of our favorite smells! Next, remove the pan from the oven and add in the tomatoes and cod. Drizzle your tasty veggies with the remaining oil and seasoning. Bake everything in the oven together for an additional 10-12 minutes.
That's it! You've got four perfectly crafted, healthy, delicious cod meal prep recipes!
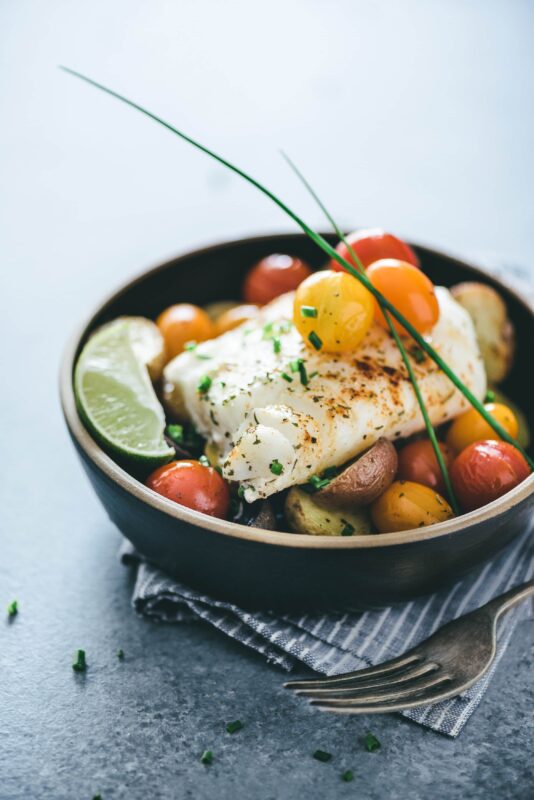
The cod meal prep is ready, and now it's time to serve. Use our one-compartment meal prep containers to enjoy a burst of fresh and tasty flavors in one sitting! Start by putting the potatoes and tomatoes in the container. Put the cod on top, then squeeze fresh lemon juice on top for the ultimate delectable tanginess. A finishing shower of your desired fresh herbs will make you come for more of this one pan baked cod.
Broiled Cod with Mango Relish what a way to enjoy the tropical feel within the comfort of your home.
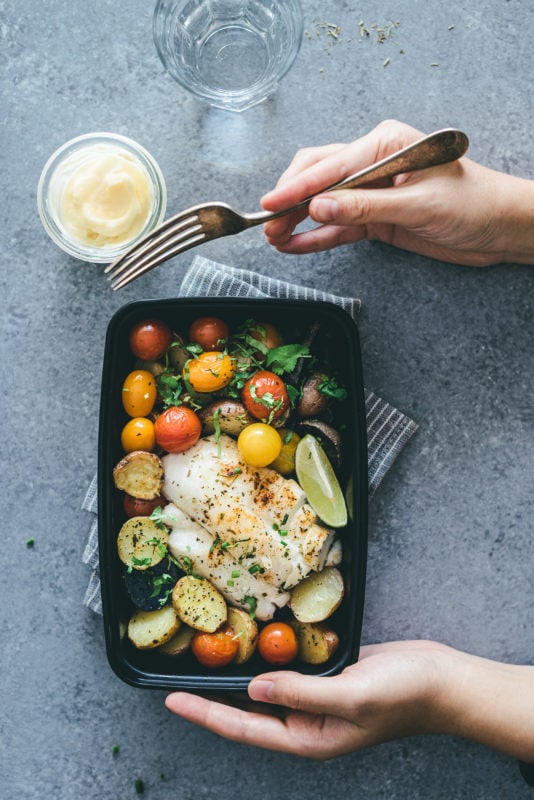
Pin This Recipe for Later
Here's an interesting, easy lunch idea for ya — Pork Fried Cauliflower Rice. You wouldn't think of that, would you? Well, that's what we're here for! We bring you healthier and more convenient foods to take with you on the go or get you excited for dinner; all while saving time and money.
Chinese takeout is a staple in fast-paced cities like New York and San Francisco. From coast-to-coast and in between, we enjoy Chinese cuisine for lunch and dinner. One of the most popular dishes is fried rice. You can choose between regular fried rice or add chicken, beef, or pork. Today, we're showing you how to make your very own pork fried cauliflower rice. This easy lunch idea is gluten-free, low-carb, and low-calorie, but it's certainly not low in flavor. The pork, sesame oil, onions, ginger, garlic, and coconut aminos give you the same tangy and fragrant burst of flavors as traditional fried rice.
Ditch takeout and make this tangy, umami pork fried cauliflower rice instead. This version is low in carbs, gluten-free and soy-free for a guilt-free takeout fake-out.
Pork fried cauliflower rice will last for 4 days. You can keep cooked cauliflower rice in the refrigerator for up to 5 days and cooked pork for up to 4 days. Always store your leftovers in airtight glass or plastic containers, which double as meal prep containers, and to take on the go.
Yes. Freeze fried cauliflower rice in a glass or plastic container (make sure the containers are freezer-friendly) or in a gallon freezer bag. You can also transfer your pork fried cauliflower rice into a casserole dish and cover it in aluminum foil or plastic wrap, then freeze it.

Pork fried cauliflower rice is an easy lunch idea that only takes 32 minutes to cook. Let's go through the steps together.
First, heat 1 tablespoon of sesame oil in a cast-iron (or similarly heavy) skillet over medium heat. Then add onions, carrots, and peas. Stir occasionally and cook for 8 minutes until the onions are tender. Stir in ginger and garlic and let the vegetables cook for 2 more minutes. Once done, transfer to a medium-sized bowl. Now it's time to cook the pork.
Chop the pork into half-inch pieces and increase the heat under the skillet to medium-high heat. Add another tablespoon of sesame oil to the skillet and brown the pork in the oil for 7-8 minutes, stirring occasionally. Put cooked pork with the onions, peas, and carrots. Cook your beaten eggs in the same skillet for 4 minutes while stirring. Put the eggs with the pork and veggies. Finally, add the rest of the sesame oil to the skillet to cook and mix the cauliflower rice, pork eggs, and vegetables together. Pour coconut aminos over the fried rice, mix well, and cook for 5 minutes.
That's it! Deliciously healthy pork fried rice in under 35 minutes.
Divide the fried rice amongst 4 MPOF meal prep containers. Garnish with green onion and store the portioned out meals in your fridge.
Oh yes, you better believe we have more healthy and easy fried rice recipes for you!
Sheet Pan Teriyaki Chicken and Pineapple Fried Rice
Sweet 'N Spicy Jalapeno Sausage Fried Rice
Cauliflower Fried Rice with Legumes and Chicken Shish Kabobs
Also, check out our guide on How To Make Cauliflower Rice & Meal Prep With It along with 10 Healthy Alternatives To White Rice
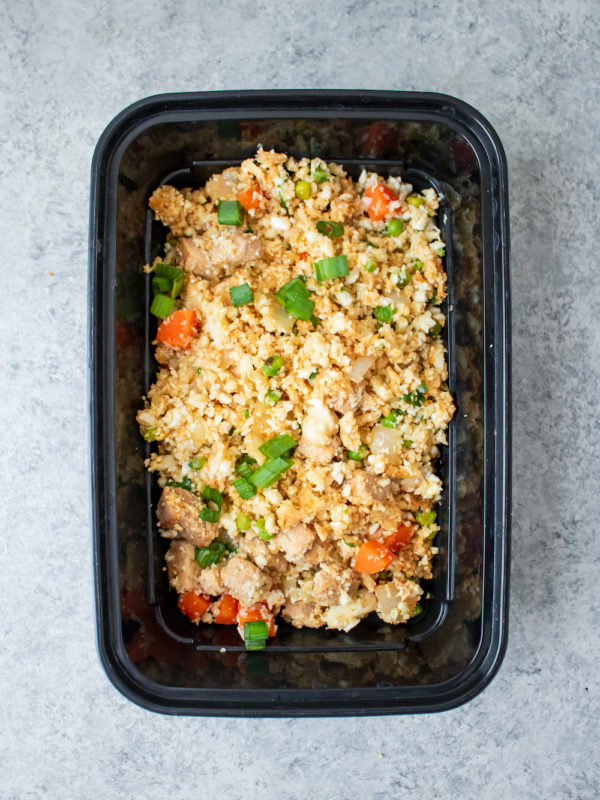
We use a ready-to-heat cilantro lime cauliflower rice, but you can make your own.
Use chilled rice if you can because chilled rice fries better than warm rice.
Fry with butter instead of (or with) sesame oil for crisp, tastier, and brown-colored fried rice.
Substitute sesame oil for oyster sauce for additional acidity, or use the oyster sauce with sesame oil.
Finely dice your scallions on a sharp angle.
Find a preserved Chinese vegetable mix of salted radishes and mustard greens for a saltier bite.

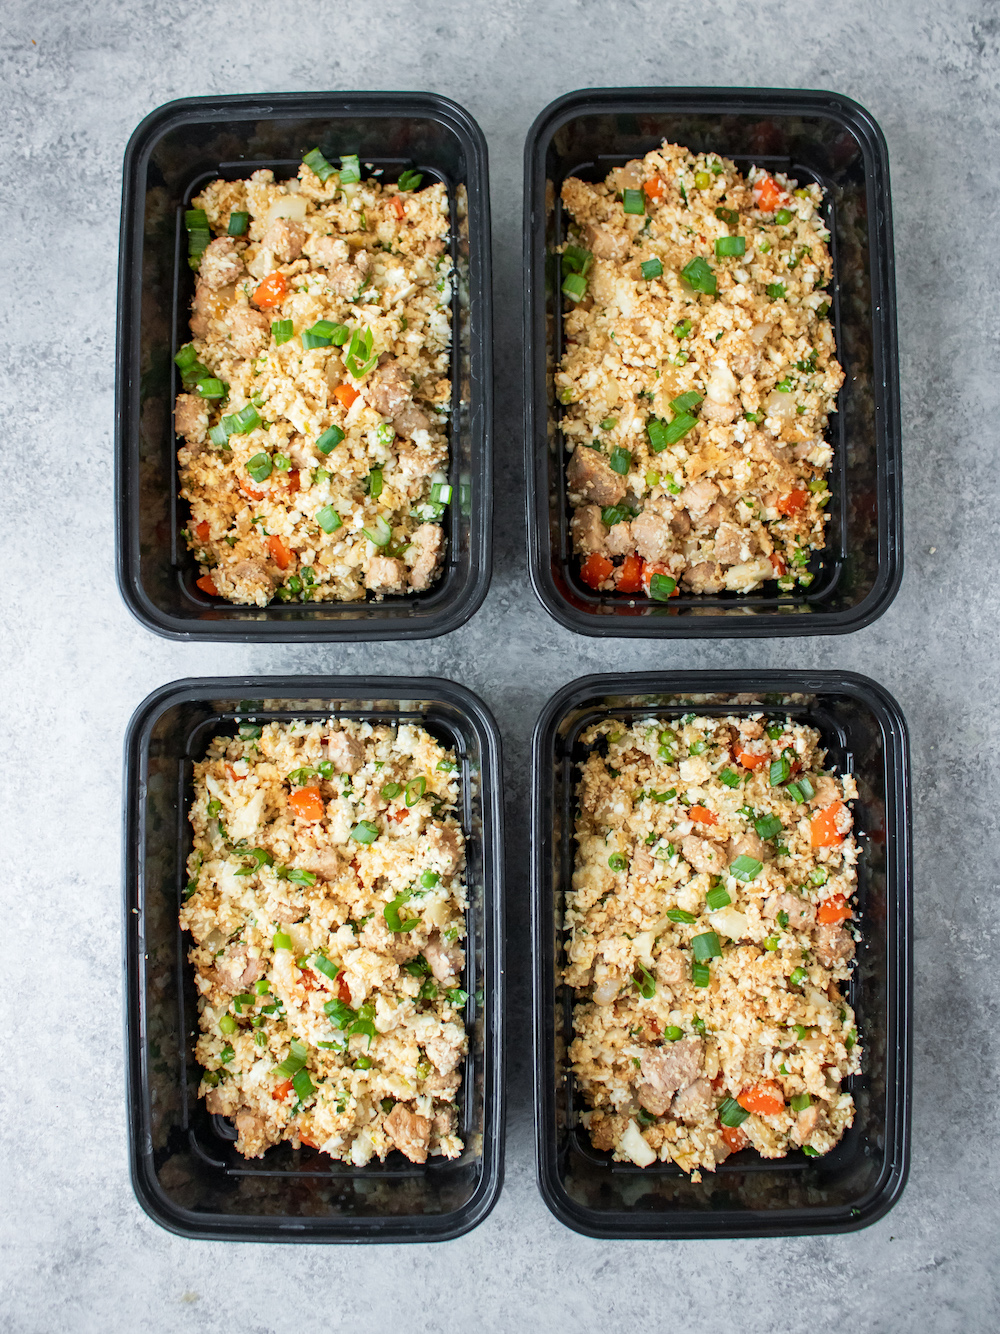
Imagine yourself coming home to the smoky and fragrant smells of instant pot beef barbacoa! Made with chuck beef roast, garlic, cumin, and chipotle powder, our Instant Pot Beef Barbacoa recipe is an easy dinner idea that will warm your soul. Barbacoa is known as a traditional Mexican dish, but it originated in the Caribbean. Barbacoa refers to the way we cook the meat, which is slow until the meat is tender and succulent. You can slow cook beef, goat, or sheep and call it barbacoa.
The shredded chuck beef roast will last for 4 days in the refrigerator. Store your beef barbacoa in an airtight container and put it in the fridge to enjoy with sides or as tacos!
Yes. Store your beef barbacoa in freezer bags for up to 3 months. We recommend labeling the bags before storing the meat.
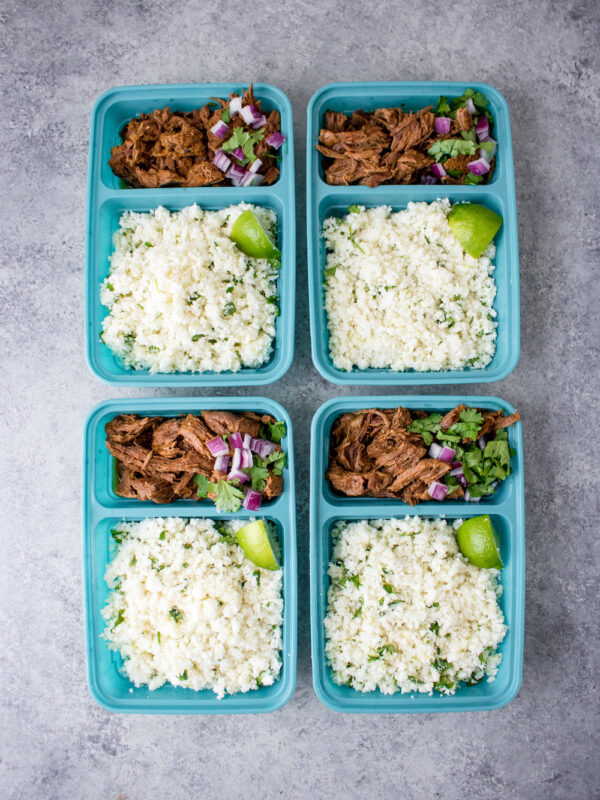
This fall apart smoky beef barbacoa is made in the instant pot for a quick-cooking Keto meal that satisfies.
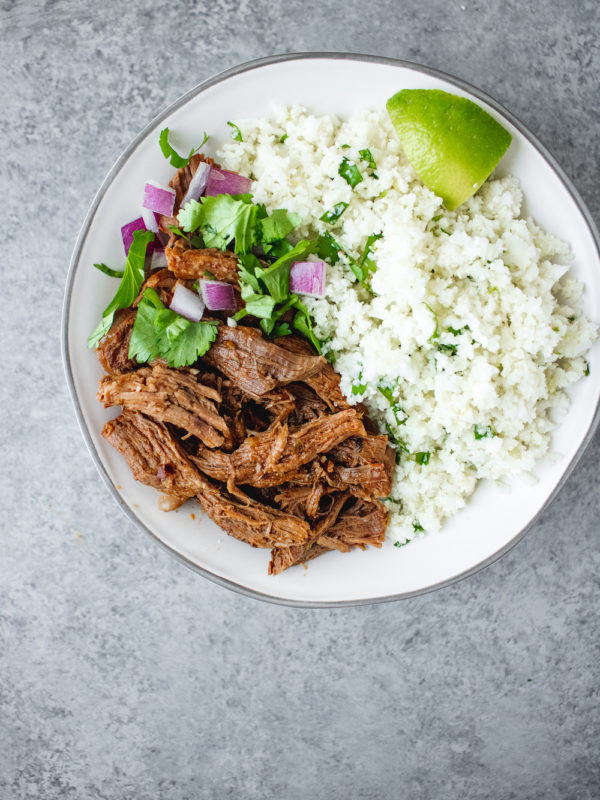
For serving
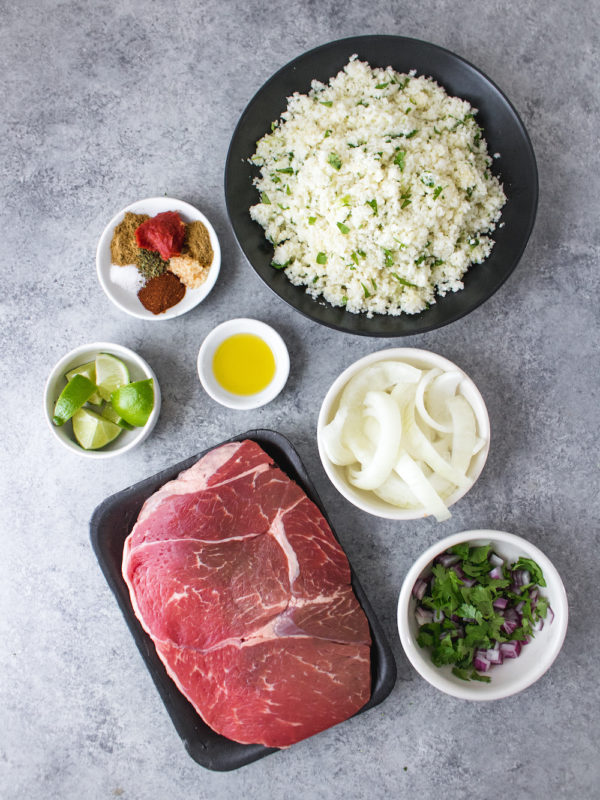
Start by getting ready to prep our easy dinner idea. Grab your ingredients and get ready for a simple, 10-minute prep.
Turn your instant pot on and set it to "sauté." Add olive oil. Then cut the chuck beef roast into 5-6 chunks and remove excess fat. Blot the beef with a paper towel and place it into your instant pot for 8 minutes total, stirring the meat at the 4-minute mark. When the meat is brown, press "cancel" on your instant pot. Start adding your warming spices and fragrant vegetables for flavoring; so add the garlic, onions, oregano, cumin, tomato paste, chipotle powder, and sea salt. Stir all of that flavorful goodness together and add the beef stock to it. Secure the lid and close the vent cap. Use the "manual" or "meat/chicken" setting to cook the chuck beef roast for 60 minutes. Your instant pot beef barbacoa will be ready for shredding after the pot depressurizes.
While the beef barbacoa is cooking, heat your lime cilantro cauliflower rice in a lightly oiled skillet over medium heat for 6-7 minutes. Stir the cauliflower rice while cooking. Set the rice aside and wait for the beef to be done. (If you're making yourself a plate, we recommend cooking the cauliflower rice when the beef barbacoa is almost done, around the 45-minute mark). When the barbacoa finishes cooking and the pot depressurizes, remove the beef from the pot for shredding. Shred the meat with two forks on a cutting board, then place the beef back into the pot for additional stirring for complete flavoring.
That's it! A satisfying meal after those busy days. We told you this was an easy dinner idea!
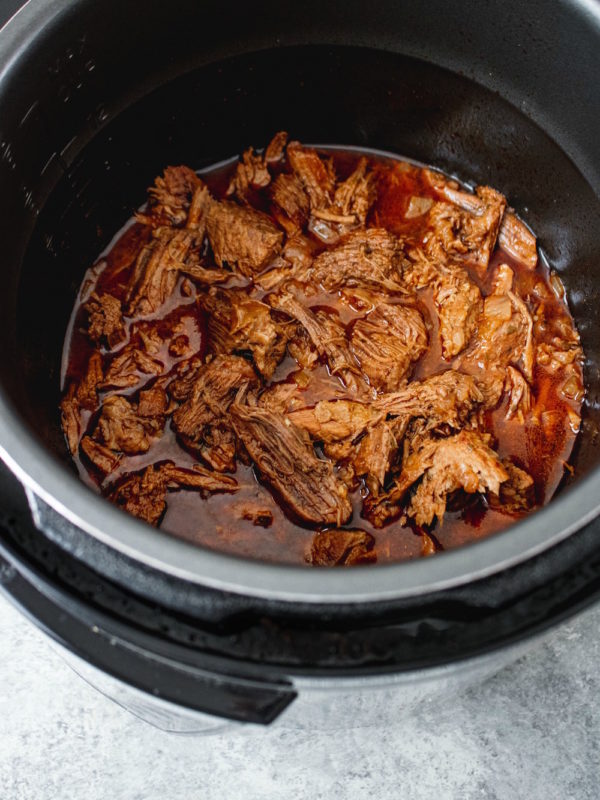
Grab 4 MPOF dual-compartment meal prep containers. Add the beef barbacoa to the smaller compartment and the cauliflower rice to the bigger compartment. Top your beef barbacoa with red onion, cilantro, and a lime wedge.
Having an instant pot makes meal prepping so easy! That's why we feature instant pot recipes often.
Instant Pot Roast with Mashed Potatoes
Instant Pot Chicken Enchilada Soup
Instant Pot Moroccan Chicken Meal Prep
Check out these recipes and more in our 20+ Meal Prep Instant Pot Recipes
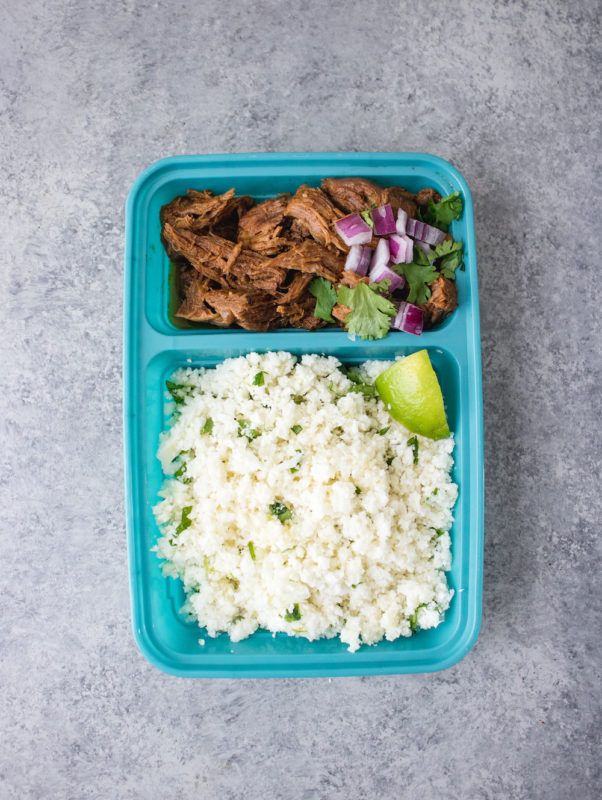
Start by checking out our guide to instant pot cooking. Avoid these Top 10 Instant Pot Mistakes - That You're Probably Making.
Turn this easy dinner idea into an easy lunch idea by making Instant Pot Beef Barbacoa Meal Prep Bowls.
Mix in some fresh lime juice after shredding and let the beef rest on "warm" for 20 minutes.
For an extra spicy kick, use chipotle chilies.
You can use beef barbacoa for tacos, burritos, salads, nachos, quesadillas, and enchiladas.
Top beef barbacoa with lettuce, cheese tomatoes, radishes, guacamole, or salsa.