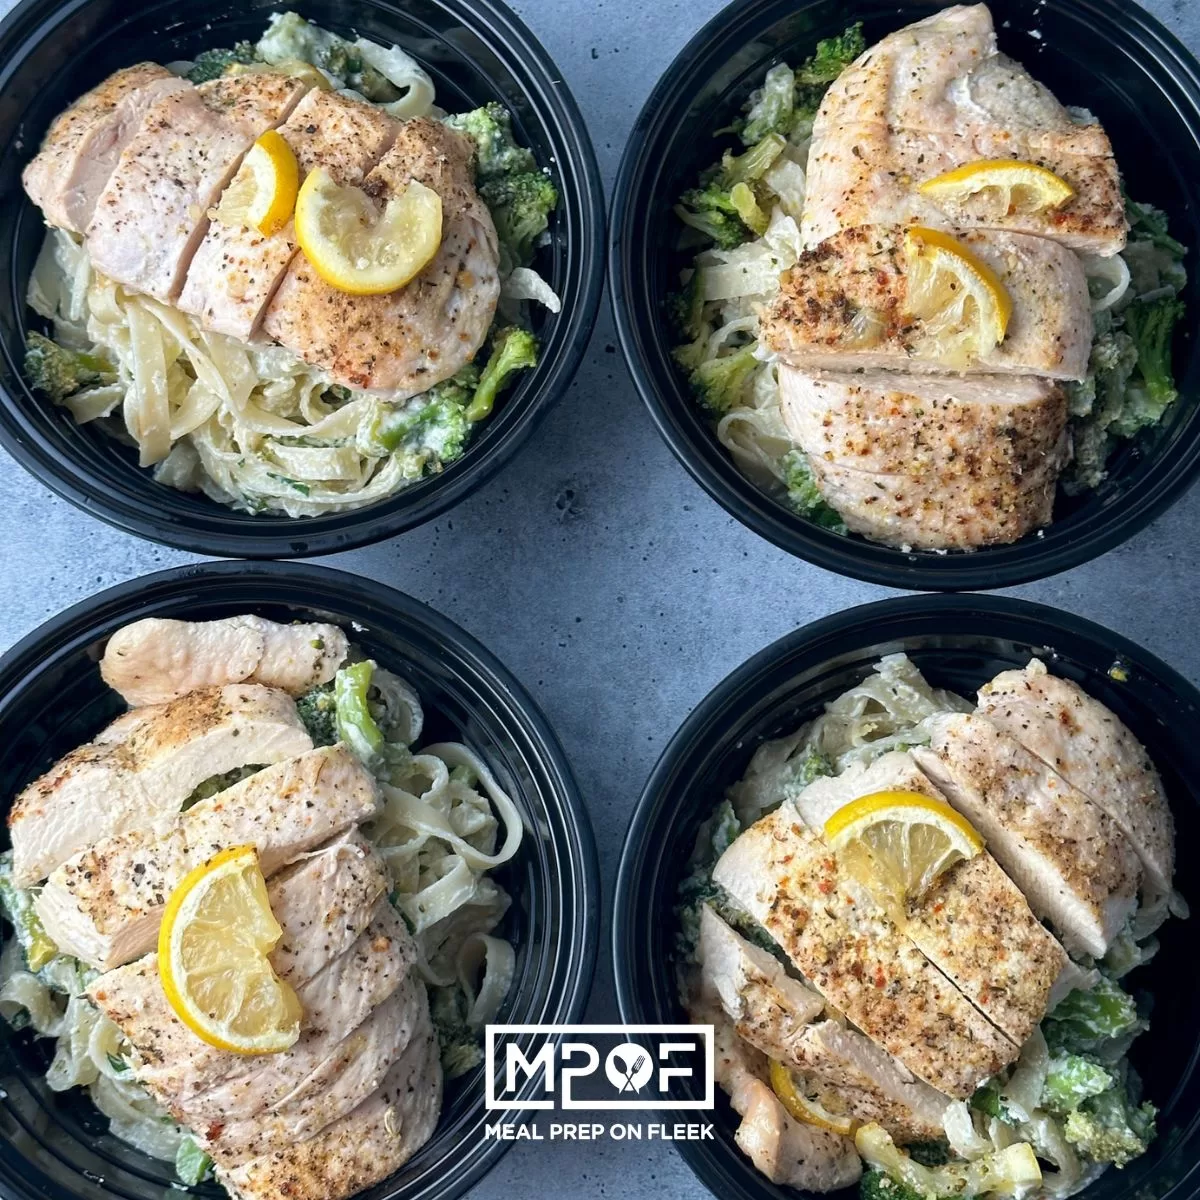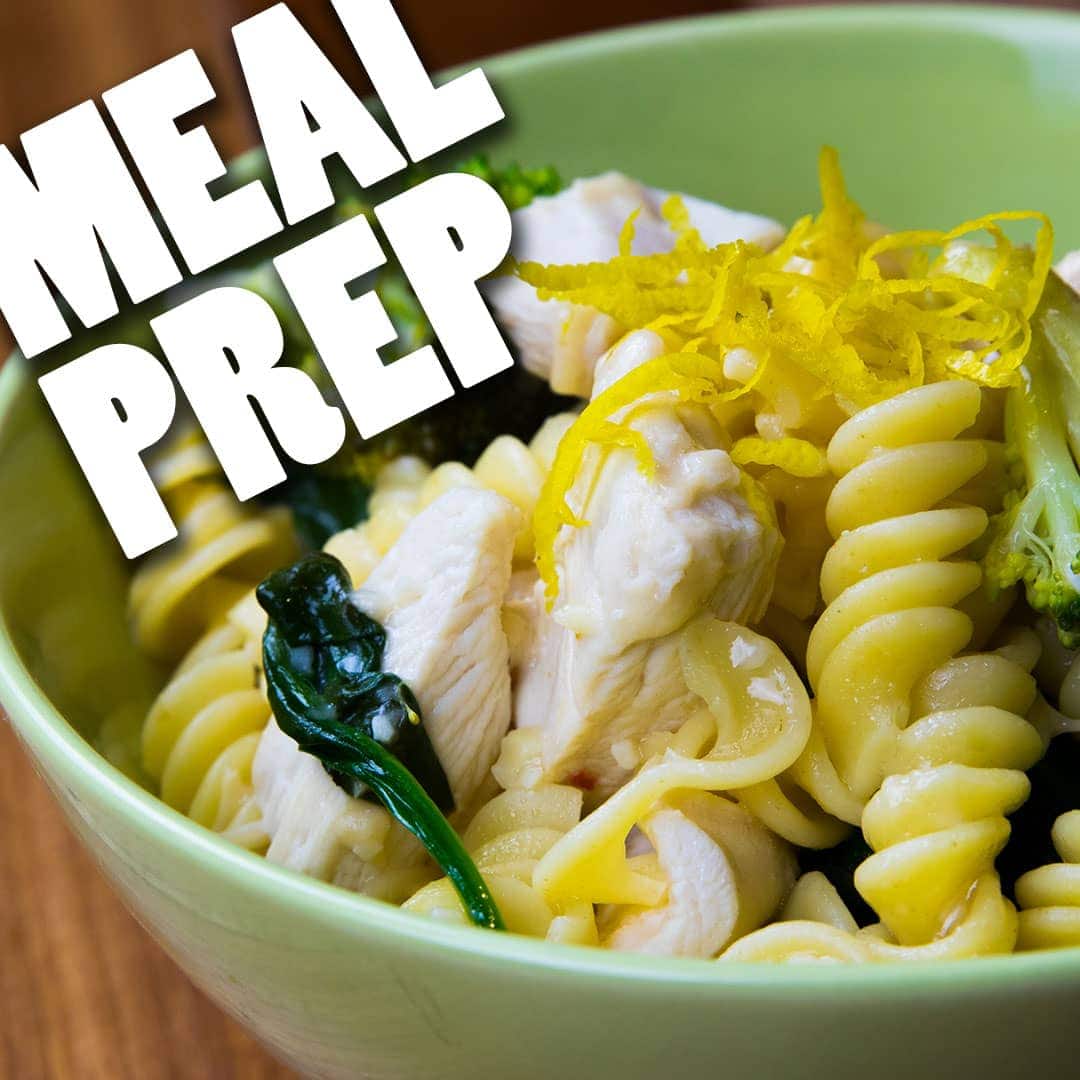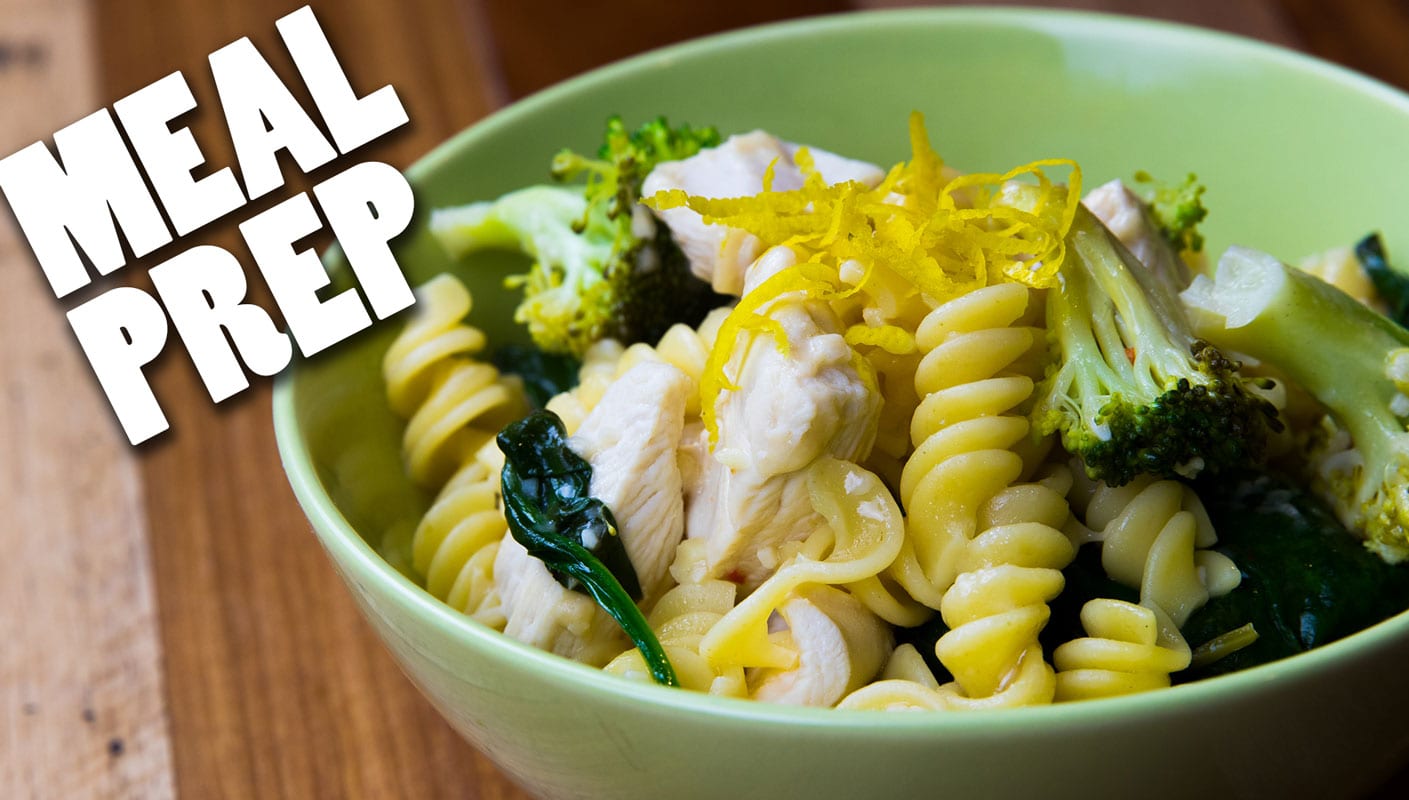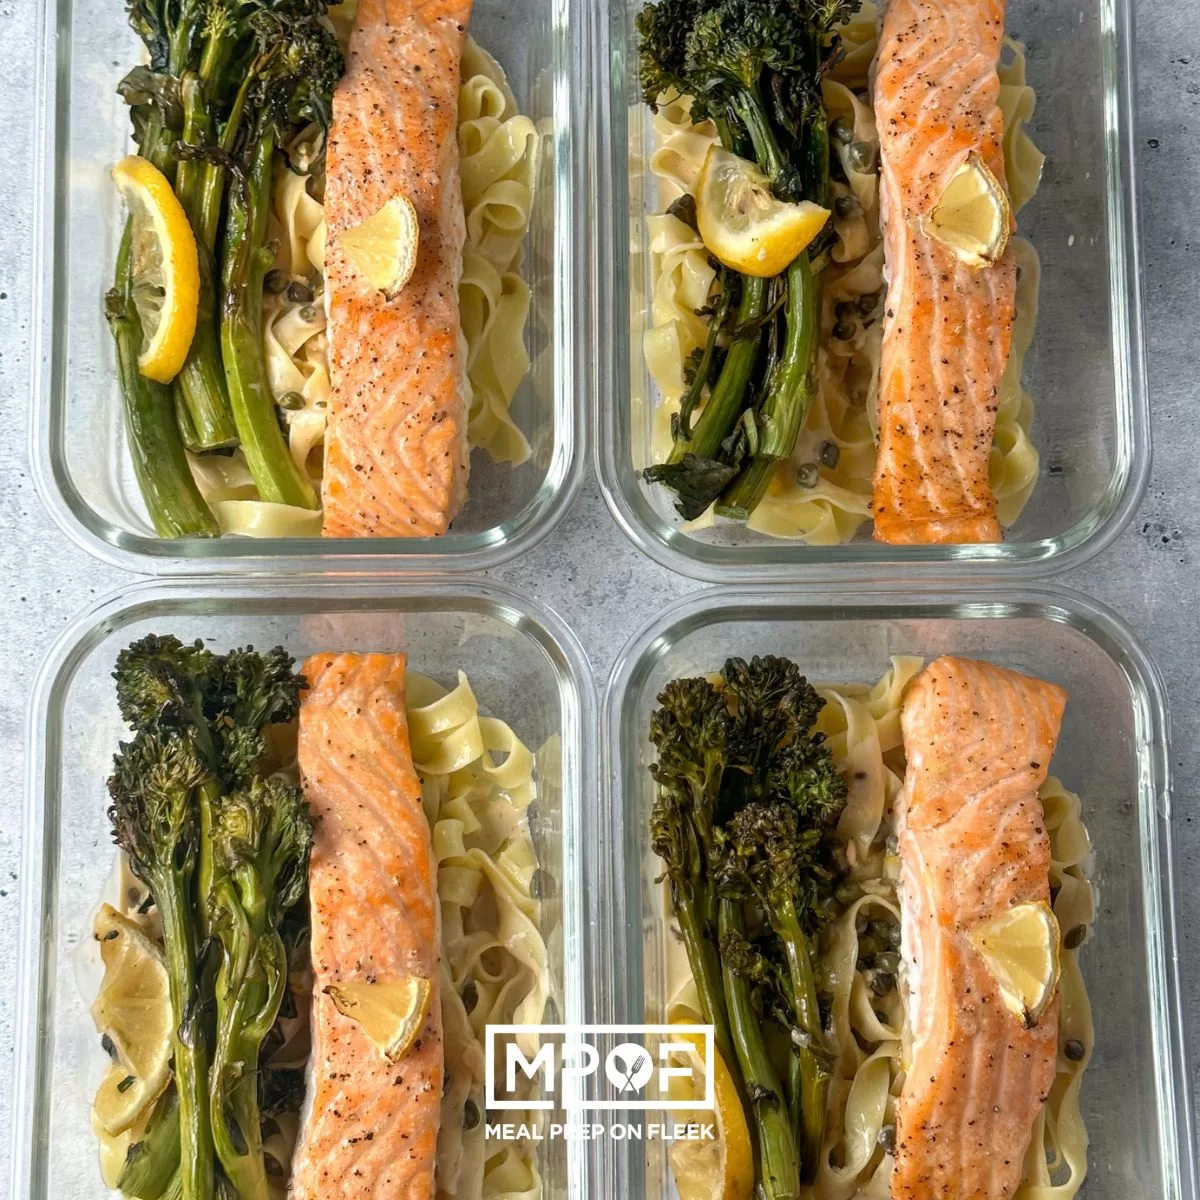
Sheet Pan Salmon with Capers and Broccolini Pasta is loaded with protein and great flavors. This is easy meal prep is one you'll want again and again!
We know and love sheet pan salmon meal preps around here. That's a fact. But have you had broccolini or capers? Let's stop for a moment because once you learn about these ingredients you'll find fun ways to use them-with or without salmon!
Capers are actually caper berries, and they're technically an unripened flower bud from a prickly plant that grows in the Mediterranean and parts of Asia called capparis spinosa. You typically find them in jars and they add a slightly tart and salty taste, similar to pickles. They pack a punch, flavor-wise; you only need a little bit to make an impact on a dish and, like salt or other pickled items, it's very easy to go overboard!
And broccolini? Well, it's kind of like baby broccoli. That's the shortest answer. The stalks are not as thick and fibrous as broccoli so you can eat the whole thing.
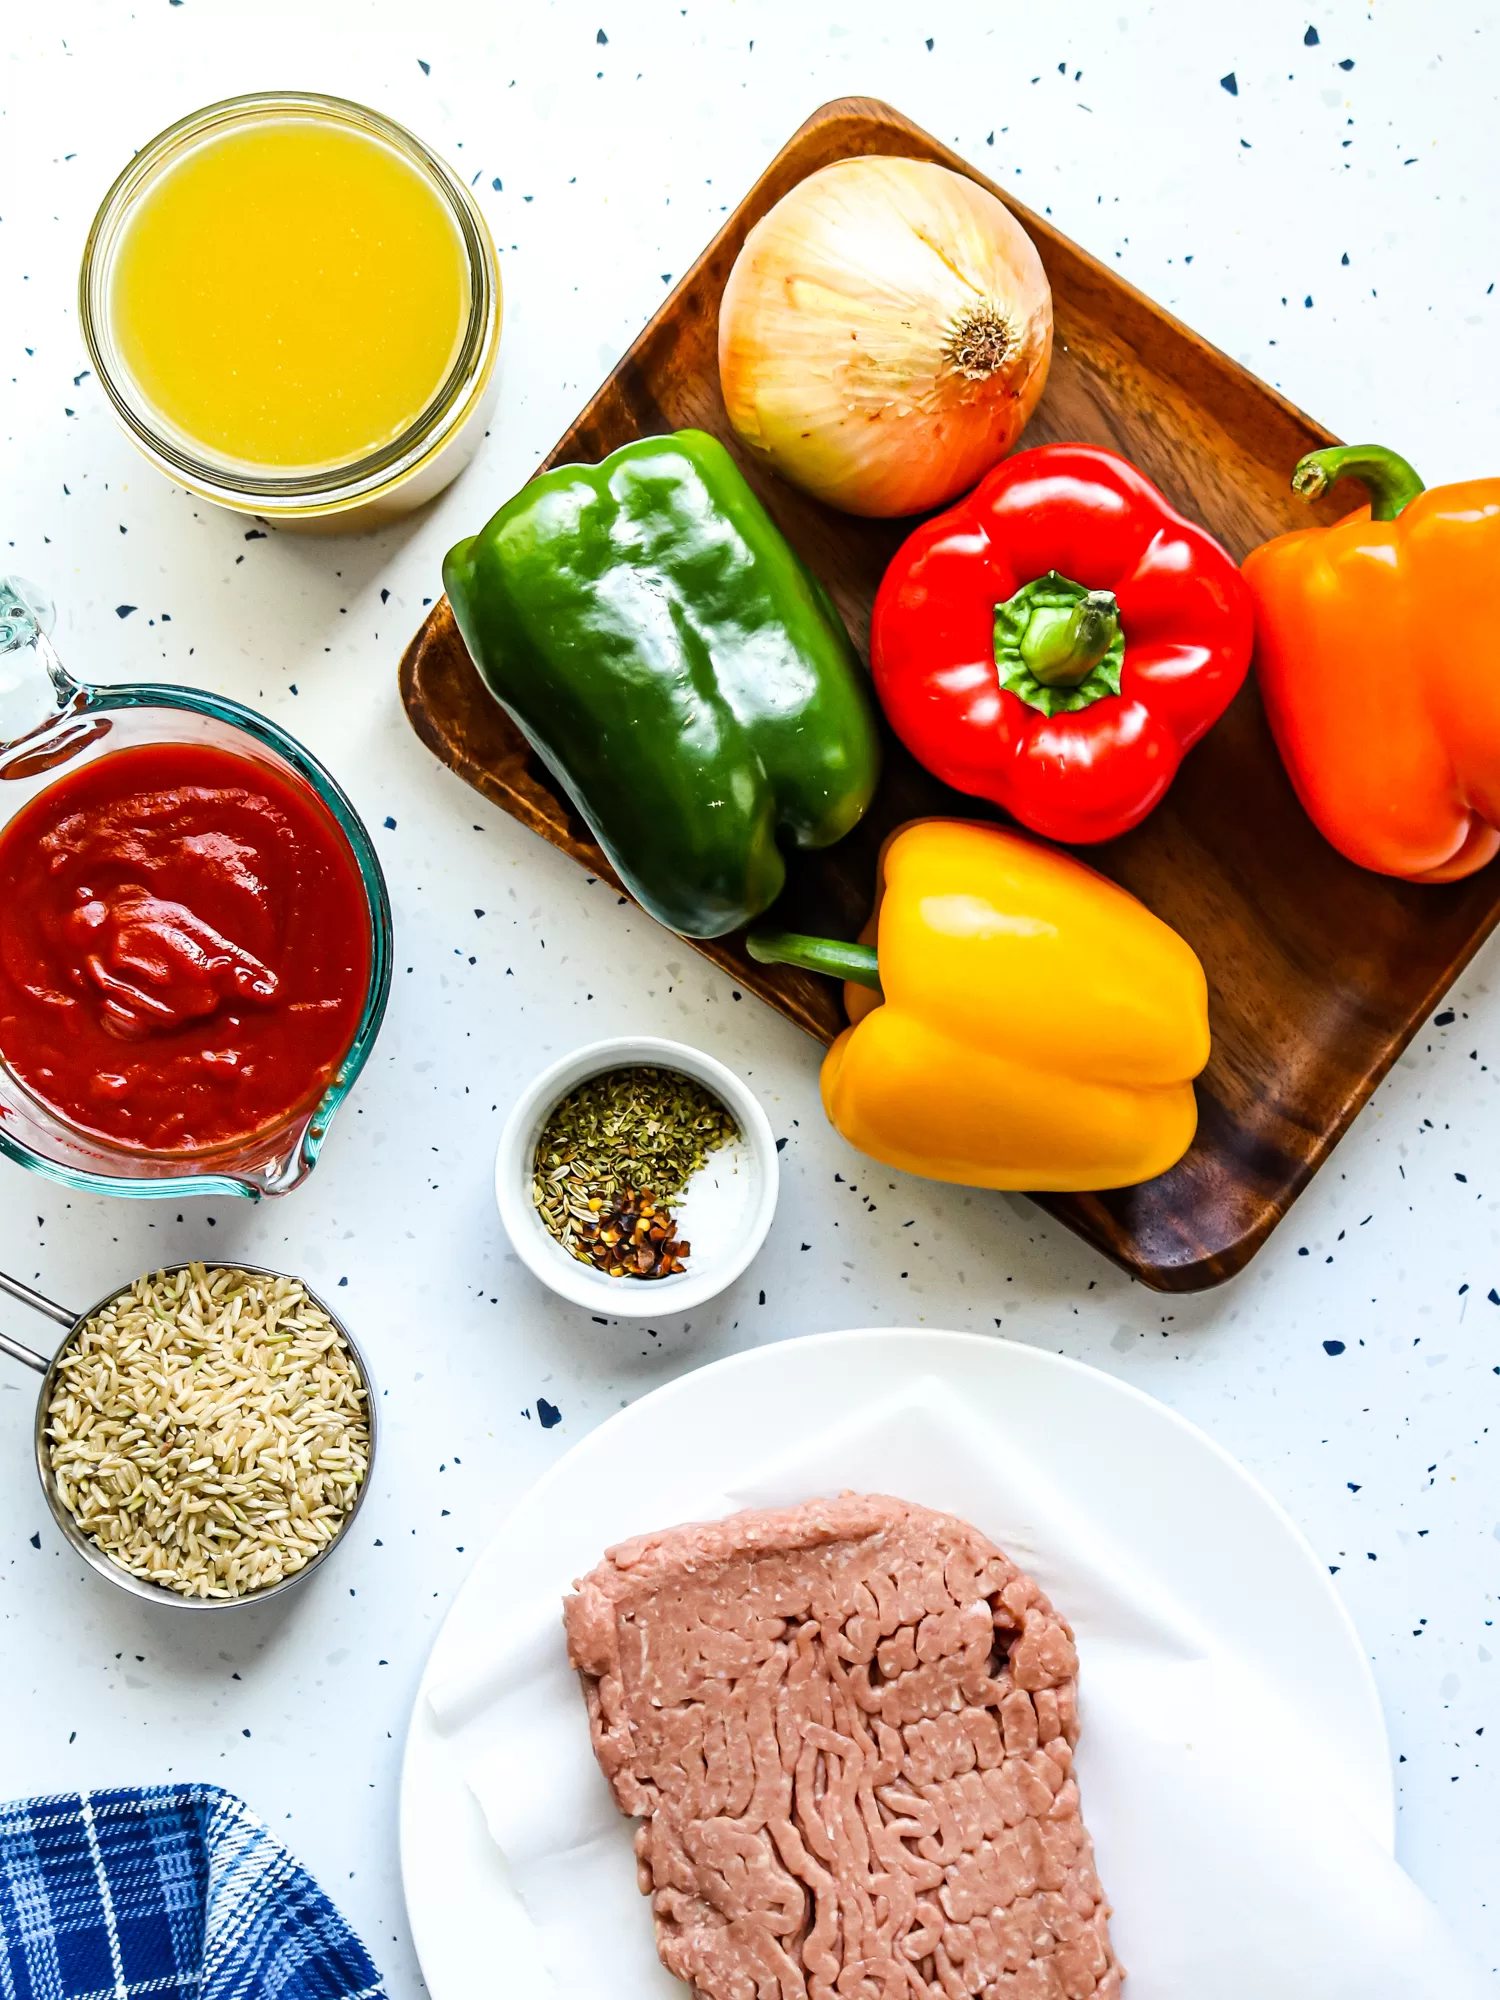
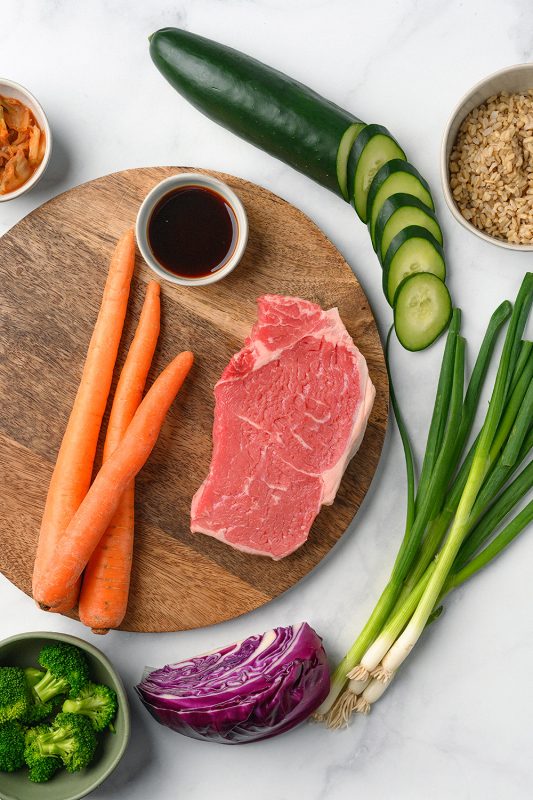
Sheet Pan Salmon with Capers and Broccolini Pasta Ingredients
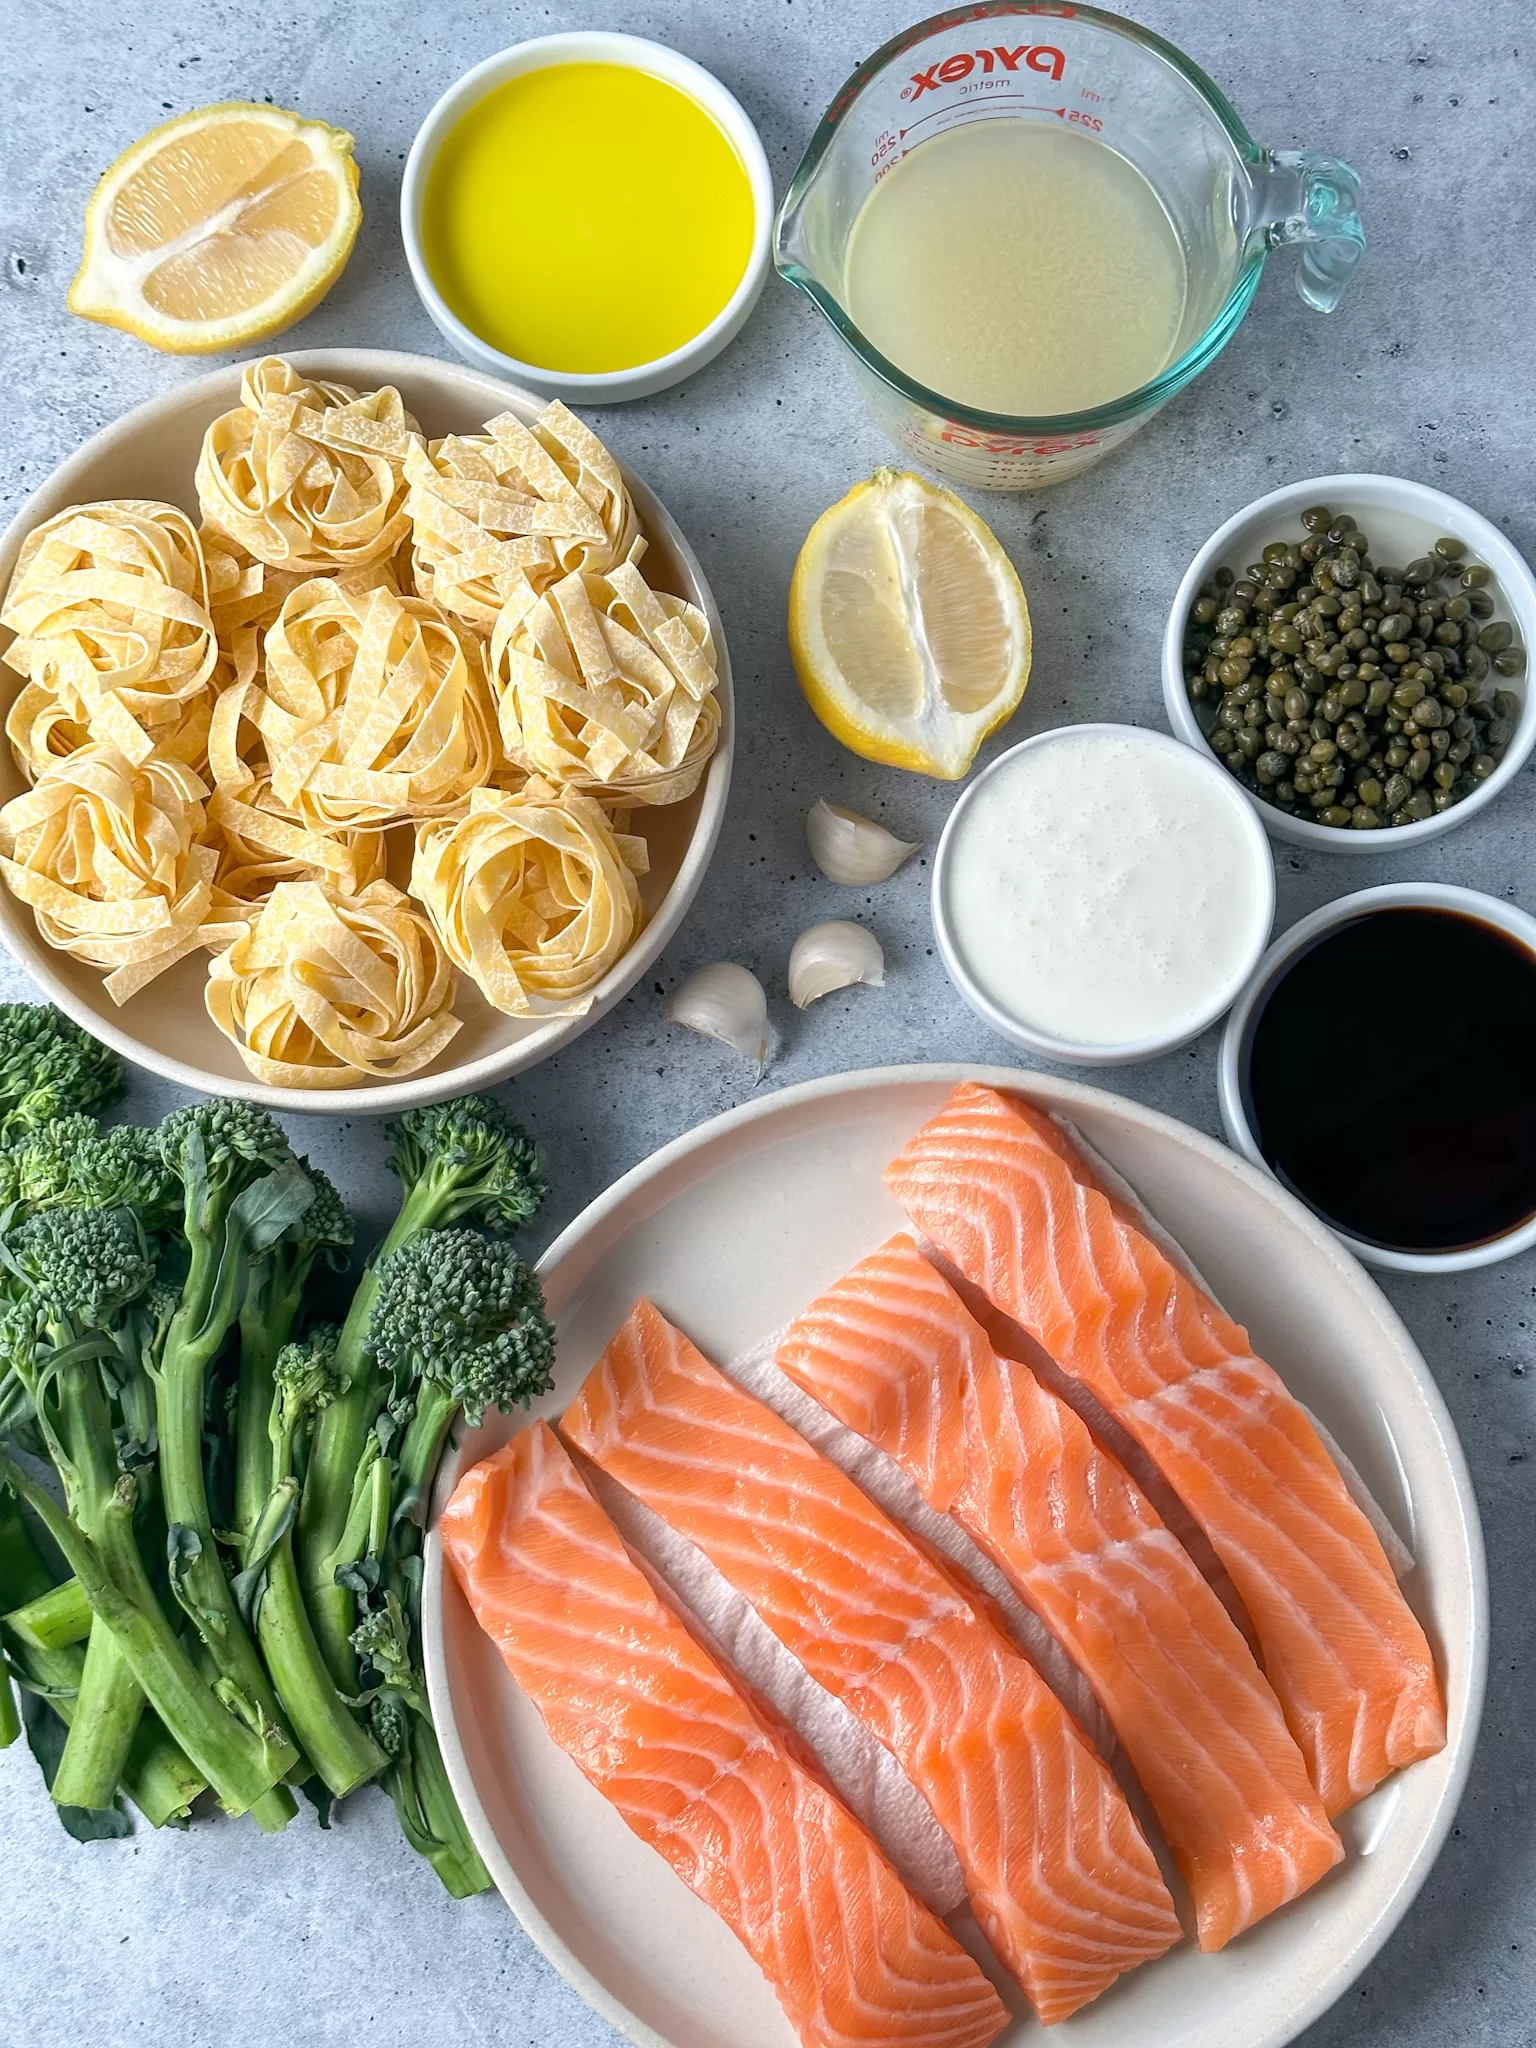
For the Salmon, Broccolini and Pasta
- 4 fillets salmon about 1 to ½ pounds
- 1 bunch broccolini
- 2 tbsp olive oil
- Kosher salt to taste
- Black pepper to taste
- 1 lemon juice and zest
- 8 ounces pasta any kind
For the Caper Cream Sauce
- 3 cloves garlic minced
- 2 tbsp capers
- 2 tbsp coconut aminos
- 1 cup low-sodium chicken broth
- 1 ½ cups heavy cream
How to Make Sheet Pan Salmon with Capers and Broccolini Pasta
Oh, we love a good sheet pan meal around here!
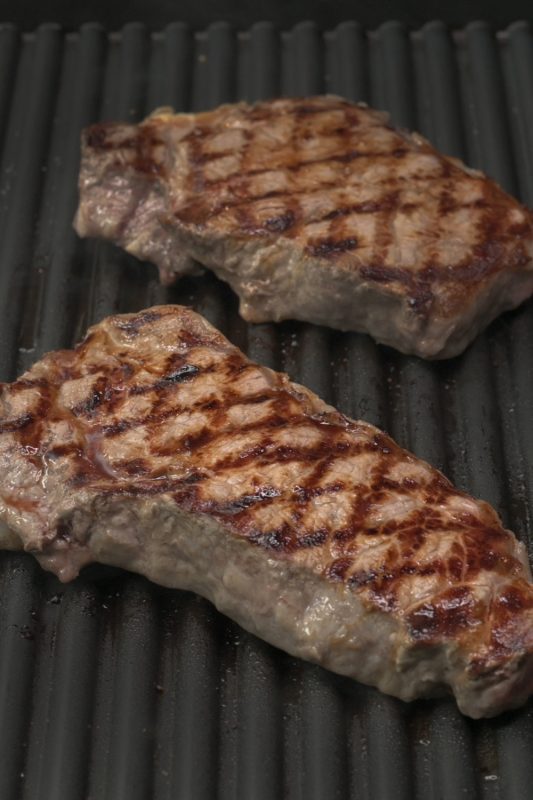
To start this dish off, grab your sheet pan and preheat the oven to 425 F. Arrange the salmon filets and broccolini on the sheet pan and brush with olive oil. Sprinkle the tops with salt and pepper. Pop it in the oven and while it cooks, start the pasta.
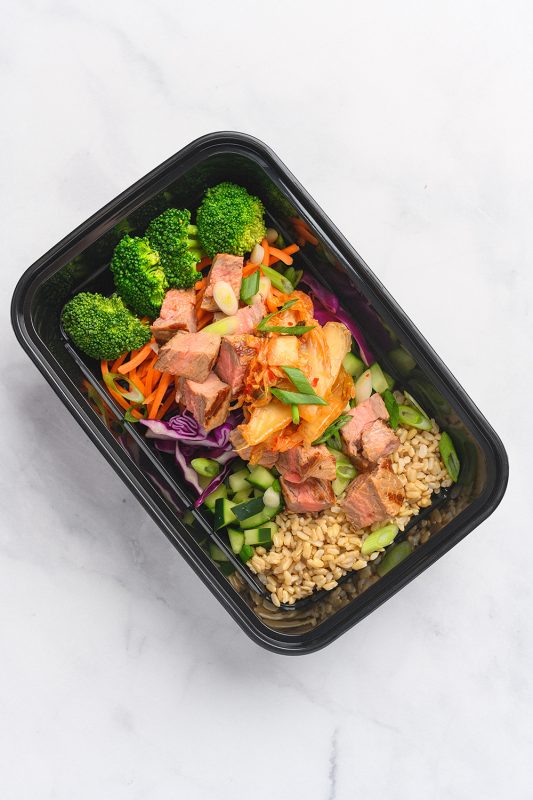
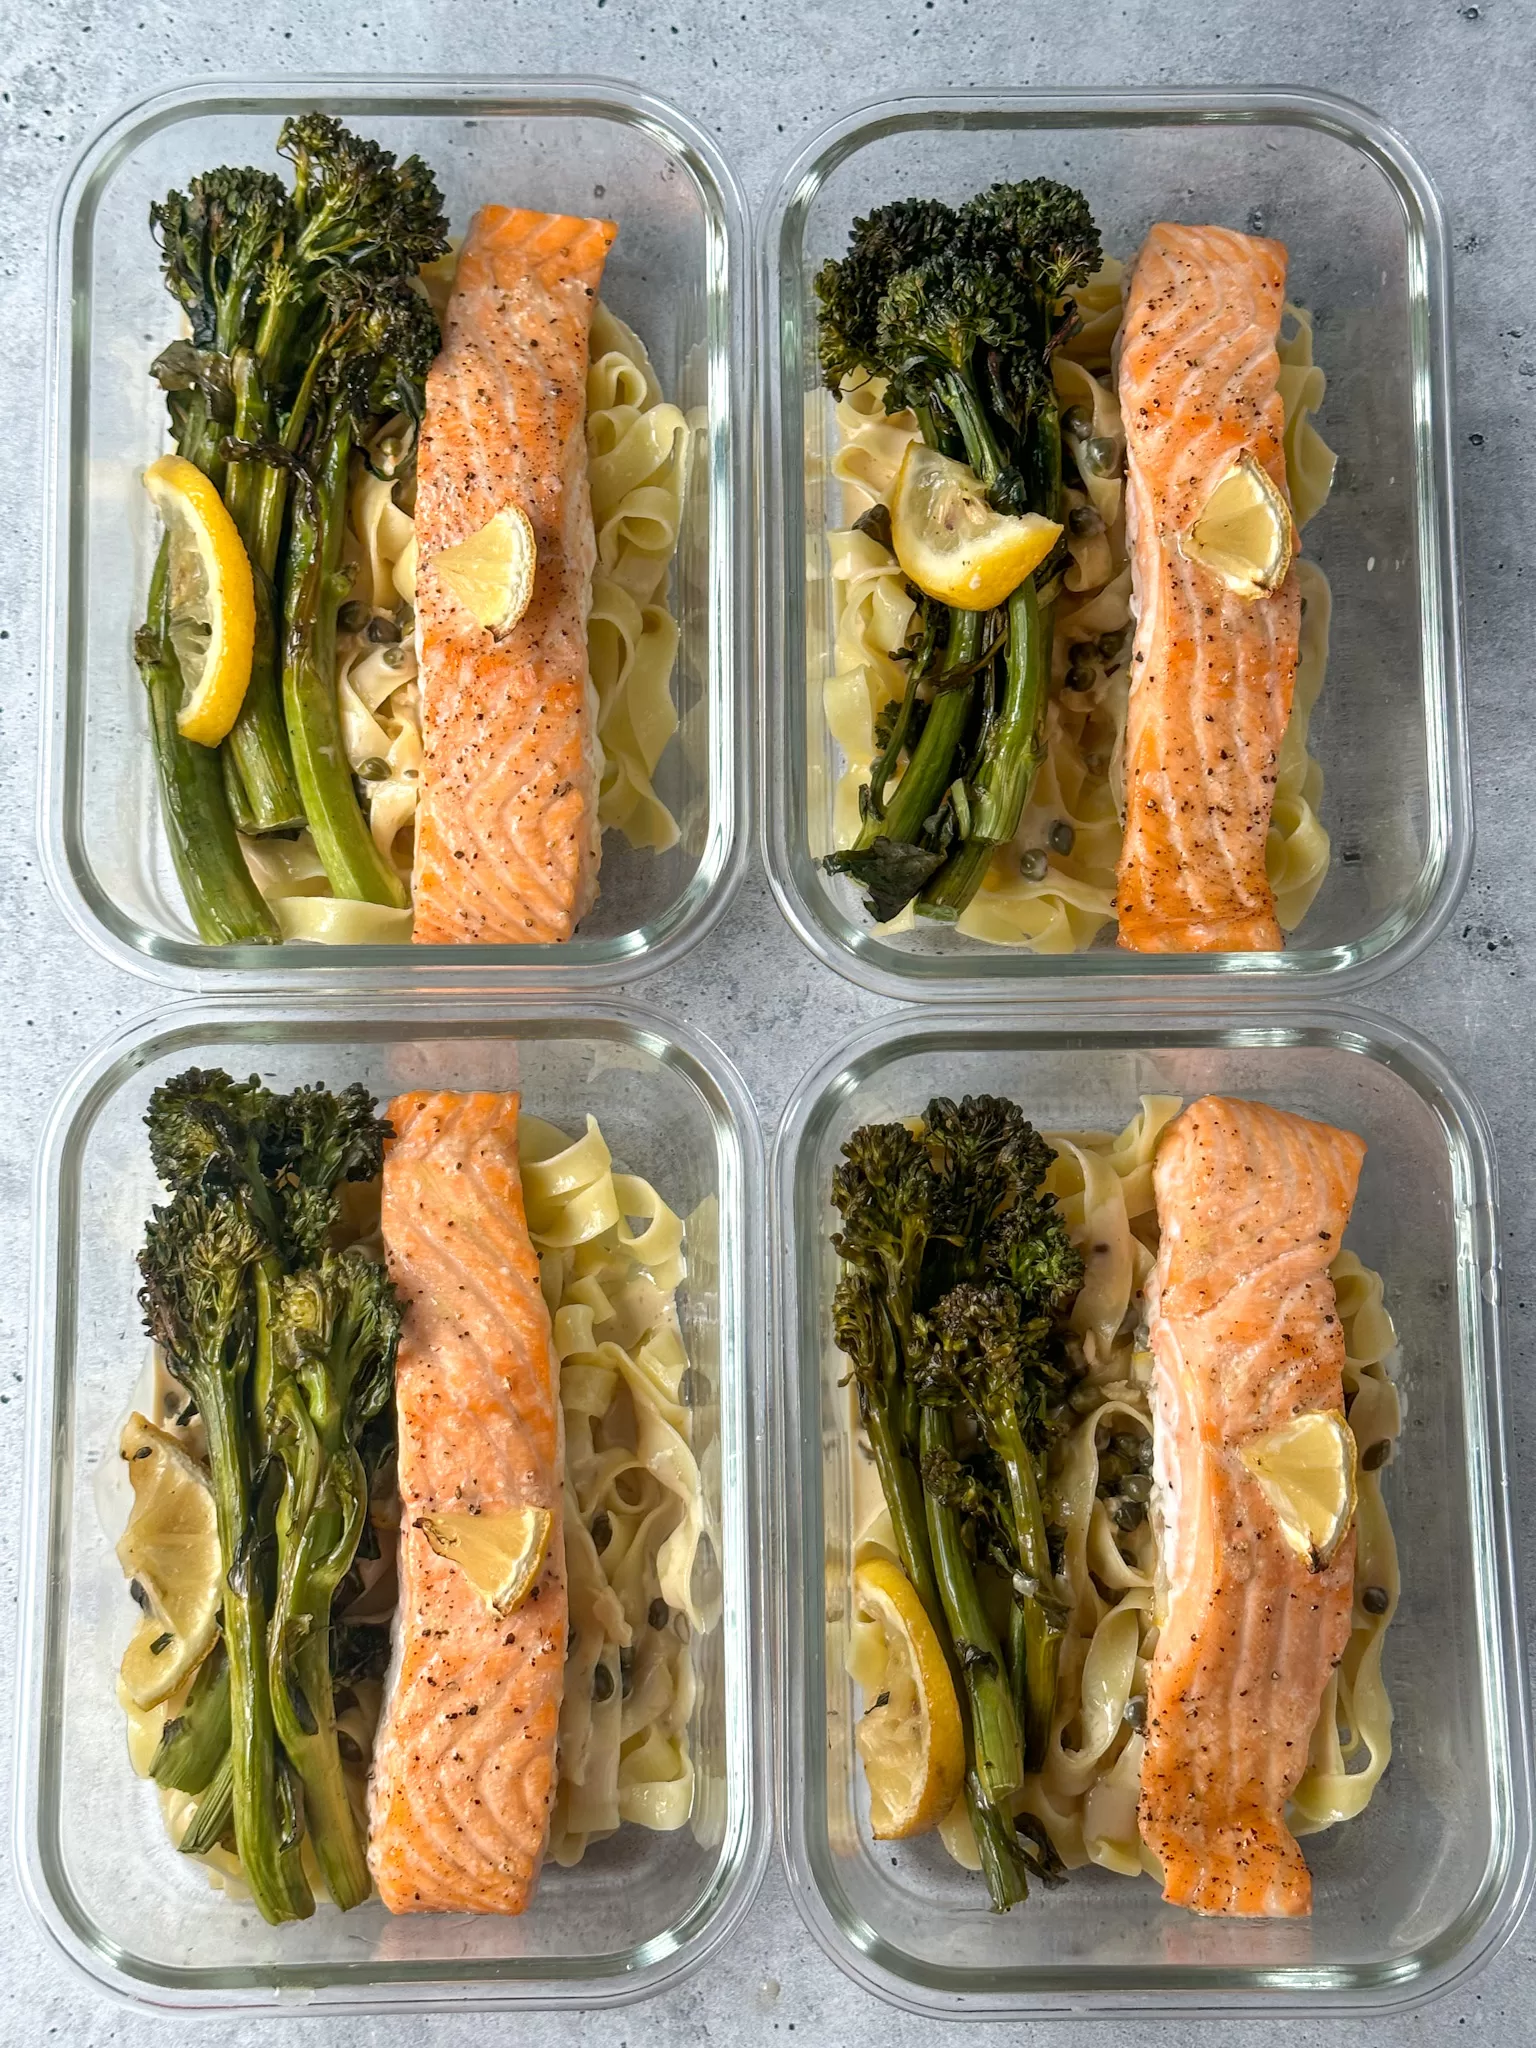
Cook the pappardelle (or pasta of choice) in salted boiling water until al dente. While all that's happening, you can start the sauce, which is basically garlic cloves, heavy cream, capers, chicken broth, coconut aminos (for that inexplicable umami taste) and, of course, heavy cream. All of that makes a really flavorful sauce that reduces over medium-low heat. Then, all you need to do is portion out the pasta, topped with the cream sauce, salmon, and broccolini, into four containers, and you're good to go.
How to Store and Serve Sheet Pan Salmon
Well, four days in the fridge will work for this salmon meal prep. This is pretty much a complete meal but if you feel so inclined a salad would taste great alongside this dish. We also like some crusty bread to sop up bits of that creamy sauce. But you can serve it just like this, no questions asked!
Store this in the fridge until you're ready to eat. You can heat it up in the oven, covered, or in the microwave. It's your call. We wouldn't recommend freezing the pasta and sauce, but you could freeze the salmon and broccolini with no problem at all. Pasta with cream sauce doesn't necessarily reheat well from frozen.
Substitutions and Alterations
If you can't find broccolini use regular broccoli instead. About a pound of broccoli should do it, given the amount of other ingredients. You could also use cauliflower or a combination of both.
We wouldn't eliminate the lemon or the capers, but if you're out of capers or can't find them, you could add some very finely chopped green olives to the sauce instead.
Feel free to use garlic or onion powder if you're out of garlic. Swap out the pappardelle or other pasta for something like rice. Brown, white, or cauliflower rice would work, too, and it would take about as much time as pasta to cook, maybe a little longer. It wouldn't add too much to the workload.
MORE SHEET PAN AND SALMON DINNERS TO LOVE!
- Simple Low Carb Salmon Meal Prep
- Sheet Pan Salmon and Veggies Meal Prep
- Sheet Pan Salmon Fajitas Meal Prep
Ingredients
- 4 fillets salmon about 1 to ½ pounds
- 1 bunch broccolini
- 2 tablespoon olive oil
- Kosher salt to taste
- Black pepper to taste
- 1 lemon juice and zest
- 8 ounces pasta any kind
For the Caper Cream Sauce
- 3 cloves garlic minced
- 2 tablespoon capers
- 2 tablespoon coconut aminos
- 1 cup low-sodium chicken broth
- 1 ½ cups heavy cream
Instructions
- Heat oven to 425 F.
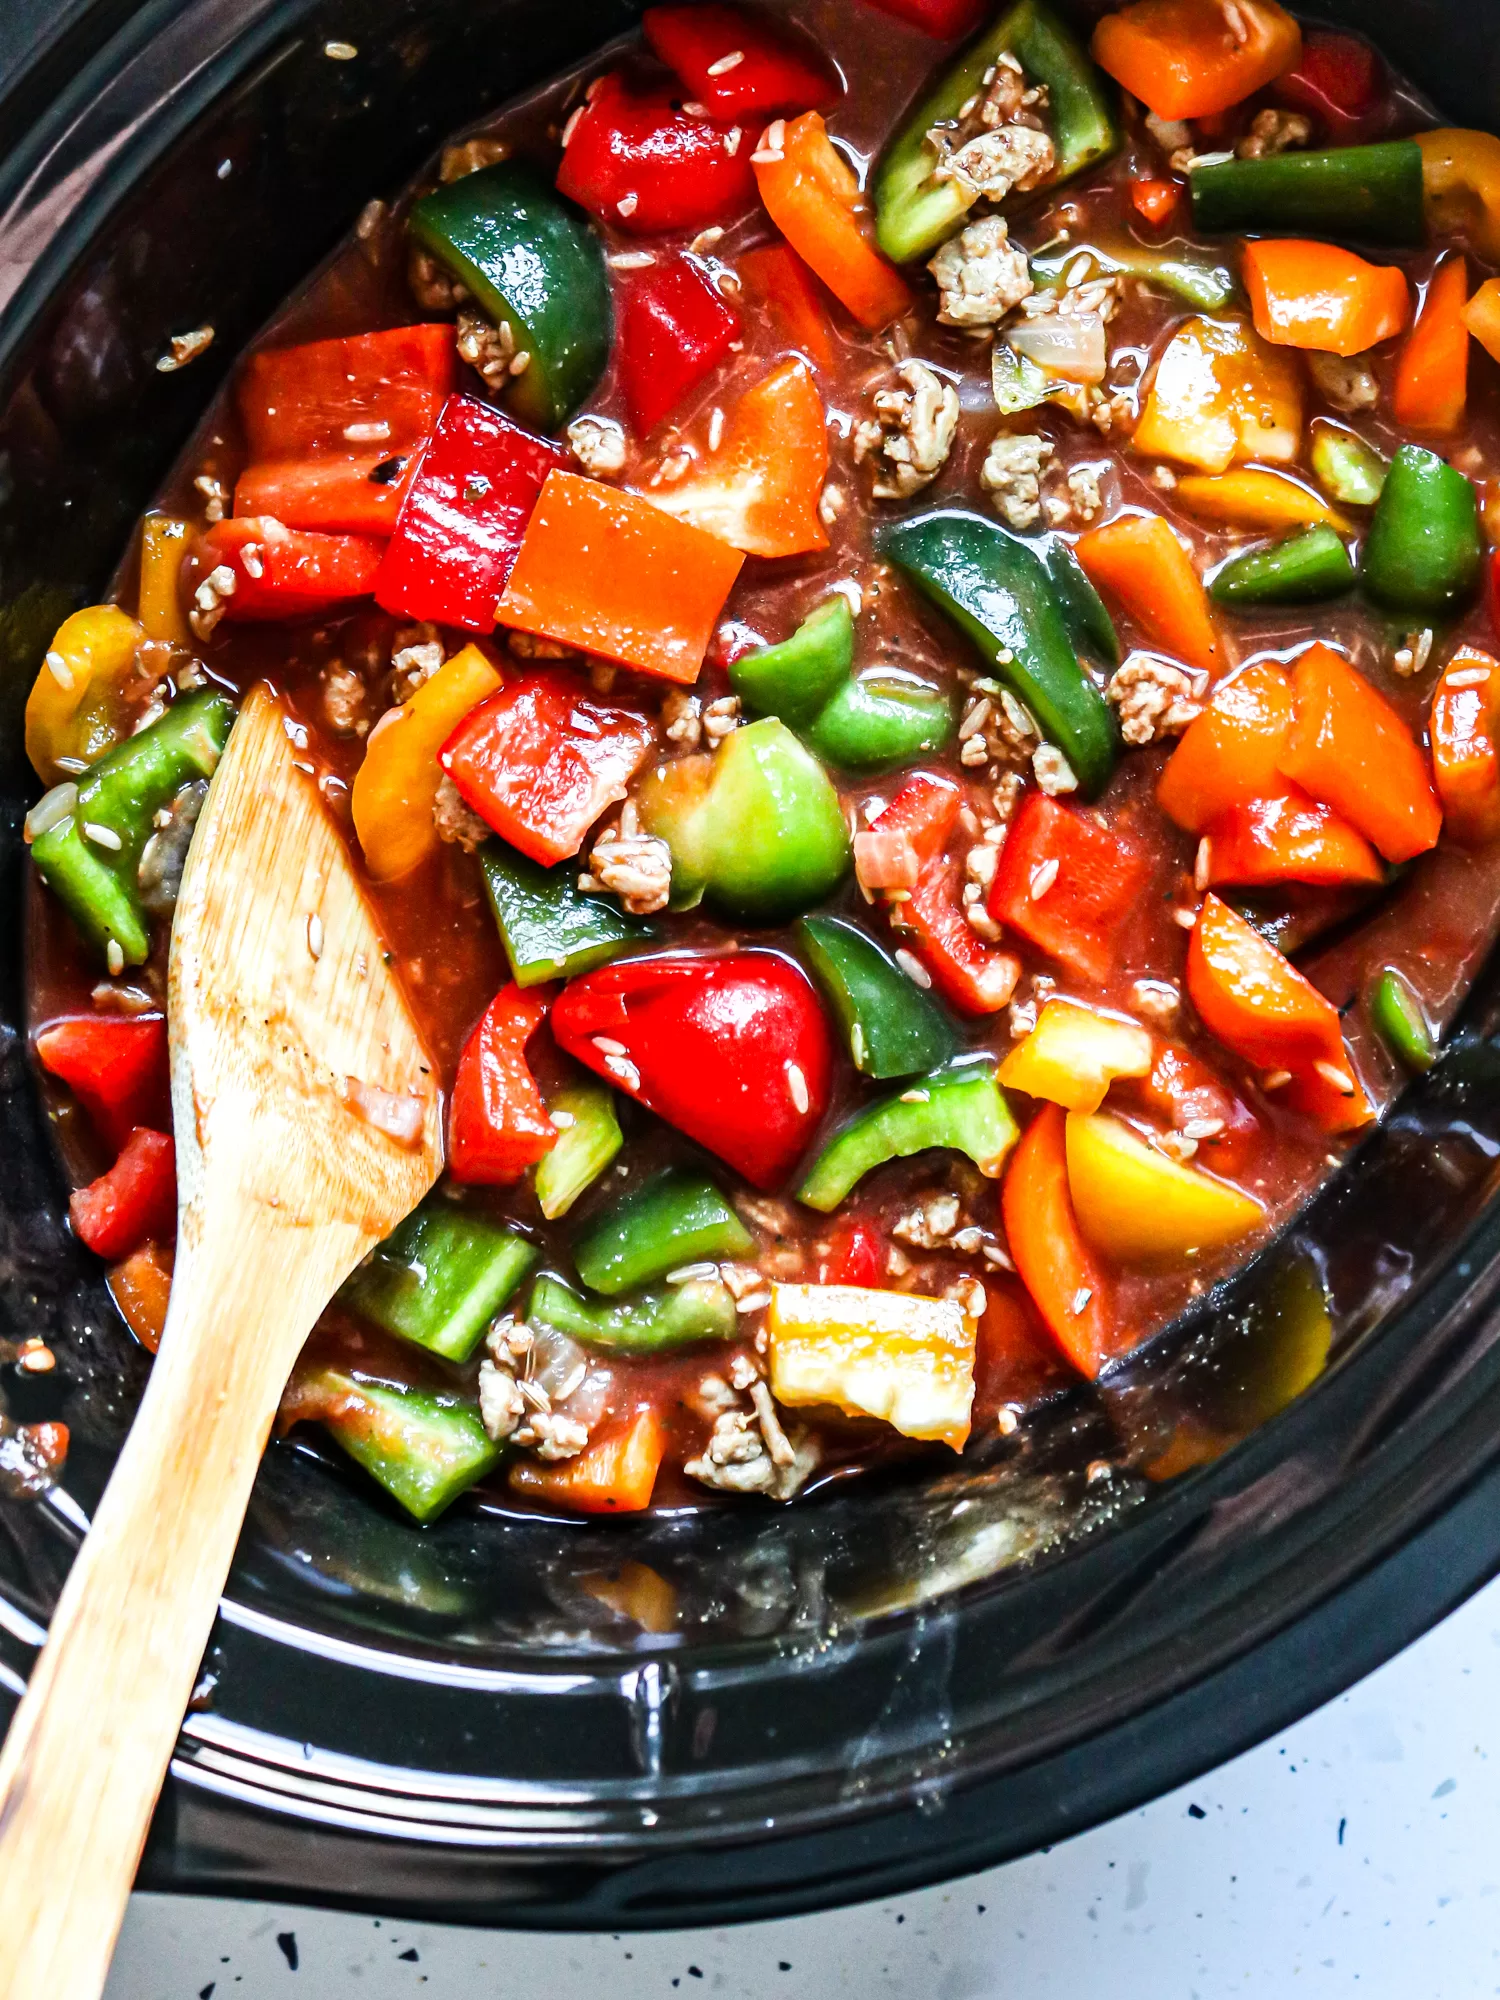
- Arrange salmon filets and broccolini on a sheet pan. Brush the salmon with olive oil and toss with broccolini to coat.
- Zest the lemon right over the salmon and broccolini. Season with salt and pepper. Drizzle the lemon juice over the top and bake for 20 minutes.
- While salmon is baking, cook the pasta according to package directions. Drain and set aside.
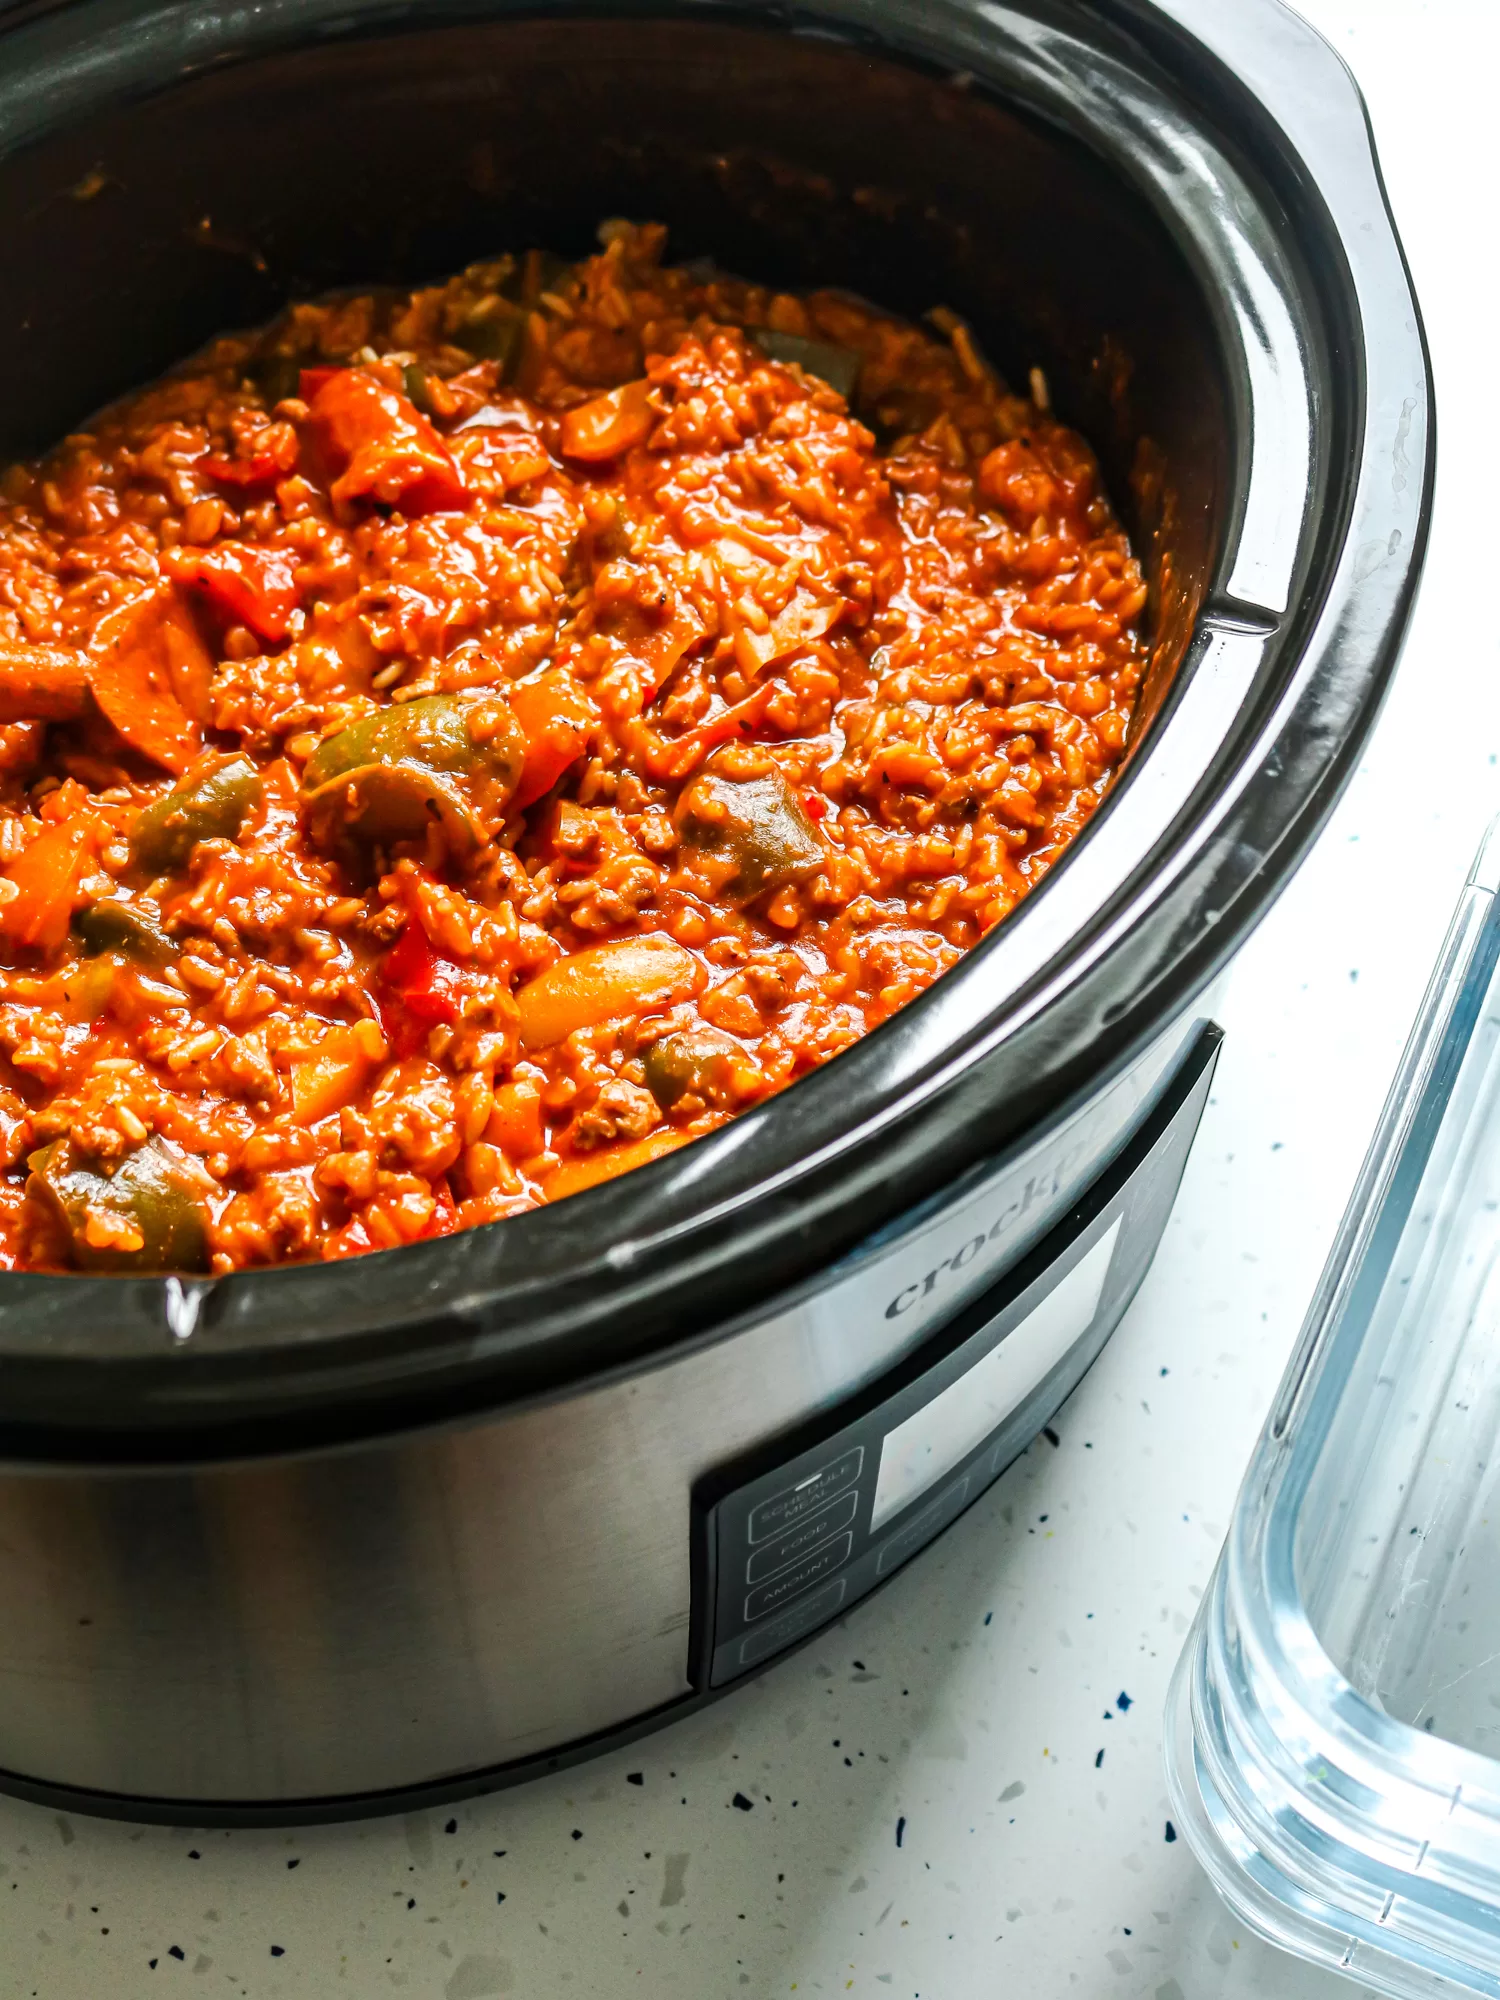
- Combine all sauce ingredients in a saucepan over medium-low heat. Stir occasionally and reduce the liquid by half.
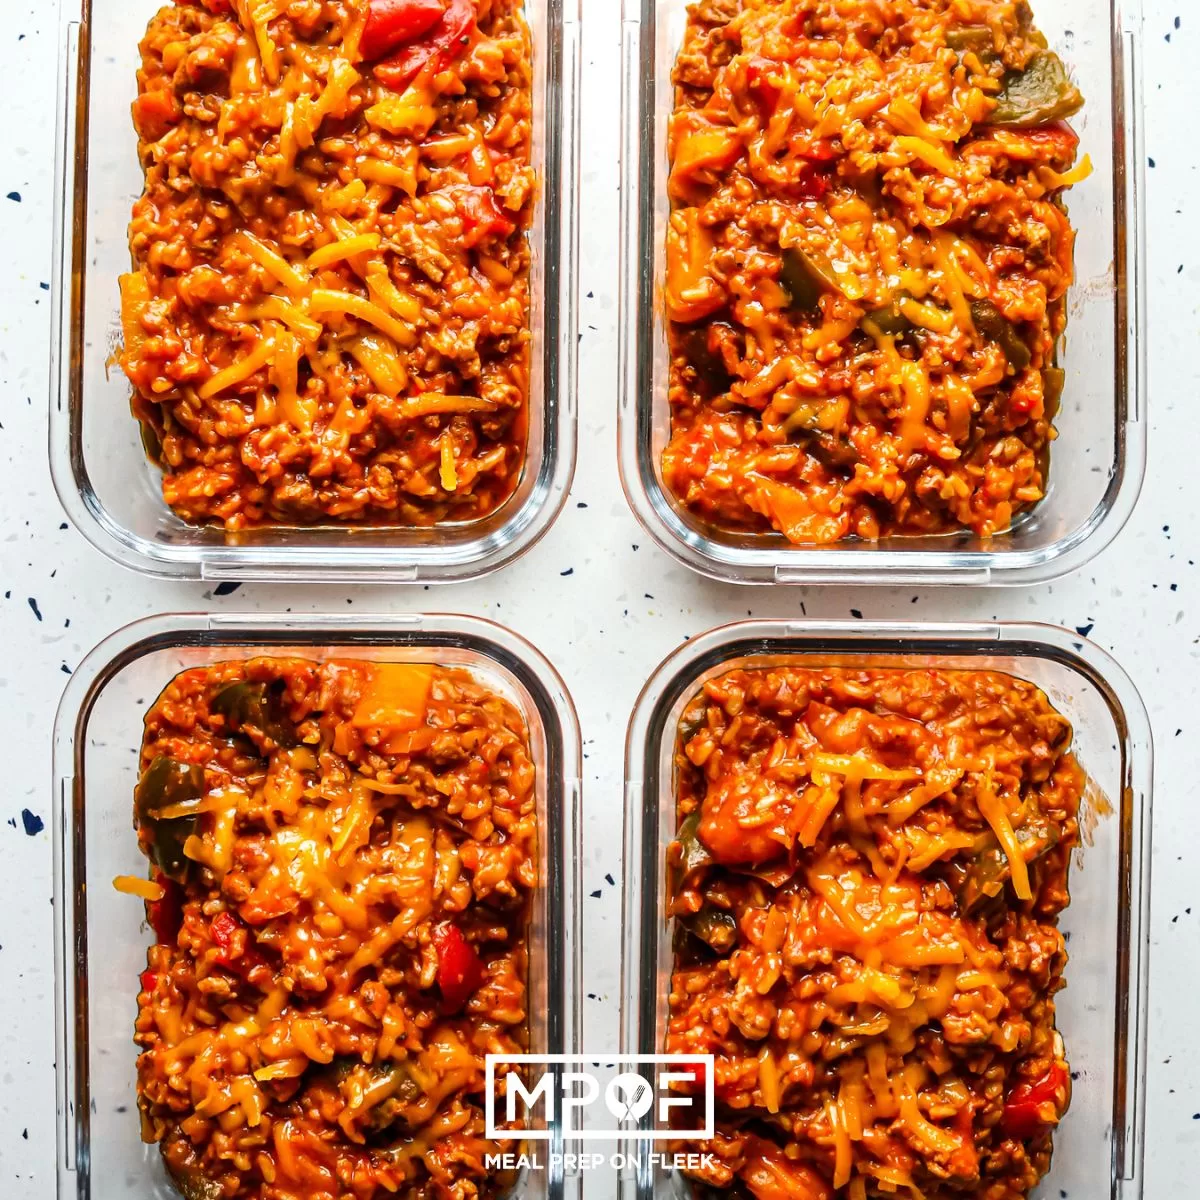
- Divide the cooked pasta among 4 meal prep containers and cover with the sauce. Top with salmon filets and broccolini. Store in the refrigerator for up to 4 days.