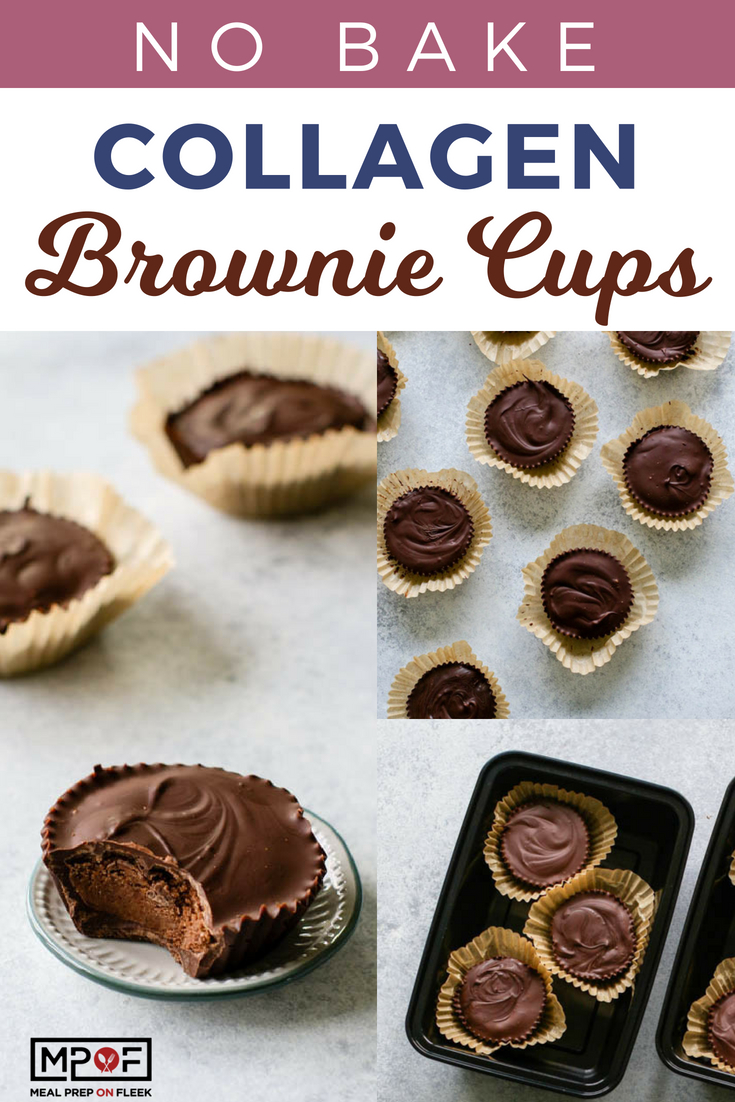
Brownie cups that are no bake need to be in your repertoire! Gluten-free and dairy-free!
No Bake Collagen Brownie Cups. We know, we had you at no bake, and kept you with brownie cups. But what the heck is collagen? You’re probably seeing it all over the place lately: in smoothies, in cosmetics, and now in your dessert?! We’re here to give you the scoop about collagen! Basically, what is it, why it benefits you, and why we’re adding it to our meal prep recipes.
What is Collagen?
Collagen is actually a protein that occurs naturally in the human body. And though it’s found throughout our physical system, it is especially prevalent in the skin, bones, and connective tissues. If you imagine your body as a skyscraper, think of collagen as the scaffolding holding the whole structure together. It’s insoluble and incredibly strong: gram for gram, some types are stronger than steel! With that kind of strength, collagen is obviously much of our body’s support, but it is also what gives our skin its elasticity.
That’s why this ingredient is so common in modern skin and beauty care products. Our natural production of this important protein depletes as we age and with specific stressors on the body such as smoking and exposure to UV light. So what better way to replenish our natural stores than with a delicious collagen brownie?
No Bake Collagen Brownie Cups Ingredients
- ¼ cup almond flour
- ¼ cup unsweetened cocoa powder
- ½ cup collagen peptides
- ½ cup unsweetened almond milk
- 3 tablespoon maple syrup
- ¼ cup peanut butter
How to Make No-Bake Collagen Brownie Cups
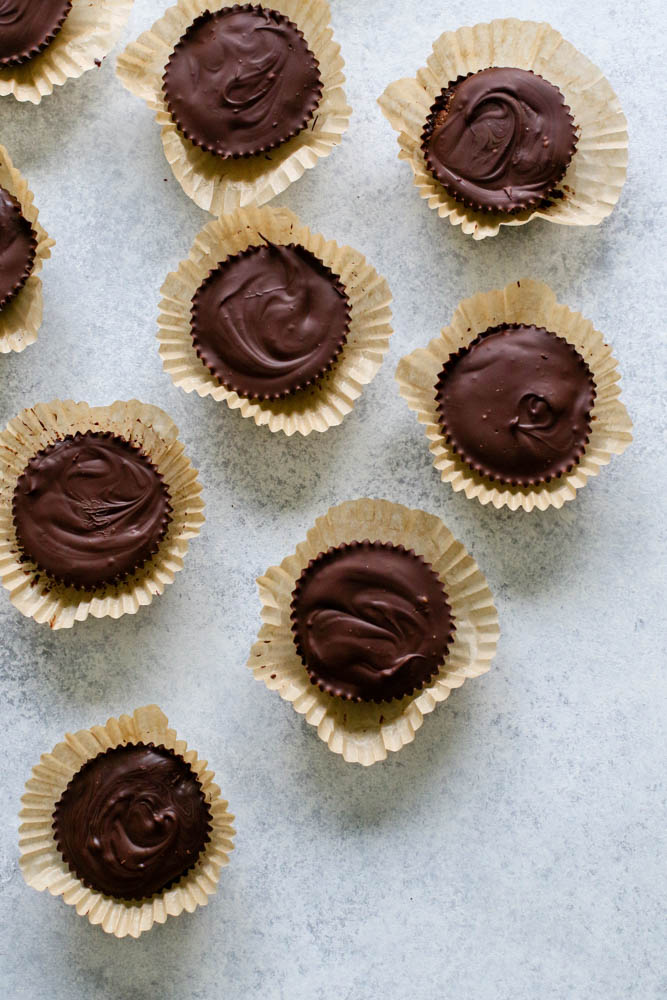
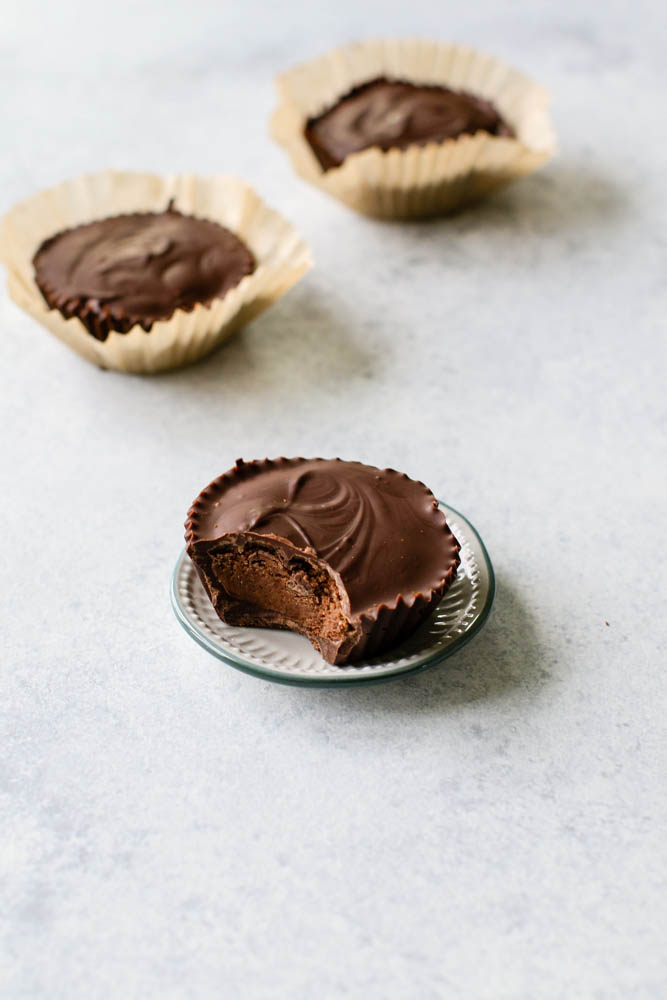
This vegan and gluten-free collagen brownie packs a delicious punch with all of the rich cocoa flavor you’d expect from the traditional chocolate-lovers dessert, plus the added savory smoothness of peanut butter. Though we love the taste of peanut butter, that extra protein boost ain’t so bad either! Combine that with almond flour and almond milk and you’ve got yourself a collagen brownie with more than 6 grams of protein per serving! So does this meal prep recipe get filed away as a sweet treat or pre/post-workout snack? Or both? ? You decide!
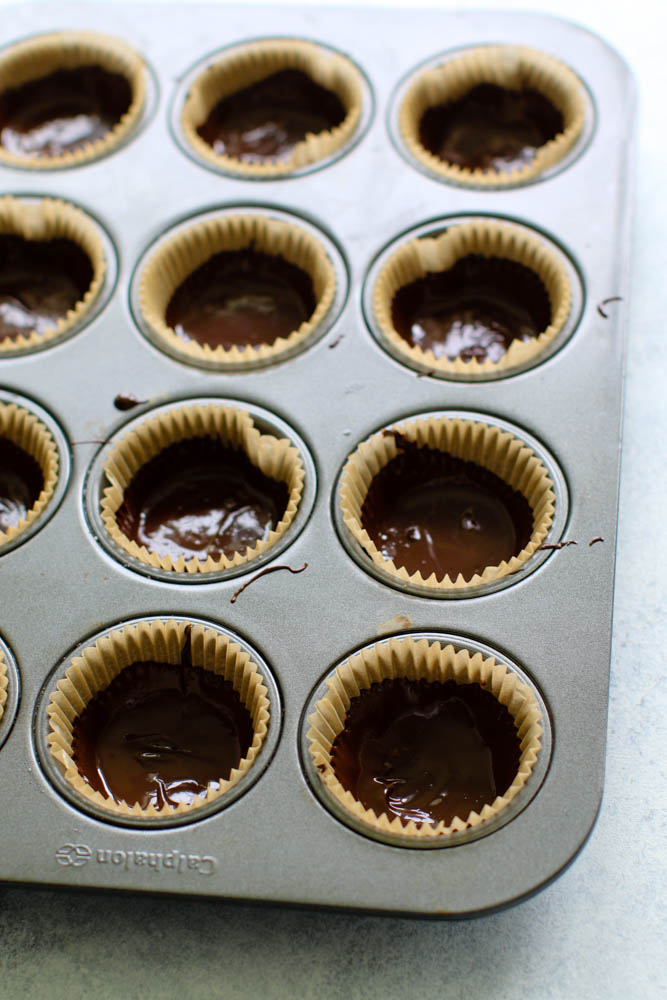
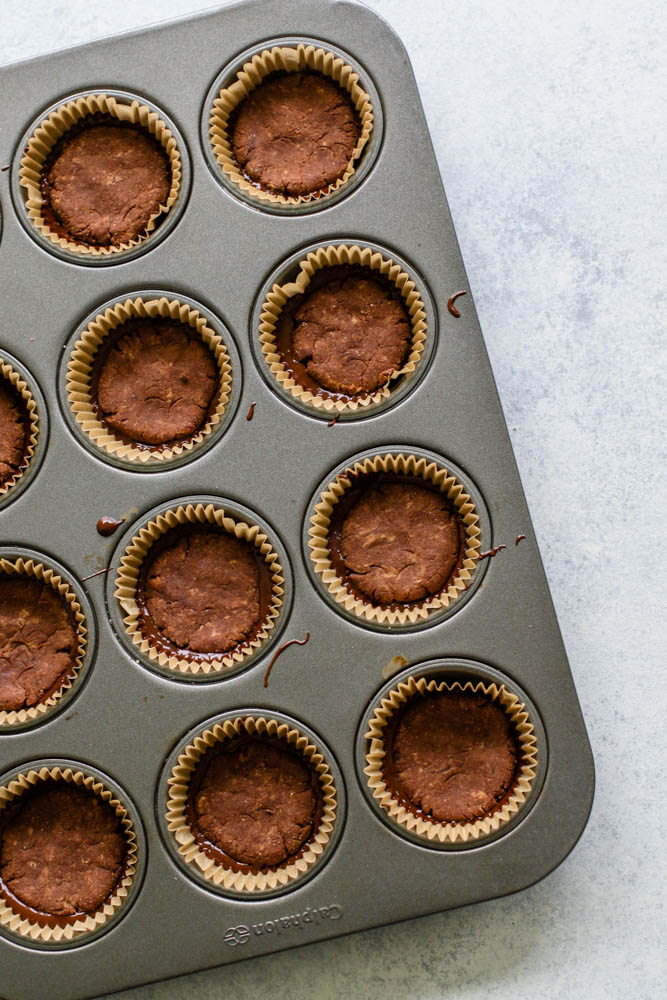
All you need to do is melt the chocolate to create that first bottom layer, and add it to muffin tin lined with paper liners. Then while that's chilling, combine almond flour, peanut butter, cocoa powder, maple syrup, collagen peptides, and almond milk in another bowl until it forms a sticky dough. This is your "brownie" layer. Press a bit onto the top of each chocolate-filled brownie cup, flattening with your fingers to even it out. And then, you guessed it, freeze them until set (at least an hour).
How to Store and Serve No-Bake Collagen Brownie Cups
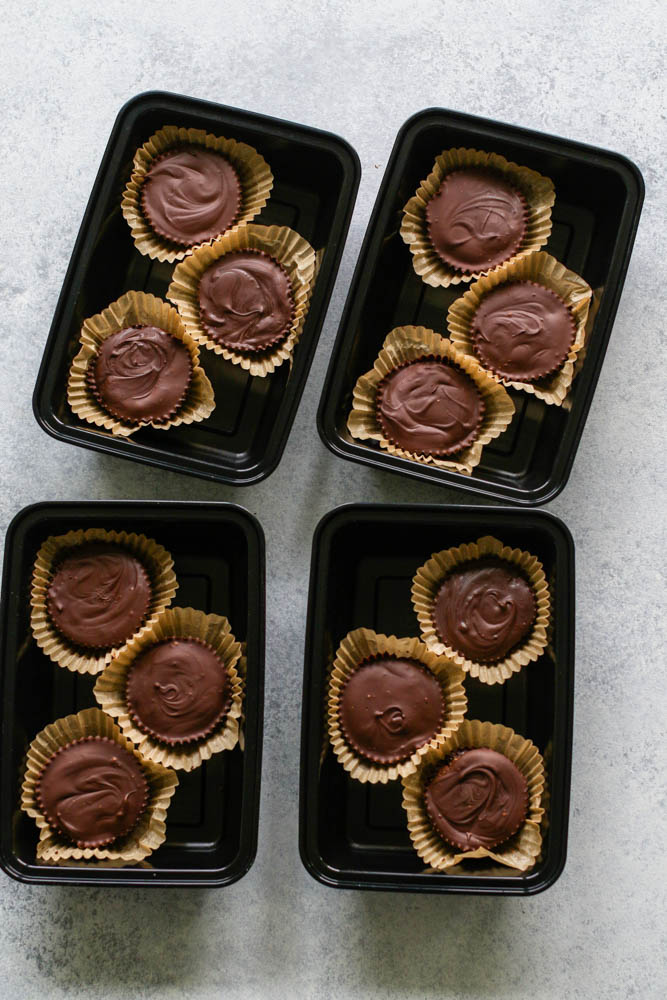
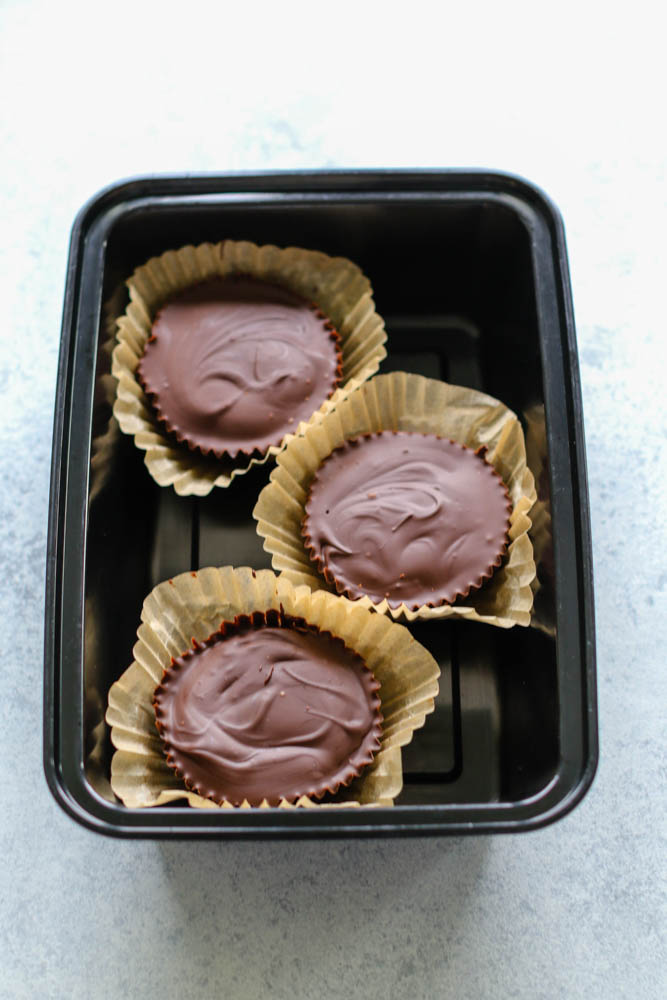
These will keep in the fridge, covered in an airtight container, for at least a week, but they won't last that long. Everyone will want one of these bits of chocolate heaven. You can also freeze them, too. Just make sure they're wrapped well beforehand and they should stay good for at least 3 months. Defrost in the fridge, overnight, or a room temperature if it's not too hot and you're impatient. (You could always microwave them, but, we can't vouch for that. Microwaves can do funny things to no-bake treats sometimes.)
More Treats and Sweets to Meal Prep
- Brownie Batter Hummus
- 23 Best Vegan Holiday Treats
- No-Bake Chocolate Peanut Butter Bars
- Sheet Pan No Bake Paleo Energy Bars

Ingredients
- 1 cup dairy-free chocolate chips
- ¼ cup almond flour
- ¼ cup unsweetened cocoa powder
- ½ cup collagen peptides
- ½ cup unsweetened almond milk
- 3 tbs maple syrup
- ¼ cup peanut butter or nut/seed butter of choice
Instructions
- Line a muffin pan with 12 muffin liners and set aside.
- Add ⅔ cup of the chocolate chips to a microwave safe bowl and microwave in 30 second increments until the chocolate is fully melted. (Alternatively, melt the chocolate over a double boiler.)
- Fill each muffin liner with about a tablespoon of melted chocolate and swirl with the back of a spoon to coat the sides. Place the pan in the freezer to set.
- While the chocolate is freezing, prepare the brownie filling by adding the remaining ingredients (almond flour through peanut butter) to a large mixing bowl. Mix until ingredients form a sticky dough; it will be thick.
- Using a tablespoon, roll the dough between the palms of your hands to form individual balls, and then flatten them into discs. Place discs into each muffin cup and gently flatten them with your fingers so they press up against the sides.
- Melt the remaining ⅓ cup of chocolate chips the same method as before, then cover the top of the discs with the melted chocolate. Place back in the freezer to set.
- Store the cups in an airtight container the fridge for a week or freeze for long-term storage.

Leave a Reply