Thank you to GoodCook for sponsoring this DIY Snacks Boxes post, and thank YOU for supporting the brands that help make Meal Prep On Fleek possible. All opinions are our own.
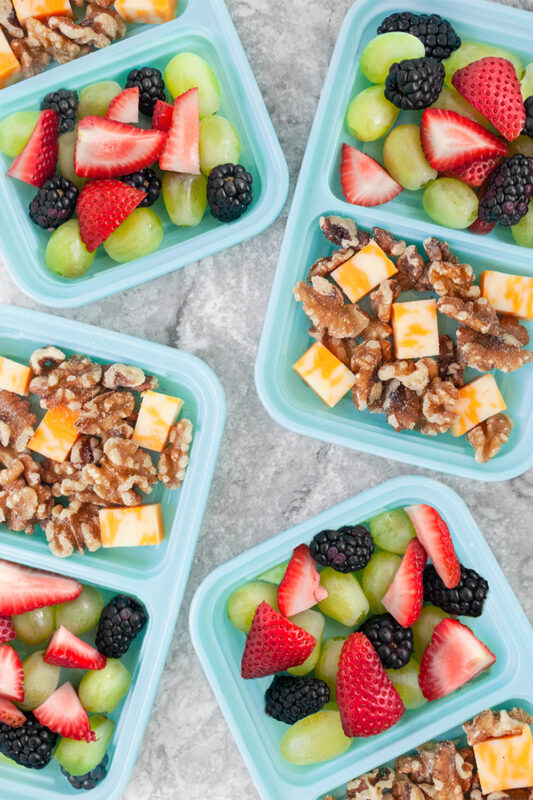
Budget friendly, DIY Snack Boxes are so easy to put together and perfect for work, school, or afternoon snack! The flavor combinations are endless too!
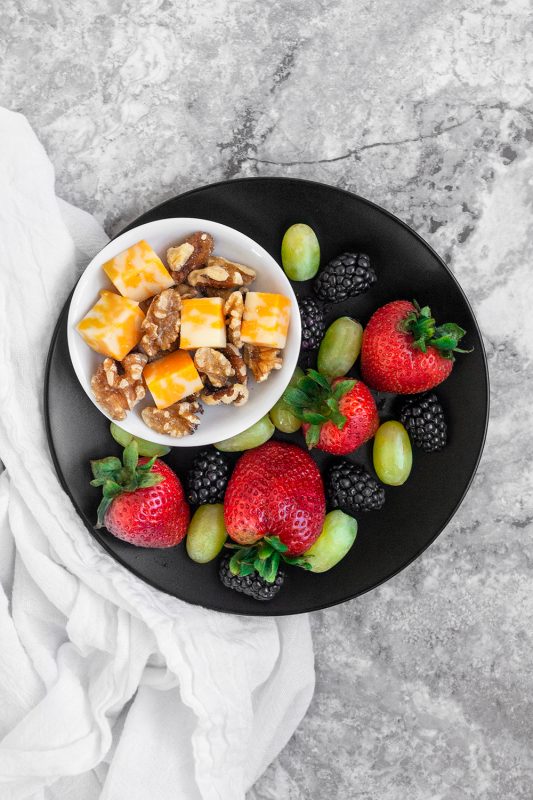
You've probably seen snack boxes at your local coffee shop, airport, or even grocery store recently. But, if you are like us you take one look at the price tag and say "NO THANK YOU." If you have been following us here for a while, then you know we like to keep our meal preps as cost-effective as possible. Hello, under $4 meal prep. So, when we saw the store snack boxes retailing for $5.99 and up (heavens, we have even seen them at $12.99 at an airport. GASP) we knew we could make a MUCH cheaper version at home.
We’ve found shopping at Target makes meal prepping even easier these days with all their fresh ingredients and meal prepping essentials. It was really the key to putting these DIY snack boxes together for such a low price point!
These DIY snack boxes require little effort and provide you with all of the nutrients you need for a complete snack (or even breakfast in some cases). They are the perfection option for a work or school snack for both adults and kids alike.
We take them to work most often, but also use the containers to create these fun DIY snack boxes for when we are traveling too. They are great to take in the car and will even make it through airport security if you don't include any liquid ingredients.
The Key To Snacking Success.....
The key to making sure that your 'snack' doesn't turn into a meal is portion control. All of the GoodCook meal prep containers that we use include the compartment sizes in the bottom. This will ensure that no matter when or where you are using the container you always have some idea of how much you are eating.
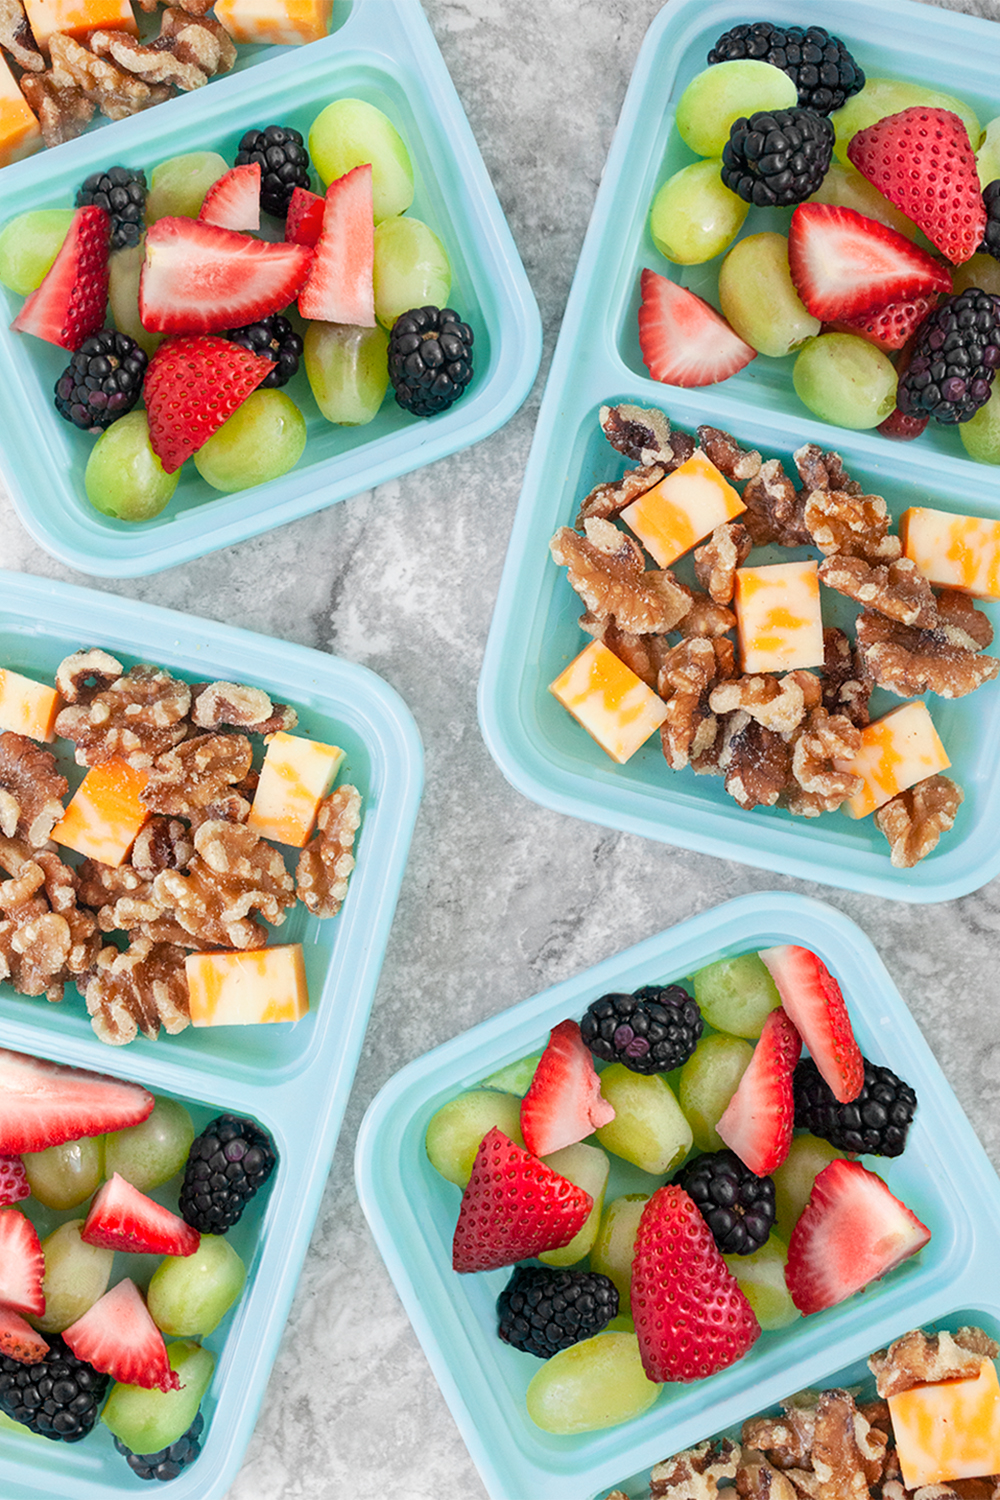
Take for example these super fun snack containers that we purchased at Target. Each compartment is a half cup in size, making it perfect for portioned snacking. By using fruit on one side of the container and a mixture of nuts and cheese on the other, you are getting in a great balance of macronutrients. Ie, our favorite carbs, healthy fats, protein and of course, fiber.
How about we take a look at how we built these fun DIY snack boxes and how you can change them up based on your personal taste preference. We headed to Target to grab all the items including the snack containers and the ingredients to make this $3.00 DIY snack box.
DIY Fruit & Protein Snack Boxes Ingredients:
- 1 C. Walnuts (raw, unsalted)
- 2 oz. Colby Cheese (cut into bite-sized cubes)
- 1 C. Green Grapes
- 4 Large Strawberries (sliced)
- ½ C. Blackberries
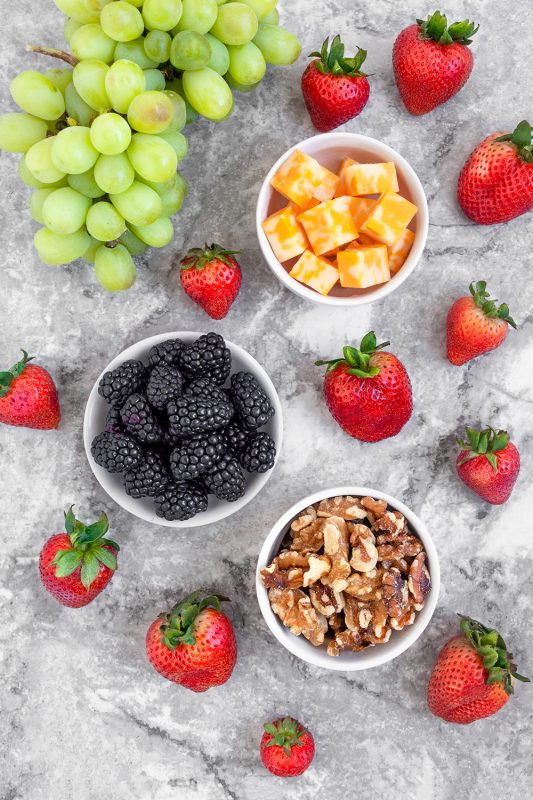
We went with fresh summer berries, crunchy walnuts, and cheese (we LOVE that salty and sweet combo), but you could use any seasonal fruit, nuts (macadamias and brazil nuts are two other favorites) and any kind of cheese. If you are vegan, feel free to swap in a dairy-free cheese.
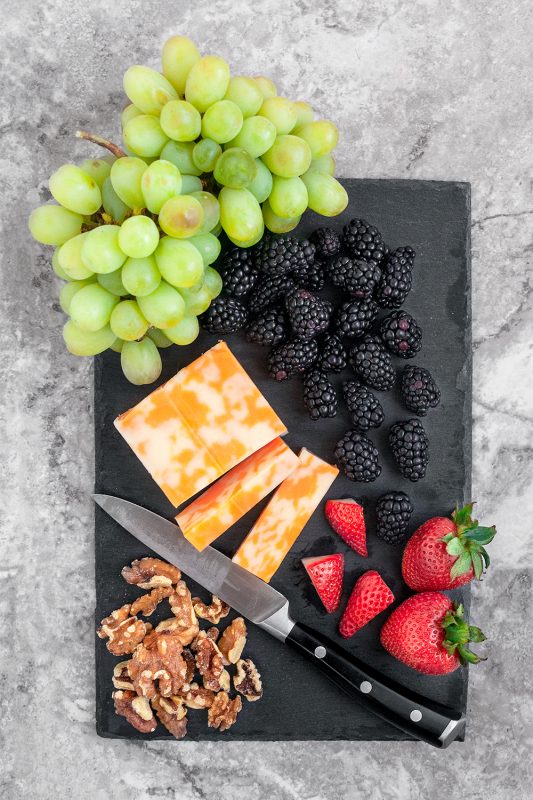
If you want a little less fat in your snack and some extra protein, add in 2 hard boiled eggs in place of the walnuts.
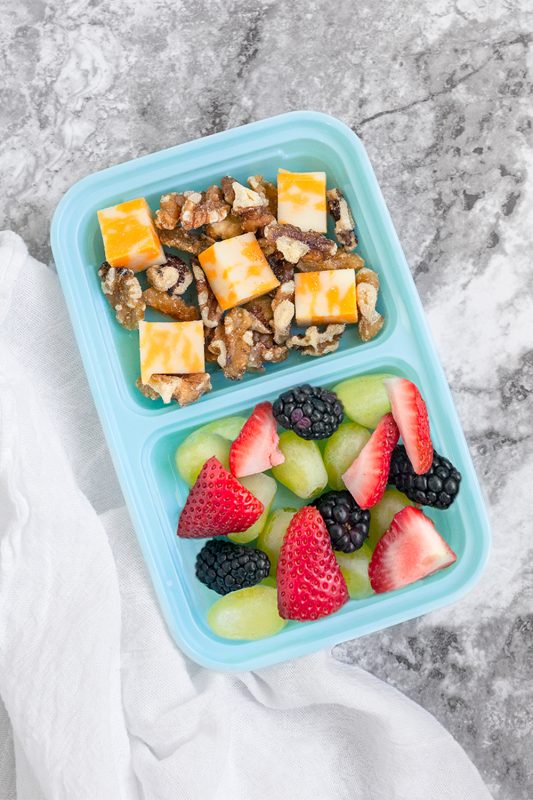
Three minutes of slicing and then you will be ready to snack! The combinations of DIY snack boxes are endless. The key to making sure it is balanced? Grabbing your portion controlled snack containers. You can pick them up online at Target.com or head to your local Target and grab them in store.
Ingredients
- 1 cup walnuts
- 2 ounces colby jack cheese cut into cubes
- 1 cup green grapes
- 4 large strawberries sliced
- ½ cup blackberries
Instructions
- Mix cheese and walnuts together.
- Mix fruit together.
- Divide each combination into 4 equal portions.
- Serve, store, and enjoy!


Phil says
Is the cheese portion a typo? 2 2 ounces of cheese? Is that 22 ounces or 4 ounces?
Sarah Kesseli says
Hi Phil, thank you for letting us know about this. It should be 2 ounces of cheese or 1/2 an ounce per box. Please feel free to increase this to a portion based on your macronutrient needs.
Ashley says
How do you keep nuts, pretzels, etc fresh? Seems like moisture is trapped in and makes them soft and not crunchy? Is there a type of meal prep container to use?
Meal Prep on Fleek says
It really depends on the container and the food mix. A good container will keep the moisture out and keep the food crisp.