
Macro calculator for weight loss, macros for muscle gain, macros for life! Confused? You've come to the right place. We've got everything you need to know to help you reach your goals!
Almost all of us have heard something about macros lately. The talk about "if it fits your macros" is all over social media and highly promoted by some of the biggest fitness industry leaders. Macro calculators for weight loss are all over the Internet. (We've got a macro calculator, too!) This philosophy is becoming popular very quickly due to its flexibility with the foods you eat. No longer are the days of eating healthy foods like chicken and broccoli and hoping for the best in terms of weight loss. You need a macro calculator for weight loss.
There are many reasons why you might want to know about macros. Often, people calculate macros because they want to lose weight, gain muscle, or maintain their weight. Understanding macros can help you develop a better relationship with food or achieve an overall healthier lifestyle.
So, you're probably wondering what a macro is, right?
Macro is short for macronutrient, "a chemical element or substance (such as potassium or protein) that is essential in relatively large amounts to the growth and health of a living organism," according to Merriam-Webster. The ones that people think about the most, with regard to weight loss and weight gain, are carbohydrates, protein, and fat.
Macronutrients provide the energy to carry out our human functions. Let's take a look at the three big ones: carbohydrates, protein, and fat to help you better understand how to calculate macros for weight loss (among other reasons)!
Think potatoes, fruit, bread, oatmeal, potato chips, sugar, etc. Those all contain carbohydrates They are all of the sugars, starches, and fibers you would find in your fruits, veggies, grains, and even dairy products. They are not, despite what some food media would have you believe, inherently evil.
Their job is to provide energy for our central nervous system and energy to our muscles. They are critical to our brain function and also influence our mood and memory! Have you ever had a bowl of ice cream and then felt happy? Thank those carbs! They are a key player in mental health.
Carbohydrates can be broken down into two types-simple and complex.
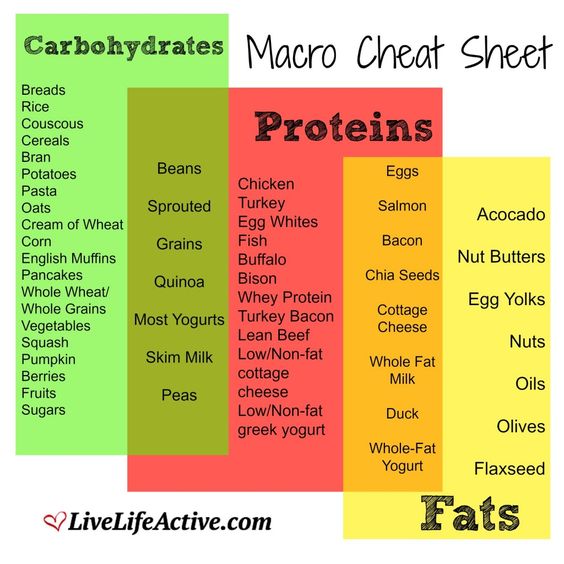
The second type of macronutrient is protein. Proteins are long chains of amino acids that make up your muscles, skin, bones, hair, nails, etc. Without protein, your organs cannot exist, and protein is super important for both muscle growth and repair.
Most protein is found in animal sources such as poultry, meat, eggs, and dairy. However, you can also find protein in plant-based foods such as beans, tofu/tempeh, nuts, seeds, nutritional yeast, and quinoa.
No, we're not talking about body fat, but dietary fat. The last (and usually scariest) macronutrient is dietary fat. Like carbohydrates and protein, dietary fat is also essential to life. Like carbohydrates, dietary fat is an energy source. Your body will store up fat and use it as energy once your carbohydrate reserves have been depleted. Have you ever started to feel tired during a workout and then get a second wind? Your fat stores just kicked in! Fats can be found in foods such as nuts, seeds, oils, butter, fatty meat, and fatty fish.
Like carbohydrates, dietary fats are also broken down into different categories. We have two main types:
Although water and fiber are not macronutrients, they are two important factors in the "if it fits your macro" philosophy. That's because water is essential for life and fiber is critical for digestion. Fiber also regulates our blood sugar and keeps us feeling full and satiated, which discourages overeating. Sufficient water intake also prevents things like headaches and, more importantly, dehydration. These may not be part of your macro calculator for weight loss per se, but they're still important to consider.
Now that we know what macros are and why they are important, let's look at how to calculate them.
Before we delve into the macro calculator explanation, you will need to know that:
If you are looking at packaged foods, you can find the grams of carbohydrates, proteins, and fats for each serving on the nutrition label. If you do not have a nutrition label available you can usually find the correct nutrition for something like chicken breast or salmon by doing a simple Google search with something like, "What are the macronutrients for 4oz of chicken breast" or referencing the USDA food database.
Ready to try this out? Use our Meal Prep Macro Calculator for weight loss and more!
Let's take a look at the nutrition label Melissa's Produce Black Eyed Peas for a greater understanding of macros and how they work.
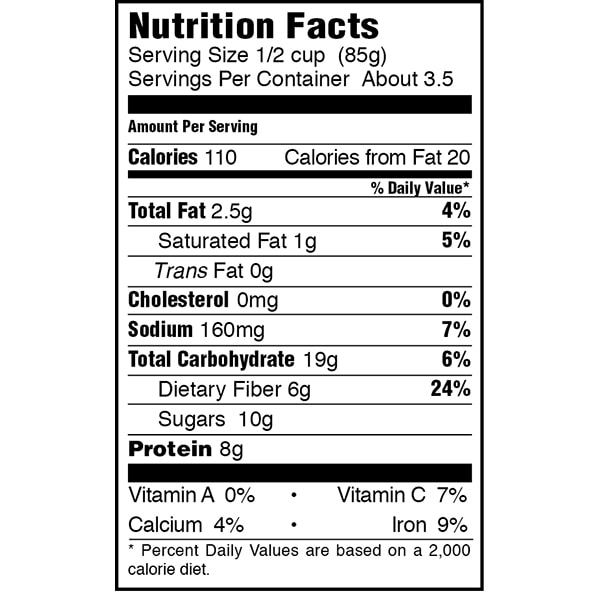
This item contains:
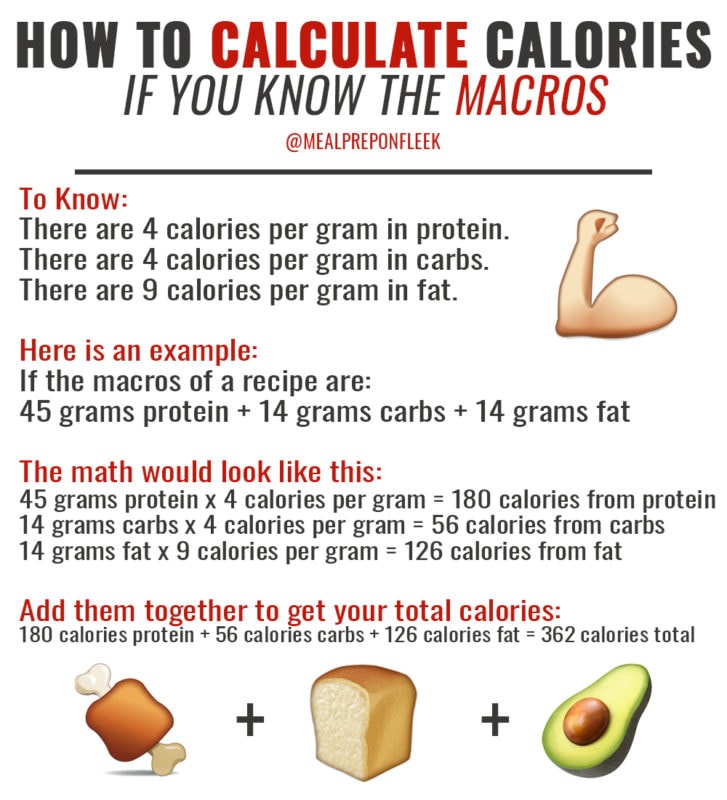
Based on our knowledge that there are 4 calories per gram in carbohydrates and protein and 9 calories per gram in fat, each half-cup serving yields the following in terms of macros:
If you are working with specific macronutrient goals, it is important to measure and/or weigh your food with a food scale to ensure accuracy in portion sizes. Otherwise, your macro calculations for weight loss won't be accurate. It's amazing how small a serving of nut butter or cereal is! Tracking and calculating is tedious, yes, but important for overall weight loss goals. It's so easy to underestimate what you're eating.
You can use tools such as My Fitness Pal or Lose It! to easily calculate and track your macronutrients each day. These apps allow you to input your food and their amounts into each meal and then tell you the total number of each macronutrient that is in that meal. You can also keep track of additional information such as fiber, sodium, water, etc.
Here is an example of what a My Fitness Pal daily log might look like:
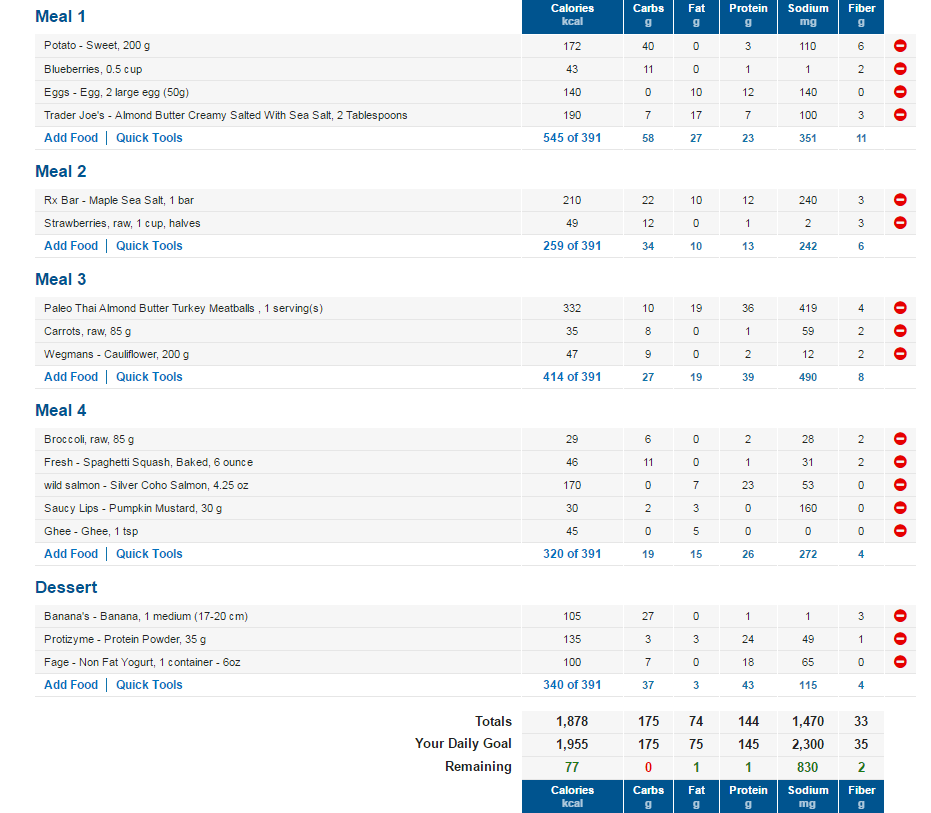
The downside to these apps is that the macronutrient calculations are a bit more generic instead of customized to you. If you are looking for a more customized plan, you can reach out to a health and wellness coach to help you.
To figure out your macronutrient goals for each day, you will need to start by calculating your daily calorie requirements. Again, this can be done through a customized plan or on our Meal Prep Macro Calculator. Once you have your recommended calorie intake, you can then figure out what the best ratio of carbohydrates, protein, and dietary fat would be, based on your goals.
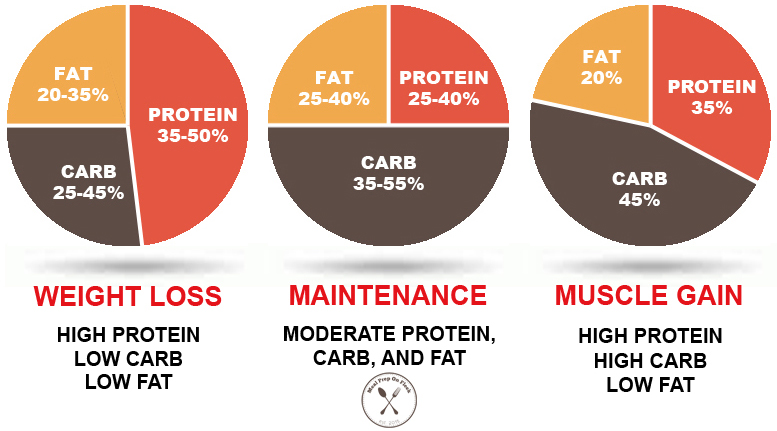
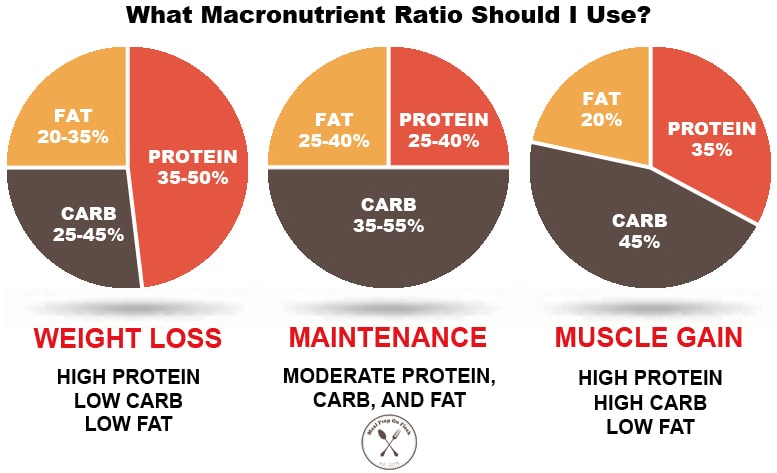
For weight loss, it is usually best to go with a ratio that's higher in protein and lower in fat and carbohydrate. The standard combo is typically 25%-45% carbohydrates, 35%-50% protein, and 20%-35% fat.
For muscle gain, you will want a higher carbohydrate and protein ratio to fuel your workouts. Your ratio should be around 45% carbohydrates, 35% protein, and 20% dietary fat.
You can increase your fat and carbohydrate consumption a bit. Carbohydrates may range 35%-55%, protein 25%-40%, and fat 25%-40%.
Once you have your calorie needs and macronutrient ratios figured out, it's time to start planning to reach those goals. There are so many reasons why you should be meal prepping; for starters, it saves you time and money!
Meal prepping also helps you become intimately familiar with what portion sizes look like.
If you are new to meal prepping then our easy-to-follow article, Meal Prep 101 For Beginners is a great place to start! I
For recipe inspiration, switch up your breakfasts for one of these 25 Make-Ahead Breakfast Ideas or change up your lunches with a Non-Salad Lunch recipe! If you're ready to go all in, try these 35 Macro Friendly Meal Prep Recipes.
And don't forget to make meal planning fun! Put on some music, get out your favorite kitchen gadgets, and enjoy a few hours of meal prepping on Sunday, or whatever day makes sense for you! For many, meal prepping/cooking/baking is very therapeutic.
What we've put together here is merely an introduction to macronutrient calculations. When starting a macronutrient plan, you will find that you may end up tweaking numbers over the first few weeks, and you may find that you need to adjust things as you lose weight or change your exercise regime.
And everyone is different, so keep that in mind if you're counting macros with friends. Some people find that they work more efficiently on a high-protein or high-fat diet, while others are better on higher carbs. With that said, please use the numbers above as a guideline, not an exact science.
Over time, it will become easier to find the right ratio that works for you and your lifestyle. Please be patient with yourself when starting this plan. Over time, you'll find the right balance that gives you enough energy to make it through your day and leave you feeling satisfied-all while attaining your fitness goals.
If you are still unsure how to calculate macronutrients to achieve your goals or are looking for more customized guidance, apply for our coaching program HERE and we'll help you get setup with macros that will speed up your time to results!
*These should not be eliminated from your diet. They should be used mindfully when planning.
If you have any questions or need ideas for alternate swaps, head over to our Facebook Group to ask or email me at [email protected]!
*Please note that any changes to ingredients will alter the macros on each recipe.
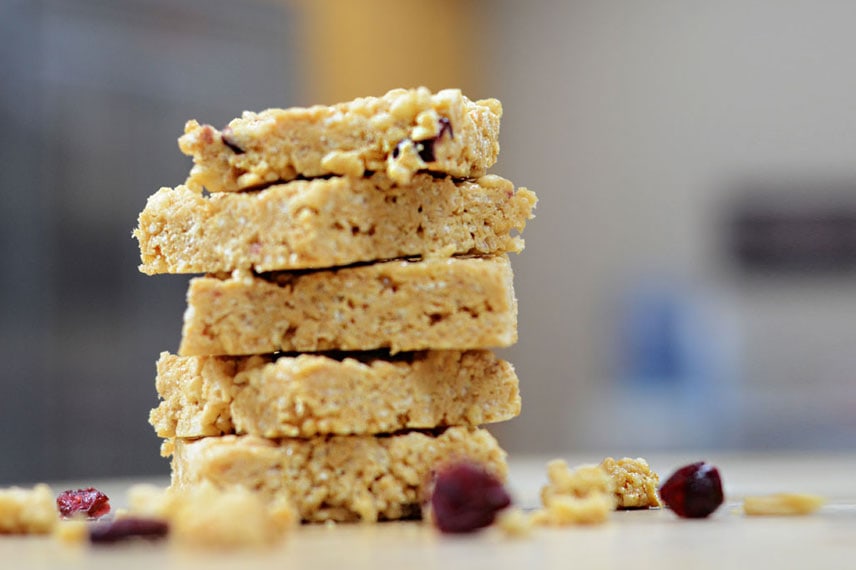
DIY No Bake Healthy Snack Recipe - Sesame Peanut Butter Protein Squares
Remember those gooey, delicious Rice Krispie treats from your childhood? They were a delightful mix of crispy cereal and sweet marshmallow that we all loved. But what if we told you that you could enjoy a similar treat, but in a healthier, protein-packed version? Enter the PB Protein Squares! This no-bake recipe takes your favorite nostalgic snack and gives it a nutritional upgrade with the help of protein-fortified peanut butter and whey protein powder. Get ready to indulge in a treat that's as good for you as it is tasty!
These PB Protein Squares are a perfect way to satisfy your sweet tooth while still sticking to your health goals. With the nostalgic crunch of crispy cereal and the added benefits of protein-packed ingredients, this snack is both delicious and nutritious. Whether you need a post-workout snack or a midday pick-me-up, these no-bake treats are sure to hit the spot.
Whip up a batch of Peanut Butter Protein Squares today and let us know how they turn out! Share your creations on social media with the hashtag #HealthyProteinTreats and inspire others to enjoy a guilt-free indulgence. Happy snacking!
Today, it's snack time! Who doesn't love a good snack? And by good, of course, we mean healthy, delicious, quick, and easy.
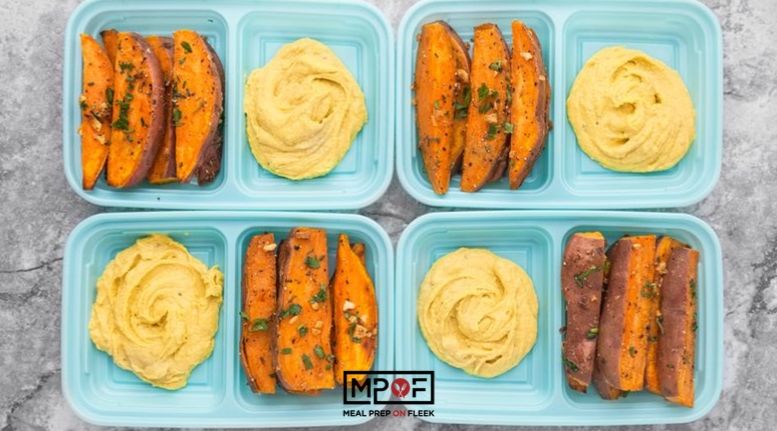
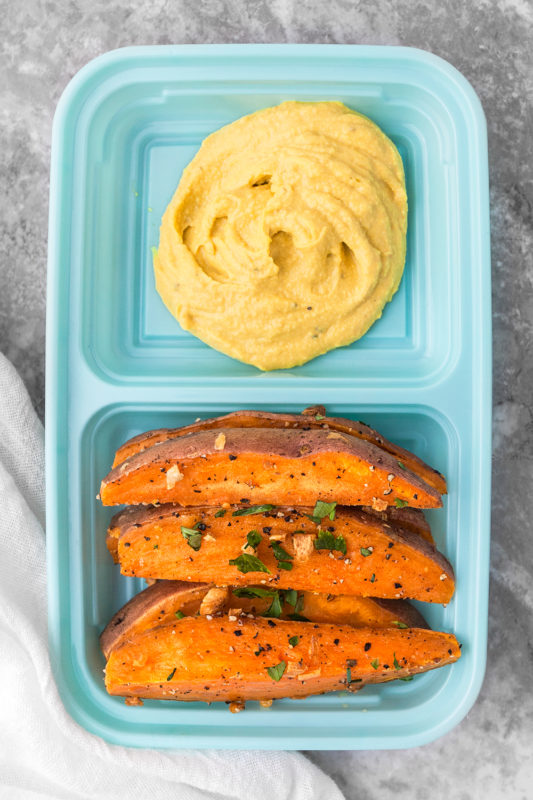
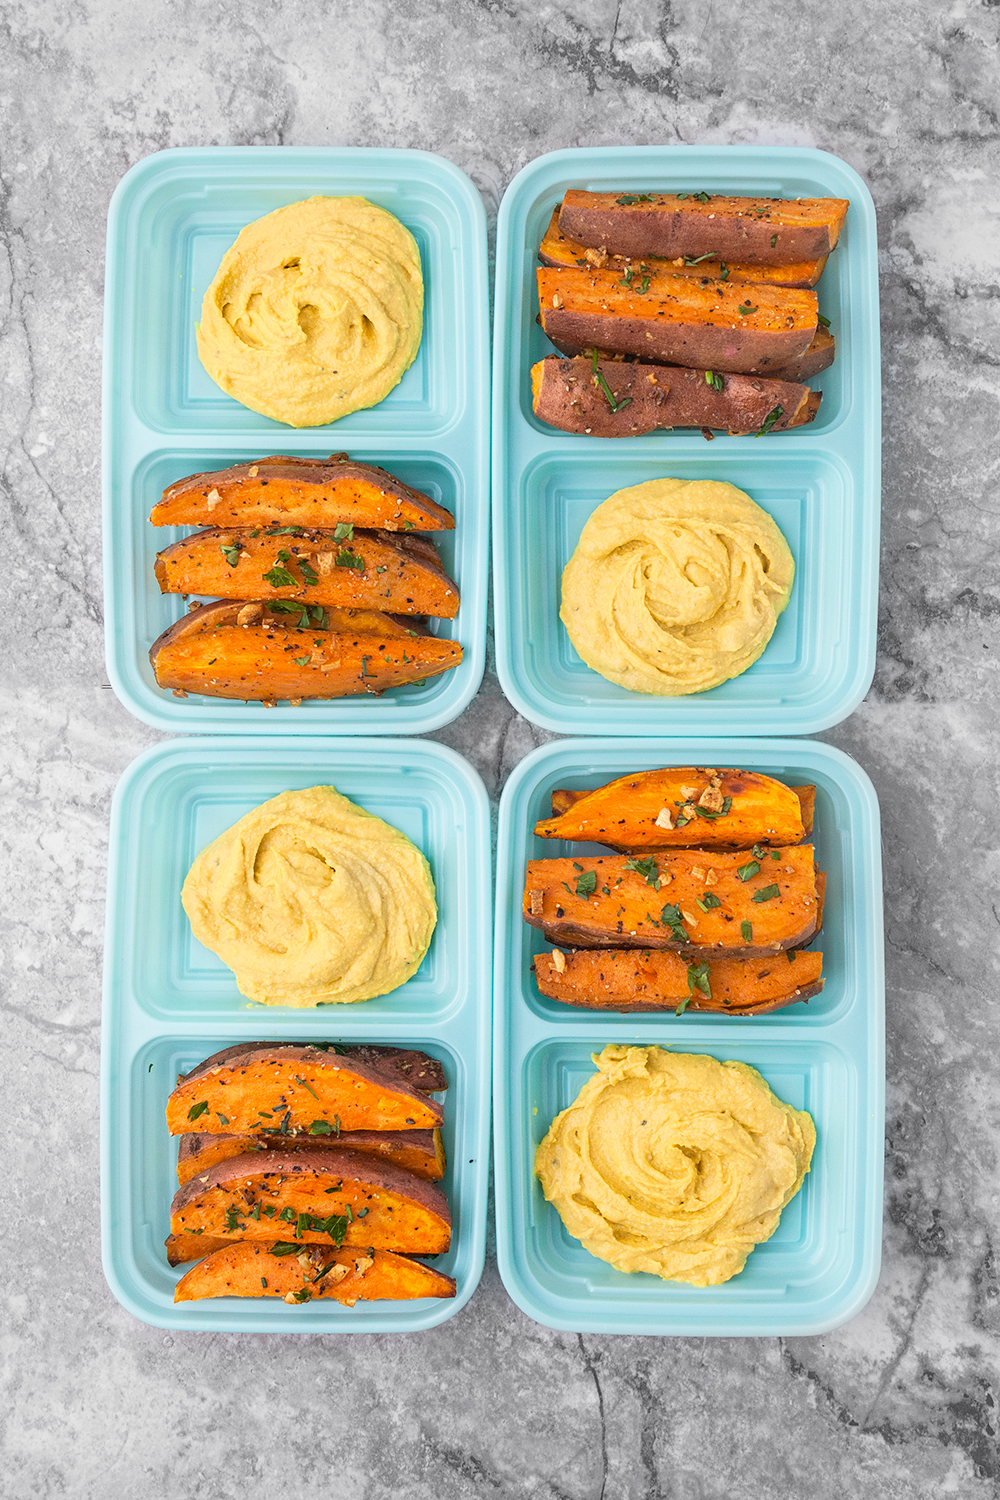
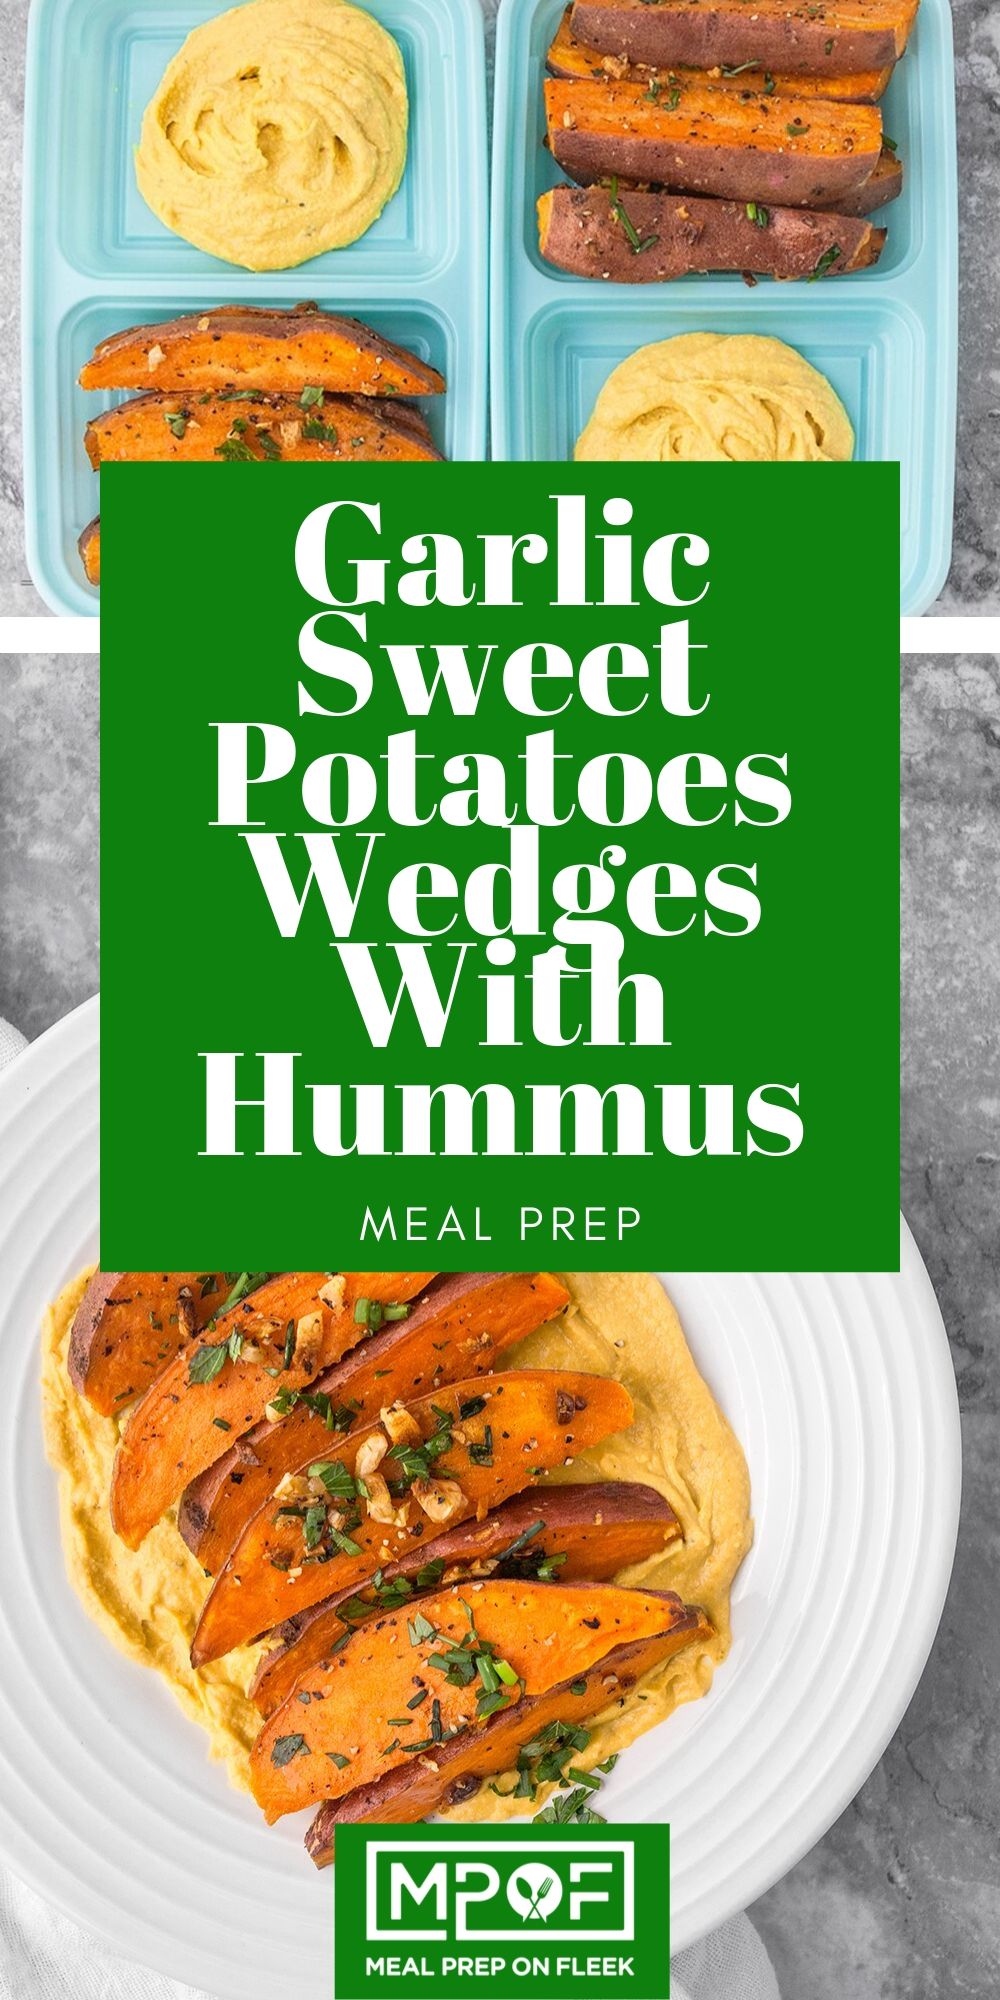
Here at MPOF, we pride ourselves on bringing you the best meal prep recipes for a healthy lifestyle. Snack time is meal time, too. Snacking is perfectly okay to do - as long as it's mindful. Our bodies need to be replenished often, especially if we're leading busy lives. Our Garlic Sweet Potato Wedges with Hummus is the ideal mindful snack for busy go-getters like you!
Sweet potatoes are savory root vegetables that pack a 1, 2 punch in the health department. They're known for being rich in antioxidants (promoting gut health) and promoting gut health. Sweet potatoes are also very versatile. You can pair them with savory or sweet sides and seasonings. The meal prep recipe we share with you today pairs sweet potatoes with the savory taste of garlic. Garlic offers medicinal properties that help with immunity. Its reputation for combating sickness makes it the food for cold & flu season.
Now that we better understand how this meal benefits you, let's make it!
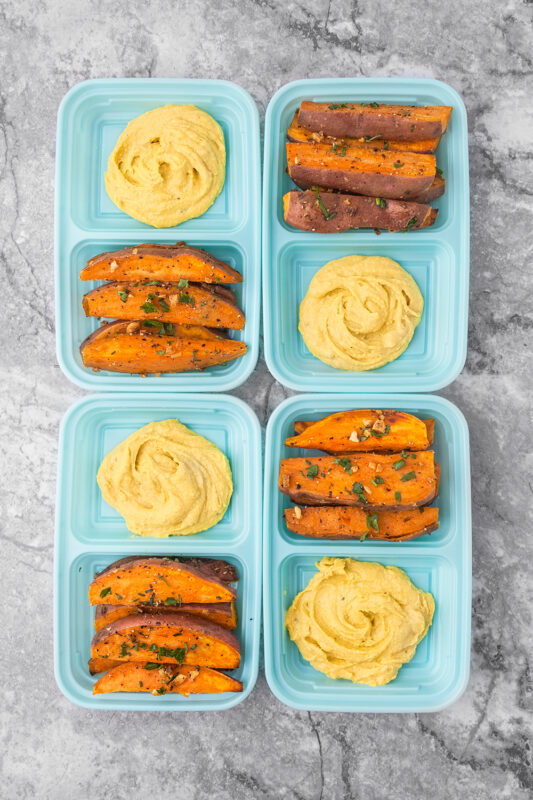
Cooked sweet potato last for 3 to 5 days. For optimal freshness, store them in a shallow airtight container or reusable plastic bag.
Yes, you can freeze Garlic Sweet Potatoes. Wrap cooled sweet potatoes in foil or place them in a freezer bag or container. Once properly stored in your freezer, Garlic Sweet Potatoes will last for up to 12 months. Be sure to label the contents.
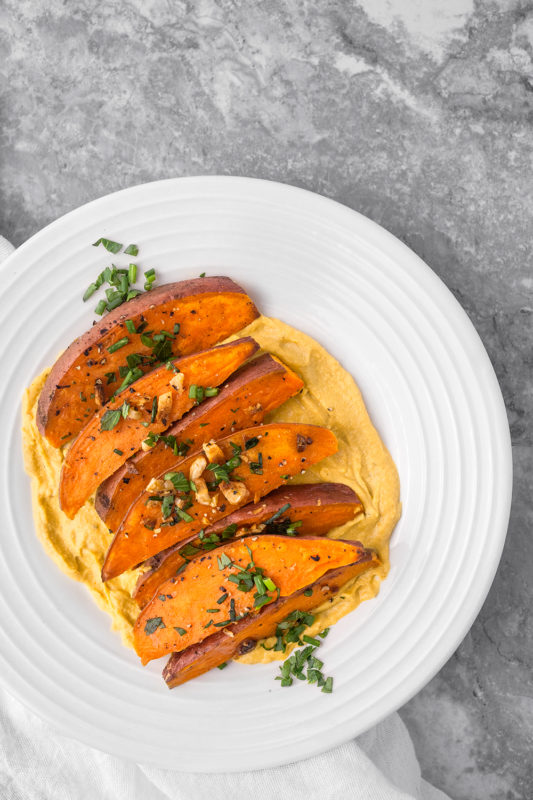
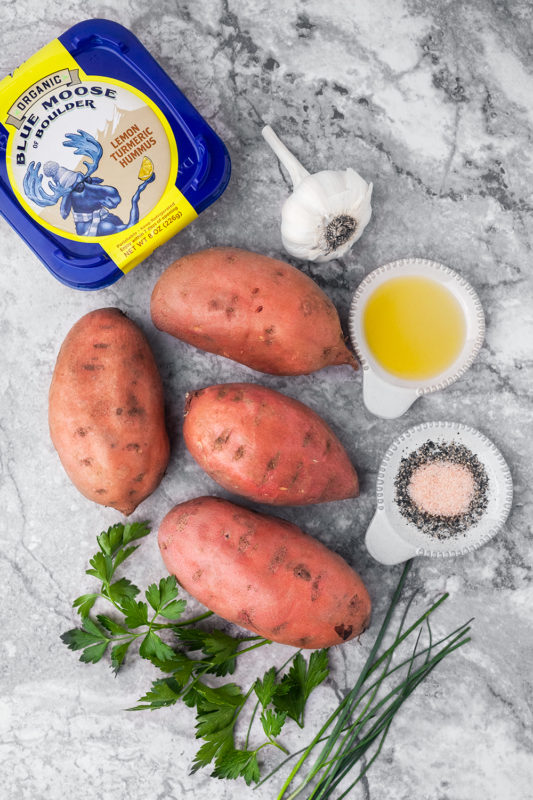
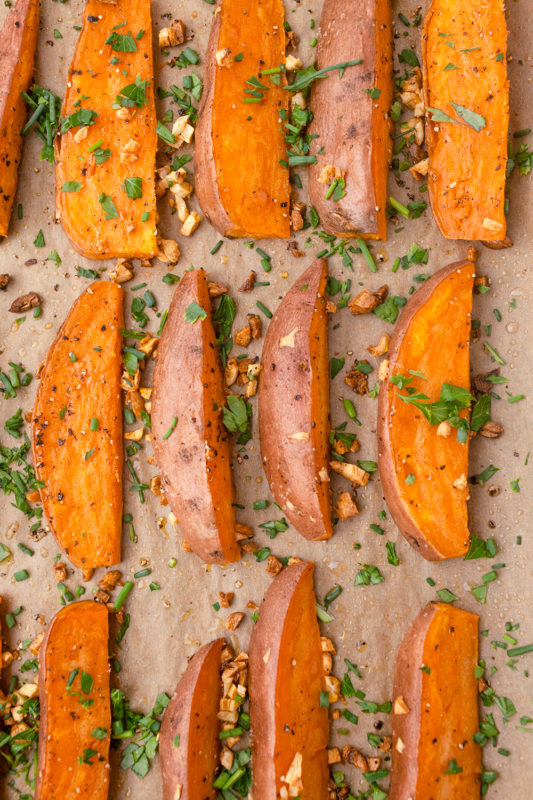
The recipe is pretty straightforward. Simply chop your sweet potato into wedges. Then toss the wedges in a bowl with your seasonings and oil. Stick your oiled and seasoned sweet potato wedges in your preheated oven, flip halfway through, and voila! A tasty snack or appetizer in 25 minutes.
Divvy up 4 servings of sweet potato wedges in a one-compartment or two-compartment meal prep container. Then add hummus to each serving of wedges.
Can't get enough sweet potato? We don't blame you - neither can we! Check out these recipes and let us know what you think.
We did some digging for some of the best tips for making sweet potato wedges. We hope these tips help!
If you're anything like us, you're still having issues with getting everything done and your goals accomplished. Time management is not something that comes naturally and is definitely not something that happens over night. We get it. These Time Management Tips That Will Make You a Productivity Master
But, why though? Haven't you spent enough money buying all the products that were supposed to keep you completely managed and successful? Haven't you tried hacking your time or getting less sleep?
The answer is, that all these time management mechanisms and systems are geared to help you manage an imaginary time world out there, somewhere, that someone else lives, and you need help managing the life you actually live each day.
So much of "time management" is made up in your own imagination; in your own head. It's a mindset thing... Why is it that planning a party that you are looking forward to seems to take up no time at all? But when crunching the numbers for the end-of-the-year fiscal report, well, time drags on forever! Or so it seems.

The truth of the matter is that, of course, time neither speeds or slows for no one. The person who has not accomplished much in a day, and the one who has finished all their work and is now enjoying "happy hour" with friends, has the same 24 hours in their day.
Before looking at time management, start looking at your energy management. Are you managing your physical body well? Are you eating well? Sleeping well? How about a little bit of exercise?
Then look at your priorities and the motivation to accomplish them.
Follow yourself around for a good week and find out how you are using your time. Record everything that you do and how much time you take to do it; write it all down. By collecting data on yourself for a week, you will find out how much time was productive and how much time was completely wasted. Do this and you will have a better idea of where your time is really going.
Once you have a realistic, honest look at yourself, THEN you can go about starting to tweek those areas that need some help.
Make sure you take ample time in the morning to plan your entire day. Have a brief, but thorough meeting with yourself. Ben Franklin used to start his morning plan by asking himself, "What good shall I do this day?" This is a wonderfully positive question that sets an amazing positive tone. It is a great phrase that helps set priorities and gather motivation (remember your goals!).
In the midst of planning your work time, make sure that you plan time for interruptions and distractions. Distractions are a part of life and they will happen in the course of the day, so make sure you have time set aside for them. This way you are sure that you have productive time mapped out, distraction time planned for, as well as break time that everyone needs.
Give yourself a time block for each activity that will help you down the road to productivity. And give yourself time limits for each thing. There is ALWAYS more you could do at the end of the day, so make sure you have reasonable time limits set and have some things that can be accomplished within those parameters. Make sure that when you look back on your day, at least 50% of your time was spent on things that have produced results.
Turn your notifications off on all social media and put your ringer on silent to keep distractions to a minimum. You can get back to these later. During your main work blocks, let others know you need uninterrupted time when you absolutely HAVE to get things done. Don't always give people your attention when you are working just because they happen to come by your work area (unless it's the Boss with an emergency!). Save socializing for those planned break times.
At the end of the day, take some time to look back on your day and see how you did. Again, Ben Franklin famously asked, "What good have I done today?". Acknowledge the things you did well and celebrate your success. There is always time to adjust those things that didn't work and need to be improved upon.
How have you incorporated time management into your meal prep routine? We would love to hear about how you have done it!
So much of "time management" is made up in your own imagination; in your own head. Are you managing your physical body well? Are you eating well? Sleeping well? How about a little bit of exercise?
"Lack of direction, not lack of time, is the problem. We all have twenty-four hour days." ― Zig Ziglar Make sure to identify the main tasts that NEED to be accomplished
Follow yourself around for a good week and find out how you are using your time. Record everything that you do and how much time you take to do it; write it all down.
Have a brief, but thorough meeting with yourself. Ben Franklin used to start his morning plan by asking himself, "What good shall I do this day?"
Pro Tip: Make sure that you plan time for interruptions and distractions
There is ALWAYS more you could do at the end of the day, so make sure you have reasonable time limits set and have some things that can be accomplished within those parameters
During your main work blocks, let others know you need uninterrupted time when you absolutely HAVE to get things done.
Acknowledge the things you did well and celebrate your success. There is always time to adjust those things that didn't work and need to be improved upon.
Duh! What, did you think we wouldn't include meal prepping in here?! C'mon -- Believe it or not, meal prepping is a major time management hack. Using steps 2-5 you should be able to plan and prep your meals for an entire week, in just a couple hours. Here is what that would look like:
If you have any favorite Time Management Tips, let us know in the comments below.

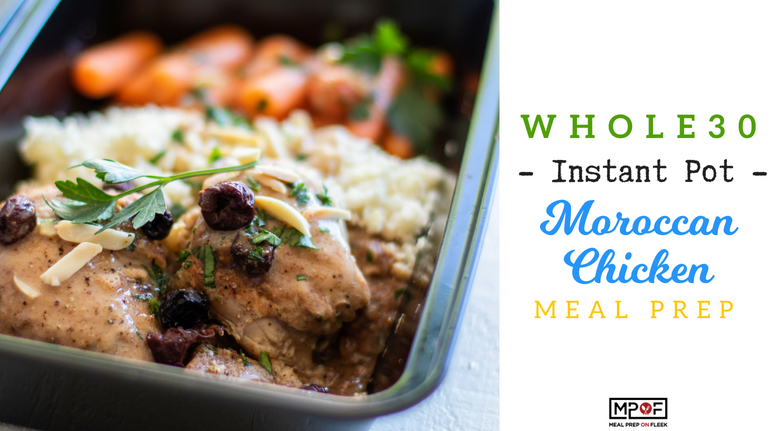
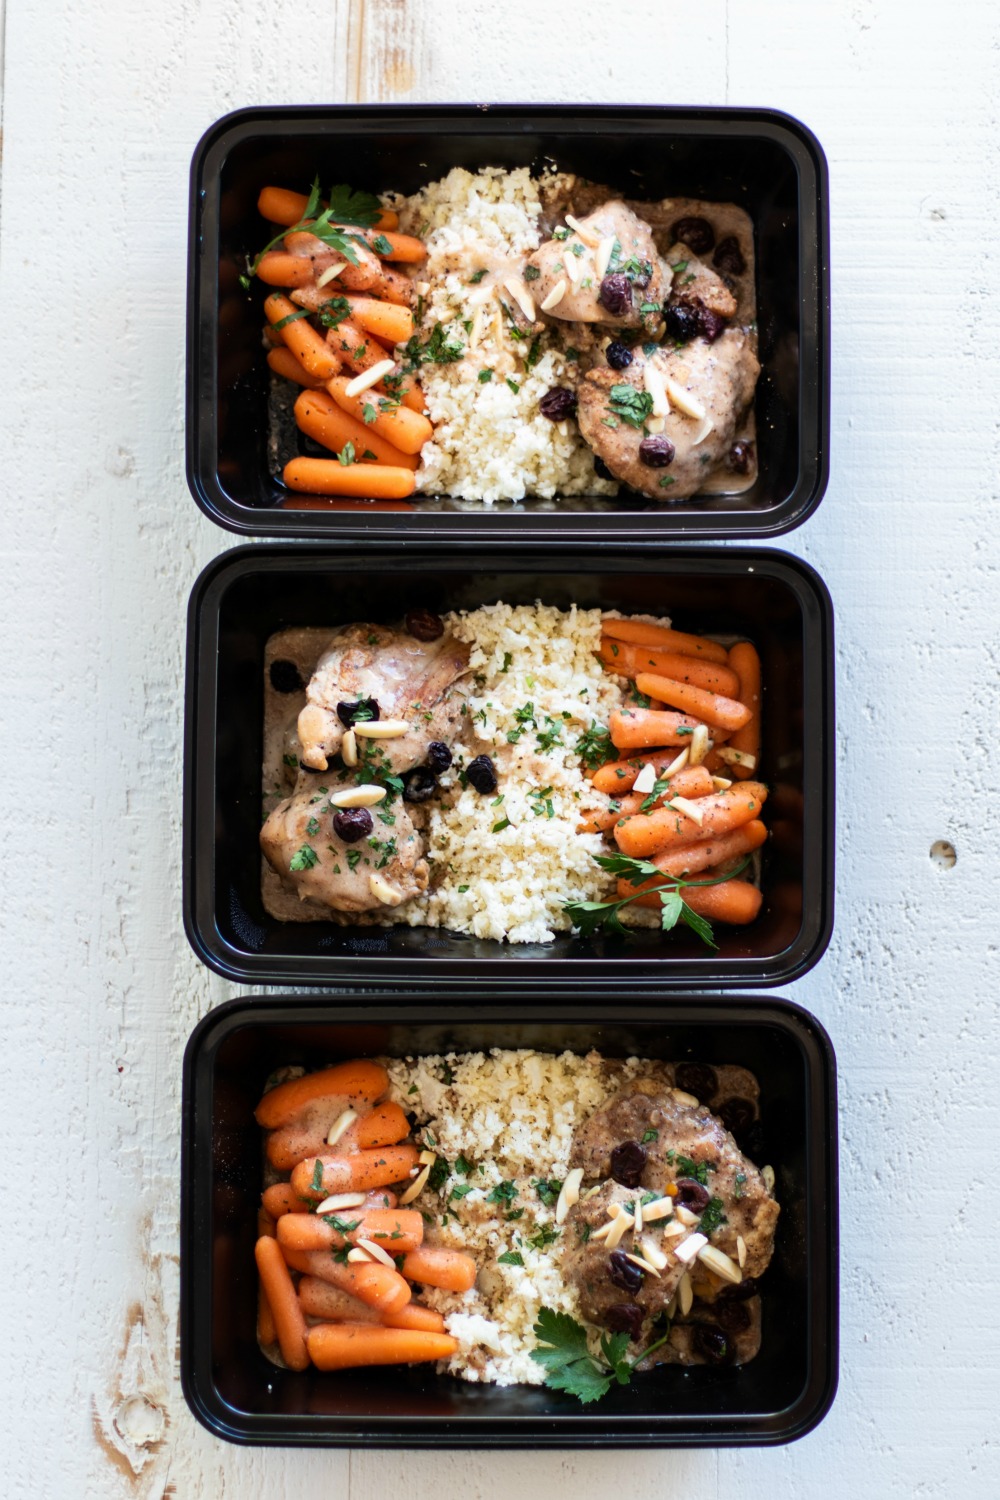
Morocco is a North African country nestled right between Spain and Algeria, with the majority of its coastline hugging the Atlantic ocean. Its position between so many varying cultures is evident in its cuisine, which is an exciting mix of Arabic and Mediterranean flavors, and sometimes with a slight European and/or Subsaharan influence. How this presents itself is a wonderful blend of spices such as cinnamon, turmeric, and saffron, with complementing flavors like dried stone fruits, olive oil, mint, and lemon. This sounds amazing, right? We love any opportunity to add global flavors to the MPOF repertoire, and we wanted to try our hand at making something inspired by this beautiful region. So, an easy meal prep recipe featuring these unique and delicious flavors? Yup, this instant pot Moroccan chicken is here to stay!
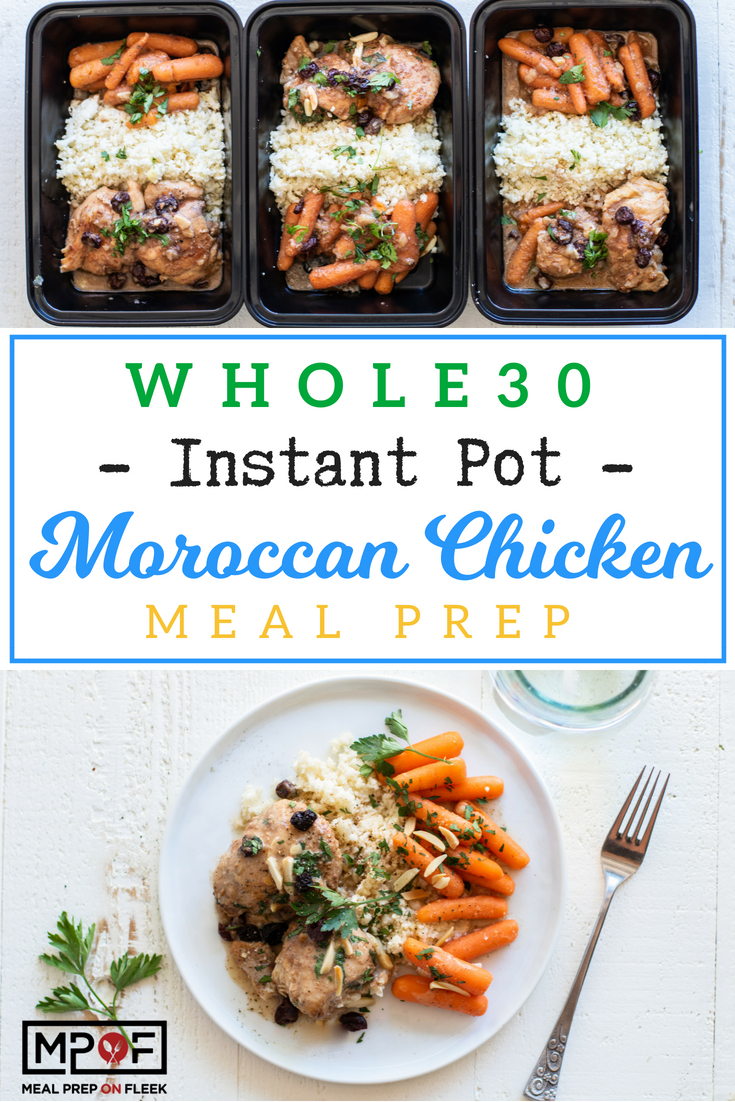
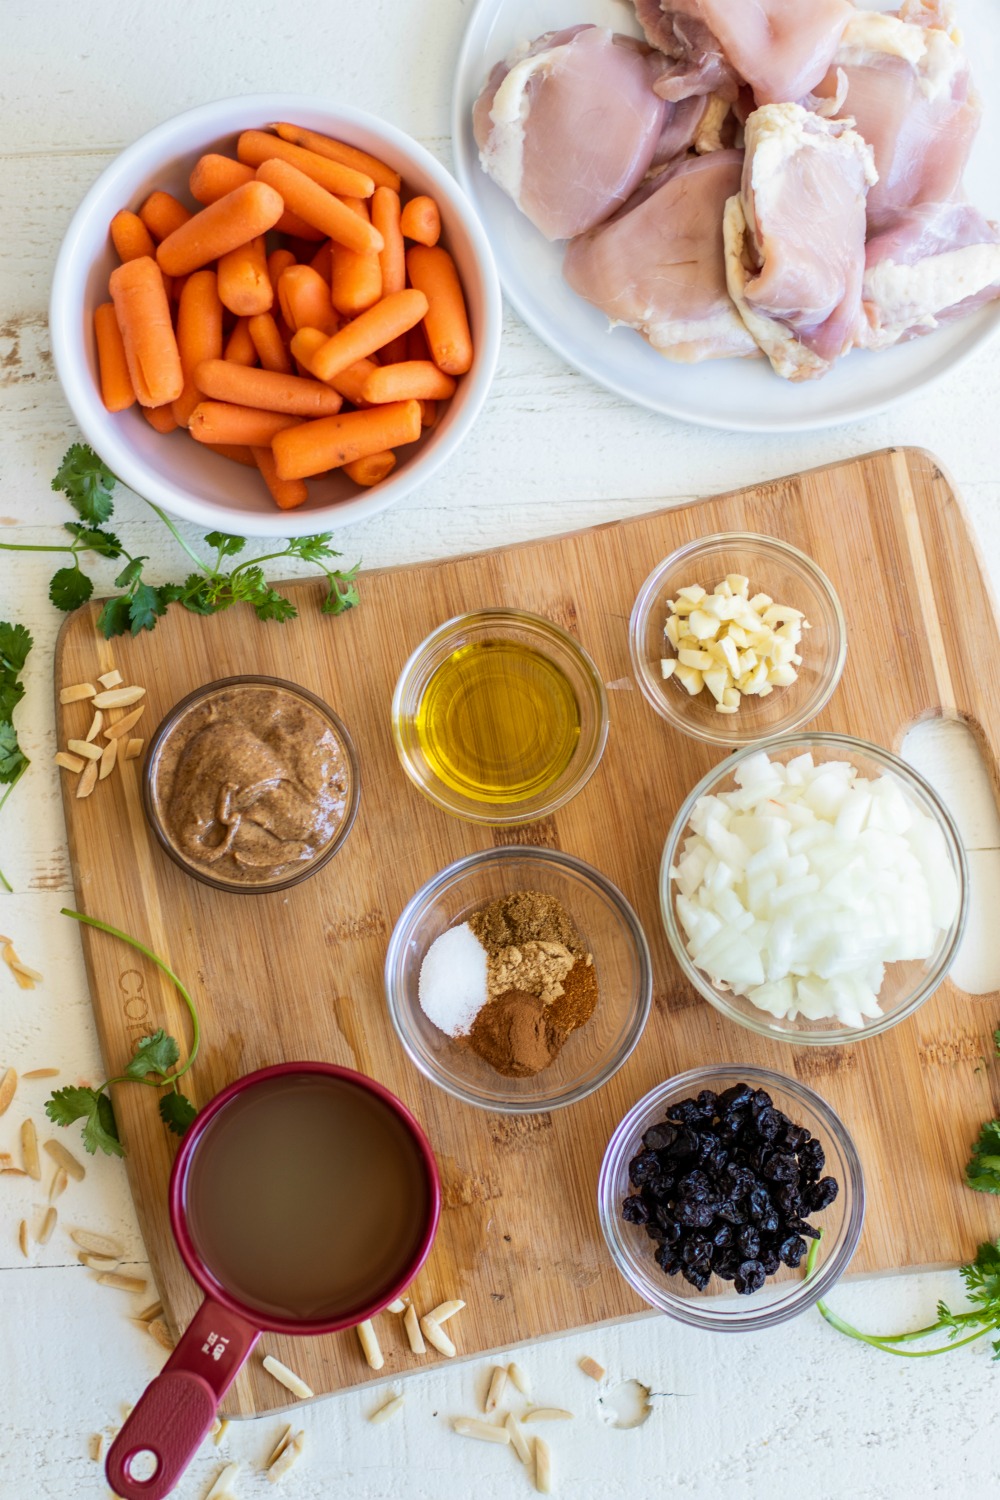
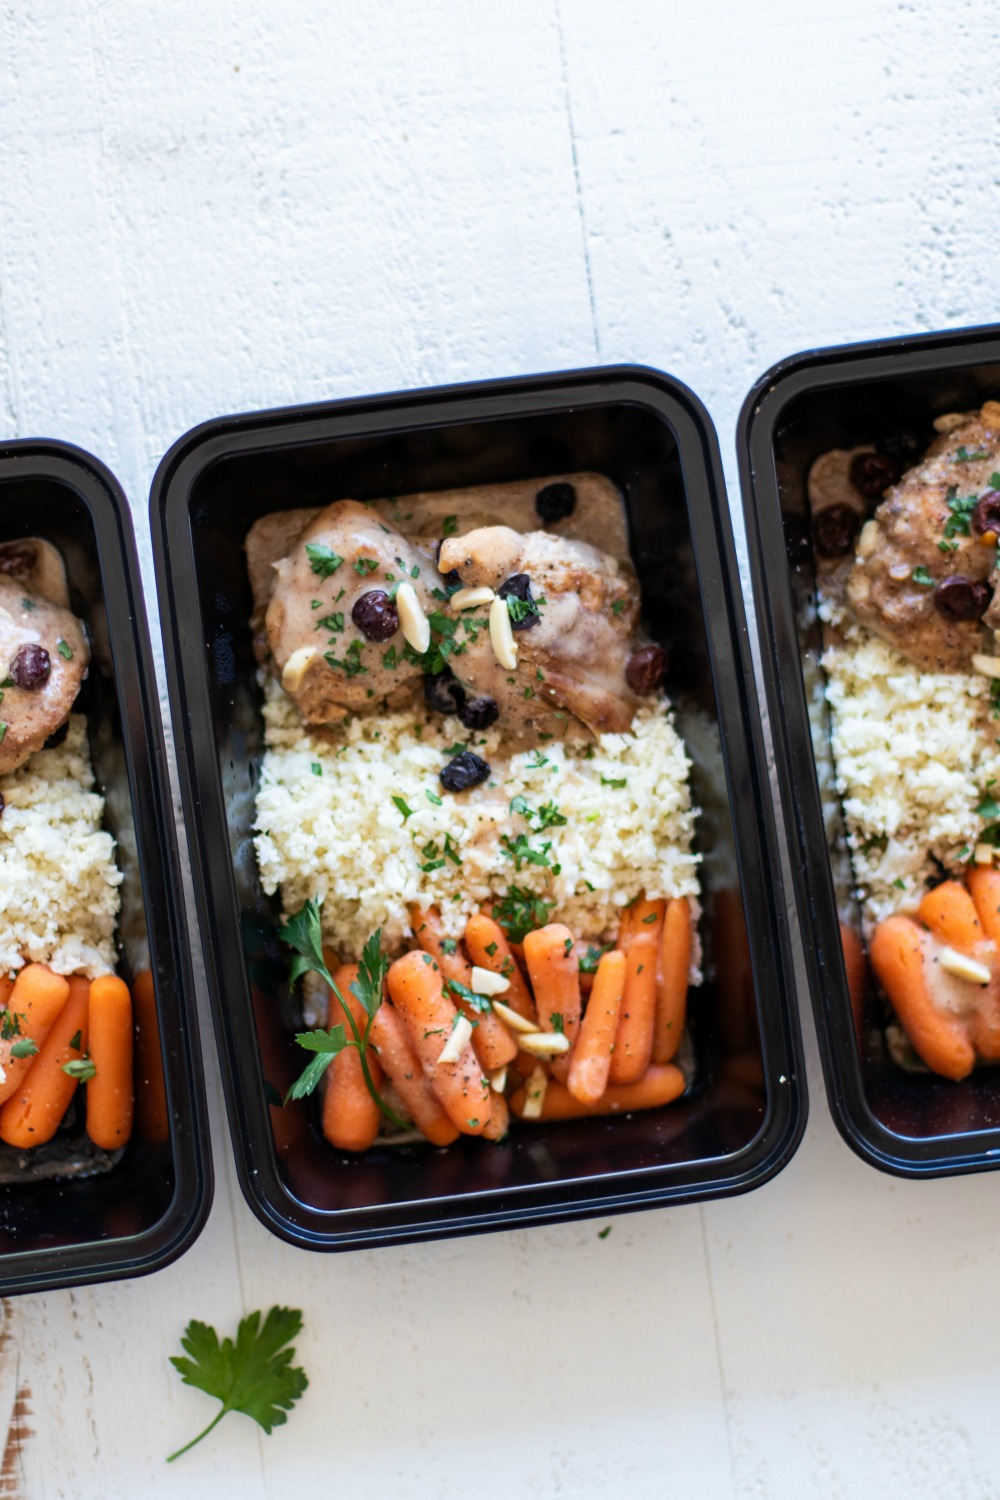
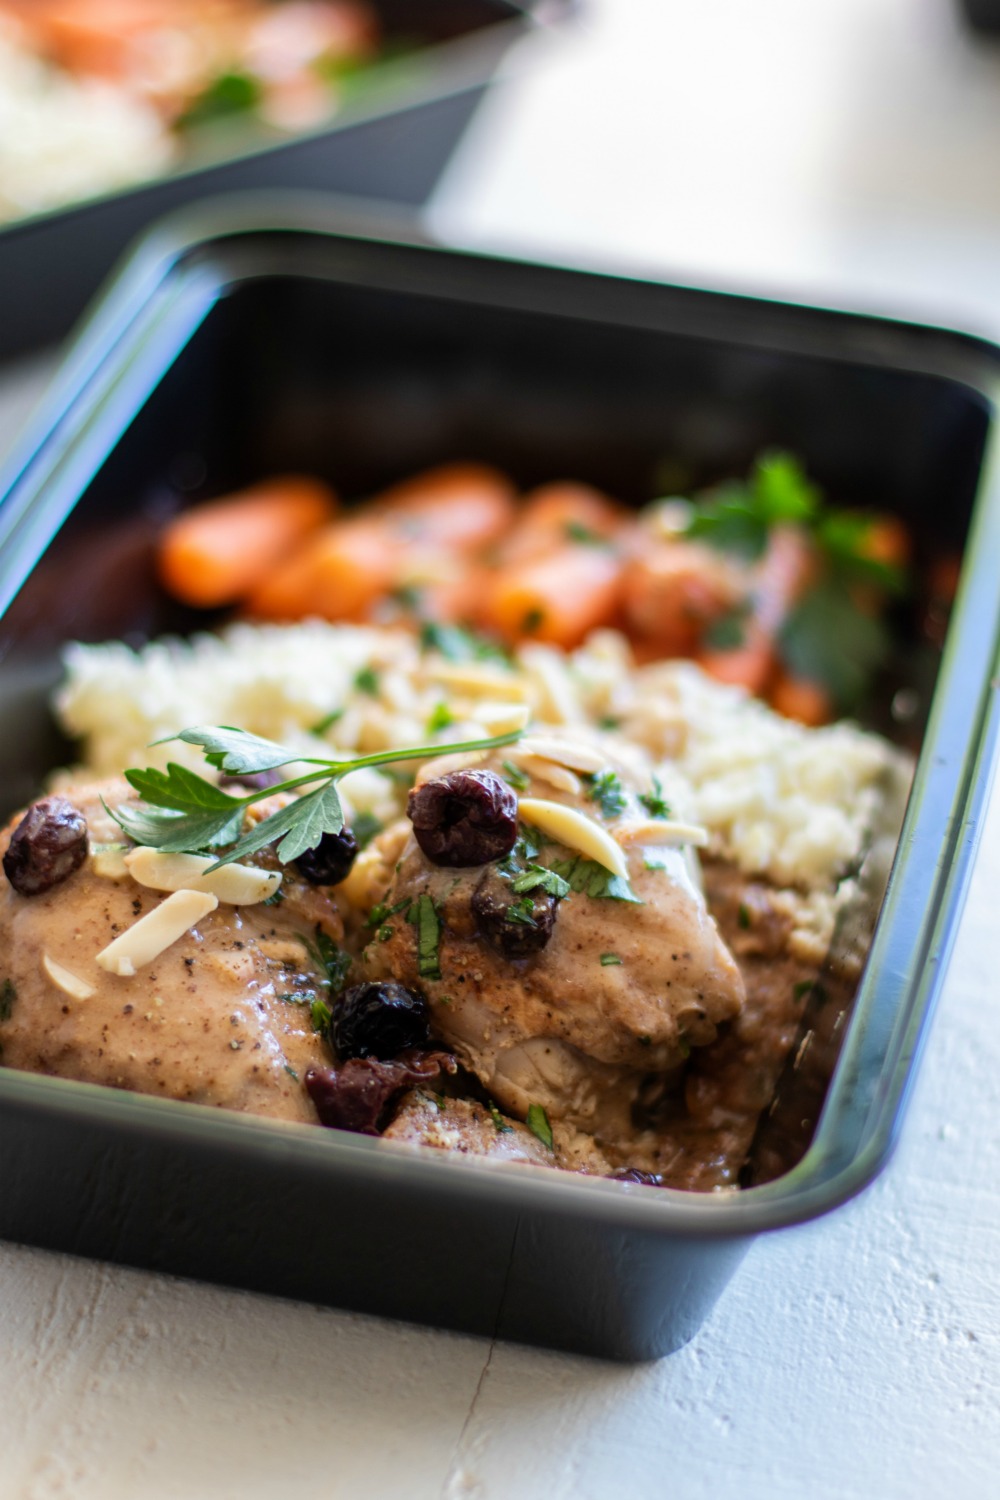
With only 15 minutes of prep and 15 minutes of cook time, this easy meal prep is definitely one to keep on hand for busy summer nights or those chilly and dark winter ones that call for something saucy and satisfying. Warming and rich, the almond butter sauce is smooth and creamy with a wonderful kick of spices: ginger, cumin, cinnamon, and cayenne. This delicious sauce generously coats tender chicken, and sweet dried raisins or tart cherries make the perfect flavor contrast. Everything comes together beautifully over a bed of cauliflower rice, which makes this Moroccan chicken Whole30 and paleo approved!
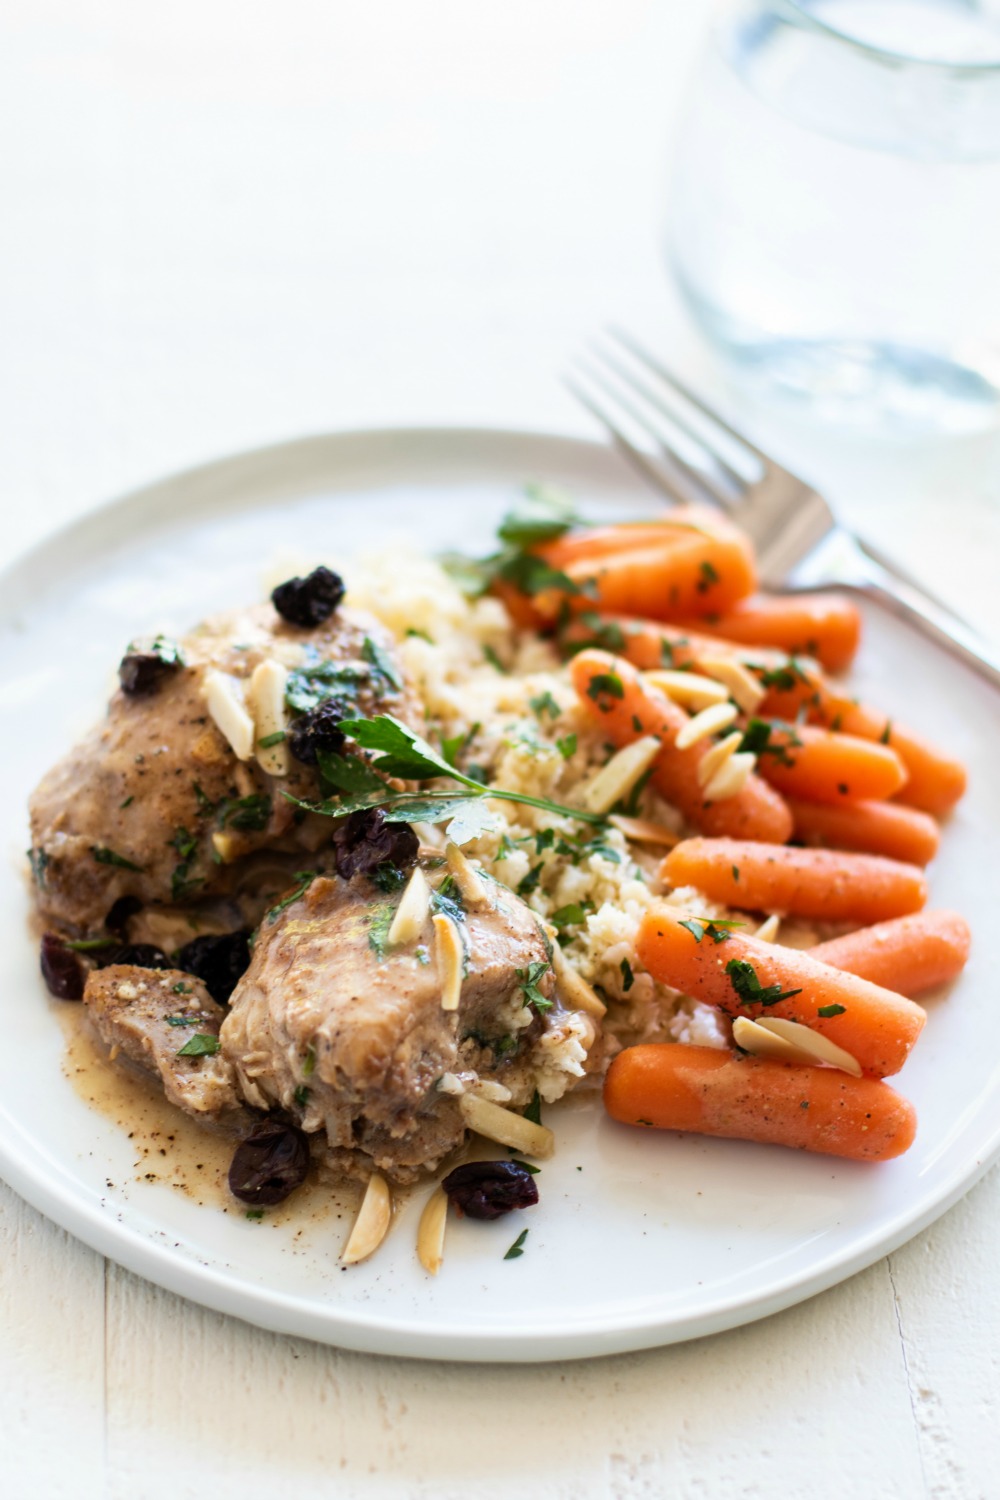
Though the spice list might sound intimidating at first, we've found that even kids enjoy this spice blend! Everything is mild enough to be approachable and agreeable for sensitive palettes, but complex enough to still be fun and exciting for those of you that might be more versed in global flavors. Whether this is your first or fortieth foray into African food, we hope you love this Moroccan chicken as much as we do!
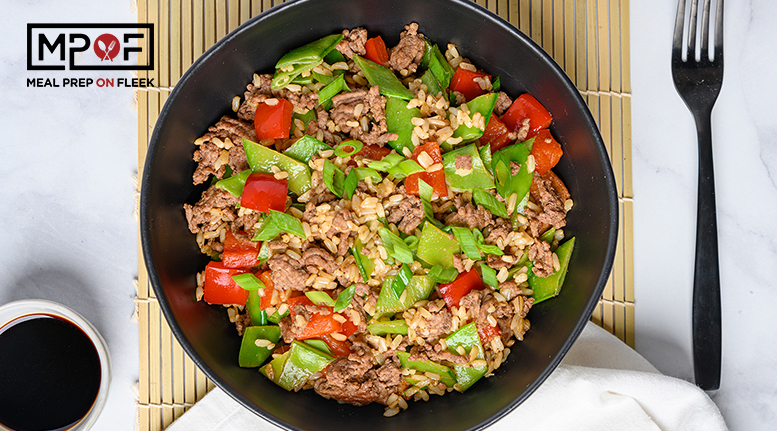
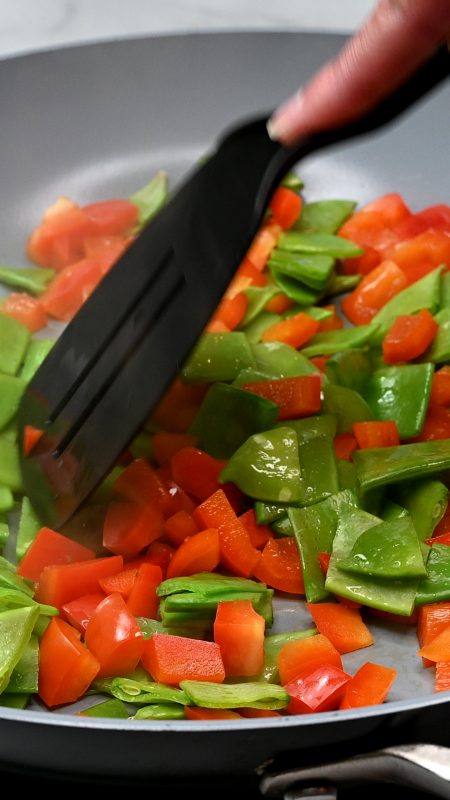
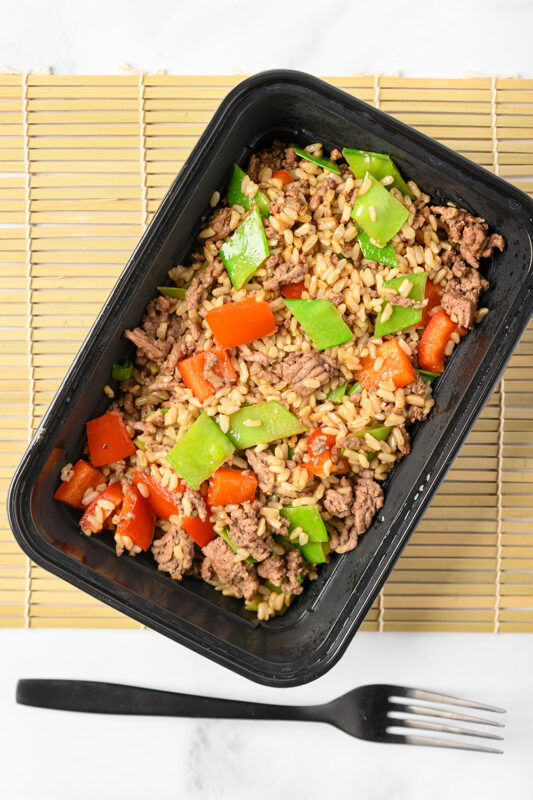
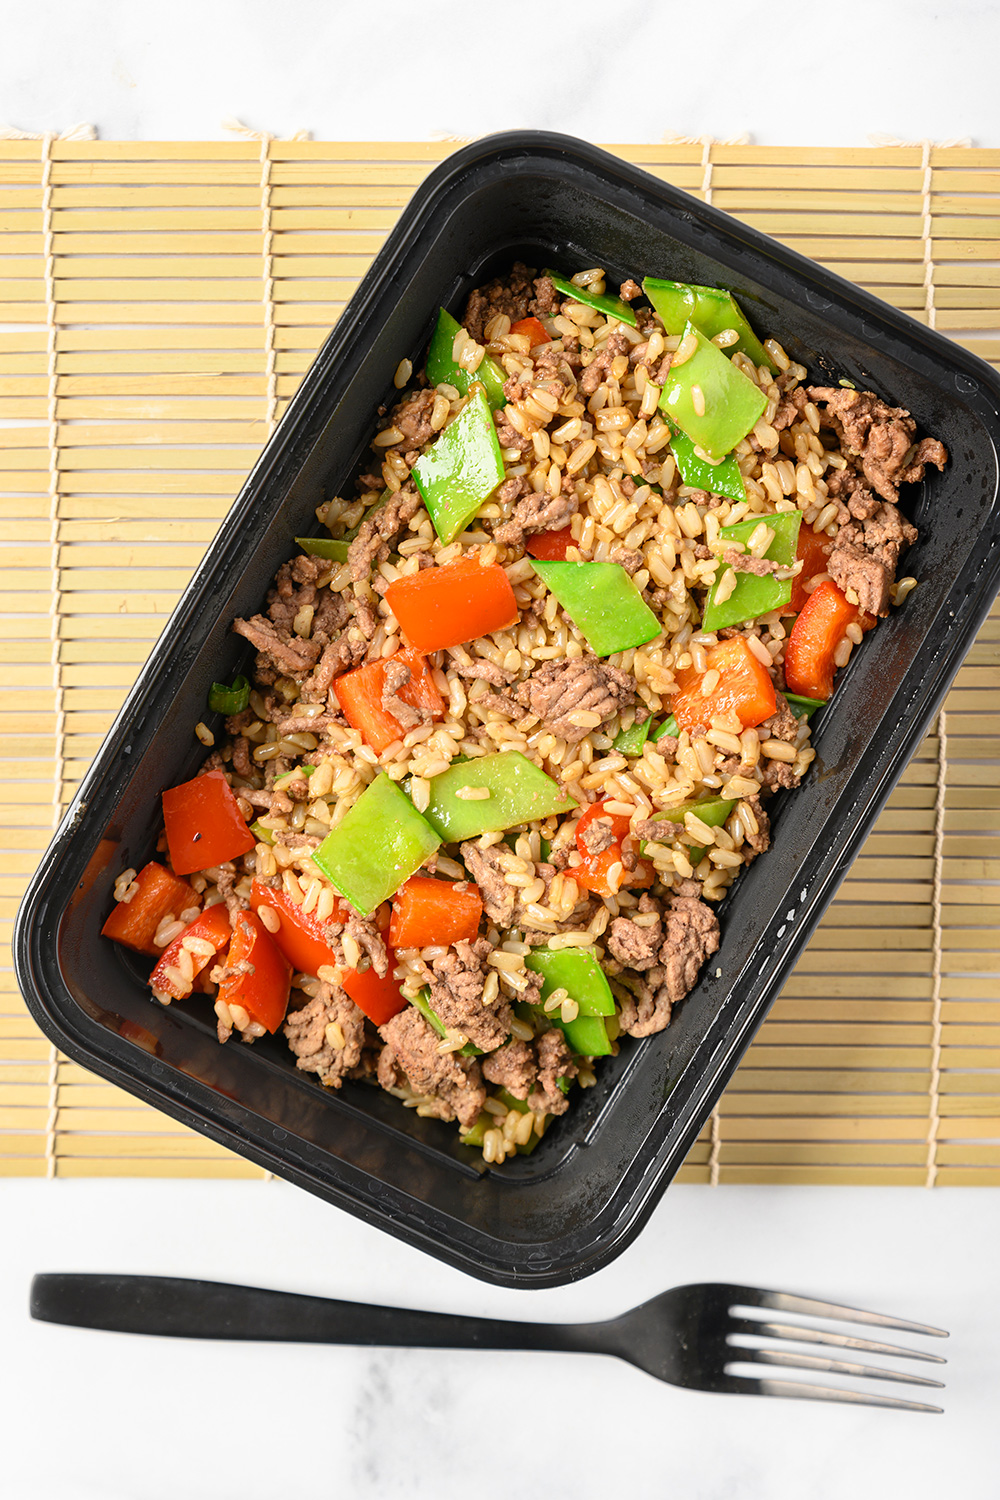
Beef and Vegetable Fried Rice - how simple can you go? And how right on time for this classic dish. At MPOF, we wanted to combine the sweet memories of your favorite takeout along with the ease and reliability of doing it yourself. That makes for a perfect meal prep recipe. Fried rice became a thing during the Sui Dynasty in China. All fried rice dishes, including this one, has an ancestor in Chinese fried rice.
Settle in for some easy instructions with a simple set of we put together for you. With Beef and Vegetable Fried Rice, you get to tailor your carb and protein macros to the perfect ratio for your goals. The total meal prep time is only 25 minutes and you end up with 4 portions to fuel your future.
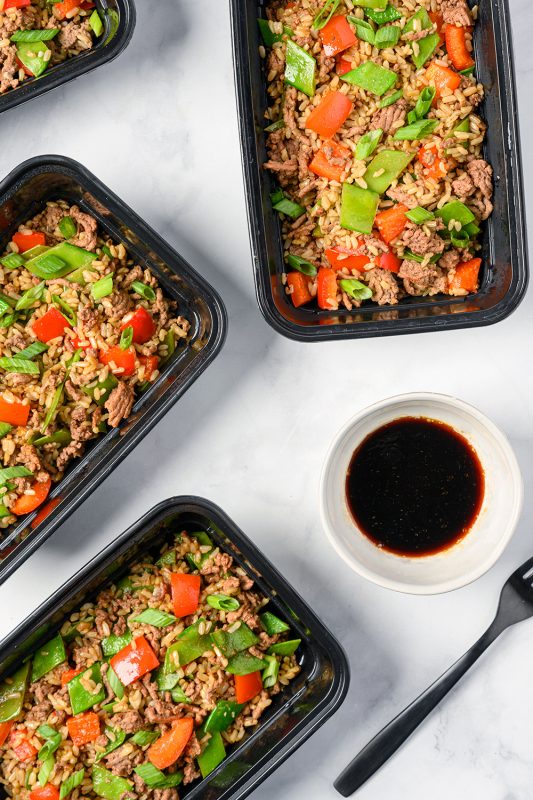
Beef and Vegetable Fried Rice. This recipe is high in protein and nutrition. It is the perfect alternative to your favorite takeout!
Your refrigerator shelf life for Beef and Vegetable Fried Rice will be 3-4 days as long as it's properly stored in shallow, airtight containers. Plastic containers work perfectly to keep you on the move and glass is great for gentle reheating in the oven or microwave.
This meal prep recipe will maintain its flavor and quality for 2-3 months and stay safe for longer freeze times. Additionally, this is an amazing meal fresh or thawed (after being frozen) so you can plan ahead to suit your schedule.
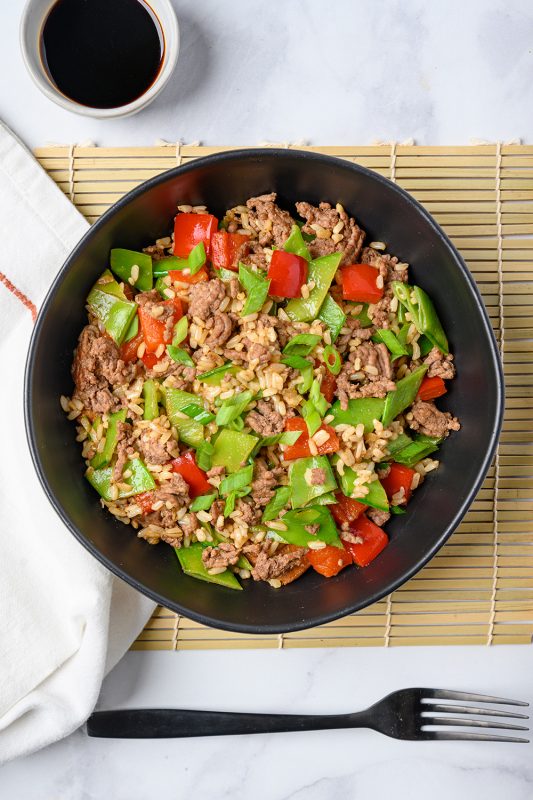
The versatility of Ground Beef has made it one of America's all-time favorite go-to cuts. From burgers to lasagna, tacos to meatloaf, pasta sauce to wraps, Ground Beef offers quick, easy and delicious options for any meal and any occasion.
In addition to being absolutely delicious and versatile, Ground Beef that is 93% lean or leaner meets government guidelines for "lean". If you're trying to choose lean meats, this is an excellent source for you. Lean Ground Beef that is 93% or leaner is a perfect protein option for meals that use a sauce. For instance, this Beef and Vegetable Fried Rice takes just 25 minutes to cook.
This recipe is an excellent source of Protein, Iron, Potassium, Niacin, Vitamin B6, Vitamin B12, Zinc, Selenium, and Choline; and a good source of Dietary Fiber.
After you choose how you'd like to make your rice, it will take you just 10 minutes to gather a simple set of ingredients and prep for Beef and Vegetable Fried Rice: beef, vegetables, and seasoning. Cooking time is s short 15 minutes and you'll have four fantastic portions to serve your goals in the coming days. Remember to cook your beef to an internal temperature of 160° and then add your vegetables.
If you're looking for swaps for white rice, check out his list of healthy alternatives for white rice
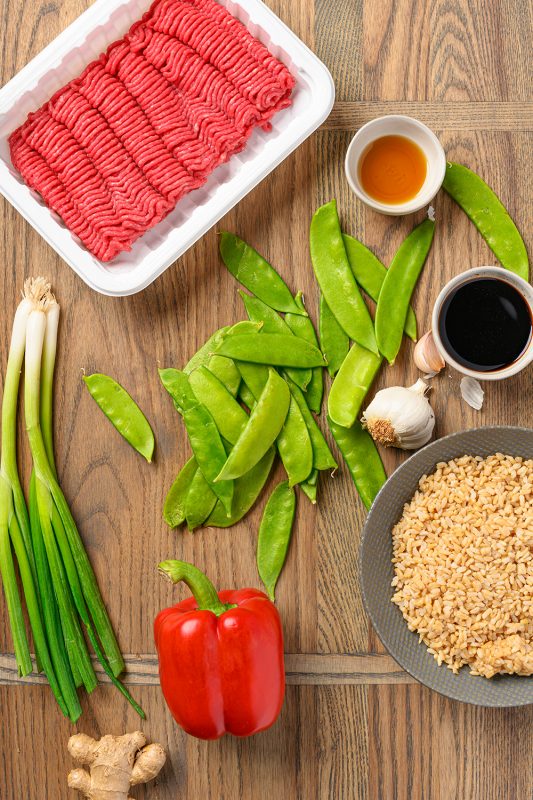
This simple meal-prep recipe portions easily as a balanced meal all in one! Use 4 single compartment meal prep containers and you're set to go. If you're fine-tuning your macros, add the side along with your beef using the separators in a dual compartment meal prep container.
Nearly every culture has contributed to the creative consumption of beef! We love how many ways there are to satisfy your hunger quickly and effectively with an endless variety of flavors. Here are a few more awesome Beef recipes that could add to your weekly meal planner:

Recipe courtesy of The Kansas Beef Board
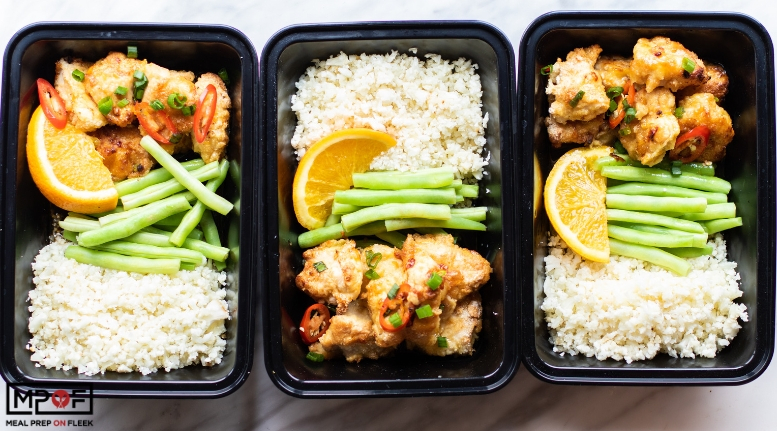
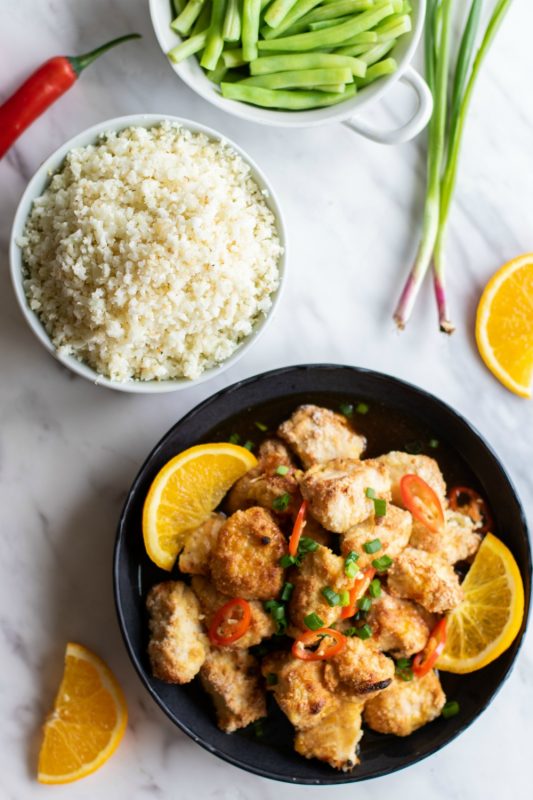
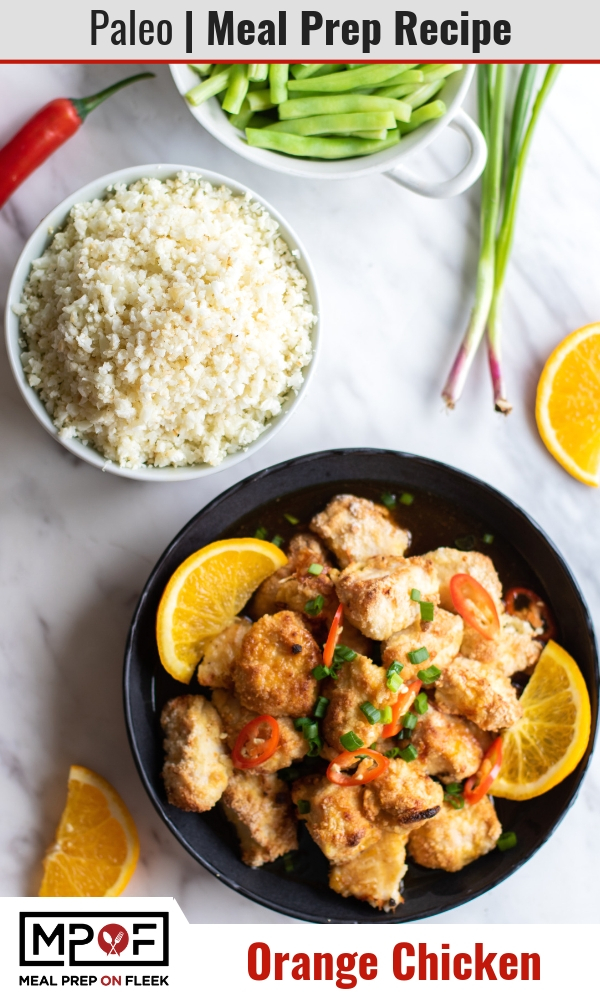
Is the question - why orange chicken? Well, that's the result of the baking and special sauce for this enchanting morsel of chicken. Looks alone shall reel you in as you explore how flavourful this meal prep ideas orange chicken meal prep recipe is. No, your chicken isn't going to be a flaming and vibrant orange! However, the orange-flavored sauce shall excite your taste buds with its tangy taste. Savory! And easily prepared within an hour!

A lightly honey-sweetened baked orange chicken -- all the best of takeout, without the heaviness! Chicken is baked in an almond flour crust and then doused in a tangy orange sauce. Serve with cauliflower rice for the complete experience!
Once cooked, this meal prep ideas recipe can last for no more than two hours at room temperature. If the room temperature exceeds 90°F, then it will last only an hour! However, your orange chicken meal prep can last for 3 to 4 days in the refrigerator in an airtight container.
Yessiree! Just store properly in an airtight freezer-safe container or heavy-duty vacuum sealed freezer bag. Once this is done, your orange chicken meal prep can last up to four months! But I doubt you will be able to wait that long to have some more of this sumptuous orange chicken meal prep ideas recipe.
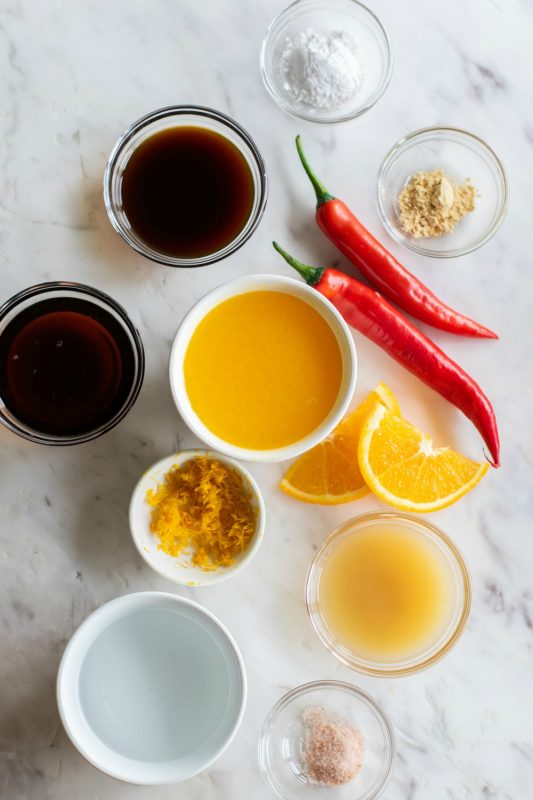
Have you gathered all your ingredients? Remember we're making both the orange chicken meal prep as well as the tangy orange sauce. Have your measuring, cutting, baking and mixing items and let's begin!
Preheat your oven to 425℉. Then cut your 1½ pound piece of chicken breast into large chunks. That way your seasonings and orange sauce can easily infuse mouth-watering flavor into each selection. Mix your dry ingredients - almond flour, arrowroot and sea salt- together. Break and beat your egg in a mixing bowl.
Dip each chunk of chicken into the beaten egg, then coat each with the almond flour mixture. Once each piece has been coated, add to a lined baking tray. Bake for 25 minutes or until the coating gets brown.
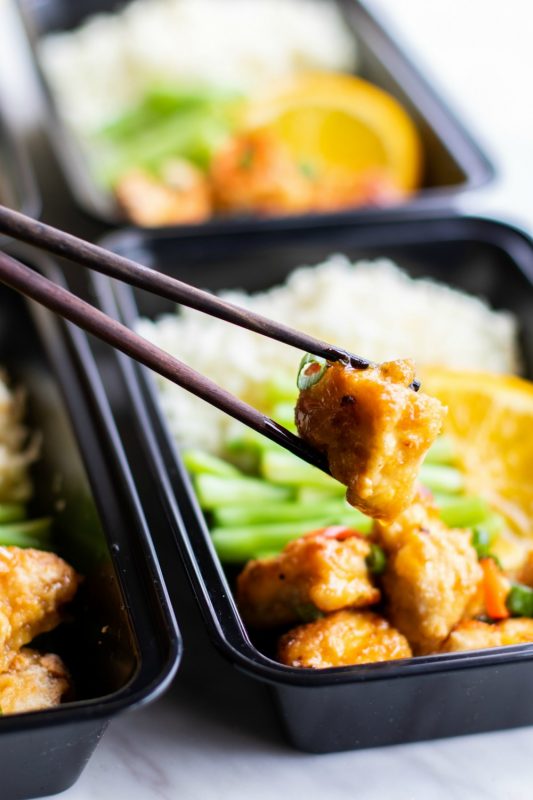
Mix all your ingredients for the orange sauce into a saucepan and bring to a boil. Whisk or stir the mixture to ensure the ingredients combine properly. Remove all heat once the sauce has thickened. Drizzle the baked chicken with the orange sauce. There you have it orange chicken meal prep!
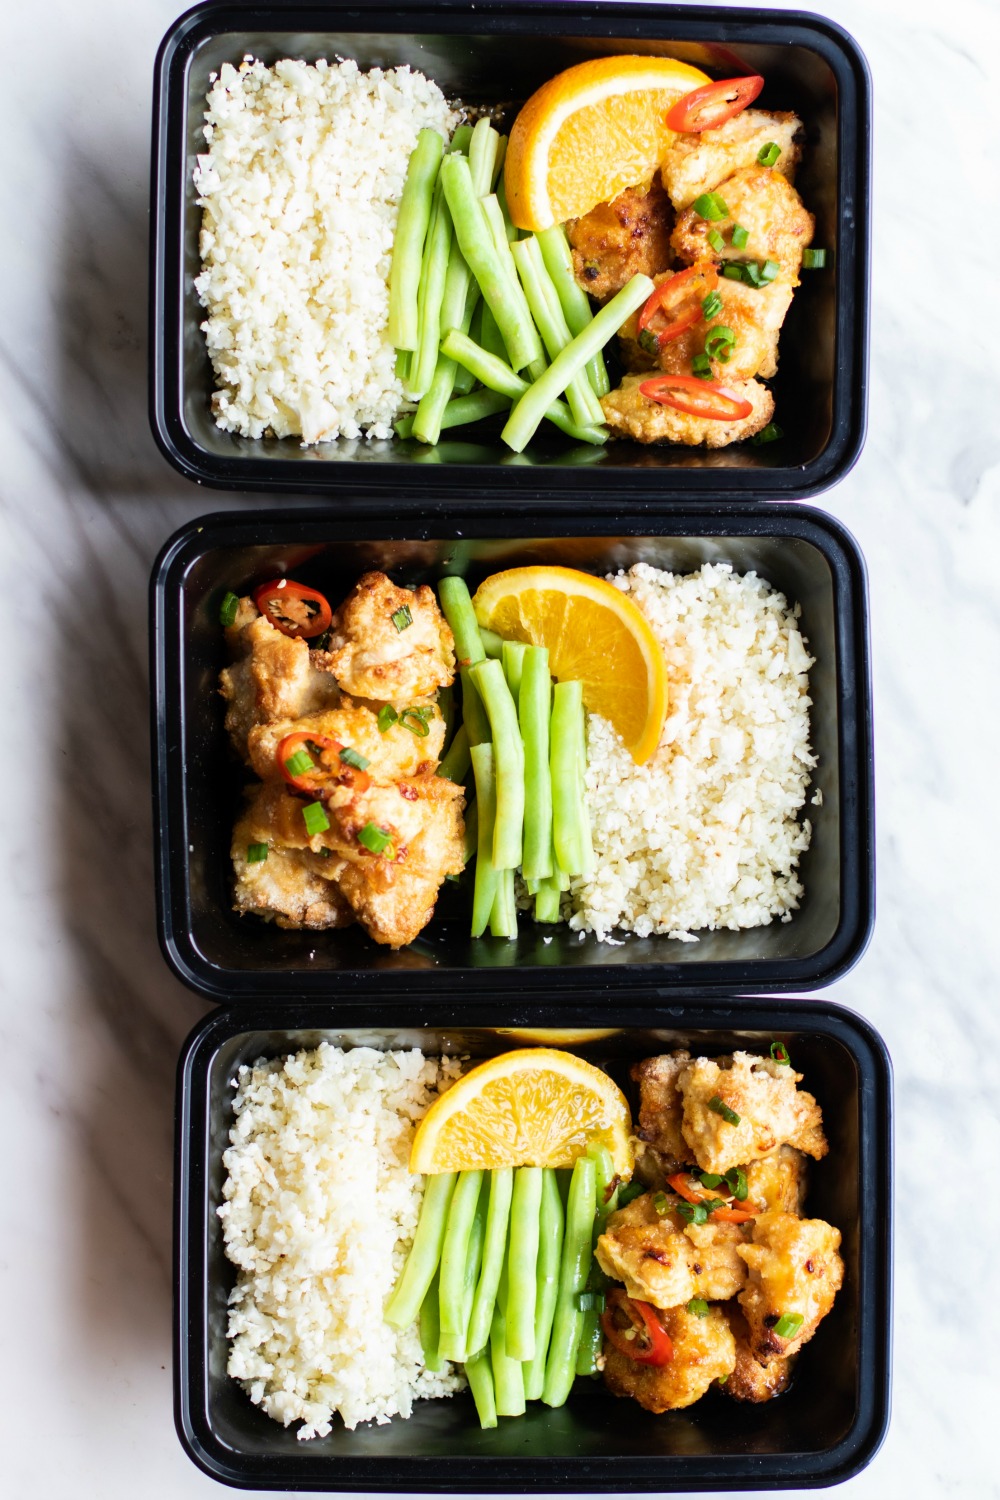
You may serve your orange chicken meal prep with cauliflower rice and veggies. Yummy!
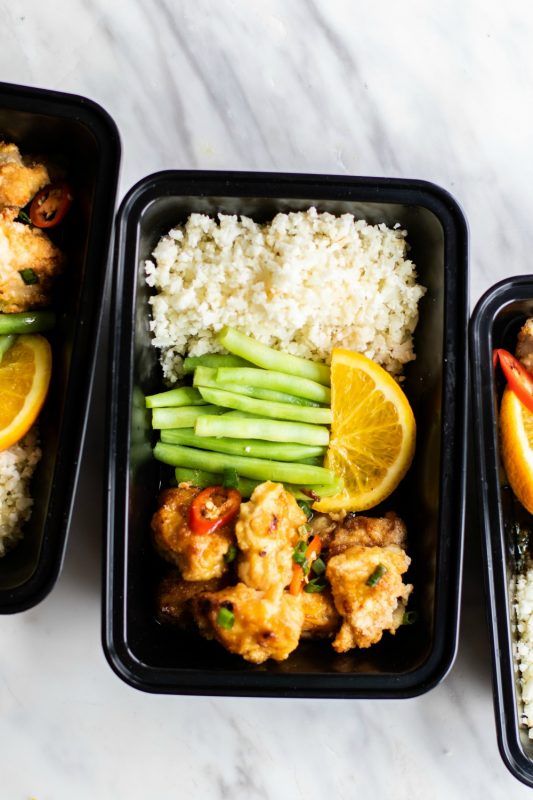
This tasty orange chicken meal prep ideas recipe serves four delicious portions which are sure to satisfy your baked chicken cravings.
If you thought this tasty recipe was just fantastic, wait till you get to create these other awesome meal prep ideas chicken recipes. Here's a shortlist of chicken recipes that will surely spice things up when you decide to prepare a chicken meal.
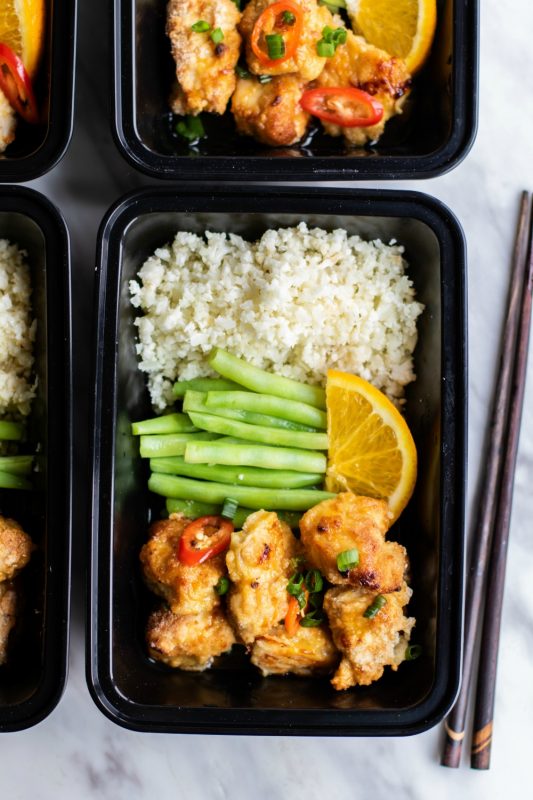
There you have it - another appetizing meal prep ideas recipe! Now get started and create your own orange chicken meal prep.
Thick, creamy and comforting this Slow Cooker Vegan Cauliflower & Bean Soup is a dream come true for vegans and non-vegans alike! Loaded with protein and fiber from cauliflower, garbanzo beans, and shrimp (for non-vegans) this hearty recipe will leave you feeling full and satisfied for hours!
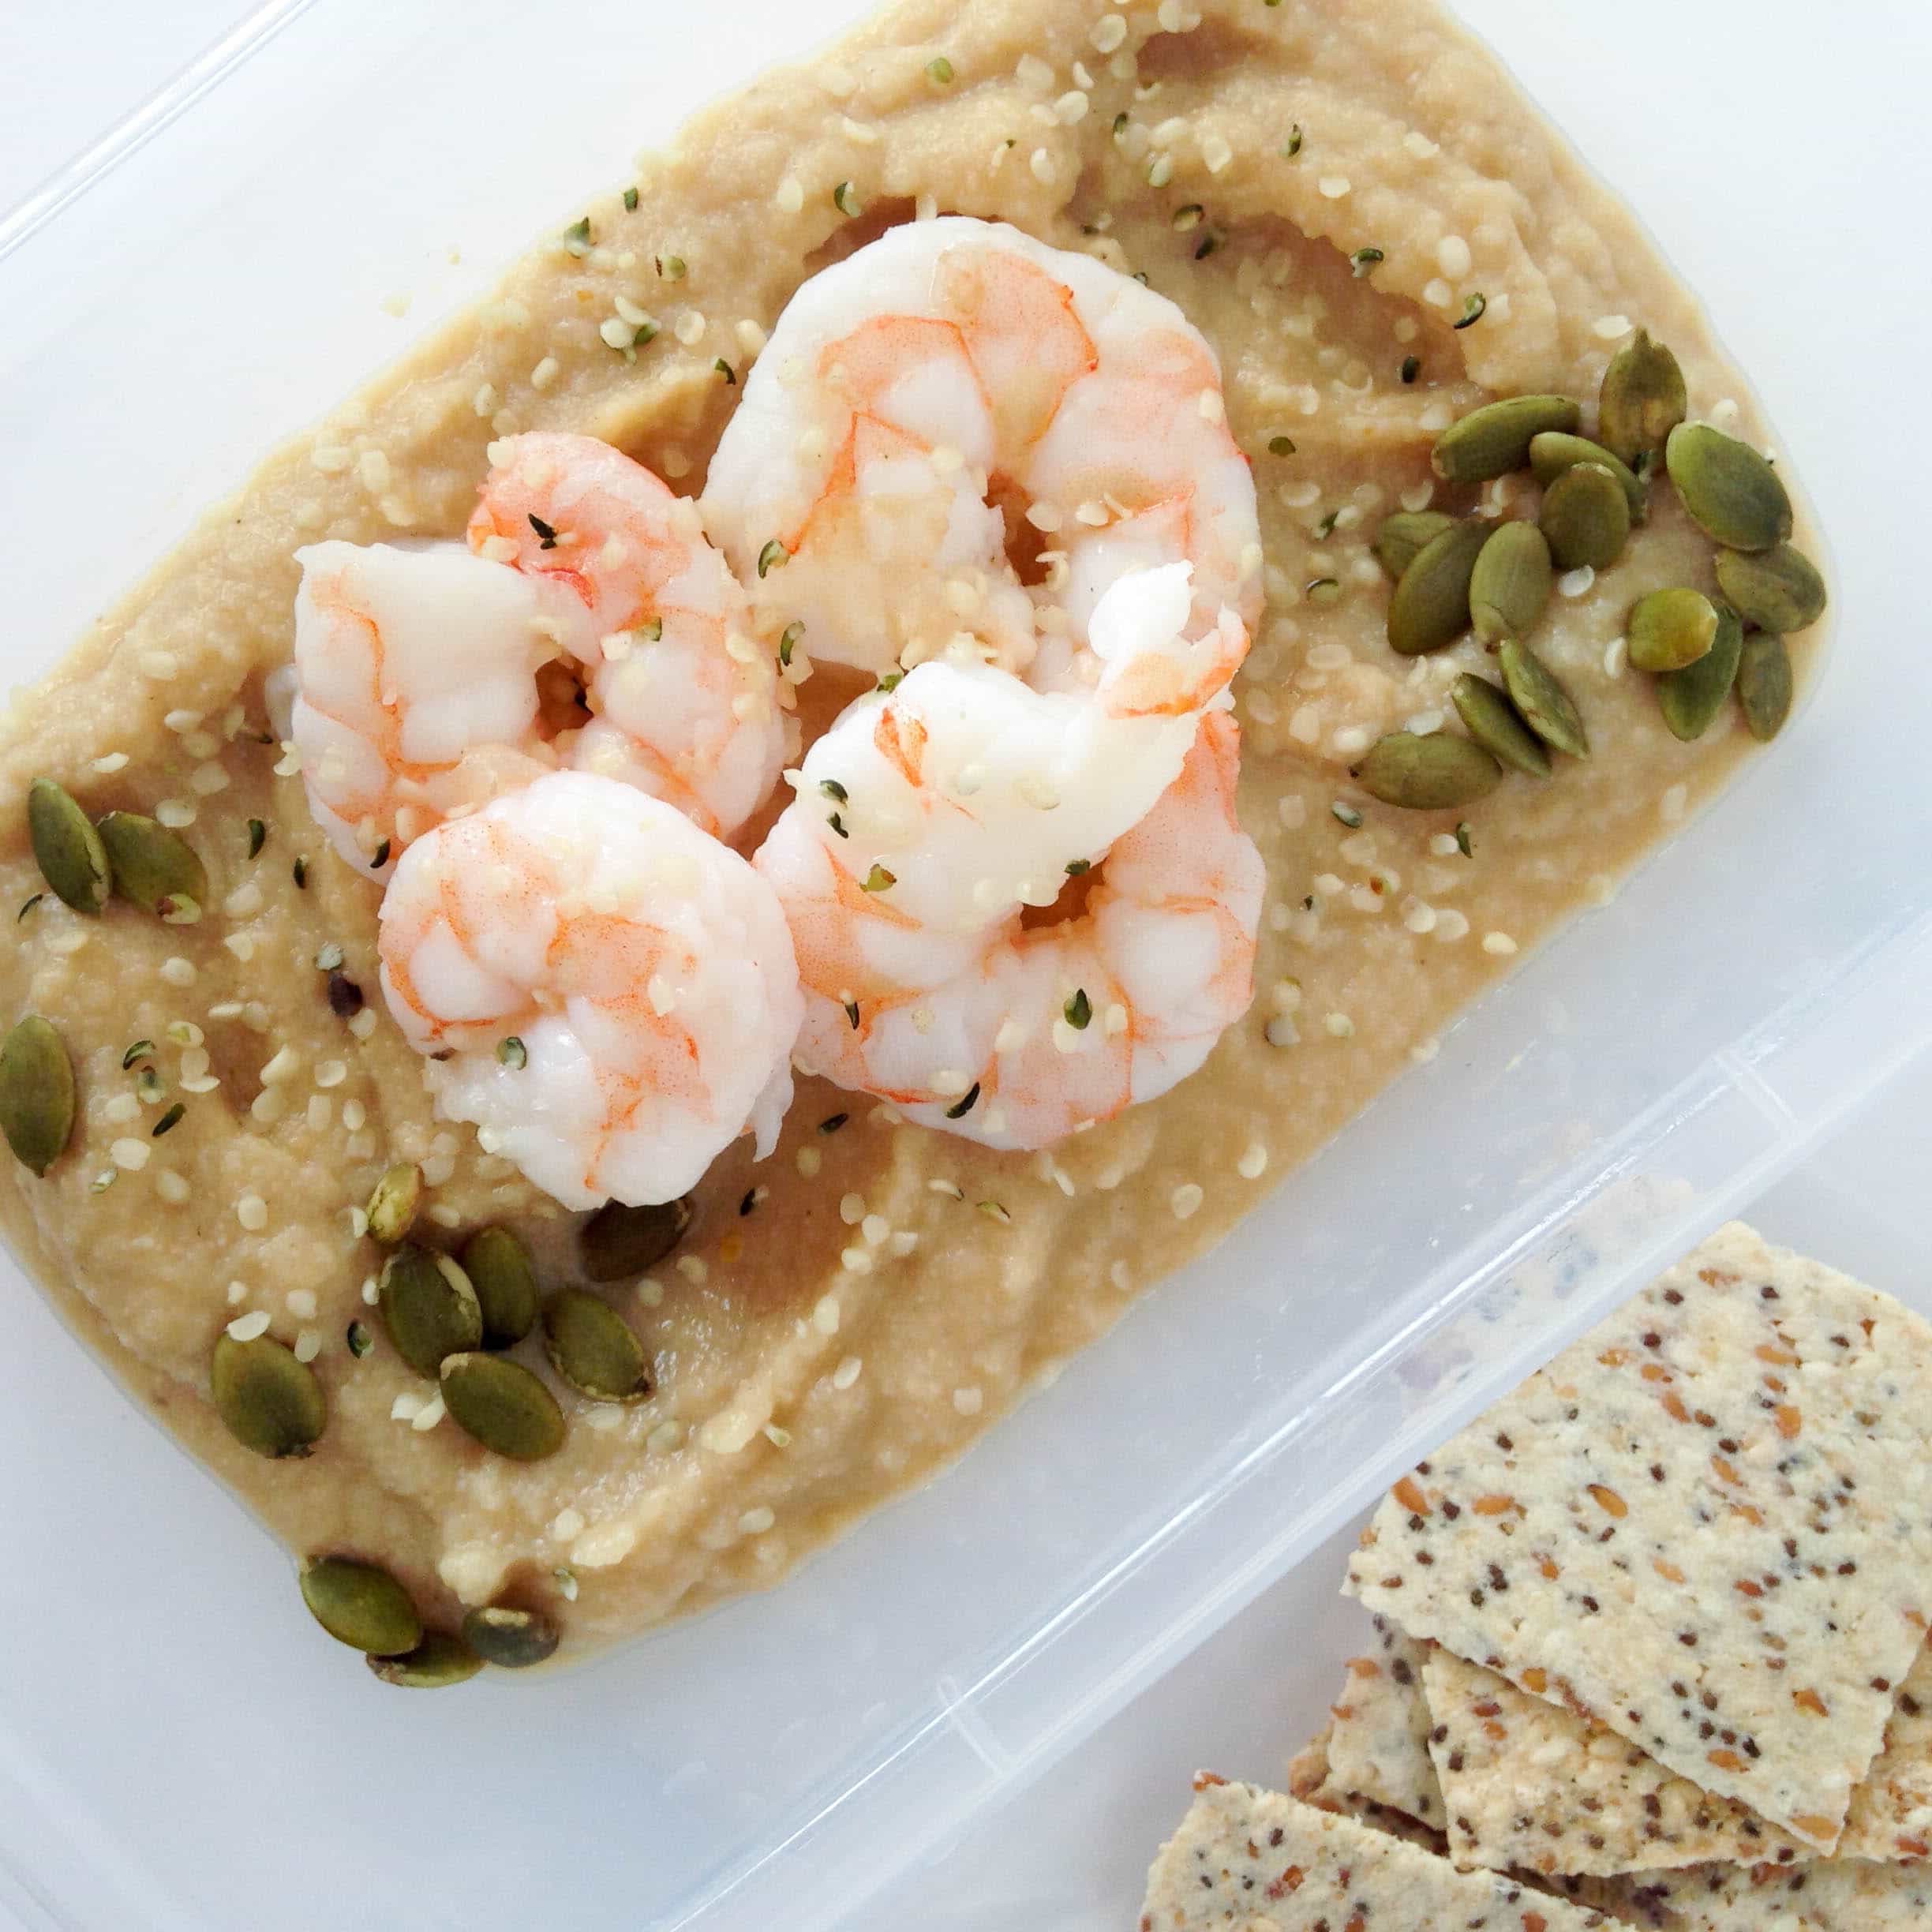
There's nothing quite like a warm, comforting bowl of soup to keep you cozy during the fall and winter months. This Slow Cooker Vegan Cauliflower & Bean Soup is thick, creamy, and packed with protein and fiber, making it a satisfying meal for vegans and non-vegans alike. Whether you top it with shrimp for extra protein or tofu for a plant-based option, this soup is sure to become a staple in your meal prep routine. Ready to get cooking? Let's dive in!
Conclusion: This Slow Cooker Vegan Cauliflower & Bean Soup is the ultimate comfort food that will keep you warm and satisfied all season long. Loaded with wholesome ingredients and packed with flavor, it's perfect for meal prep and easy to customize with shrimp or tofu. Enjoy this nourishing soup with a side of crackers for a cozy, complete meal.
Call to Action: Try this delicious Cauliflower & Bean Soup for your next meal prep and let us know how it turns out! Share your soup creations on social media with the hashtag #MealPrepOnFleek, and don't forget to tag us. Here's to staying warm and well-fed all season long!
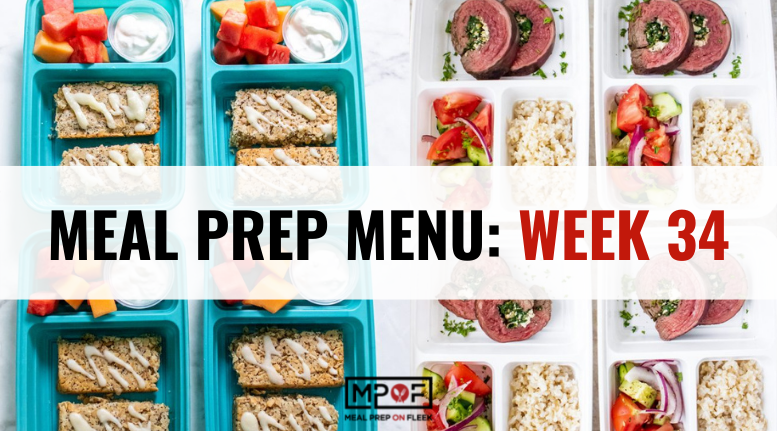
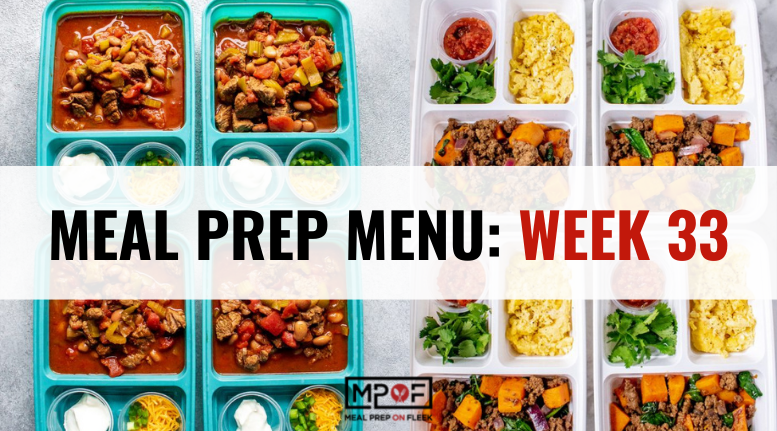
NOTE: These menus are designed to give you meal ideas, not to tell you how many calories to eat per day. Please make sure to calculate your macros HERE and then adjust the menu items' portion sizes as needed.
This week's meal prep menu recipes:
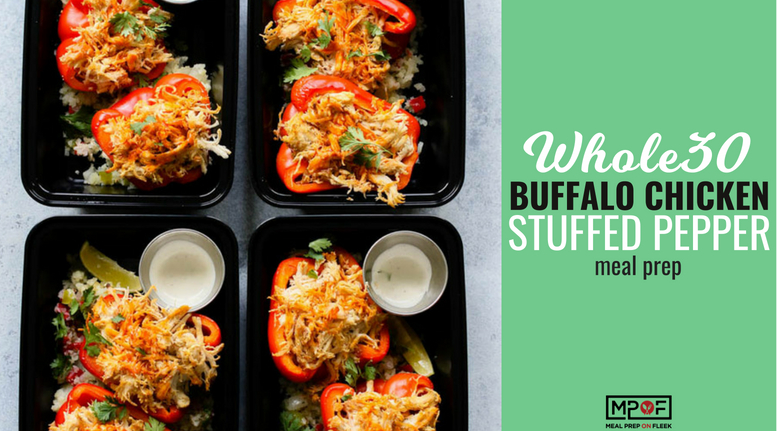
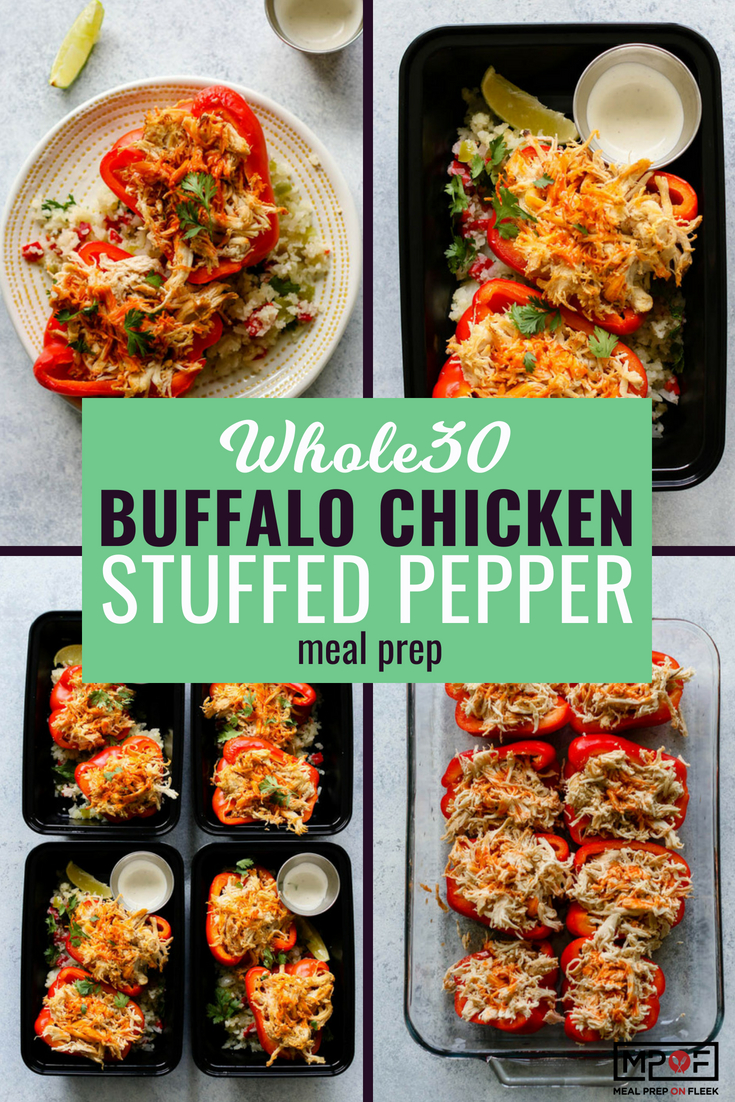
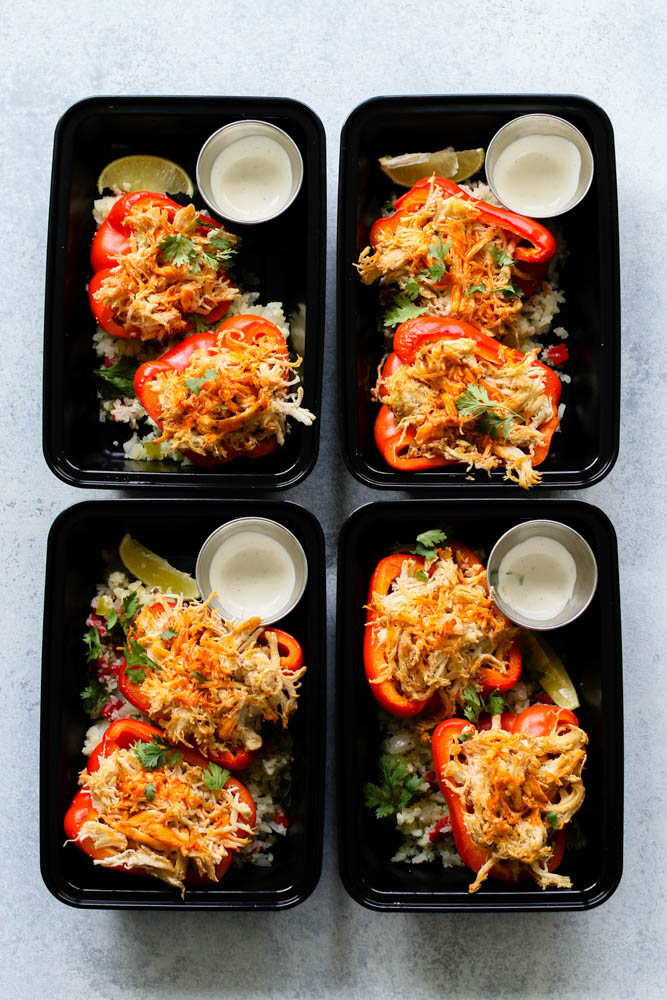
Buffalo Chicken gets slow cooked and stuffed into bell peppers for a filling and totally satisfying Whole30 compliant meal prep!
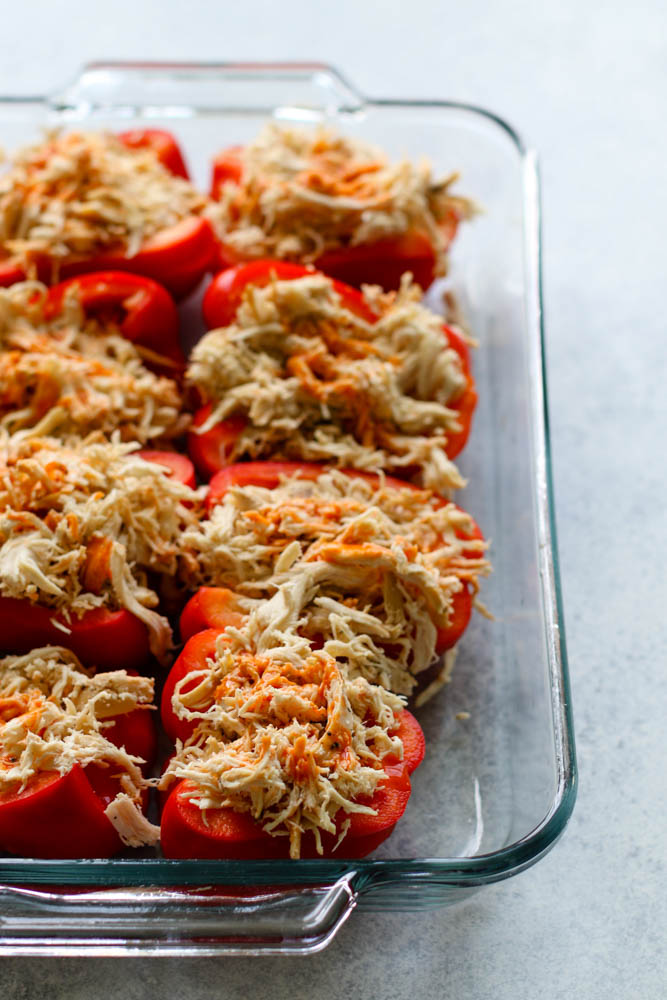
Who doesn't love Buffalo chicken? Though admittedly delicious, this dish is typically pretty heavy, greasy, and calorie-dense. (It's often messy, too, and this version isn't, but that's another story!) So we took it upon ourselves to come up with a lighter version that skips the deep fryer and utilizes a base of freshly roasted bell pepper boats in place of heavily fried potatoes. Consider it an upgrade on the concept of stuffed peppers, but with a totally different and fun flavor profile than the typical stuffed pepper!
Plus, if you stick to our specific suggestions, we managed to keep this buffalo chicken meal prep recipe entirely Whole30-compliant. Keep reading, we promise to share all our secrets!
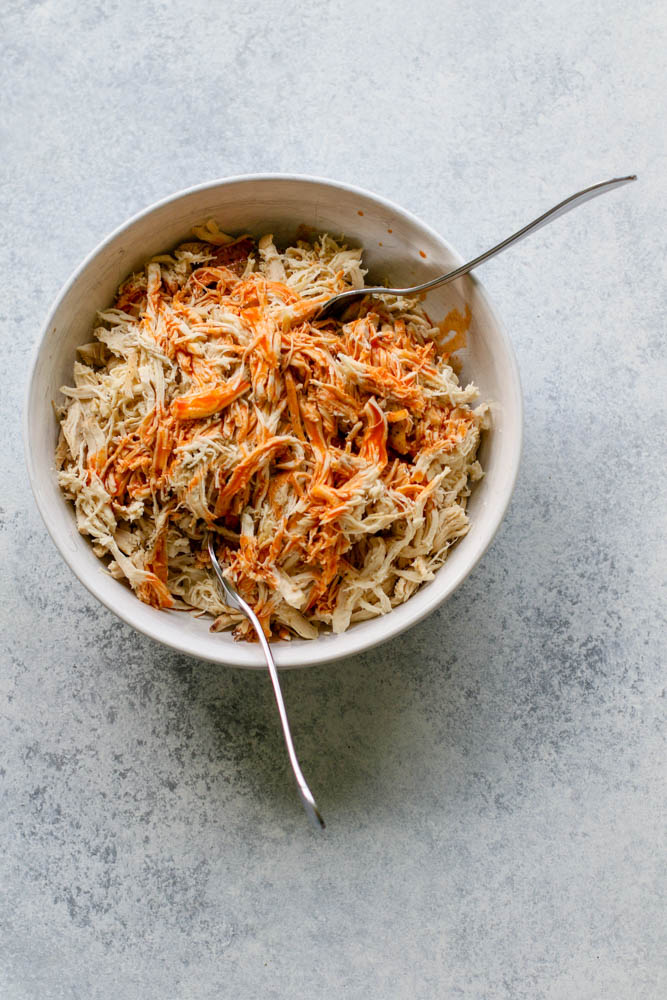
This meal prep recipe requires a fairly long cooking time because of the use of a slow cooker, but almost all of that time is completely passive. And that's our favorite kind of prep. You can start the chicken and let it do its thing. Everything comes together pretty quickly and easily once the slow cooker portion is complete.
Pro tip: take care of Step 1 in the morning before you take the kids to school or run your errands, and finish up the quick 30 minutes of final prep in the afternoon. The slow-cooked chicken will be ready to go, cooked perfectly, and fork-tender.
This Buffalo chicken is easy, fuss-free, and completely delicious. It's become one of our favorite meal prep recipes, and we hope you'll love it, too.
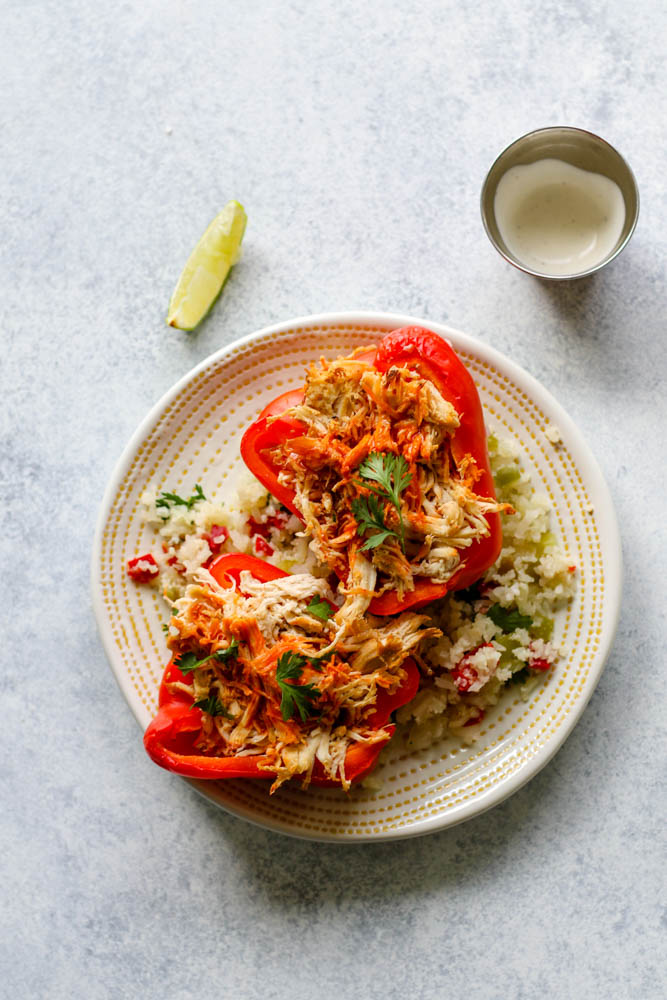
Remember how we mentioned that you can add this to your list of Whole30-compliant meal prep recipes? Here come the details. All you have to do is serve it with cauliflower rice, make sure to use Frank's Red Hot for the buffalo component, and source a Whole30-approved ranch dressing (such as the one made by Primal Kitchen). That's it! Who knew you could enjoy something typically categorized as comfort food or bar grub while on Whole30? Your co-workers are going to be jealous. Last year's Whole30 is already jealous. And with 30+ grams of protein and less than 400 calories per serving, this buffalo chicken is truly worth adding to your year-round meal prep recipes.

Thank you to The Kansas Beef Council for sponsoring this Slow Cooker Asian Beef Stew post, and thank YOU for supporting the brands that help make Meal Prep On Fleek possible. All opinions are our own.
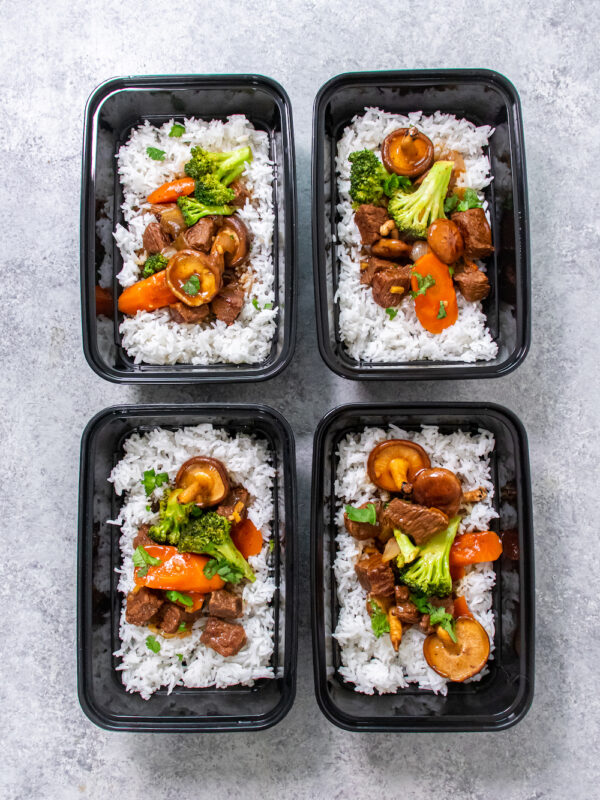
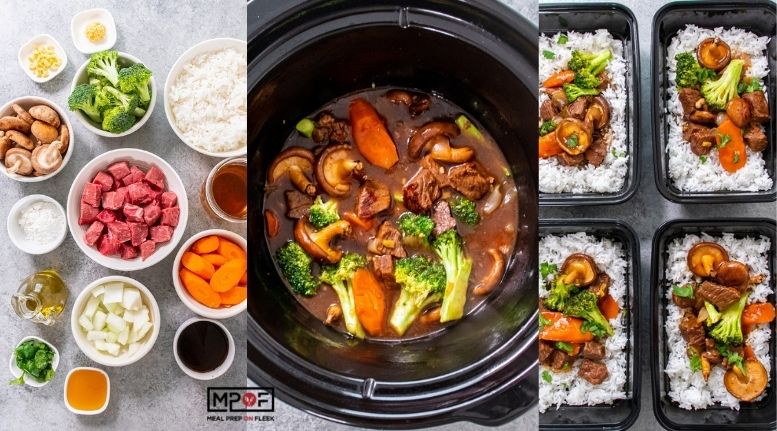
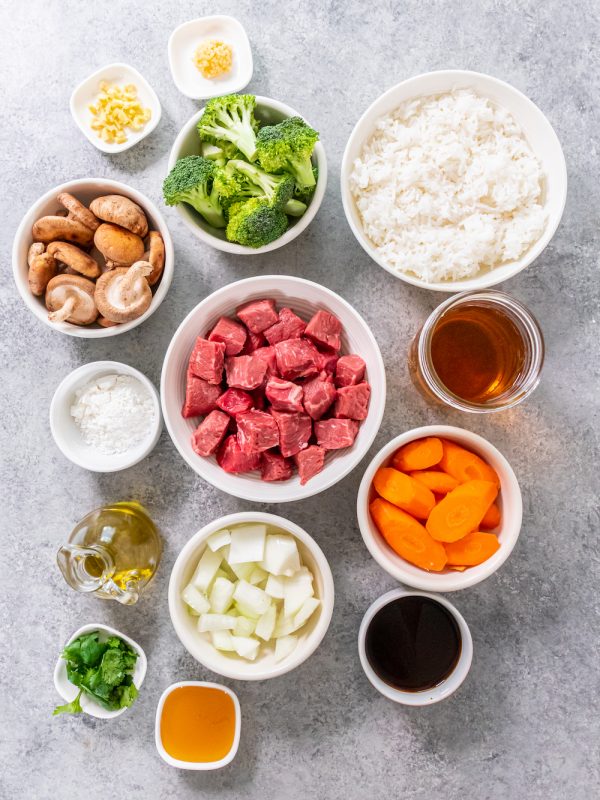
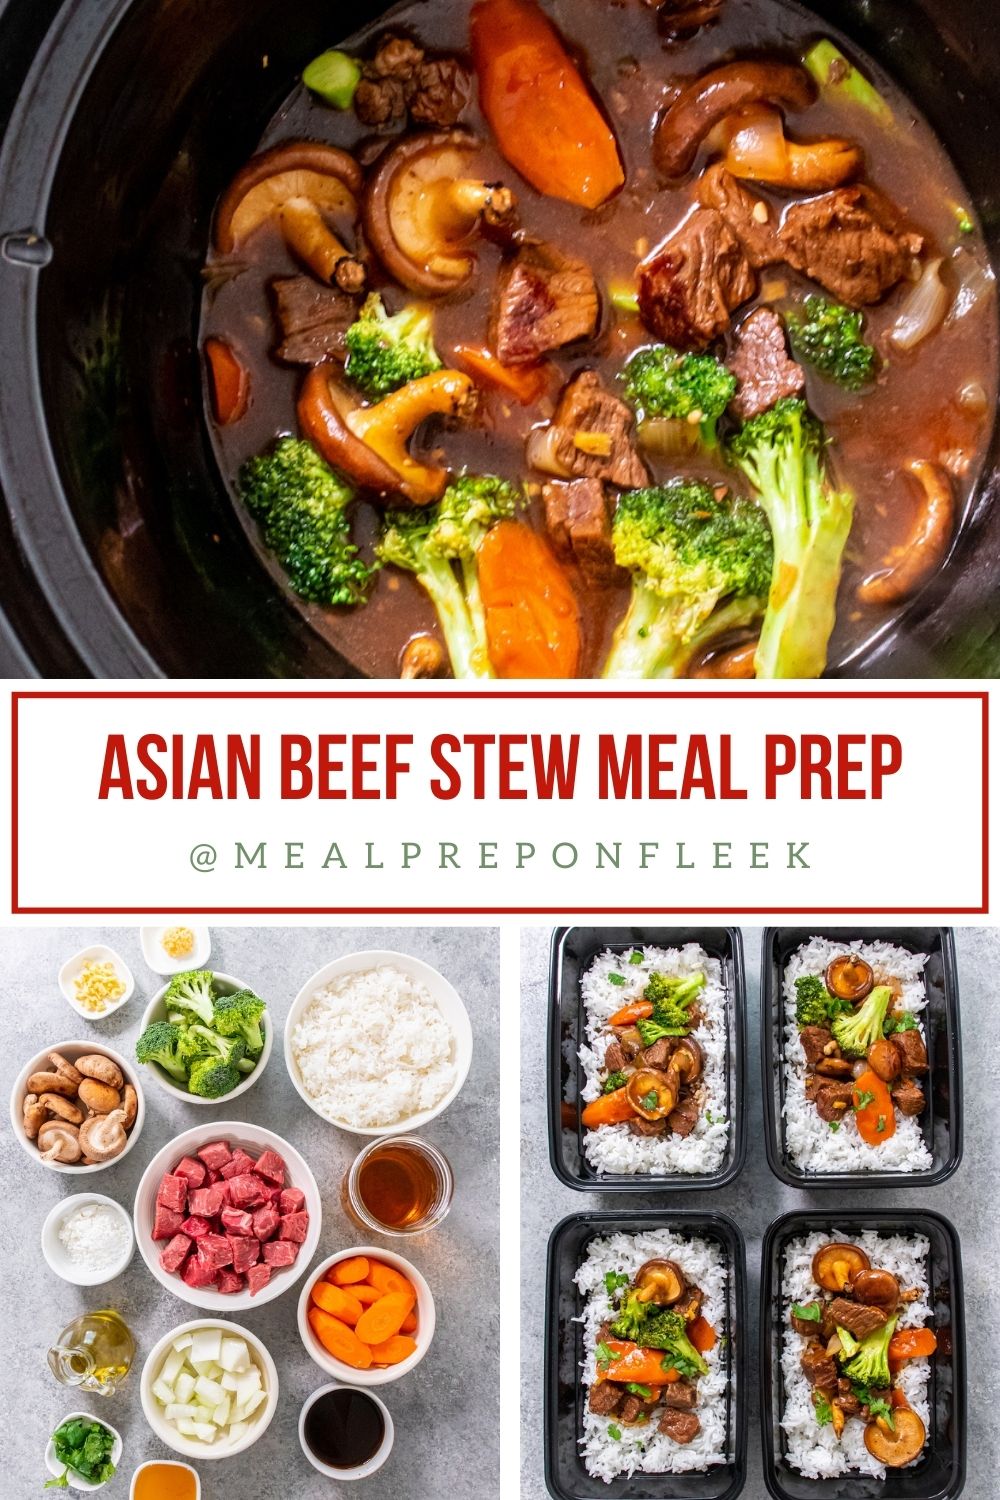
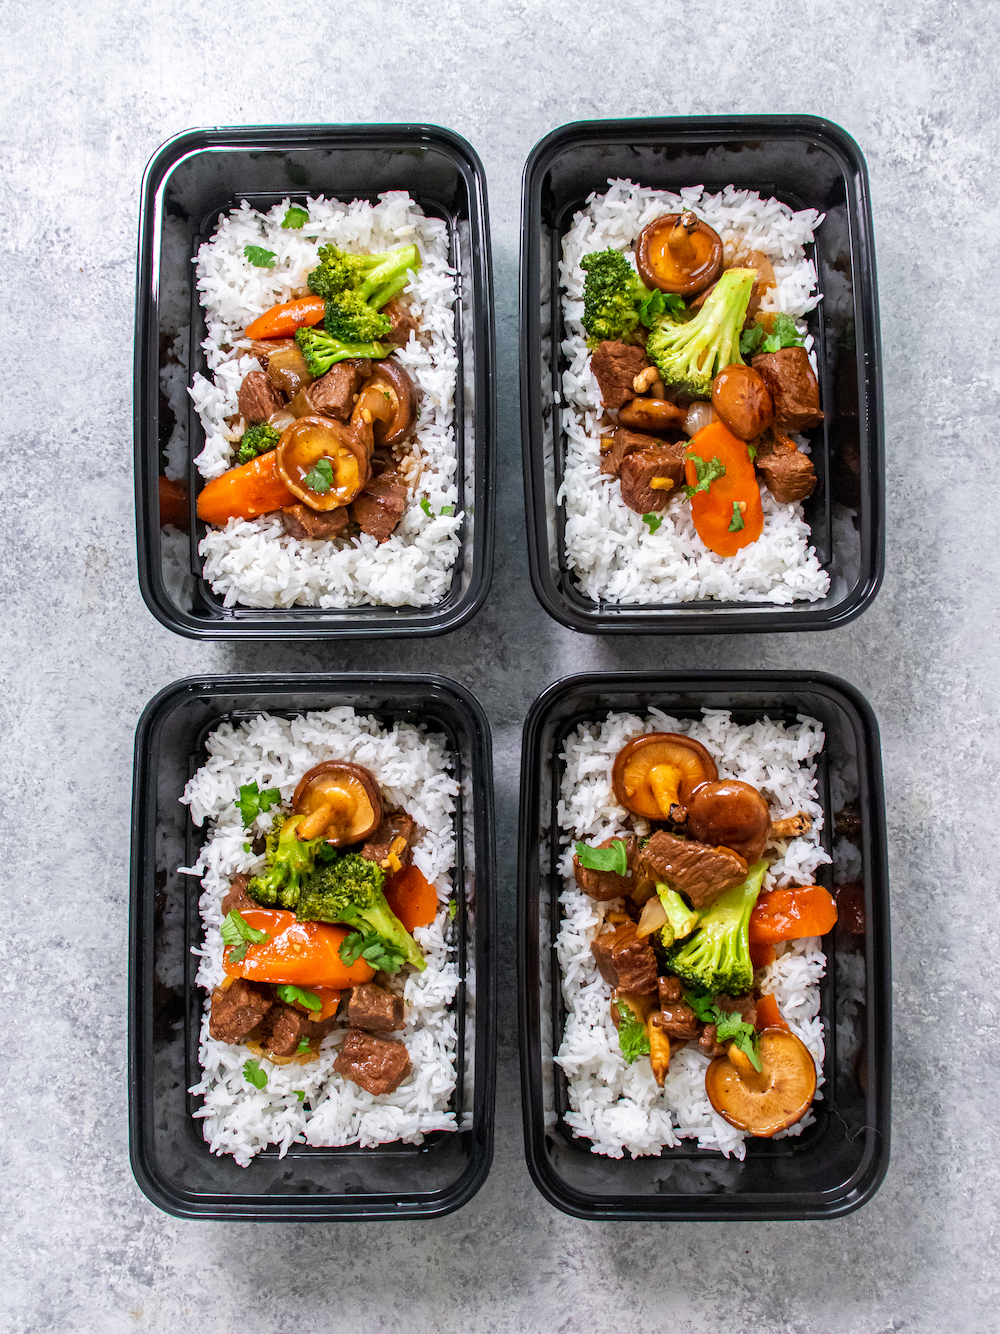
This Asian twist on beef stew incorporates ginger, garlic, coconut aminos, and shiitake mushrooms for an umami dish that is full of tender, protein-rich sirloin. Best of all, it's a set-it-and-forget-it meal made in the slow cooker that is easily customizable with any veggies you have on hand! So say bye, bye to food waste!
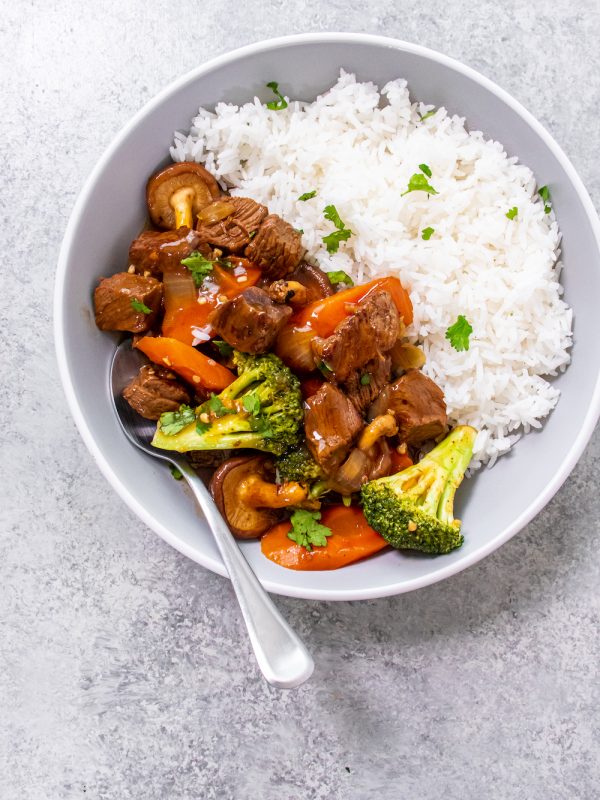
When the colder weather hits, I want to eat easy, warm, and comforting meals that make me feel all comfy-cozy inside. The easiest way to make a meal like that, without spending much time in the kitchen, is with the slow cooker.
Not only does a slow cooker meal like this Asian Beef Stew save you cooking time, but it also allows you to get creative in the kitchen by creating a meal around your favorite lean cut of beef, such as a chuck tender roast, and then tossing in whatever veggies and starches you have on hand. This 'recipe' for a meal based around lean beef protein and veggies allows you to sneak in all the health benefits that beef offers, plus reduce food waste!
That's right! With just one serving of lean beef in your meal prep, you will be taking in 10 essential nutrients like high-quality protein, iron, zinc, B12, and choline, all in one simple ingredient. Then, simply pair your beef with colorful produce in the slow cooker, and you'll have a "beefed-up" recipe packed with fiber, flavor, and nutrients! It really doesn't get much easier than that!
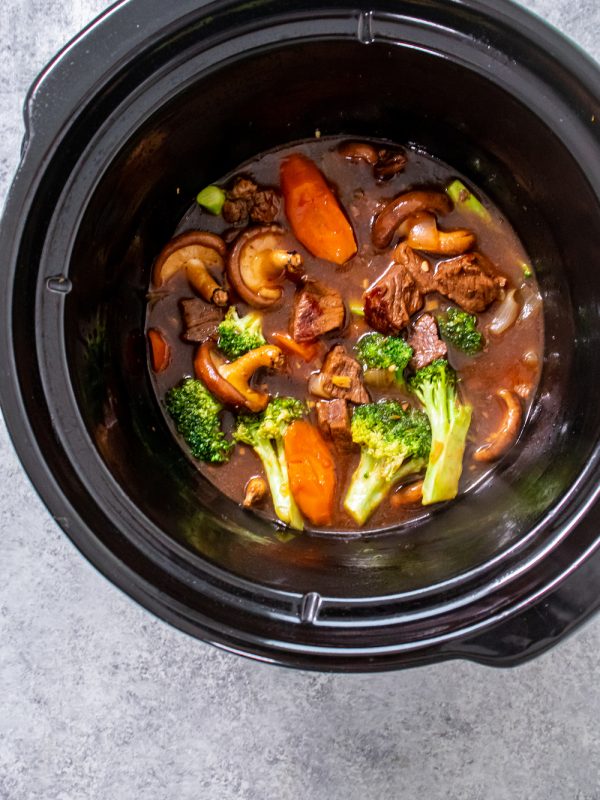
When it comes to food waste, did you know that food waste is a significant issue in the United States? Americans throw away approximately30-40 percent of their food supply. WHAT?! This accounts for the average family wasting about $1,300 / year.
However, the impacts are felt beyond the bank account. The EPA states food is the single largest category of material placed in landfills, where it emits methane as it rots. These landfills contribute approximately 15 percent of U.S. GHG To put this into perspective, domestic beef cattle are just 2 percent of direct emissions (https://extension.okstate.edu/fact-sheets/the-impact-of-consuming-beef-on-greenhouse-gas-emissions.html).
Reducing GHG emissions from rotting food in landfills can help mitigate climate change. We can lead the way to a more sustainable plate by using up those veggies before they go bad, and this recipe, anchored in high-protein beef, allows us to do just that in a delicious and nutritious way.
For this Slow Cooker Asian Beef Stew, I went with a chuck tender roast, but you can sub it with a chuck eye roast or even a classic chuck shoulder roast. Choose a lean beef protein that you enjoy and fits your budget. Satisfaction and cost are two of the keys to being successful with meal prep for the long haul.
For the veggies, I listed quite a few swaps that would work nicely with this dish. But, don't let my suggestions below limit you! Feel free to add in whatever you have on hand! In the past, I've tossed in a random jar of water chestnuts I found in my cabinet, frozen corn, baby corn, etc.

The goal with a slow cooker meal like this Asian Beef Stew is to show you just how easy it is to create a balanced, macro-friendly meal that hits on nutrition, flavor, ease of preparation, is affordable, and is guaranteed to satisfy every time!
The other win with slow cooker meals is that they are freezer-friendly! You can cook this all the way through, allow it to cool, and then portion it out and freeze half for a later date. That means that doubling or even tripling a recipe like this (if your slow cooker is big enough) will make your winter meal preps that much easier!
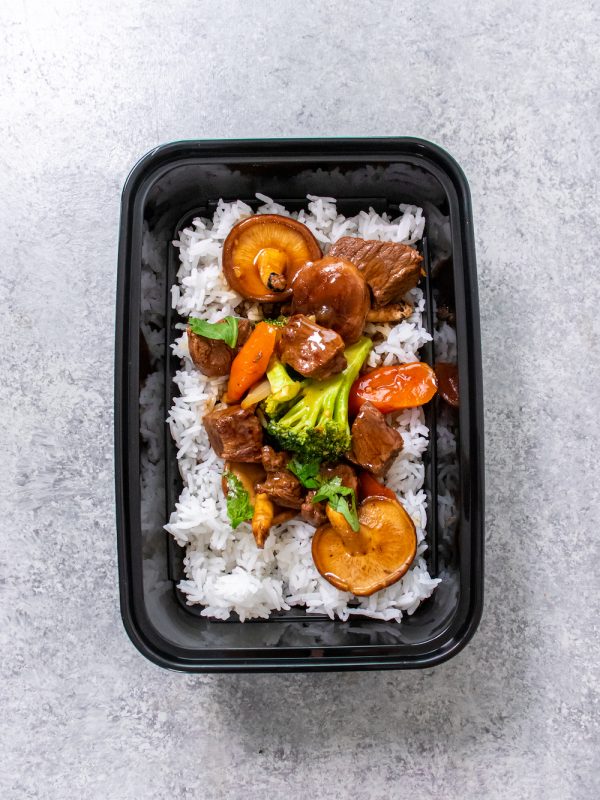
Although this recipe is a "meal prep" recipe, nothing hits quite like a cozy bowl of this Asian Beef Stew with a toasty piece of bread for dipping into the broth on a cold Sunday evening when curled up under a blanket.
Here are 14 other affordable beef meal prep recipes that you do not want to skip on! They are all made with lean beef protein, veggies, and starch. So, if you've been looking for nutritious and affordable ways to add more lean beef to your diet, you've now got 15 ways at the tip of your fingers!
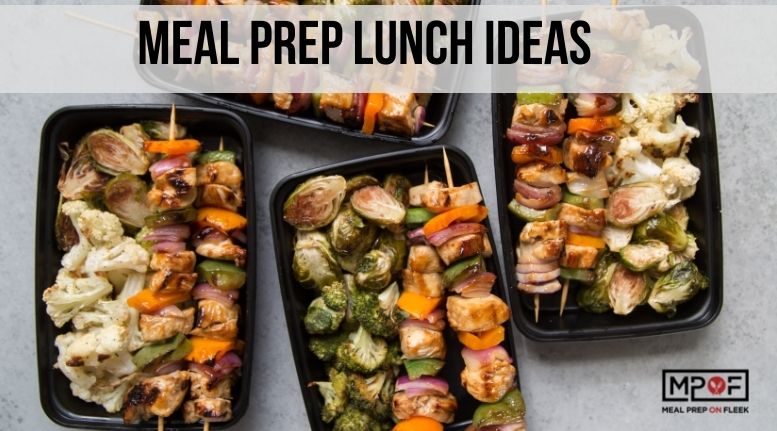
Lunches are, by far, the most meal prepped meal of the day. These 29 lunch meal prep ideas are some of our favorite recipes AND most of them cost under $4 to make. I like to call these, "recession proof recipes." With just a little planning, intentional grocery shopping, and only an hour of time budgeted on your calendar, you can have tasty lunch meal prep recipes for the week. Do any of these healthy lunch ideas check the box for you?
Because we get so many questions about meal prepping for lunch, we broke this article up into three sections:
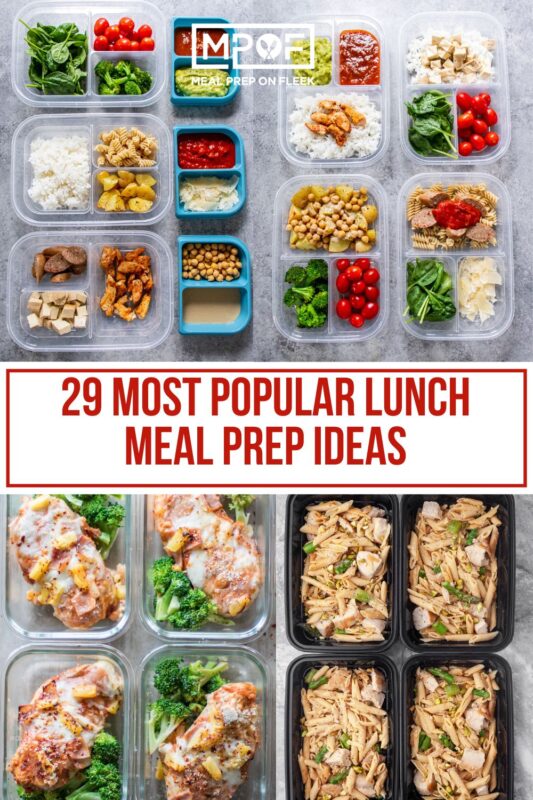
I've sifted through 300+ meal prep lunch recipes on the blog to curate this list of the 29 most popular meal prep lunch ideas. These recipes will have you looking forward to your lunch...no more boring sandwiches! Spending 30 minutes-1 hour on the weekend prepping these recipes is going to make a huge difference through the week.
Meal Prep Hacks:
With healthy grains, vegetables and proteins, these cold meal prep ideas are perfect if you're in construction, transportation, aviation, etc. Anywhere that doesn't have easy access to a microwave or countertop oven. Making them ahead will ensure that you get an extra serving of veggies in your day! From meal prep bowls to jar salads, these healthy lunch ideas are tasty and easy to prep.
Be sure to stay in touch on Instagram or YouTube for daily meal prep ideas
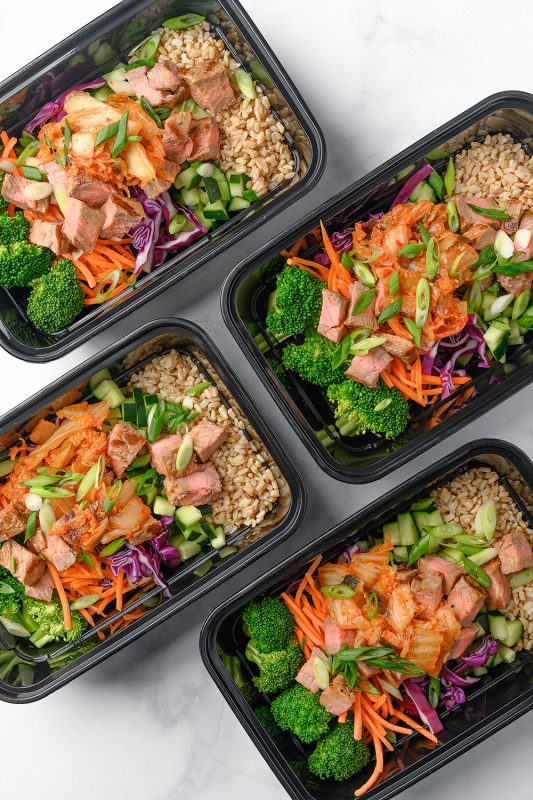
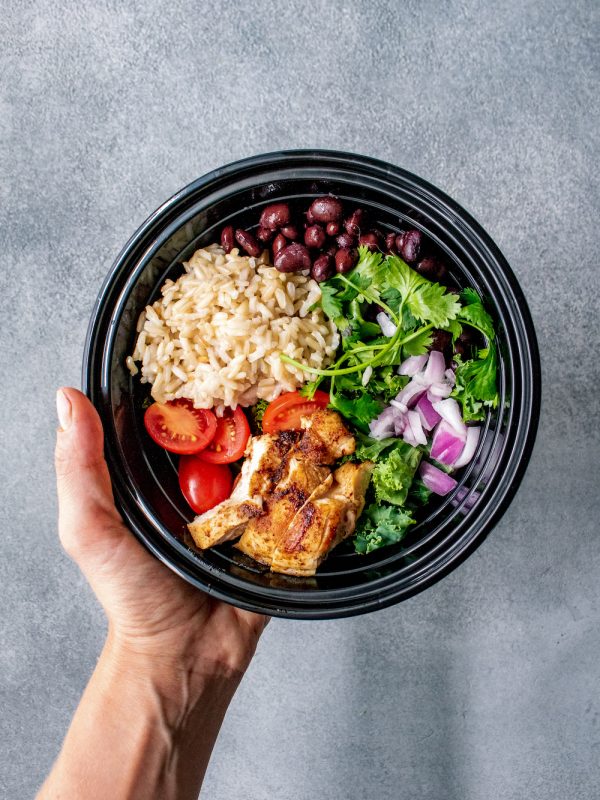
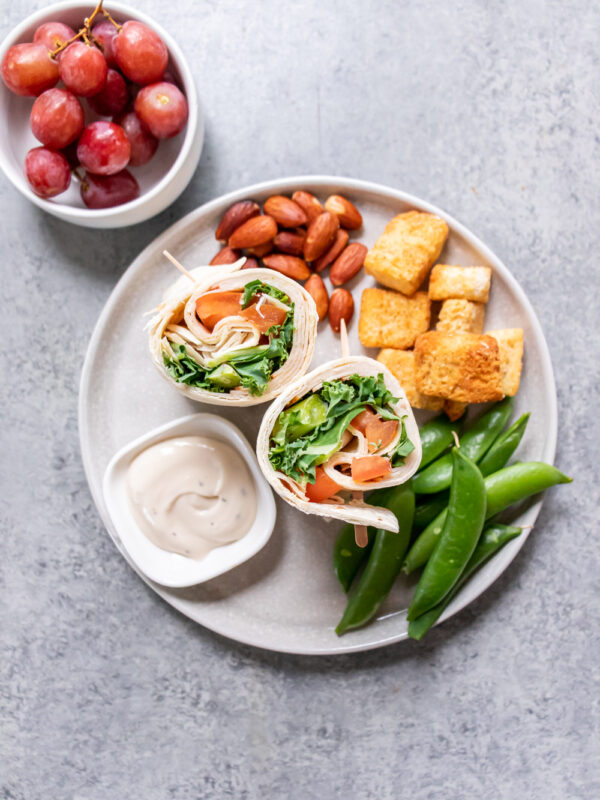
Which of these recipes are your favorite so far? Leave a comment below and let us know

Spicy Meatballs with Sweet-Mashed Potatoes
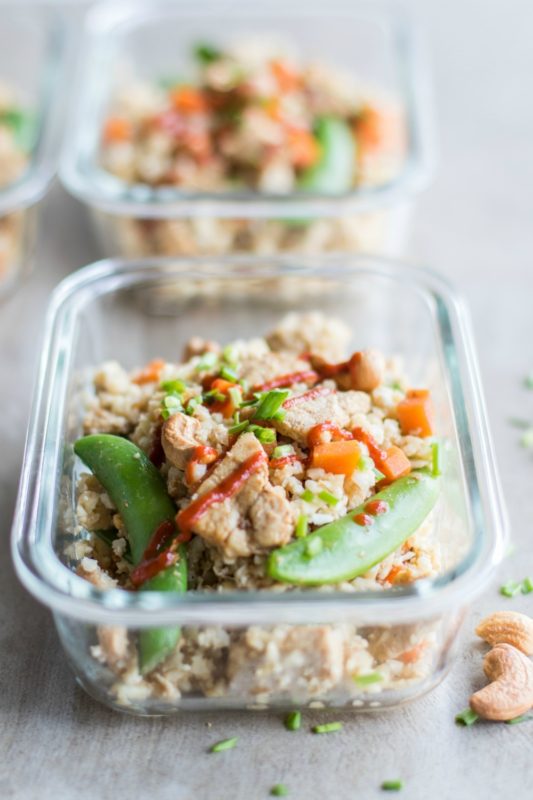
Middle Eastern Chicken Kabobs (Shish Tawook)
Pizza Chicken Meal Prep Recipe
Sheet Pan Italian Sausage and Peppers
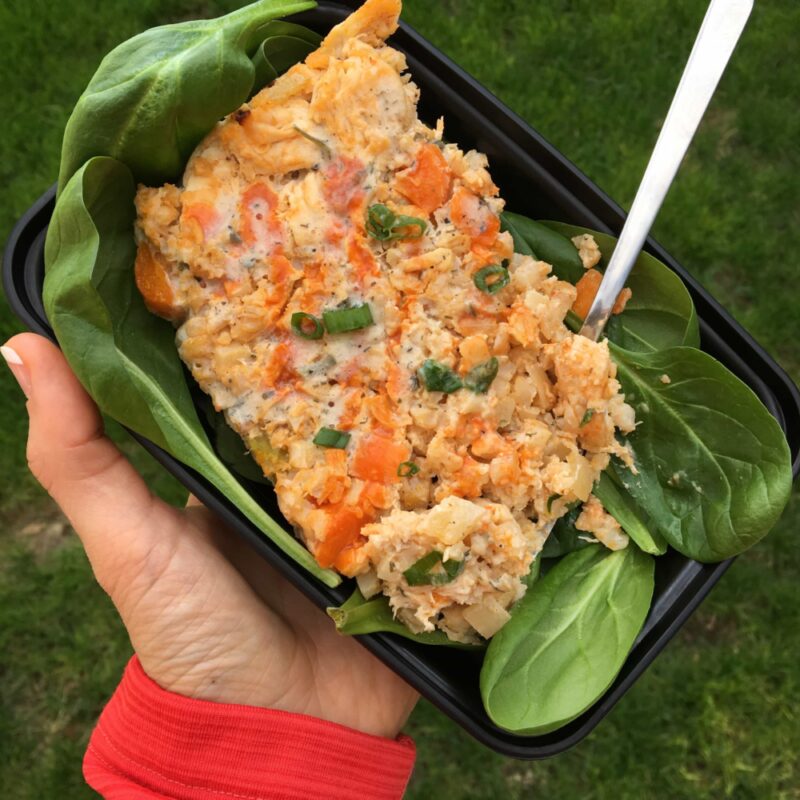
Whole30 Baked Buffalo Chicken Casserole
Low Carb Philly Cheesesteak Meal Prep
Carrot Meatballs With Mint Cauliflower Rice
Healthy lunch ideas come in all shapes and sizes! Check out these easy soup and chili lunch ideas
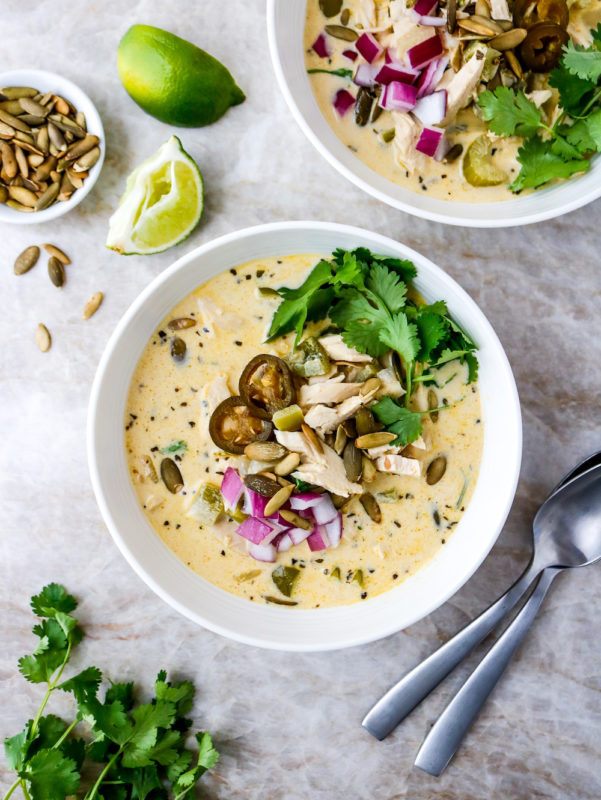
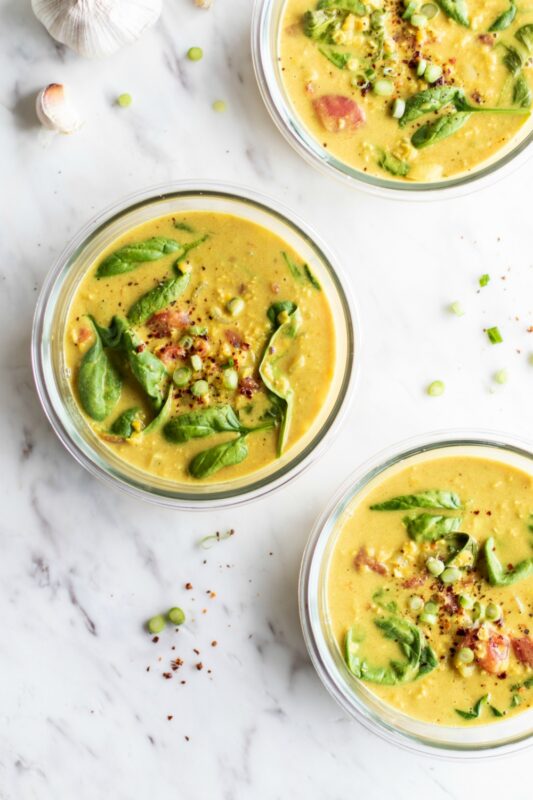
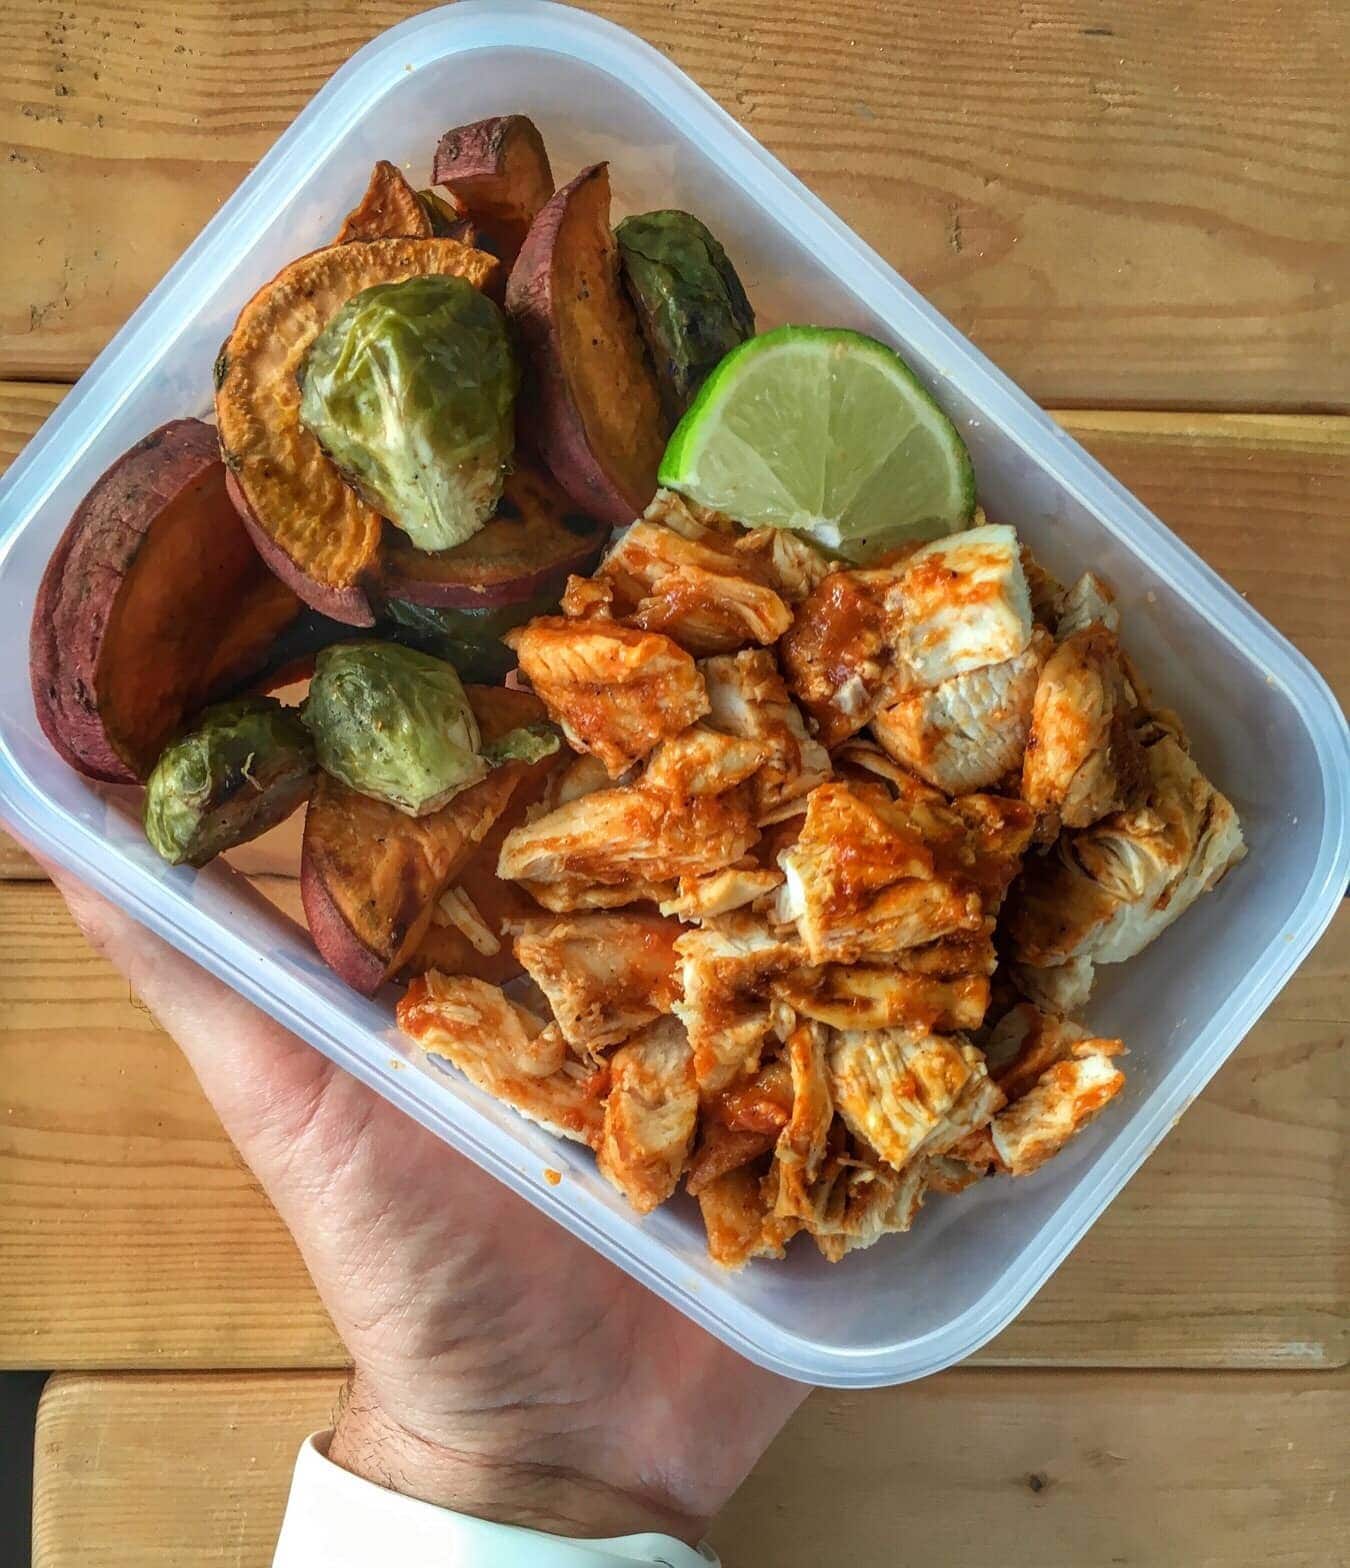
The secret to successful meal prep isn't just about choosing the right ingredients; it's about mastering the art of seasoning. This week, we're spicing up our meal prep routine with a BBQ Chicken Meal Prep that's not only easy on the wallet but also bursting with flavor. Say goodbye to bland meals and hello to delicious, well-seasoned dishes that will make you look forward to lunchtime all week long.
Ingredients:
Instructions:
This BBQ Chicken Meal Prep with Roasted Brussels Sprouts and Sweet Potato is a testament to how simple ingredients, when seasoned and combined thoughtfully, can transform into a delightful meal. By incorporating vibrant flavors like lime and your favorite BBQ sauce, you elevate your meal prep from mundane to mouthwatering. Give this recipe a try, and watch how a little seasoning can go a long way in making your weekly meal prep a success.
Tired of the same old lunch routine? Shake things up with this flavorful BBQ Chicken Meal Prep. Don't forget to share your meal prep successes and your favorite seasoning tips on social media with the hashtag #MealPreponFleek. Let's inspire a flavor revolution in kitchens everywhere!
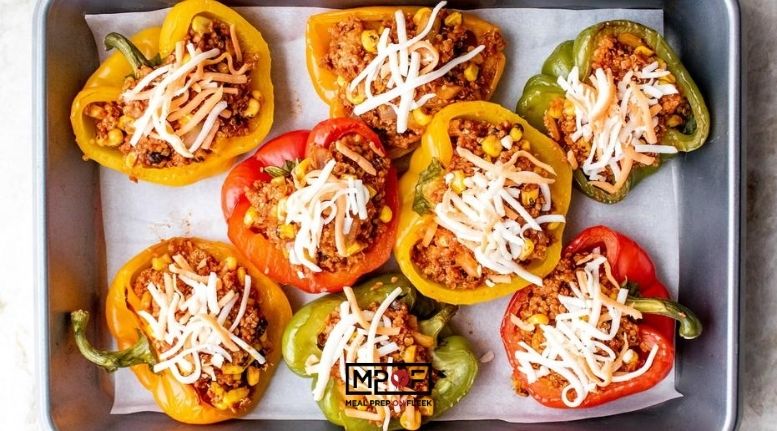
Take your taste buds on a spicy field trip with our quinoa stuffed peppers! Today, we give you a Mexican inspired spin on stuffed peppers. Stuffed peppers make for a perfectly balanced meal that is also a delicious treat. Not to mention they're fun and easy to make! What we really love about this recipe is that it's a great plant based meal prep idea. Many people are changing their diets for sustainability and health. We totally support that here at MPOF! Along with our quinoa stuffed peppers, we have a plethora of vegan and plant-based meal prep recipes. Start here, and give the rest of our recipes a try! We take peppers, split them in half, and stuff them with soy chorizo, quinoa, and plant-based cheese. These delectable delights are served with salsa and cilantro to bring all the Mexican flavors together for a south of the border taste that's healthier than most traditional dishes. Do our quinoa stuffed peppers sound amazing? Then keep reading for the recipe!

You won't miss the meat with these smoky and spicy vegetarian stuffed peppers! Quinoa and soy chorizo provide hearty texture along with fire-roasted corn for a southwestern inspired dish that feeds hunger without a ton of calories.

For Serving

You have four days to enjoy your plant-based quinoa stuffed peppers. Be sure to store them in an airtight container like our Goodcook Meal Prep containers sold on Amazon. Proper storage is key to maximum freshness! Pro tip: stuff peppers a day ahead of time to save meal prepping time. Just add 10 minutes to the cooking time when making them the next day.
Yes, you can freeze quinoa stuffed peppers. Follow the recipe below for cooking and then freeze them all together in a casserole dish or individually wrap them in plastic wrap and store them in a labeled freezer bag. We recommend freezing them for no longer than three months.
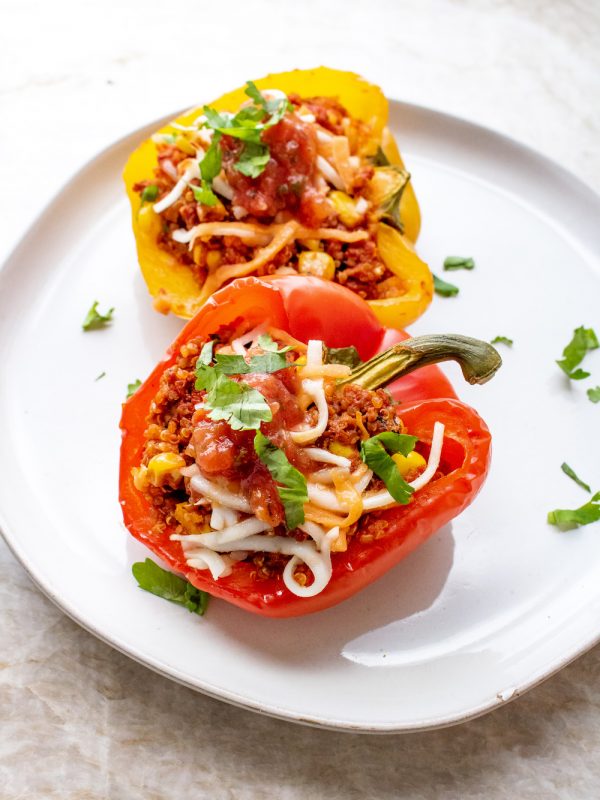
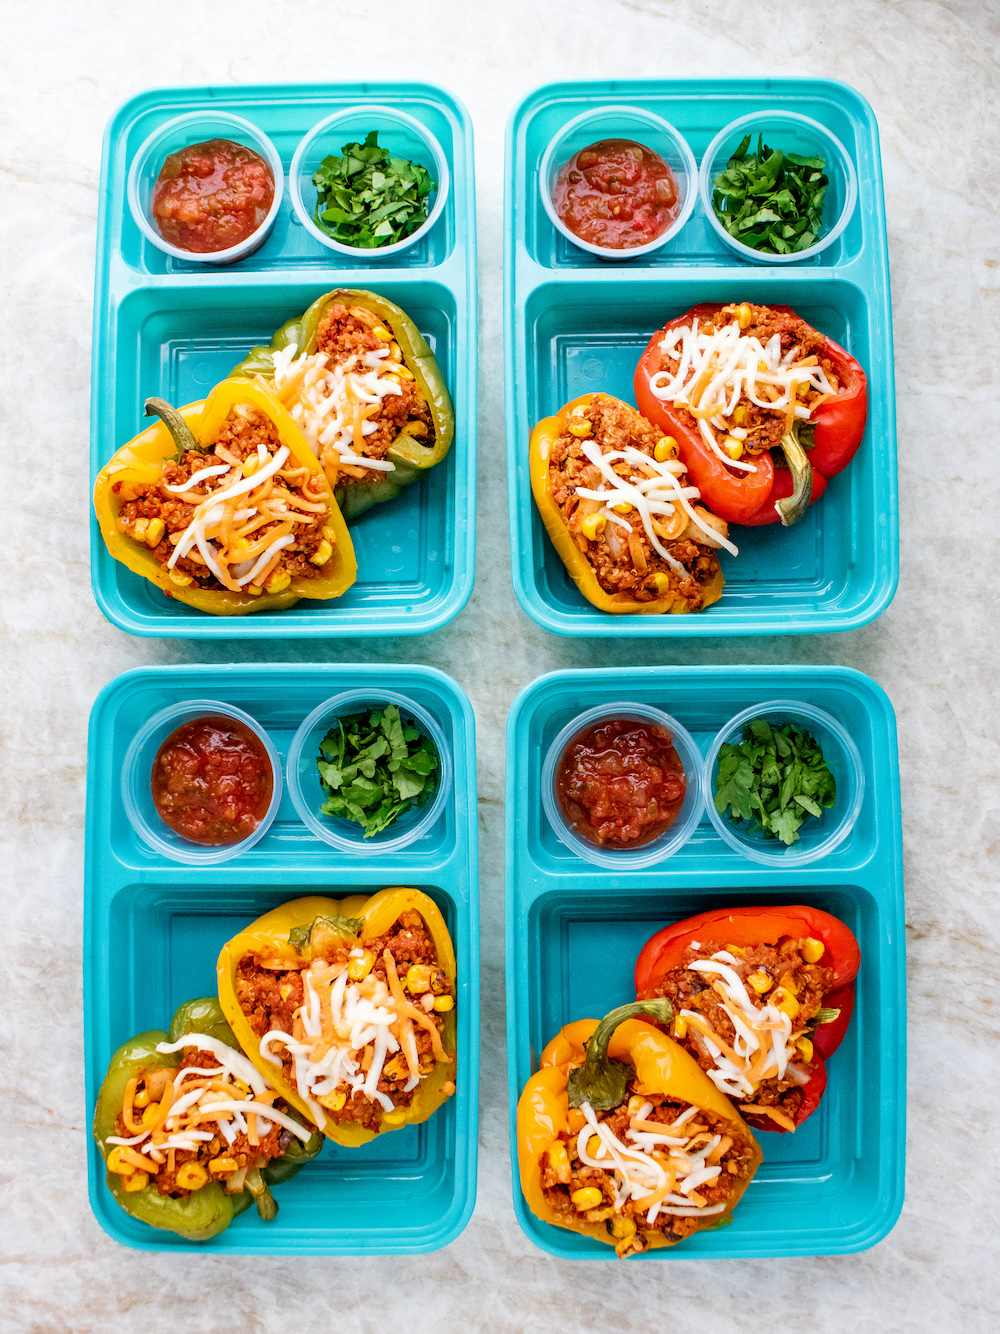
If you're thinking this amazing-looking plant based meal prep recipe takes forever to cook, you'll be pleasantly surprised to learn that these quinoa stuffed peppers take less than 1 hour to cook. Simply slice and bake the peppers for 15 minutes, cook the soy chorizo, corn, and tomato sauce, stuff the peppers, and top with plant-based cheese. Put some salsa and cilantro in sauce cups for more toppings, store in the fridge, and that's it! Here's the full recipe at the bottom of the page.

Once your quinoa stuffed peppers cool down, grab 4 dual-compartment meal prep containers to place your peppers and toppings into.

We've all been there: it's lunchtime, you're at your desk, swamped with work, and the idea of eating something healthy feels impossible. Skipping the gym, grabbing fast food, and eating unhealthy snacks might seem like the easiest options on those busy days. But what if there was a way to have a nutritious, colorful, and delicious meal ready to go that's just as convenient?
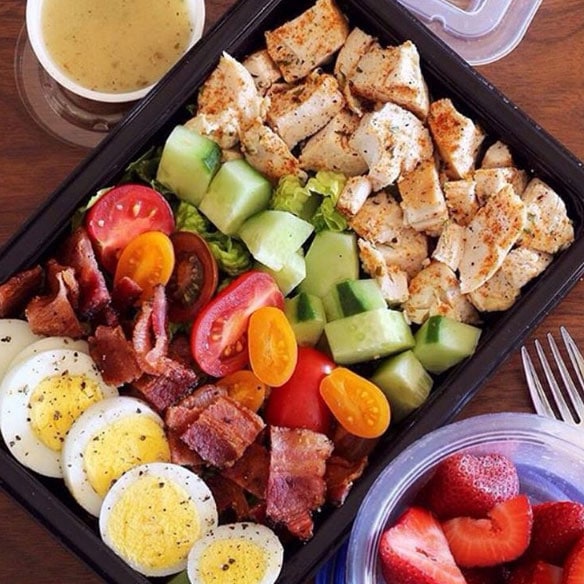
This Easy Lunch Meal Prep is the perfect solution! Packed with colorful vegetables, protein-rich chicken, and tasty bacon, this meal will brighten your day and keep you fueled, even when you're busy. Let's dive into this simple yet satisfying lunch!
Serves: 4
Meat:
Produce:
Baking & Spices:
Oils & Vinegars:
Eating healthy doesn't have to be complicated, even on the busiest days. This Easy Lunch Meal Prep brings colorful vegetables, protein-packed chicken, and crispy bacon together for a satisfying meal that's ready whenever you need it. Perfect for a busy workday or any time you want a fresh and wholesome meal, this recipe proves that meal prep can be both simple and delicious.
Ready to bring more color and nutrition to your lunchtime routine? Try this Easy Lunch Meal Prep recipe and share your delicious, colorful meals with us! Use the hashtag #MealPrepOnFleek on social media to show off your meal prep skills and inspire others to enjoy healthy, vibrant meals. Happy prepping!
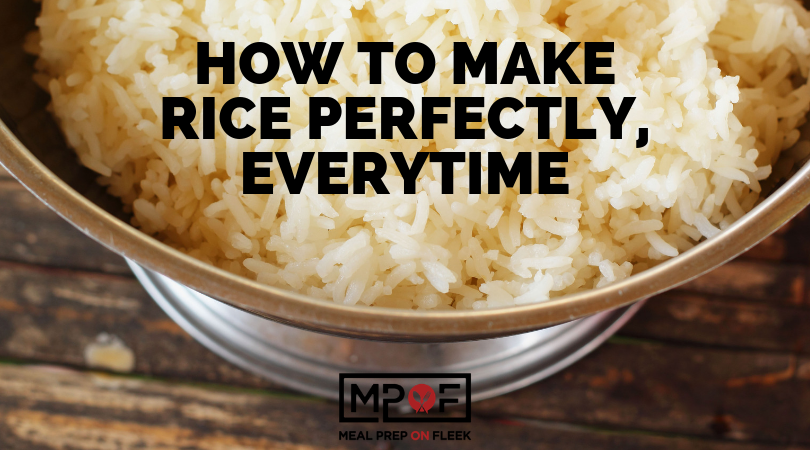
You will probably agree with us that rice is a tasty addition or complement to some of your favorite meal prep meals. But rice is also easy to mess up if you don't do it right. We're sure you, like us, have cooked rice that ended up on the spectrum of soggy to hard instead of the light, fluffy kind that grandma makes. What IS that secret to cooking perfect rice? Maybe you have been stuck cooking it one way, not realizing that there are some other methods that might work better for your lifestyle.
First, let me tell you about an ancient Asian cooking tip that will allow you to cook any type of short grain or jasmine (aromatic) rice without a measuring cup. It comes out perfect every time. The secret is to put in the amount of rice that you want (remembering that it will absorb the water and expand) and then add enough water to be able to use the "fingertip method". It will cover the rice about an inch so that if you touch the tip of your finger to the top of the rice, the water should come up to your top knuckle. Caveat: long grain varieties and brown rice require 2:1 ratios water to rice and longer cooking time. Check your rice packaging for those specific instructions.

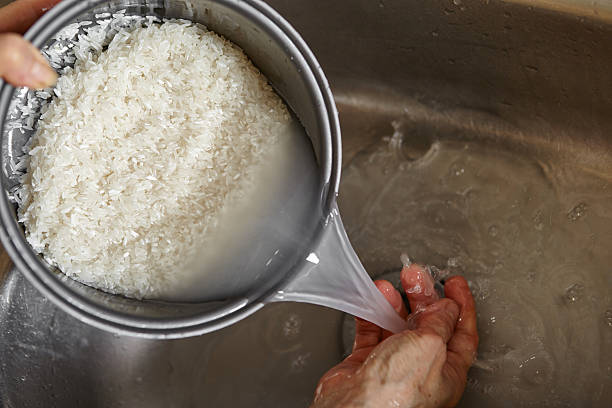
The second universal rice cooking tip is to always rinse your rice before cooking. Why? Well, because rice, like beans, can be rather dusty and have extra starch clinging to them. Sometimes (rarely, but still…) they can even have tiny pebbles or other non-rice materials in them. Ew! Your first rinse will be rather cloudy. After the third rinse (it takes all of 30 seconds), you should be good to go. This process is worth it and will keep your rice turning out fluffy rather than sticky or gummy.
And if you're looking for white rice alternatives, check out some of these healthy white rice alternatives
I have to admit this is my favorite method. Most rice cookers have one button-Cook. And when it flips off it goes to warm. It is literally that simple. Rice cookers range in price from about $30-$300. But once you put in the rice and water and rinse, rinse, rinse, and press the button, they cook a perfect pot of rice and click off to the warm setting when it is done. You have nothing to think about and it is done for you.
Ingredients:
Method:
1: Measure your rice accurately using the measuring cup that came with the rice cooker. Fill the rice above the brim, then level off the cup. Now pour the rice in the empty inner cooking pan.
2: Rinse rice under water until the water clears. Rub the grains of rice gently between the palms of your hands and drain.
3: Add water to the water level line that corresponds to the number of cups of rice you are cooking. If you are cooking 3 cups of rice, add water to water level 3 for "White Rice." Be sure that all the grains of rice are submerged and the surface of the rice is flat and level to ensure even cooking.
4: Wipe off any excess water from the outside of the inner cooking pan and place it in the rice cooker. Select the "White Rice" menu setting and press START.
5: When cooking completes, allow the cooked rice to 'rest' for 15 minutes. If you have a Micom rice cooker, this is done automatically and you will not have to wait. Open the rice cooker and use the special nonstick rice spatula to fluff and serve your rice.

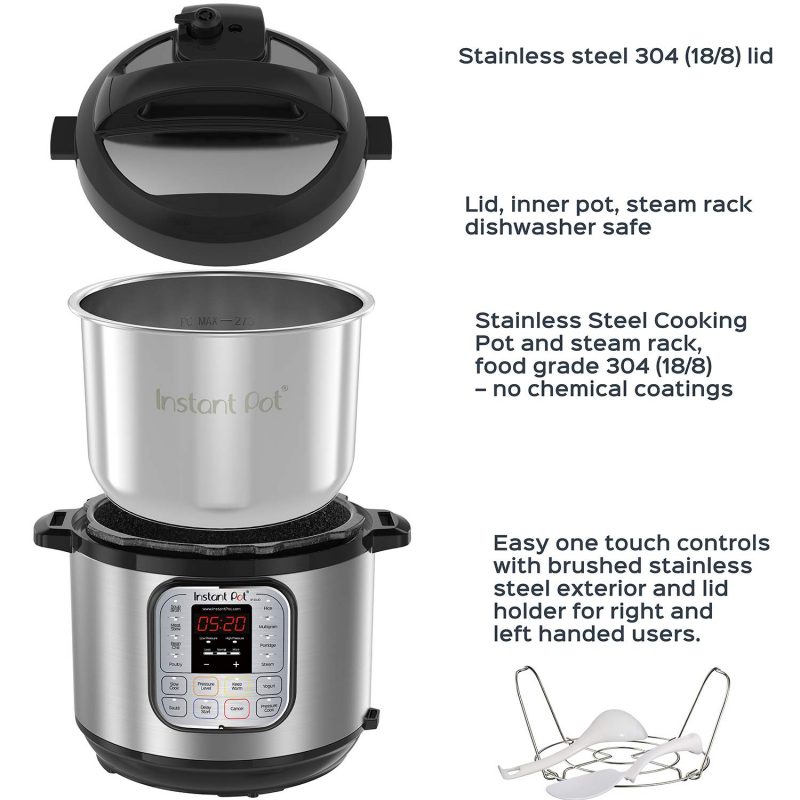
Very similar to cooking in a rice cooker, the Instant Pot has a button specifically for rice. The difference, of course, is that the Instant Pot can do a whole lot more than just cook rice! It takes up about the same amount of counter space, so if you have the space and you want the versatility of making complete meals as well as cooking rice, maybe the Instant Pot is the right method for you.
Ingredients:
Method:
Did you know that there are specific microwave-safe rice pots for your microwave? It has two parts; a base and a vented top to let out the steam. This is a super simple method and it doesn't require any babysitting. It generally does take a little less time than all the other methods, but it does take a little bit of adjusting as to what time to set it at. At first, it will likely require some experience for your particular microwave. But all the prep of the rice is the same.
Pro Tip: The secret to microwaving rice is to add the right amount of water.
Too much water = soggy rice. Too little water = dry rice. Just right water = just right rice.
Ingredients:
Method:
If you are a complete traditionalist (and don't mind a little more of a clean up process), then the stovetop method might be the way you want to go. No new equipment needs to be purchased. We all have everything we need in our kitchens already. This method is not as quick and easy and requires more monitoring. Once you have prepped the rice the way we discussed above, you will have to watch the pot until it boils. Once it boils for a few minutes, the heat needs to be lowered. Cover the pot and set a timer. You will probably have to experiment a few times to know what the perfect time is. But once you see that it looks like the water has been cooked into the rice, the heat needs to be turned off immediately. You want to do this because it is super easy to burn the bottom of the pot and overcook the rice. Keep the lid on the rice for a few minutes more to not dry out the top layer of rice. When you are ready to serve, take out a fork and fluff up the rice...and voila!
Ingredients:
Method:
1. Bring the water to boil in a medium saucepan. Add the salt
2. When the water has returned to a boil, stir in the rice. Let the water return to a light simmer. Stir again, cover the pot and turn the heat down to low. Keep the rice simmering slightly, and keep the pot covered. Start checking to see if the rice is tender and all of the liquid is absorbed at about 17 minutes. It may take up to 25, especially if you are making a larger quantity of rice.
3. When the rice is cooked, turn off the heat and let it sit for another couple of minutes to finish absorbing any liquid. Take off the lid, fluff the rice with a fork and let it sit for another 2 minutes or so, so that some of the excess moisture in the rice dries off.
One last word about cleanup.
A suggestion that can make cleanup a little easier is that some of these cooker pots (most have a non-stick coating) is to allow them to dry out and the rice will also dry out and you can basically wipe these pots clean, easily rinse them, and put them away for your next pot of perfection.
What has been your experience in cooking rice? Which method is your favorite?

NOTE: These menus are designed to give you meal ideas, not to tell you how many calories to eat per day. Please make sure to calculate your macros HERE and then adjust the menu items' portion sizes as needed.
This week's recipes:
Take the 'naughty' out of your Chicken Bacon Ranch Meal Prep with this healthy, flavorful and whole30 compliant idea!

Craving something indulgent but still want to stick to your health goals? Look no further than this Chicken Bacon Ranch and Purple Sweet Potatoes Meal Prep! This dish is the perfect combination of flavor and nutrition, making you feel like you're indulging without the guilt. Made with wholesome, whole ingredients, this meal is Whole30 compliant and can be prepped for less than $4 per meal. Ready to enjoy a meal that's as tasty as it is healthy? Let's get started!
Serves: 4
Total Prep Cost: $7.49
Cost Per Meal: Less than $4.00
This Chicken Bacon Ranch and Purple Sweet Potatoes Meal Prep is the perfect way to enjoy a hearty, satisfying meal without compromising your health goals. With its delicious combination of savory chicken, crispy bacon, and creamy ranch, all balanced by the natural sweetness of purple sweet potatoes, this dish will quickly become a weekly staple. Plus, it's Whole30 compliant and easy on the budget!
Ready to indulge in a deliciously healthy meal? Try this Chicken Bacon Ranch and Purple Sweet Potatoes Meal Prep and share your creations with us! Use the hashtag #MealPrepOnFleek on social media to show off your meal prep skills and inspire others to enjoy flavorful, guilt-free meals. Happy cooking!
One of the most important nutrients in any diet is fat. Not the kind you find in cakes and cookies, but the kind that comes from salmon, avocado, and ghee. This salmon and bacon 'rice' meal prep is loaded with all the important fats you need and satisfies your craving for rice, in a whole30 way!
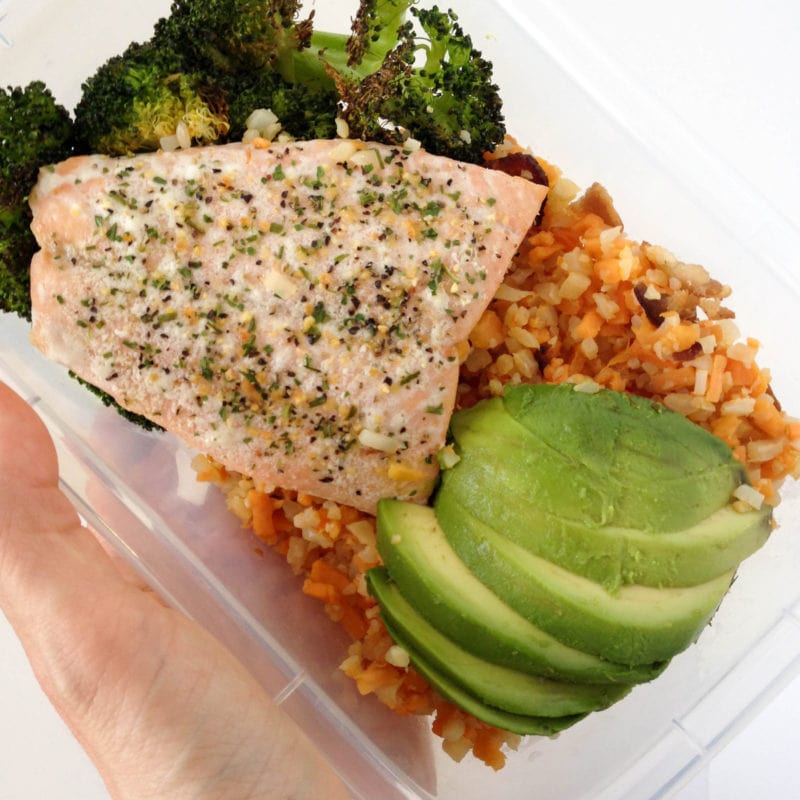
Salmon with a side of rice? Yes, please! We will take the #Whole30 compliant version of that!
Ingredients:
Instructions:
This Salmon and Bacon Rice Meal Prep is a fantastic way to enjoy a healthy, balanced meal without spending hours in the kitchen. With the rich flavors of salmon and bacon combined with the wholesome goodness of vegetables, this meal prep is a great choice for anyone looking to eat well and feel good. Give it a try this week and enjoy the convenience of having a delicious meal ready to go!
Ready to enjoy the delicious combination of salmon and bacon? Try this Salmon and Bacon Rice Meal Prep recipe and share your meal prep creations with us! Use the hashtag #SalmonBaconPrep on social media to show off your culinary skills and inspire others to enjoy healthy, tasty meals all week long!
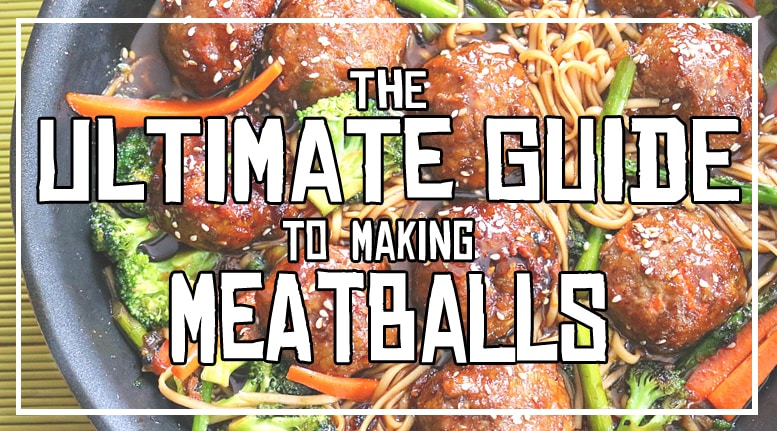
There is no such thing as too many meatballs recipes and with this template we're going to show you how to make ones you'll want to eat all. day. long!
Meatballs have come a long way, and so has our understanding of their magical capabilities! No longer are meatballs strictly served with pasta and homemade sauce, and made of just beef and/or veal. From beef to turkey, to chicken, pork, lamb, or even vegetarian recipes, the possibilities are endless with meatballs! And don't even get us started on the sauces. Or, better yet, what you can eat them with. There is a recipe out there for every palate! And the best part? Meatballs are easy to make, inexpensive and transport in your containers without a hitch.
So, go wash your hand and get out a big bowl. It's time to make meatballs.
The key? You gotta start with a solid foundation. To do that, use our 20-minute meatball recipe or customize the meatballs by following the steps below. Think of this as a template.
What's great about this meatball recipe is that they are baked, so they are healthier because you're not frying them in oil, batch after batch. Baking them is a hands-off process, and less messy, too. It's important to keep an eye on the meatballs, though, so they don't dry out and they stay tender and flavorful.
Choose your protein:
NOTE: You will want 2 pounds of protein. This provides you with you enough meatballs for about 4 people, with some leftover to freeze, if desired.
Choose your seasonings based on the recipe. Aim for somewhere between 2-3 tablespoons of seasoning for 2 pounds of protein. Again, consider the following, based on the meatballs recipe:
Choose your binder:
Depending on your needs, whether they're paleo or gluten-free meatballs, you've got options. We recommend using a ½ cup for all options except coconut flour. However, for coconut flour, use half that amount, or ¼ cup, instead.
Add in an egg (or flax egg, for vegan recipes).
Mix all ingredients in a large bowl until just combined. Often, it's smart to use your clean hands. Do not overmix or your meatballs will be tough. Then, roll into meatballs of your desired size. Usually, this means meatballs that resemble walnuts or golf balls. However, you can make them bigger or smaller based on your preferences.
Transfer the meatballs to a rimmed baking sheet lined with aluminum foil. Then, bake them in a preheated 400-degree F oven for about 20 minutes (Time will vary depending on the size of your meatballs. As you might suspect, the bigger they are, the longer they'll take.)
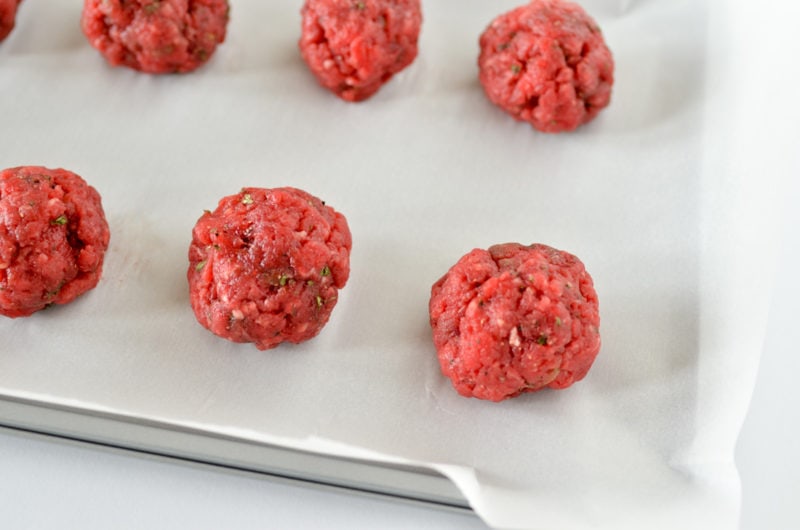
Once you established your solid meatball foundation, decide what recipe you want to tackle! And boy, are there a lot of options. Read closely to determine which one best suits your dietary needs, because they run the gamut of paleo and gluten-free to almost every cuisine you can imagine. You'll have meatball recipes for days! And that is never, ever, a bad thing. Your future self will thank your current meal-prepping self. It's true.
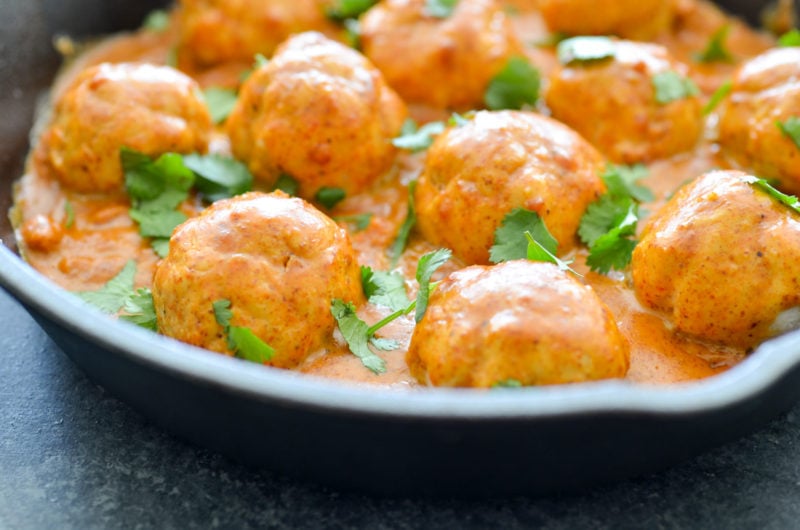
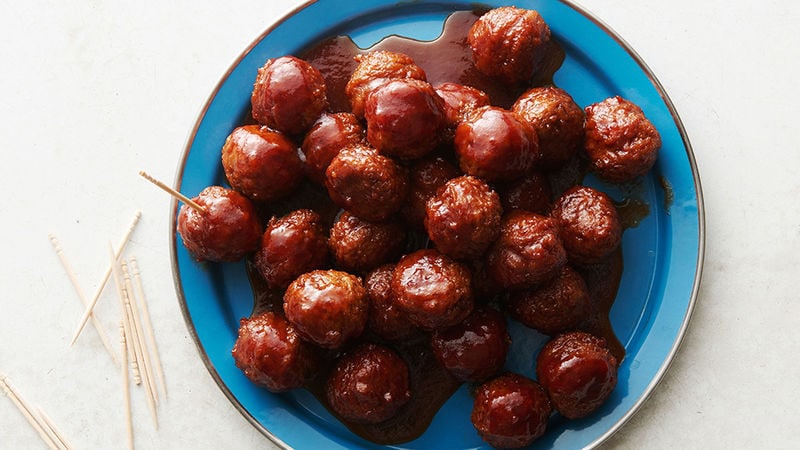
Serve with rice, or eat them just like that, off little toothpicks.
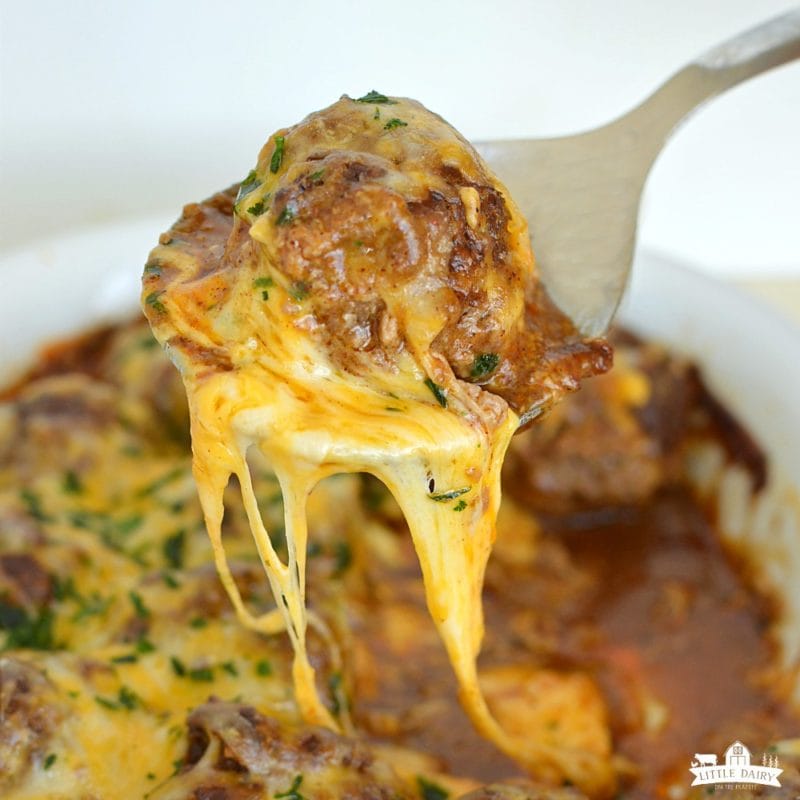
We dare you to look away from that cheese pull. Really. Someone find me some tortilla chips, stat!
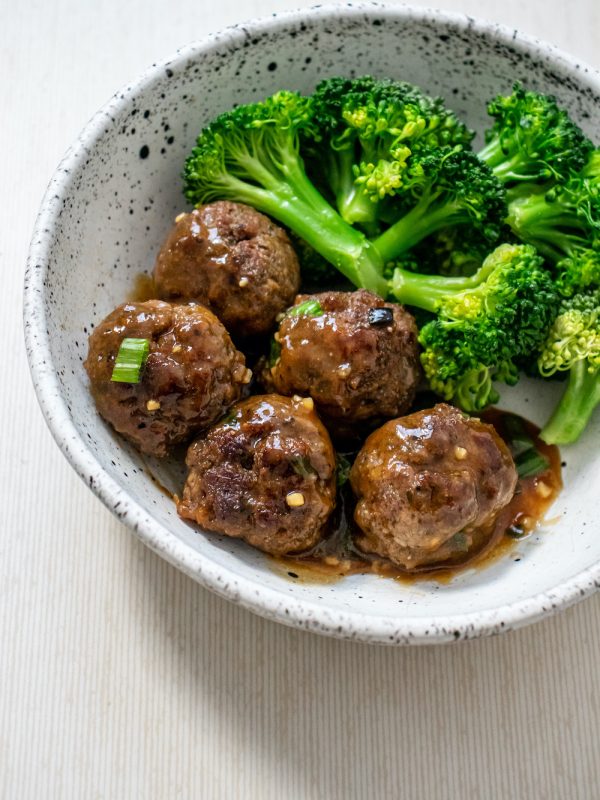
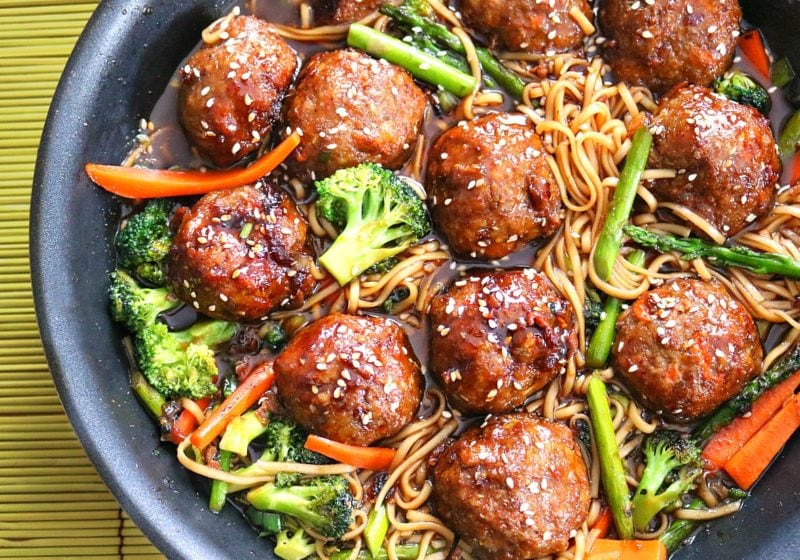
Mongolian meatballs want to be served with broccoli. They just do. And cauliflower rice, anyone?
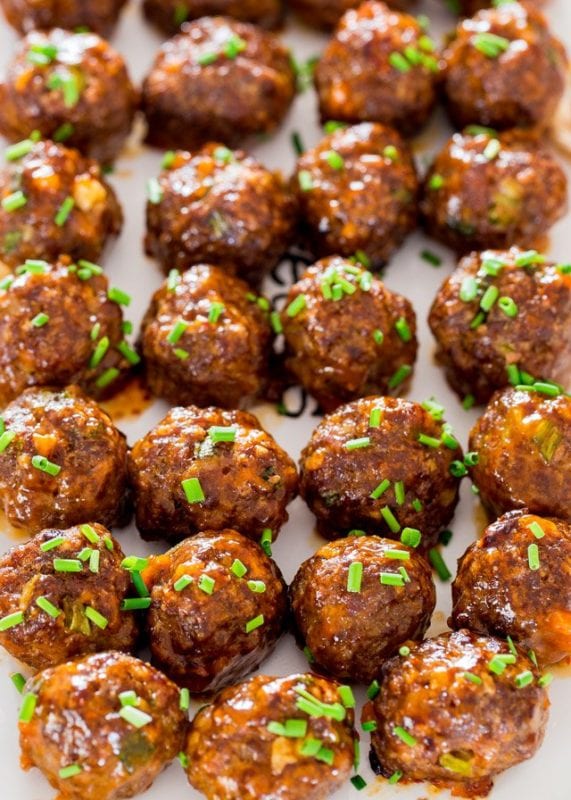
Look at that color. And then, look at that texture. Meatballs never had it so good, right?

We'd wager a guess that you could eat these all by themselves.
Spaghetti and meatballs, reimagined.
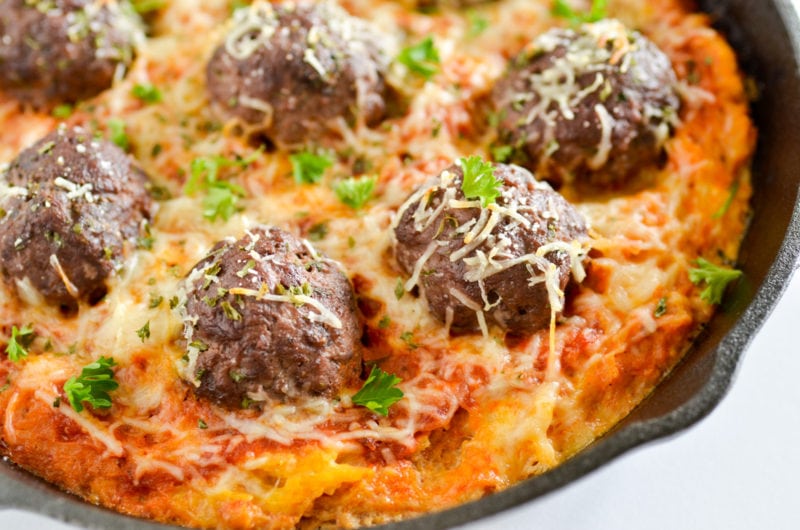
Better than Ikea's. Promise.
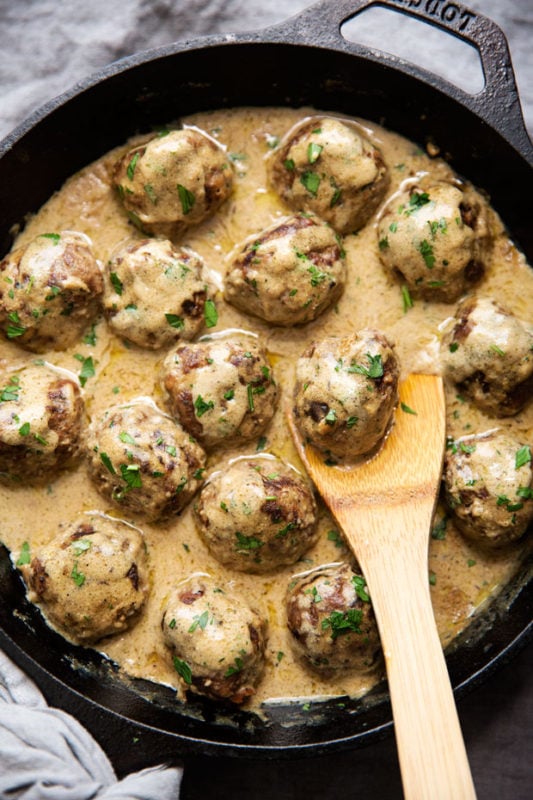
Take the concept of firecracker shrimp, and apply it to chicken meatballs. 'Nuff said.

You might want some cornbread when you make this recipe.
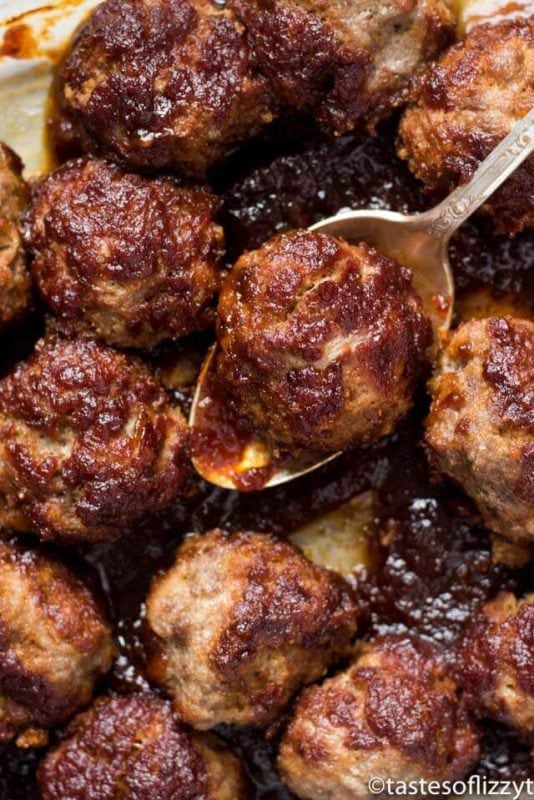
You read that correctly. Don't judge! Just make them!
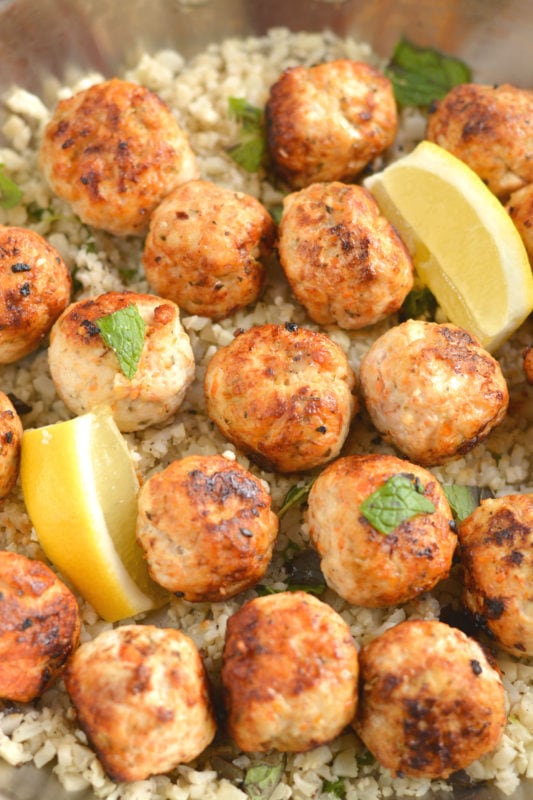
Imagine the flavors of Greece and the Mediterranean, packed into meatballs.

How cool is this concept?
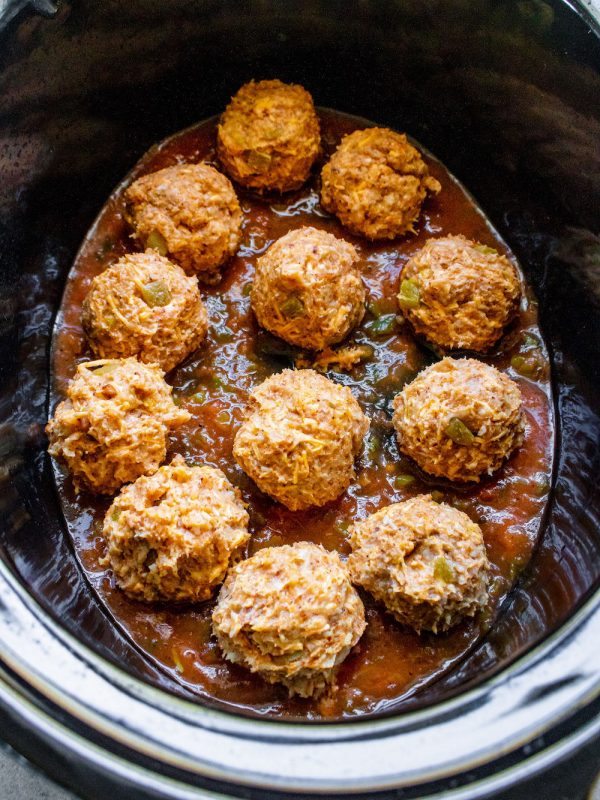
The zesty and bright flavors of chimichurri sauce come to life here with in this meatball recipe.

Meatballs recipes, there's really nothing they CAN'T do. Noodles optional.
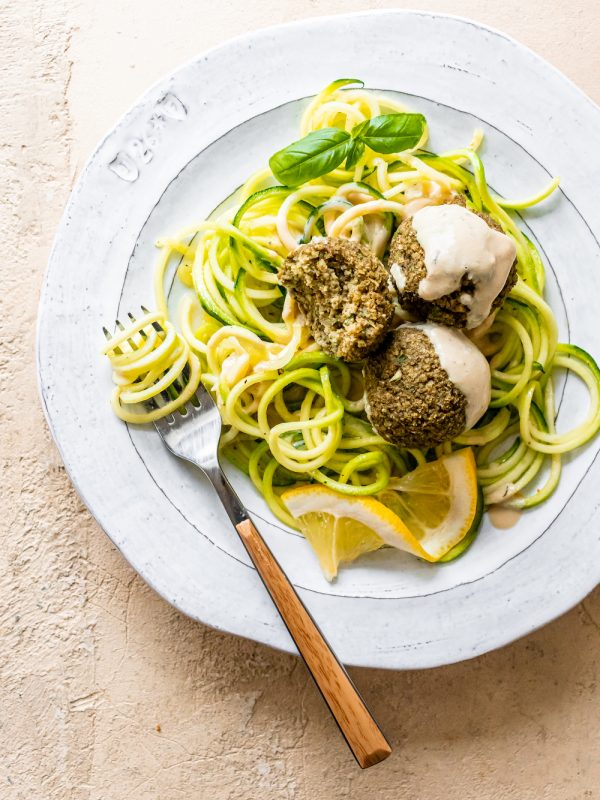
They look like falafel, but they are meatballs!
You knew this one was coming, right? Noodles are a great companion to these meatballs.
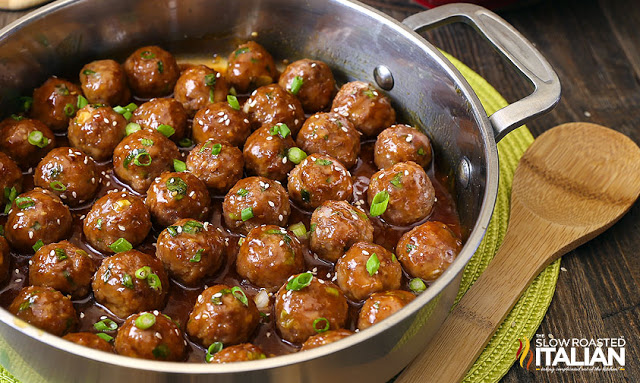
Serve these luxurious meatballs with a big green salad and call it dinner.
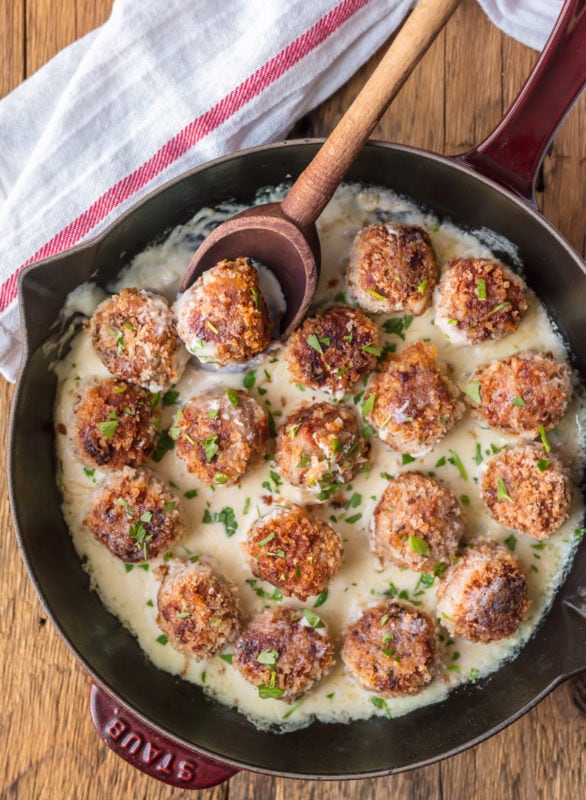
This meatball recipe is just what you think it is.
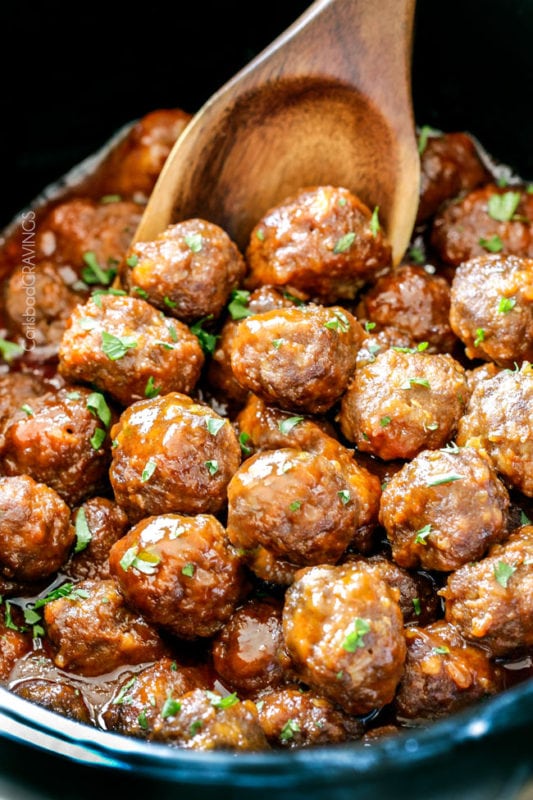
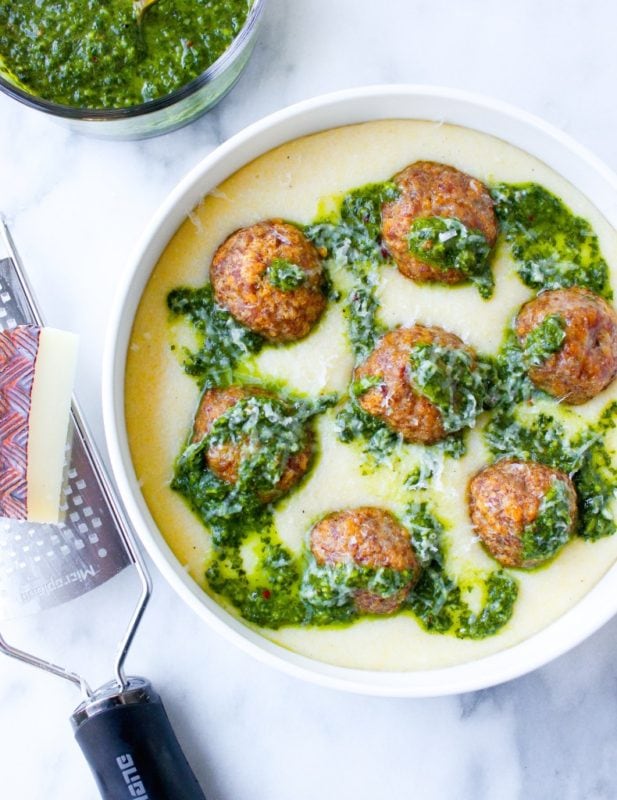
Yes, that's lamb but what's more important is that the meatballs are floating in a manchego polenta with chimichurri.
Ok, so maybe this isn't a meatball recipe per se, but it's funny! So why not?

Start your day the right way with our Whole30-approved breakfast meal prep that's not only delicious but will save you precious time in the morning. Imagine waking up to a ready-made, nutritious breakfast, freeing you from the stress of last-minute decisions or the temptation to indulge in less healthy options. This Egg, Sausage, Bell Pepper, and Avocado Breakfast Meal Prep is everything you need to fuel your mornings!
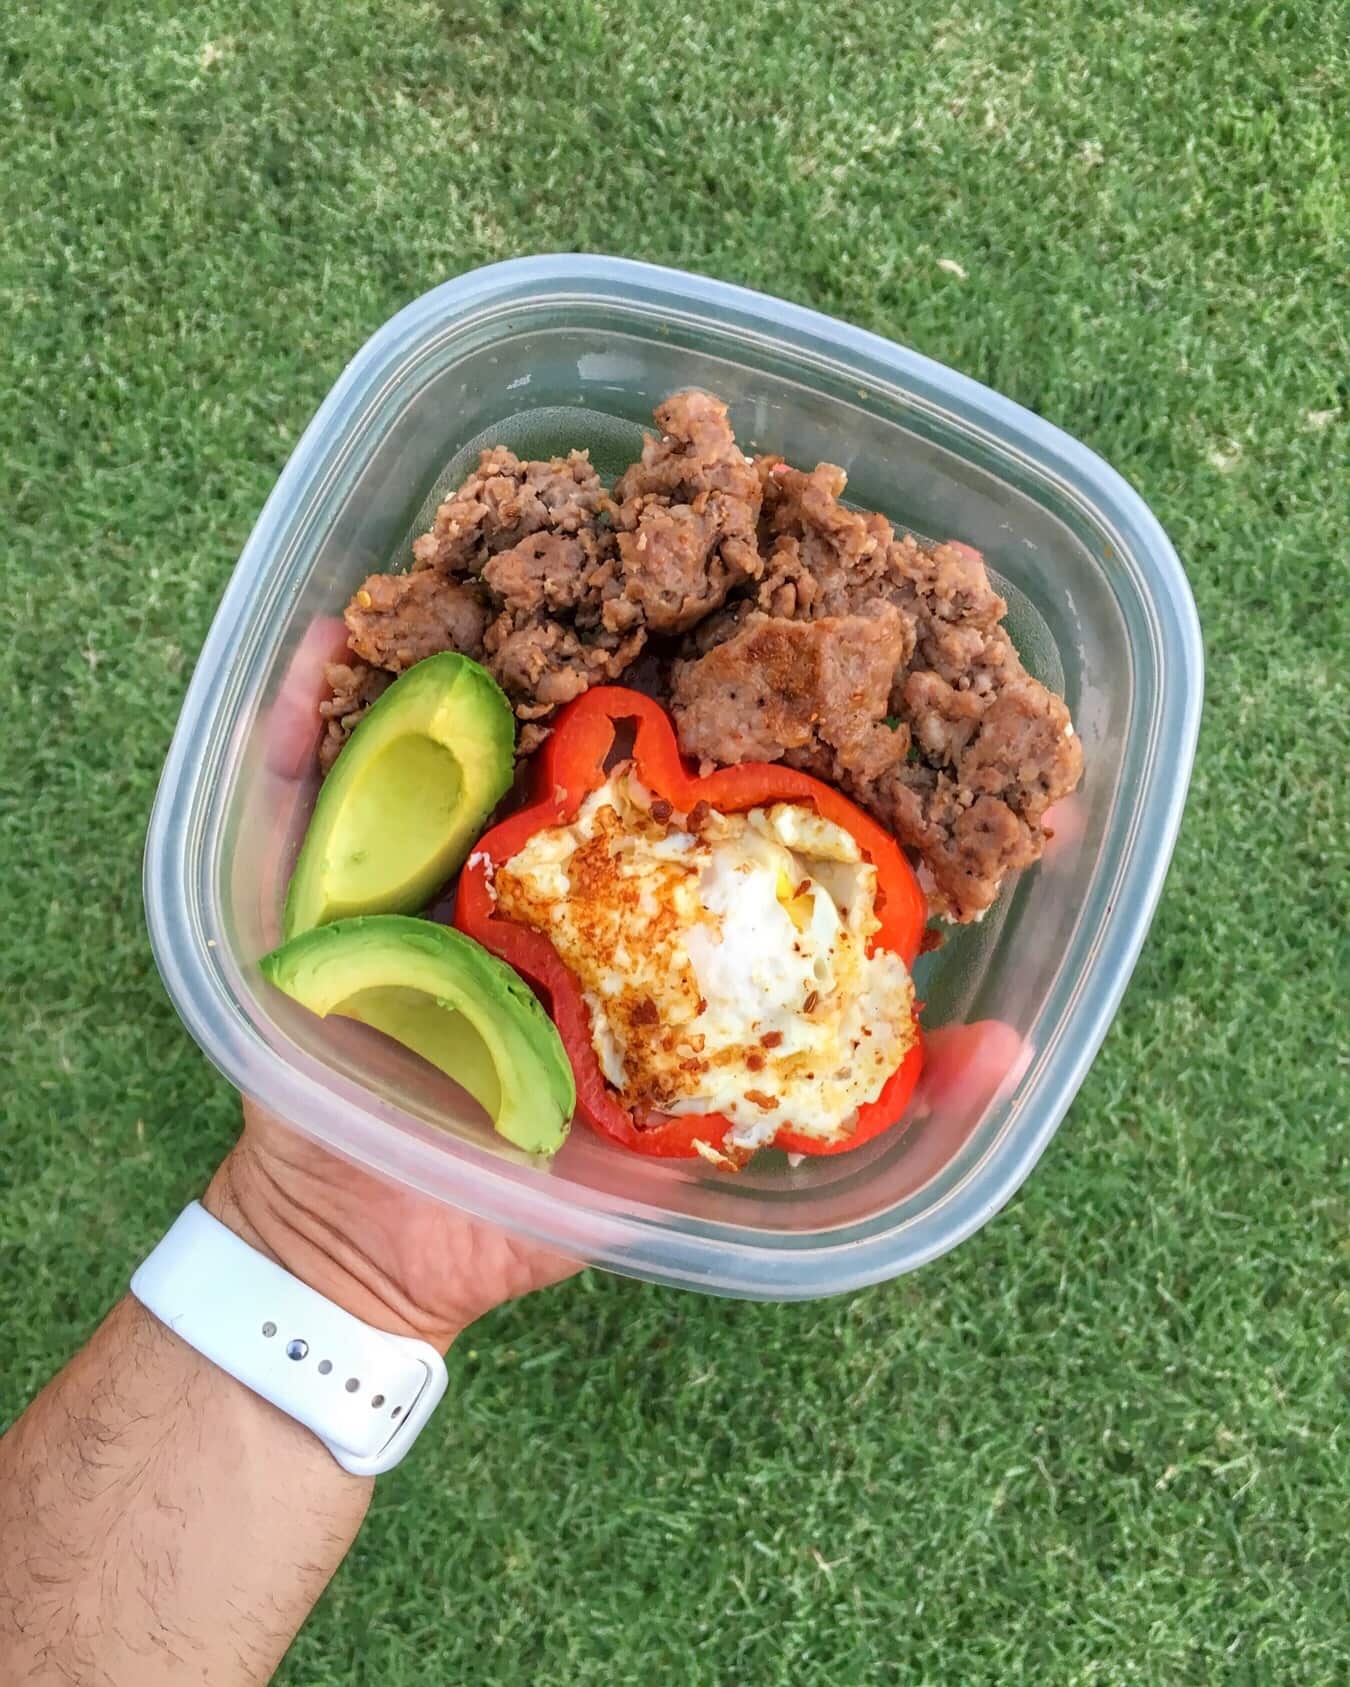
Ingredients for 4 Meals:
Cost per meal: $3.69
Instructions:
Benefits of Breakfast Meal Prep: Prepping your breakfasts (or Breakfast for Dinner) for the week not only streamlines your morning routine but also ensures you start your day with a nutrient-rich meal. This breakfast is packed with protein from the eggs and sausage, healthy fats from the avocado, and vitamins from the bell pepper, providing a balanced meal that supports sustained energy levels throughout the morning.
This Whole30-approved breakfast meal prep is a game-changer for anyone looking to simplify their mornings while sticking to a healthy diet. At just $3.69 per meal, it's an affordable, tasty, and practical solution to your breakfast needs. Give yourself the gift of stress-free mornings with this off-the-hook breakfast prep!
Try this breakfast meal prep this Sunday and experience the difference in your weekday mornings! Share your thoughts and your own meal prep adventures on social media with the hashtag #MealPrepOnFleek. Let's make healthy living delicious and convenient!
Kick off your weekend right with a Whole30-approved meal prep that's as vibrant as it is satisfying! This Steak Kabob Meal Prep is not just about sticking to your dietary goals; it's about indulging in a feast of flavors that will make your Friday feel like a celebration. Featuring succulent steak kabobs, colorful vegetables, and a punch of Cajun seasoning, this meal prep is designed to delight your palate and keep you on track.
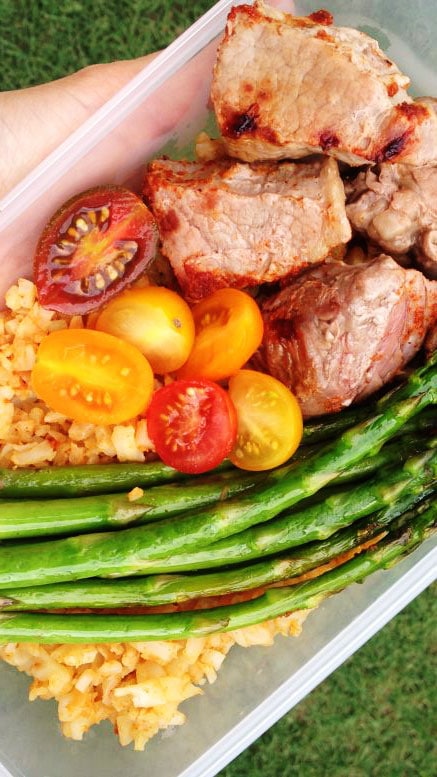
Ingredients:
Method:
This Whole30 Steak Kabob Meal Prep proves that healthy eating doesn't have to be boring or bland. With robust Cajun flavors, a variety of textures, and plenty of fresh, nutritious ingredients, it's a perfect way to ensure your meal times are as enjoyable as they are healthy. Give your Friday a tasty upgrade and set yourself up for success with this simple yet delicious meal prep.
Ready to try this vibrant and tasty meal prep for yourself? Grab your grill and get prepping! Share your meal prep success on social media and tag us with @mealpreponfleek to show off your culinary creation. Dive into a weekend of flavor with every bite!
Sometimes we forget about all the reasons why we should be meal prepping every week. Or, maybe you never really knew why it was so important! Here are 7 healthy reasons why meal prepping should be part of your weekly routine! Trust us, you (and your wallet) will be thanking us later!
Imagine spending just two hours on Sunday preparing your meals for the entire week. Compared to the daily grind-spending at least 30 minutes for each meal or running out for fast food-you'll save around 5.5 hours per week. That's extra time you can use however you want, not to mention fewer dishes to clean!
Read More: 15 Meal Prep Hacks to Save Time
Though initially it might seem costly to spend $75 on a Sunday meal prep session, it's significantly cheaper in the long run. The average take-out meal costs about $5.00. Multiply that by three meals a day, five days a week, and you're already at $75-excluding snacks, which can add another $20 to your weekly food expenses. Meal prepping helps cut these costs dramatically.
Read More: How to Save Time, Money, and Stress By Meal Prepping
Meal prepping might seem daunting at first, but having your meals ready for the week means you won't be scrambling to put something together last minute. This organized approach reduces daily stress, helps lower cortisol levels, and could even assist in weight loss.
Variety is the spice of life! It's what keeps us from getting bored and reaching for less than healthy options! When you don't plan the tendency is to eat the same boring things over and over again. By the end of the week, we find ourselves face first in a big pile of nachos because we are so sick of chicken, broccoli, and rice or the same take-out place. By getting a little creative, you can add variety via different fruits and veggies, various protein choices and simple swaps of your favorite seasonings!
Try Something New: 23 Chicken and Pasta Meal Preps
When you meal prep you are controlling what ingredients are going into your meals, your portion sizes (KEY for health) and creating food combinations that you enjoy! Making the decisions for yourself about what is and is not included in your meal preps will keep your waistline in check, your energy levels and mental clarity up and your taste buds satisfied!
Tool: How to Know Your Macros - Macro Calculator by Meal Prep on Fleek
Controlling portion sizes is essential, whether you're looking to lose weight, gain weight, or maintain a healthy lifestyle. Meal prepping ensures that each meal is just the right size, supporting your nutritional and fitness goals.
Related: Your Guide to Portion Control. No Tools Required
Fueling your body with a balance of lean protein, vegetables, fruits and healthy fats will keep your energy levels up, and your mind focused! If we aren't armed with prepared meals the tendency is to reach for something quick like fast food, sugary snacks, and fat laden chips. All of these items will give us an energy spike and then send us crashing down! With meal prep on hand, you are sure to be getting in fiber, slow digesting carbs and all of the micronutrients that are vital to keeping your blood sugar (and energy) even throughout the day!
Tell us how meal prepping has impacted your journey in the comments below
NOTE: These menus are designed to give you meal ideas, not to tell you how many calories to eat per day. Please make sure to calculate your macros HERE and then adjust the menu items' portion sizes as needed.
This week's recipes:
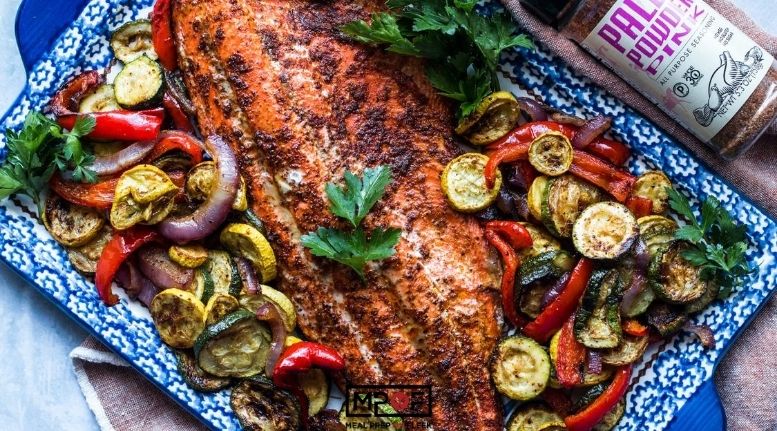
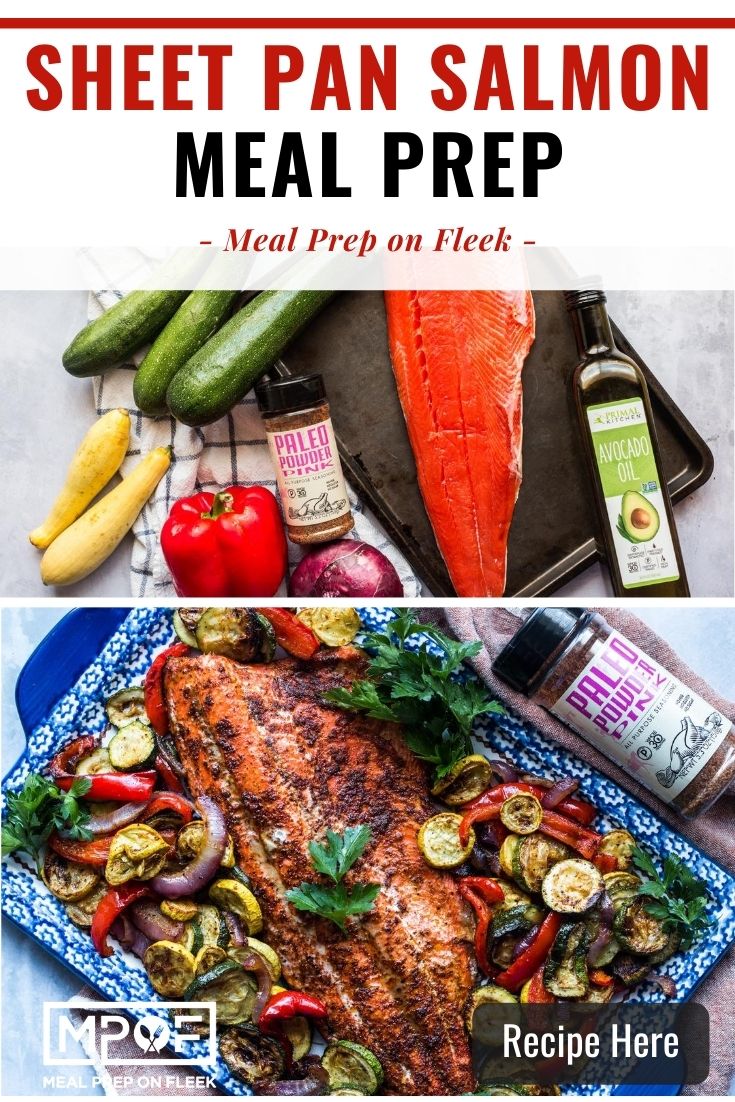
Who doesn't love a simple, yet savory salmon and veggies dinner? Our Sheet Pan Salmon and Veggies paleo meal prep recipe is the perfect dinner for those on the go who enjoy flavor meals without spending all of their time in the kitchen. You can prepare this meal for dinner and store it in a Goodcook Meal Prep container for a convenient dinner or lunch. We know you'll appreciate the smell & taste of the meal's fresh and smoky flavors, and you'll also be delighted to know that this meal is cooked on one sheet pan. We pair flaky wild salmon with zucchini, yellow squash, red onion, and red bell peppers. Then, we season everything with Paleo Powder PINK Seasoning, which has herbs, spices, and pink Himalayan sea salt. Is your mouth watering yet? Keep reading!

An easy one-pan meal. This Sheet Pan Salmon and Veggies Meal Prep recipe is loaded with nutritious ingredients, colors, and flavor! Whole30 compliant. Low Carb.
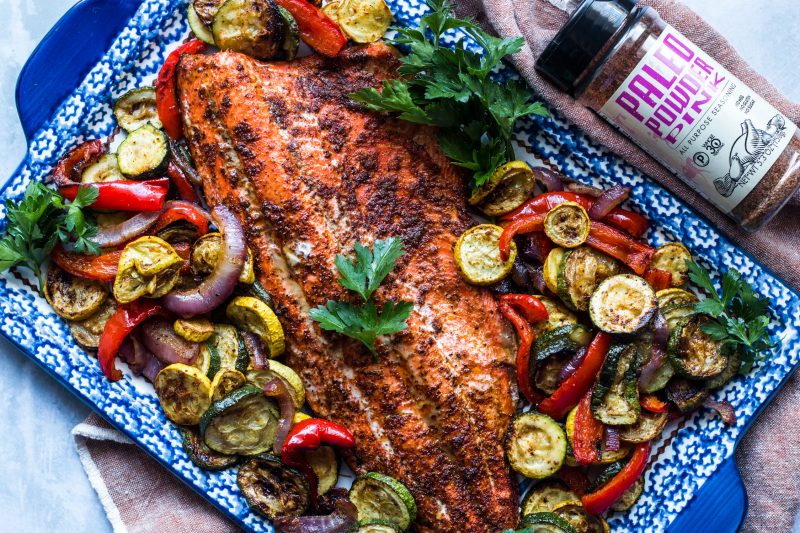

You have up to 4 days to enjoy our salmon and veggies paleo meal prep recipe once cooked. For maximum freshness, put your meal in an airtight container and store it in the refrigerator after the food cools down.
Absolutely! The beauty of many of our meal prep recipes is that you can cook and freeze them. It's the same with salmon and veggies. However, don't cook the vegetables all the way through if you plan on freezing them. You don't want soggy vegetables with your meal, do you?
Salmon and veggies is meal prep made easy! For this recipe, prepare the salmon by seasoning it and preheating your oven. Then prepare the vegetables by chopping them up and coating them in avocado oil and seasoning. Bake the salmon and veggies meal prep in a 400-degree oven until the salmon is flaky or reaches an internal temperature of 145 degrees.
Our paleo-friendly salmon and veggies meal prep is a short & sweet meal that only requires one pan and is ready in 30 minutes! Scroll down for the entire recipe.

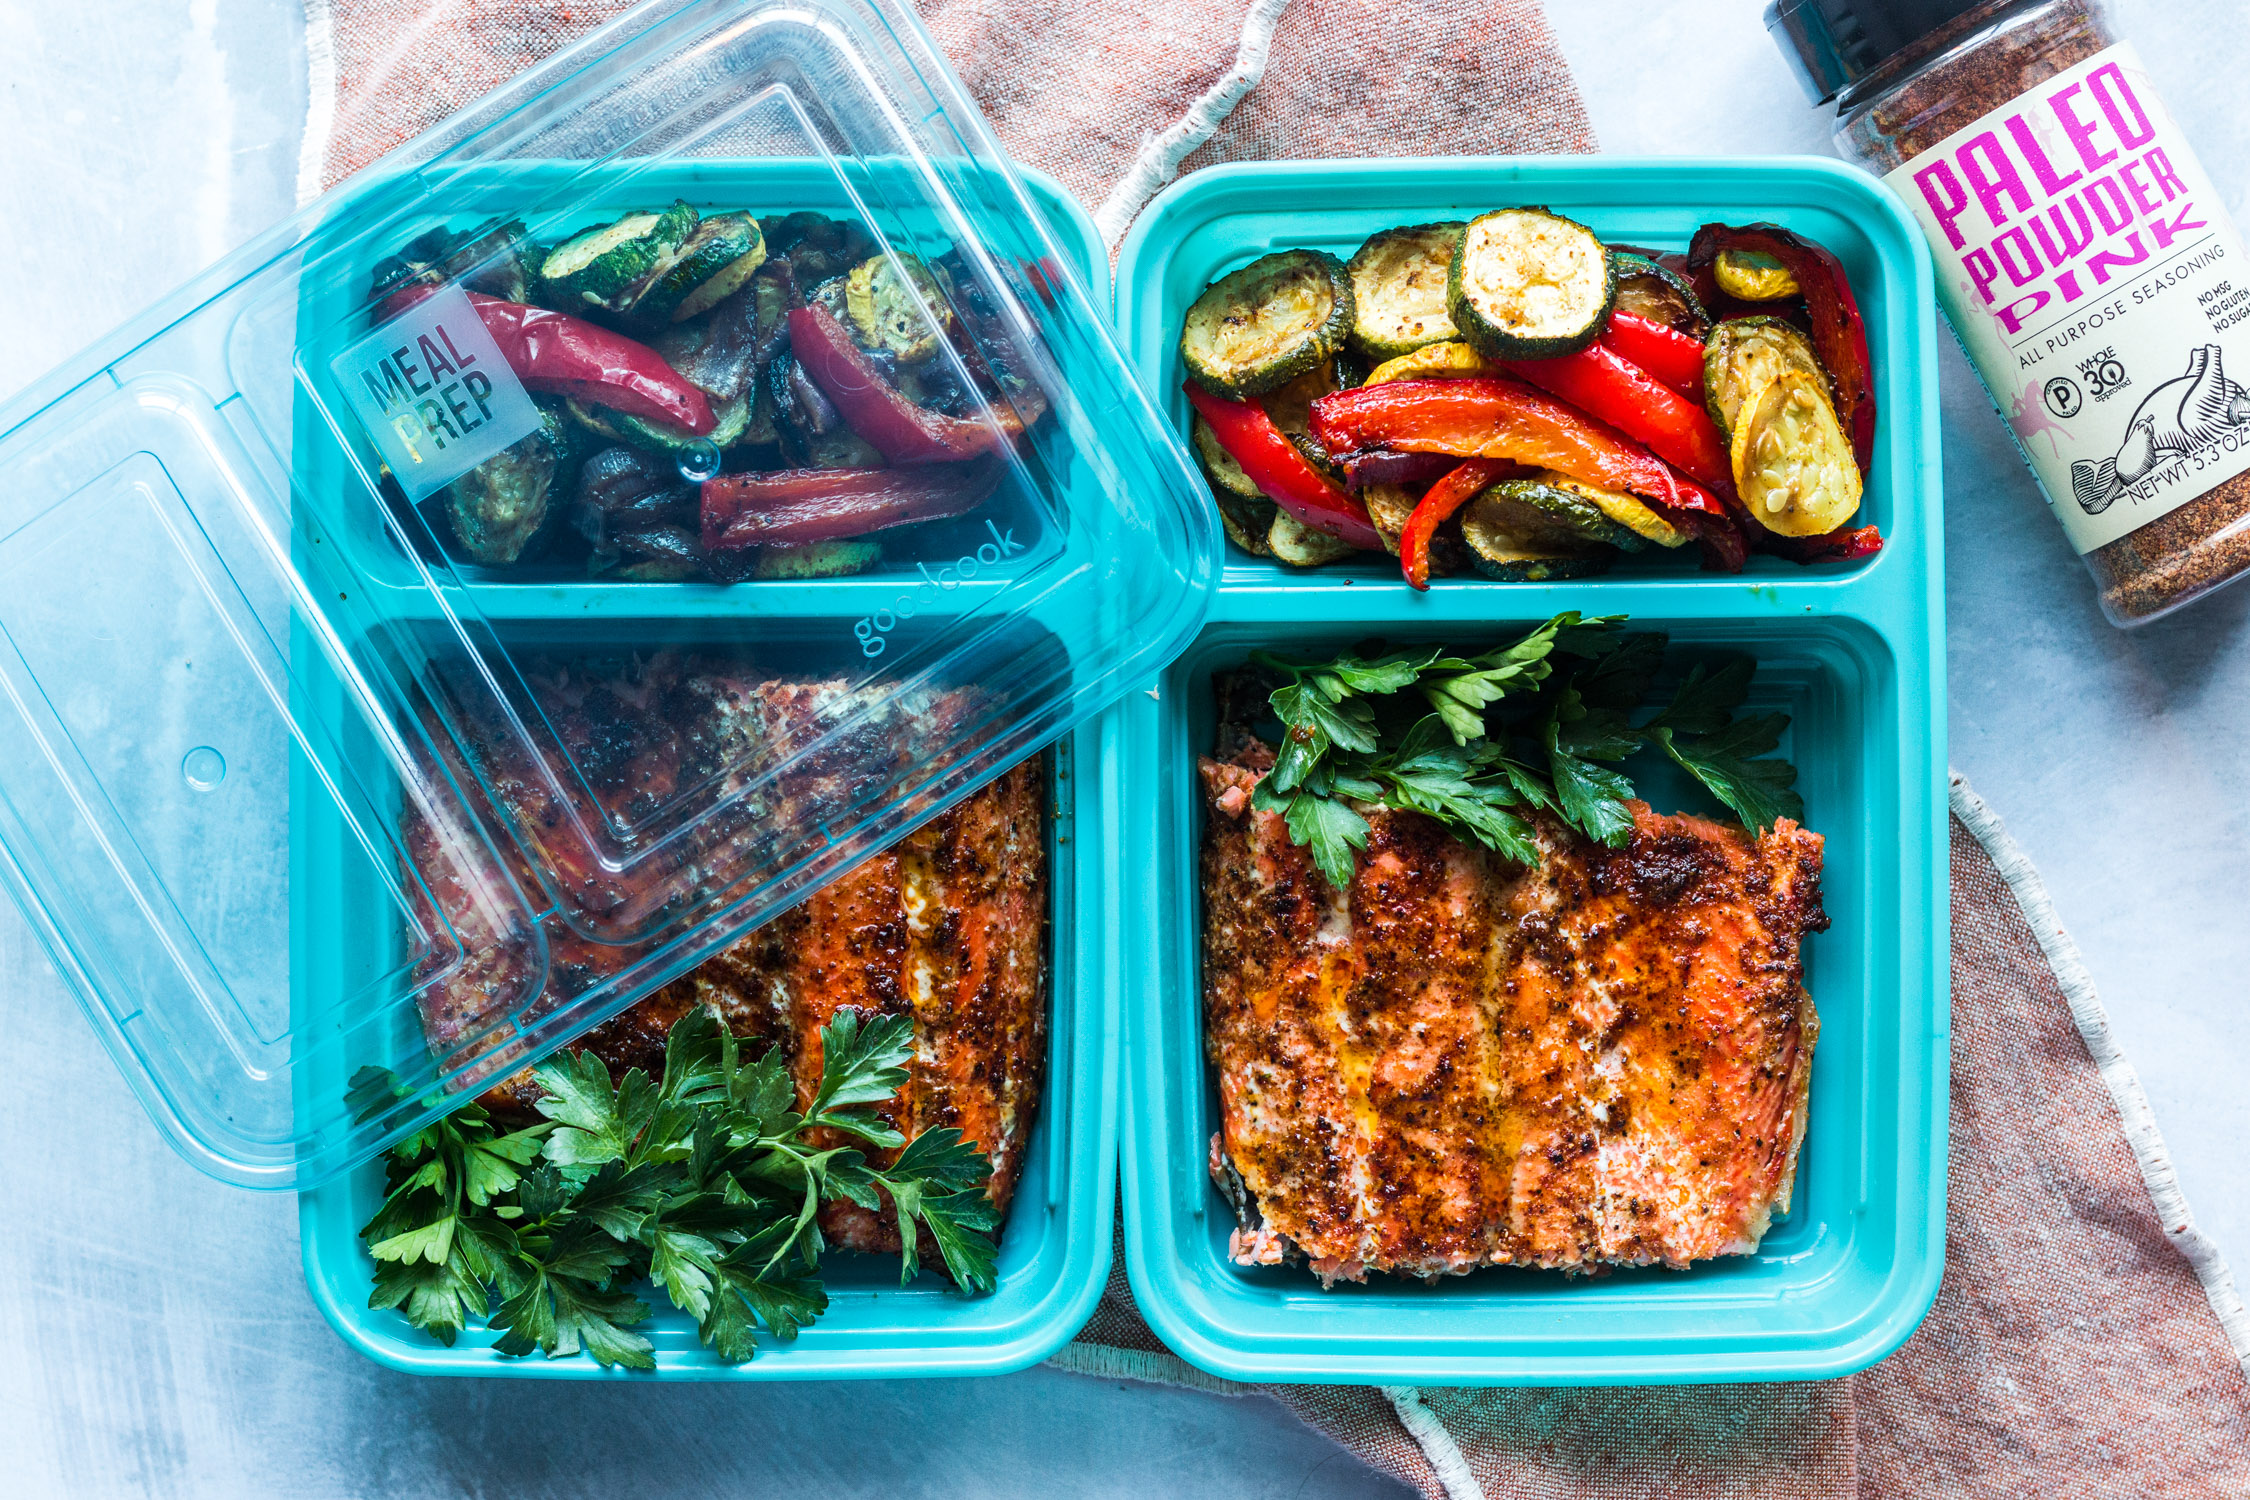
Line up four meal prep containers and add place one piece of salmon in the 2-cup compartment and the roasted veggies in the 1-cup compartment. Garnish salmon with cilantro or parsley for an extra zesty flavor.

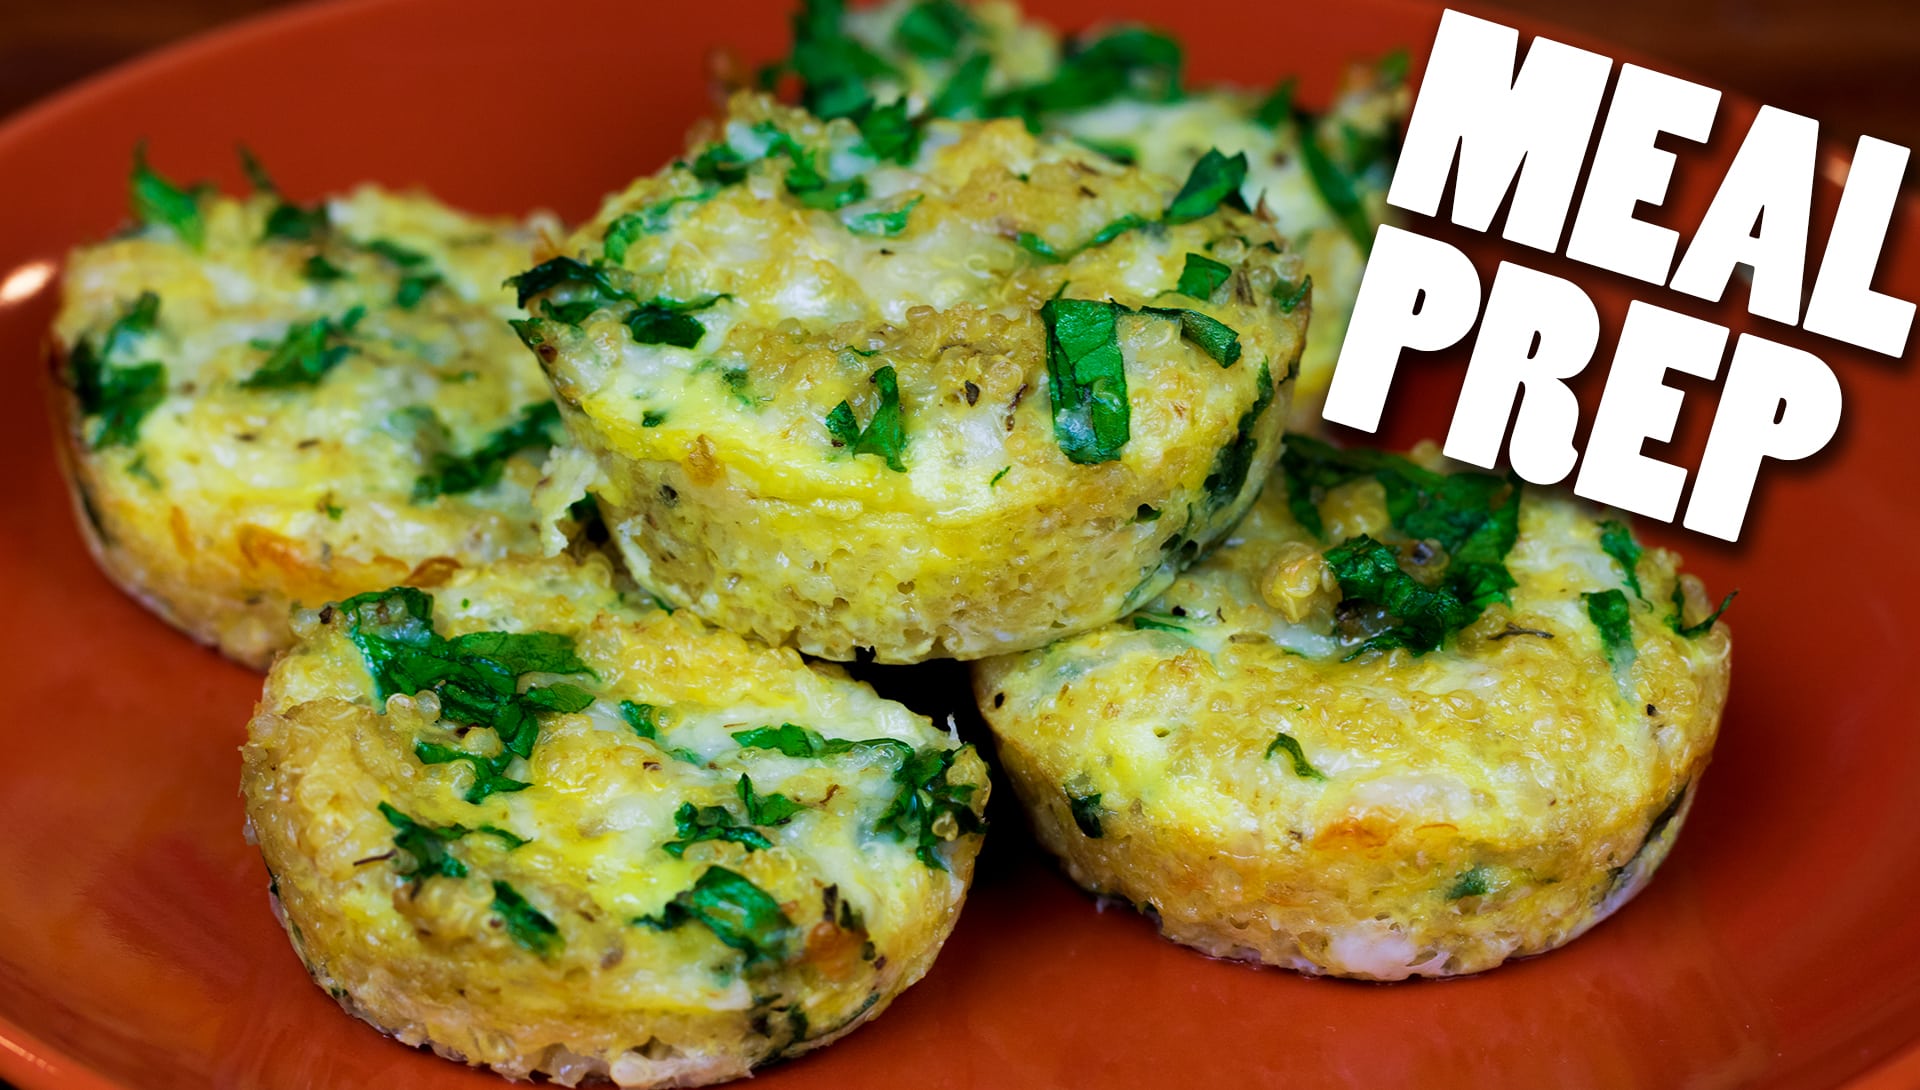
Mornings can be tough, especially when it comes to fitting in a nutritious breakfast. If you're often rushing out the door with just a coffee in hand, our Baked Breakfast Quinoa and Spinach Bites are here to change your morning routine. These bites are easy to prepare, loaded with nutrients, and perfect for a quick breakfast on the go. Plus, with a video collaboration with FoodBeast, you'll see just how simple they are to make!
Related Post: Ultimate Guide to Making Egg Cups

Nutrition Tip: Quinoa is a powerhouse of nutrition. It's a gluten-free, vegan-friendly source of complete protein, packing essential B-vitamins, magnesium, calcium, and fiber. Incorporating quinoa into your breakfast is a fantastic way to start your day with a boost of sustained energy.
With these Baked Breakfast Quinoa and Spinach Bites, you'll never have to skip breakfast again. They're not only delicious and easy to prepare but also good for you. Perfect for those busy mornings or when you need a quick and nutritious snack. Try this meal prep solution and enjoy a healthier, more relaxed morning.
Call to Action: Want more creative meal prep ideas? Follow us on Instagram @mealpreponfleek for daily inspiration and tips. Also, check out our related article for more ways to level up your breakfast meal preps. Don't forget to try our Chicken and Lemon Pasta Meal Prep recipe for a delightful lunch or dinner option - it's super tasty and easy to make
Simplify your meal prep this week with our 3-item MealPrepMonday combo! Featuring baked salmon, fluffy brown rice, and roasted Brussels sprouts, this meal is the epitome of nutritional balance and simplicity. Perfect for anyone looking to maintain a healthy diet without spending hours in the kitchen, this combination not only delivers on taste but also packs a punch of essential nutrients.
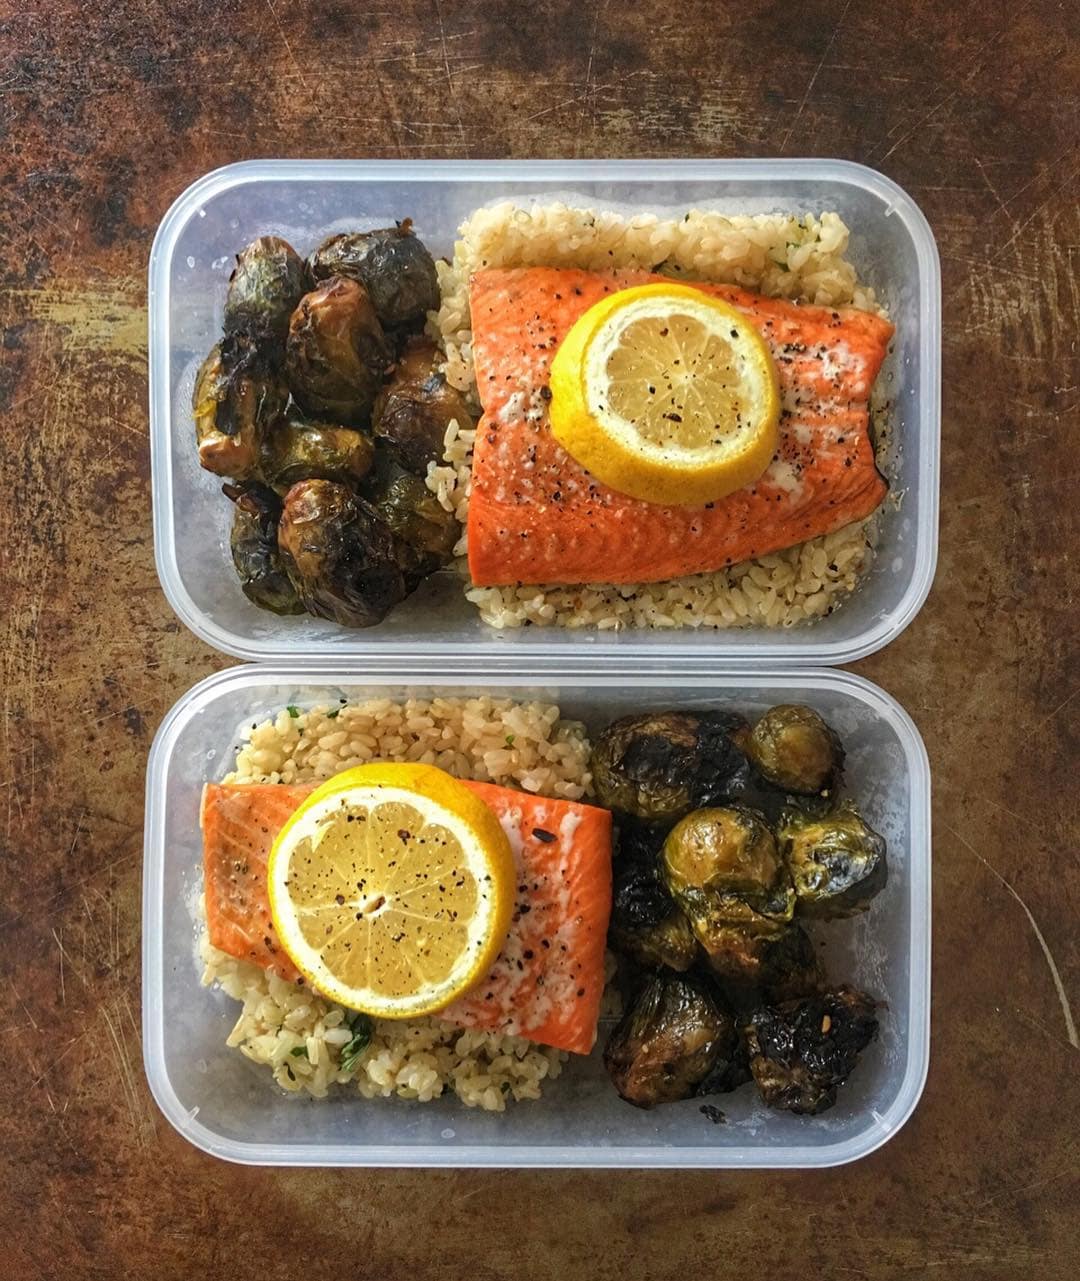
Ingredients:
Instructions:
This 3-item Salmon Meal Prep combo is perfect for those busy weeks when you want to keep things simple yet healthy. Packed with protein, fiber, and essential nutrients, this meal will keep you fueled and satisfied. Give this easy meal prep a try, and enjoy the delicious simplicity of well-balanced dishes that don't skimp on flavor.
Are you ready to take the hassle out of healthy eating? Try this straightforward meal prep combination and let us know how it goes! Share your meal prep success on social media with the hashtag #MealPrepMonday and inspire others to keep it simple and nutritious. Happy prepping!
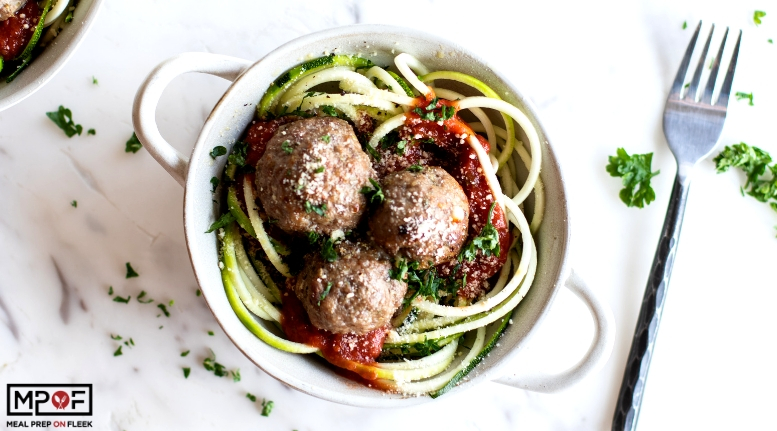
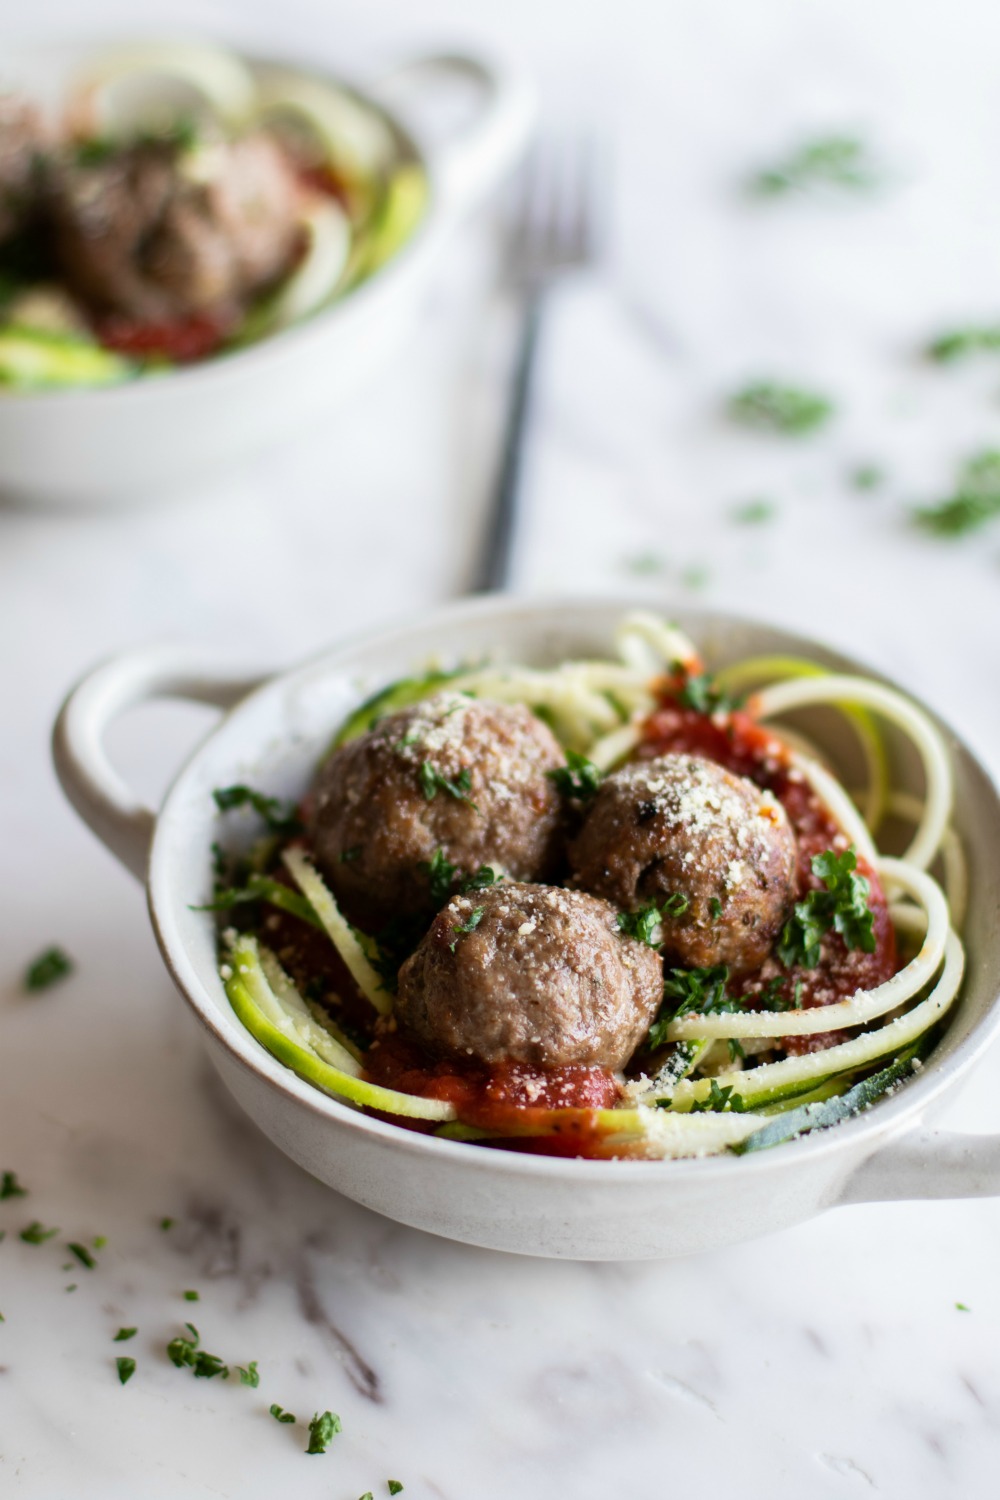
Who said pasta is off-limits in the summer? Let's twist things up with a light and refreshing alternative-zoodles! Today, we're pairing spiralized zucchini noodles with savory turkey meatballs for a meal prep masterpiece that's perfect for both lunch and dinner. It's flavorful, filling, and fits right into your healthy eating plans, including those following the 21 day fix program.
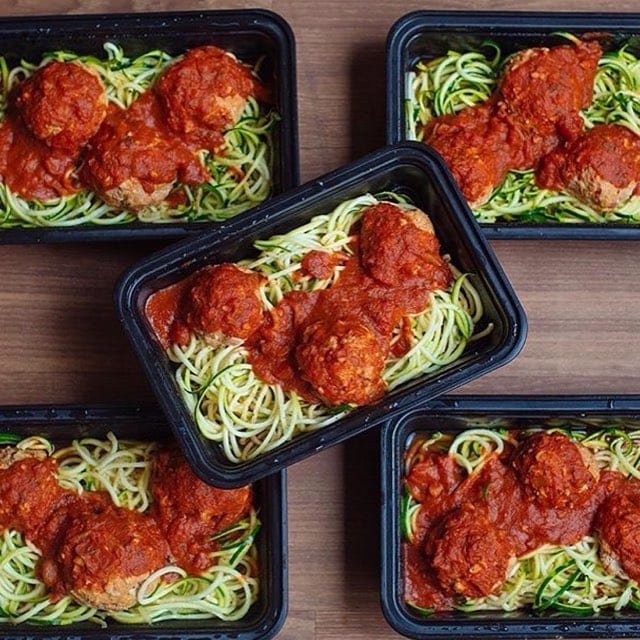
Ingredients:
Instructions:
Nutritional Information: This meal is not only delicious but also aligns with the 21 day fix program info:
Turkey meatballs over zoodles are a fantastic way to keep your meals light and nutritious during the summer months. This dish is perfect for those looking to maintain a balanced diet without sacrificing flavor. The best part? It's meal-prep friendly, so you can enjoy this delightful combination all week long!
Ready to give this recipe a try?
Double tap if you love the idea of healthy, delicious meal prep and don't forget to share your creations with us using the hashtag #ZoodlesForTheWin. Enjoy your meal prep success with every tasty bite!
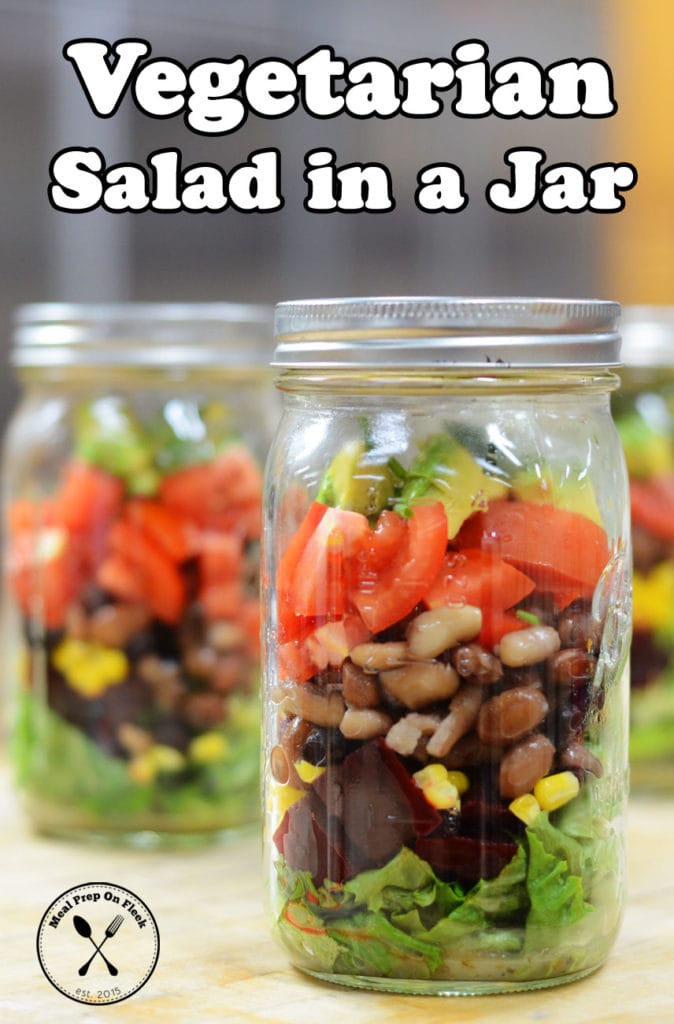
Looking for a quick, easy, and affordable meal prep solution for your lunch? Our Vegetarian Salad in a Jar recipe ticks all the boxes! Not only is it vibrant and delicious, but it's also incredibly healthy and packed with a variety of flavors and textures. Perfect for on-the-go lunches, this salad in a jar is sure to keep you satisfied and energized throughout your day.
Ingredients:
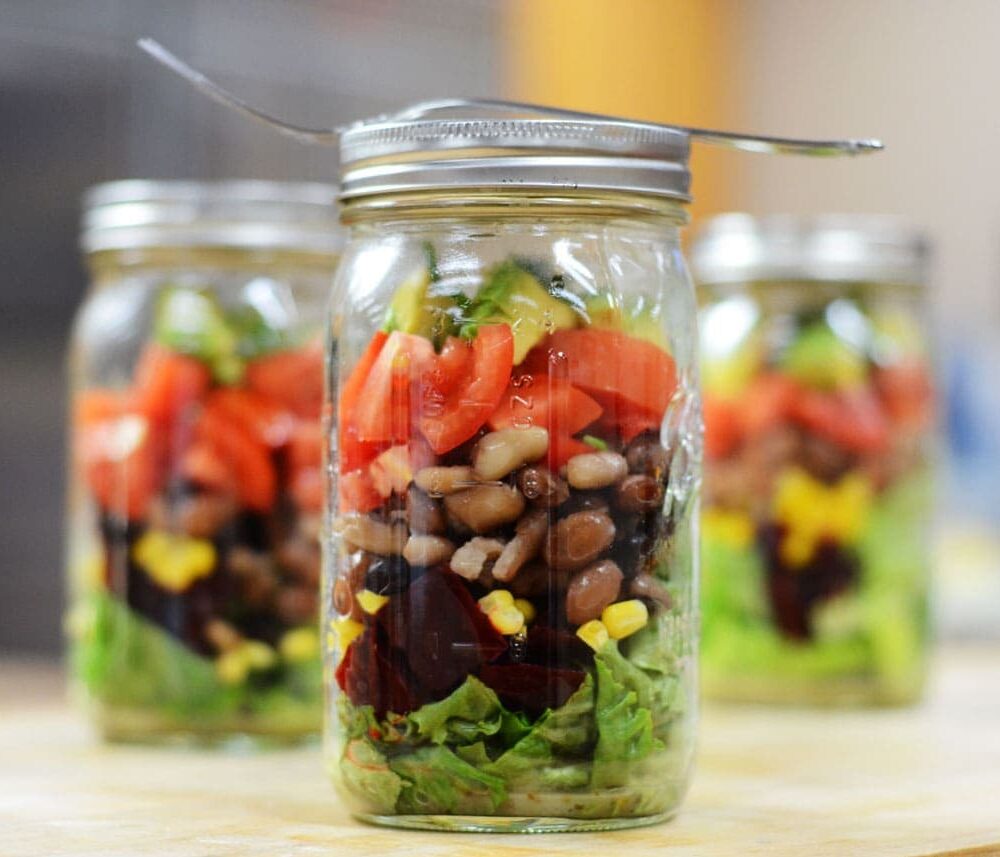
Instructions:
This Vegetarian Salad in a Jar is not only a feast for the eyes but also a nourishing, complete meal that's perfect for busy lifestyles. With layers of colorful veggies, protein-rich soy taco and beans, and your choice of dressing, it's a customizable and convenient option that proves healthy eating doesn't have to be complicated or expensive. Give this recipe a try for your next meal prep session, and enjoy delicious, hassle-free lunches all week long!
Ready to simplify your lunch routine? Try making this Vegetarian Salad in a Jar and tell us how it goes! Share your creations on social media with the hashtag #MealPrepMagic and inspire others to enjoy healthy, delicious meals every day. Happy prepping!
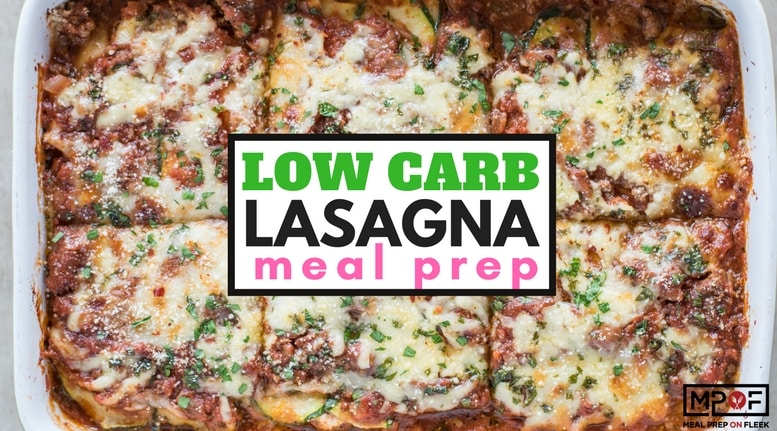
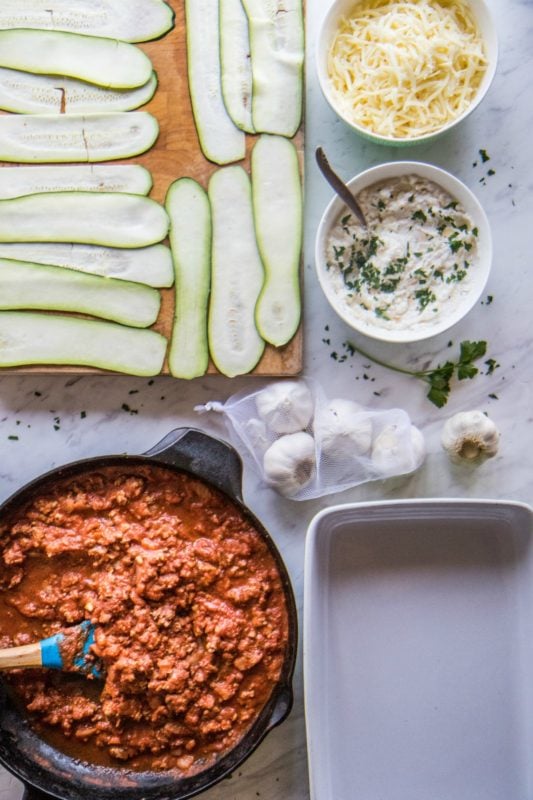
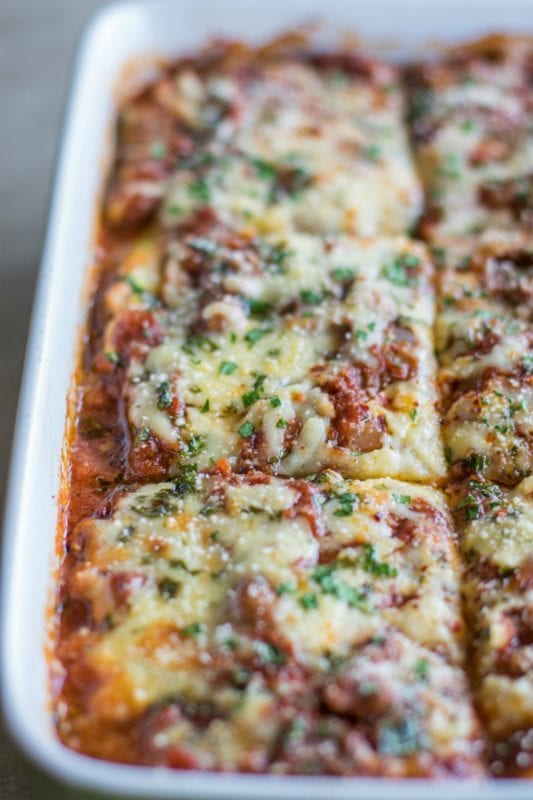
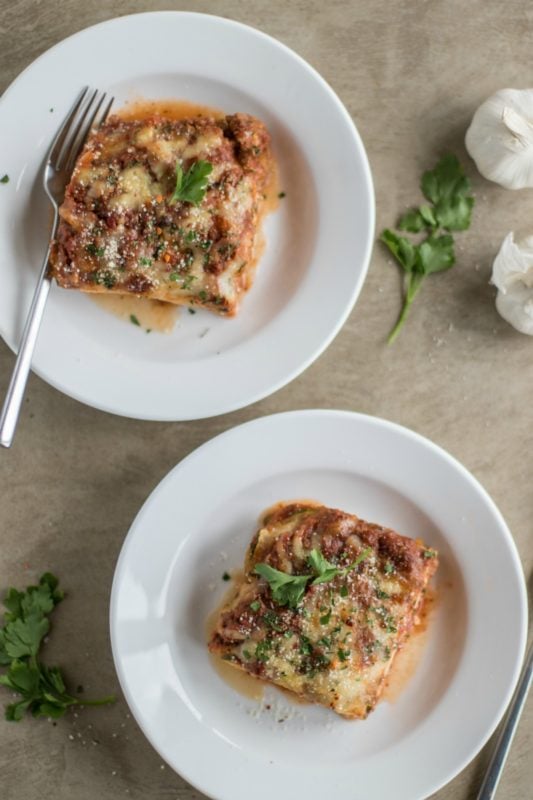
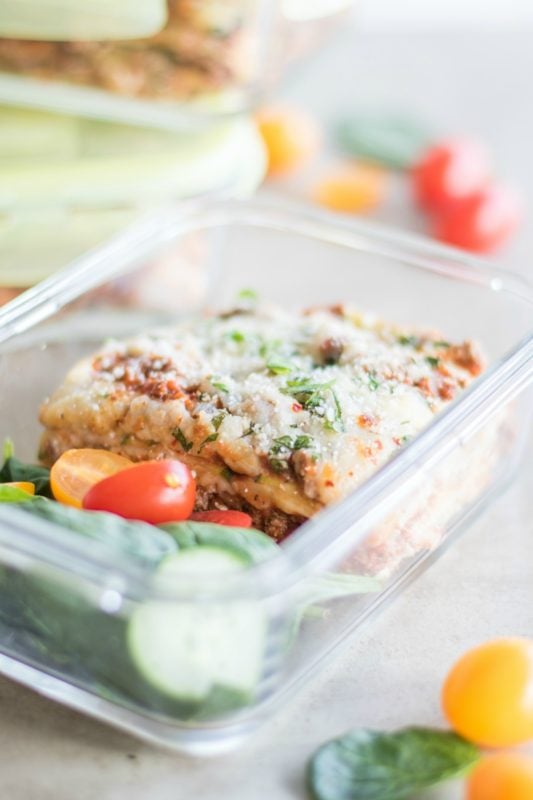
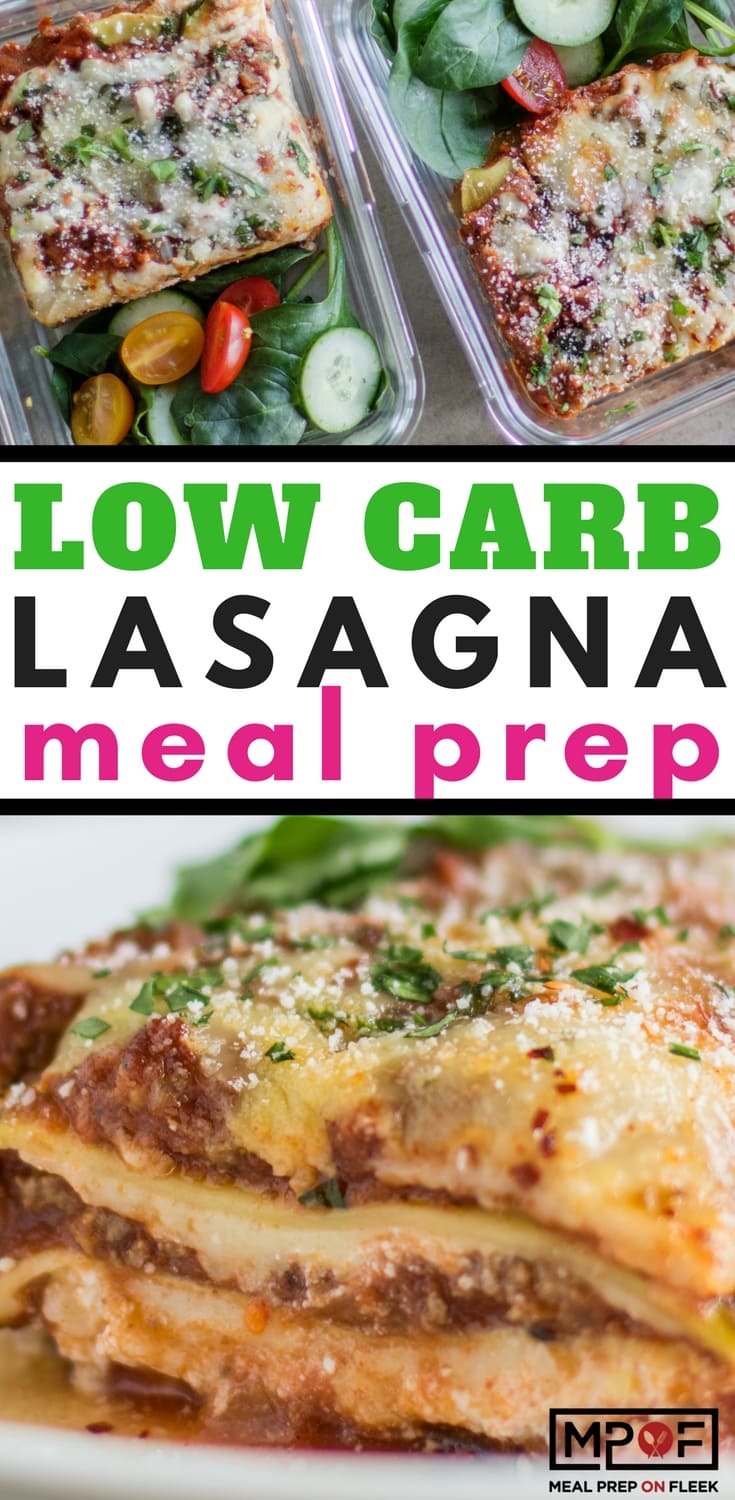
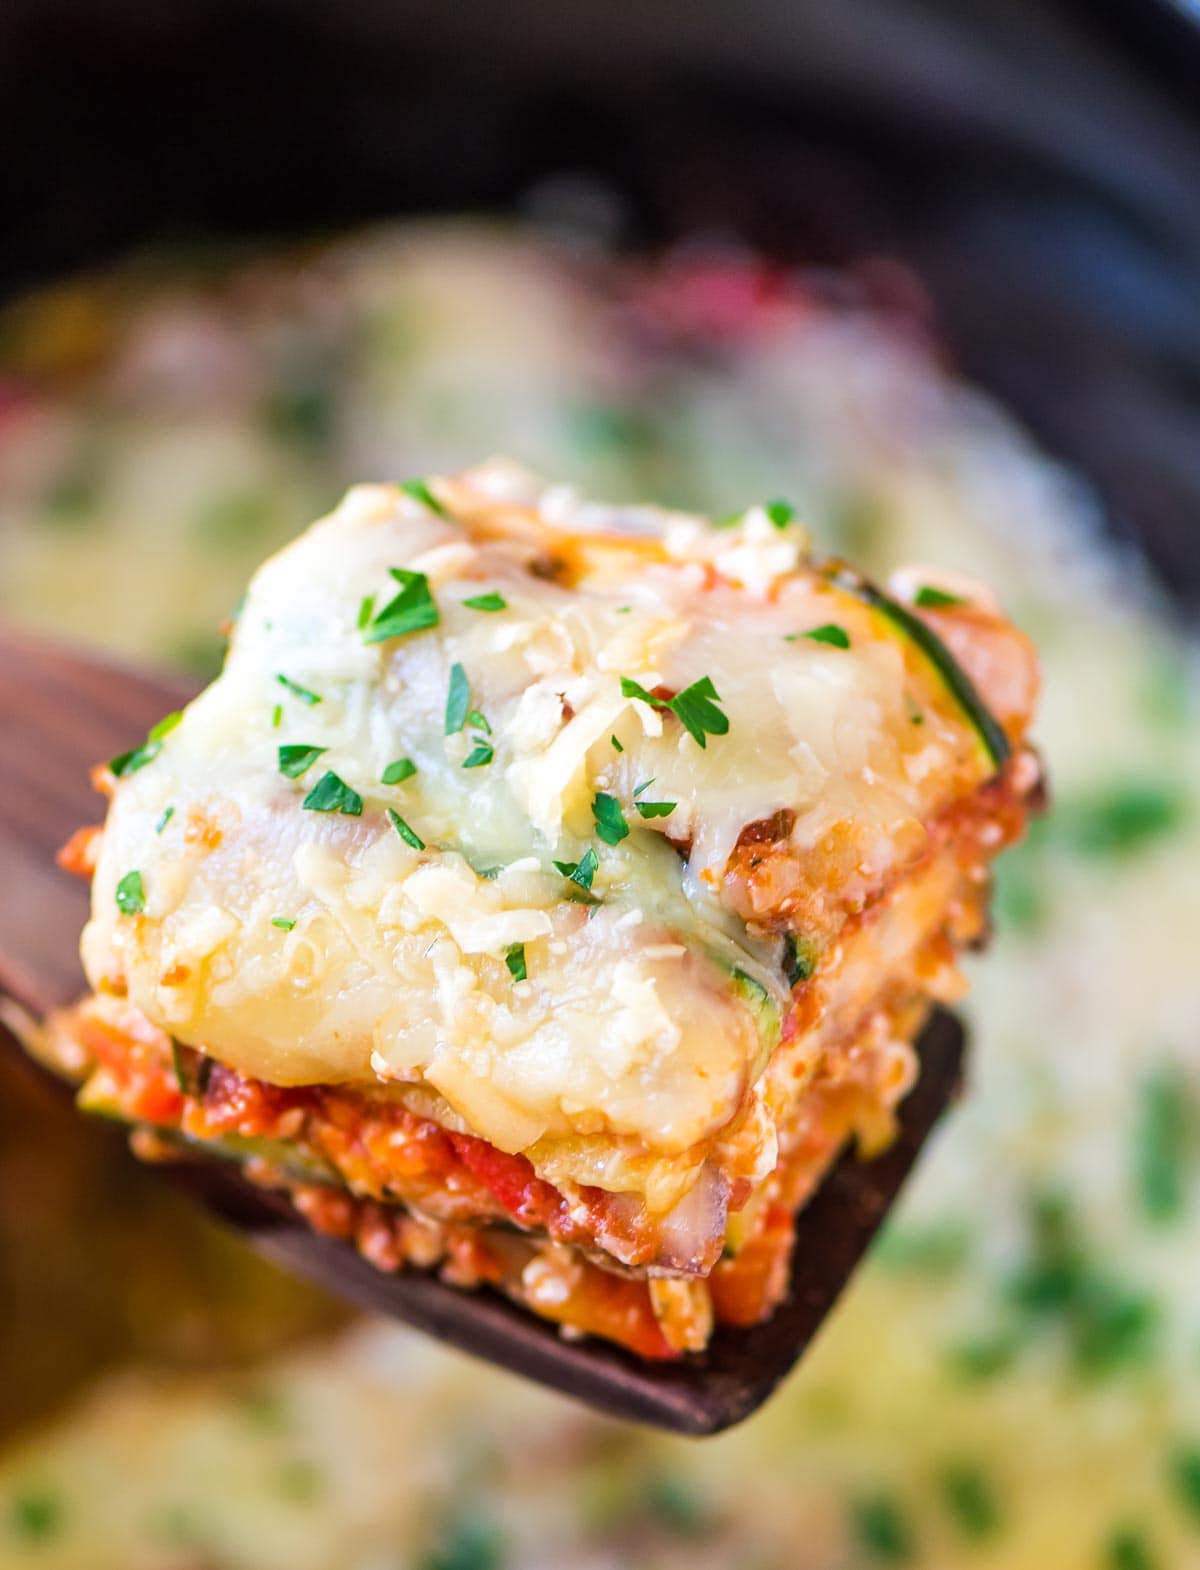
This lasagna is one of our favorite low carb meal prep recipes yet! We substituted fresh zucchini ribbons for traditional wheat pasta, which also makes this low carb meal prep naturally gluten-free. Between layers of delicious zucchini noodles ("zoodles") we packed a rich, lean meat sauce and three types of cheese: ricotta, parmesan, and mozzarella. Are you drooling? We're drooling. This healthy lasagna recipe is great for those on the Keto diet, or anyone looking to add more nutrients and fewer refined carbs to their meals.
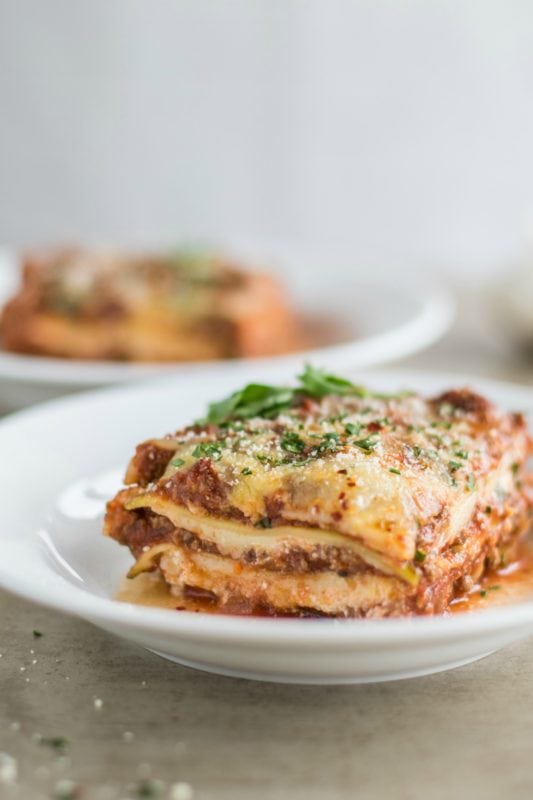
We love building low carb meal prep recipes around zucchini. It's the perfect pasta substitute, is available all year round, is super healthy, and is pretty easy to prepare, no matter how you're enjoying it. Zucchini is a great source of vision-supporting Vitamin A, immune-supporting Vitamin C, Potassium, and a nutrient that a lot of us need more of: fiber. We're loving the zucchini noodles in this low carb lasagna meal prep, but check out a few of our other favorite zoodle meal prep recipes like Zoodles with Tomato Oregano Sauce and 10 Minute Pad Thai Zoodles.
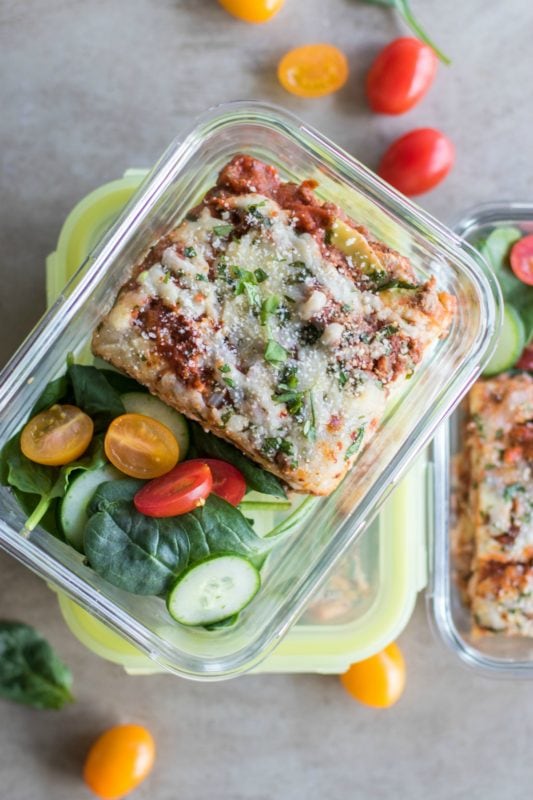
It's easy to forget that things in a can, can be good for us. But good quality tomatoes are actually very rich in nutrients! Piggybacking on the great amount of vision-supporting Vitamin A found in zucchini noodles, tomatoes contain the antioxidants lutein and lycopene, which support the eyes by protecting the macular system against damage from free radicals. This low carb meal prep is giving a whole new meaning to eating with your eyes ? Tangy tomatoes are the perfect complement to the richness of the three added types of cheese, savory garlic and onion, and protein-rich lean beef.
This Low Carb Lasagna Meal Prep is delicious and satisfying, and pretty light on calories as lasagna goes (only 474 per serving)! It's also totally Insta-worthy. #cheesepull
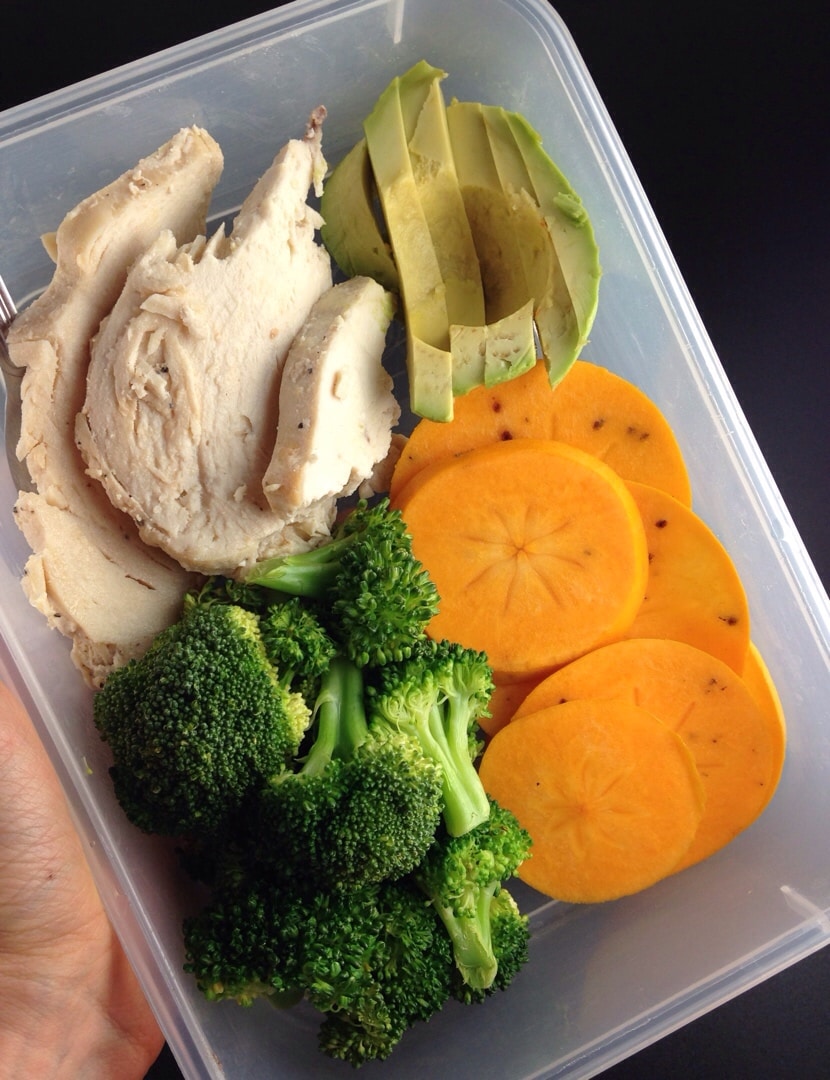
Meal prep doesn't have to be just about separate components of proteins, veggies, and fruits. Why not combine flavors for a harmonious dish that satisfies all your taste buds? Our Roast Chicken & Winter Persimmons meal prep is the perfect example of blending sweet and savory into one delightful and easy meal. This recipe brings together the succulence of roast chicken with the unique sweetness of persimmons, paired with the fresh crunch of broccoli and creamy richness of avocado.
Serves: 4
Ingredients:
Total Prep Cost: $16.00
Price Per Meal: $4.00
Find more Meal Prep Recipes Under $4 HERE
Method:
Reheating this meal prep is simple, but you'll want to preserve the integrity of each ingredient:
This Roast Chicken & Winter Persimmons meal prep is a testament to the beauty of combining different flavors and textures. Whether you're in the office or on the go, this meal ensures a delicious, balanced, and satisfying lunch without the fuss of separate components. Dive into the sweet and savory world where every bite is a delightful surprise!
Ready to take your meal prep to the next level with these tantalizing flavors? Give this recipe a try, and don't forget to share your photos and experiences on social media! Tag us with #MealPrepOnFleek to show off your culinary creation. Enjoy the simplicity and deliciousness of having everything in one bite!
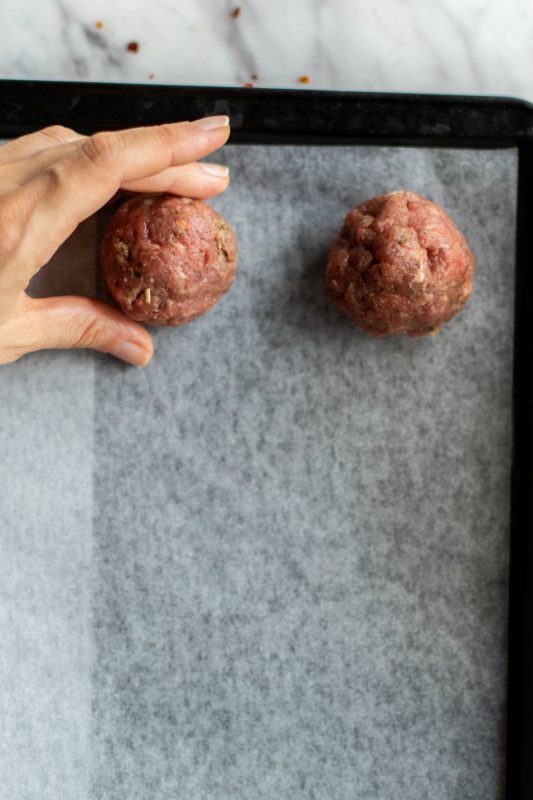
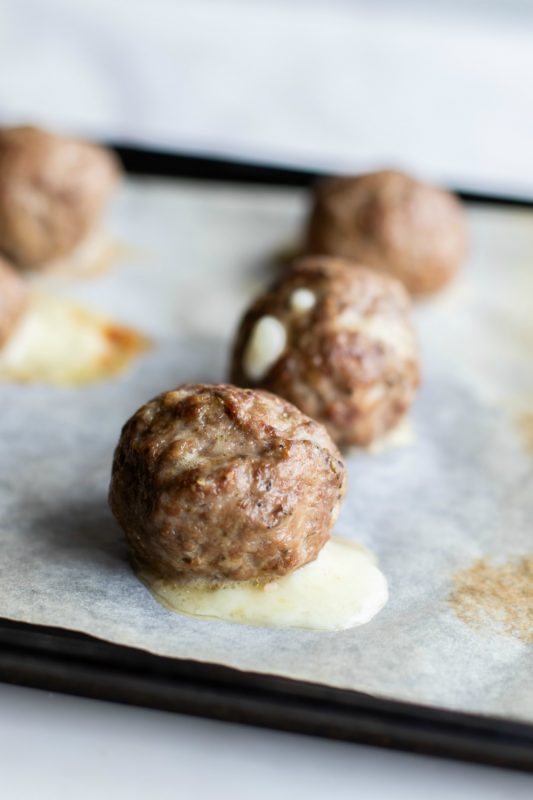
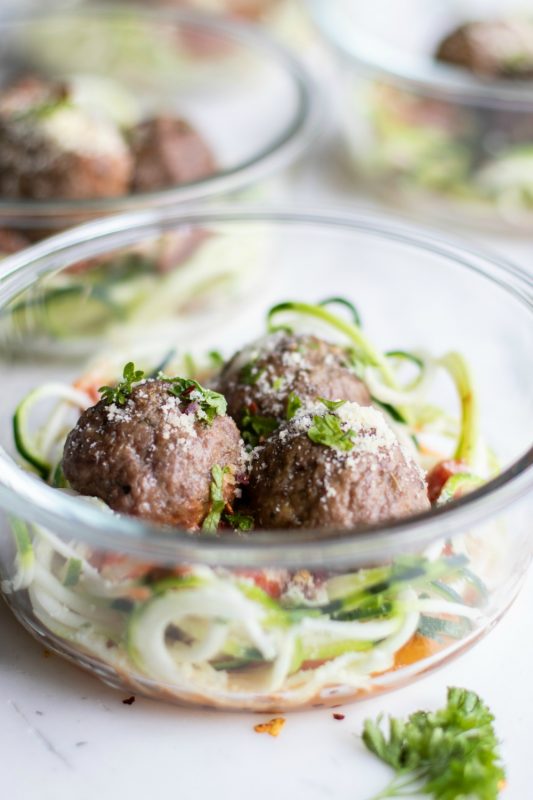
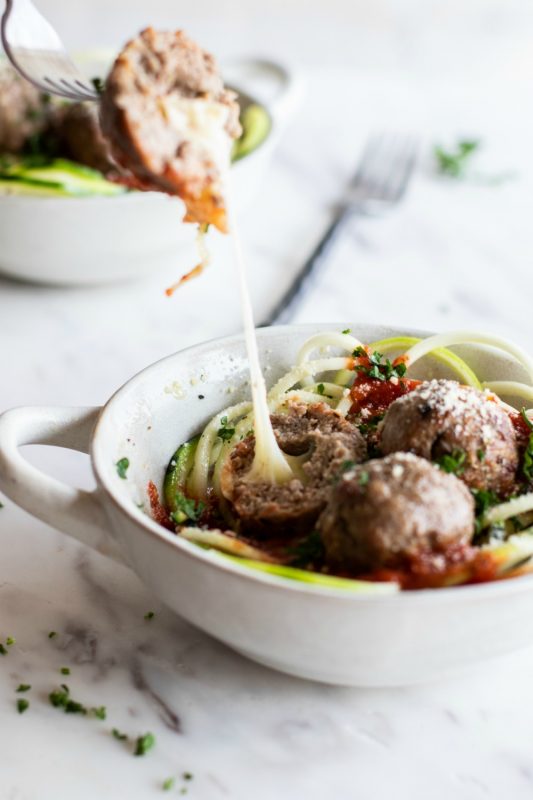
We absolutely love this recipe for mozzarella stuffed meatballs! Not only is meat and cheese a timeless classic, but its low carb content makes it 100% keto-friendly. In this recipe, we also optionally recommend using zoodles (zucchini noodles) or gluten-free pasta noodles, served with a sugar-free marinara sauce.
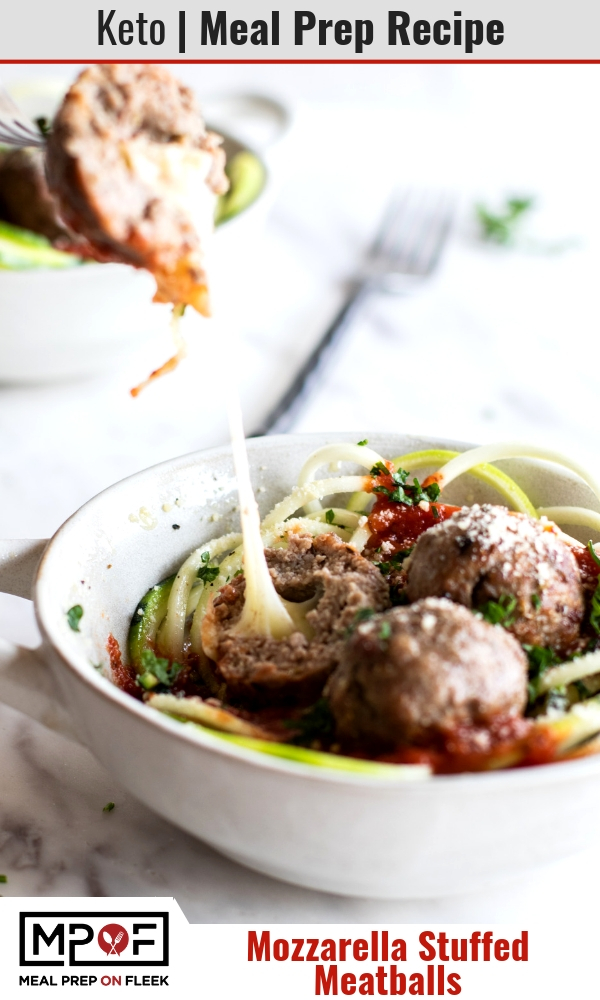
One of our favorite parts of this mozzarella stuffed meatball meal prep recipe is that it has a very simple list of ingredients! Plus it's a total snap to make, with 25-minute meal prep and 15-minute cook time. We used 93% lean beef, but if you're a fan of the ketogenic diet, an 80/20 ratio will work just as well and add an extra butteriness to the flavor profile. NOM!
Yielding 16 zesty, delicious, mozzarella stuffed meatballs, this meal prep recipe could feed you and 3 other guests, or serve as a week's worth of lunch. You'd have 5 separate ready to go lunches packed with healthy goodness in about 30 minutes.
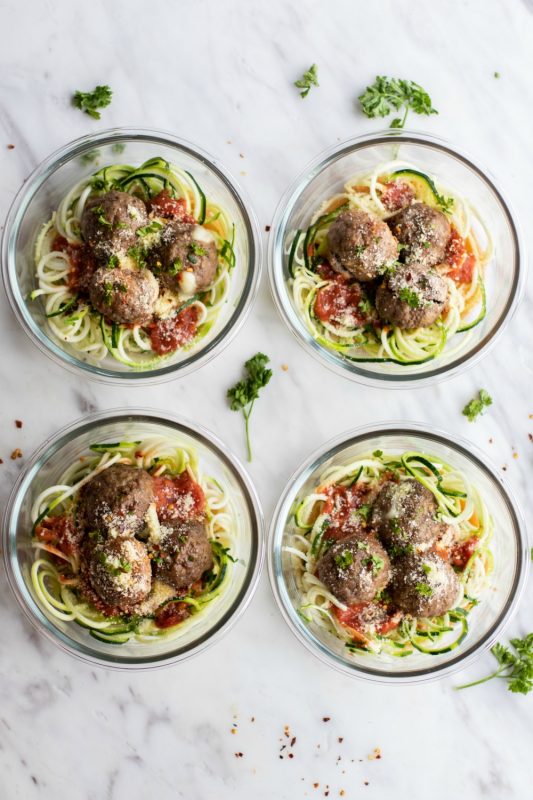
Meatballs have a host of other benefits too -They're small, portable, great for portion control, and a favorite with the kids. These are not your average frostbitten, store-bought meatballs. They are fresh, handmade by you so you know exactly what goes in there. This zoodles and mozzarella stuffed meatballs dish can be your healthy upgrade from regular spaghetti and meatballs. Have your little helpers assist with prepping this meal and it will certainly become their favorite. You'll be surprised at how often they request this dish.
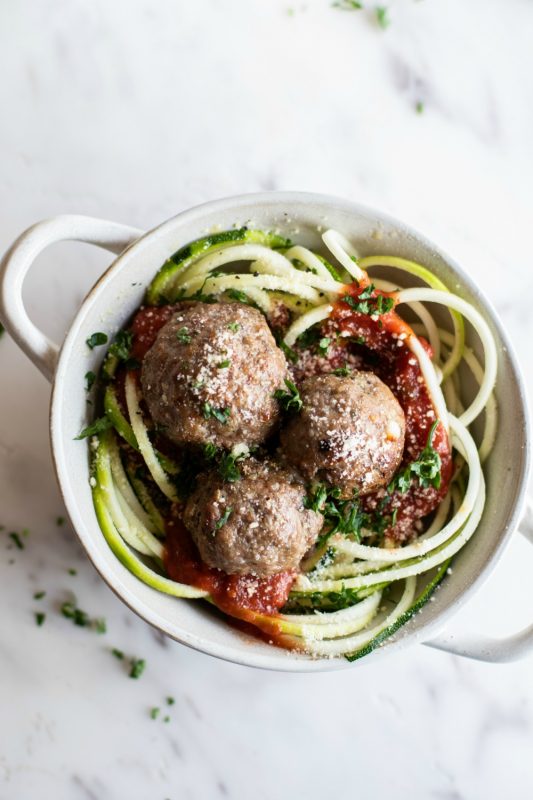
The serving suggestion for these mozzarella stuffed meatballs is 3, and at only a couple of inches each in diameter, you can easily pop them into a plastic snap lid container for work, school, or dropping the kids off at the sitter! By the way, if you're as fanatical about meatballs as we are here at MPOF, do yourself a favor and check out our meal prep recipe for Keto Bacon Sausage Meatballs right here. They're guaranteed to have you and your guests saying, "OMG" with every bite.
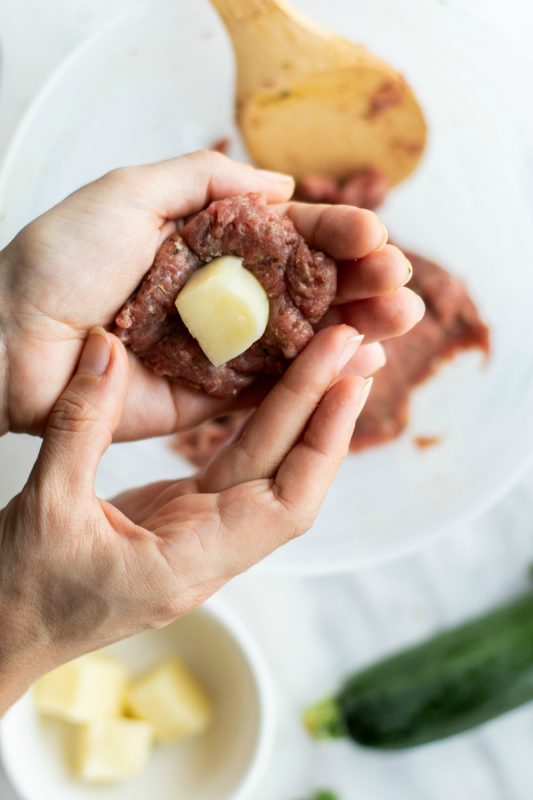
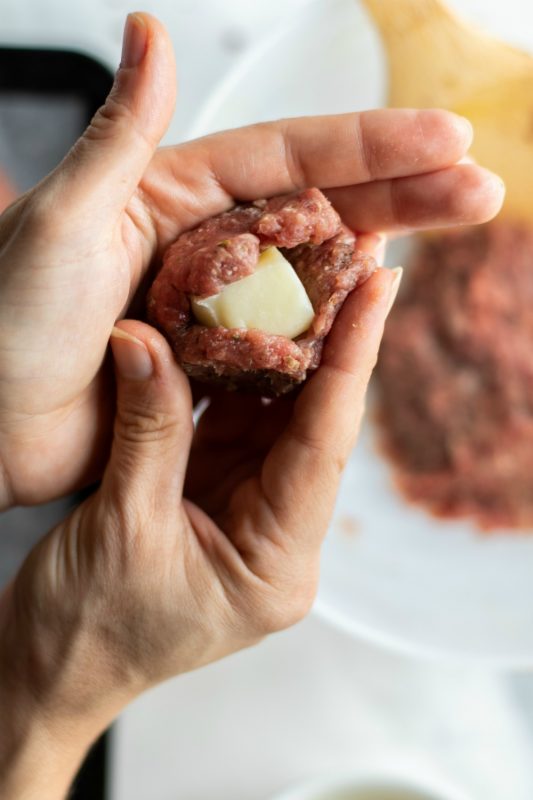
Using zucchini in this easy, fun meal prep recipe not only makes it more filling but reduces carb content by nearly 10 times per serving, even compared to gluten-free pasta.
Fun fact - 1 serving of zoodles provides an average of 35% of your daily value of vitamin C! It also contains about 94% water so it's an excellent source of energy.
Not sure how to make zoodles? It's actually quite simple! All you need is zucchini and a small kitchen tool called a spiralizer, which takes the culinary versatility of fruits and vegetables to a whole new level! If you want to experiment with different flavors (and the options are unlimited), or just aren't keen on zucchini, we highly recommend checking out the list of our favorite spiralizer recipes here.
These stuffed meatballs provide an ultra-dense 48.9g of protein per serving portion, so that means you're sure to be satisfied in a highly nourishing way. What's better than a meal prep recipe that's nutritious and delicious? A mozzarella stuffed meatball recipe that's nutritious, delicious, and simple to make!
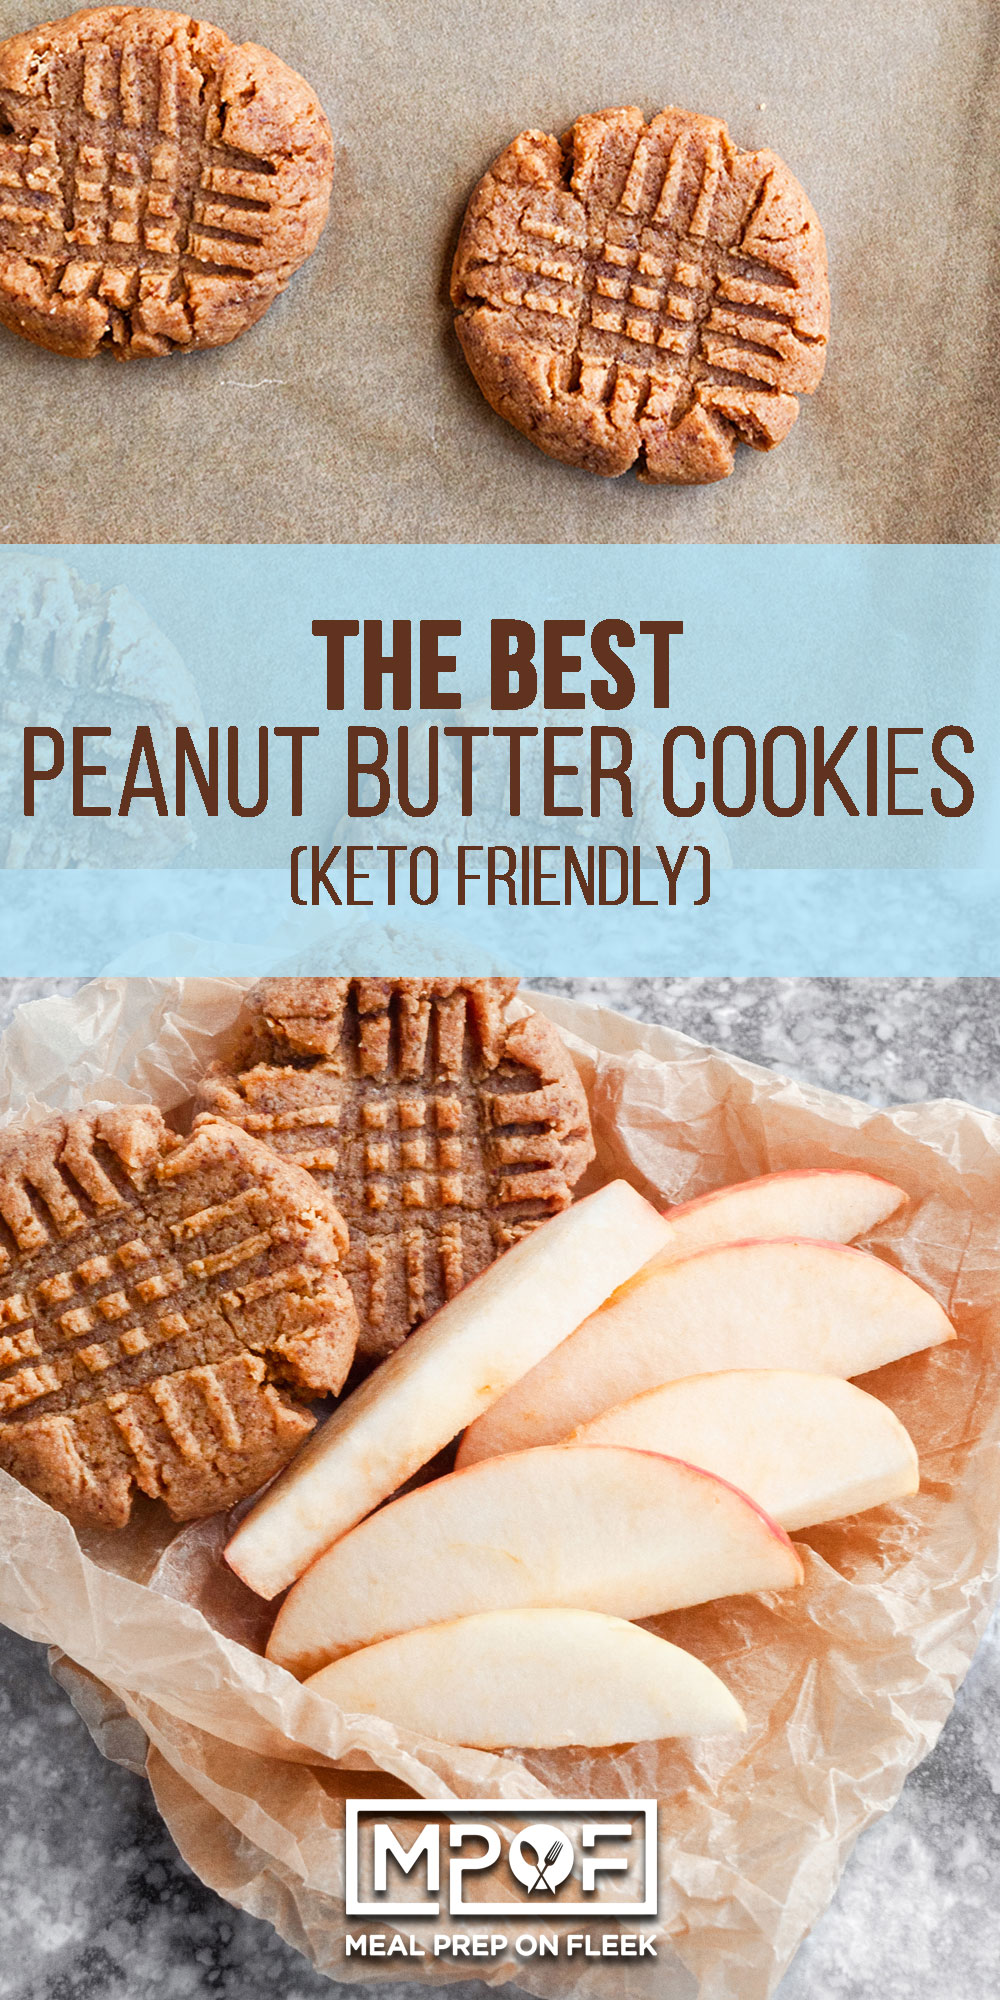
Thank you to GoodCook for sponsoring this Keto Peanut Butter Cookies post, and thank YOU for supporting the brands that help make Meal Prep On Fleek possible. All opinions are our own.
Four vegan and Keto compliant ingredients, super simple to make, and completely scrumptious - you'll love this healthier take on classic peanut butter cookies.
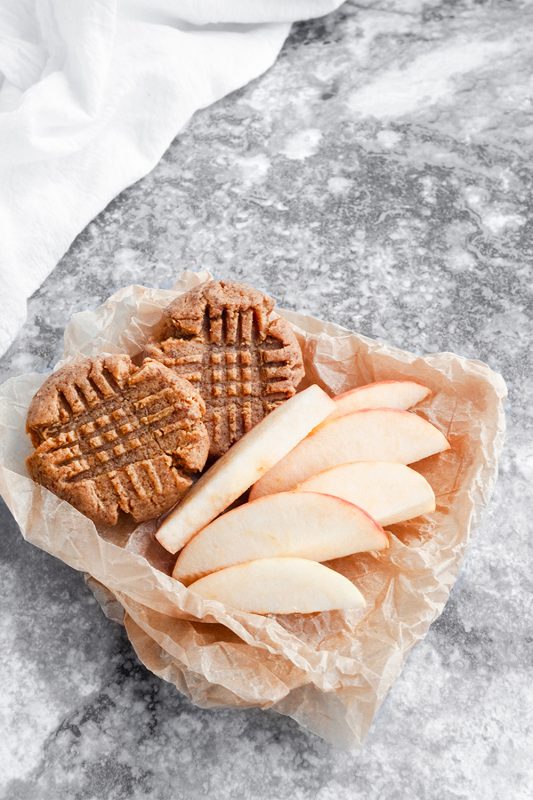
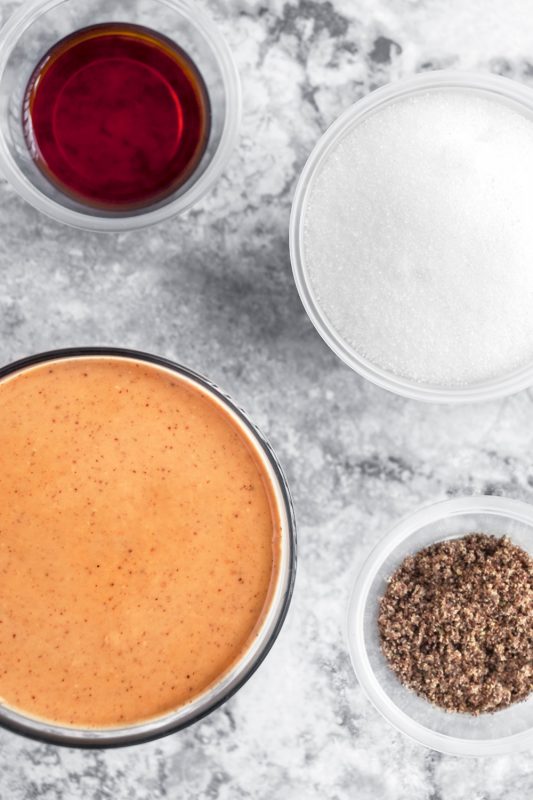
These keto and vegan-friendly peanut butter cookies are made with just four ingredients; peanut butter, monk fruit sweetener, a flax egg (can sub a regular egg) and pure vanilla extract.
The only thing easier than this recipe is buying all of the ingredients when you head to Target. There is no 'multi-store' shopping for these yummy cookies! You can grab all of the ingredients, plus your Good Cook meal prep containers, in one trip.
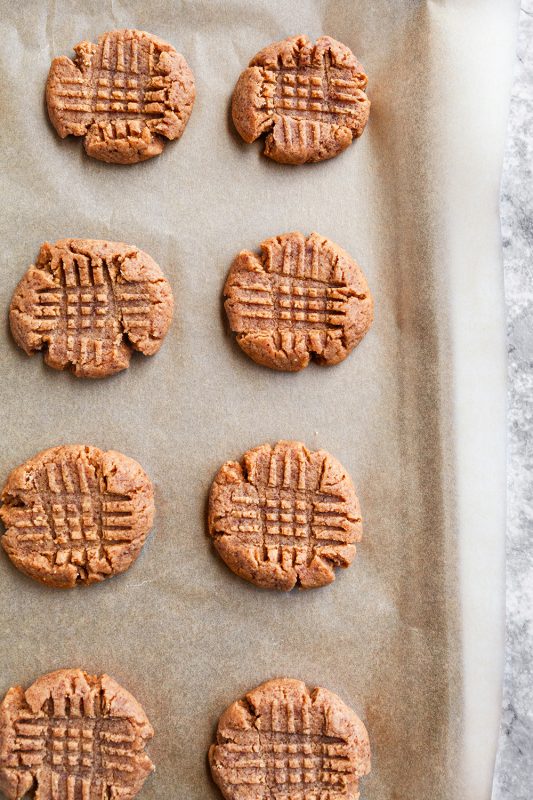
So, really, how easy are these cookies to make? After shopping, it only requires measuring, mixing, baking, and enjoying them! These keto peanut butter cookies are the only answer you need when a craving for something sweet hits. There is no need to chill the dough in this recipe either. Since there is no flour, these cookies will automatically turn out soft in the center and slightly chewy on the outside. It's a perfect balance!
There are also so many variations you could make! We kept things basic since we looooove a good peanut butter cookie, but feel free to add mix-in's until your heart (and tastebuds) are happy!
Depending on your dietary goals, some options would be:
mix chocolate chips (dairy-free, if vegan)
chopped nuts
dried fruit
granola
mini peanut butter cups chopped up (if you're feeling like getting extra crazy!)
You can also swap the peanut butter for almond butter, sunflower seed butter, or cashew butter. Be mindful to read ingredient labels, especially if you are following a keto diet. You want to make sure that there are no added sugars in the nut butter.
The Keto Peanut Butter Cookies will hold up nicely in the refrigerator for up to 7 days. If you are making a double batch for those days when you have a craving for a cookie; you can layer these with parchment paper in a container and freeze them. Then, you can pull one or two out and bake up whenever a craving hits.
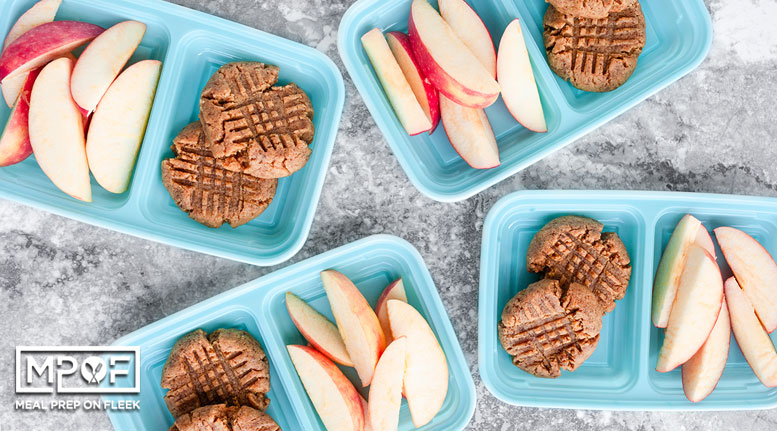
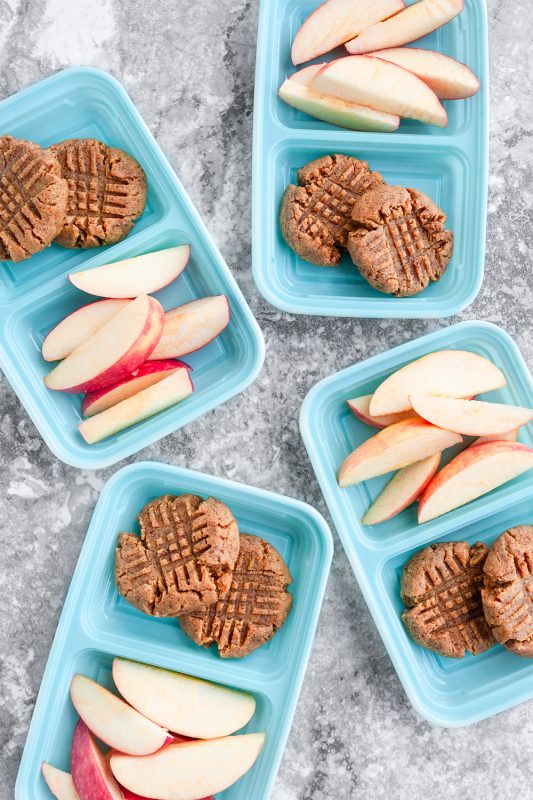
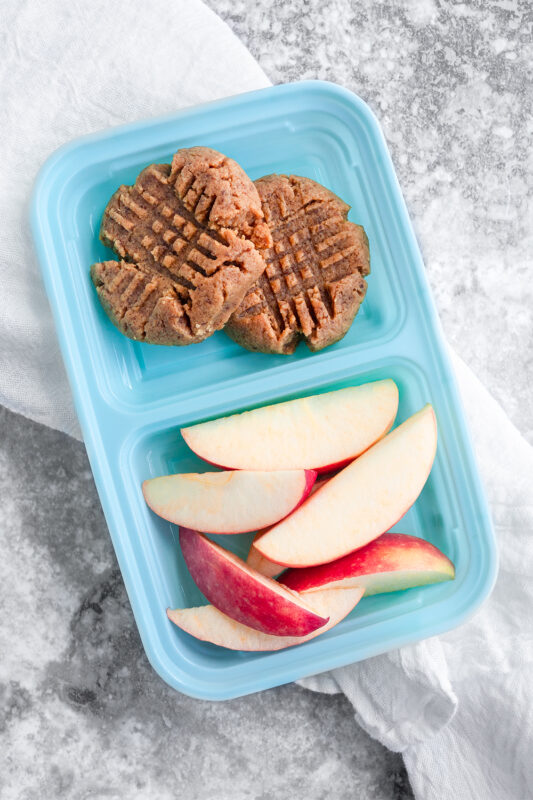
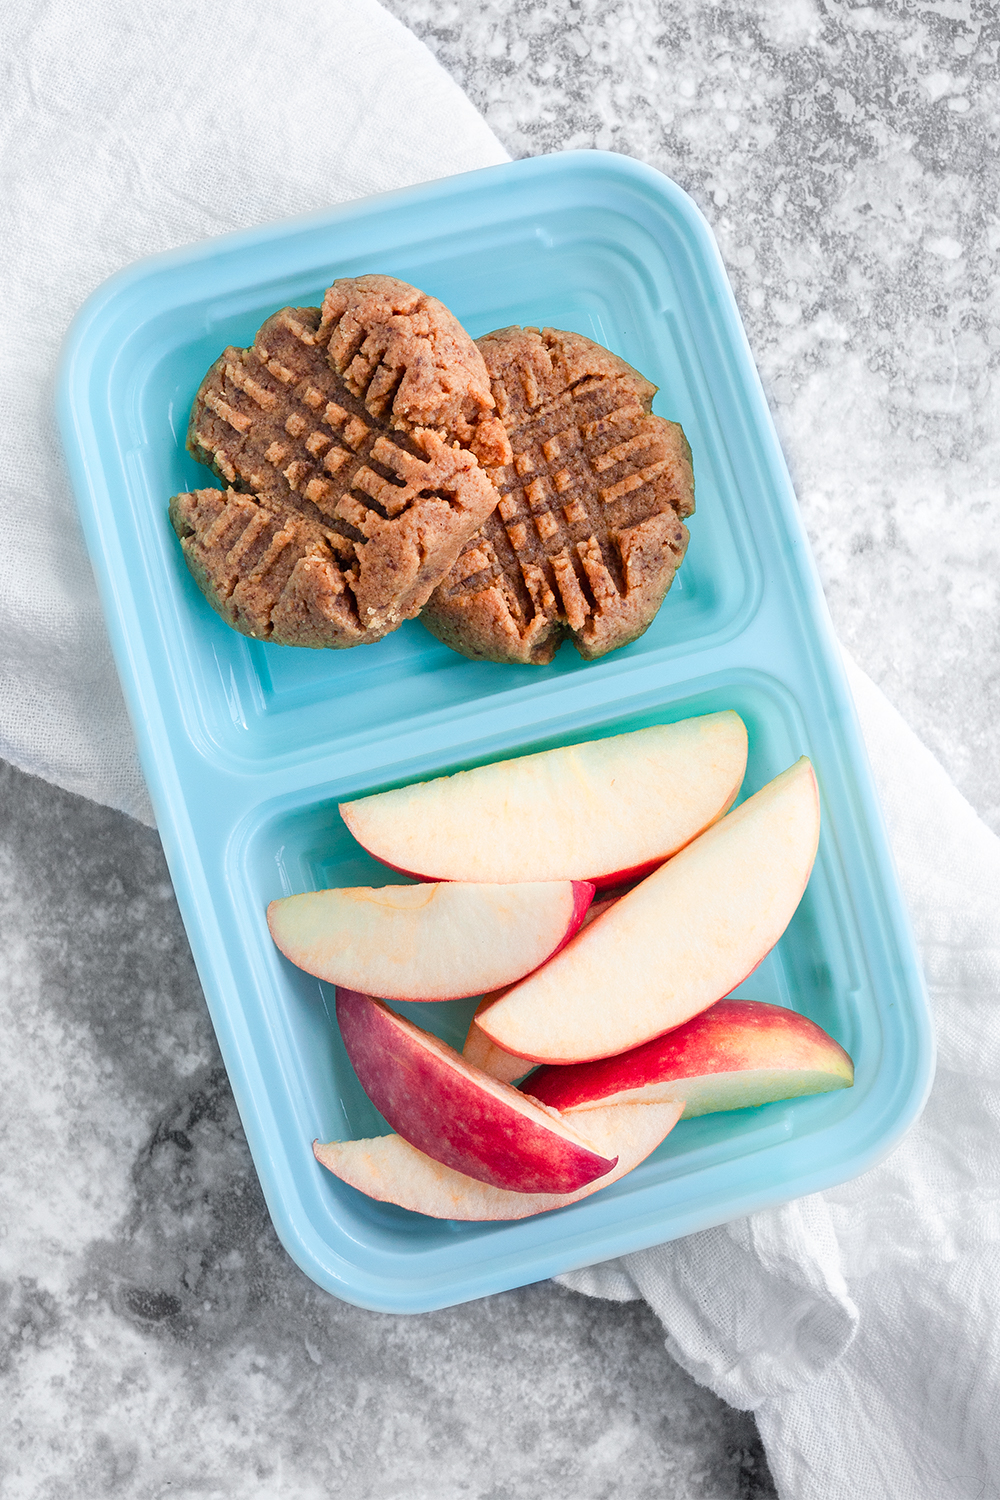
Of course, we used our favorite Good Cook meal prep snack container for prepping these for the week. We opted to pair them with sliced apples (not keto friendly), but some cheese and pepperoni would make an excellent salty and sweet (keto friendly) combination too. The cookies will be placed in one of the ½ cup serving sides, and the other ½ cup side would be ¼ cup cheese, plus ¼ cup pepperoni. A half cup of fresh berries is an excellent pairing, too.
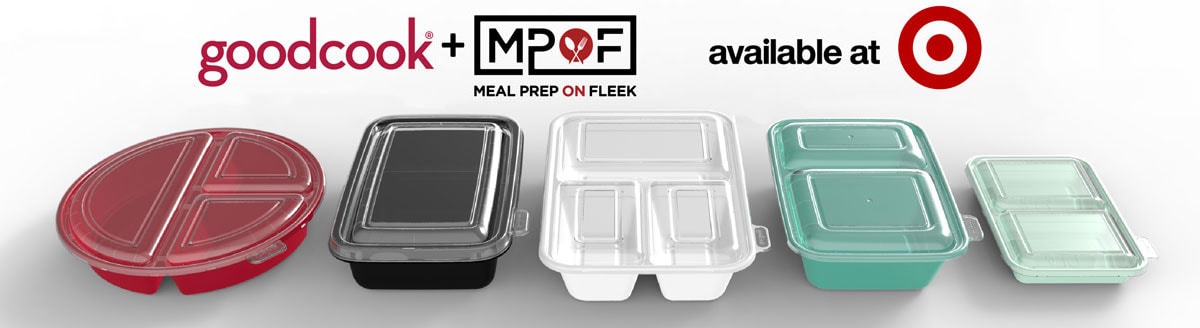
If you haven't grab your containers yet, they are now available at Target stores nationwide. Or, if you want to do what we like to often do and shop online, you can grab them at Target.com!
Optional (but not Keto compliant):
And if you like this recipe, you're going to love these peanut butter chocolate bars!!
Ready to add some zest to your meal prep routine? This Southwestern Steak Salad combines bold flavors with fresh, nutritious ingredients, making it the perfect lunch to shake up your weekly menu. With juicy steak, creamy avocado, and a kick of Cholula hot sauce, this recipe is not just delicious-it's a vibrant midday pick-me-up that's easy to prepare and packed with protein.

Ingredients:
Instructions:
Recipe Notes: This Southwestern Steak Salad is as versatile as it is delicious. Feel free to swap out vegetables based on what's in season or your personal preferences. Bell peppers, black beans, or sliced jalapeños make great additions for even more of a Southwestern flair.
This Southwestern Steak Salad recipe is the perfect way to liven up your meal prep routine with minimal effort. It's packed with flavors and nutrients that will keep you fueled and satisfied throughout your busy week. Whether you're at work or on the go, this salad is sure to delight with every bite. So, why wait? Prep this vibrant dish today and enjoy a week's worth of tasty, healthy lunches!
Tried this recipe? Share your creations with us on social media using the hashtag #mealpreponfleek! We love seeing how you make these recipes your own. Happy prepping!
This Paleo bowl uses mashed cauliflower instead of potatoes for a Vitamin-C and fiber-rich breakfast. Topped with crisp smoky bacon, mushrooms, watercress, and a jammy egg, this bowl is the perfect vitamin-packed start to the day.

Cauliflower is the star of the show here. Or maybe it's the soft-boiled eggs. Wait, no, it's the bacon. Maybe it's all of those ingredients? Combined together, they make for an AIP (autoimmune protocol) friendly meal you can count on in the form of cauliflower mash breakfast bowls.
The beauty of cauliflower is that it's kind of a blank slate. And so that means you can ask it to act like potatoes, which means you can do a whole lot with it, in terms of flavor. In this case, we're putting it to use for a breakfast bowl, but no one will think twice or judge you if you eat this for lunch. Heck, you can even have it for dinner, because we all know breakfast for dinner is always a winner.
Earthy mushrooms combined with savory-salty bacon and the zip of some watercress make for a really interesting flavor combination. The cauliflower is boiled until soft, and then mashed with some almond milk and ghee, which gives it a nutty and buttery taste. (Yum!) The bacon and mushrooms are cooked in a separate skillet, which you can do while the cauliflower boils.
We imagine a world in which you might not want to make soft-boiled eggs, and that's ok. They're very good with this dish because the yolk gets a little gooey and you can swirl it all in with the cauliflower mash. But go ahead and swap it for hard-boiled eggs, if you already meal prep those for the week. It'll save you some time. Your only loss is that gooey yolk action.
Don't like the peppery bite of watercress? That's totally cool. Use something else, like baby spinach or kale. Sometimes, even arugula is less peppery than watercress, and sometimes watercress can be hard to find.
The recipe calls for white button mushrooms which are arguably the easiest to find in the grocery store. But really, any kind of mushroom works well here, so feel free to use your favorite. They add a welcome earthiness to these cauliflower mash breakfast bowls.
If you're following a strict AIP protocol, you might want to use coconut or tigernut milk instead of almond milk. However, if you know you're nonreactive to almond milk, feel free to use it.
If you don't have the Paleo Powder Pink seasoning (but you should try to get it, it's great), it's a combination of Himalayan pink salt, chili powder, garlic powder, black pepper, onion powder, white pepper, cumin, and cayenne pepper. Feel free to experiment with these seasonings and peppers on your own. It's good on so many things, including eggs, chicken, pork, and any kind of beef, really. (We'd even sprinkle it on popcorn, but only if that's part of your diet.)
(Can't let go of mashed potatoes? That's ok, we feel you. Try this classic meal of Instant Pot Roast with Mashed Potatoes.)
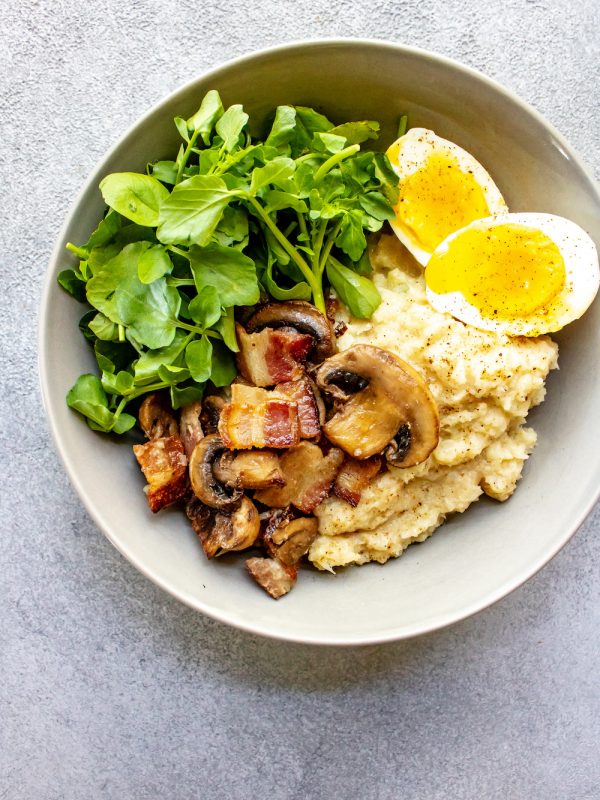
READ MORE: 10 Healthy Alternatives to Mashed Potatoes!
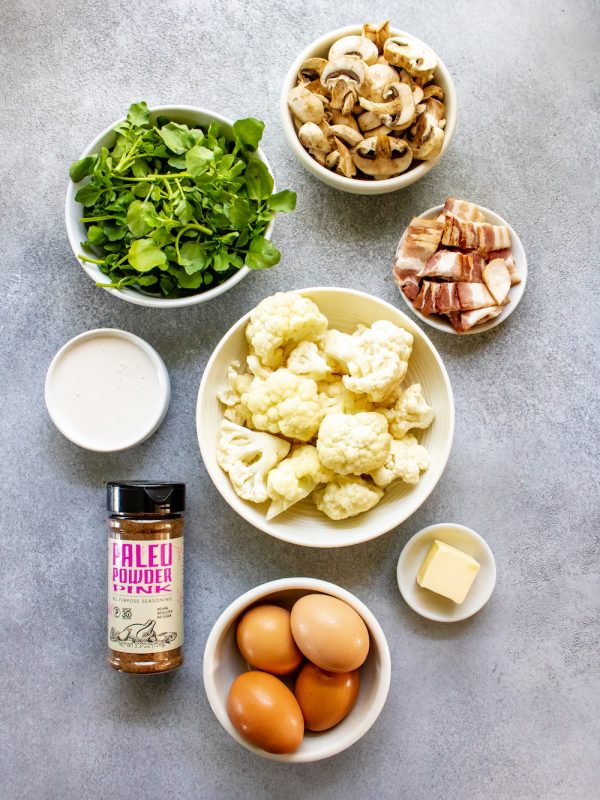


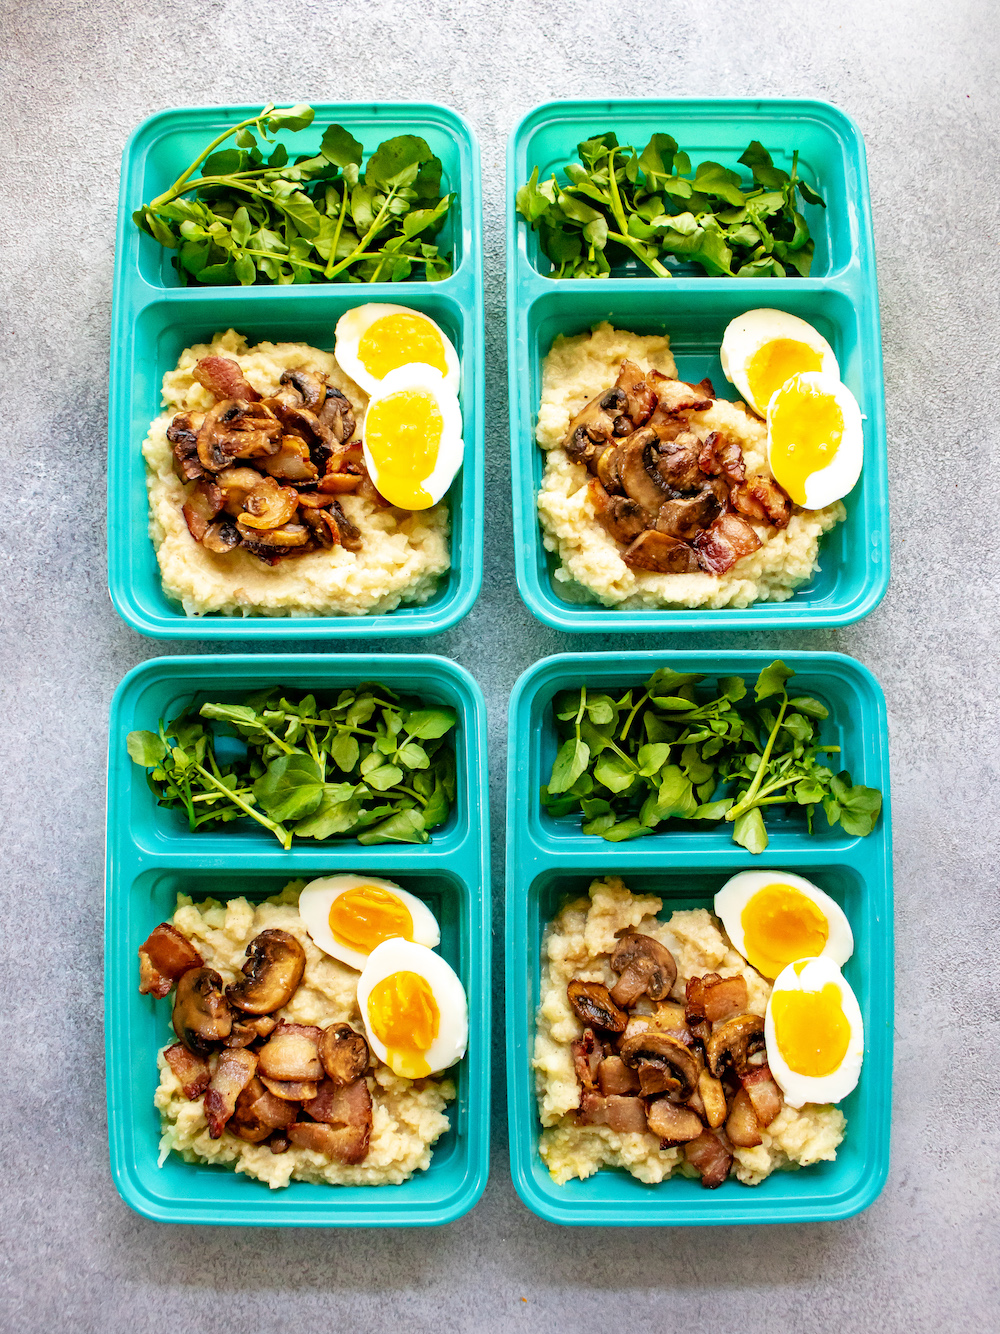
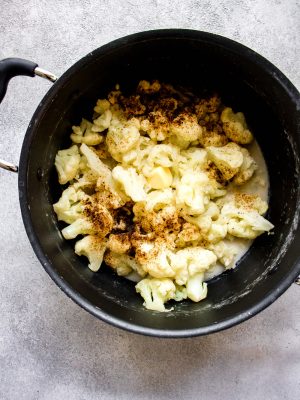
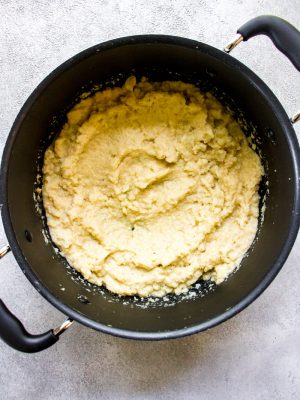
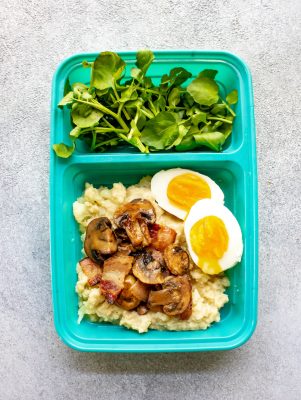
Who says meal prep has to be mundane? Spice up your lunch routine with our Pineapple Thai Turkey Meatball Meal Prep. With just four ingredients, this recipe packs a flavorful punch that will make your midday meal something to look forward to. This meal prep is not only easy and affordable but also brimming with the exotic flavors of Thailand. Ready to dive in? Let's get cooking!
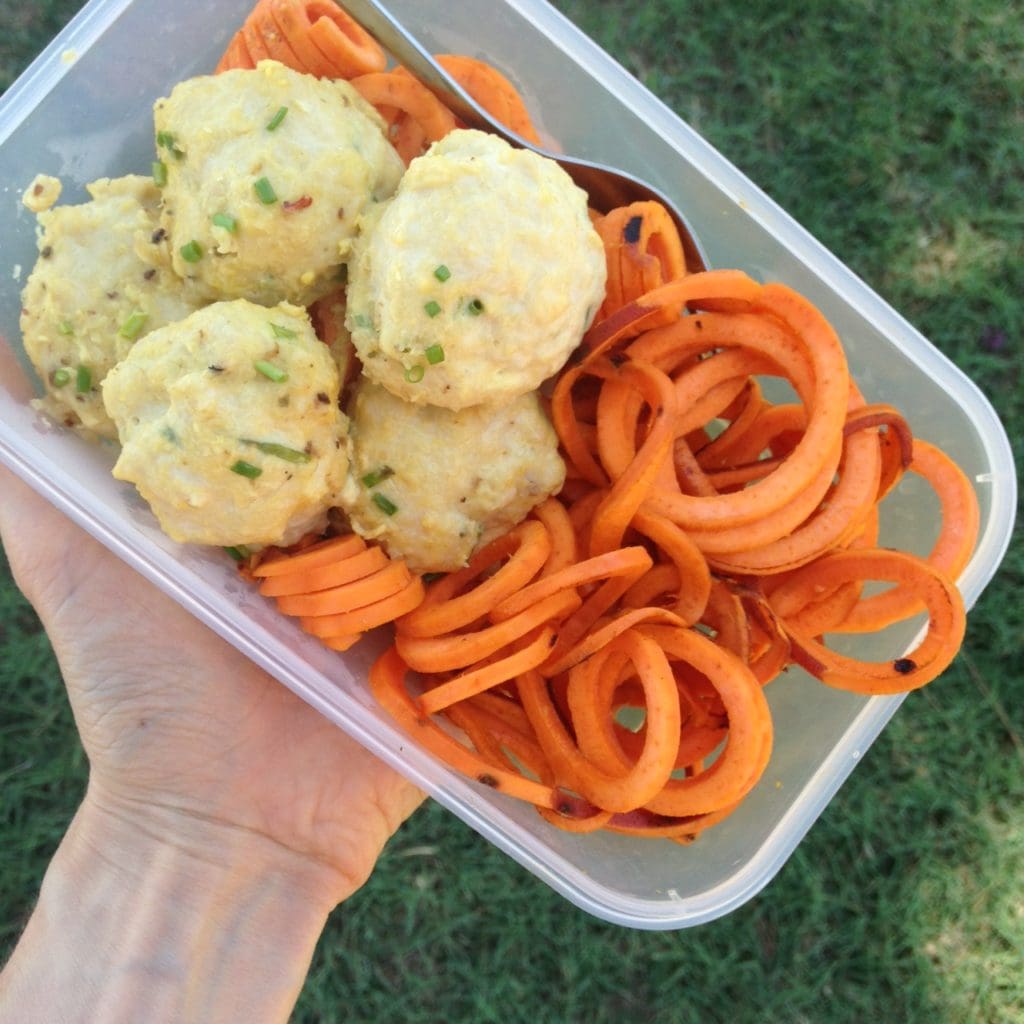
Serves: 4
Ingredients:
Method:
This Pineapple Thai Turkey Meatball Meal Prep proves that your lunch doesn't have to be boring or time-consuming. With minimal ingredients and effort, you can enjoy a meal that's both nutritious and bursting with flavor. Perfect for busy professionals, this meal prep solution is cost-effective, healthy, and delightfully different. Say goodbye to dull lunches and hello to a taste of Thailand!
Eager for more delicious and simple meal prep ideas? Click here for more Lunch Meal Prep Inspiration. And don't forget to share your meal prep creations with us on social media! Tag us and use the hashtag #MealPrepOnFleek to show off your culinary creations. Happy prepping!
Embark on a culinary adventure that meets your Whole30 or any clean eating goals with our Simple Fruit Salsa Salmon Meal Prep. This recipe combines the rich flavors of chili-rubbed salmon with the sweet zest of kiwi salsa, accompanied by steamed asparagus and baked sweet potatoes. Not only is this meal prep delicious, but it also promises to keep you satisfied and curb those sweet cravings!

Ingredients for 4 Servings:
Method:
This Simple Fruit Salsa Salmon Meal Prep is not just a treat for your taste buds but also a boon for your health. Perfect for anyone following the Whole30 program, or simply looking to add more wholesome meals to their diet, this meal prep is a perfect blend of protein, healthy fats, and essential nutrients. Easy to prepare and cost-effective, it ensures you have a ready-to-go, delicious meal for busy days without compromising on flavor or nutrition.
Ready to simplify your meal prep without sacrificing flavor? Give this Simple Fruit Salsa Salmon Meal Prep a try this week and share your experience! We'd love to see how you make this meal your own, so don't forget to tag your culinary creations with #MealPrepOnFleek on social media. Happy prepping!