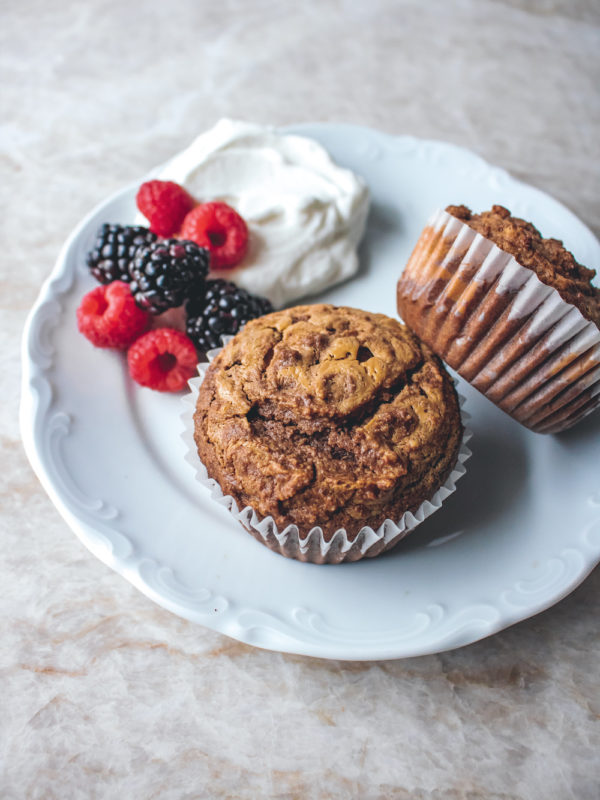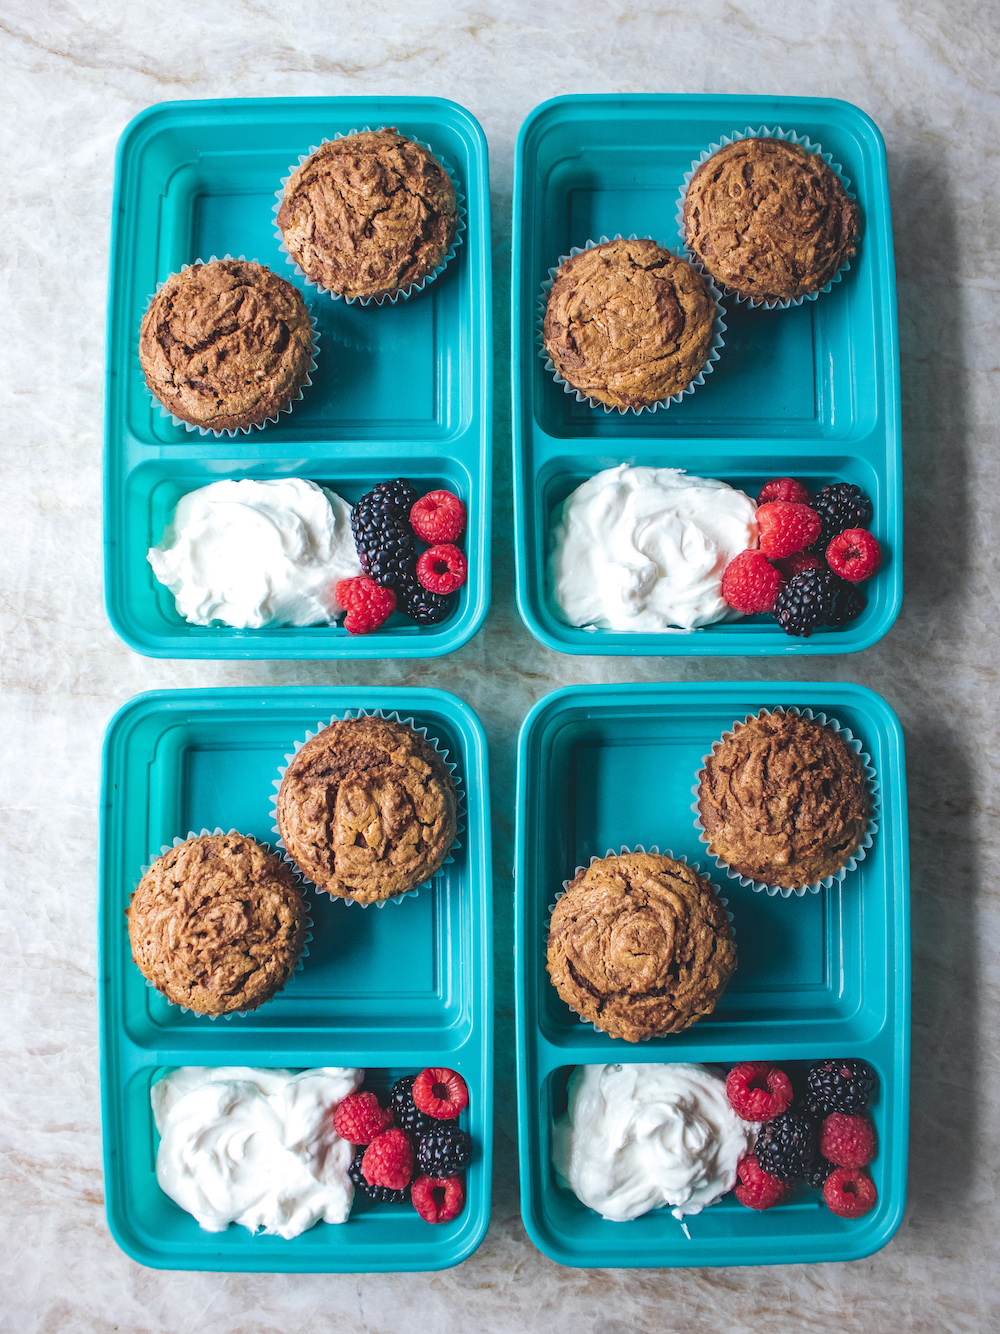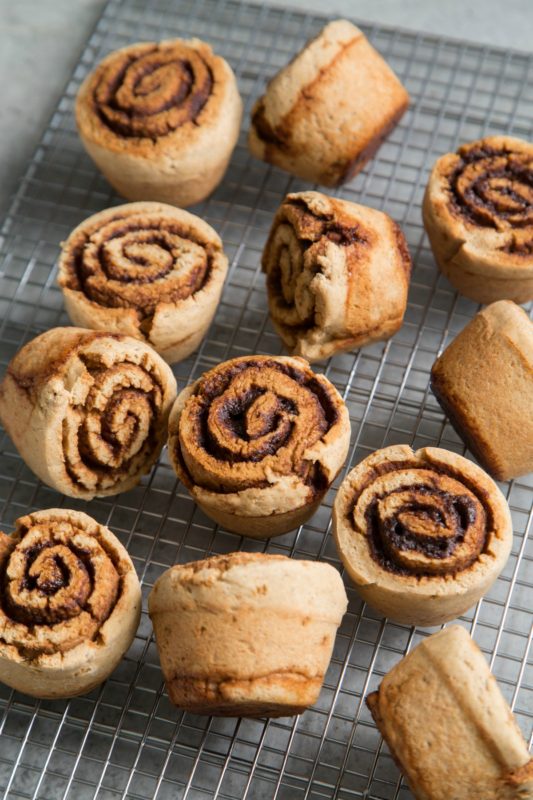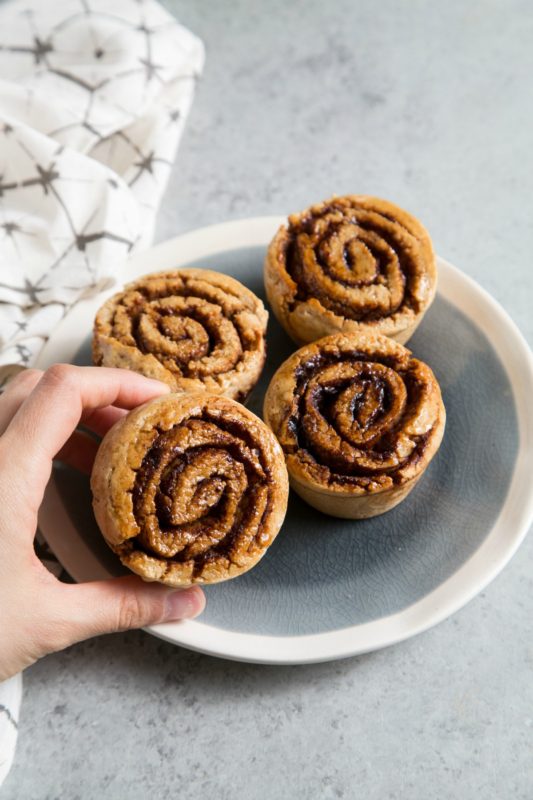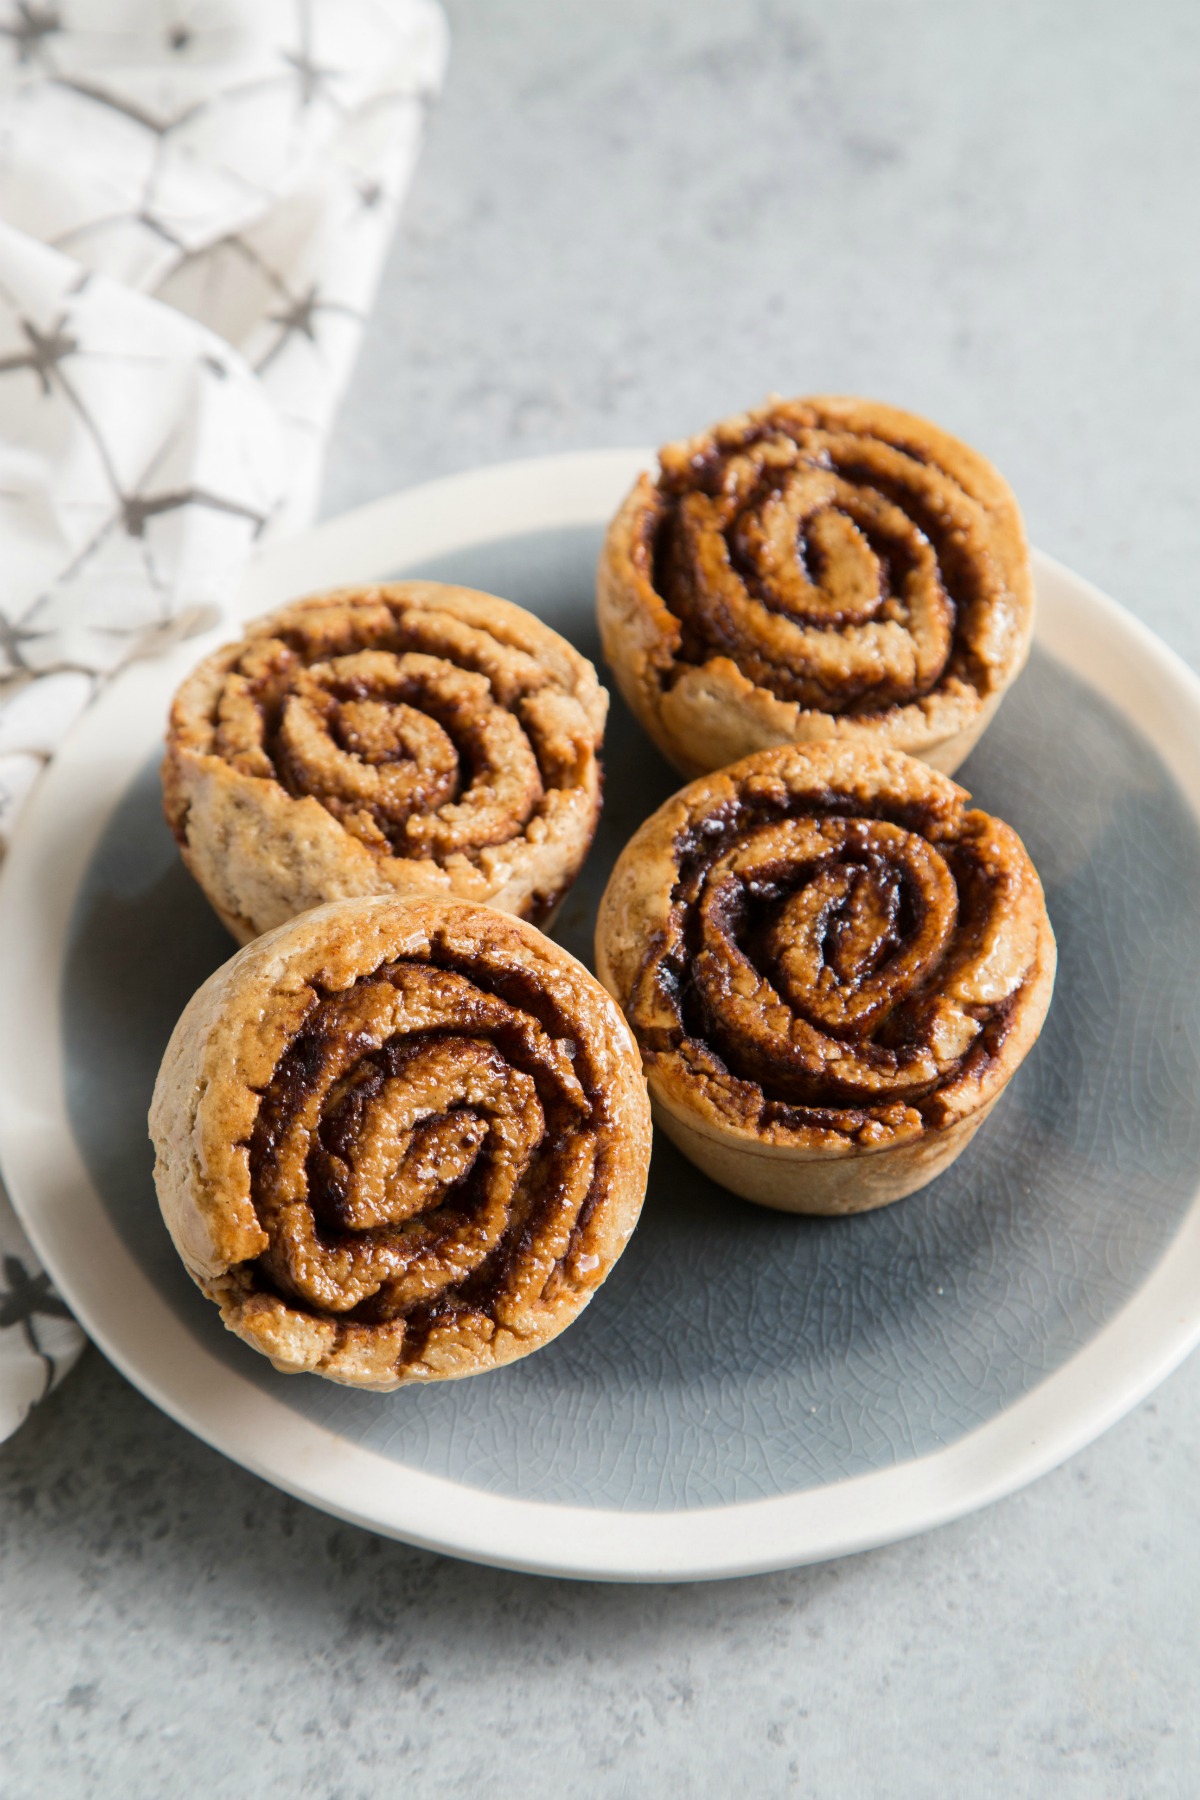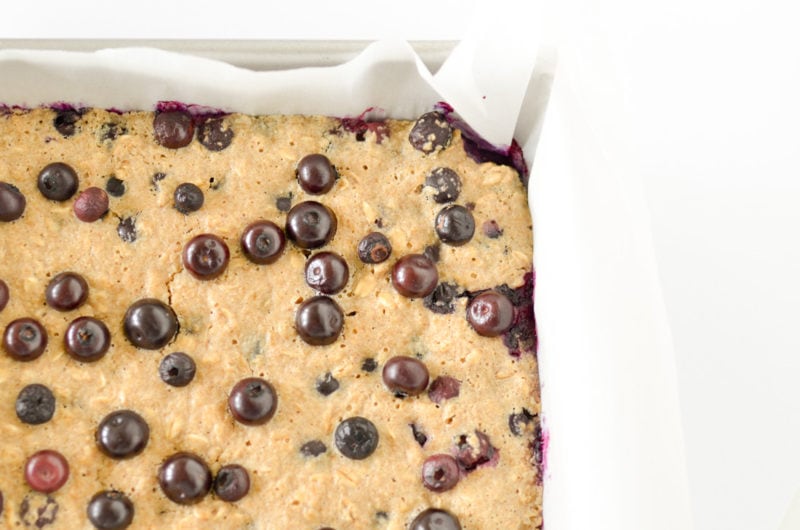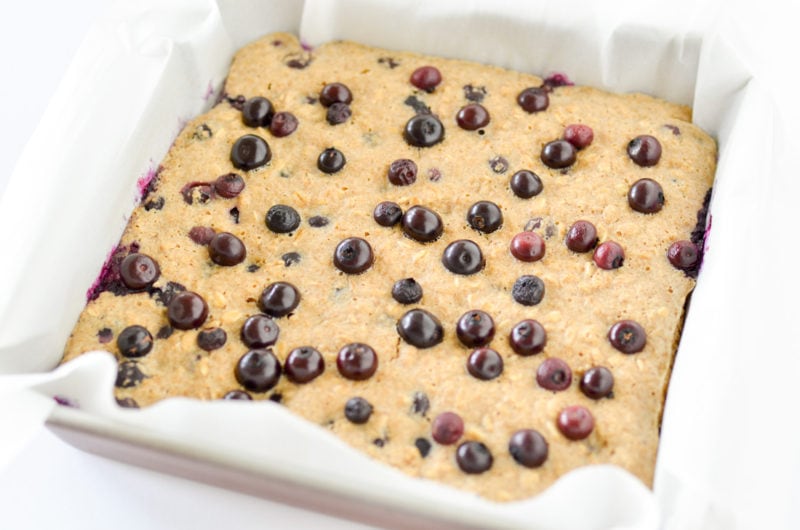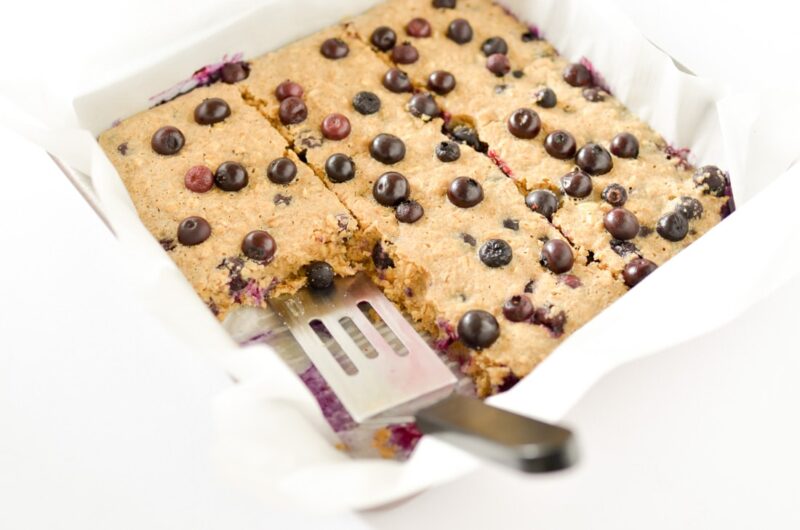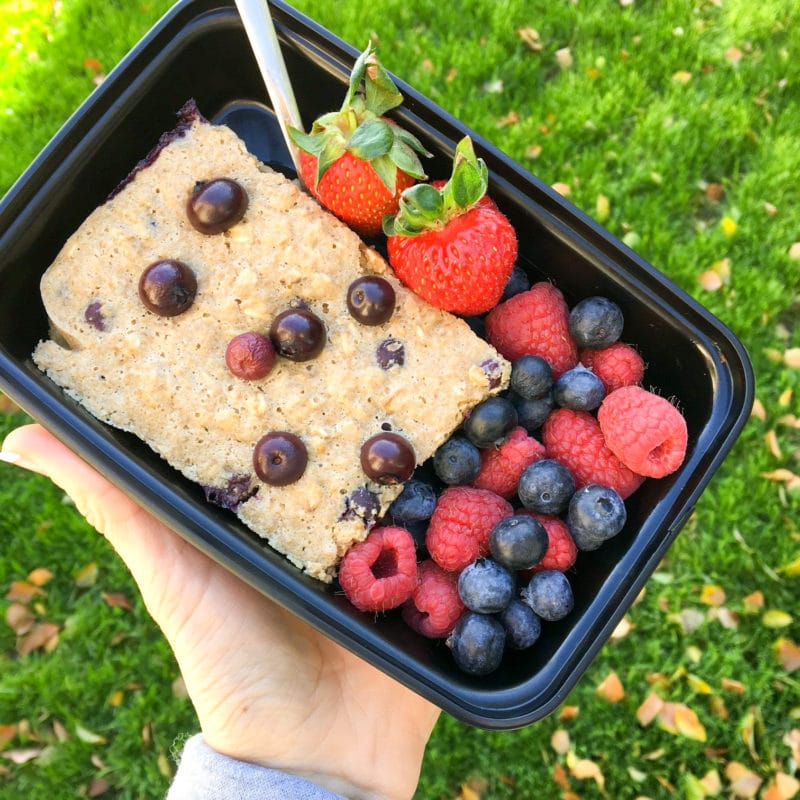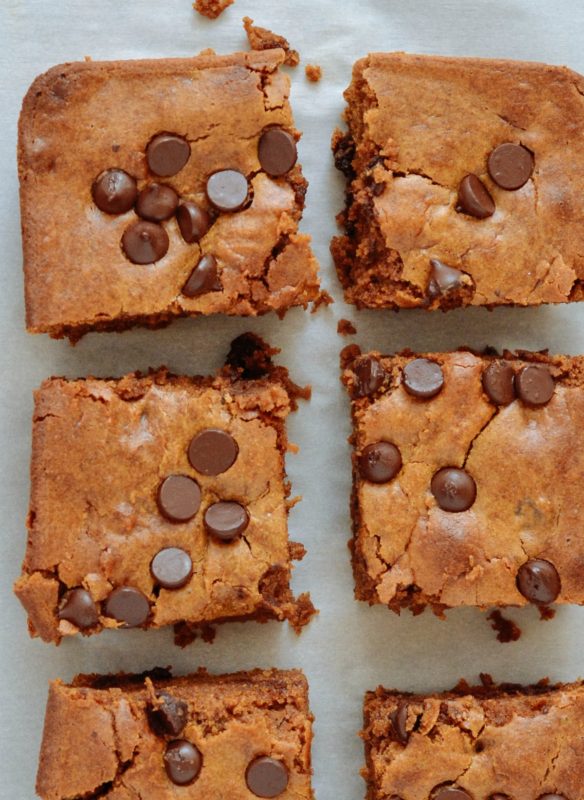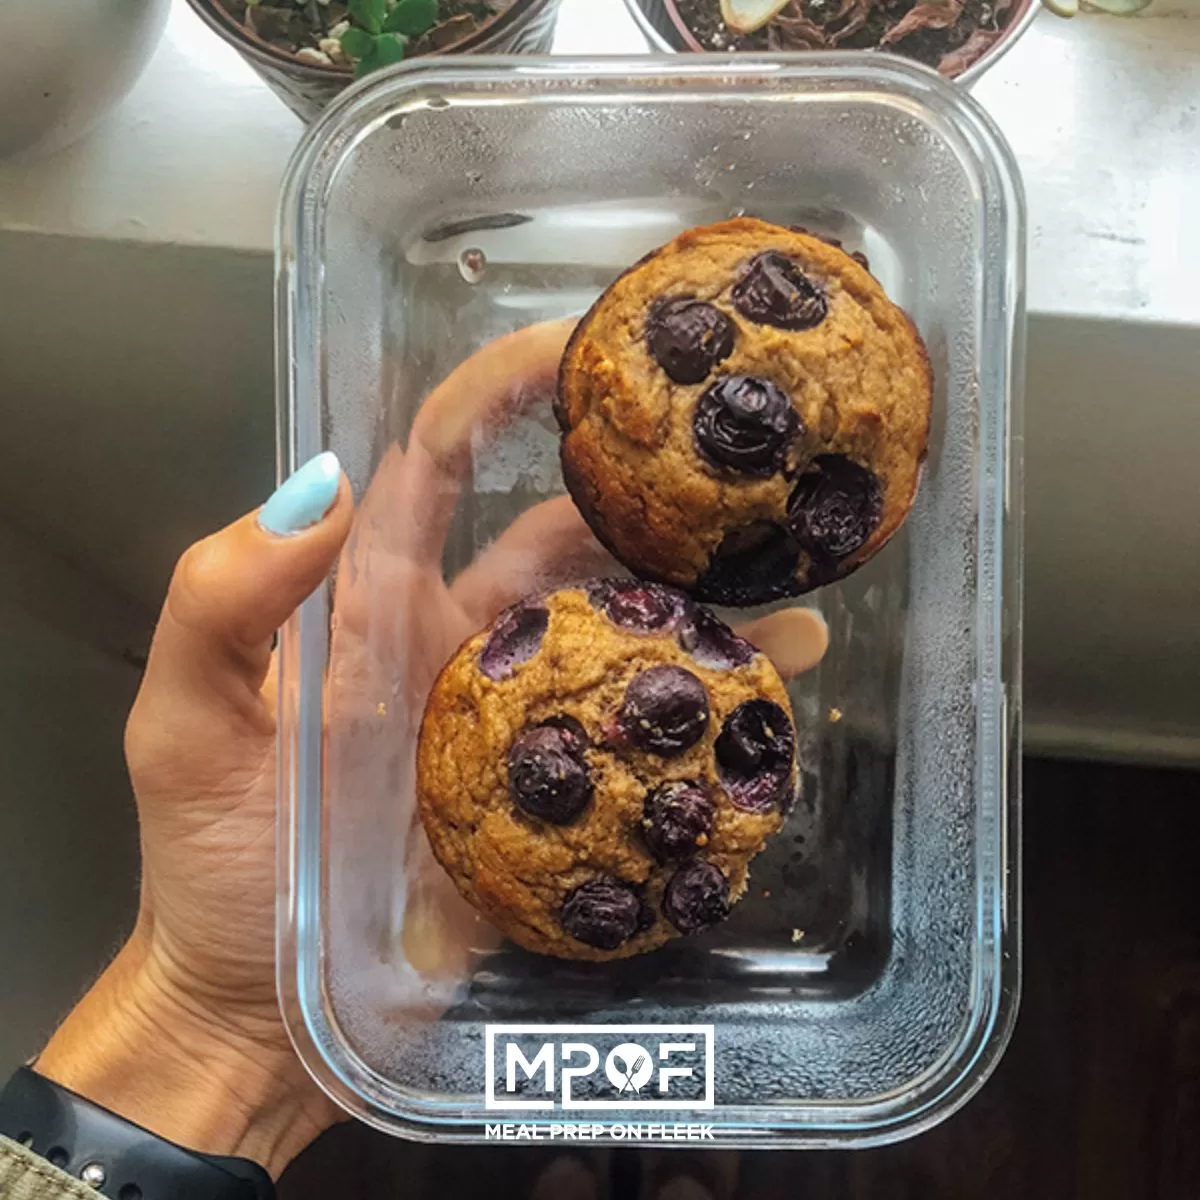
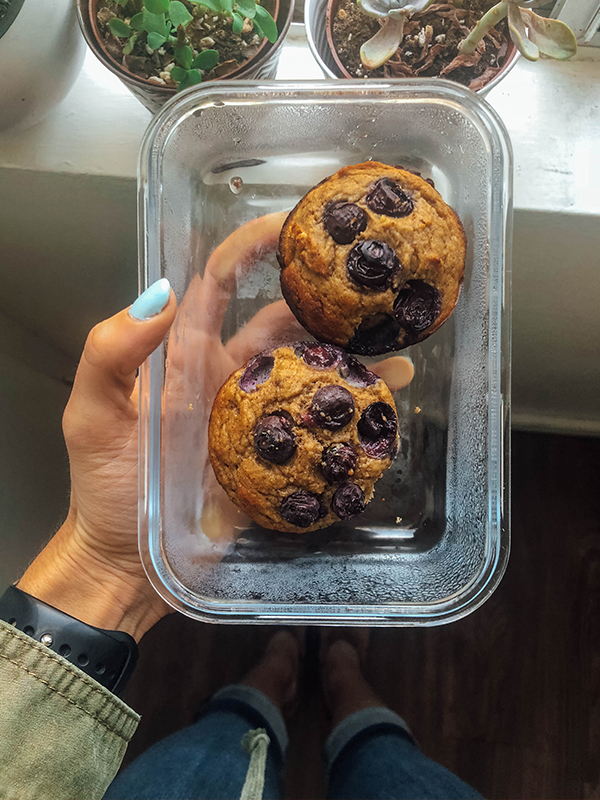
Who says muffins can't be healthy? Skip all the guilt when you bake these paleo blueberry muffins. I love these because they're super easy to make and free from white flour. I subbed in coconut flour for the typically processed flour. The blueberries also help add the right amount of sweetness to these muffins.
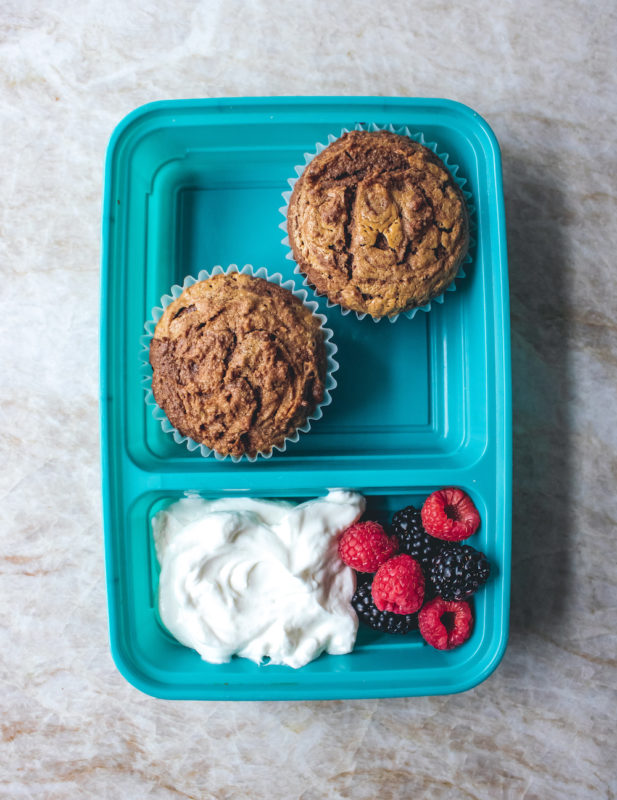
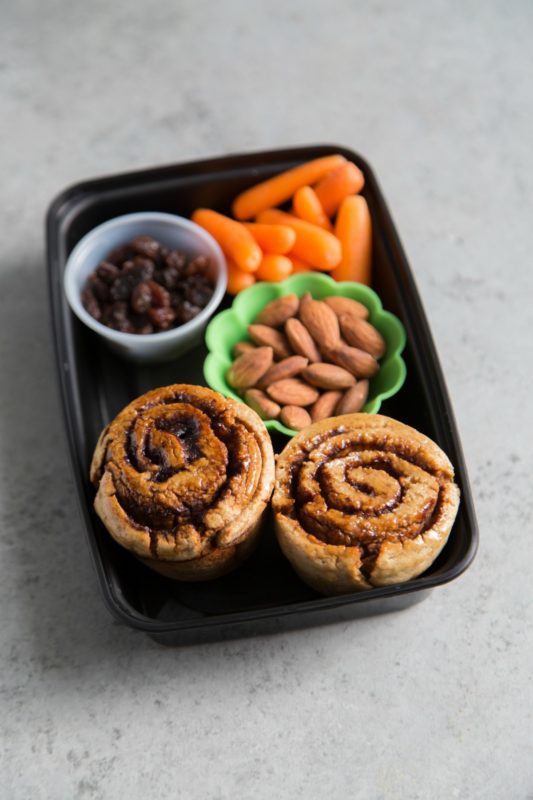
These are also a perfect addition to any meal prep Sunday because they're easy to make and batch well. You can eat them cold or reheat later.

Benefits of Paleo Blueberry Muffins
The best part of these paleo blueberry muffins? They're free from refined or processed sugar! The sweetness comes primarily from the bananas and the added blueberries. The almond butter also adds a nice richness to them.
You can also make this recipe dairy free if you skip the grass-fed butter and go with olive oil instead.
Organic coconut flour is a delicious, healthy alternative to wheat and other grain flours. Ground from dried, defatted coconut meat, coconut flour is high in fiber and low in digestible carbohydrates. A single 2 tablespoon serving of coconut flour delivers 5 grams of fiber with only 8 grams of carbs. (source)
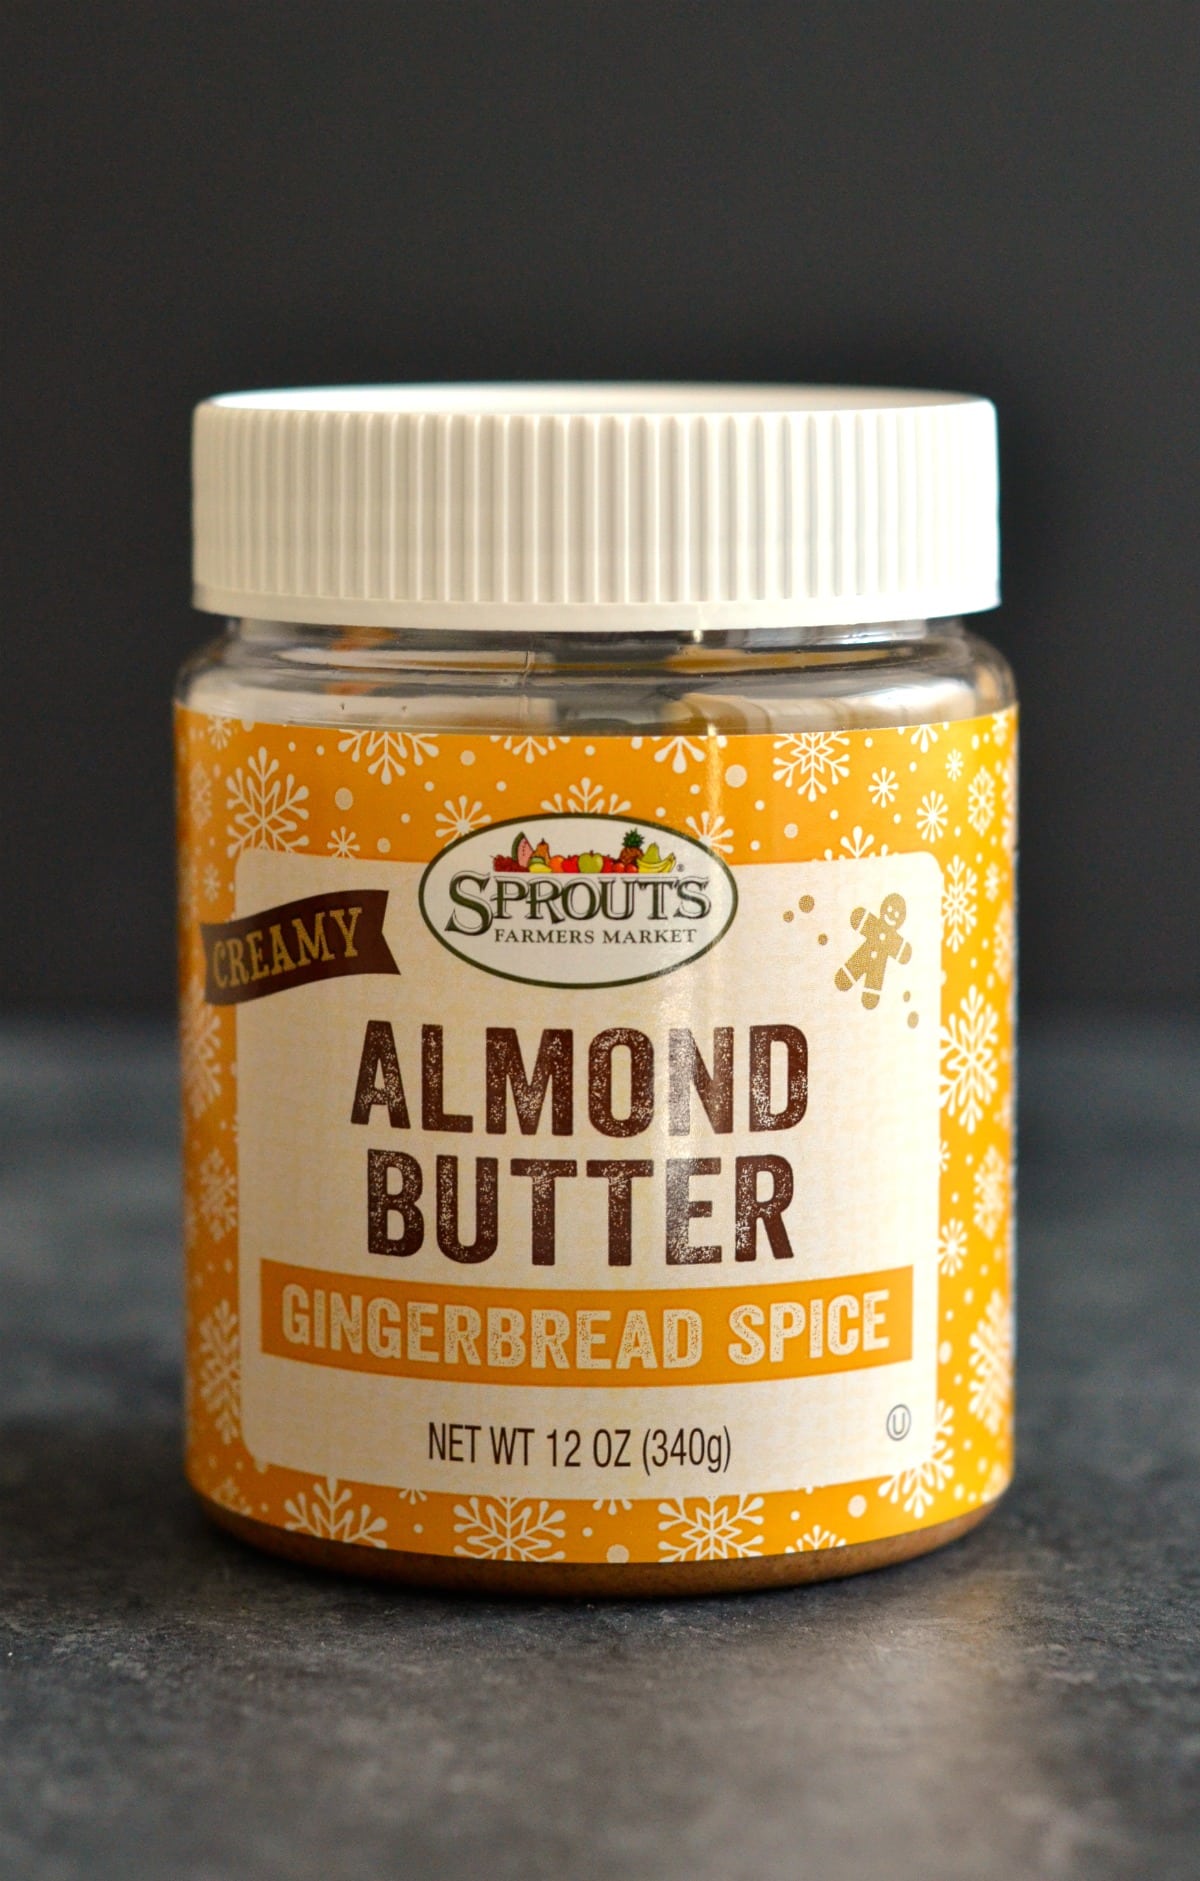
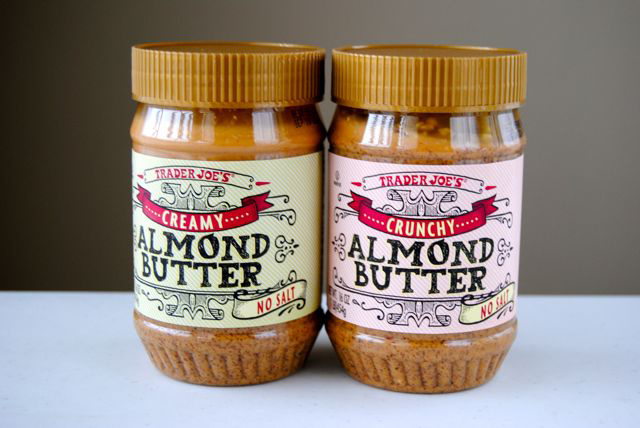
You will also find almond butter in this paleo blueberry muffin recipe. Almond butter is a great choice when it comes to healthy fat! Make sure to pick out a brand where the ingredients are only "almonds" or "almonds and sea salt". Most brands will add sugar or canola oil or unnecessary inflammatory ingredients and preservatives. The only exception I make is that Trader Joe's brand almond butter adds a little bit of cashews for sweetness, which is totally fine by me!
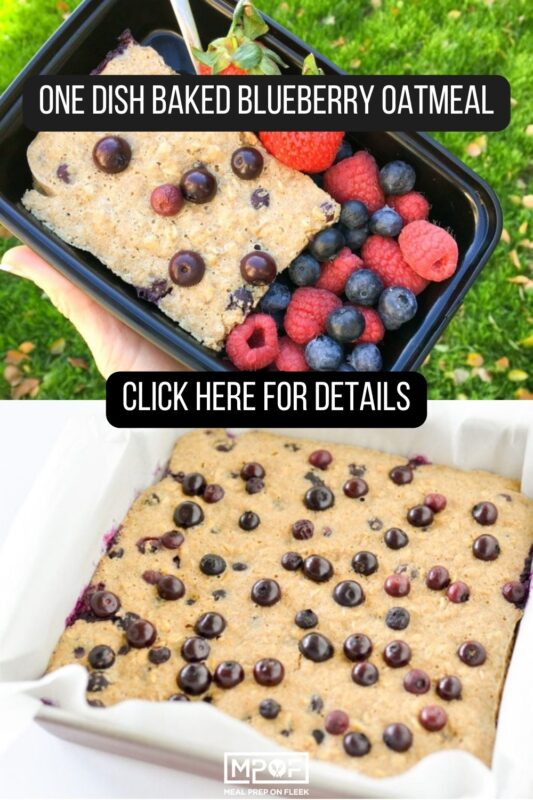
P.S. If you're not a blueberry lover, you can totally sub in another fruit or even dark chocolate chips if you're feeling crazy!
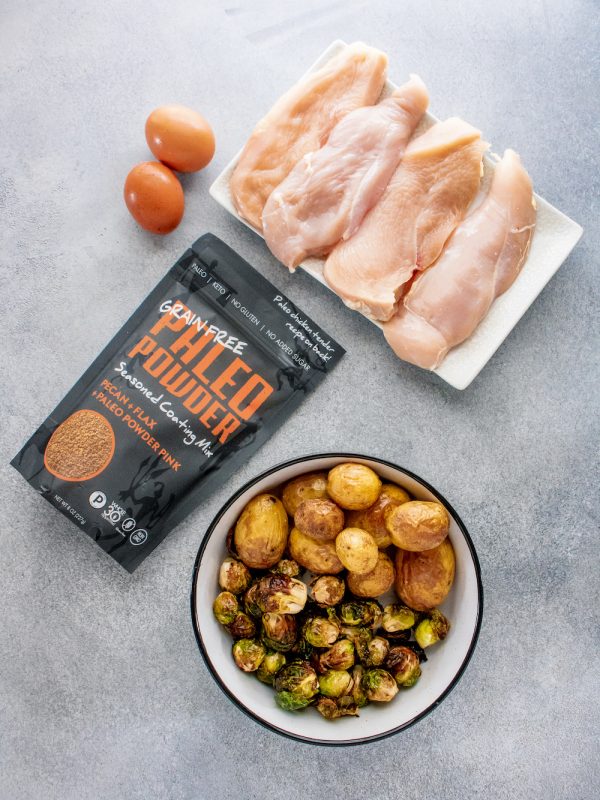
Ingredients
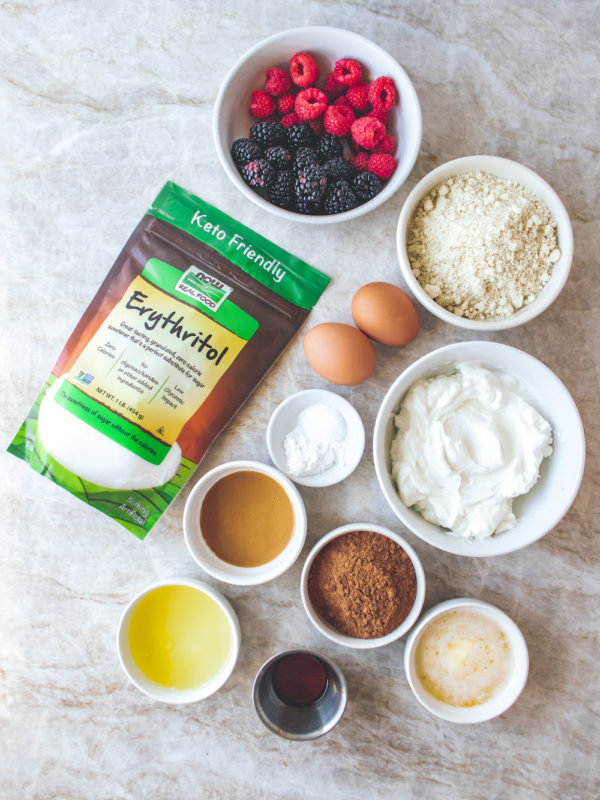
- 3 ea eggs large
- 3-4 ea bananas medium and mashed
- ½ cup almond butter
- ¼ cup grass-fed butter melted (or olive oi)
- 1 teaspoon vanilla extract
- ½ cup coconut flour
- 1 tablespoon cinnamon
- 1 teaspoon baking powder
- 1 teaspoon baking soda
- pinch of salt
- 1 cup blueberries a handful per muffin
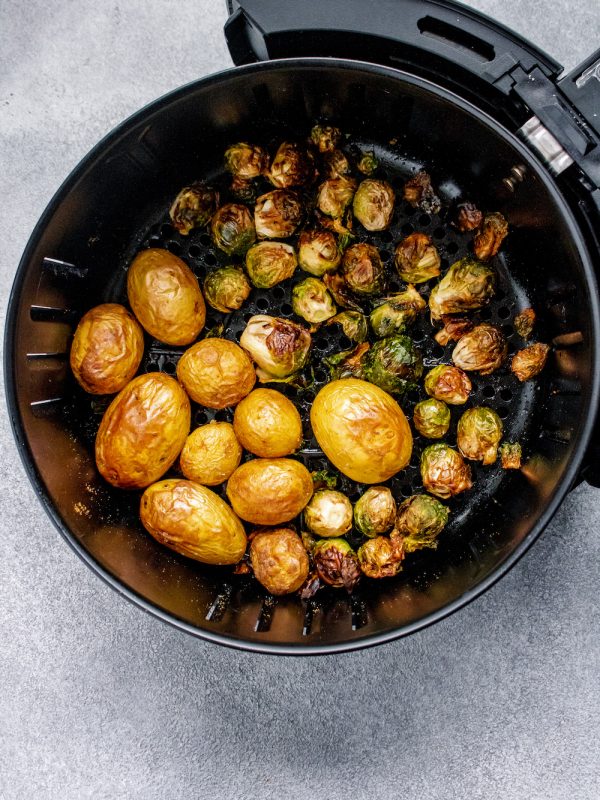
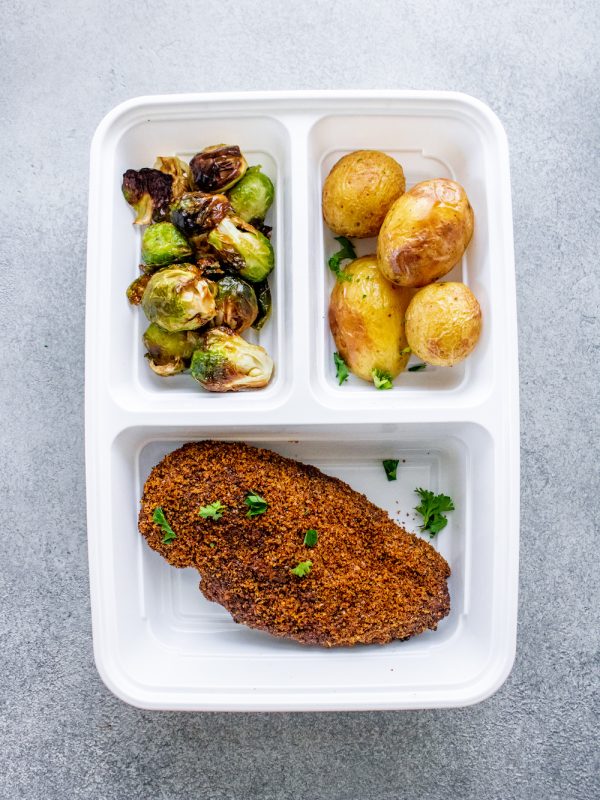
Instructions
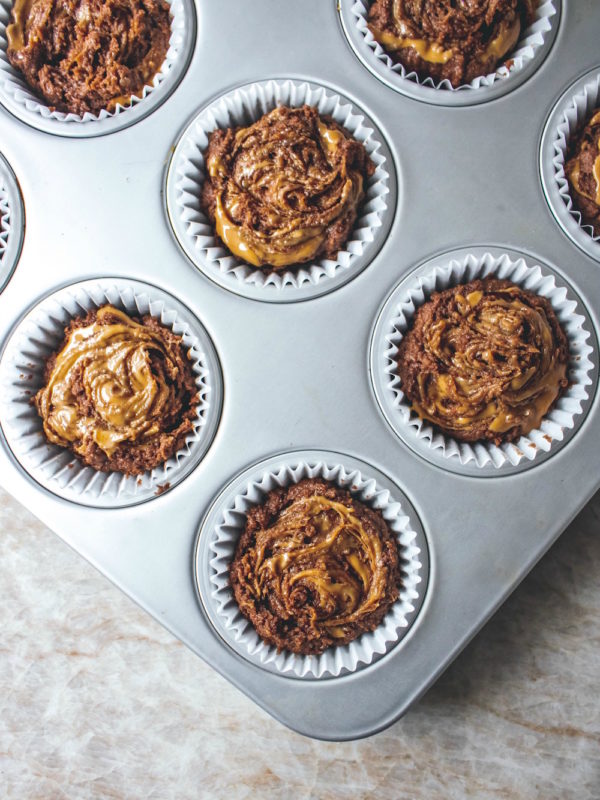
- Pre-heat oven to 350 degrees F. Spray muffin tins with oil.
- Combine eggs, bananas, almond butter, melted butter and vanilla extract in a blender. Blend until smooth.
- In a large bowl, add the wet mix plus coconut flour, cinnamon, baking powder, baking soda, and a pinch of salt. Stir well.
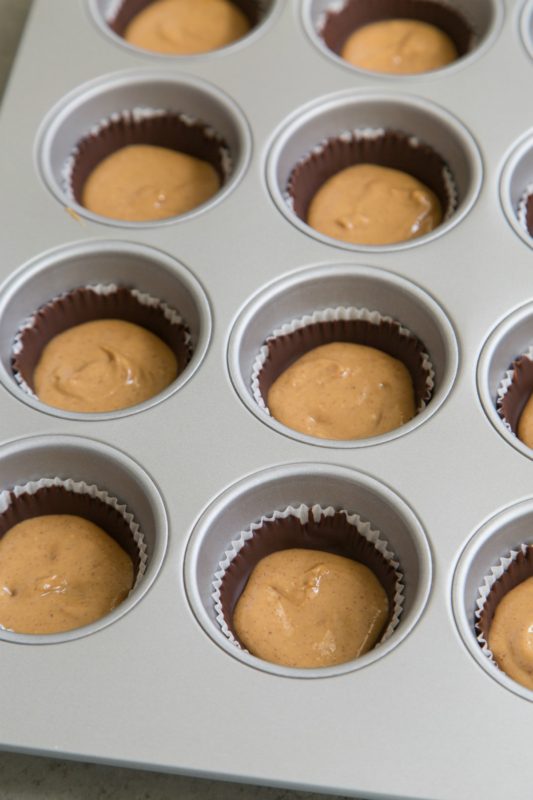
- Spoon batter into muffin tins, ¾ full. Add blueberries.
- Bake for 15-18 minutes or until golden. Cool for 10 minutes.