Paleo Meal Prep
-
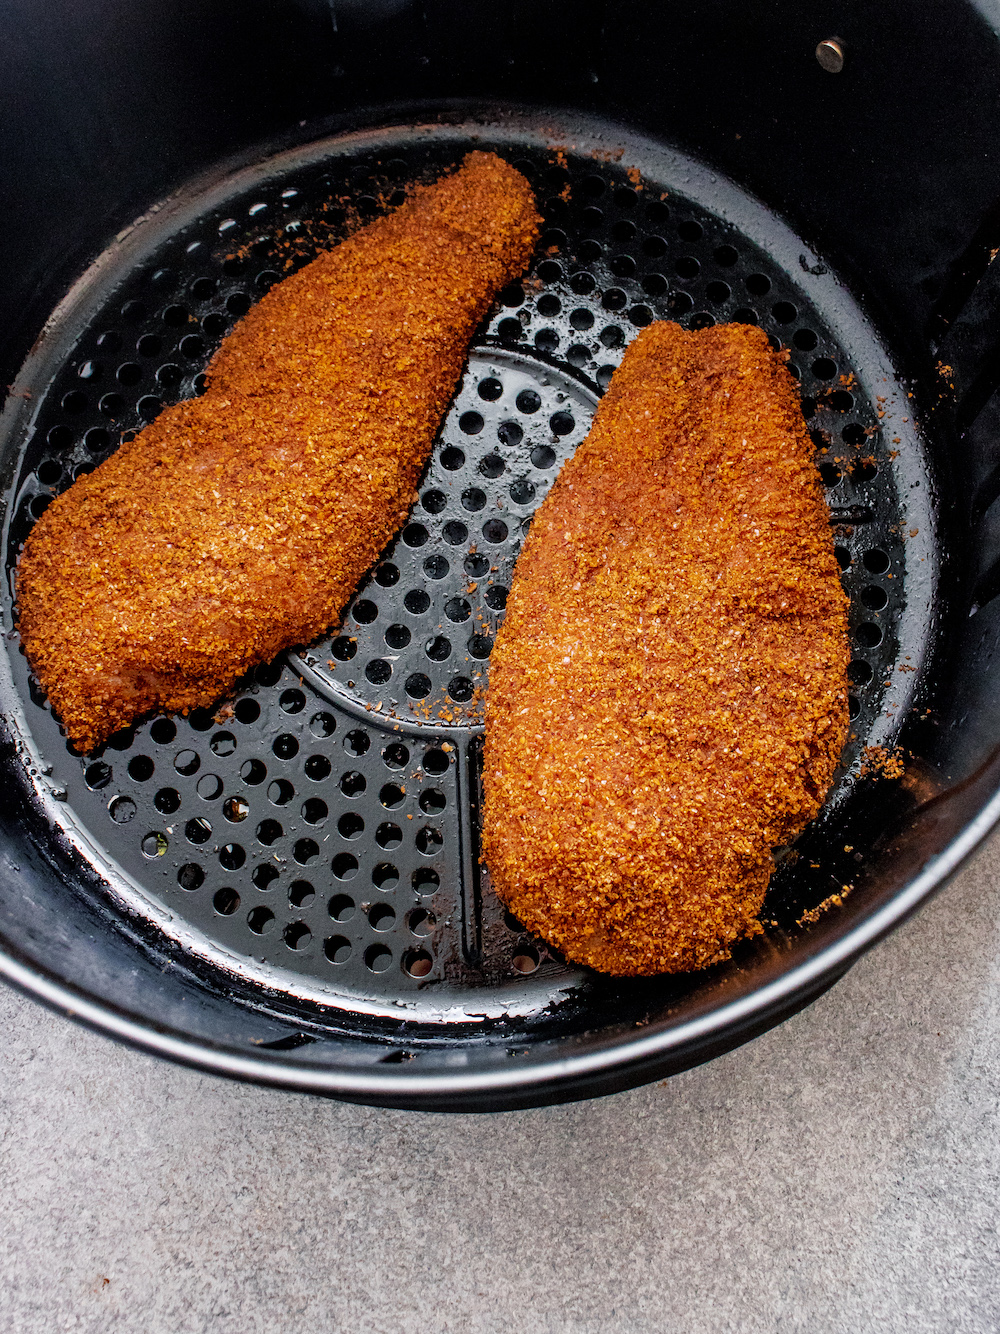
Air Fried Crispy Chicken
-
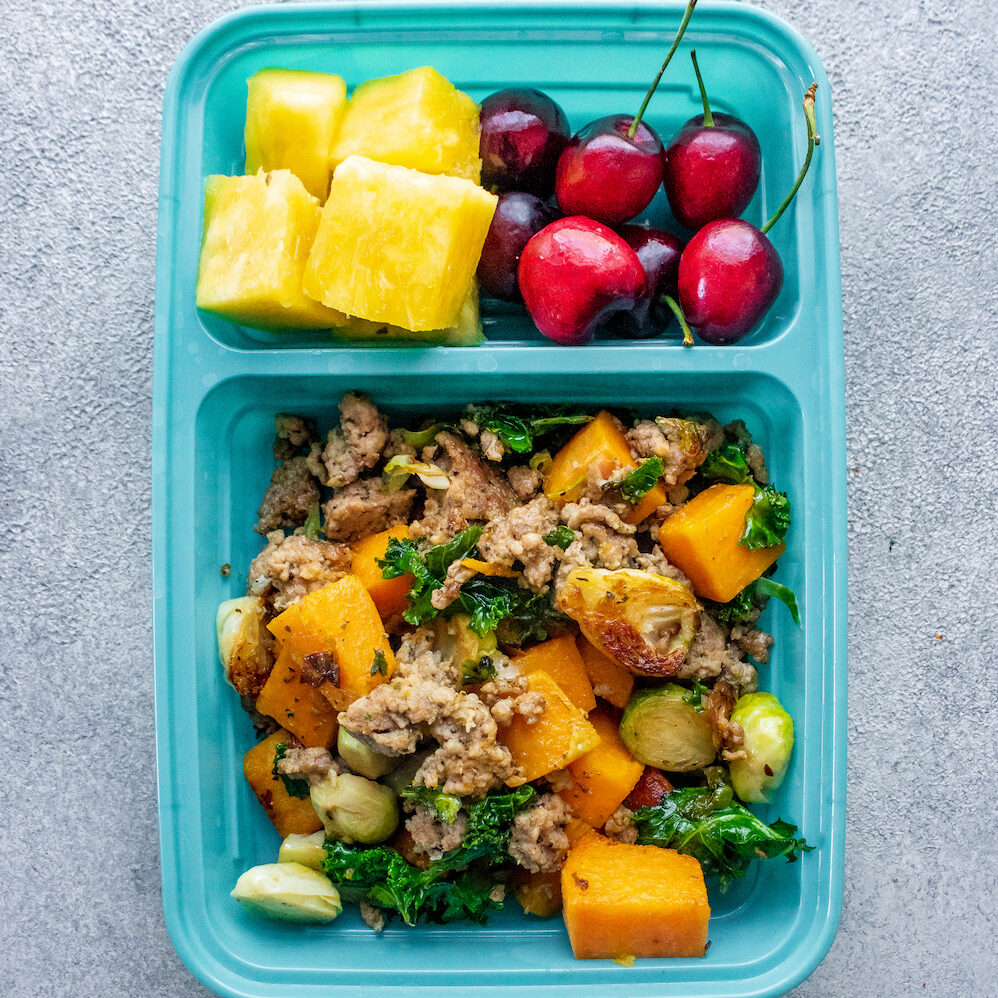
Easy Pork Breakfast Hash Recipe - AIP-Friendly
-
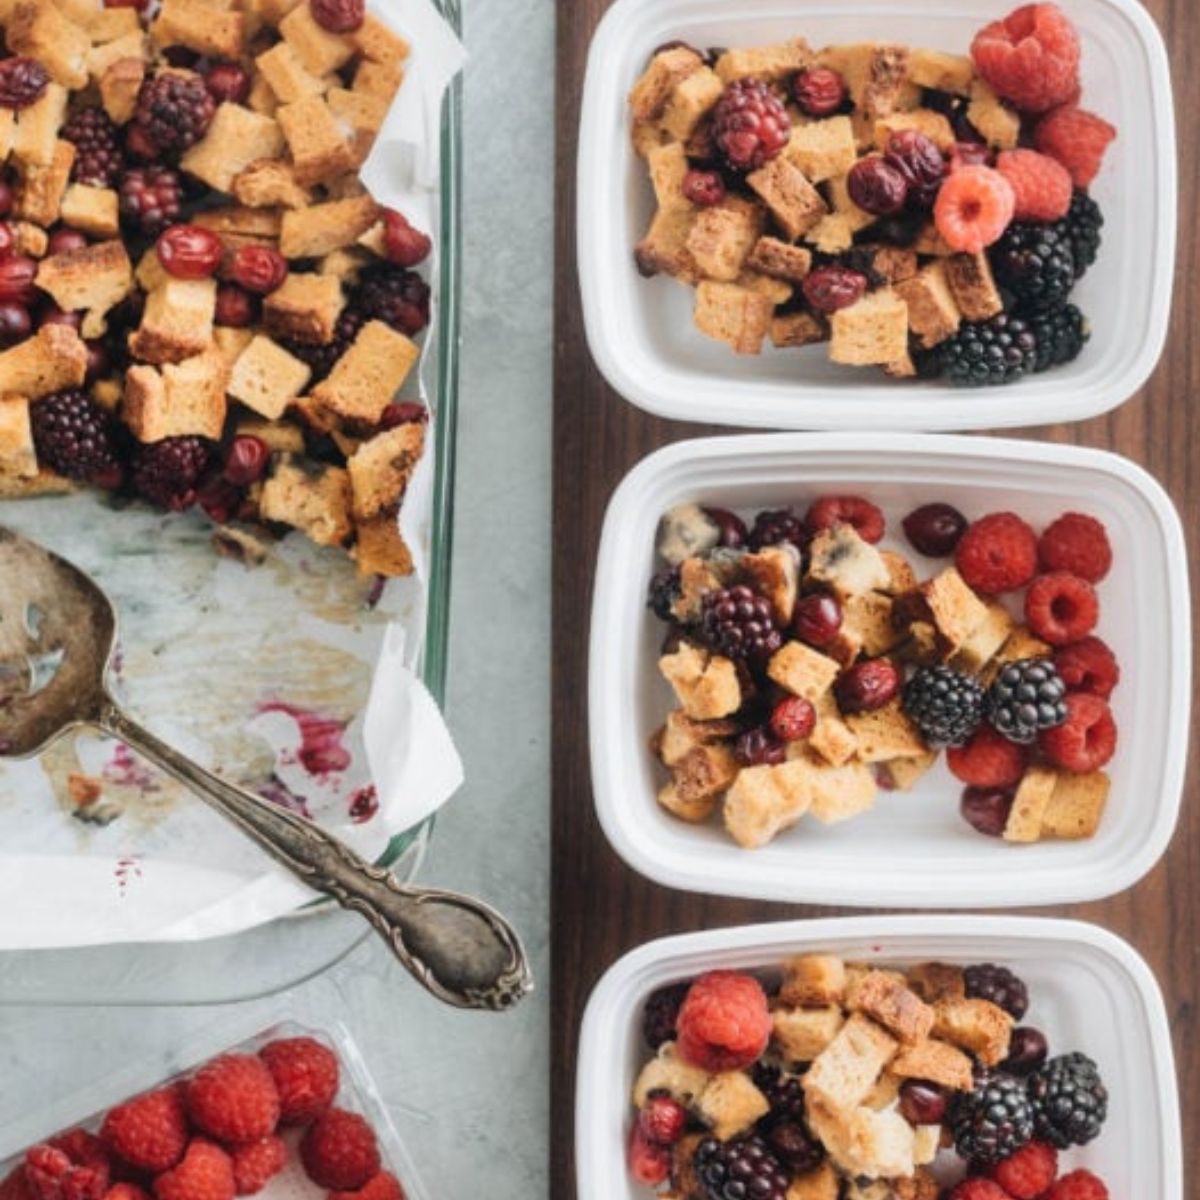
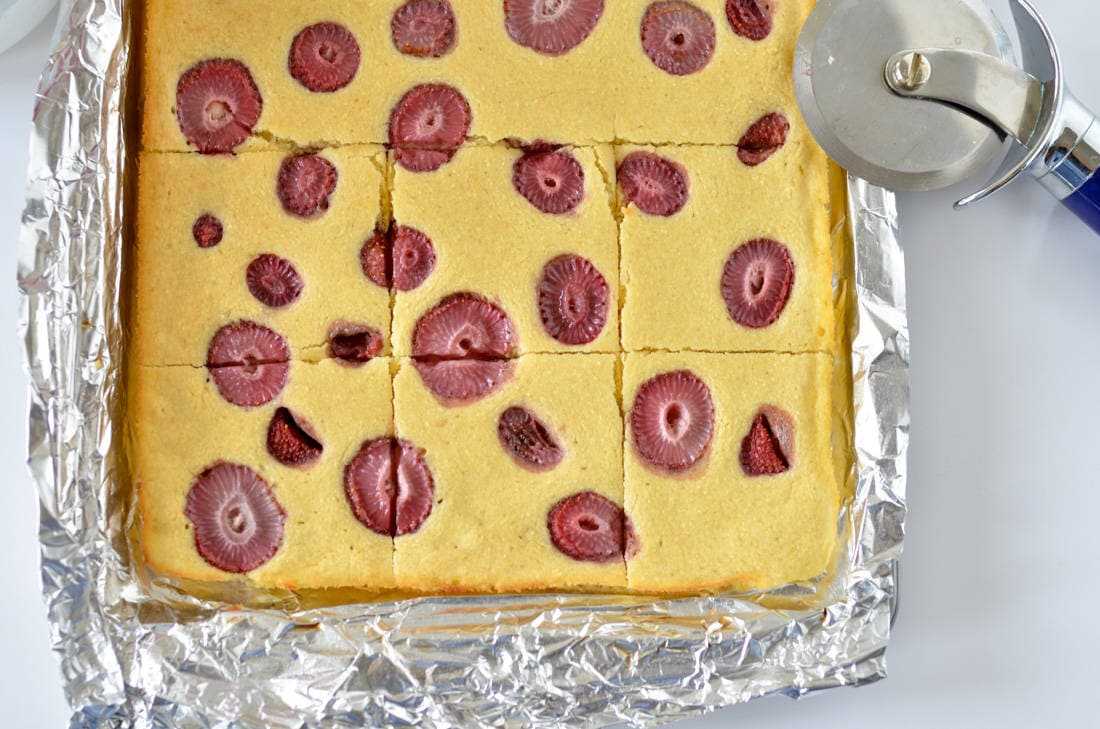
Cran-Blackberry Overnight French Toast (Paleo friendly)
-
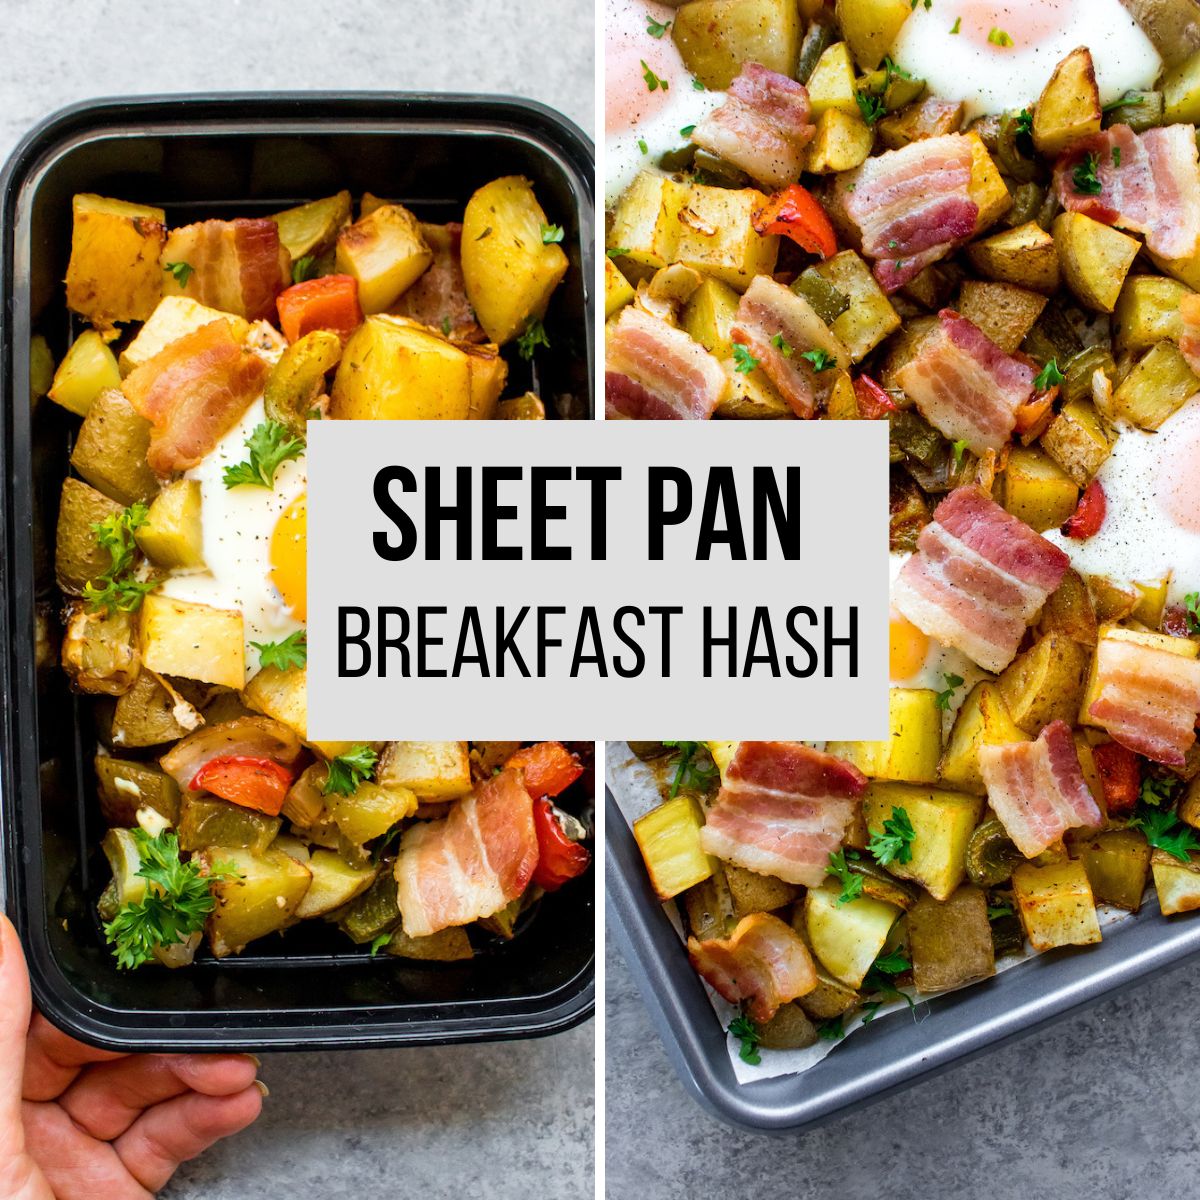
Sheet Pan Breakfast Hash and Eggs
-
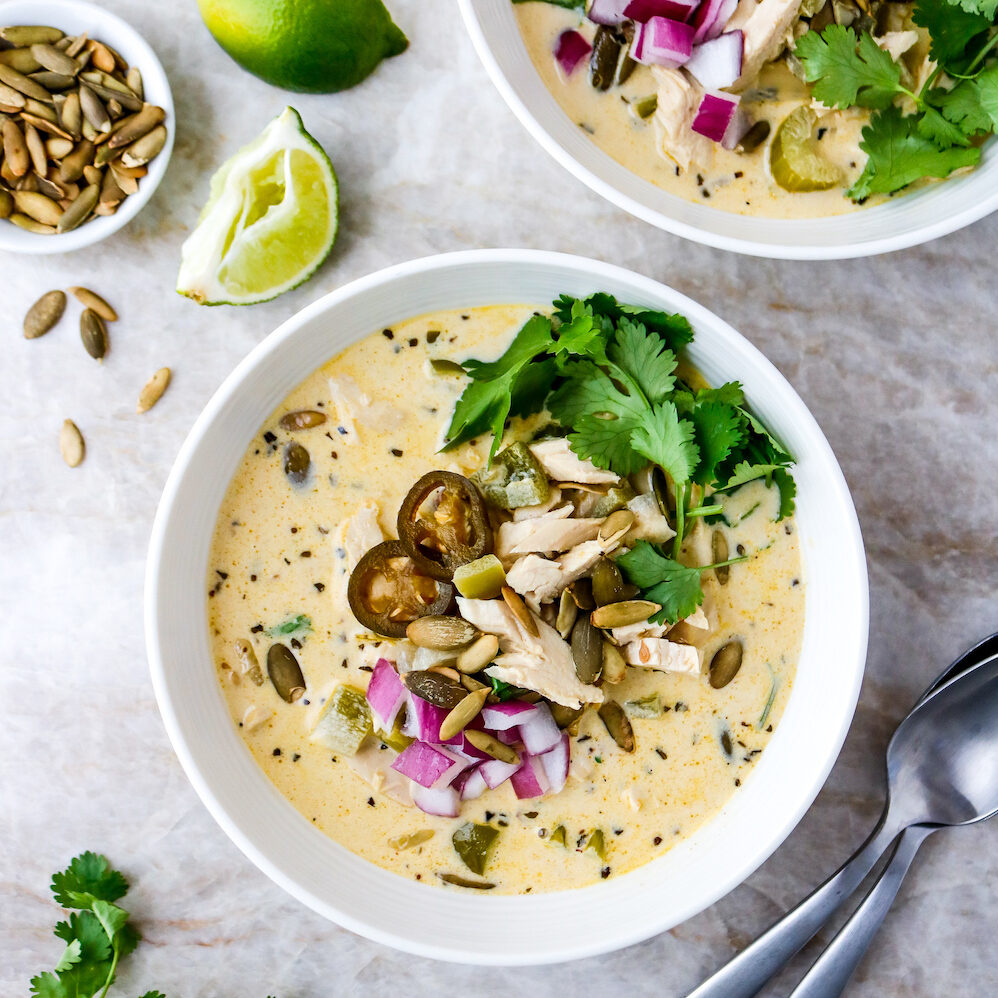
Easy White Chicken Chili (Healthy + Gluten Free)
-
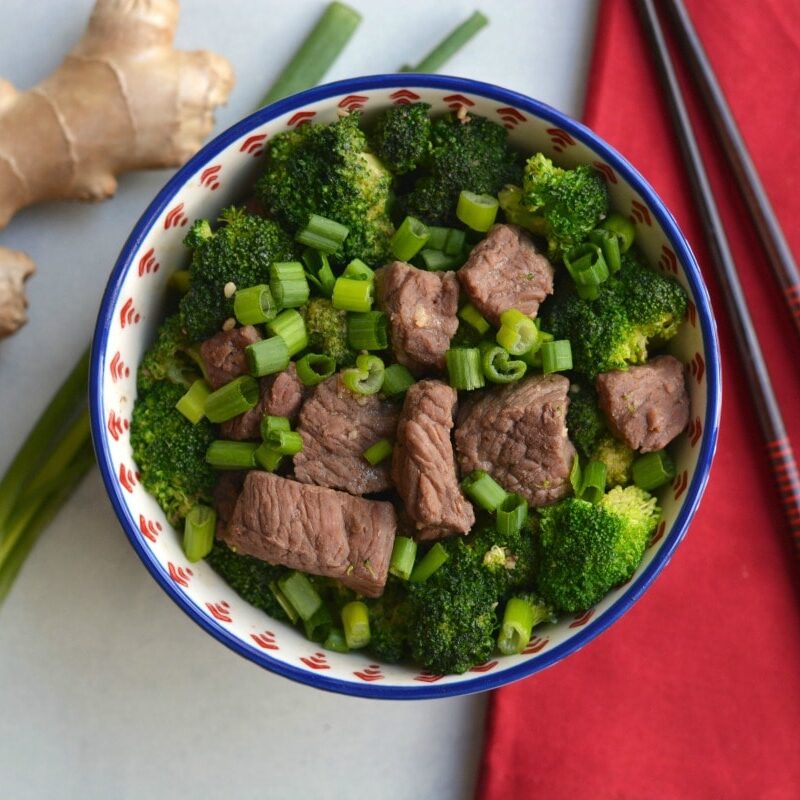
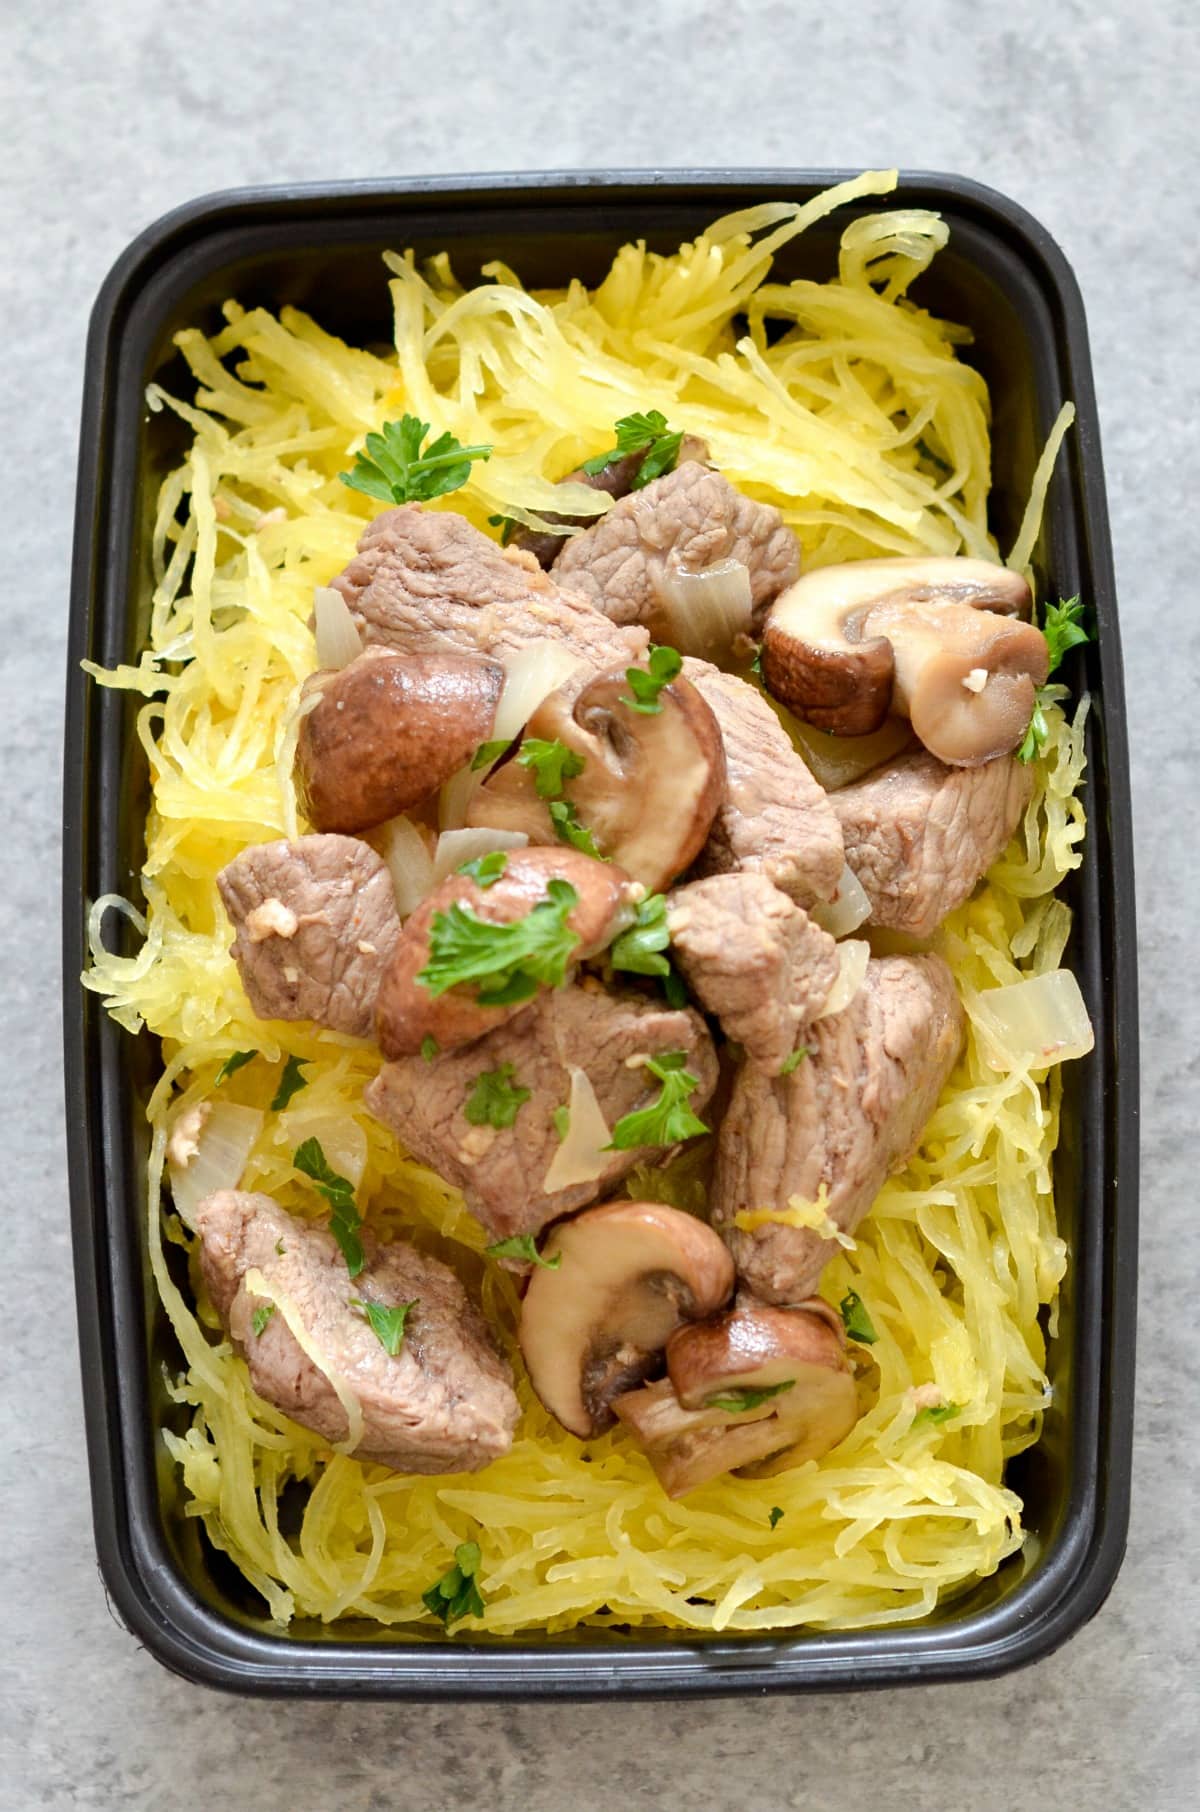
Easy Low Carb Beef and Broccoli Stir Fry
-
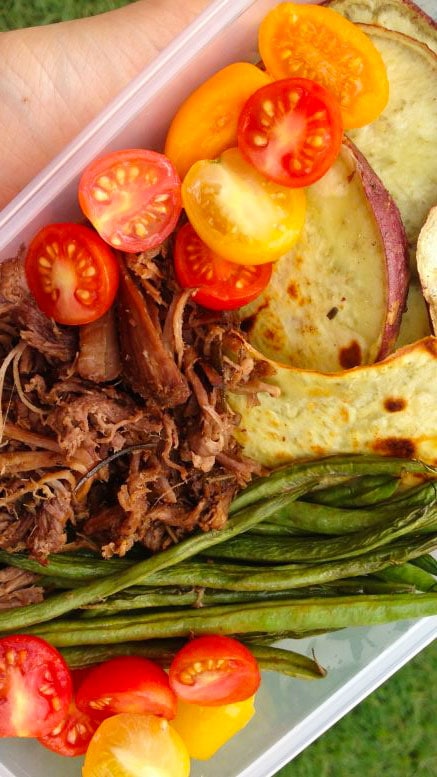
Pulled Pork Sliders With Sweet Potato Buns
-
Bacon Wrapped Chicken Meal Prep
-
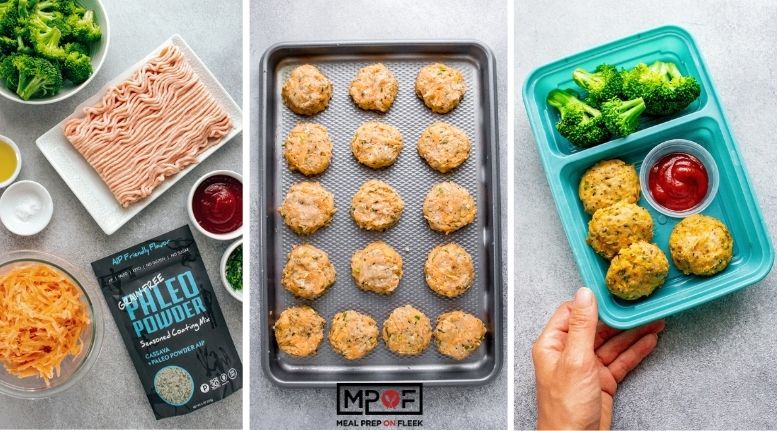
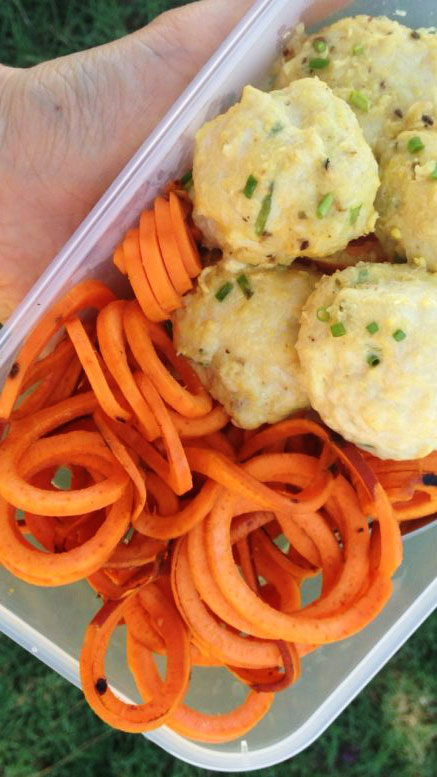
Sweet Potato Chicken Poppers (AIP friendly)
-
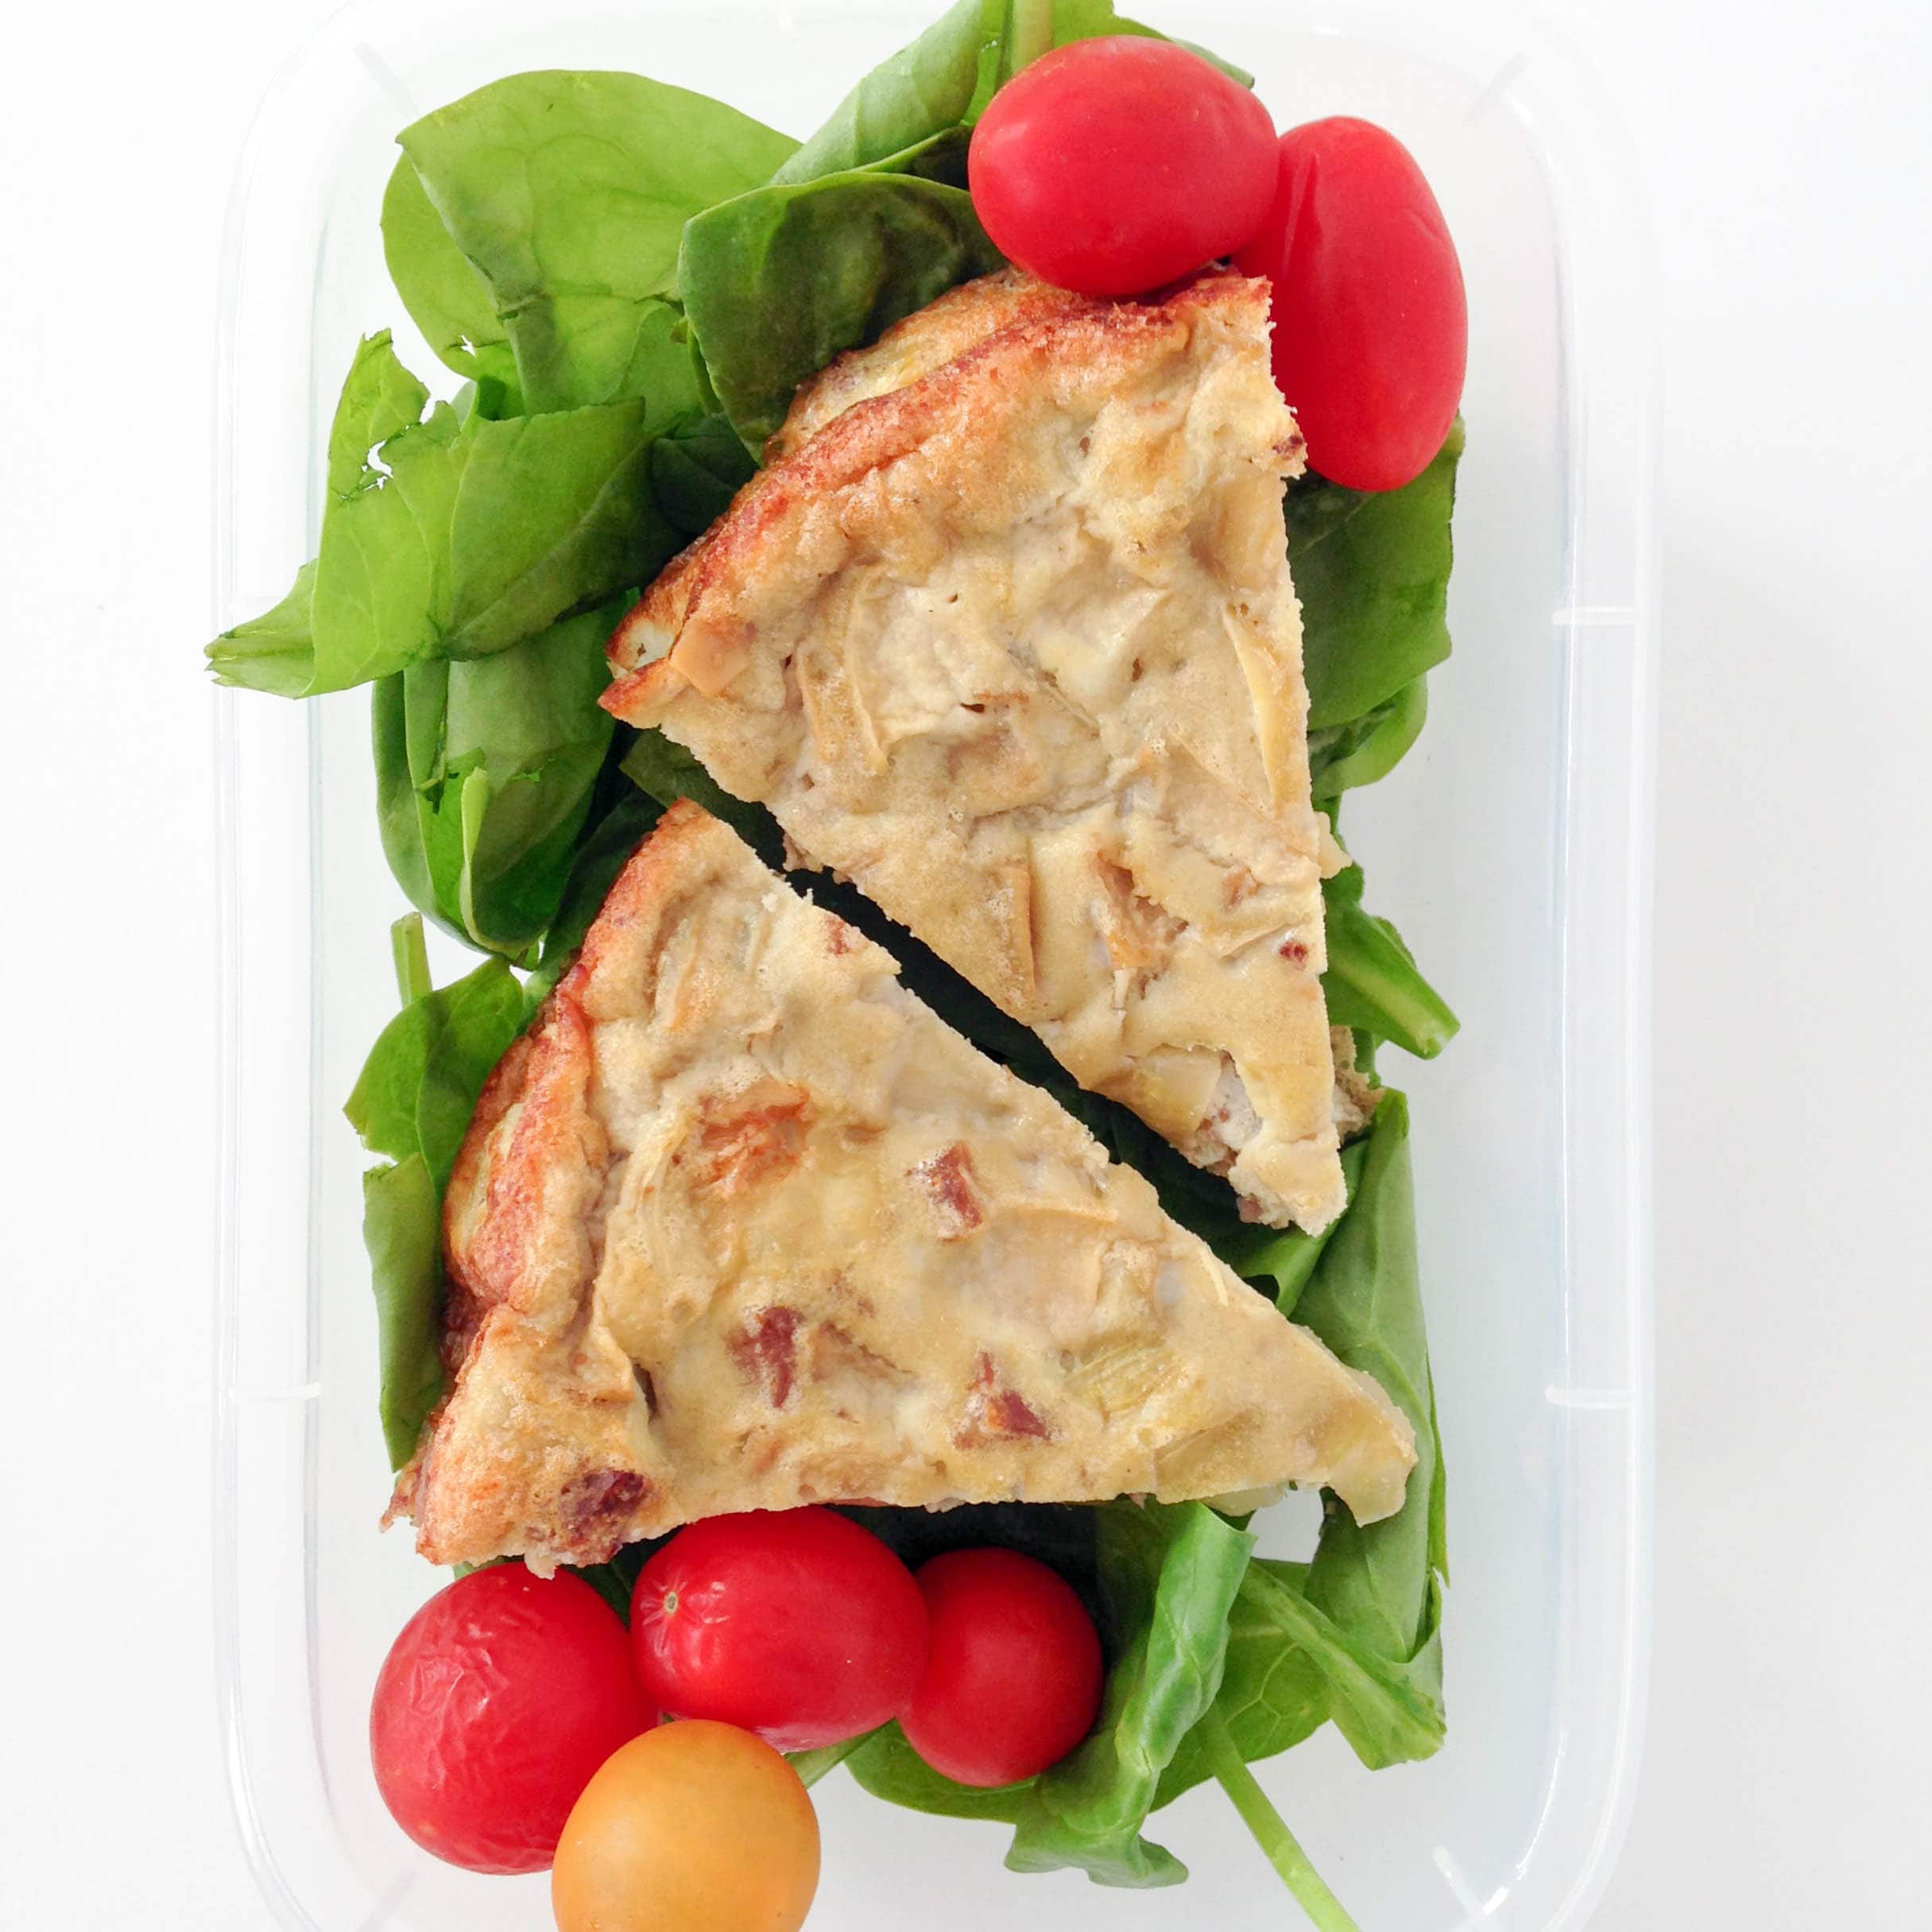
Warm Breakfast Frittata Meal Prep
-
Low Carb Sun Dried Tomato Egg Cups
-
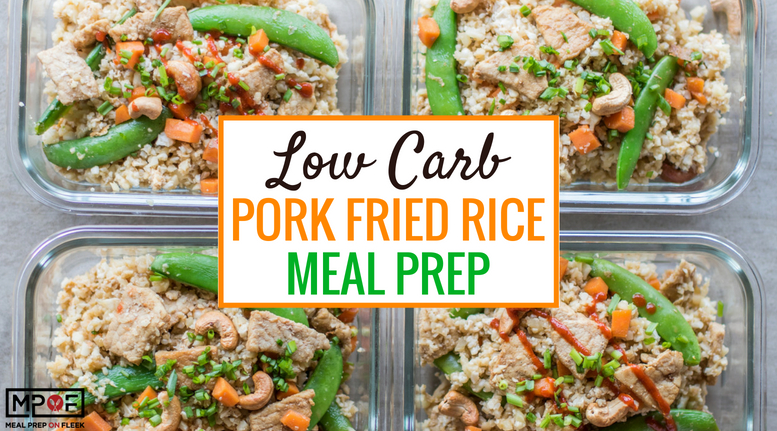
Low Carb Pork Fried Rice Meal Prep
-
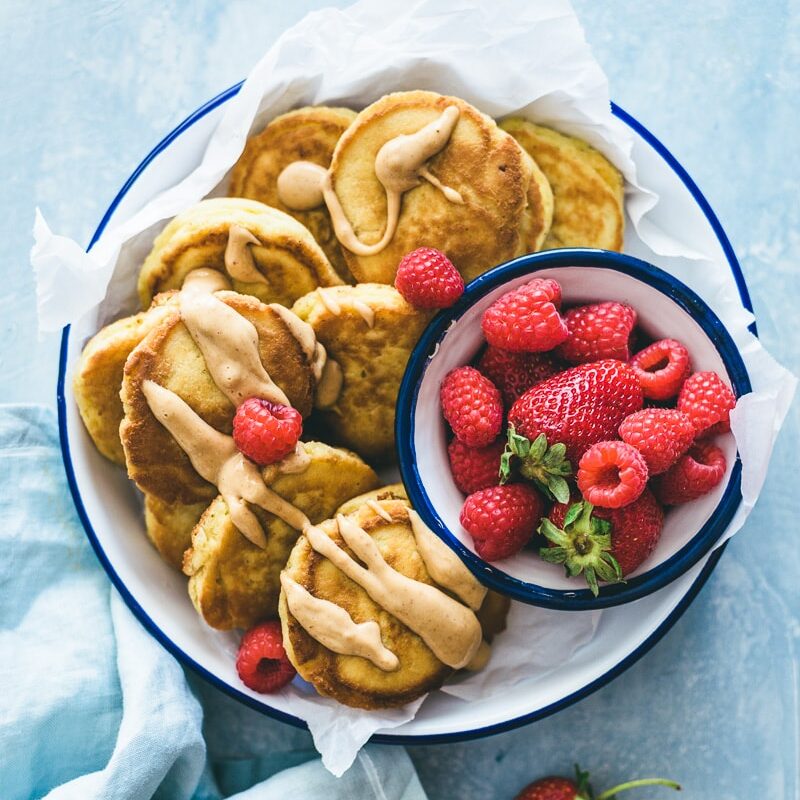
Yes, You CAN Meal Prep Pancakes!
-
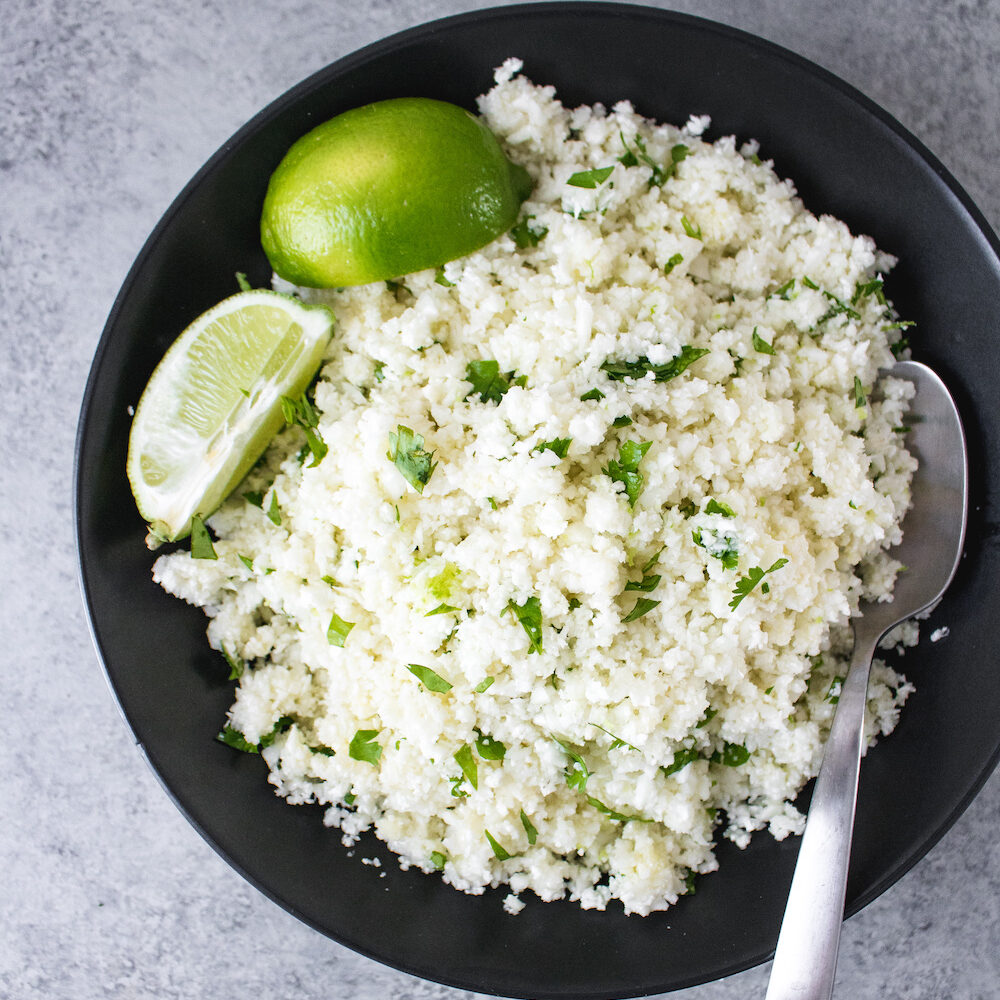
Cilantro Lime Cauliflower Rice
-
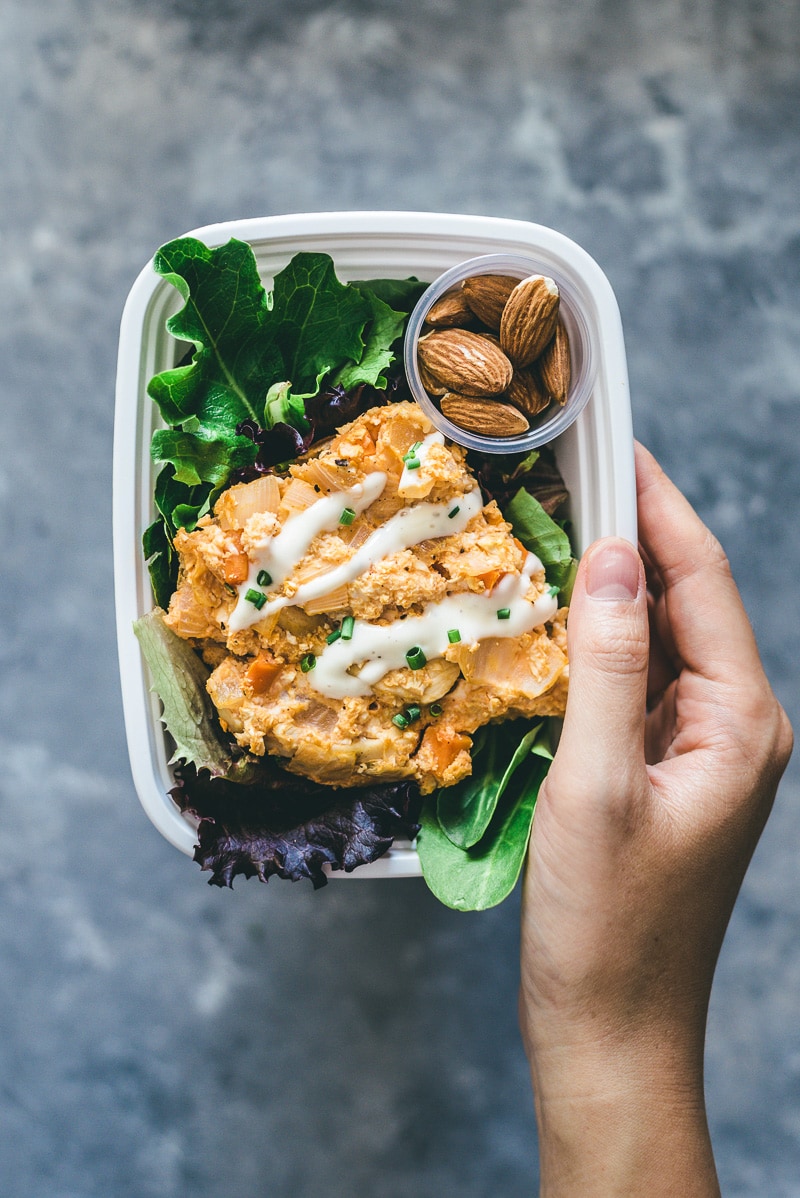
Baked Buffalo Chicken Casserole (GF, Whole30)
-
Sheet Pan Chipotle Eye Round Roast Meal Prep
-
Pot Roast with Au Jus
-
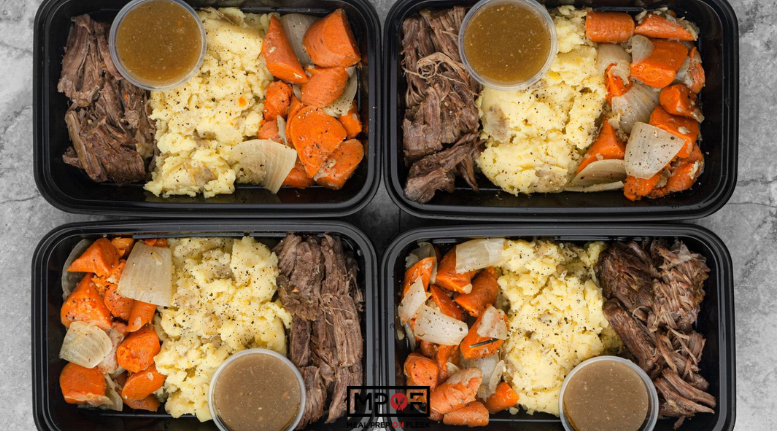
Instant Pot Roast with Mashed Potatoes
-
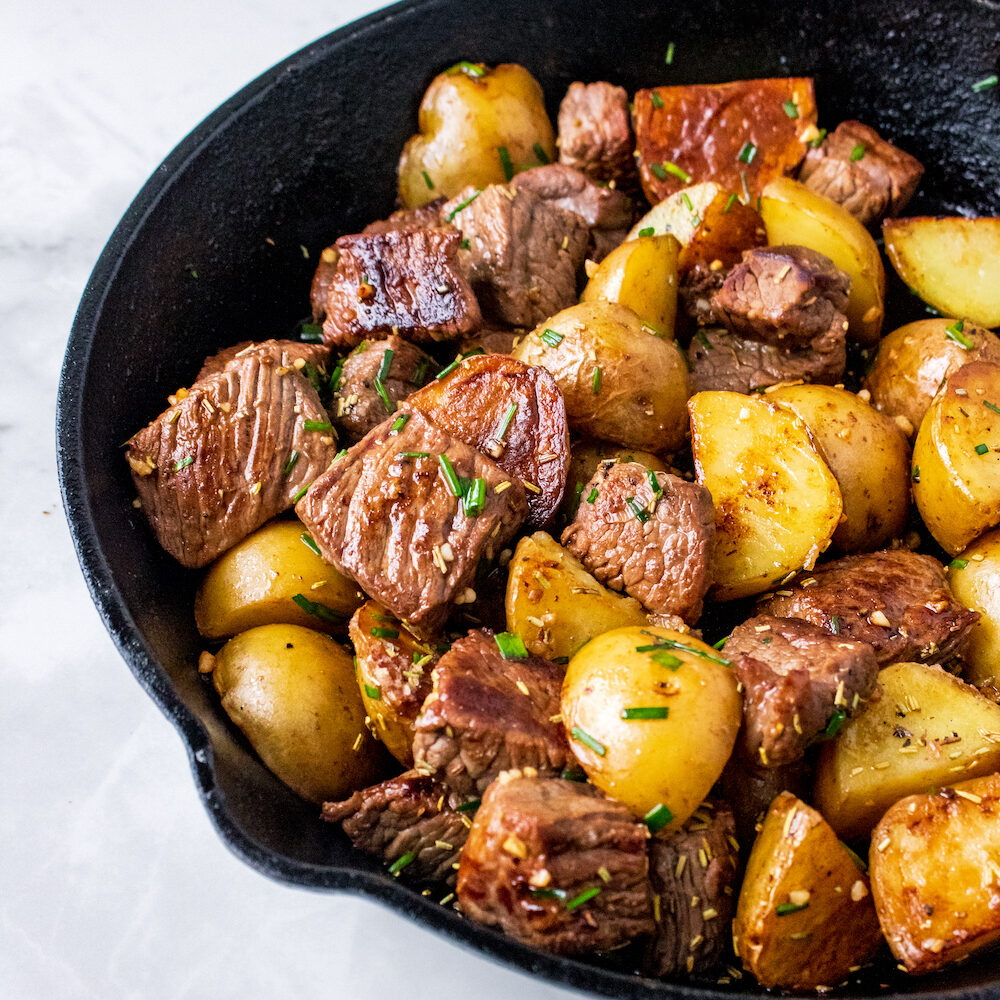
Easy Steak and Potato Bites
-
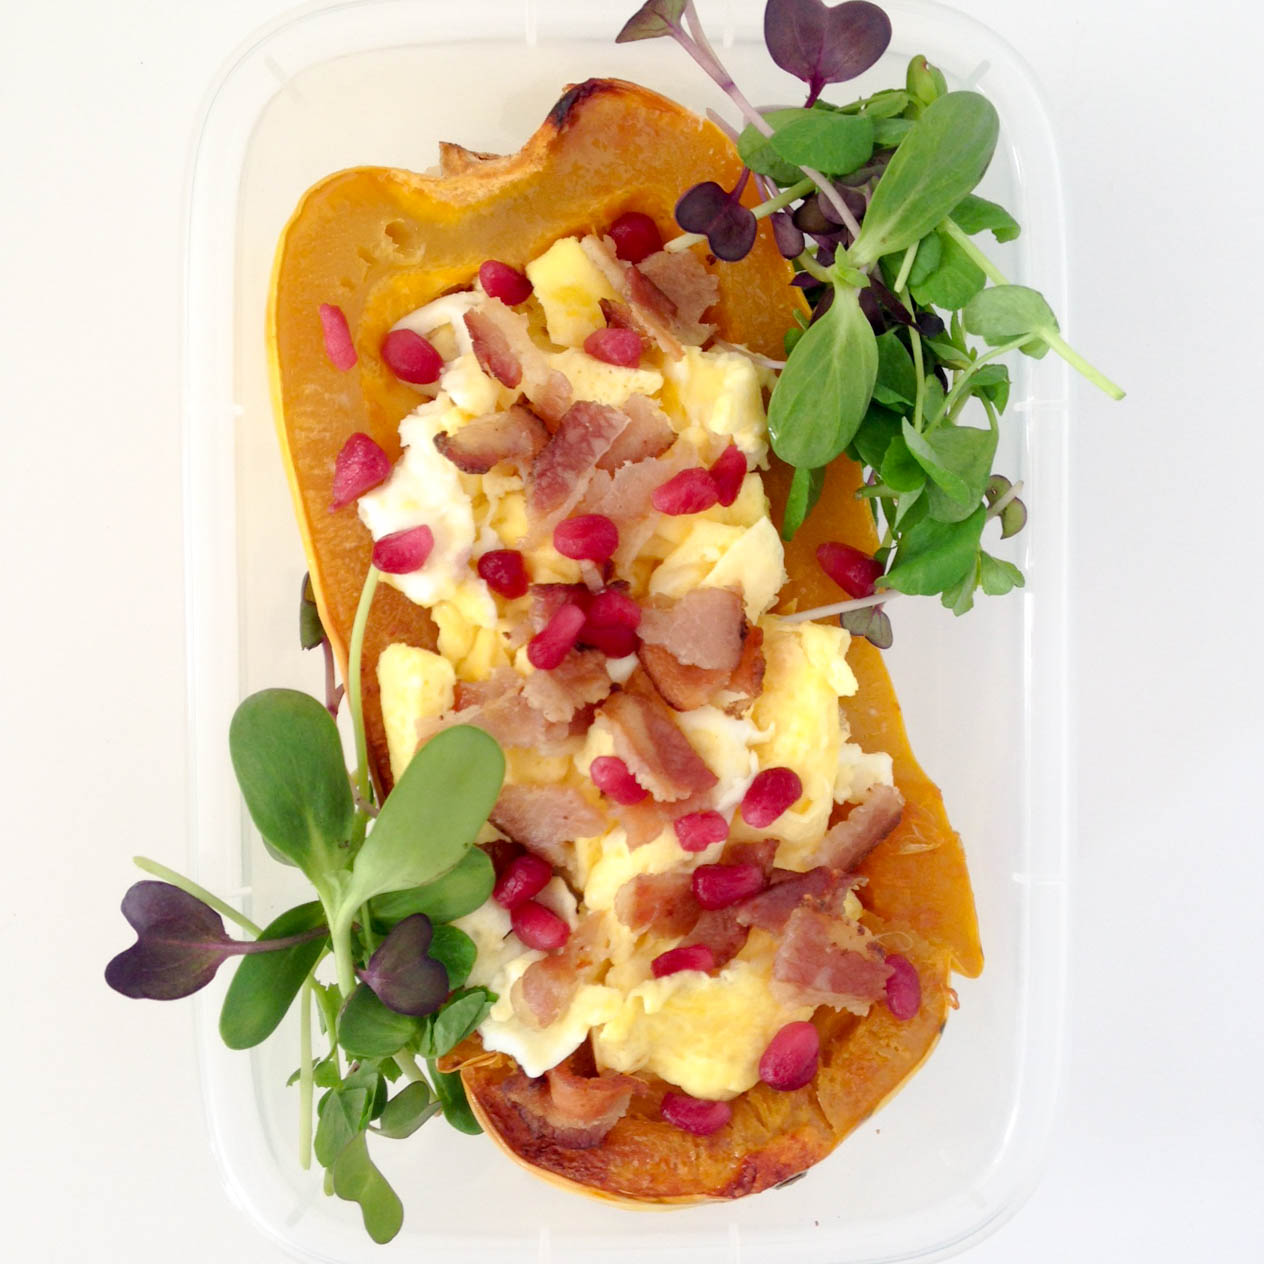
Stuffed Delicata Squash Breakfast Meal Prep
-
Spicy Meatball and Mashed Potato Meal Prep
-
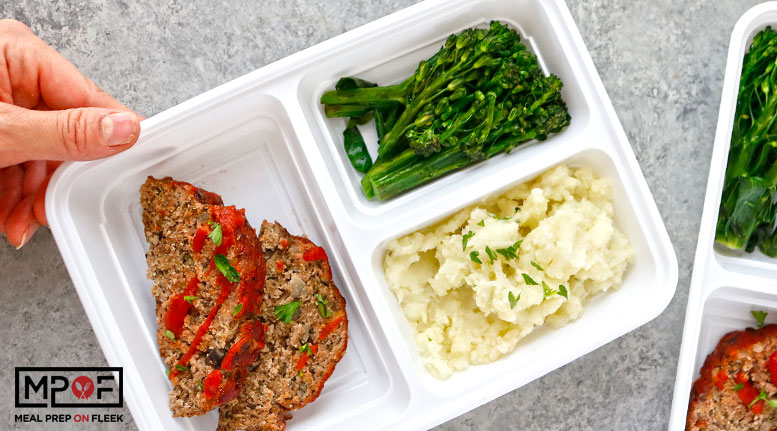
Meatloaf and Mashed Potato Meal Prep (paleo, GF)
-
One Pan Beef Stroganoff (Paleo,GF)
-
Chicken Bacon Ranch Meal Prep
-
Chicken Sausage & Parsnip Fries Meal Prep
-
Ghost Pepper and Tamarind Salmon Meal Prep
-
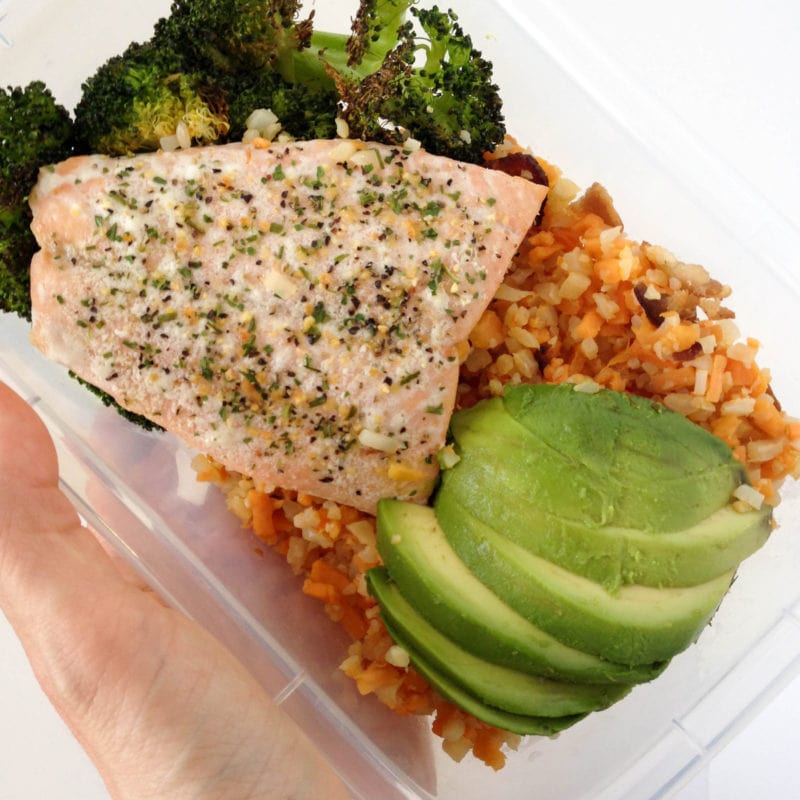
Salmon & Bacon 'Rice' Meal Prep
-
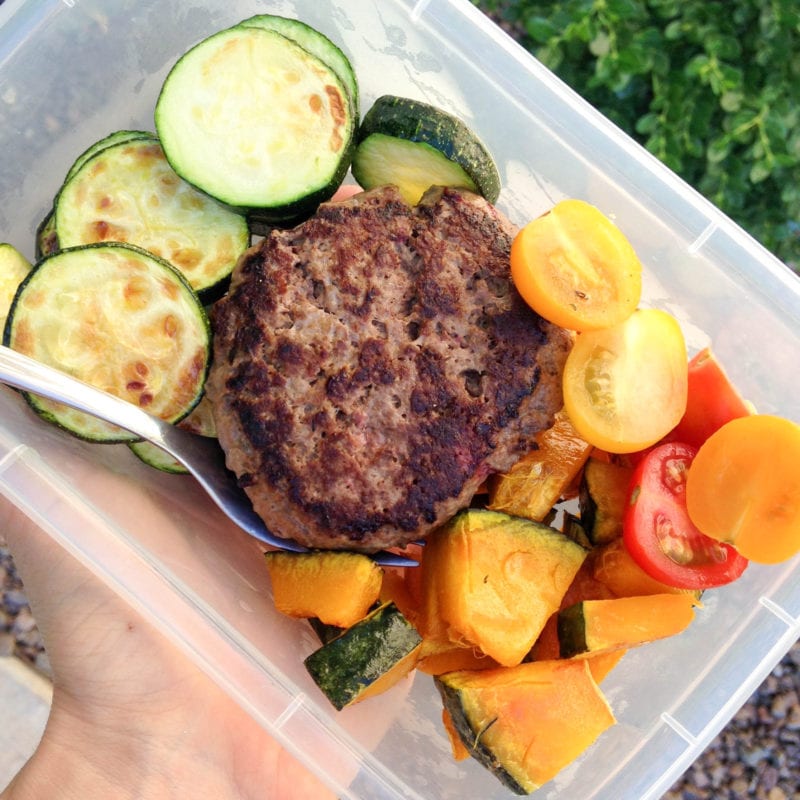
Burger and Veggie Meal Prep
-
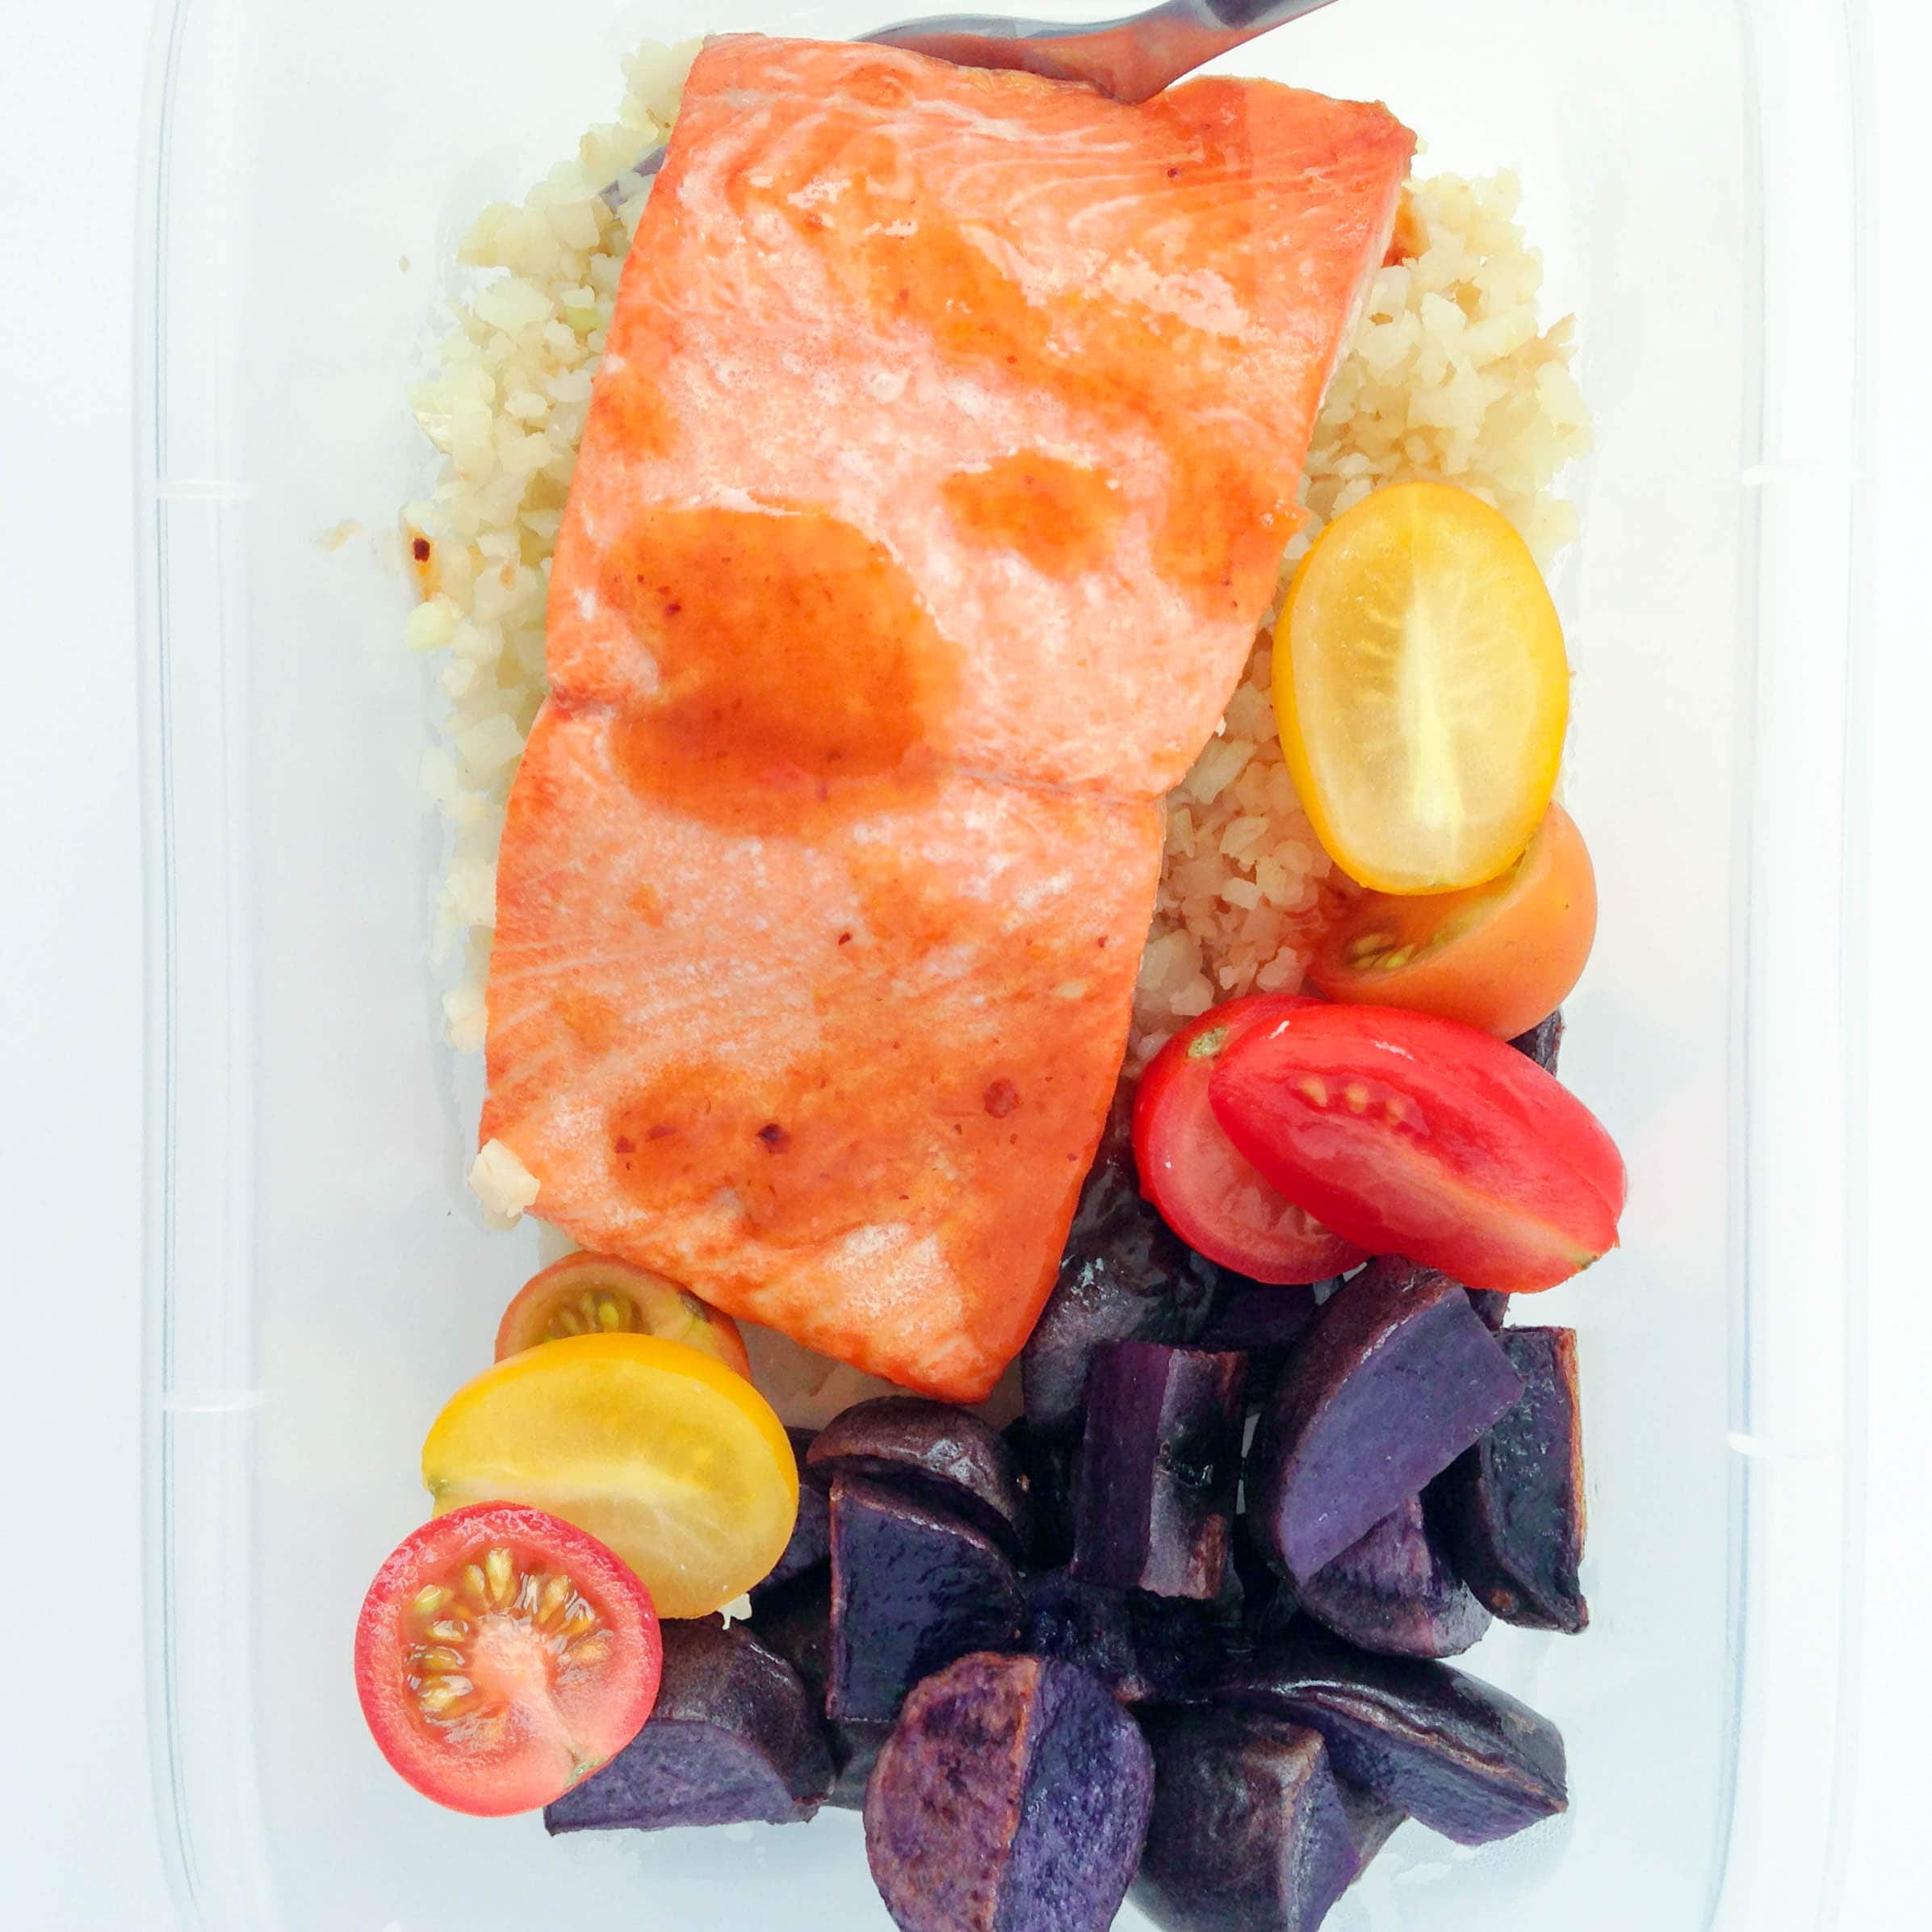
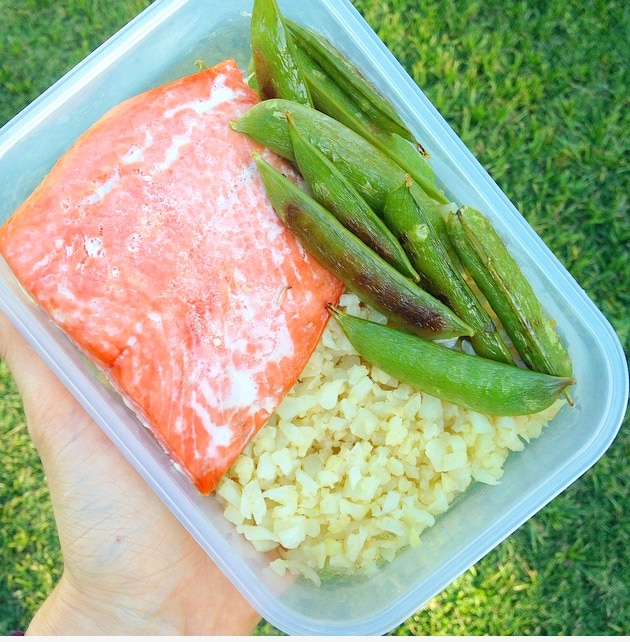
Simple Low Carb Salmon Meal Prep
-
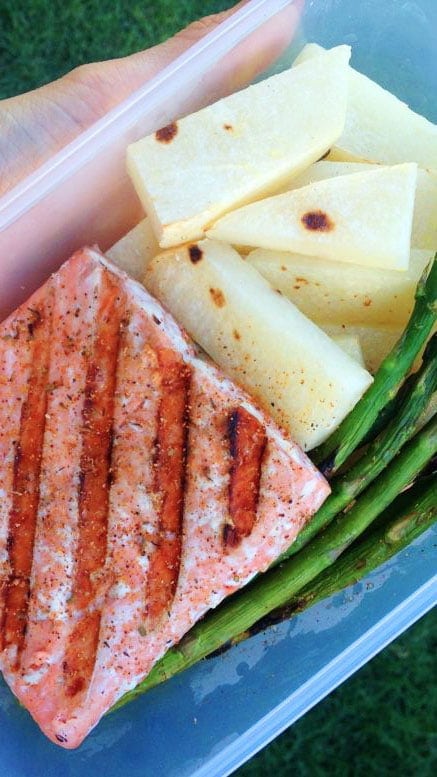
Meal Prep on the Grill
-
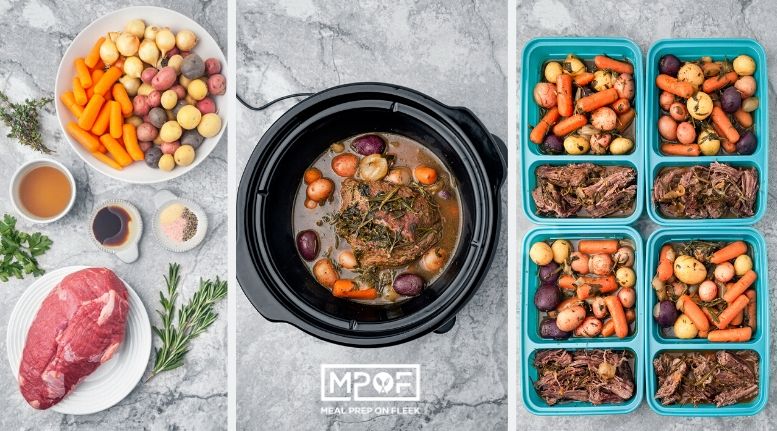
A Crockpot Roast Meal Prep To Make Your Week Easy!
-
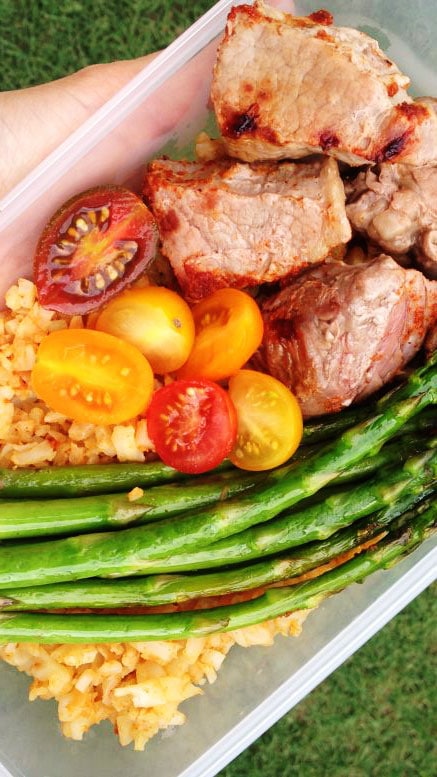
Low Carb Cajun Steak Meal Prep
-
Four Ingredient Pineapple Thai Turkey Meatball Meal Prep
-
Sheet Pan Paleo Protein Pancakes
-
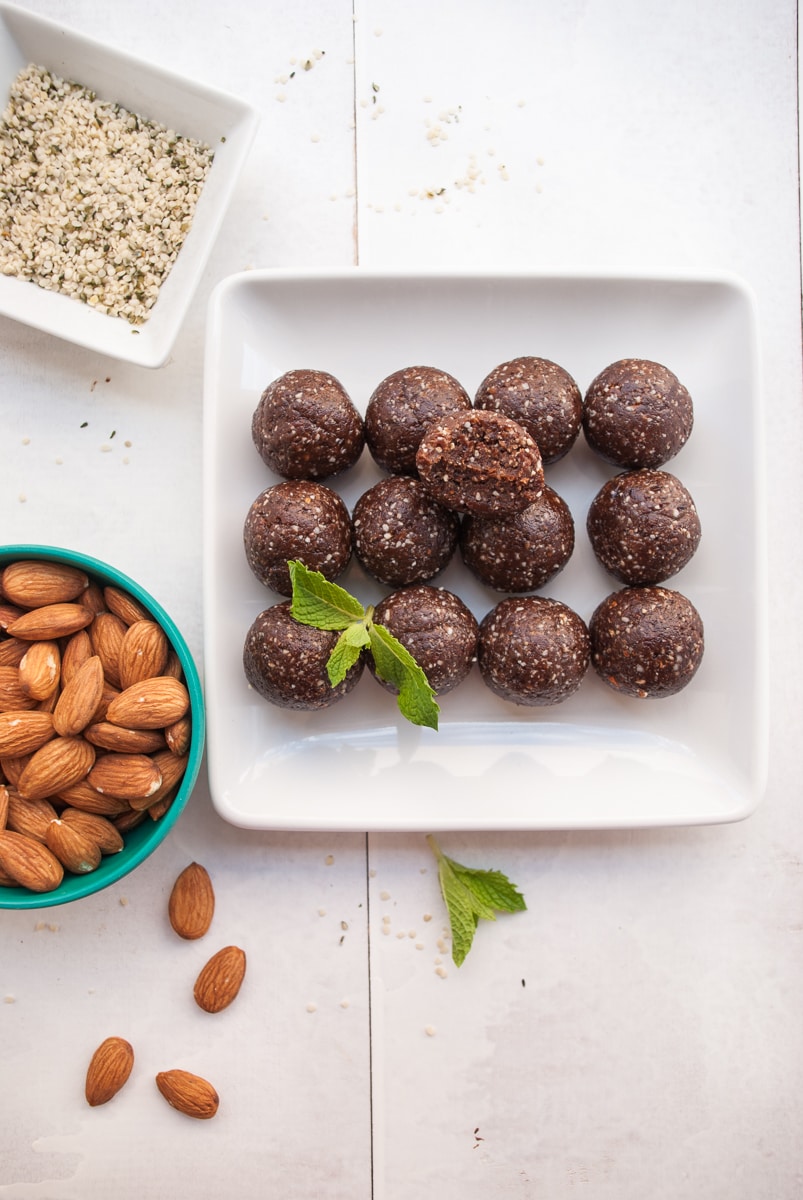
Mint Chocolate Energy Bites
-
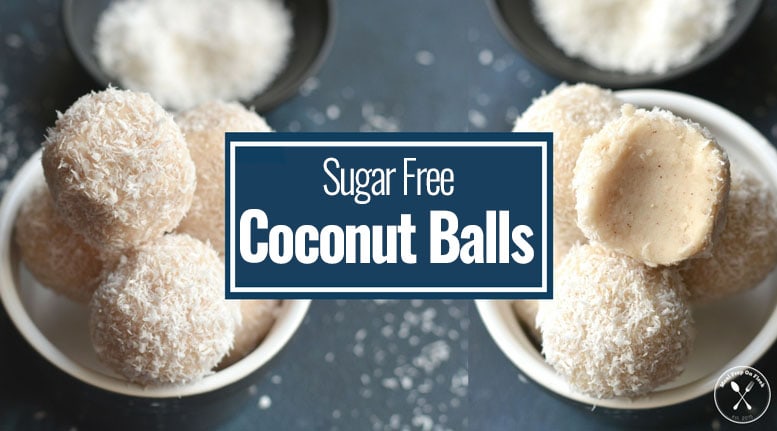
Sugar-Free Coconut Balls (Fat Bombs)
-
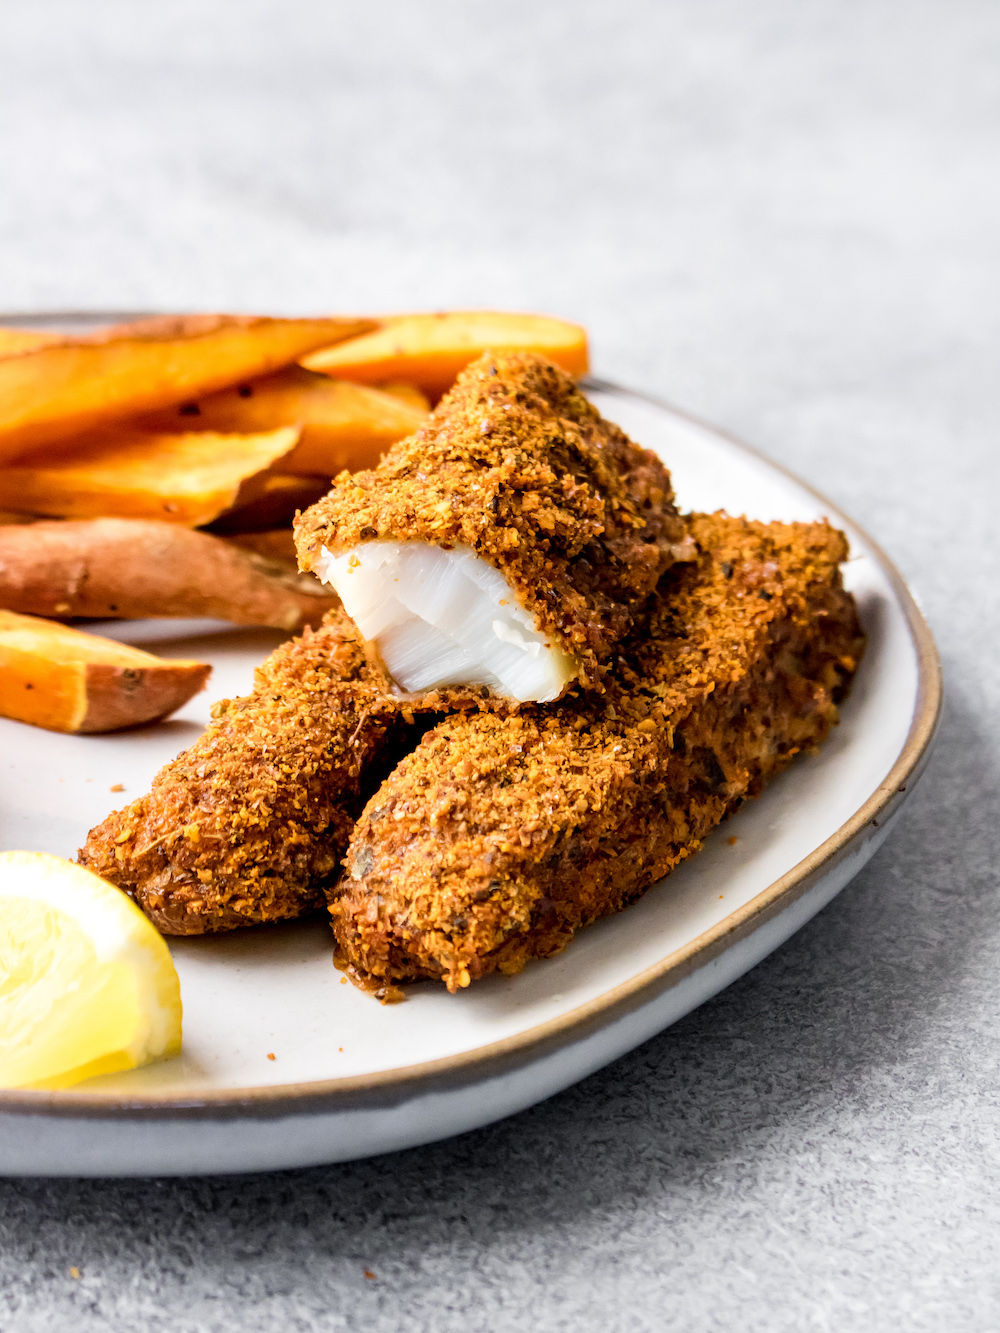
Crispy Fish Sticks
-
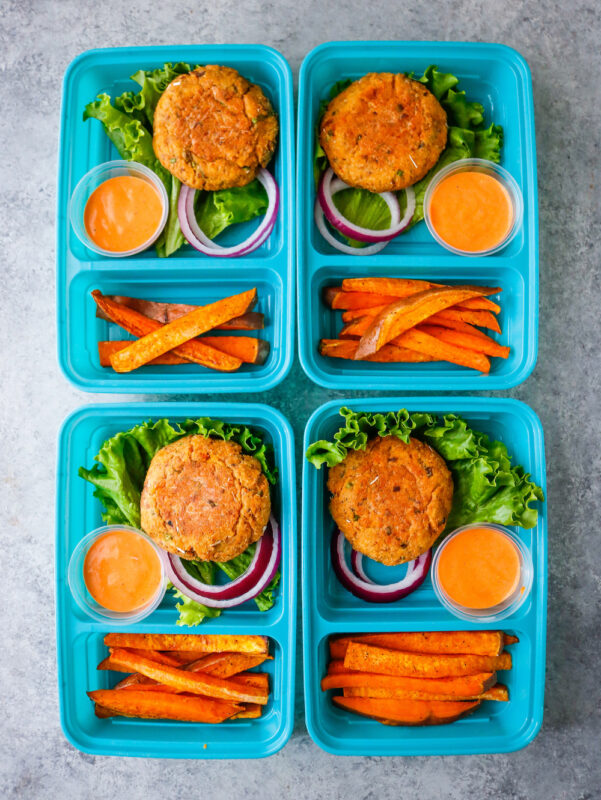
Sheet Pan Salmon Burgers
-
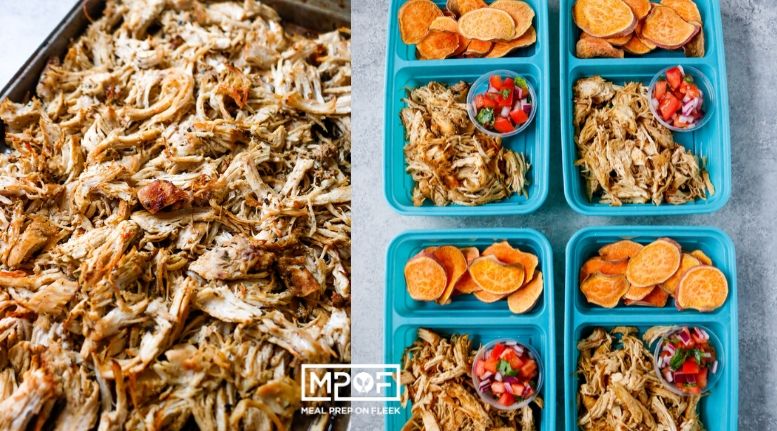
Chicken Carnitas Nachos
-
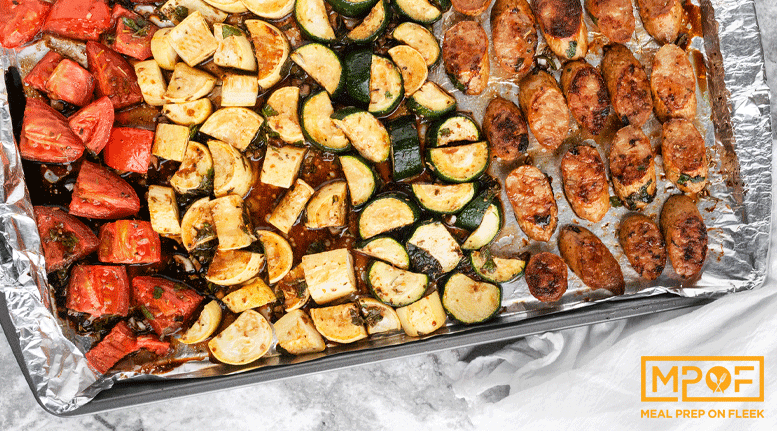
Balsamic Sausage and Veggie Meal Prep
-
Cremini Mushroom Meatloaf
-
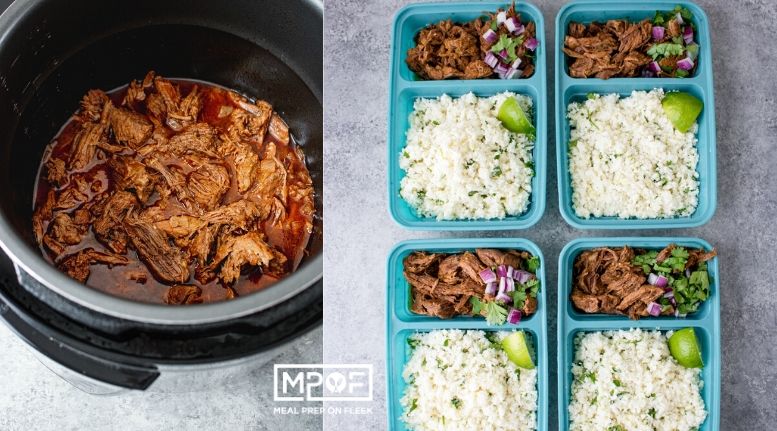
Instant Pot Beef Barbacoa