Diet
-
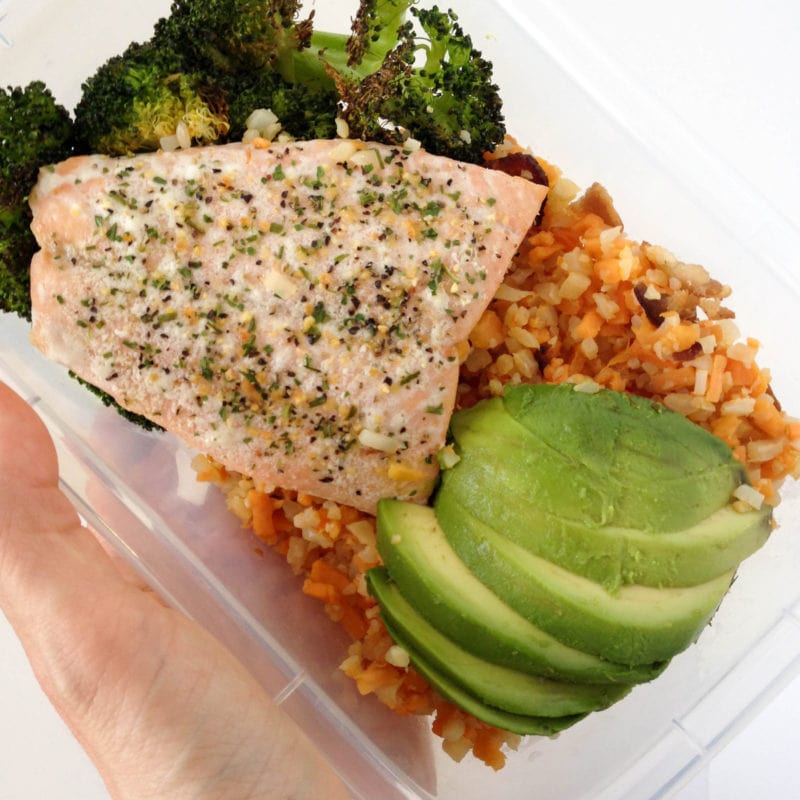
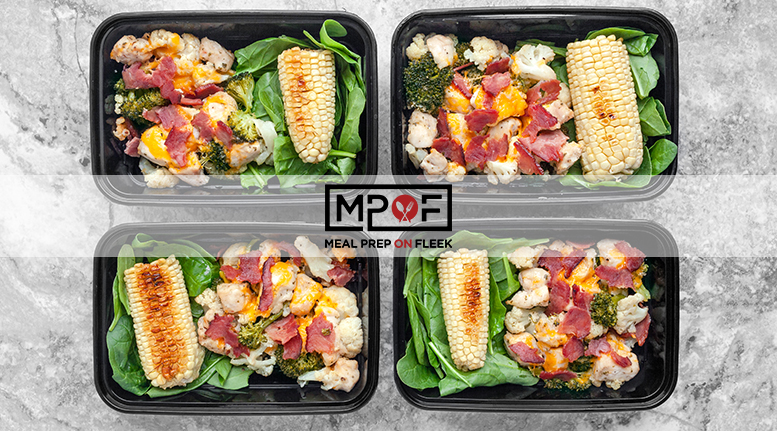
Salmon & Bacon 'Rice' Meal Prep
-
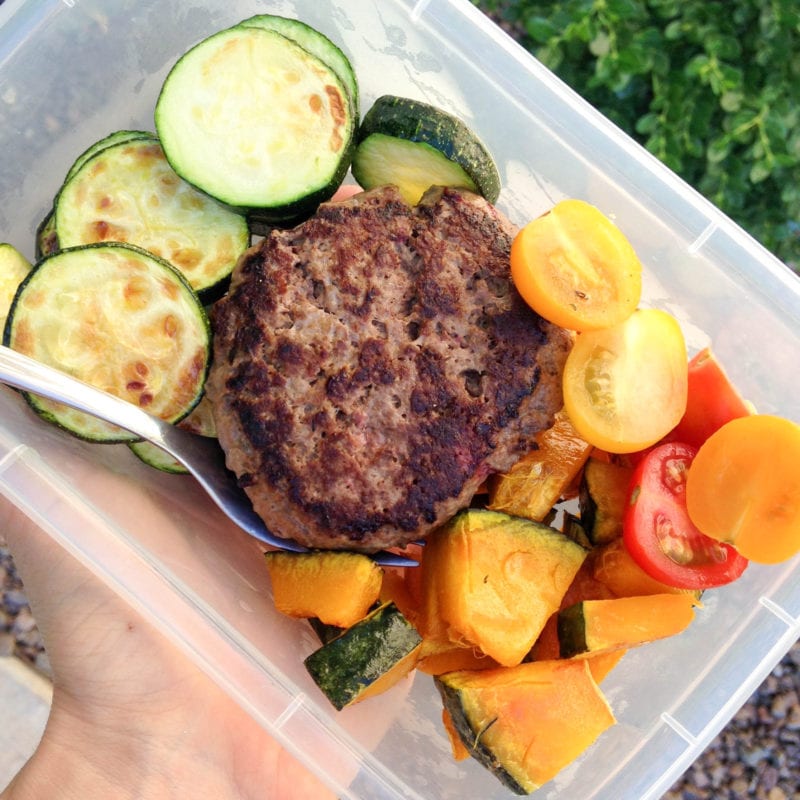
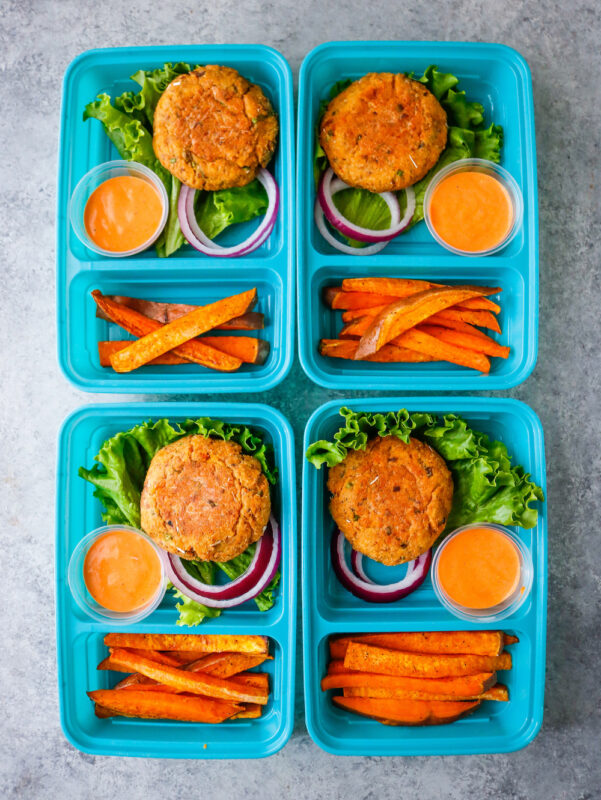
Burger and Veggie Meal Prep
-
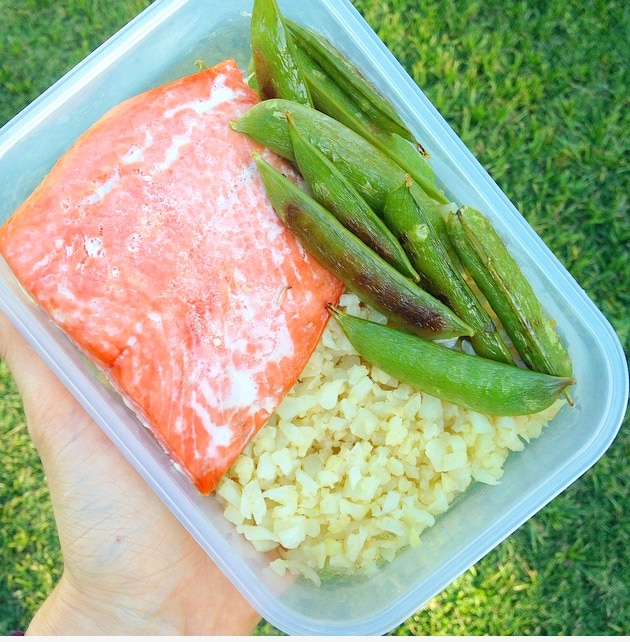
Simple Low Carb Salmon Meal Prep
-
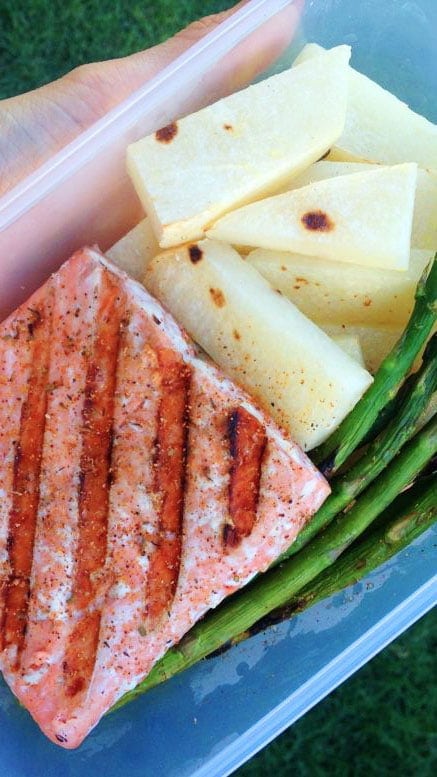
Meal Prep on the Grill
-
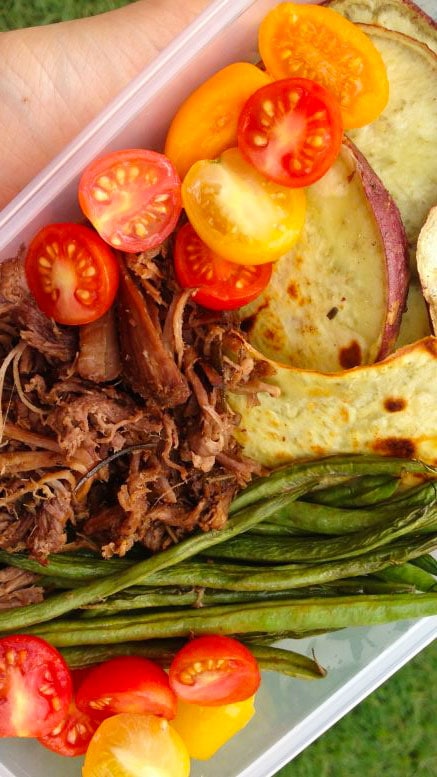
A Crockpot Roast Meal Prep To Make Your Week Easy!
-
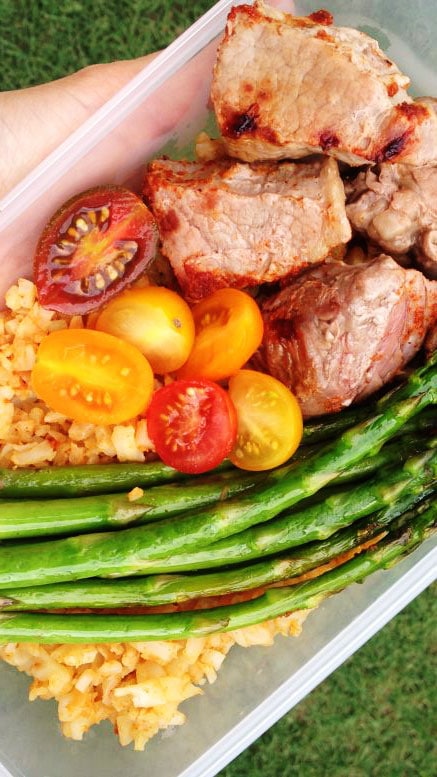
Low Carb Cajun Steak Meal Prep
-
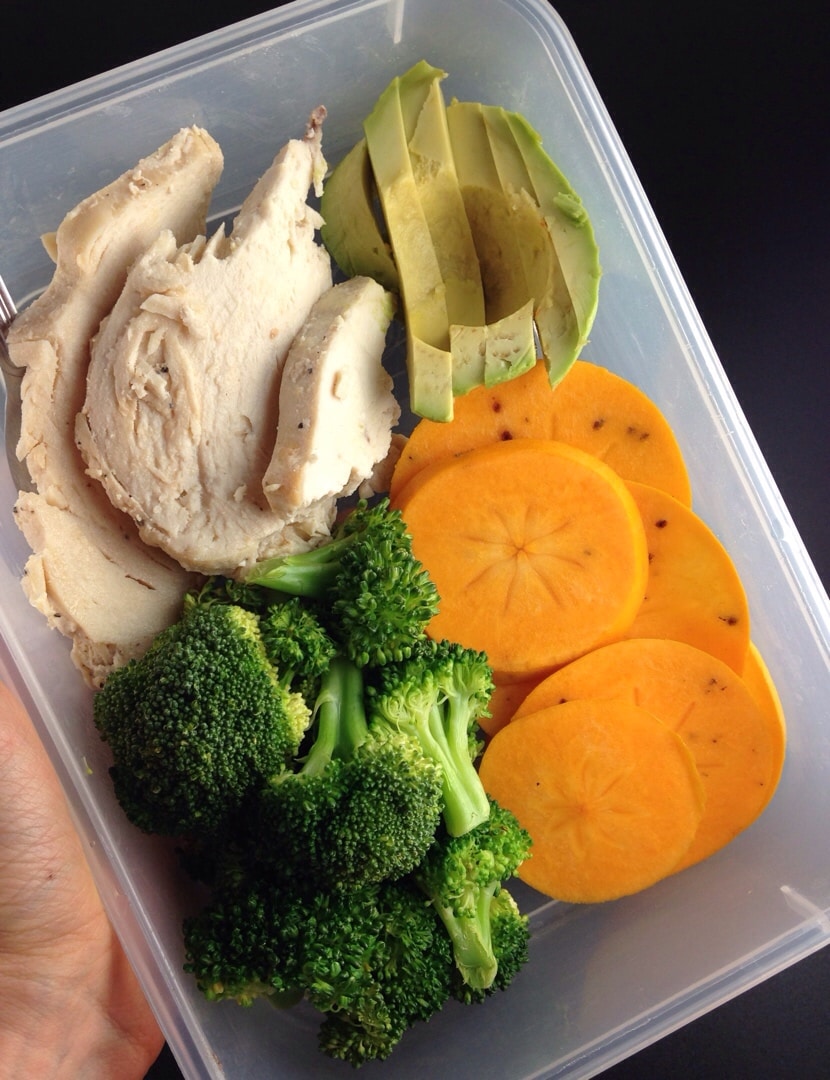
Roasted Chicken and Winter Persimmons Make This Sweet & Savory Meal Prep
-
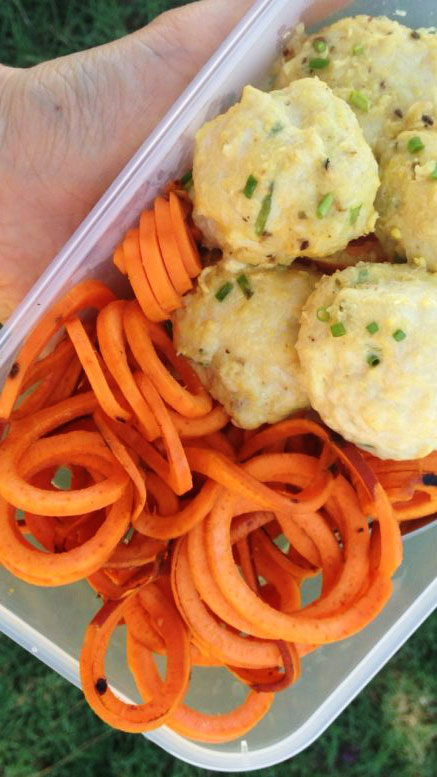
Four Ingredient Pineapple Thai Turkey Meatball Meal Prep
-
Simple Fruit Salsa Salmon Meal Prep
-
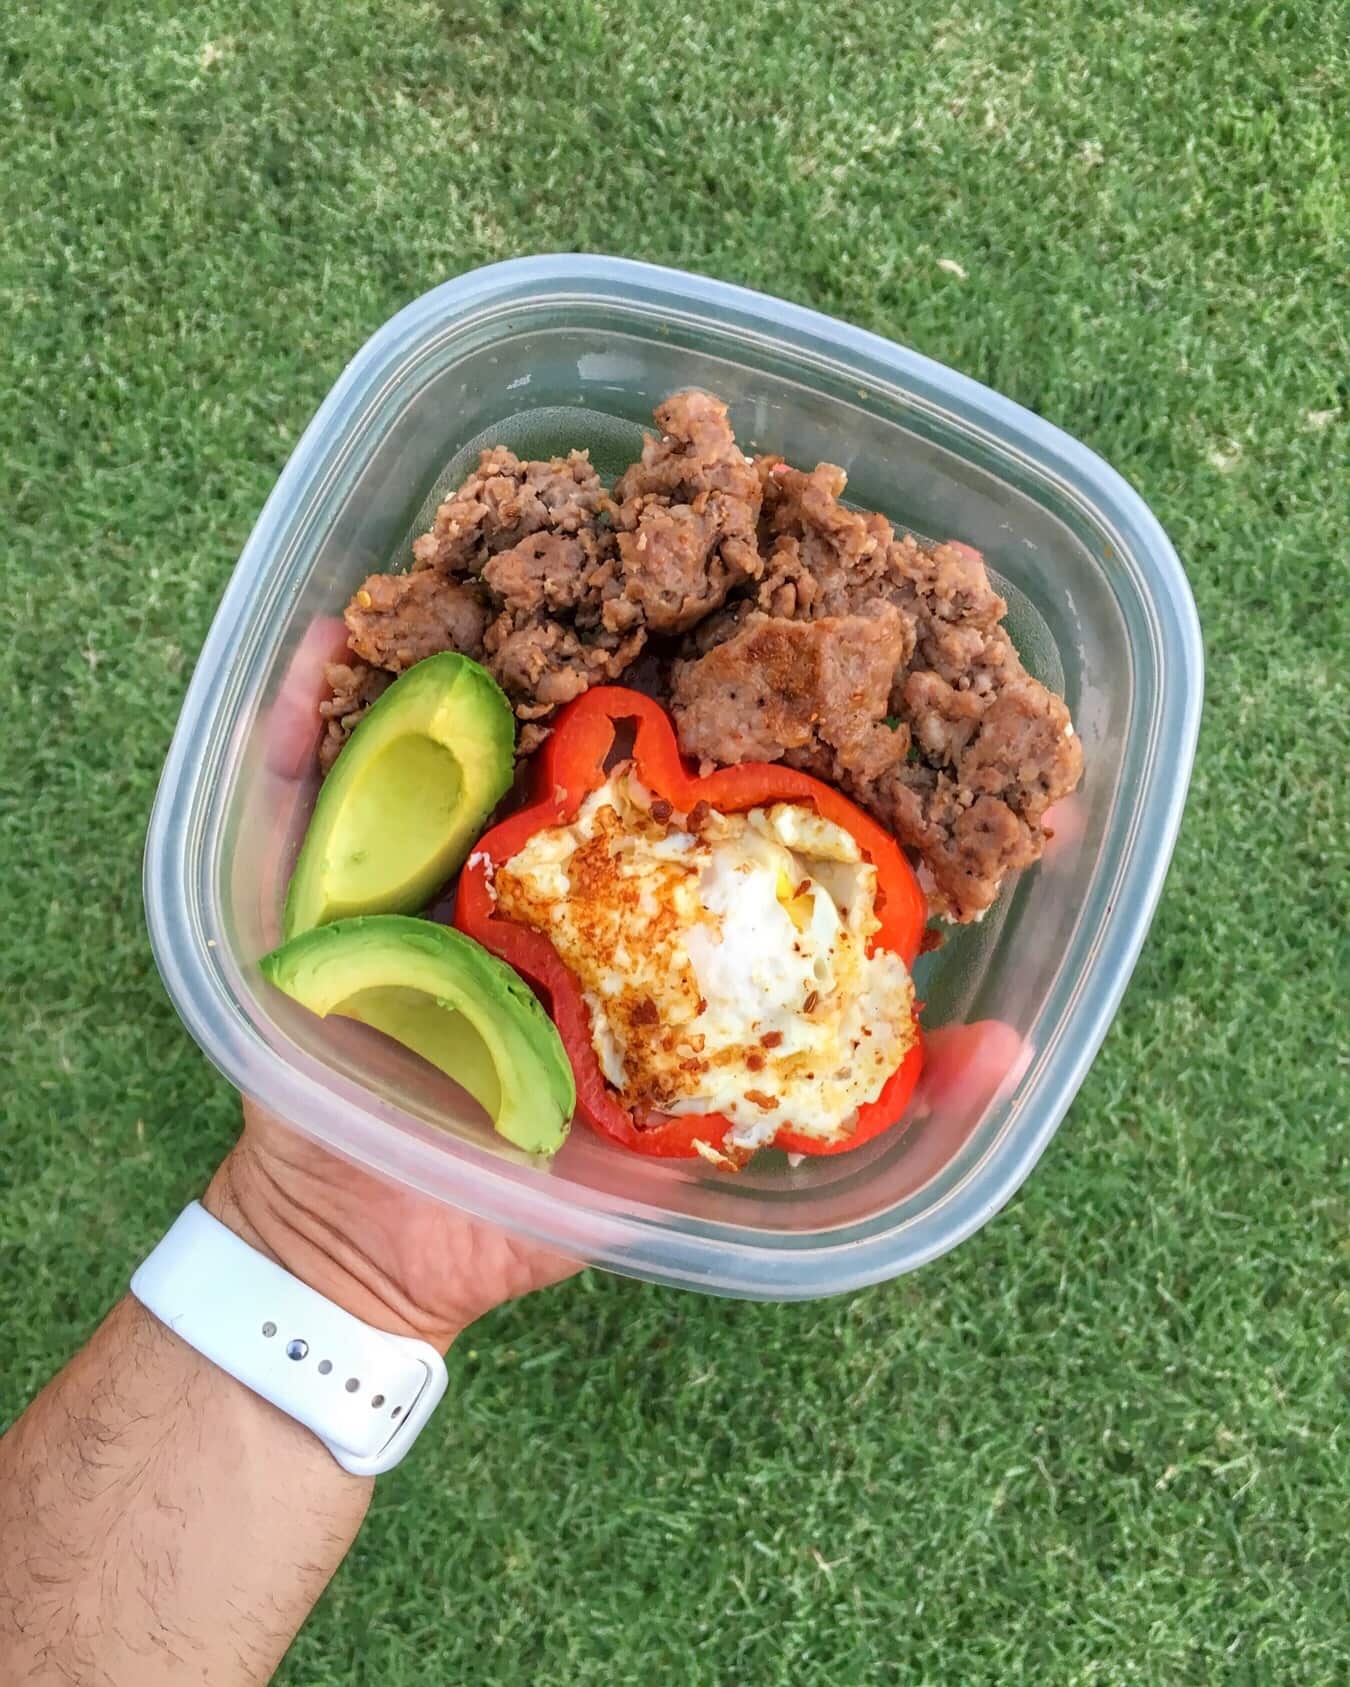
Egg, Sausage, Bell Pepper, and Avocado Breakfast Meal Prep
-
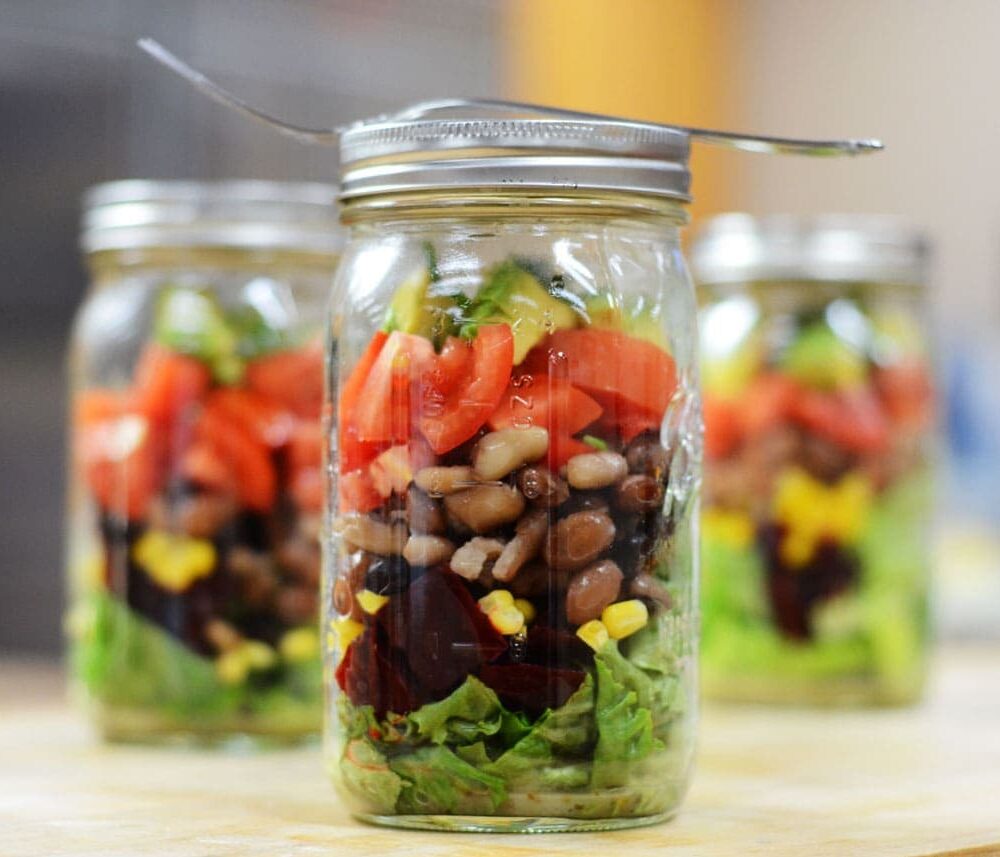
Vegetarian Salad in a Jar
-
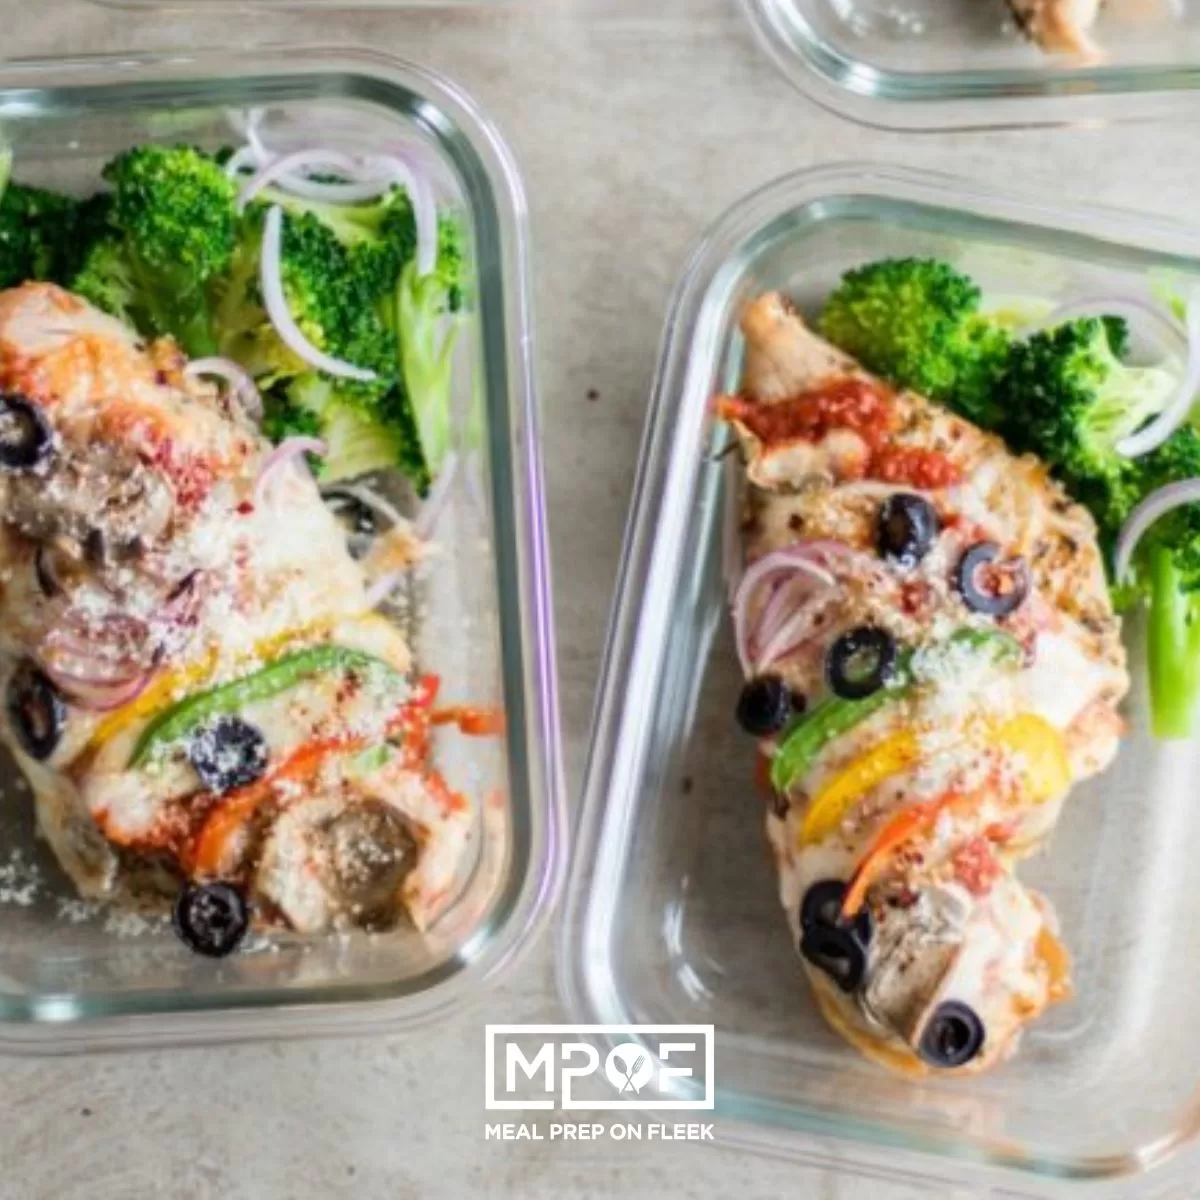
Veggie Supreme Pizza Chicken Meal Prep
-
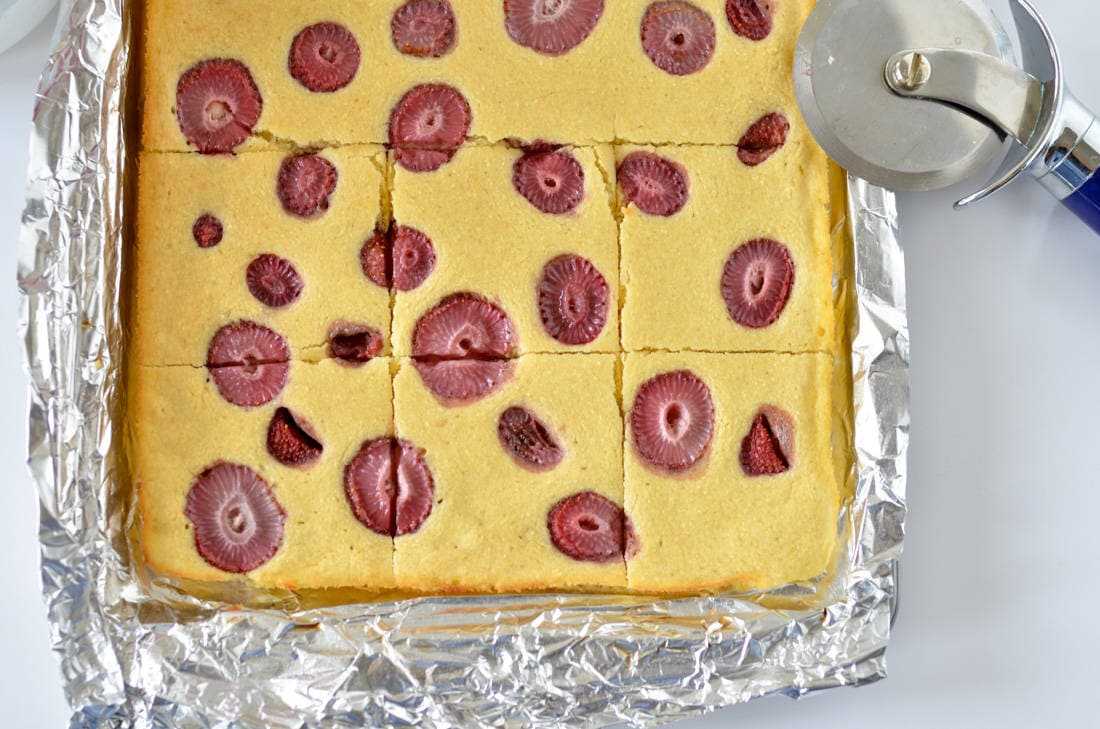
Sheet Pan Paleo Protein Pancakes
-
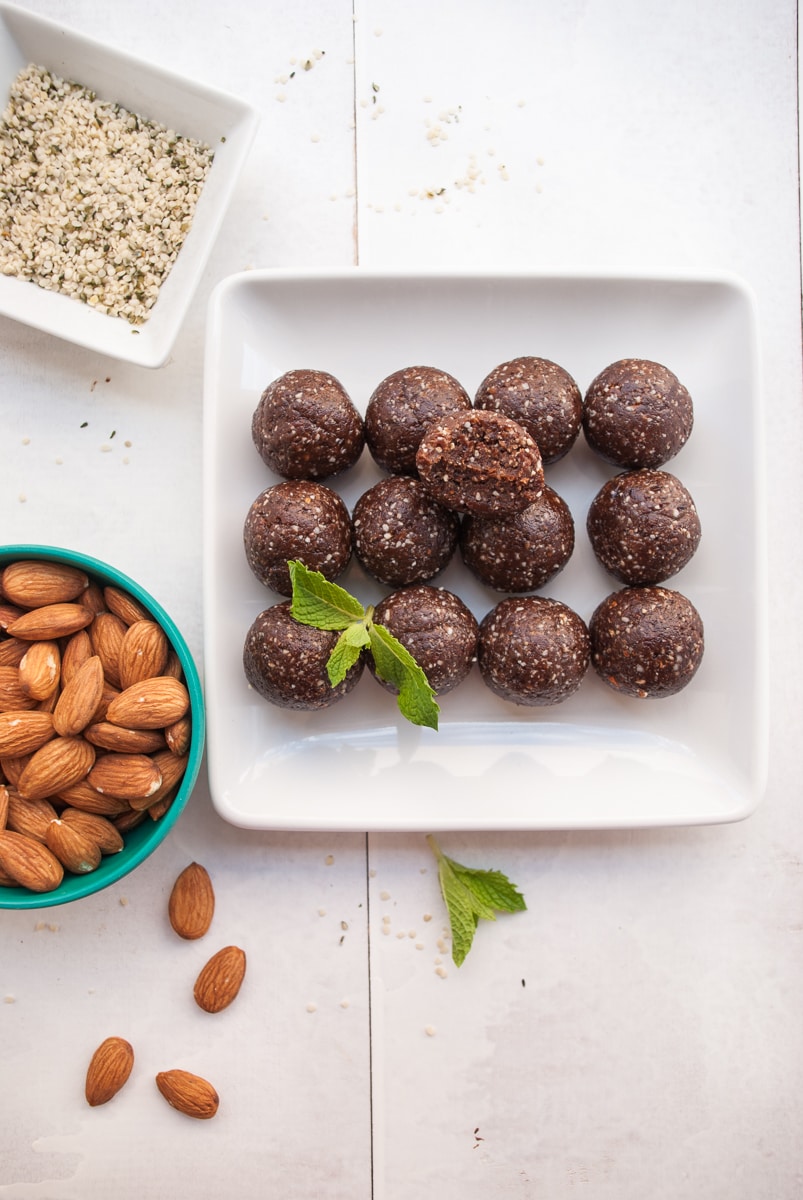
Mint Chocolate Energy Bites
-
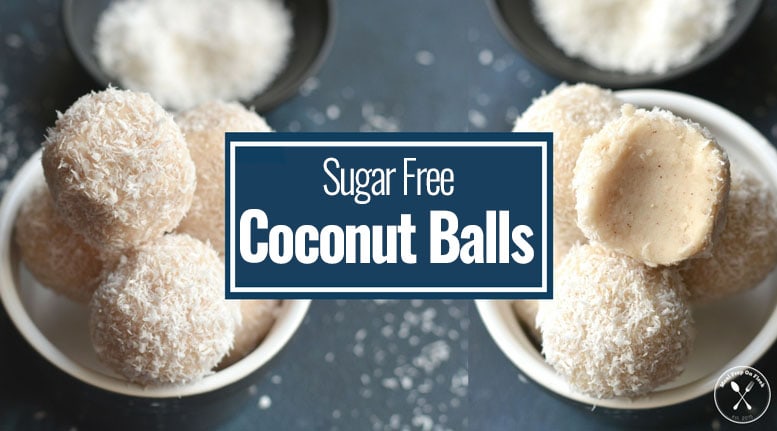
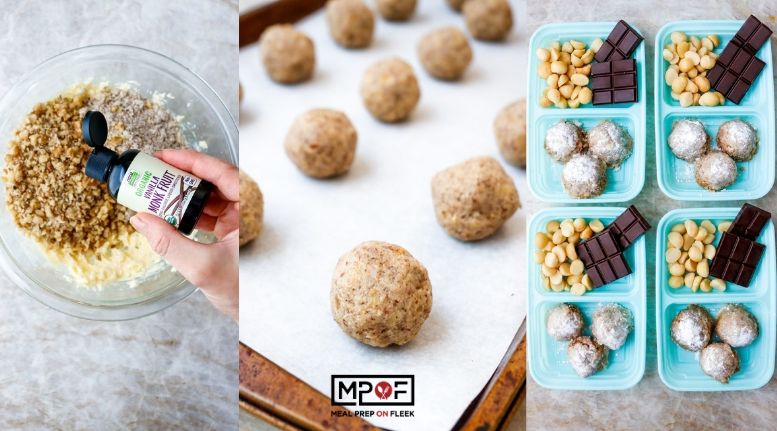
Sugar-Free Coconut Balls (Fat Bombs)
-
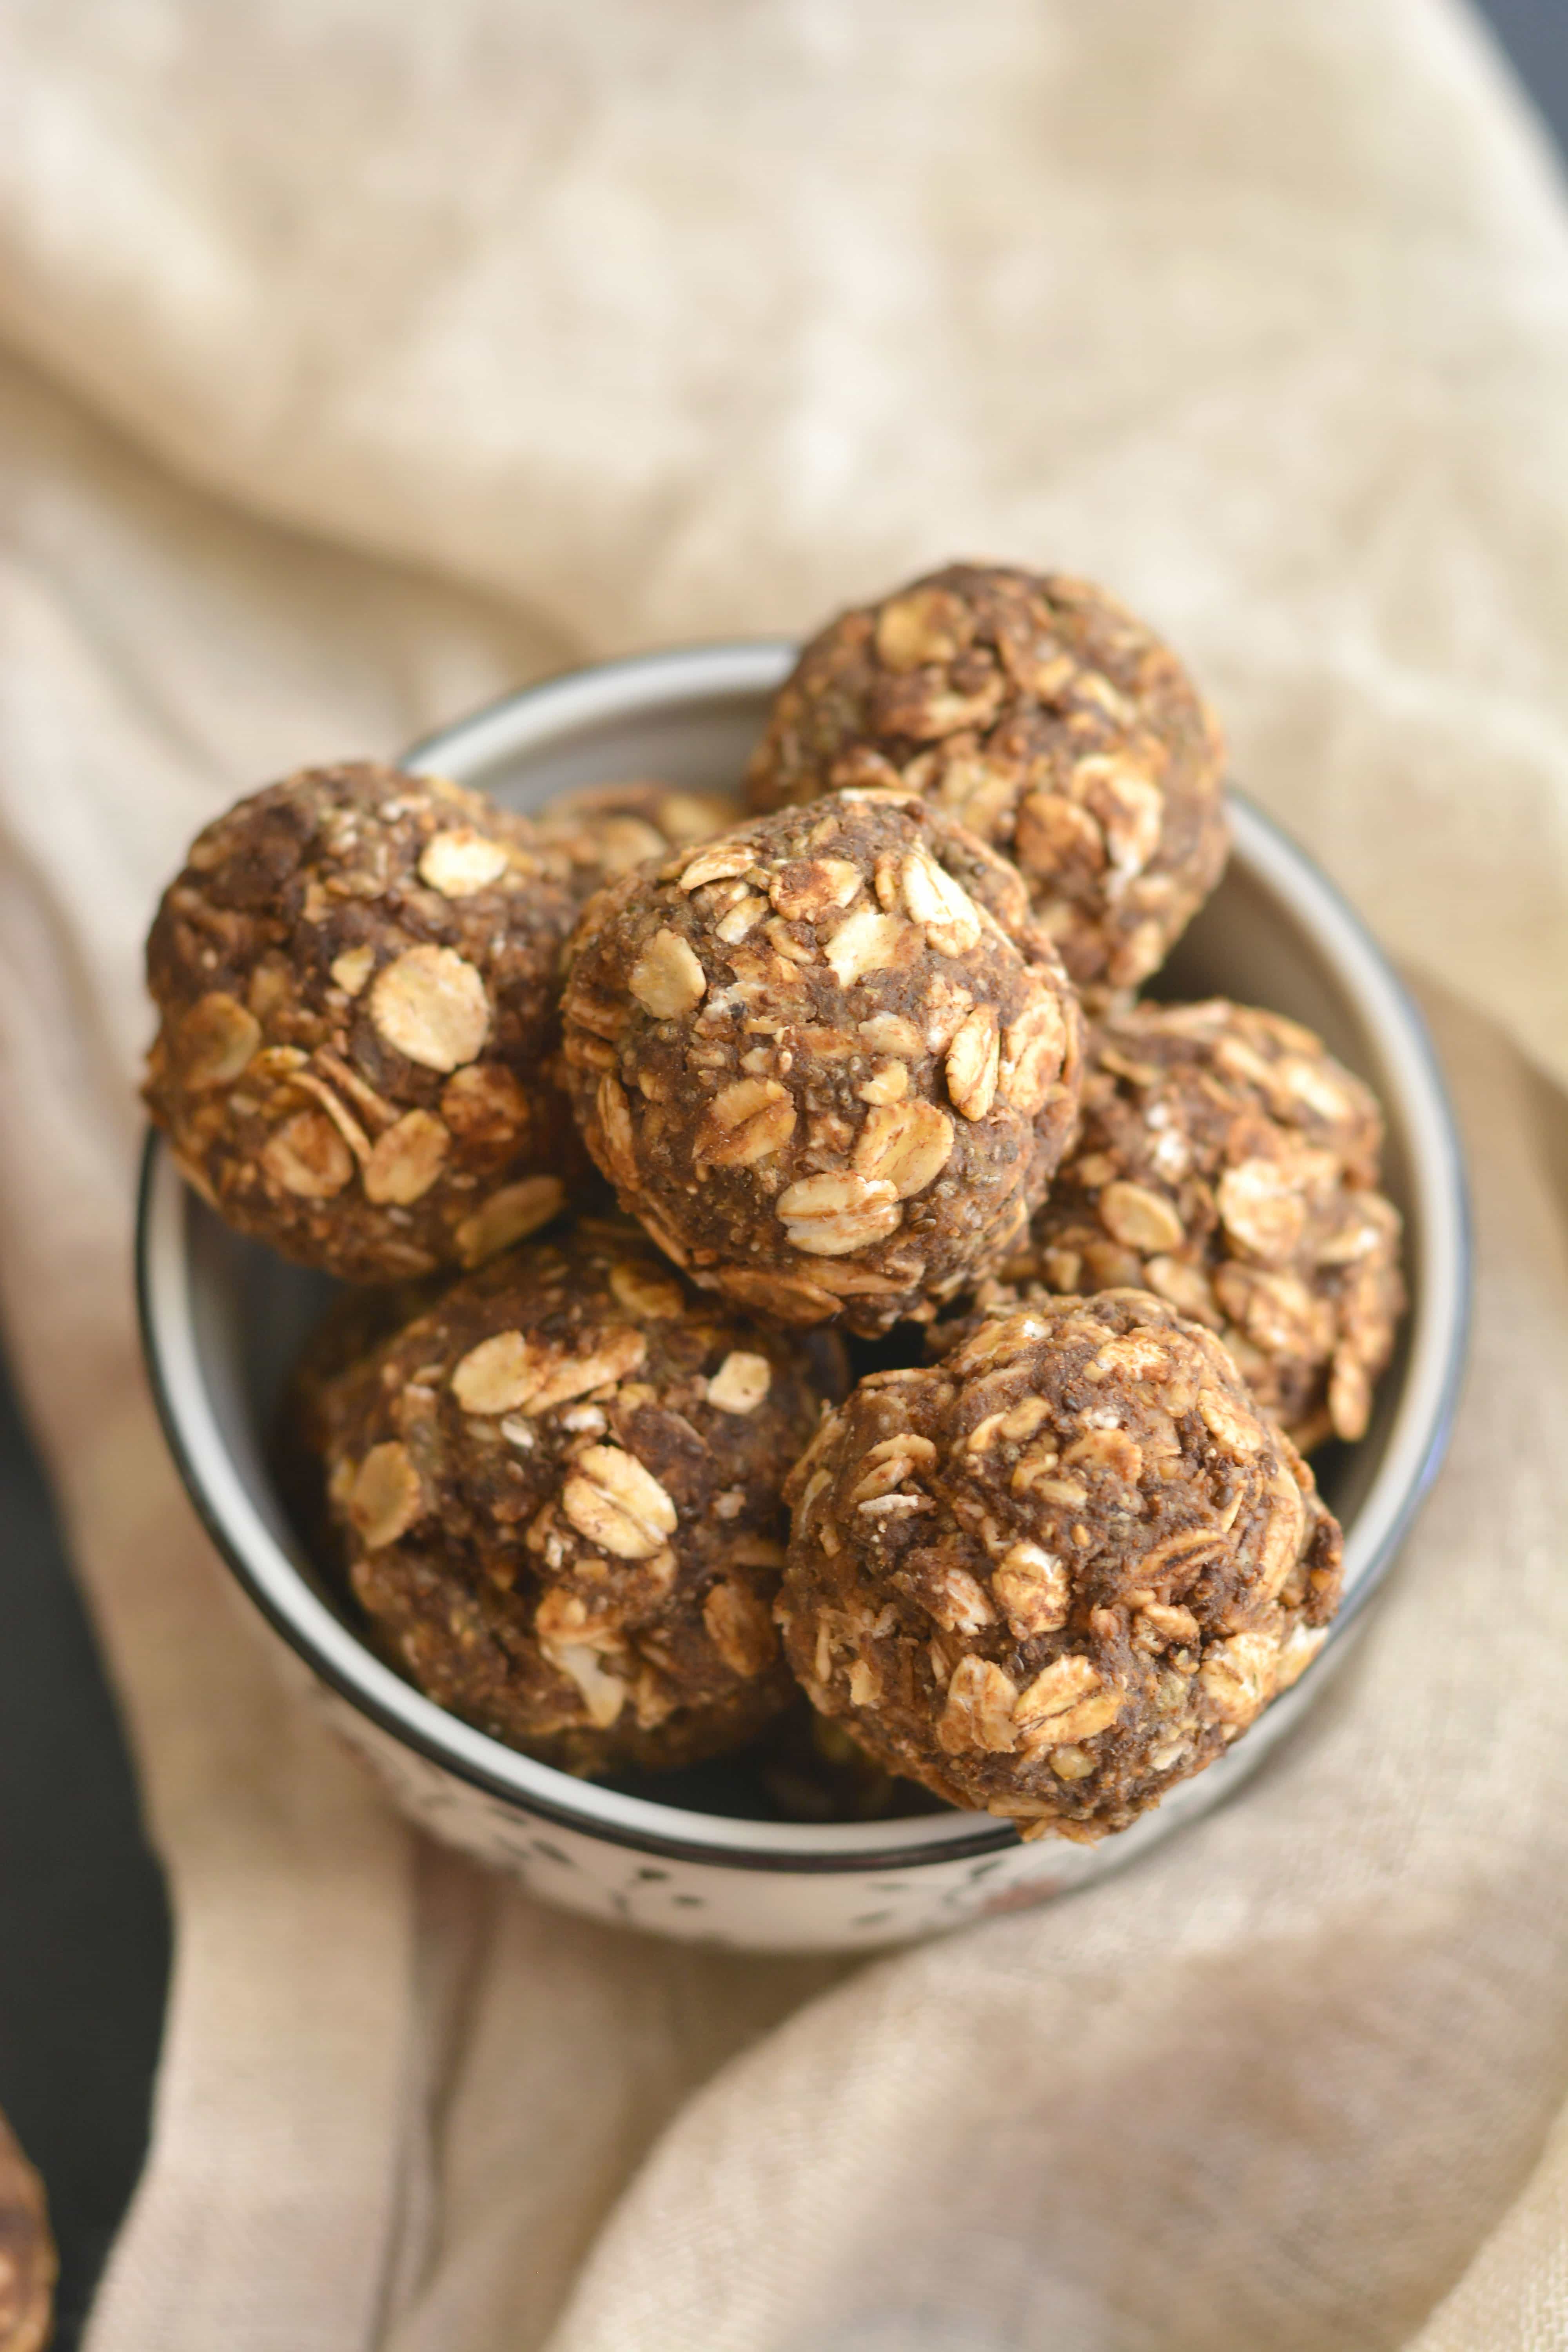
Protein Peanut Butter Energy Bites
-
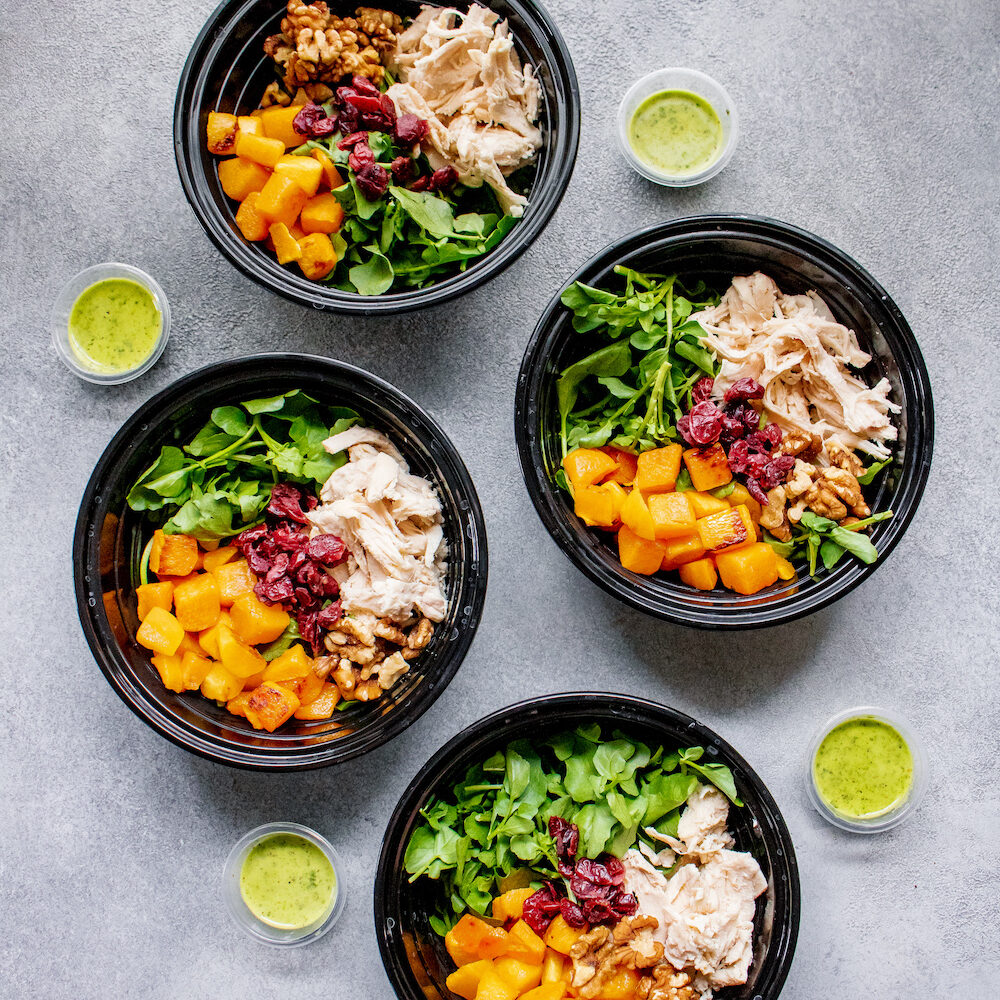
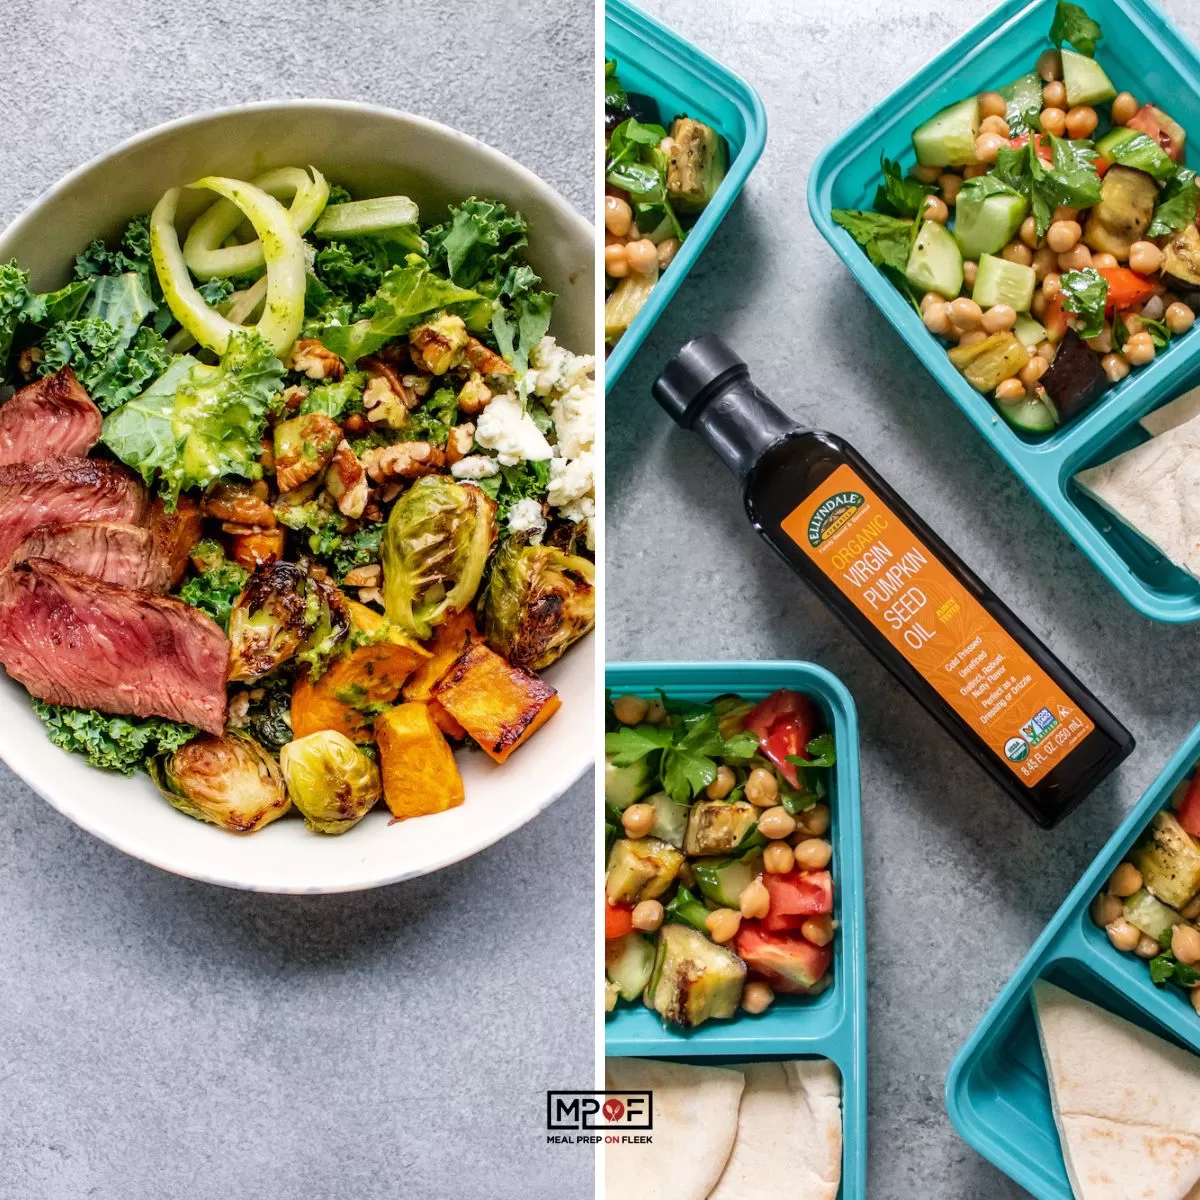
3 Easy Power Salad Bowls for Meal Prep
-
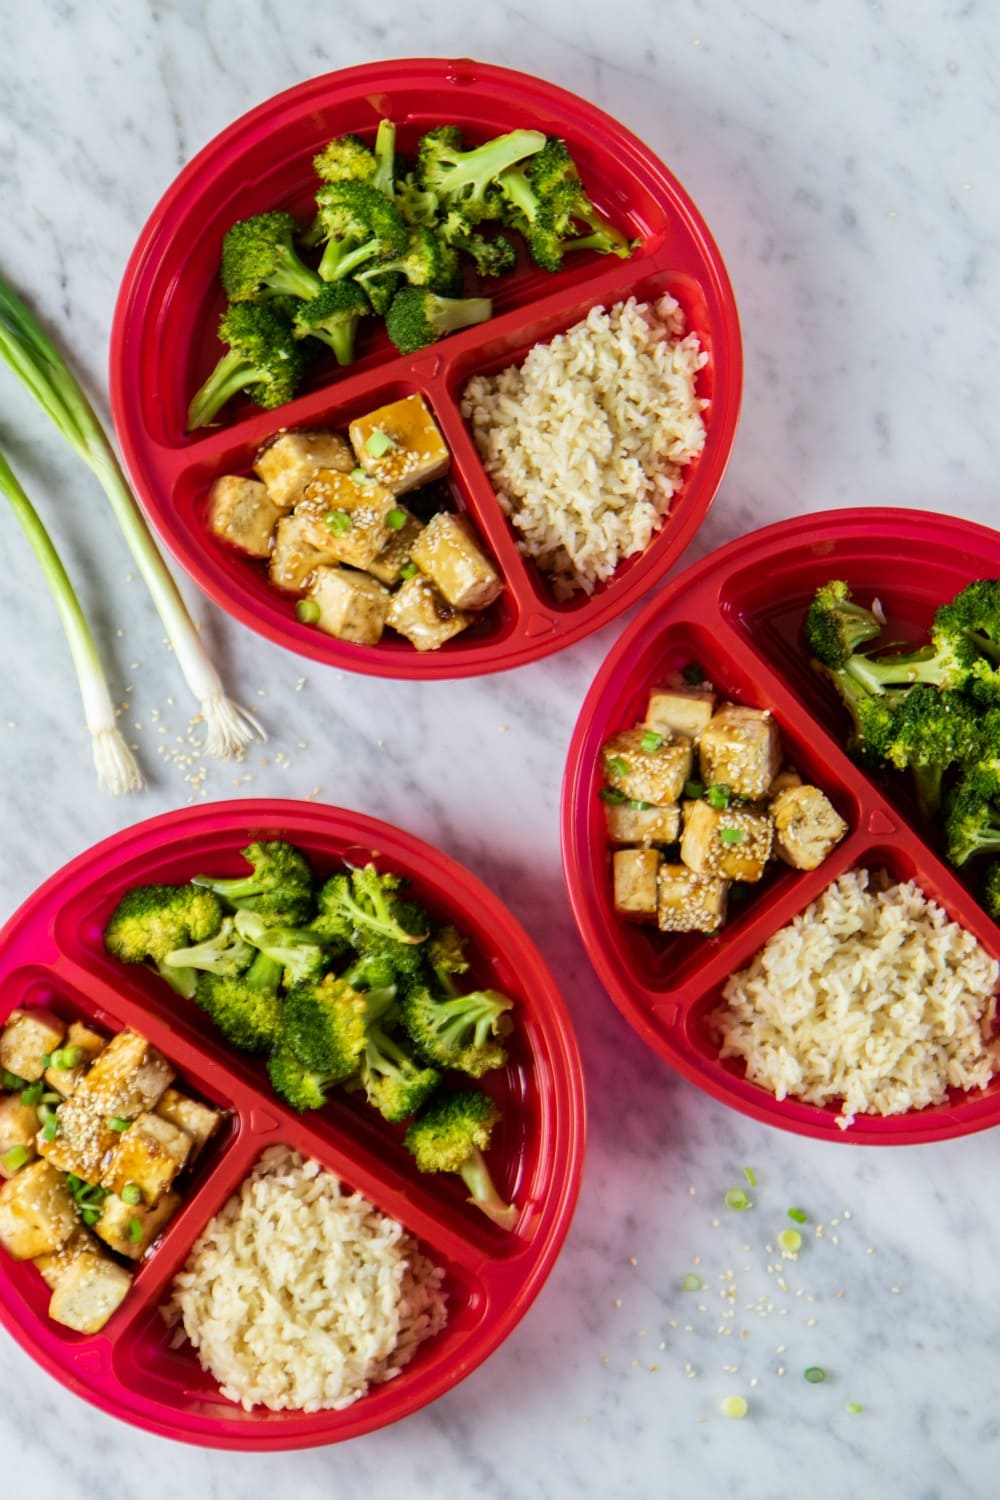
Sheet Pan Crispy Tofu and Broccoli
-
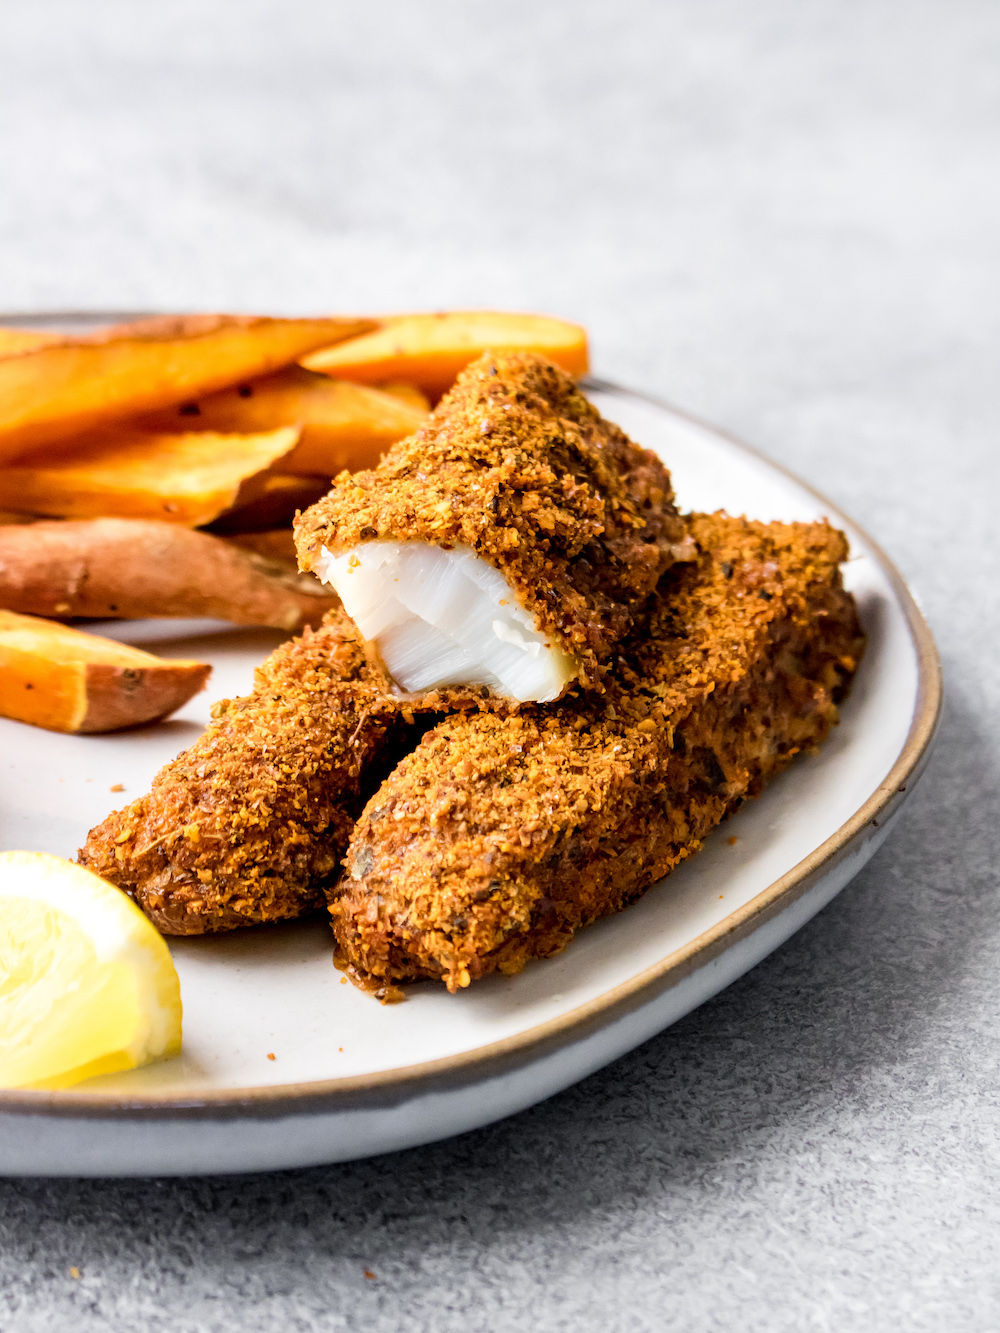
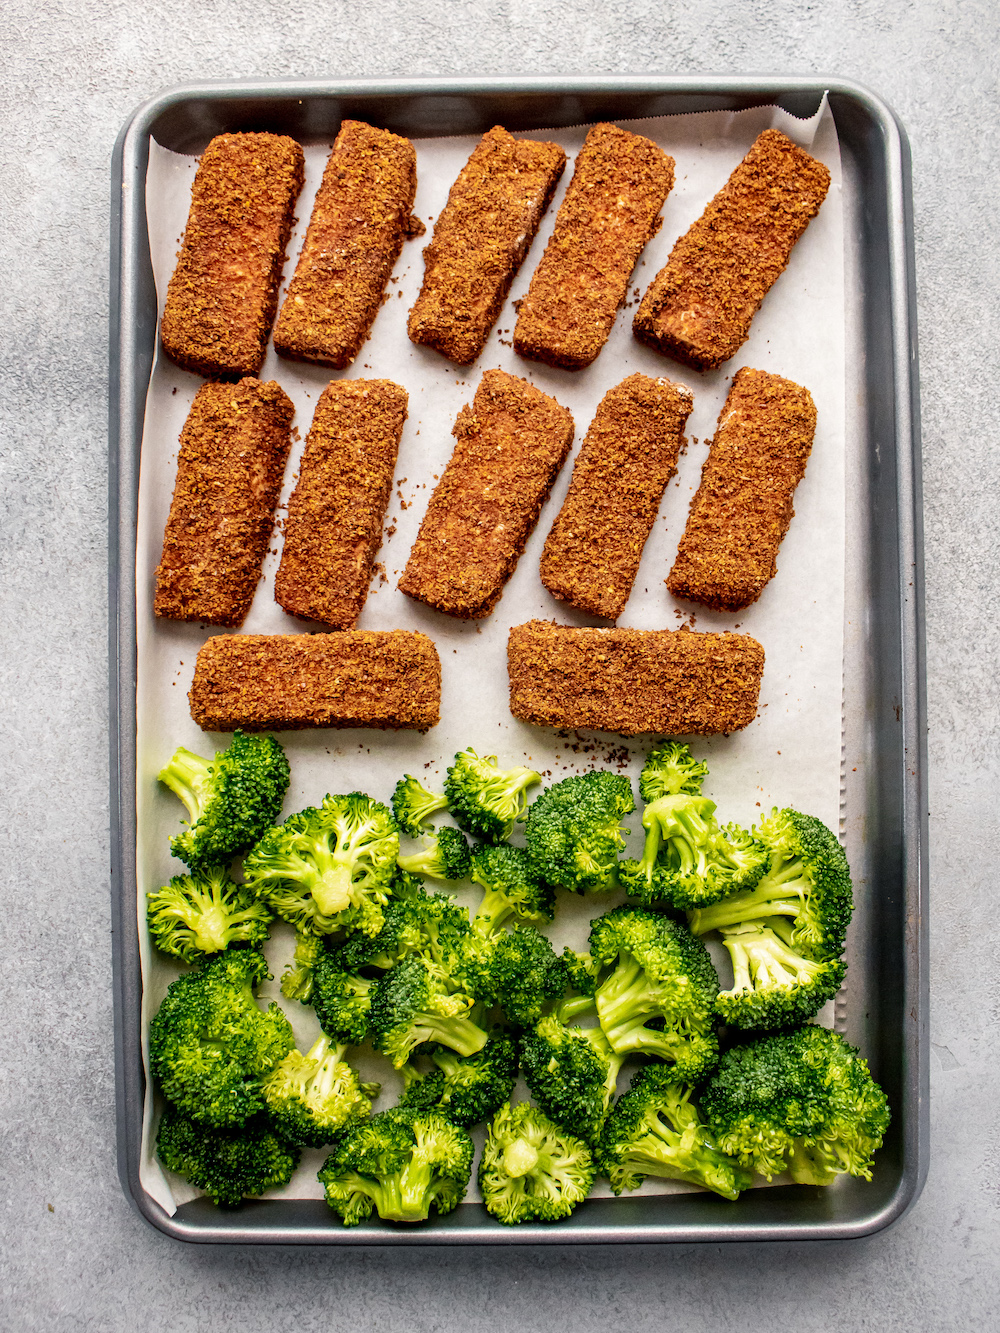
Crispy Fish Sticks
-
Crispy Sheet Pan Tofu
-
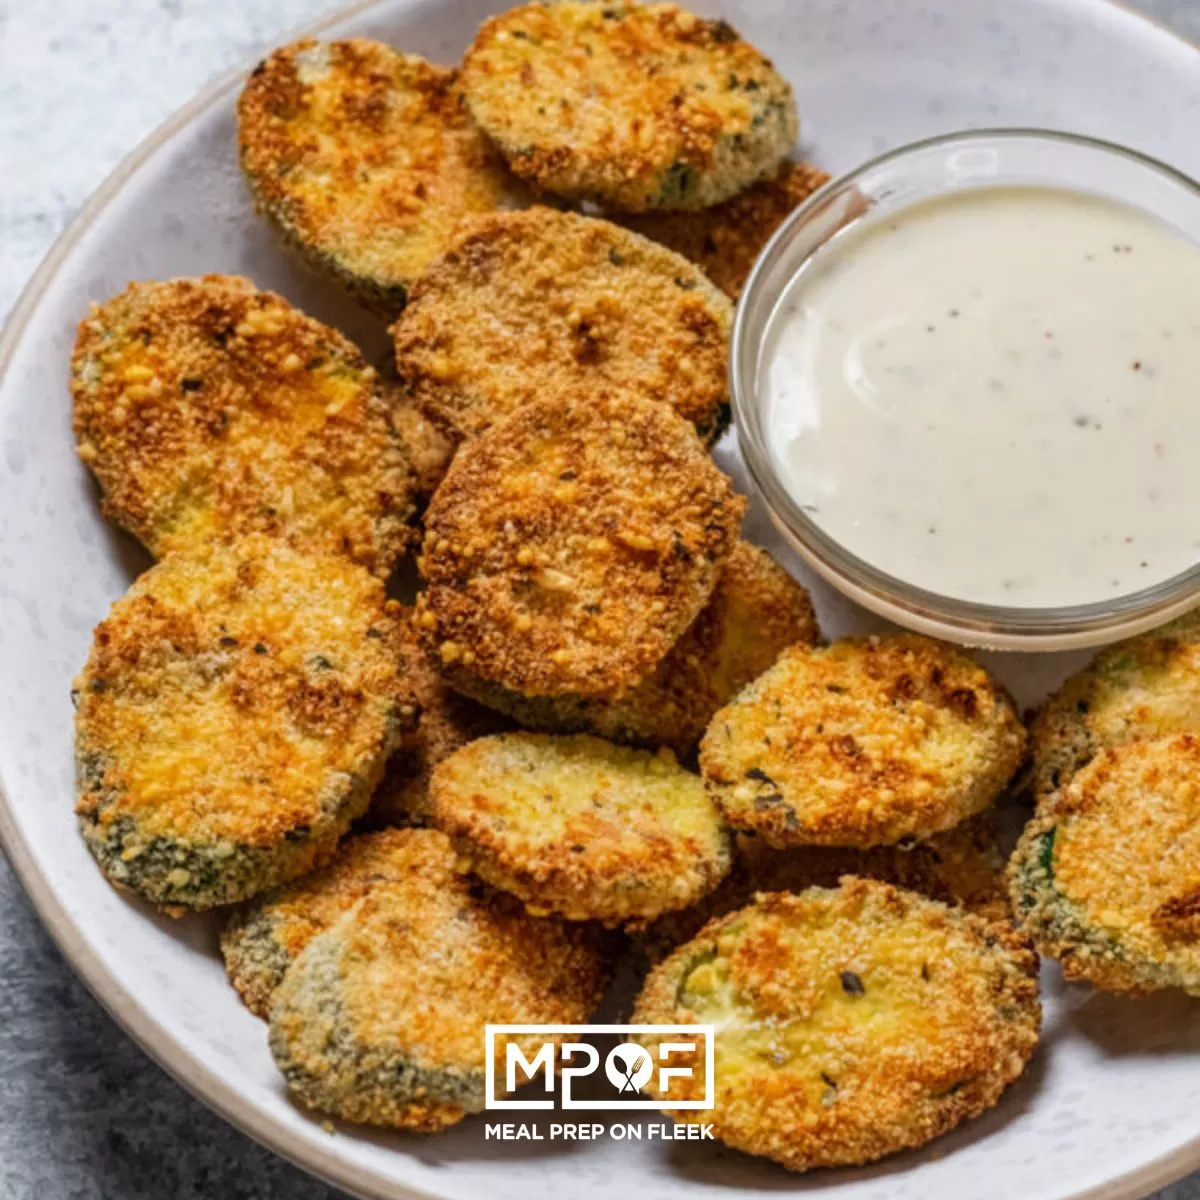
Air Fryer Crispy Zucchini Chips
-
Sheet Pan Salmon Burgers
-
Keto Birthday Cake Mug Cake
-
The Best Low Carb Keto Recipes of 2024
-
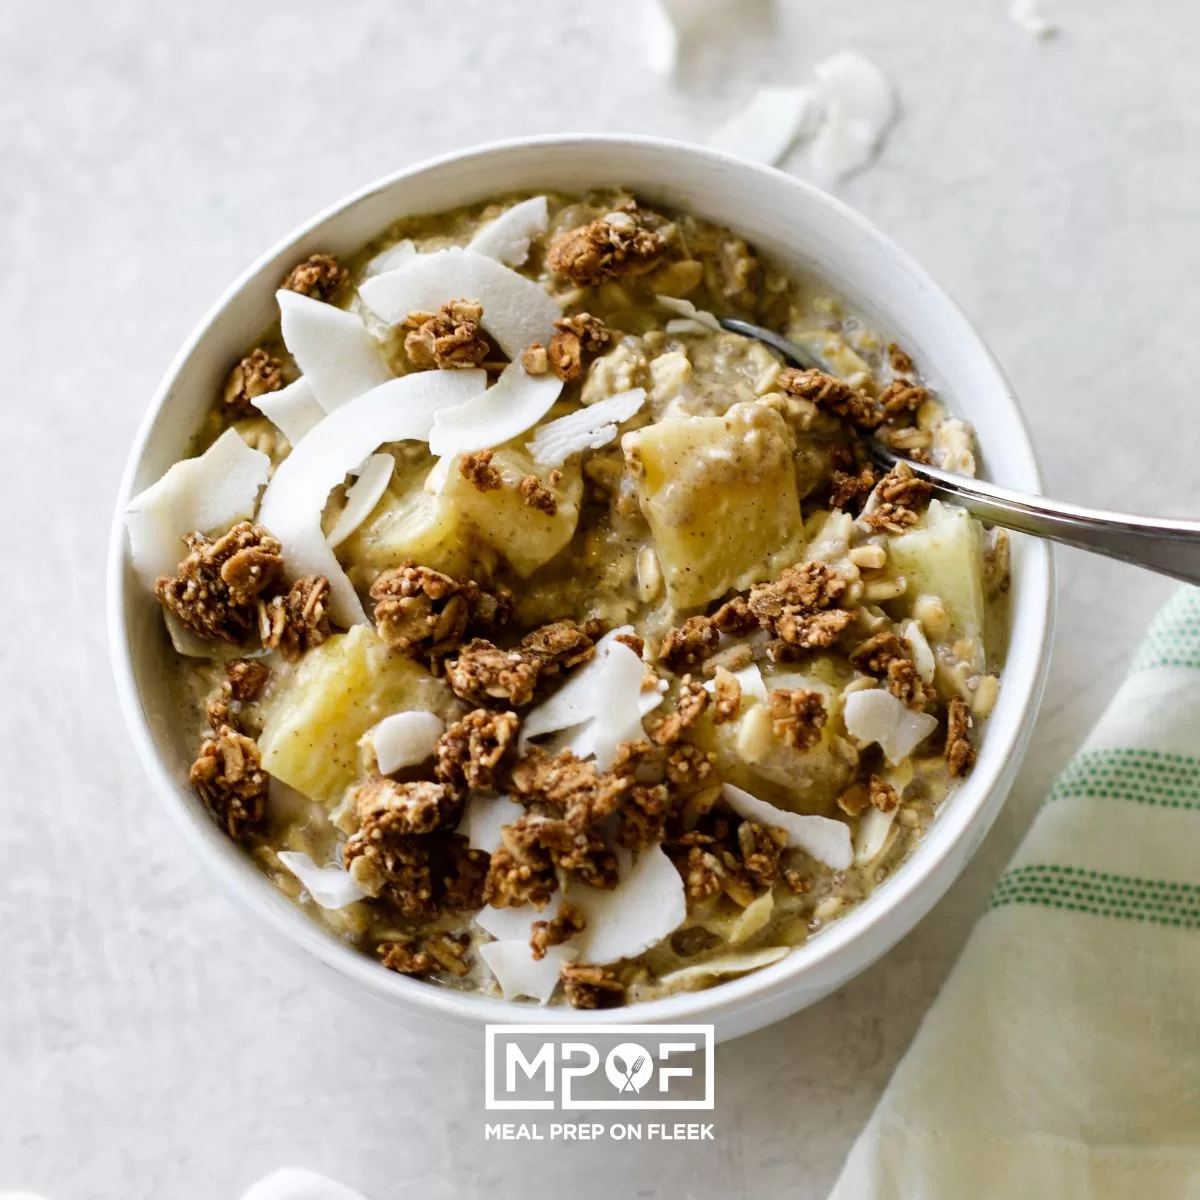
Pineapple Coconut Overnight Oats Meal Prep
-
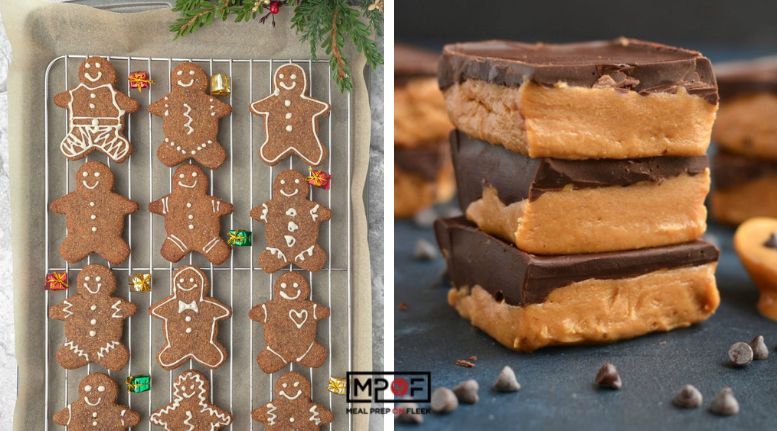
Keto Snowball Cookies
-
23 Best Vegan Holiday Treats
-
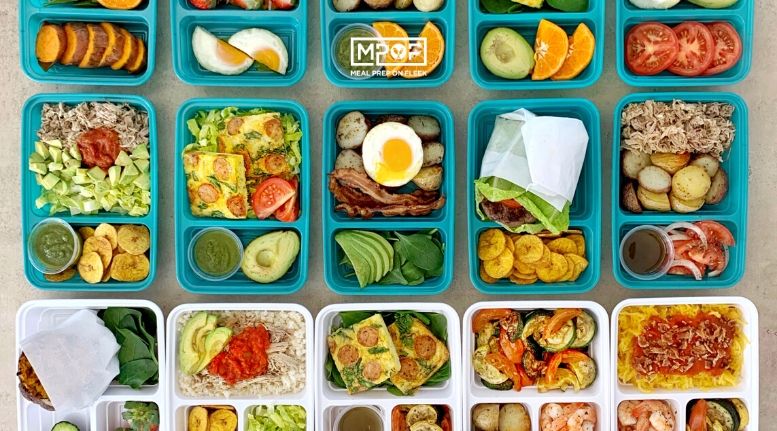
Buffet Style Meal Prepping: Whole30
-
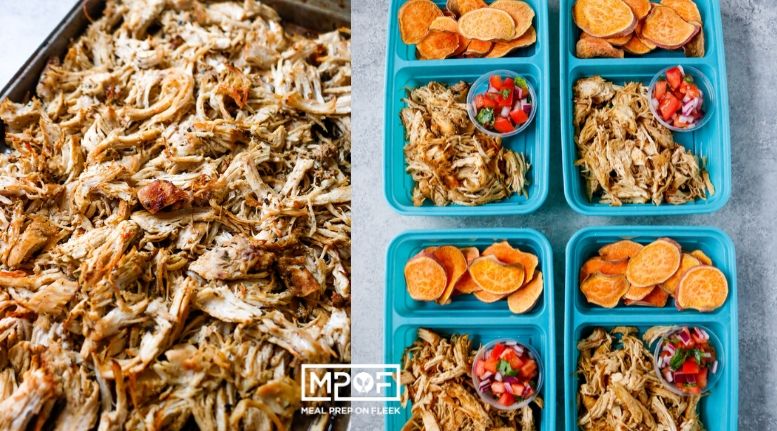
Chicken Carnitas Nachos
-
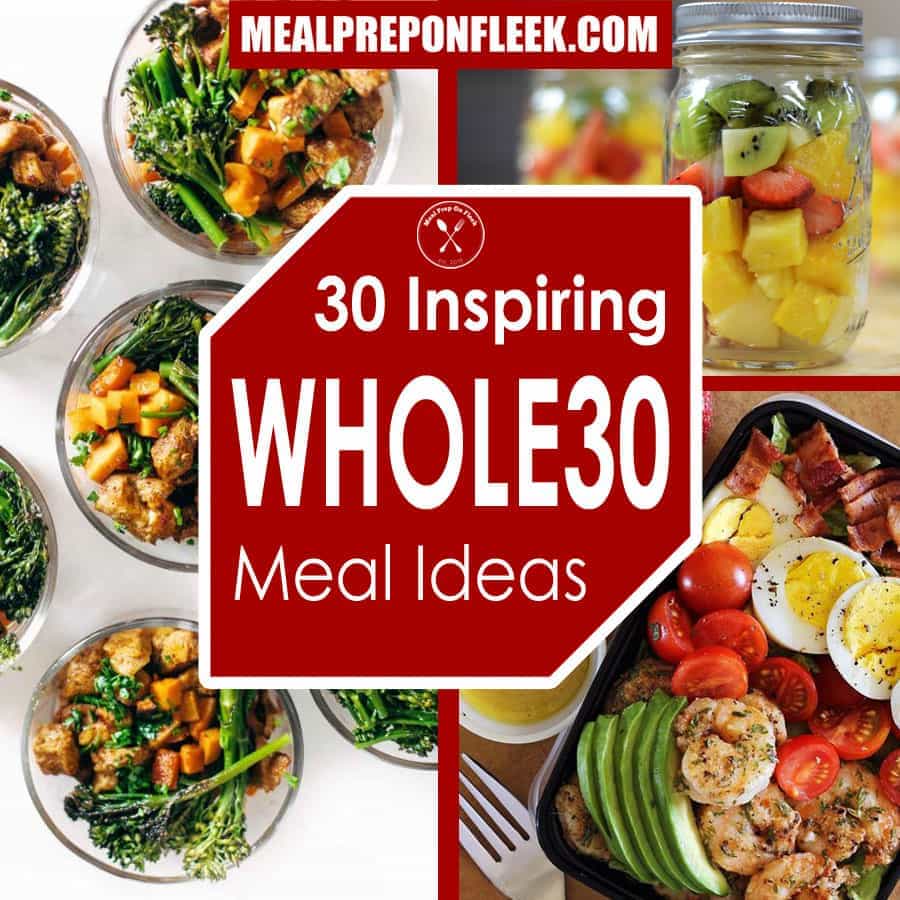
30 Inspiring Whole30 Compliant Meal Ideas
-
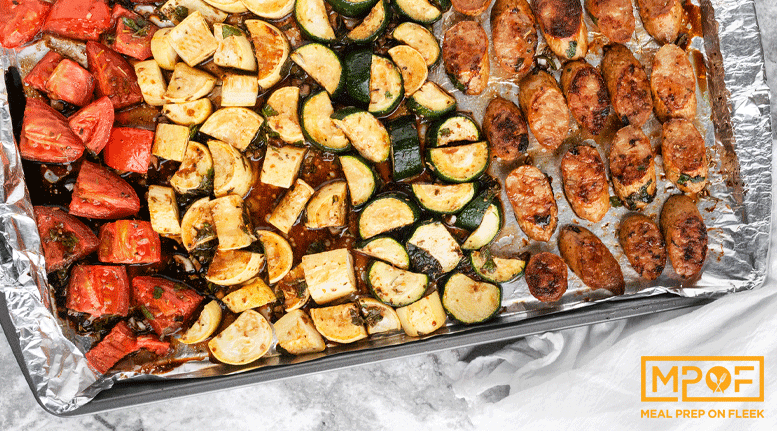
Balsamic Sausage and Veggie Meal Prep
-
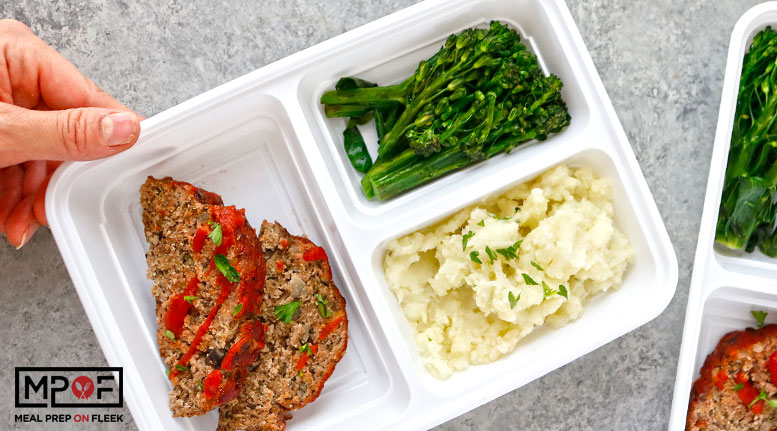
Cremini Mushroom Meatloaf
-
15 Unique Salad Meal Prep Recipes
-
Bacon Ranch Chicken and Veggies Foil Packets
-
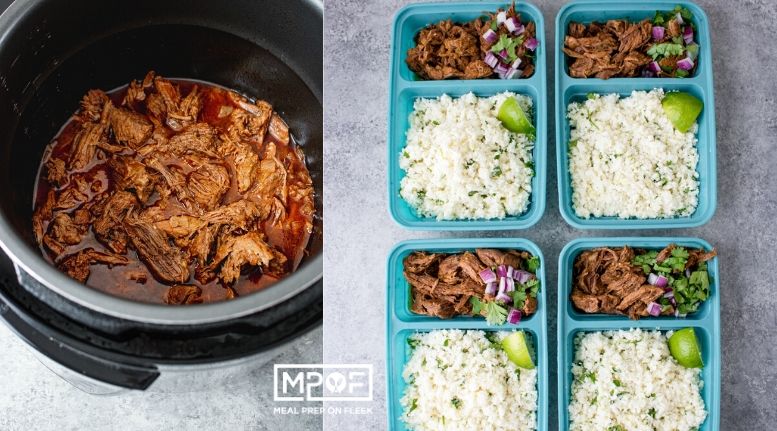
Instant Pot Beef Barbacoa
-
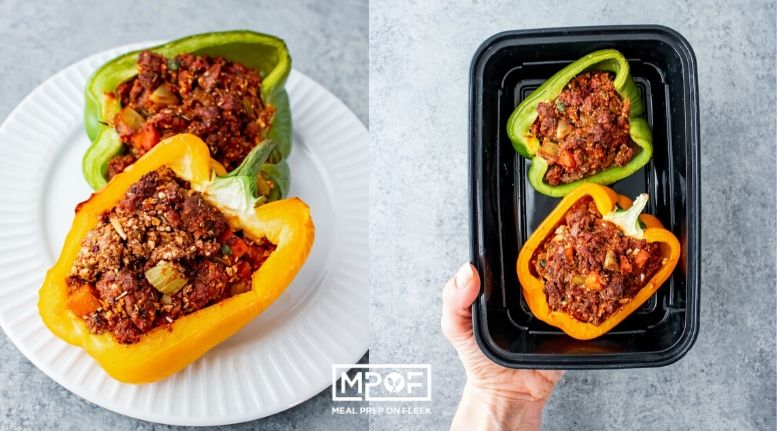
Cajun Stuffed Peppers
-
Tempeh Burrito Bowls
-
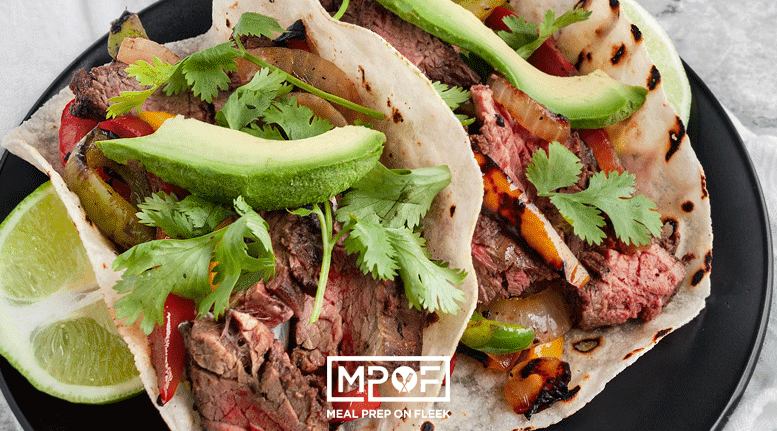
Steak Fajita Meal Prep
-
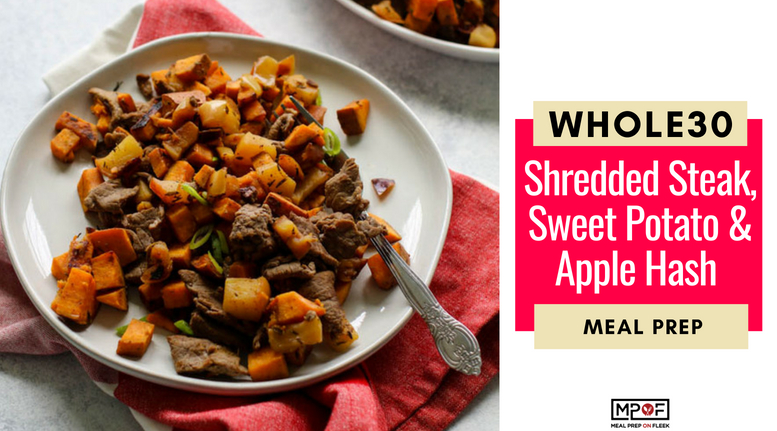
Steak, Sweet Potato and Apple Hash Meal Prep
-
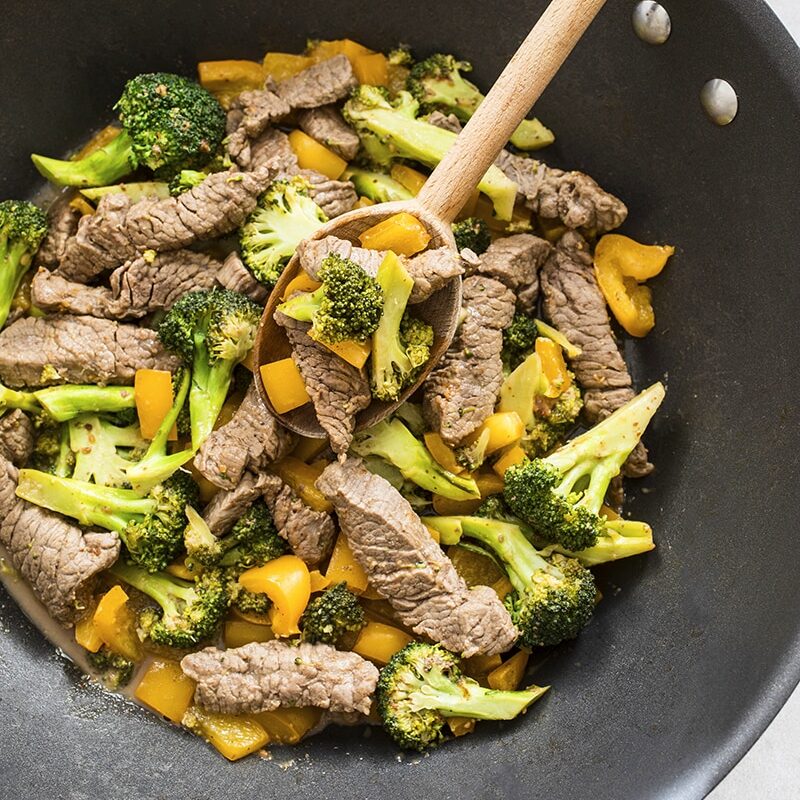
Sesame Chicken and Broccoli Stir Fry
-
Gluten-Free Thai Peanut Stir Fry Meal Prep
-
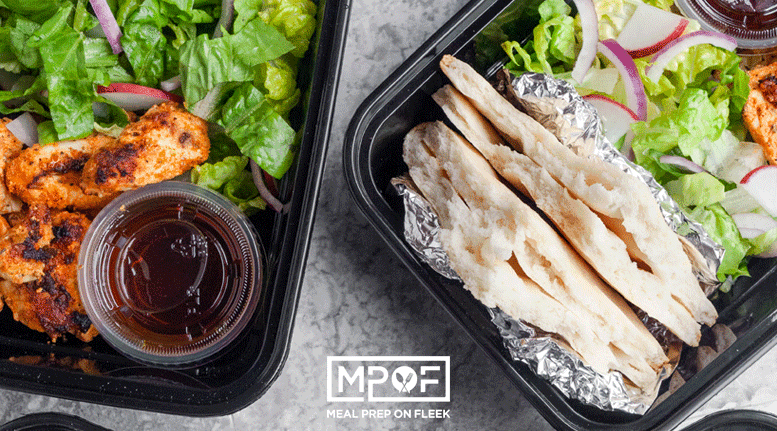
Shish Tawook Meal Prep