Diet
-
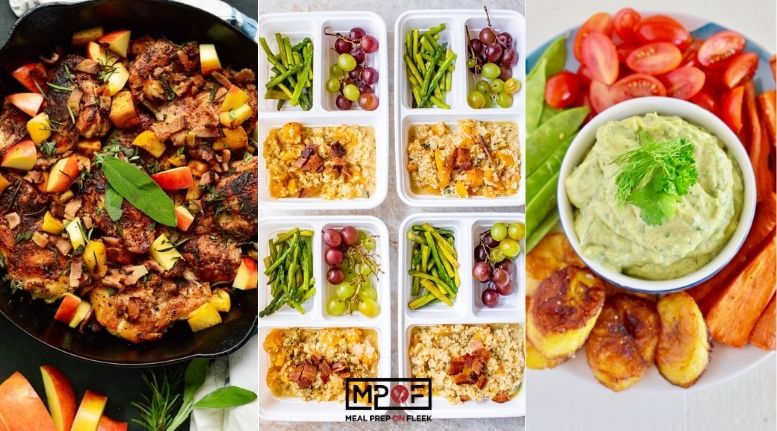
40 Easy AIP Recipes That Won't Stress You Out
-
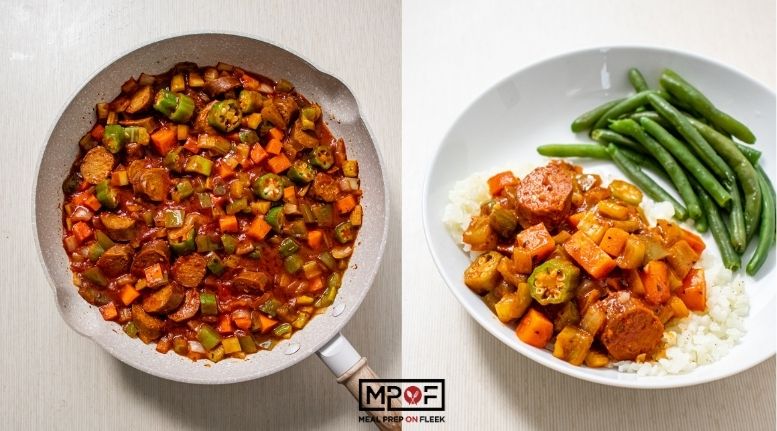
Vegetarian Jambalaya
-
Baked Breaded Zucchini Bites with Marinara
-
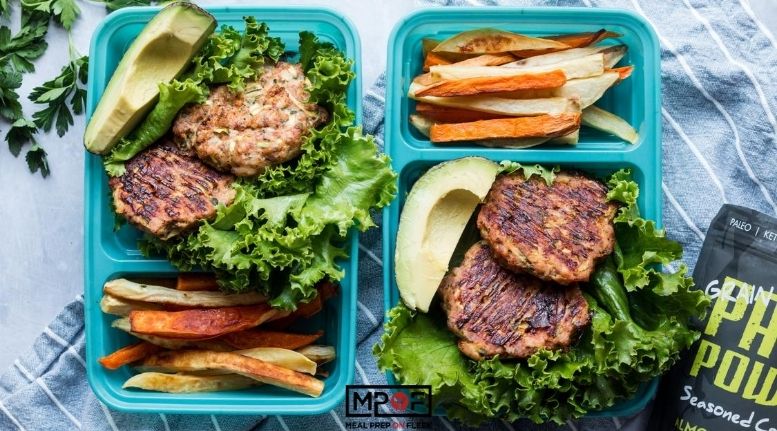
Chicken Zucchini Burgers
-
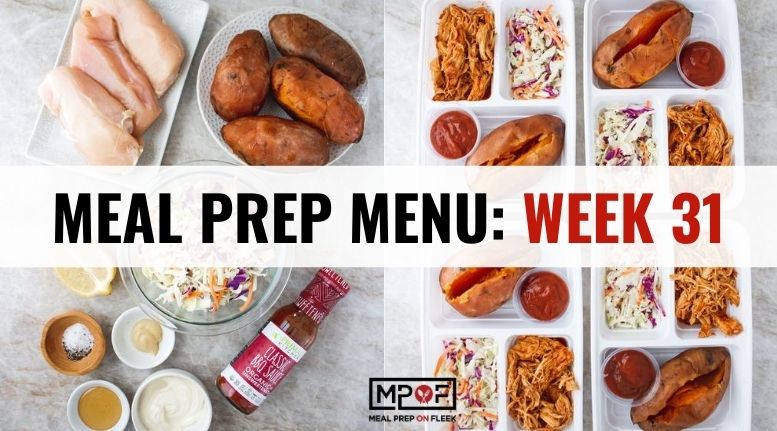
Meal Prep Menu: Week 31 (Whole30)
-
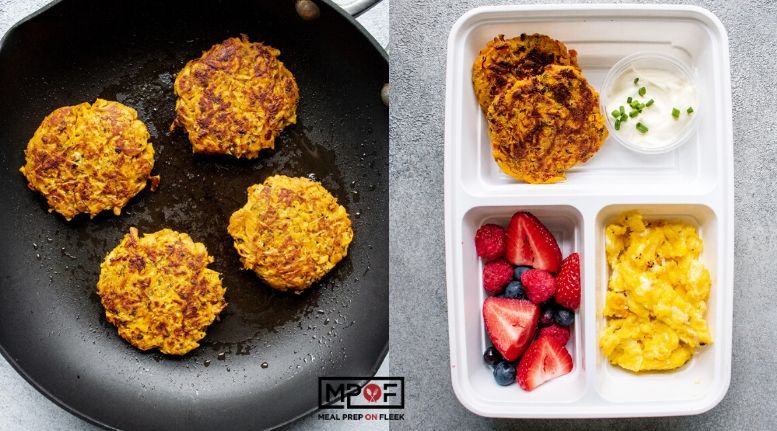
Sweet Potato Latkes
-
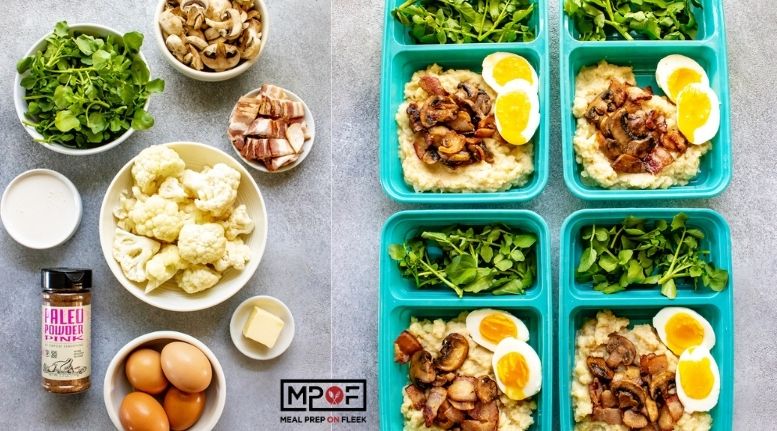
Cauliflower Mash Breakfast Bowls
-
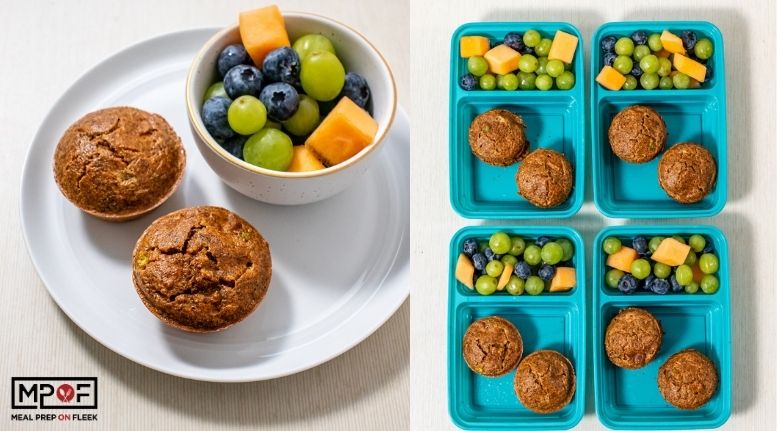
Savory Breakfast Muffins
-
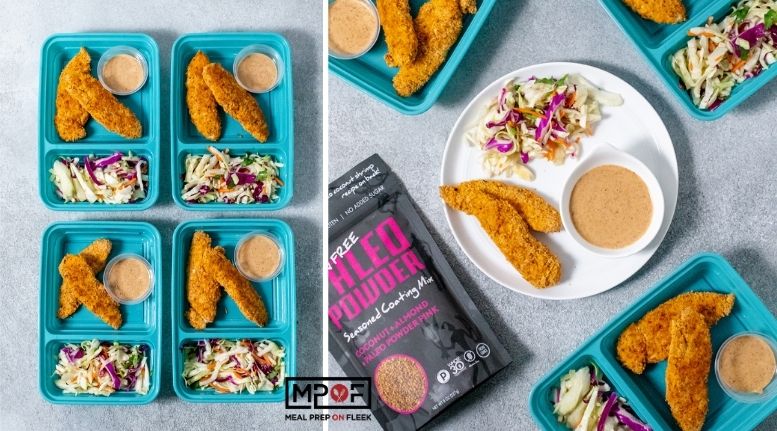
Thai Chicken Tenders with Creamy Almond Dipping Sauce
-
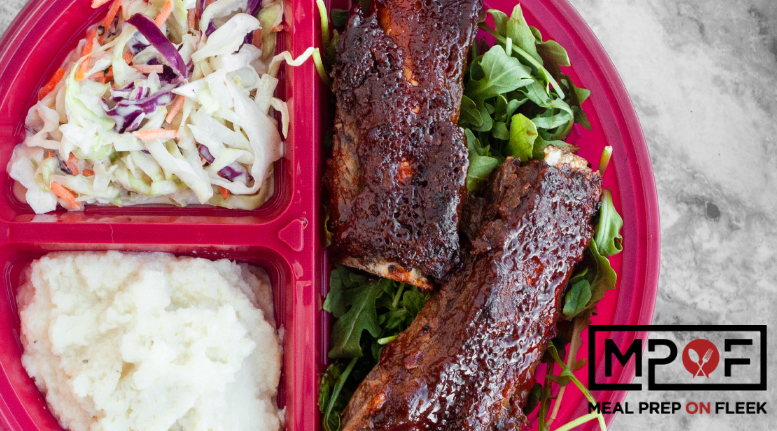
Instant Pot Beef BBQ Ribs
-
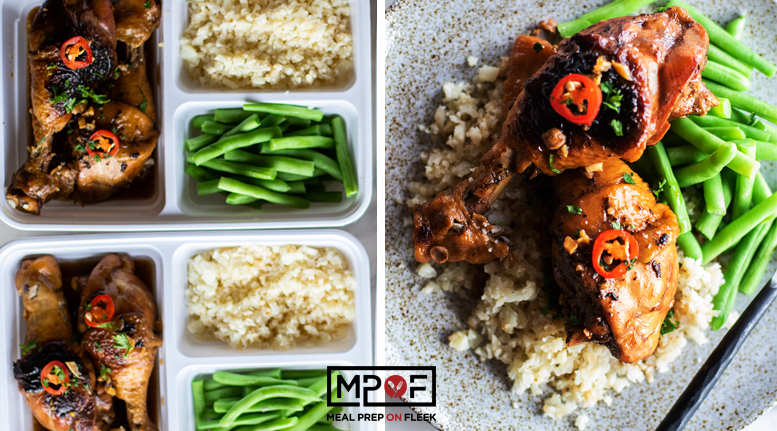
Chicken Adobo Meal Prep
-
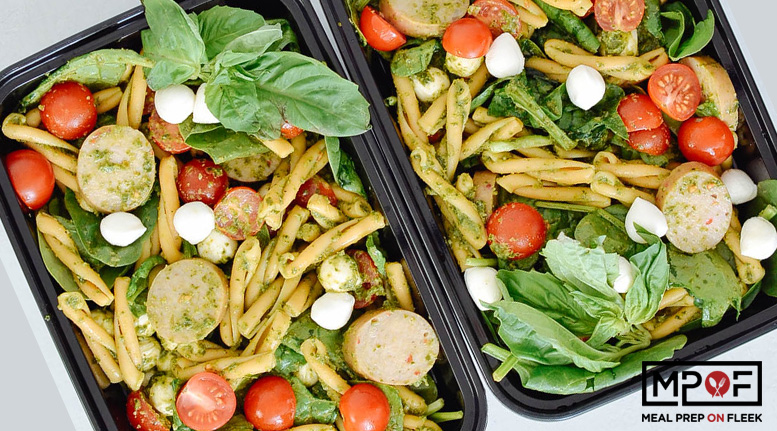
Caprese Pesto Sausage Pasta
-
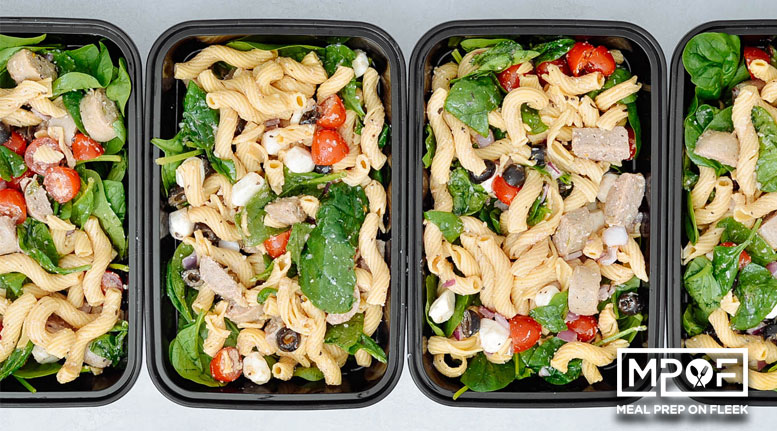
Italian Sausage Pasta Salad Meal Prep
-
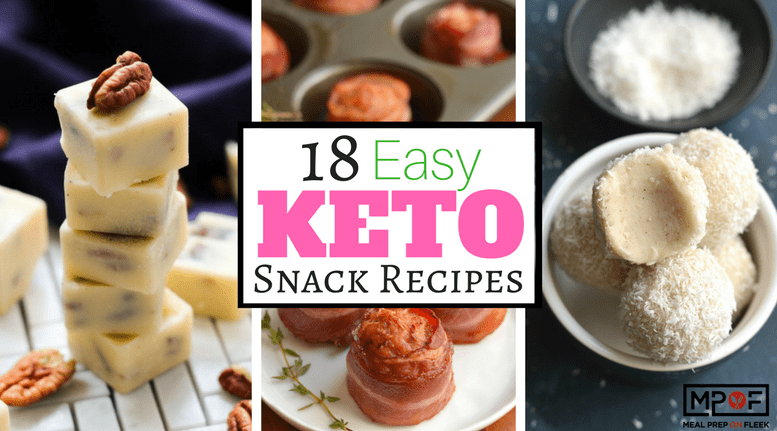
18 Easy Keto Snack Recipes
-
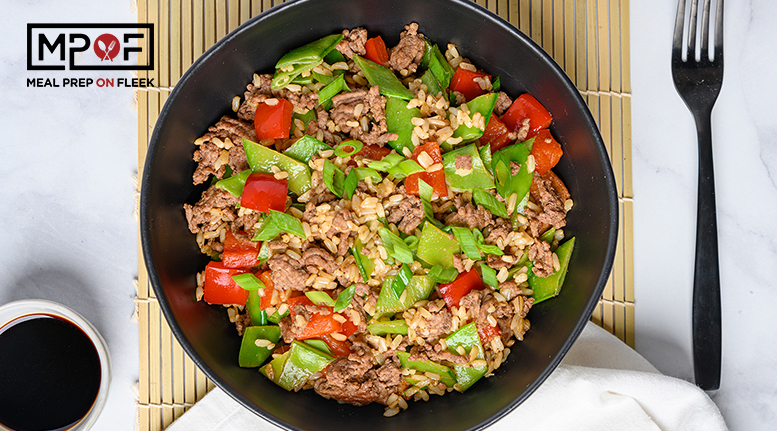
Beef and Vegetable Fried Rice
-
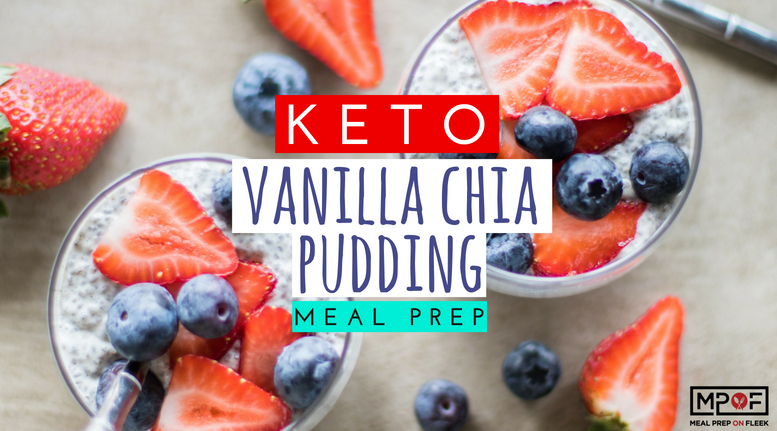
Vanilla Chia Pudding
-
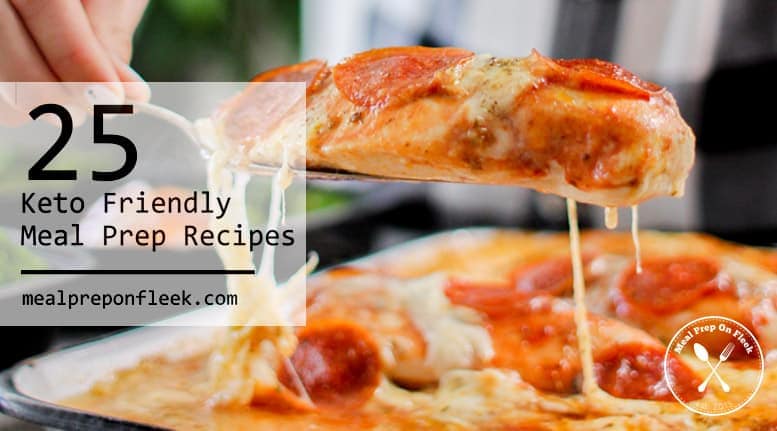
25 (Amazing) Keto Meal Prep Recipes
-
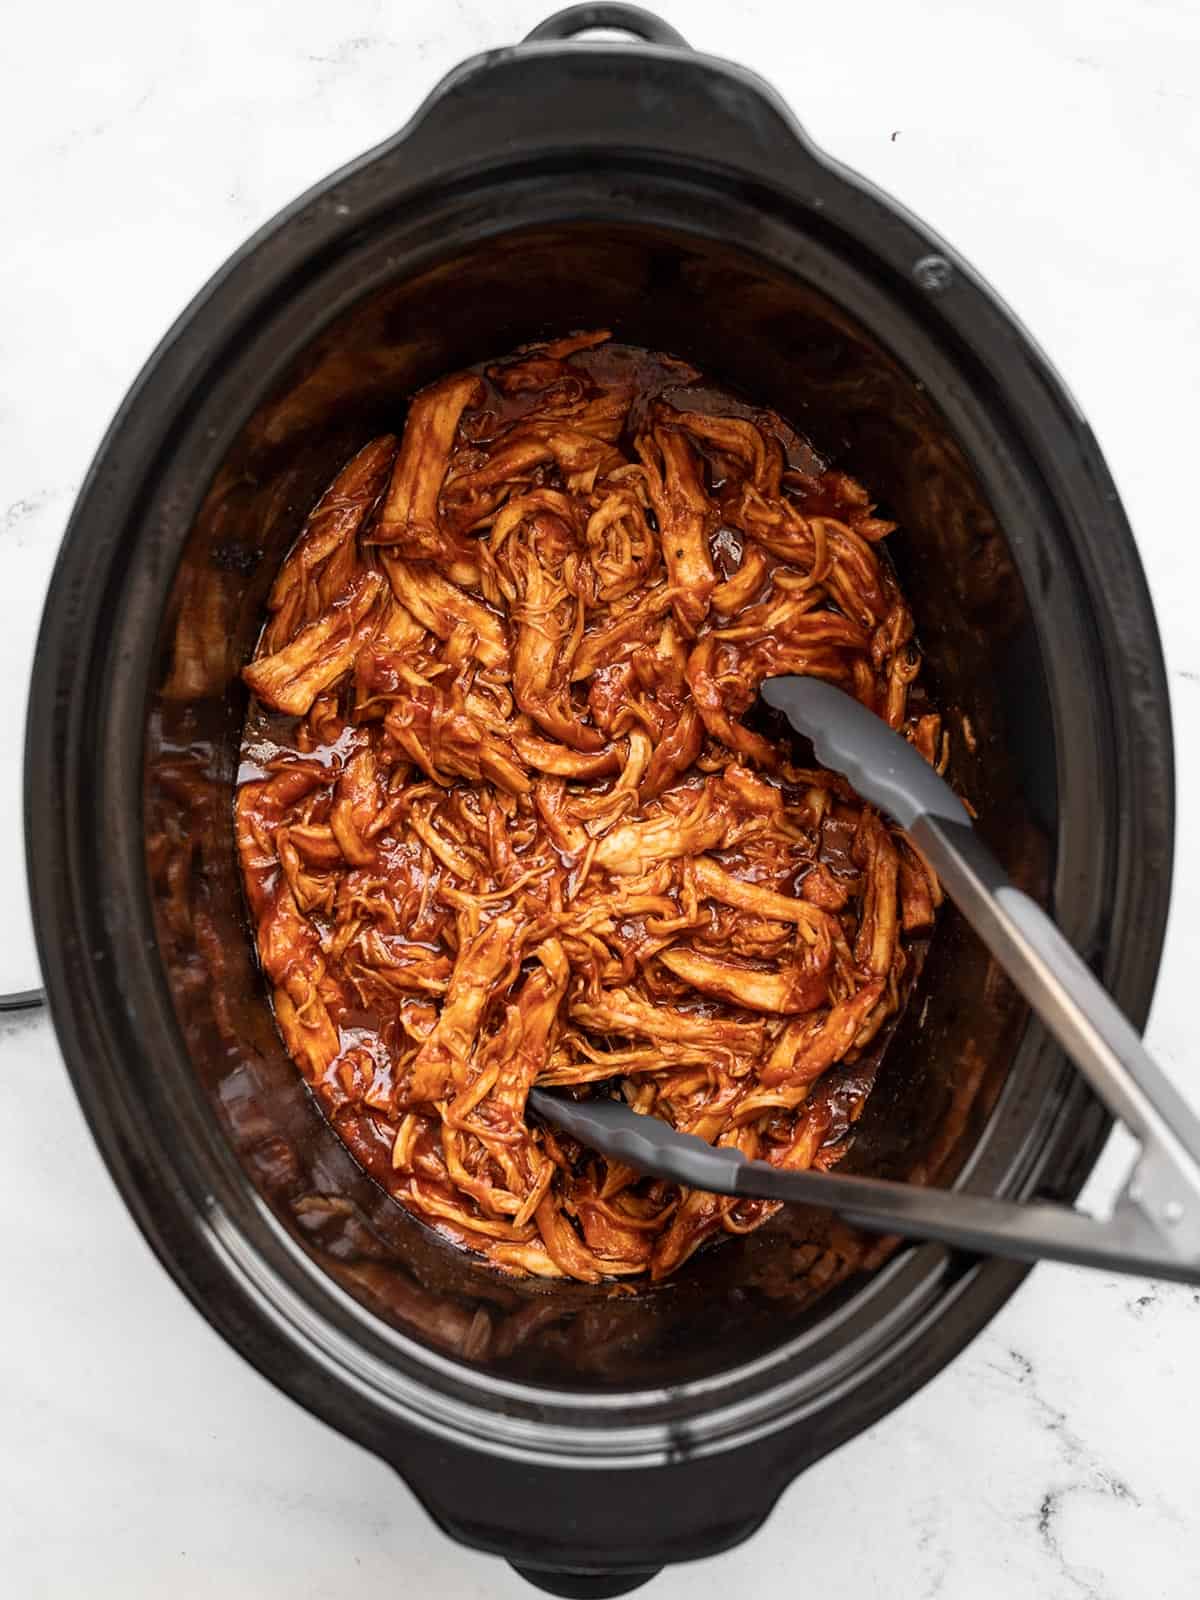
BBQ Pulled Chicken Stuffed Sweet Potatoes
-
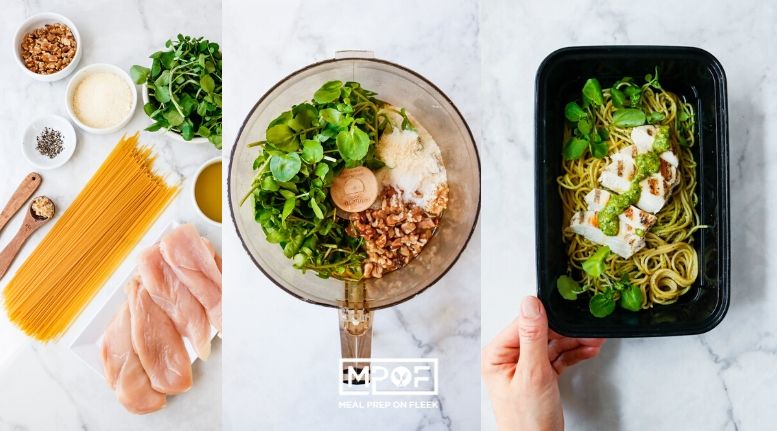
Watercress Pesto Spaghetti
-
Chicken Finger & French Fry Meal Prep
-
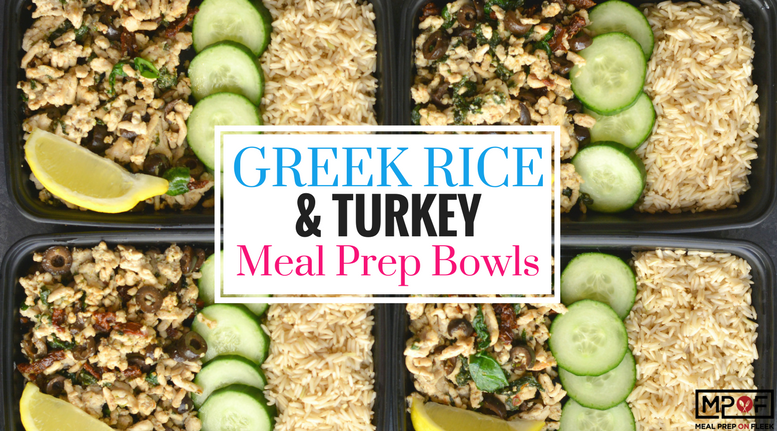
Greek Rice & Turkey Meal Prep Bowls
-
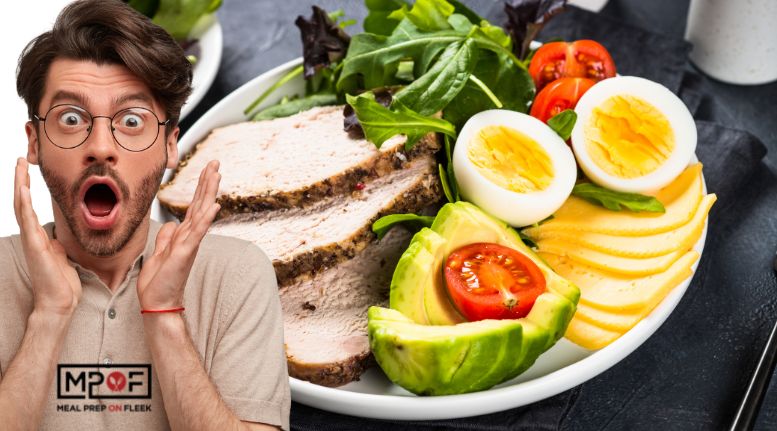
11 Problems With the Keto Diet You Need To Know
-
16 Keto Crock-Pot Recipes for Easy Low-Carb Meals
-
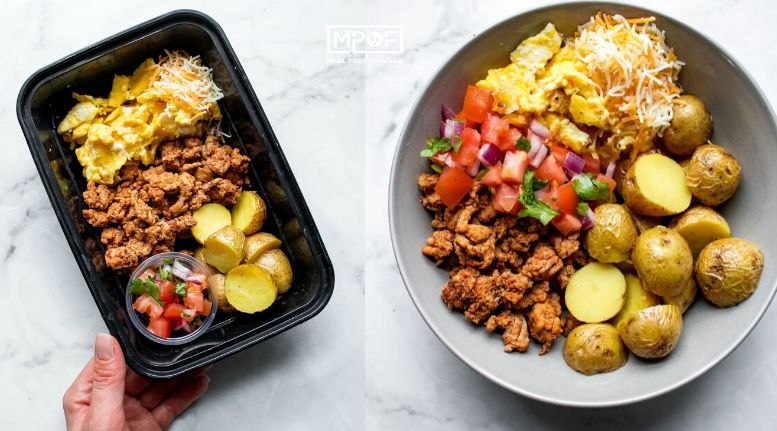
Breakfast Taco Bowls
-
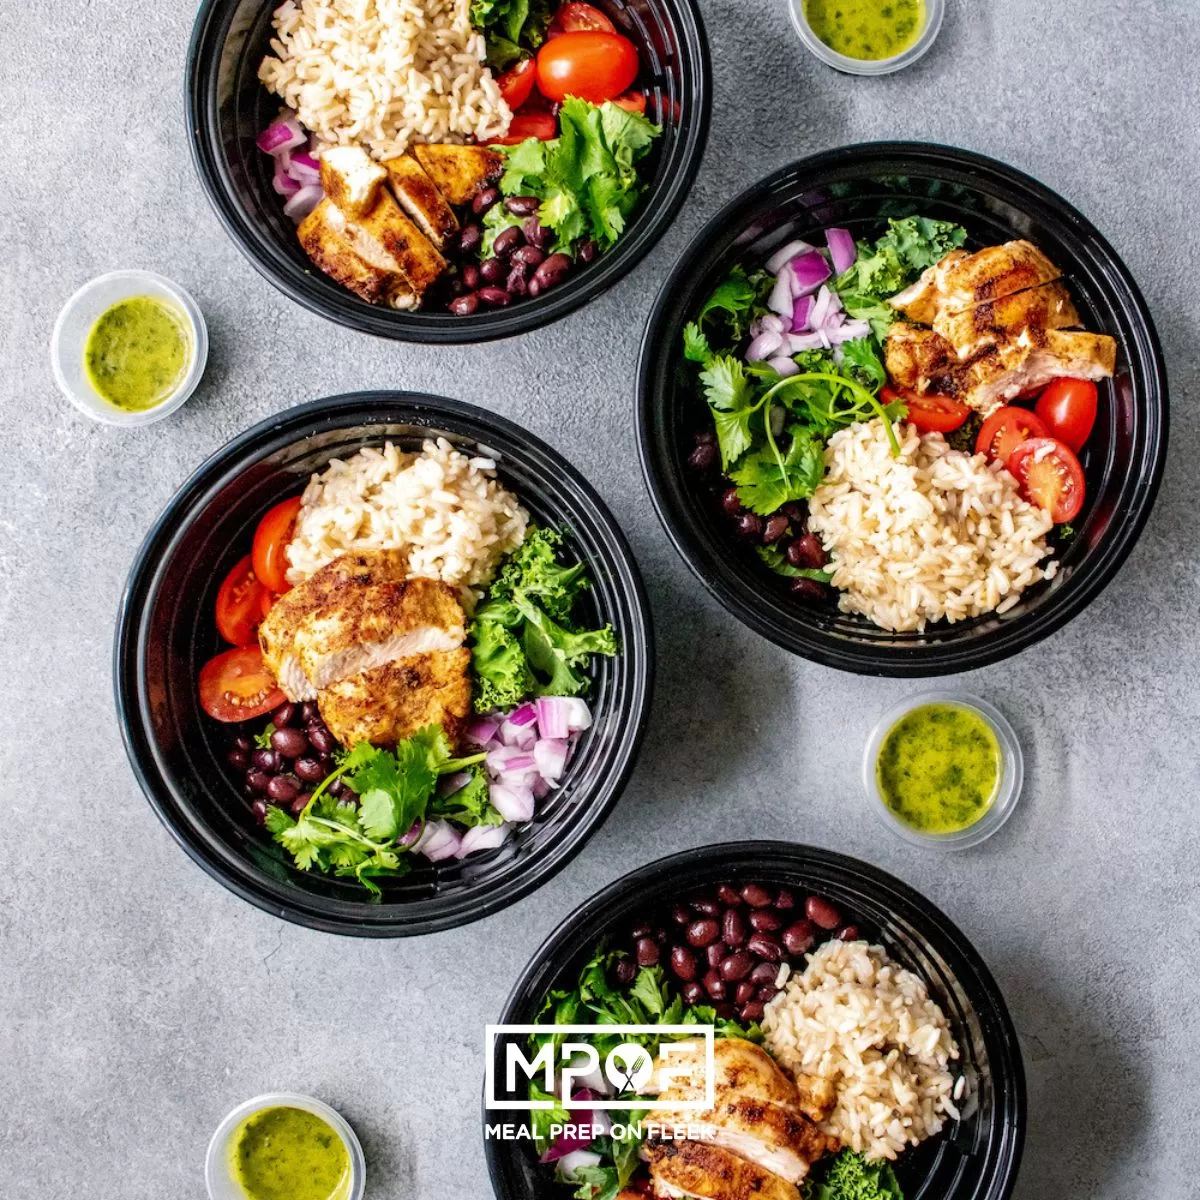
Chipotle Brown Rice Grain Bowl
-
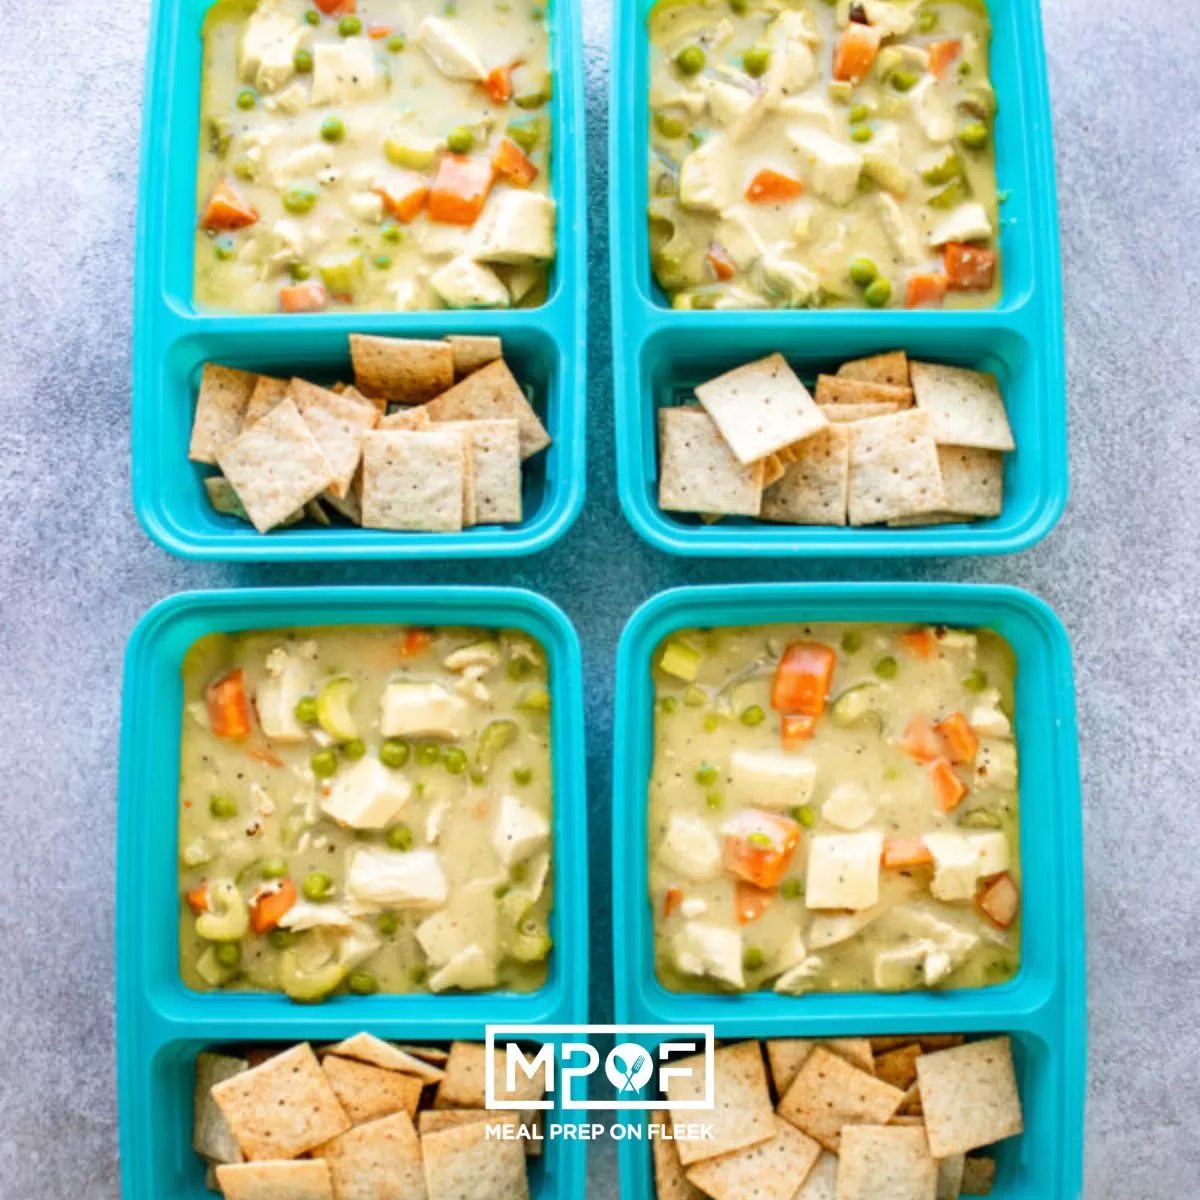
Chicken Pot Pie Stew
-
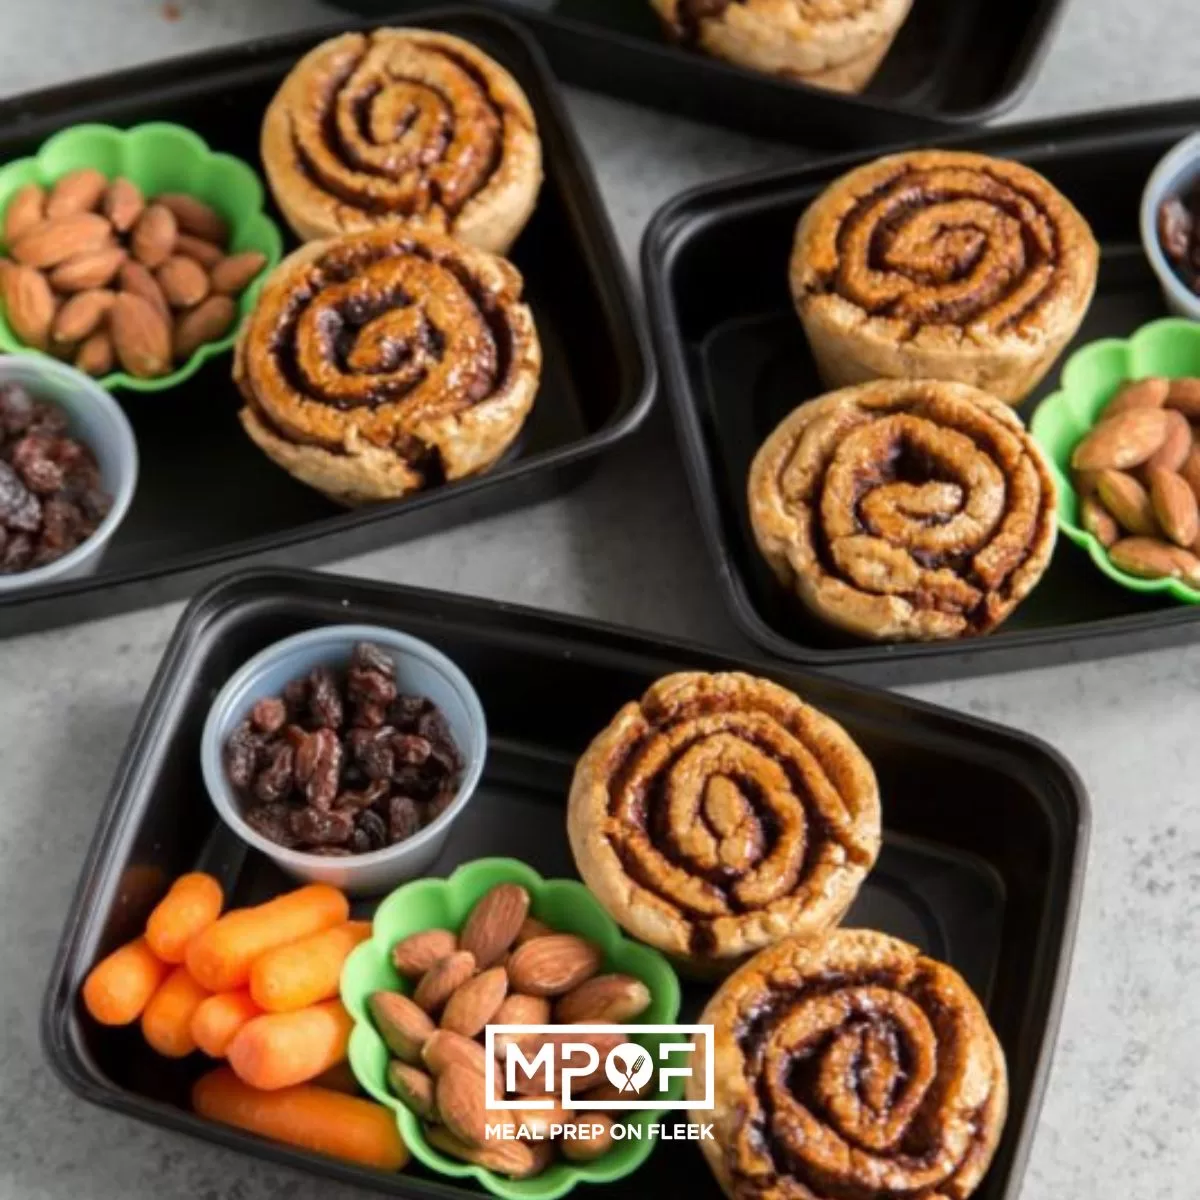
Gluten Free Cinnamon Roll Meal Prep
-
Egg Muffins
-
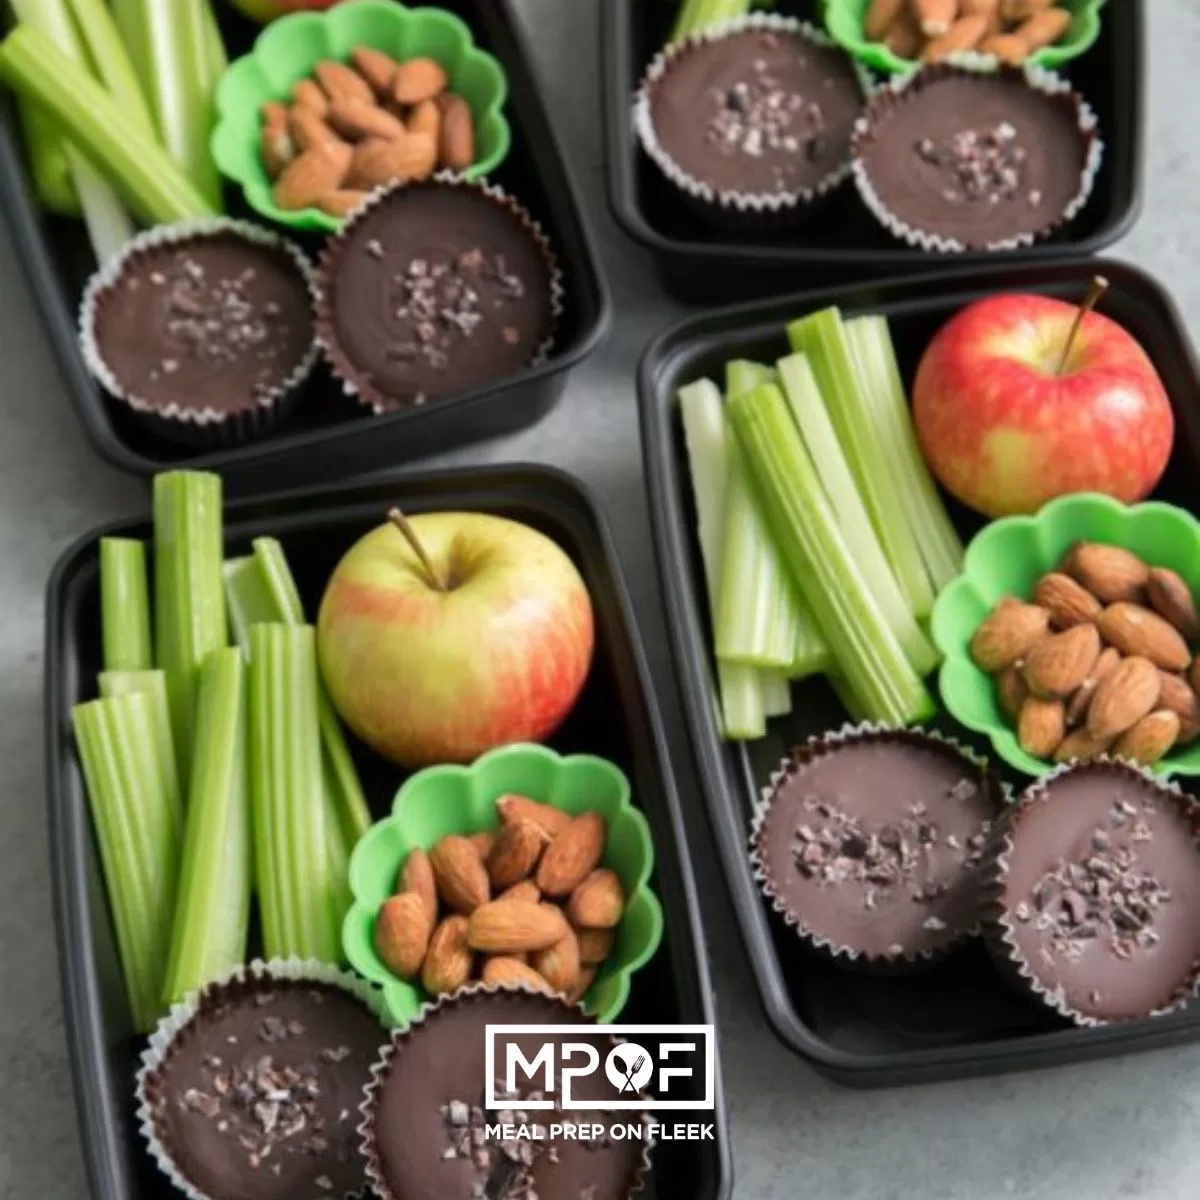
Low Sugar Chocolate Peanut Butter Cups
-
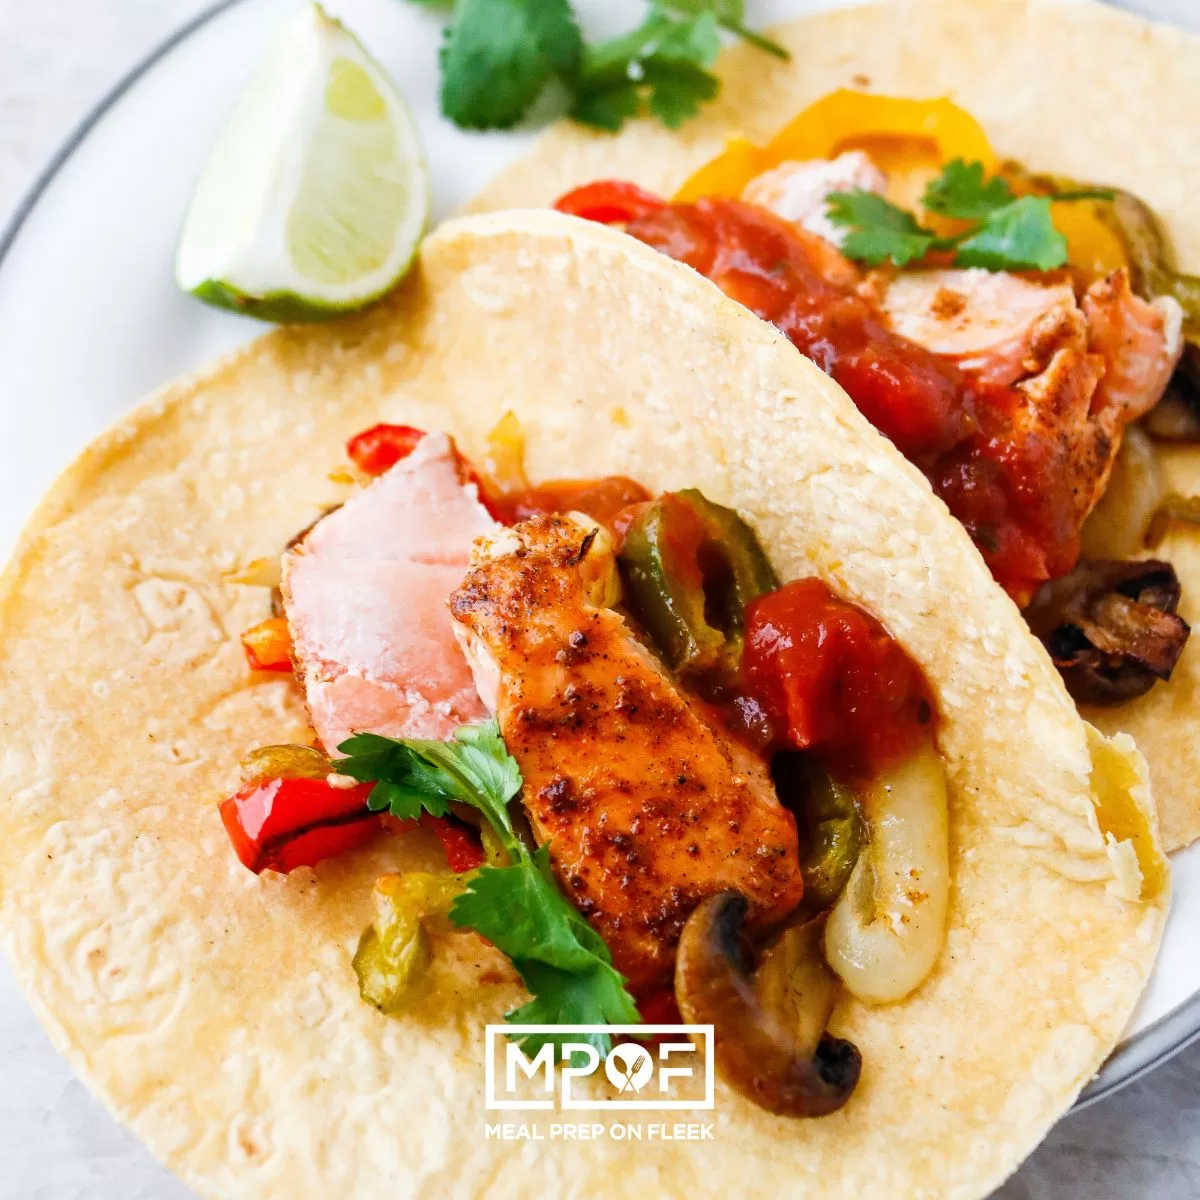
Sheet Pan Salmon Fajitas
-
Paleo Sweet Potato Casserole
-
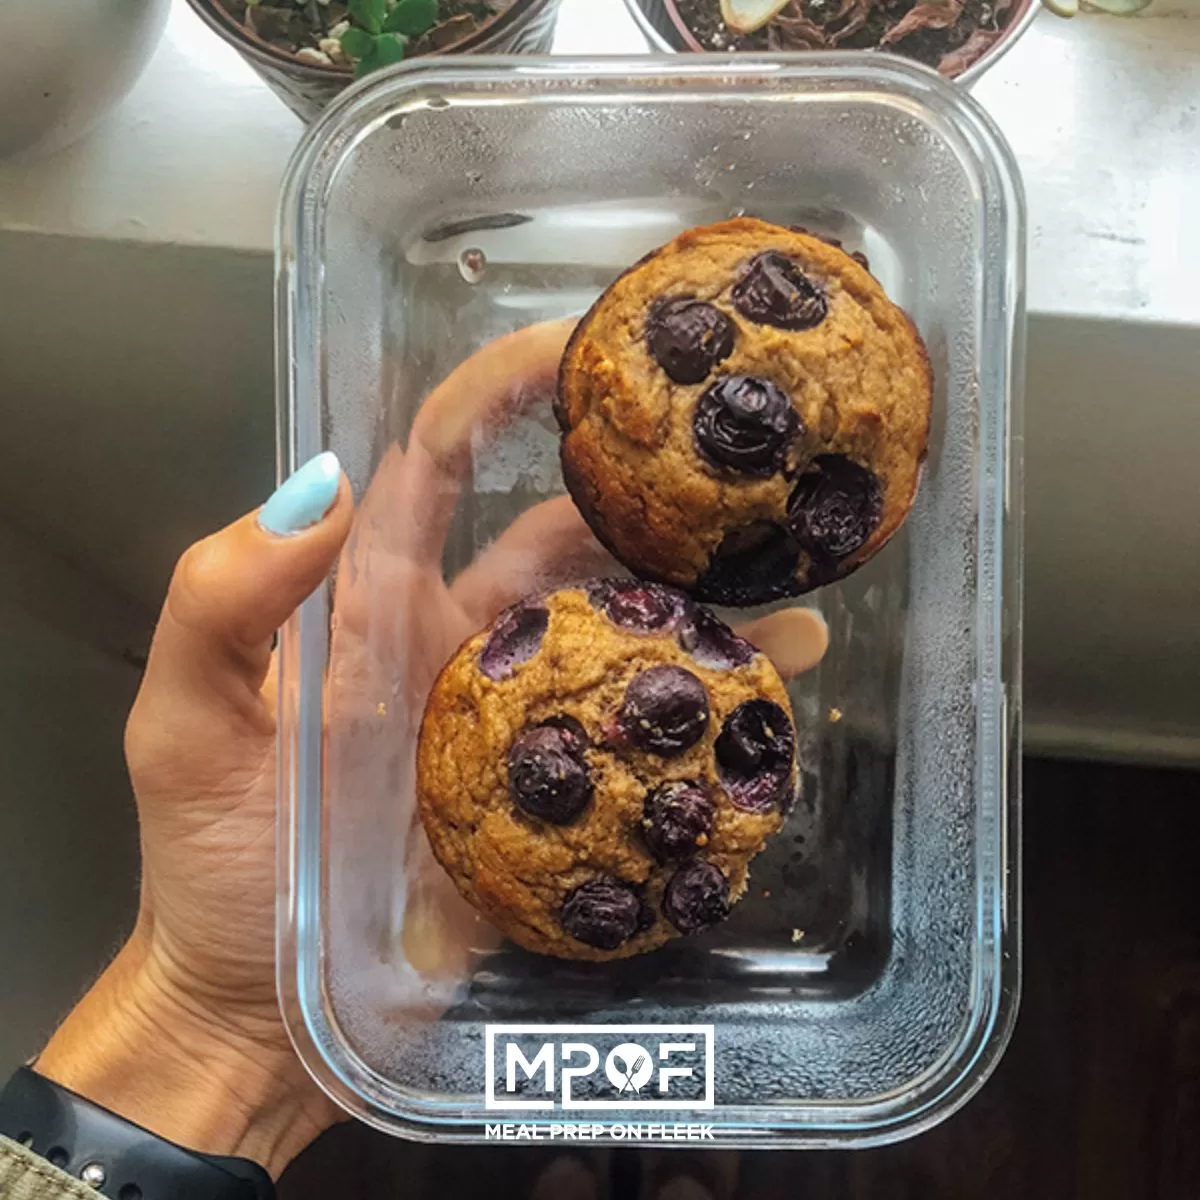
Paleo Blueberry Muffins
-
Sweet 'N Spicy Jalapeno Sausage Fried Rice
-
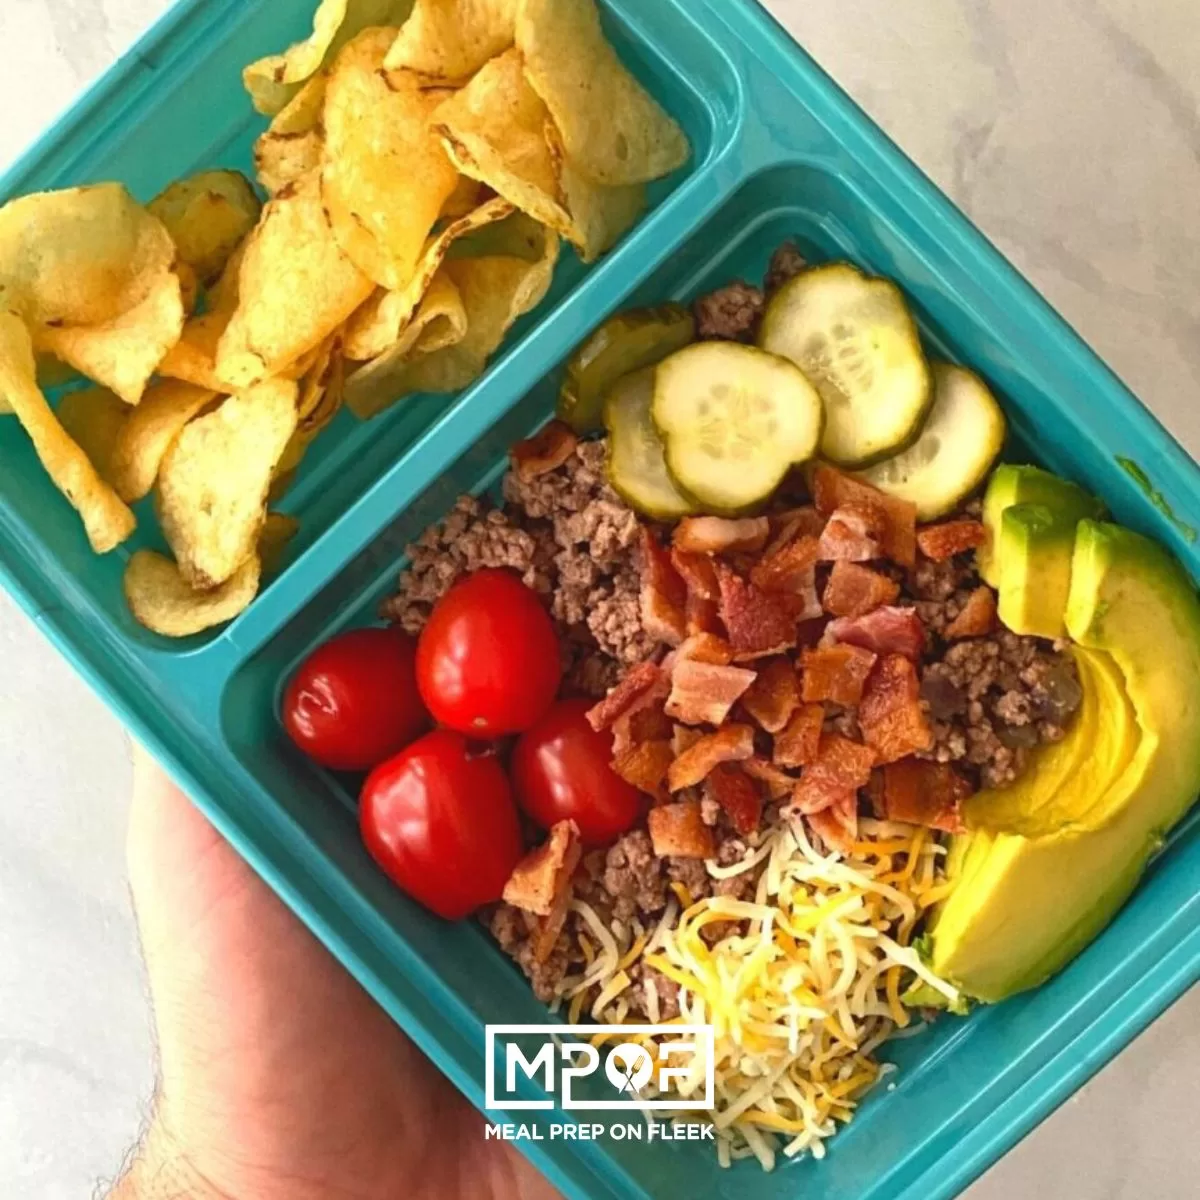
Yummy Bacon Burger Bowls
-
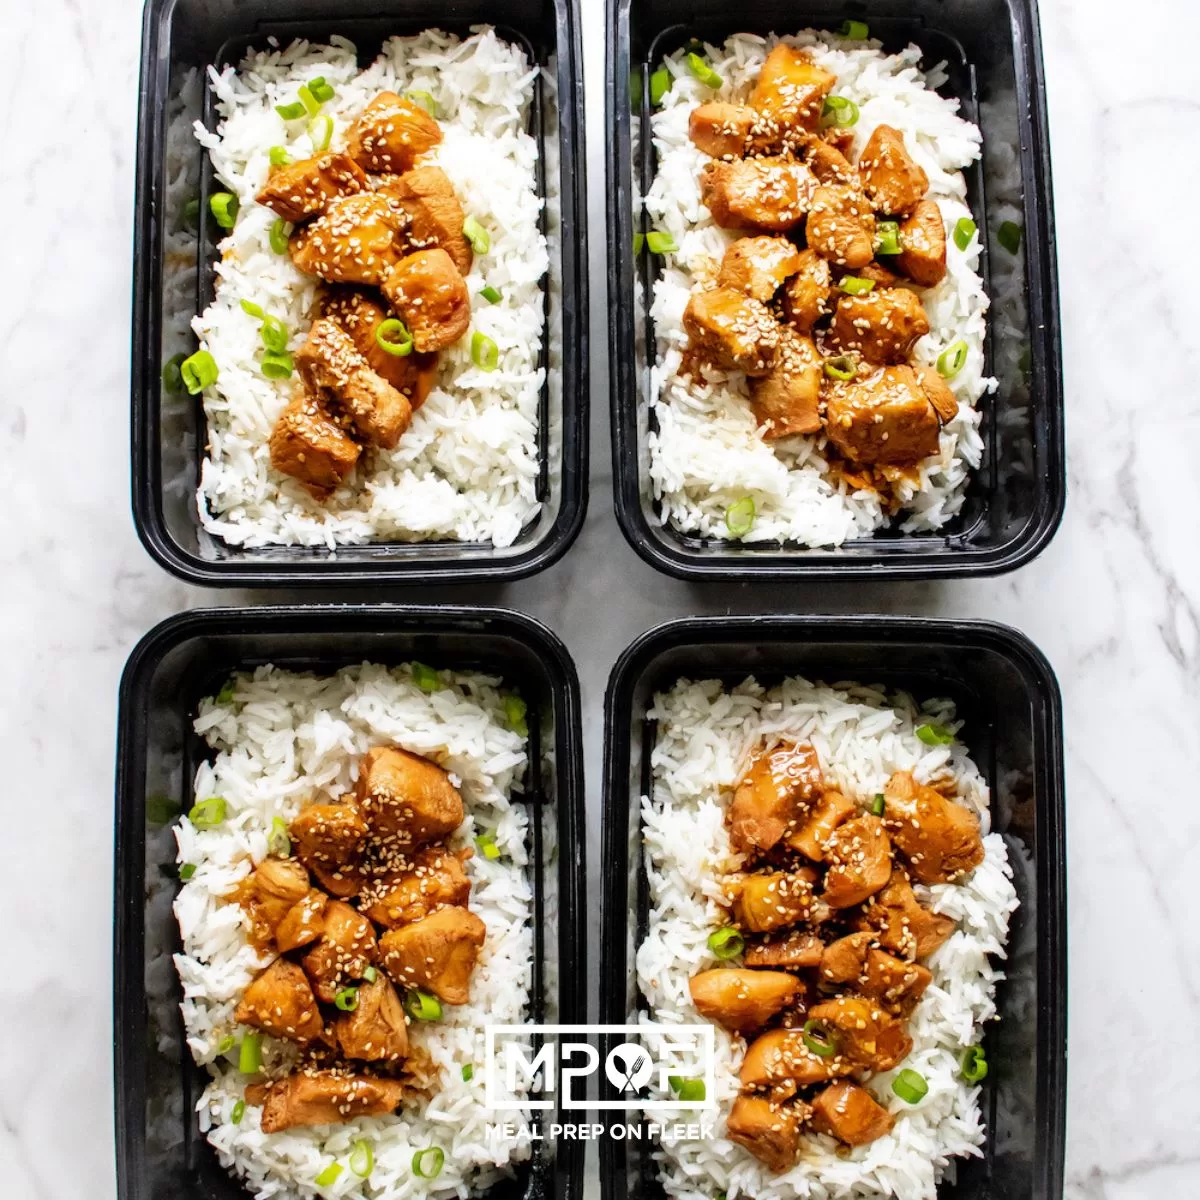
Instant Pot Honey Sesame Chicken
-
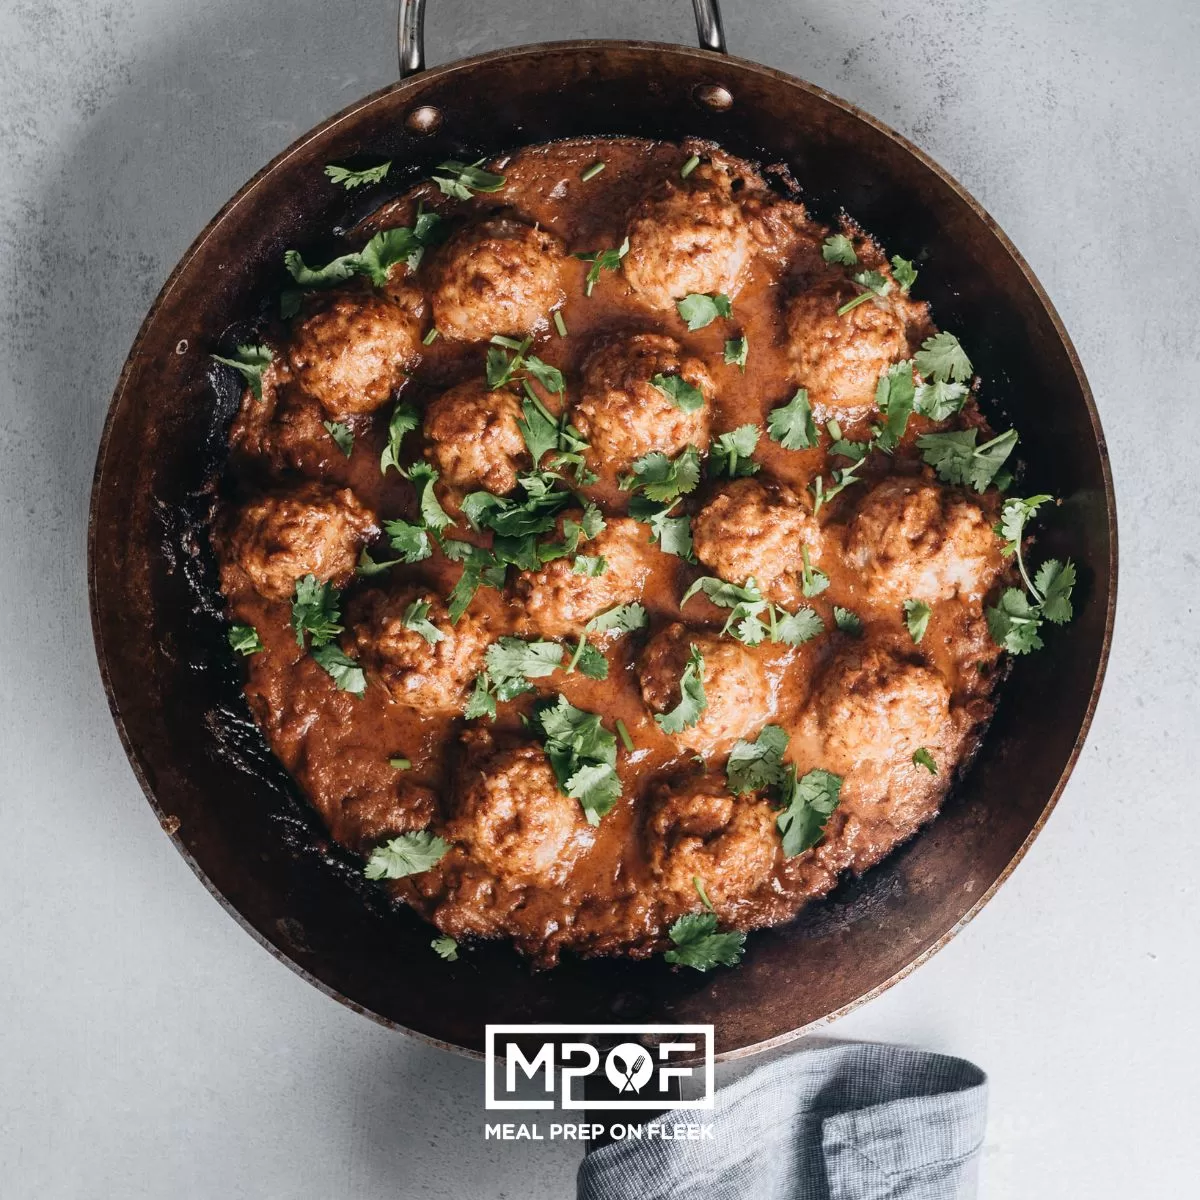
20 Minute Paleo Thai Almond Butter Turkey Meatballs
-
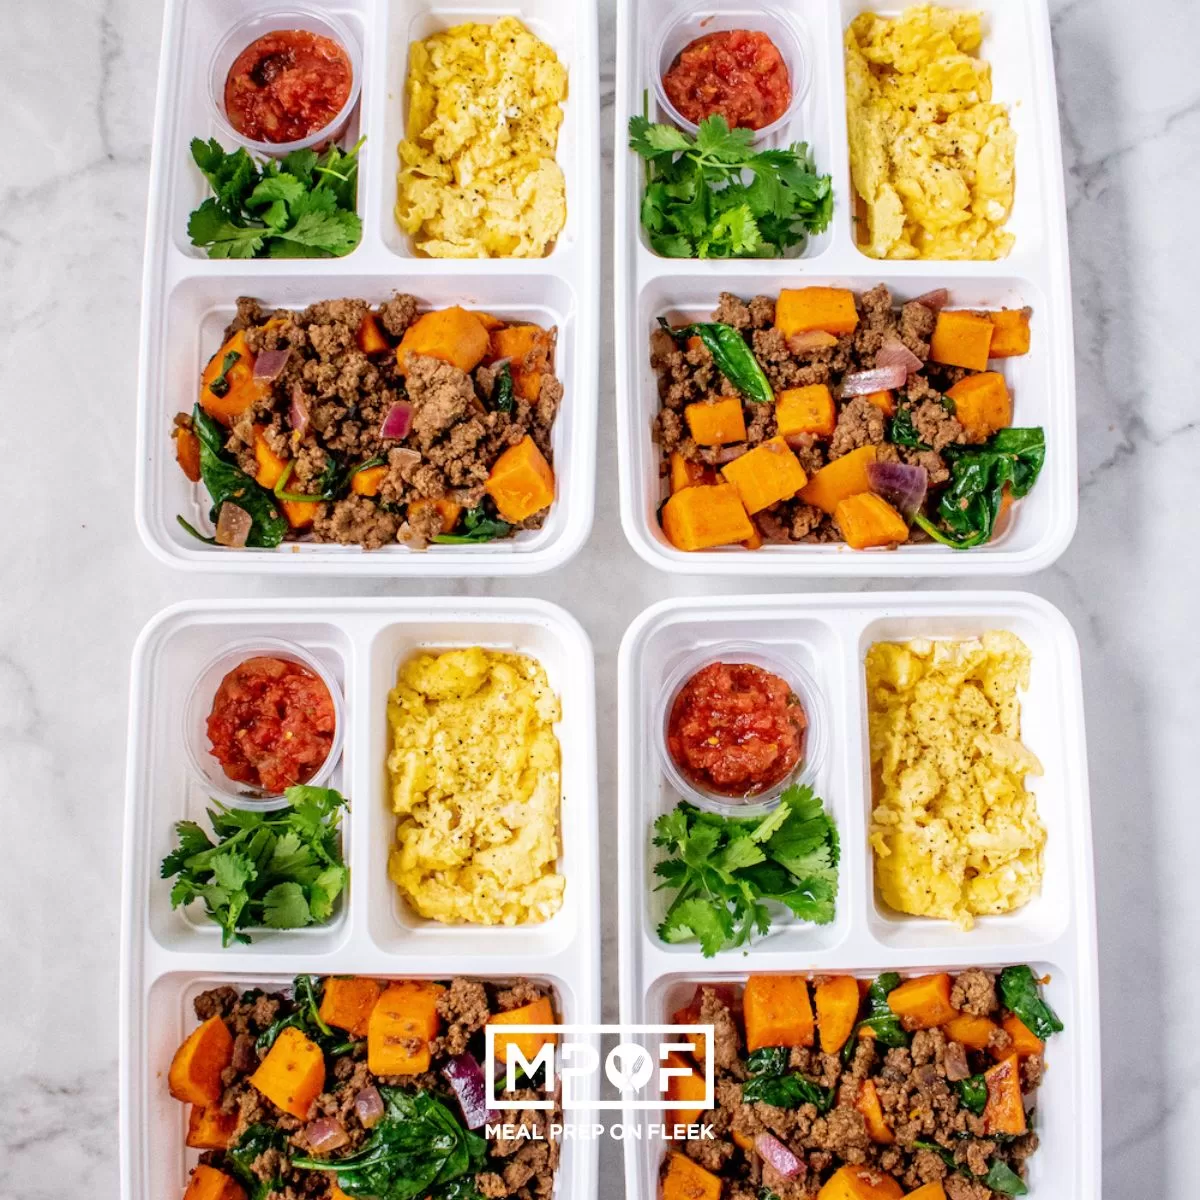
Taco Seasoned Ground Beef and Sweet Potato Hash
-
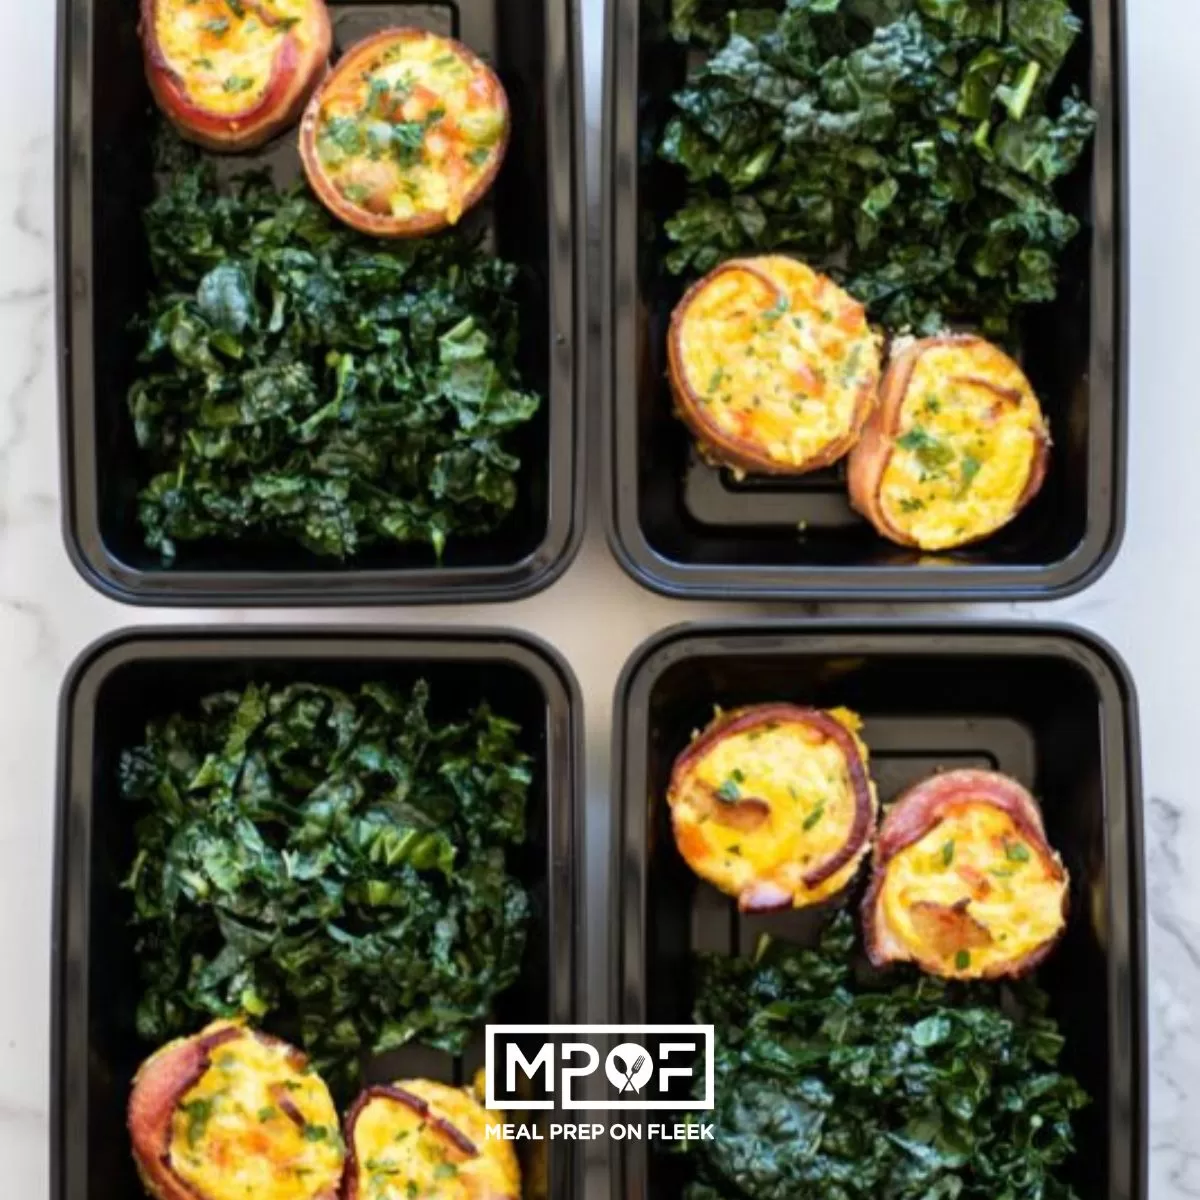
Bacon Wrapped Omelets
-
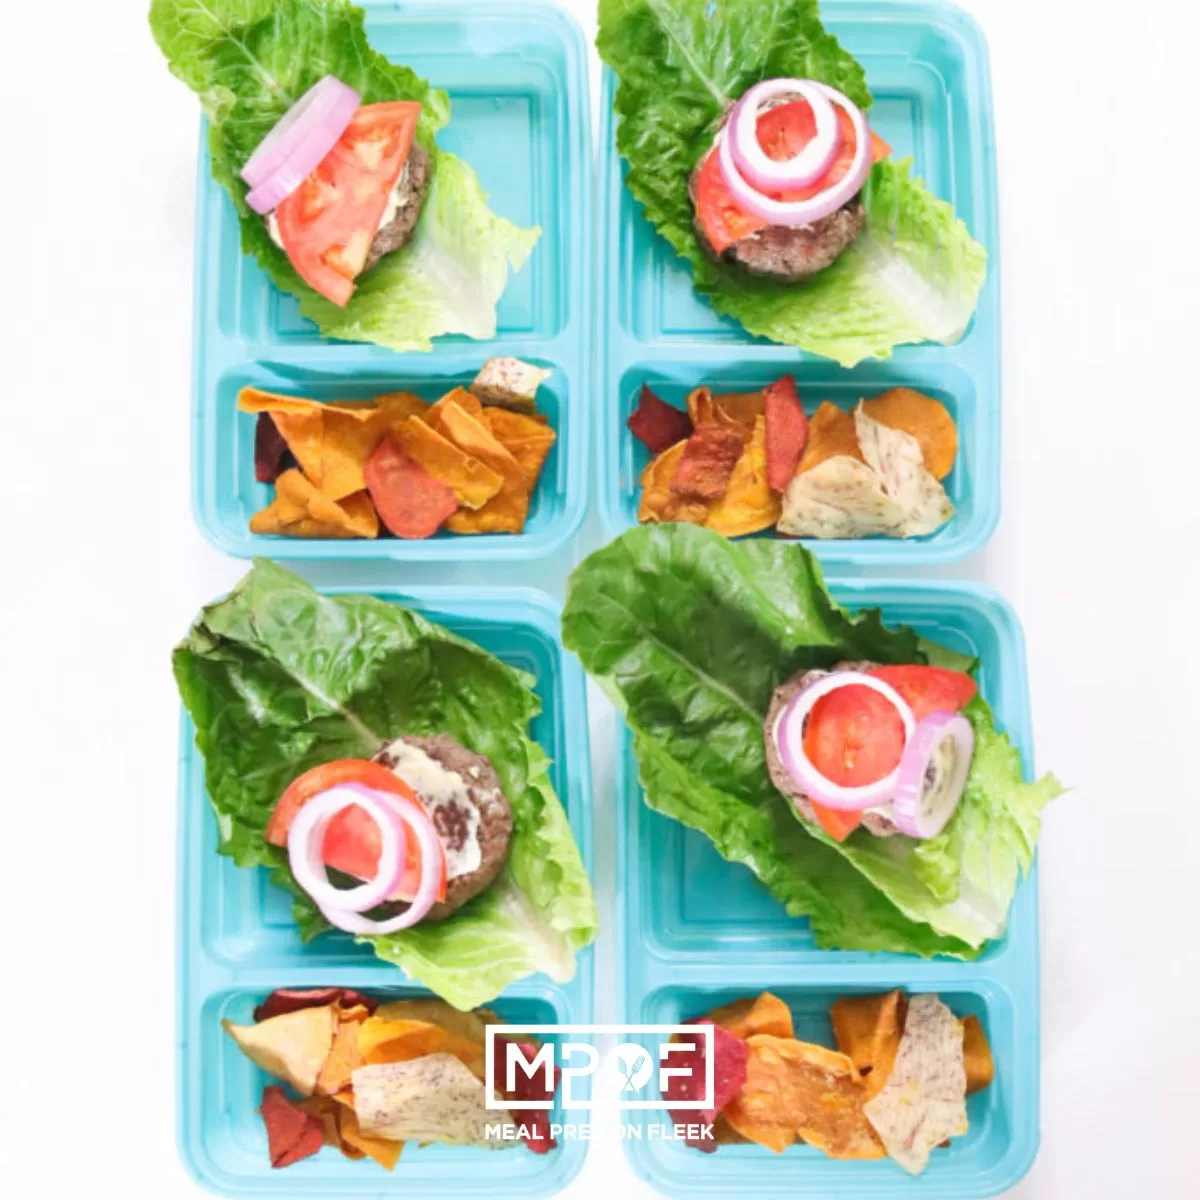
Low-Carb Lettuce Wrap Sliders
-
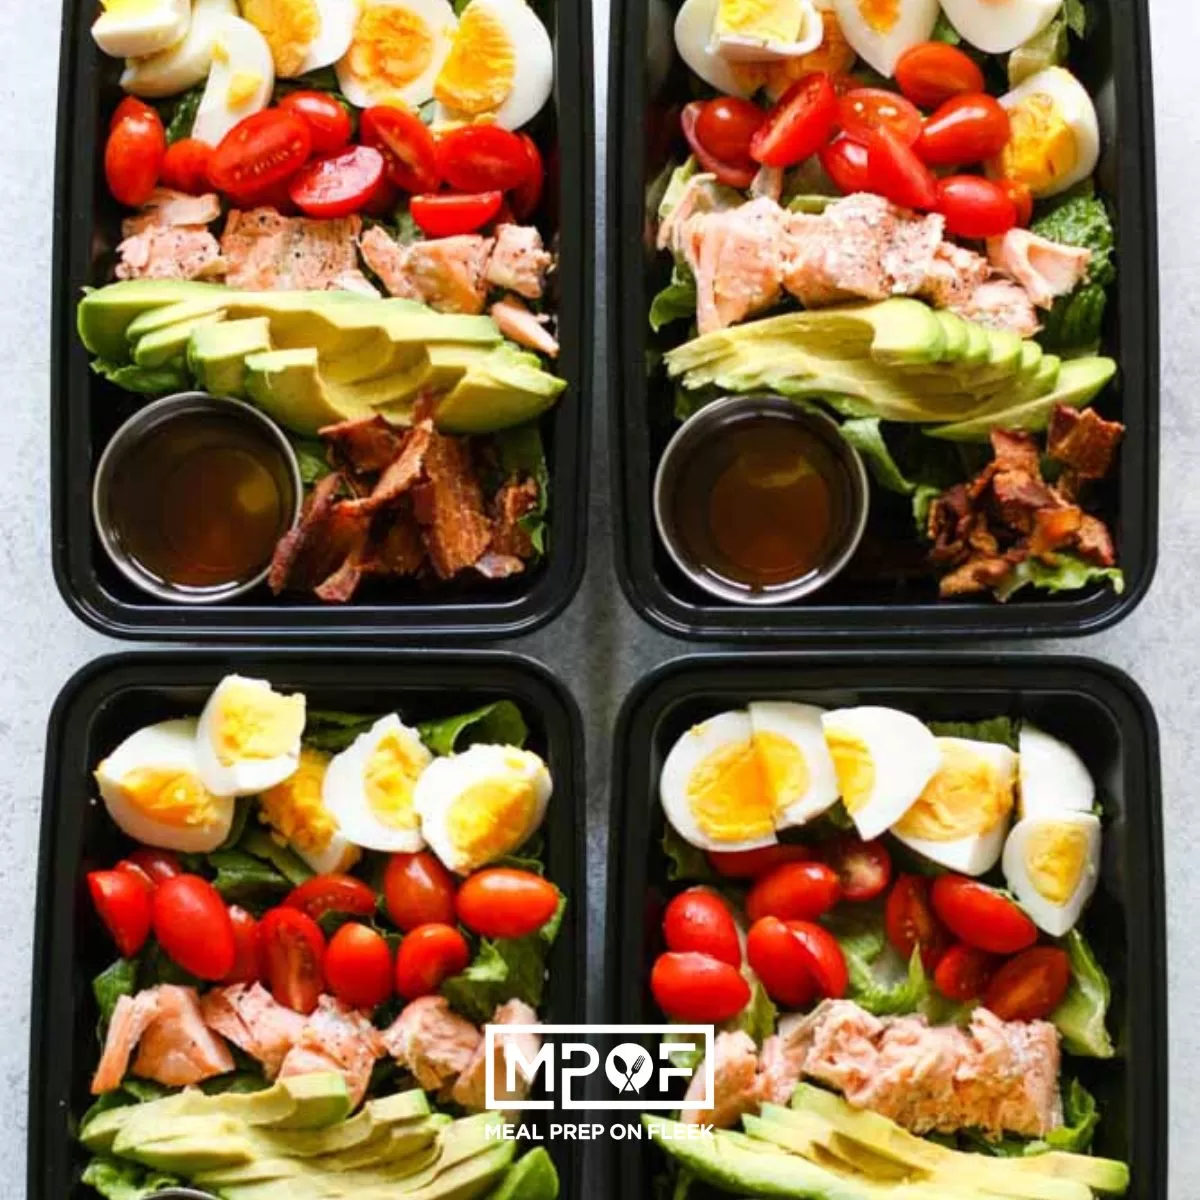
Salmon Cobb Salad Meal Prep
-
Ahi Tuna and Watercress Poke Bowl
-
Kofta Kebab Meal Prep