Lunch Meal Prep Recipes
-
Easy Pan-Roasted Chicken Meal Prep45 Minutes
-
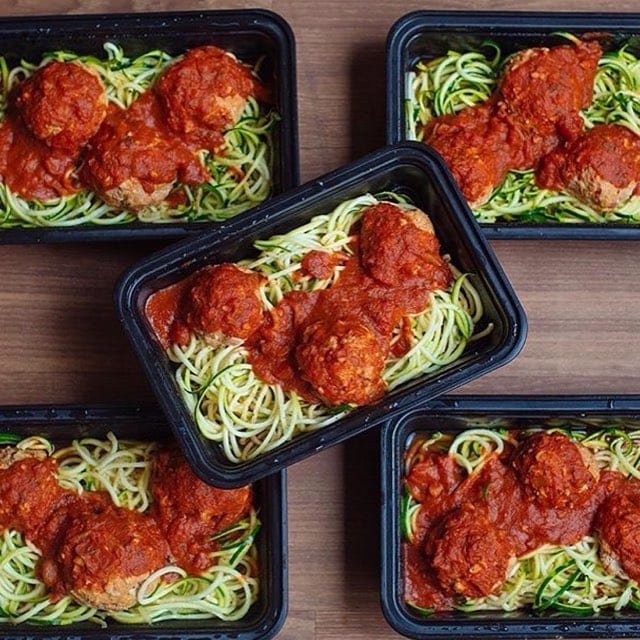
Spicy Meatball and Mashed Potato Meal Prep
-
Meatloaf and Mashed Potato Meal Prep (paleo, GF)
-
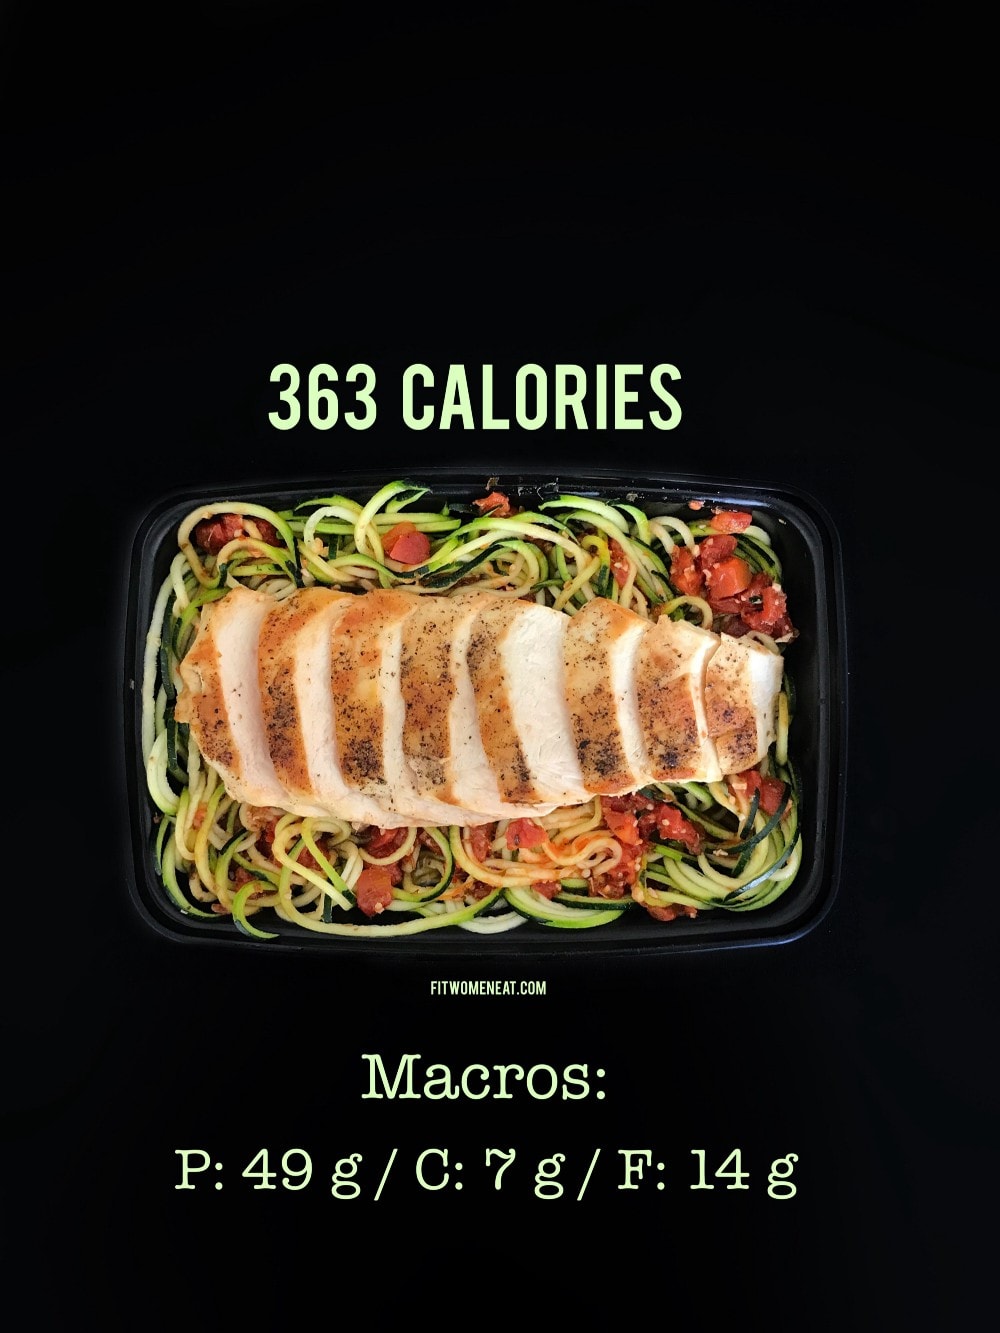
Zoodles with Tomato Oregano Sauce and Grilled Chicken Breast20 Minutes
-
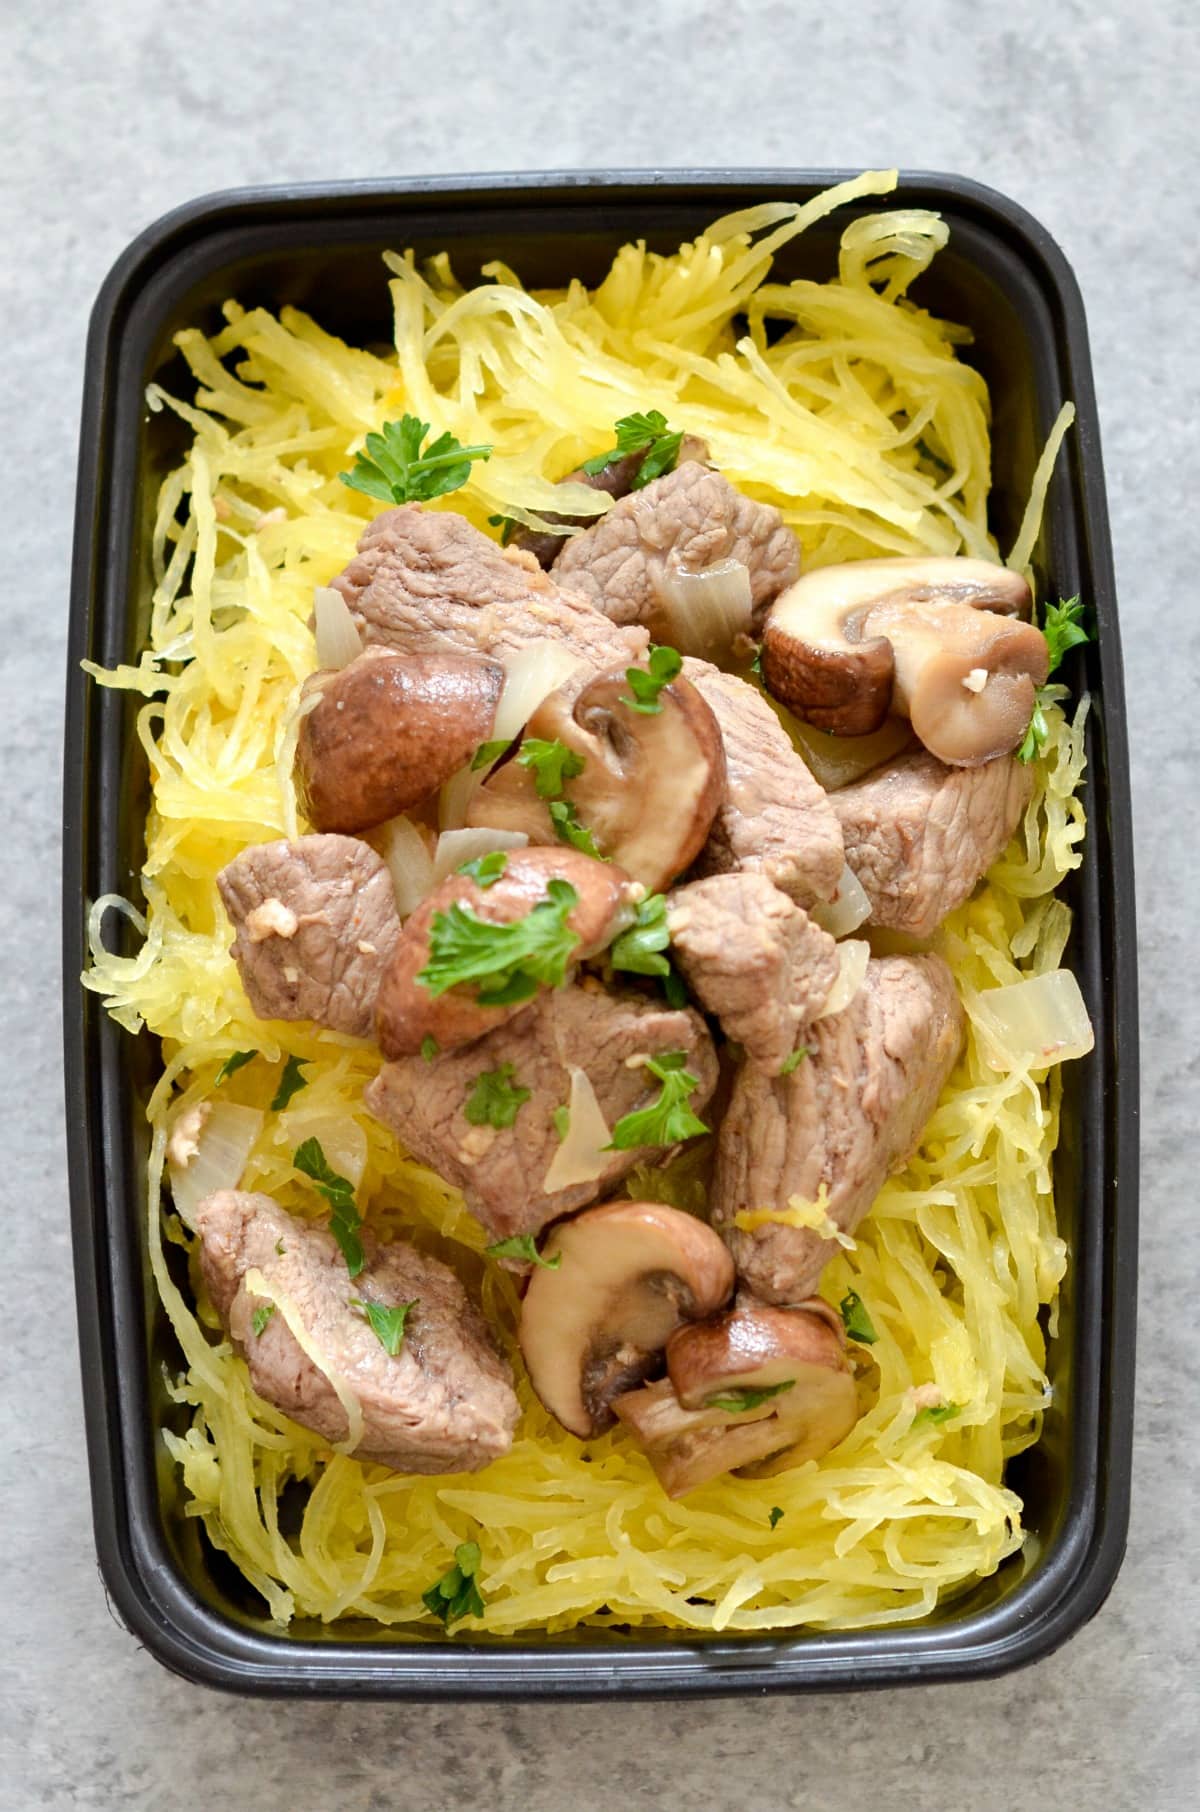
One Pan Beef Stroganoff (Paleo,GF)20 Minutes
-
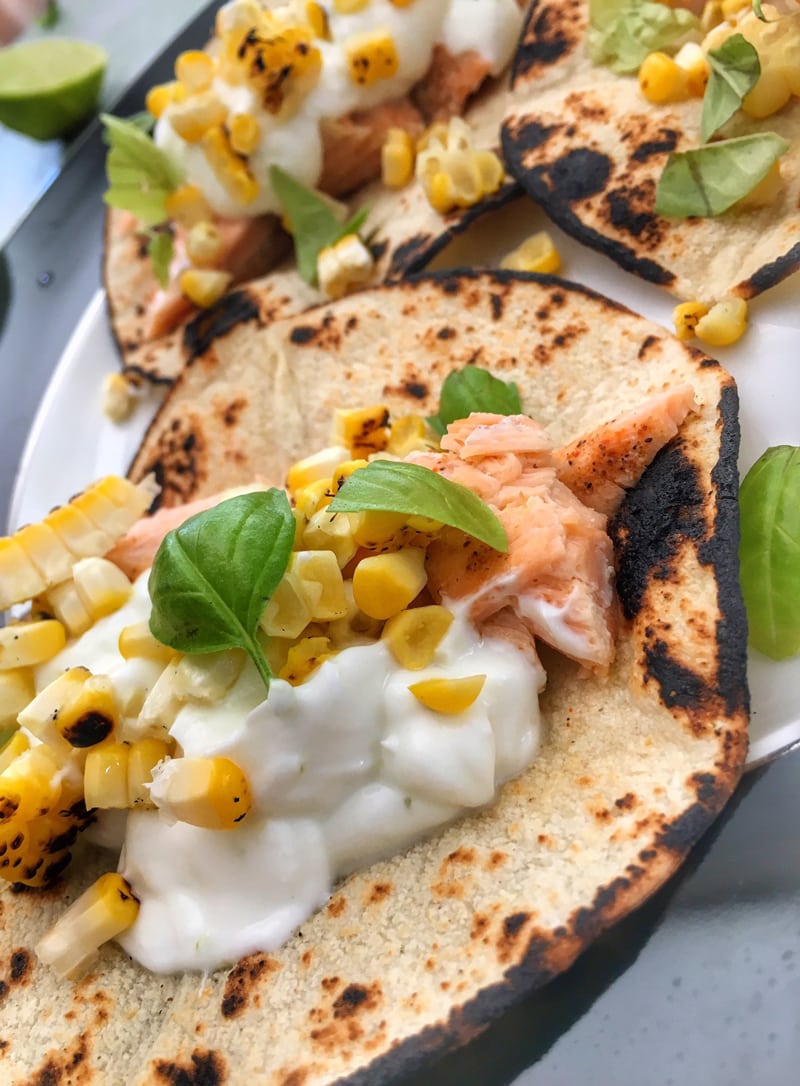
Salmon Tacos with Beets20 Minutes
-
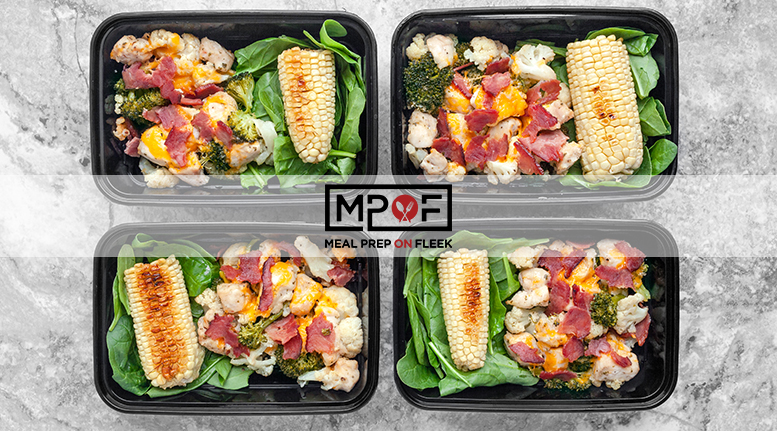
Chicken Bacon Ranch Meal Prep
-
Chicken Sausage & Parsnip Fries Meal Prep
-
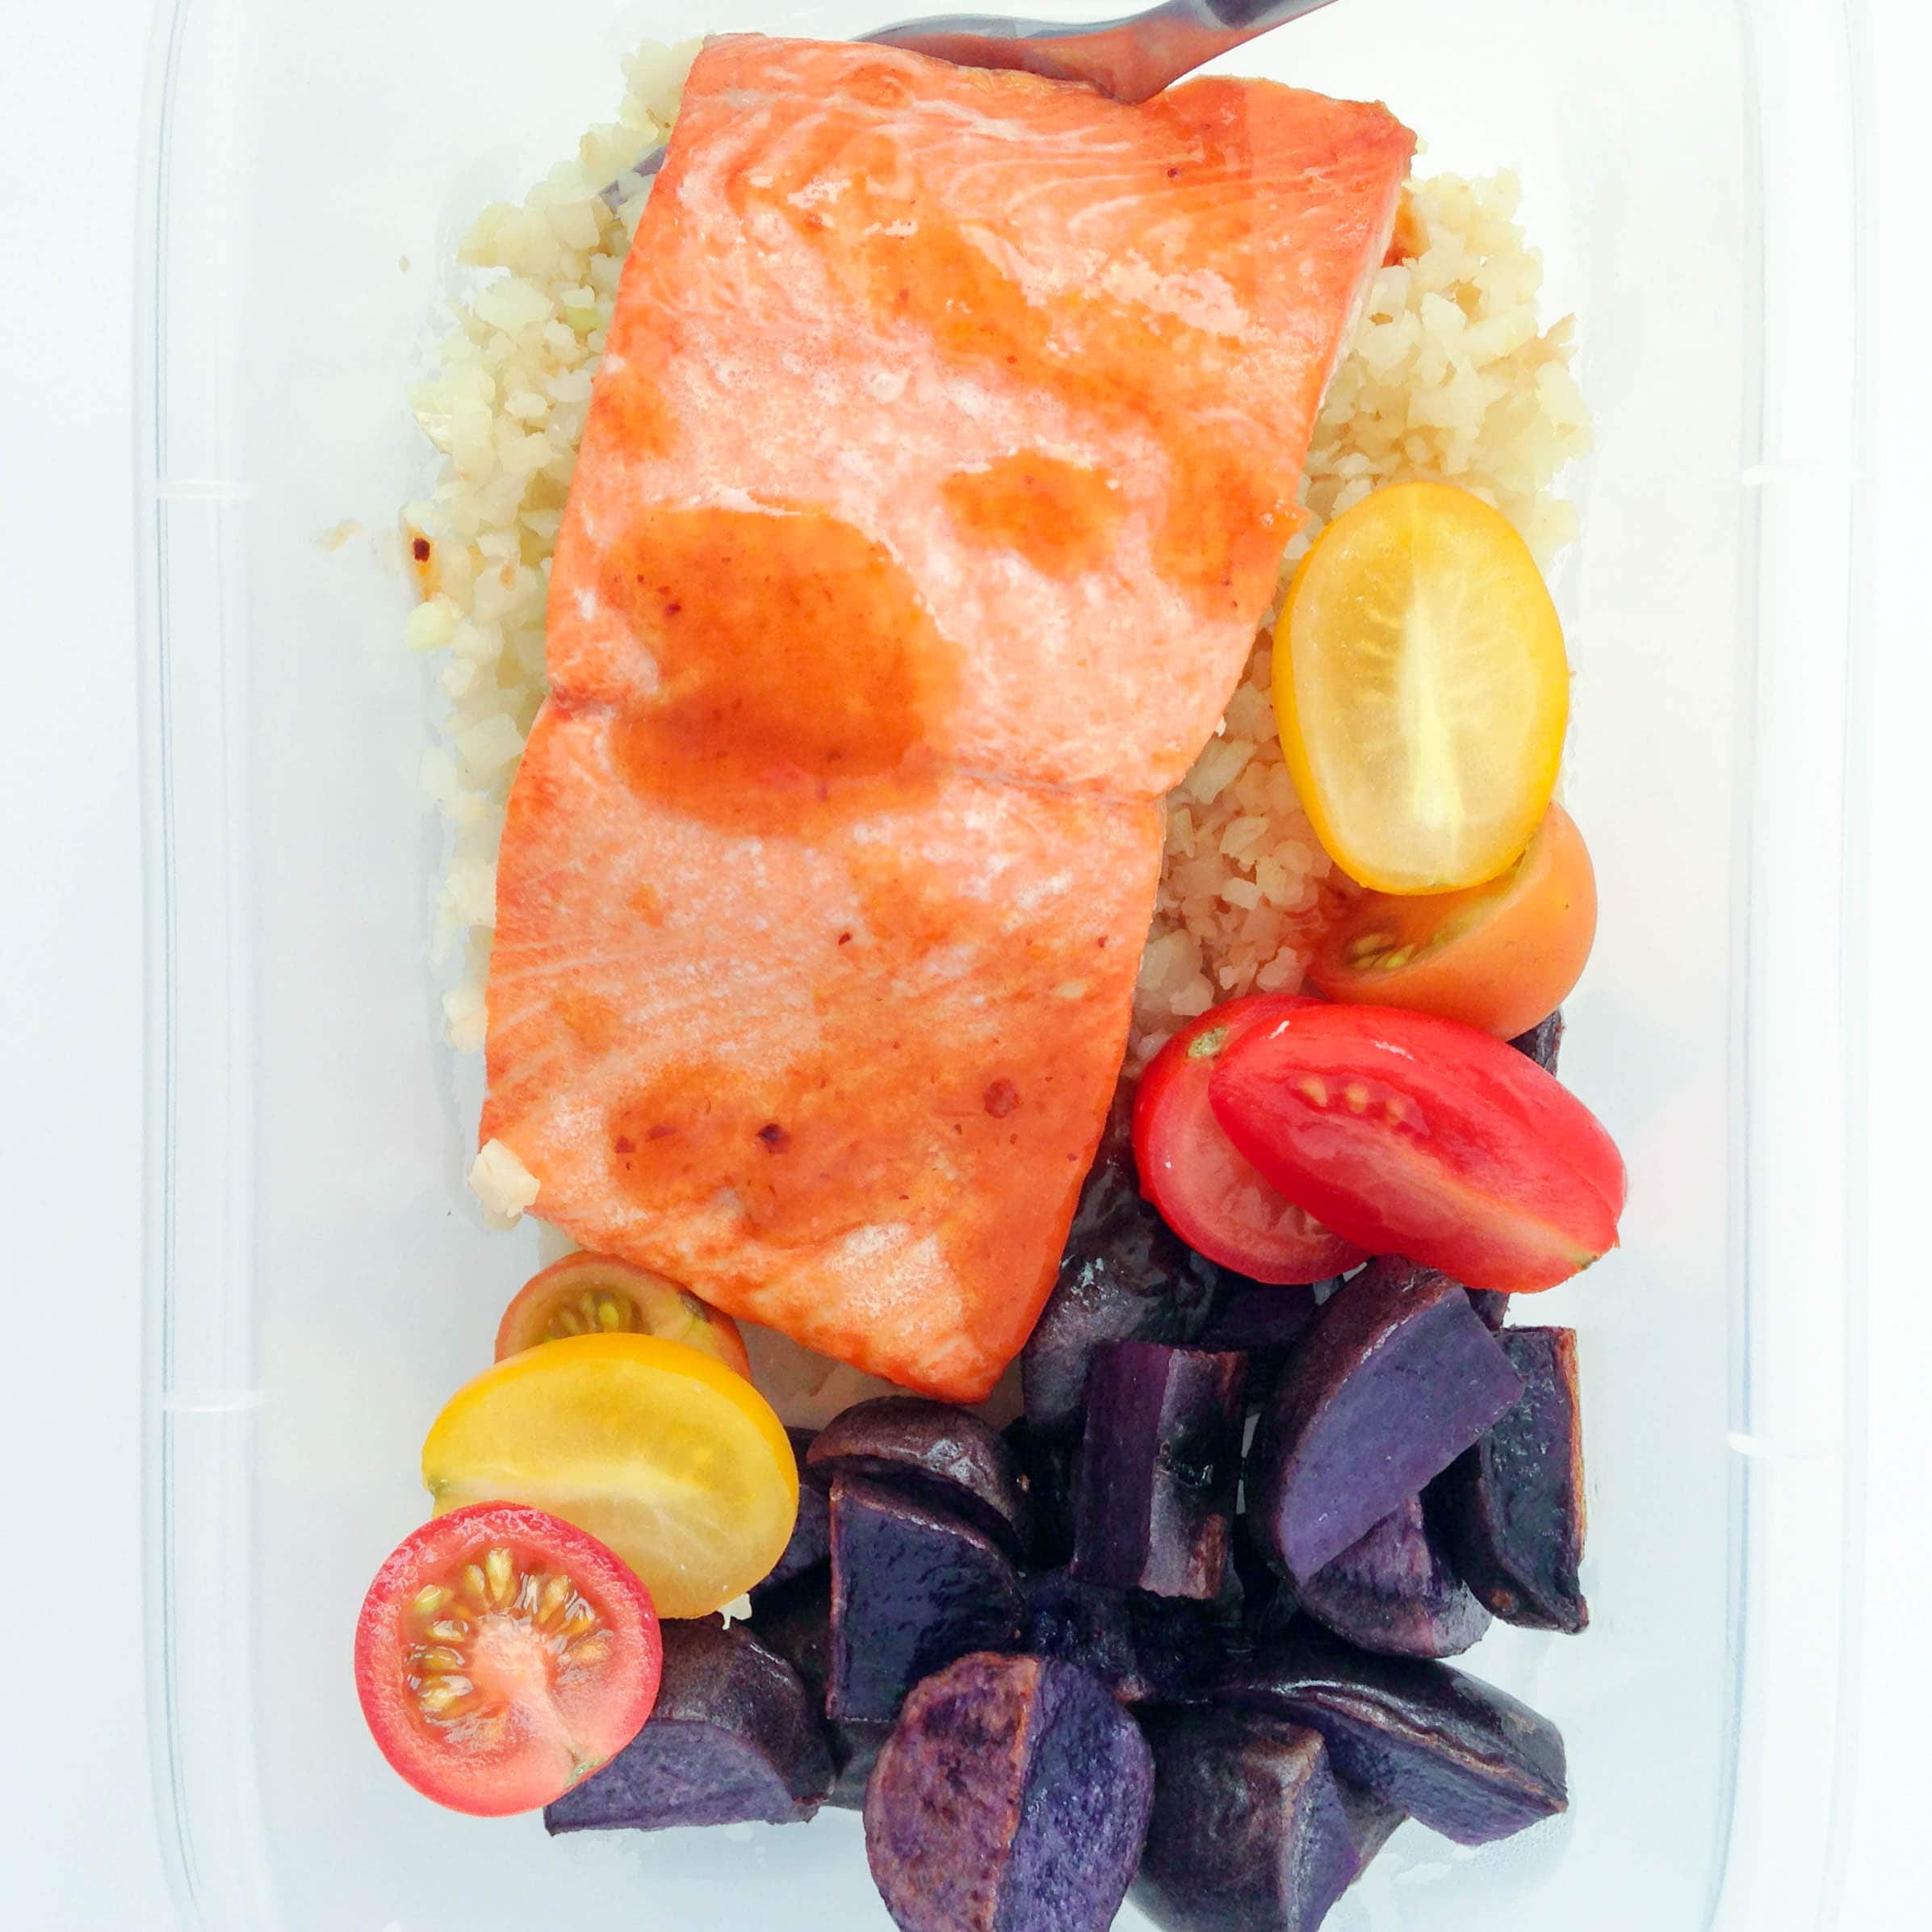
Ghost Pepper and Tamarind Salmon Meal Prep
-
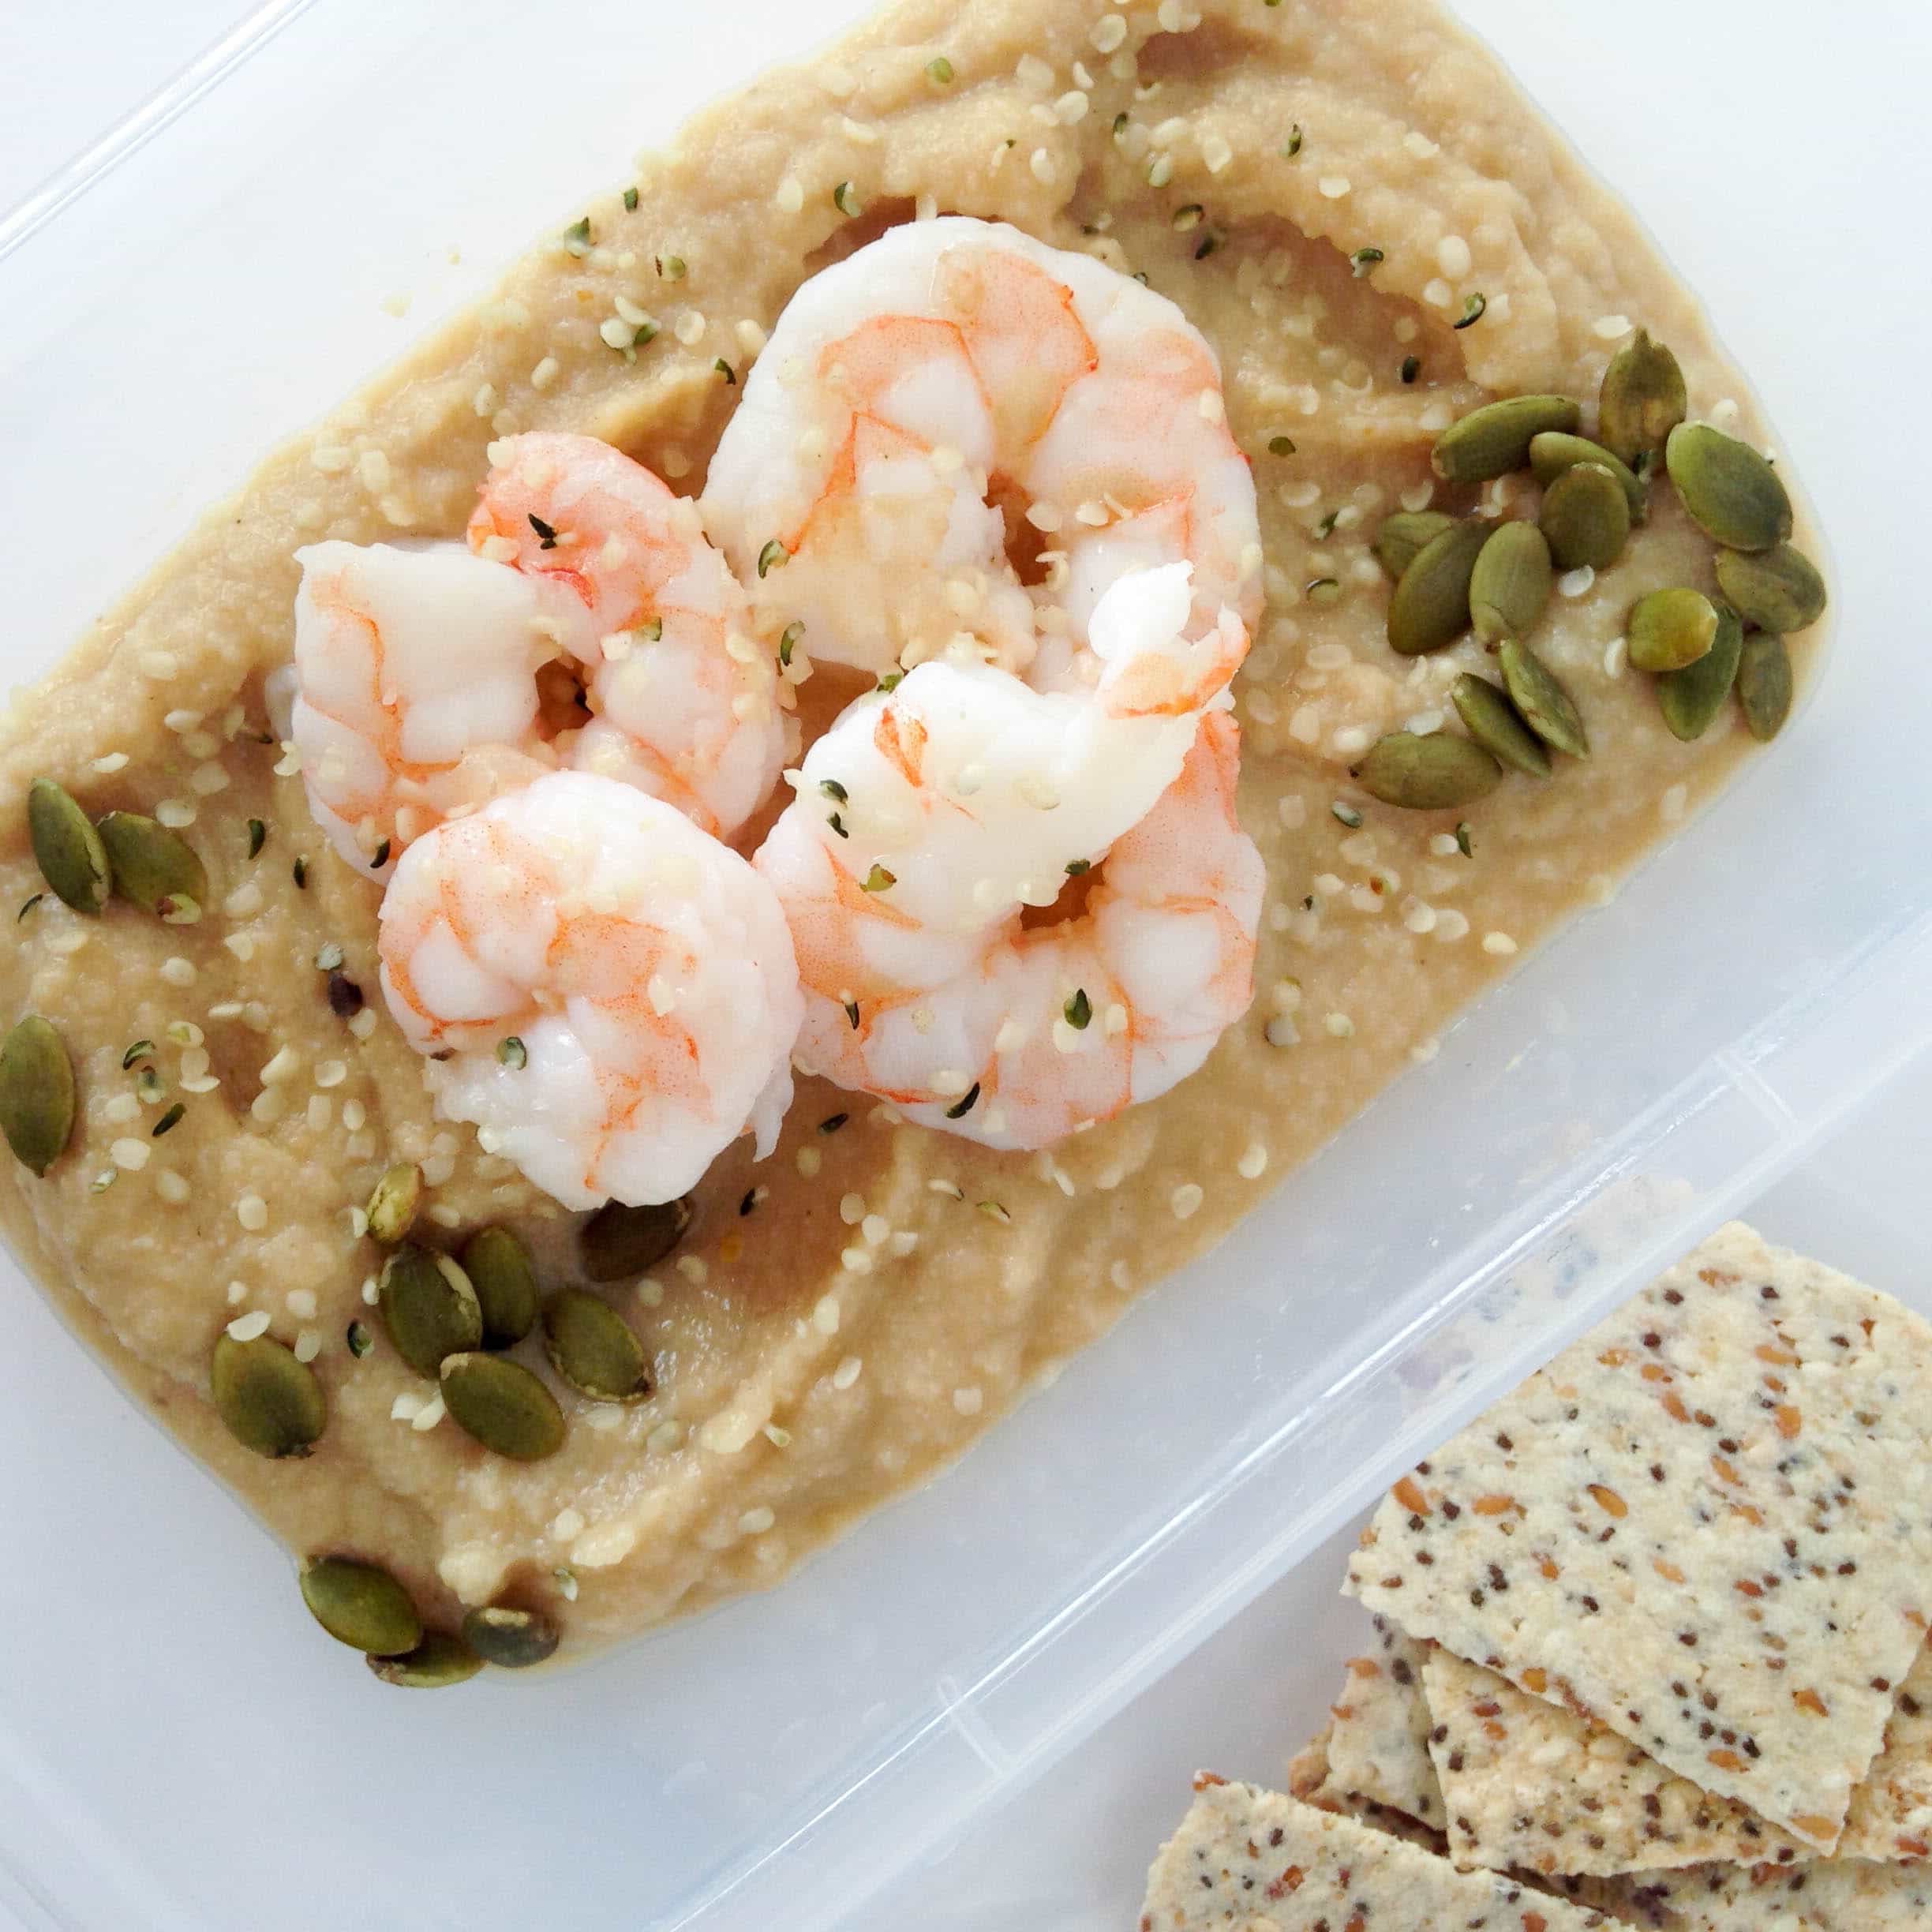
Cauliflower and White Bean Soup with Shrimp Meal Prep
-
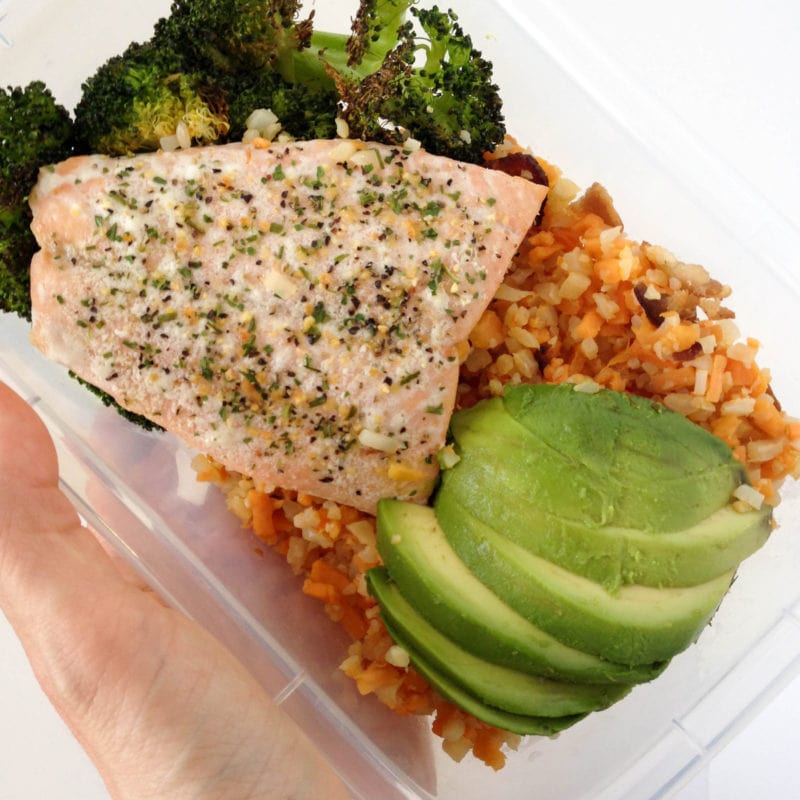
Salmon & Bacon 'Rice' Meal Prep
-
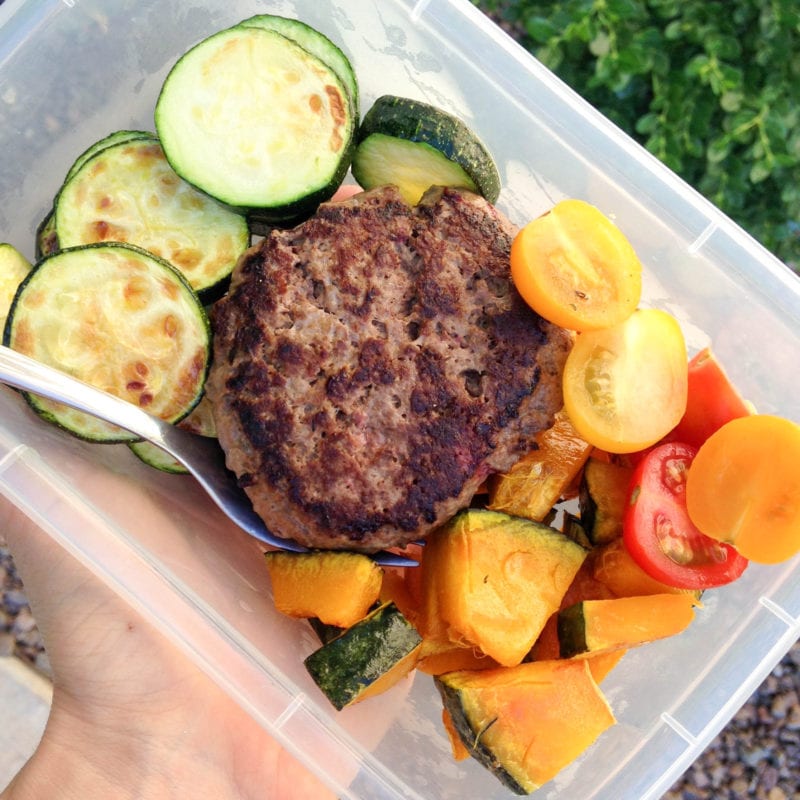
Burger and Veggie Meal Prep
-
Low Carb Meal Prep: Shrimp, Veggies, and Cauliflower Rice
-
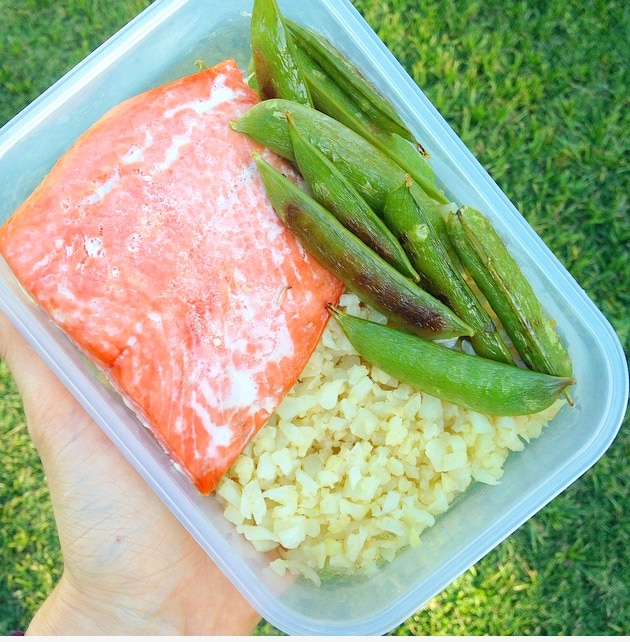
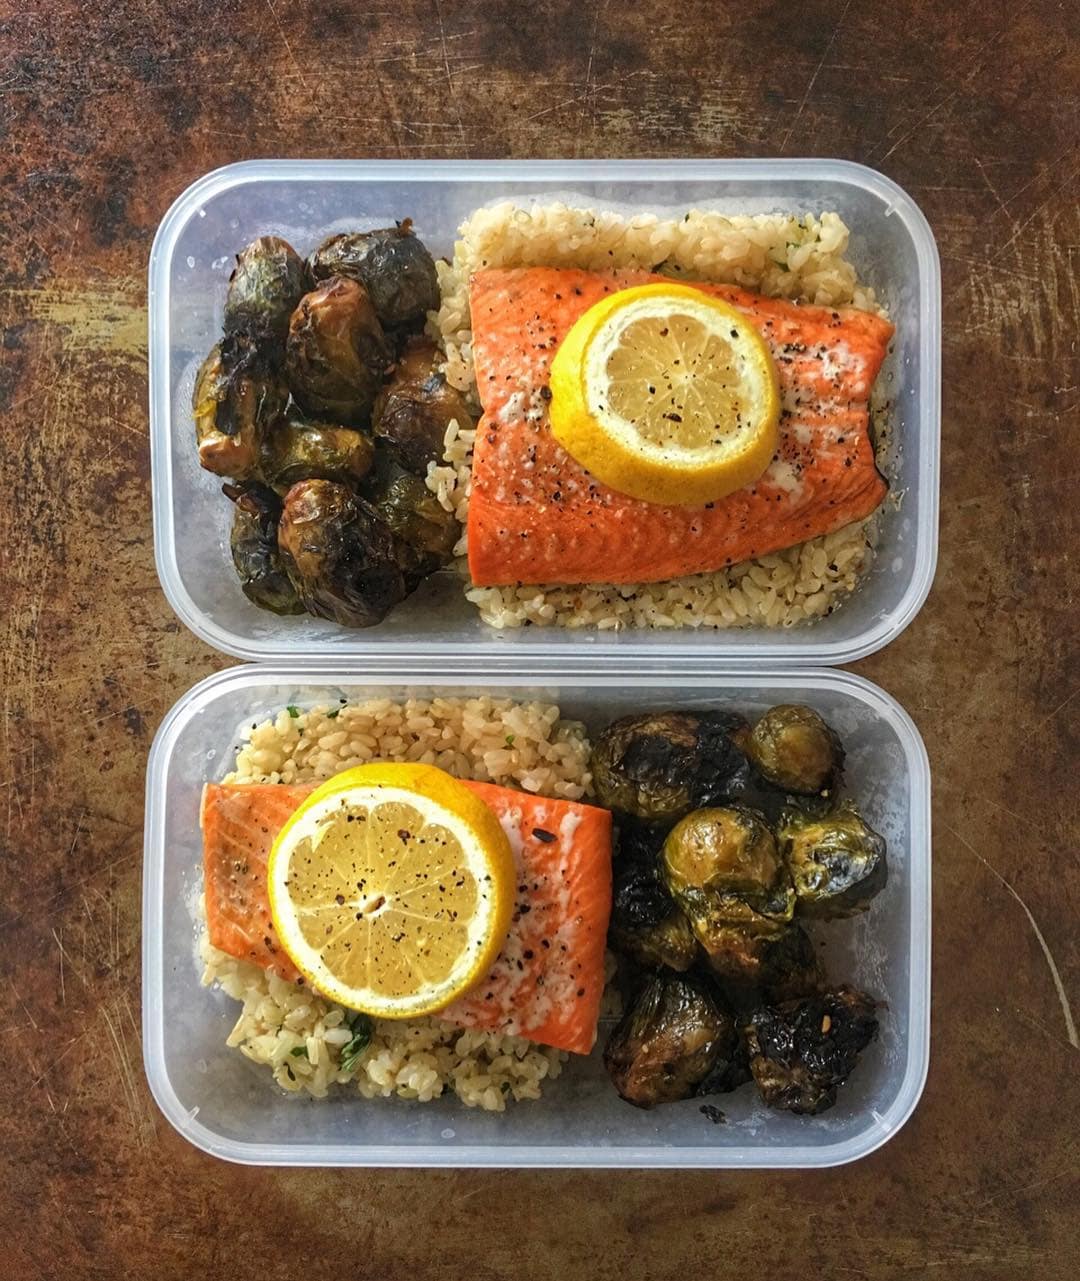
Simple Low Carb Salmon Meal Prep
-
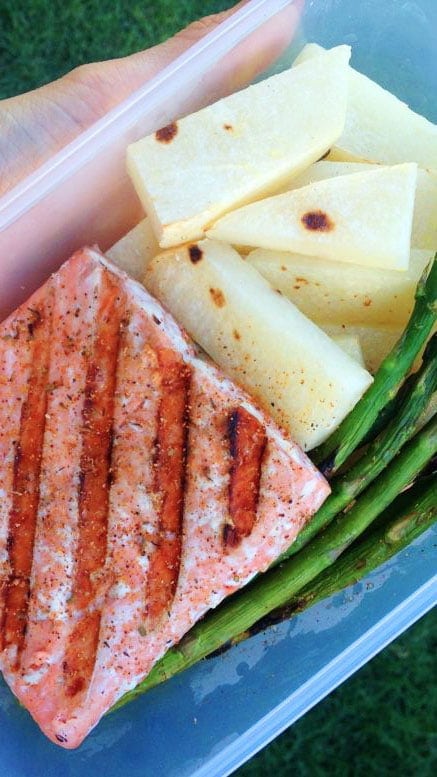
Meal Prep on the Grill
-
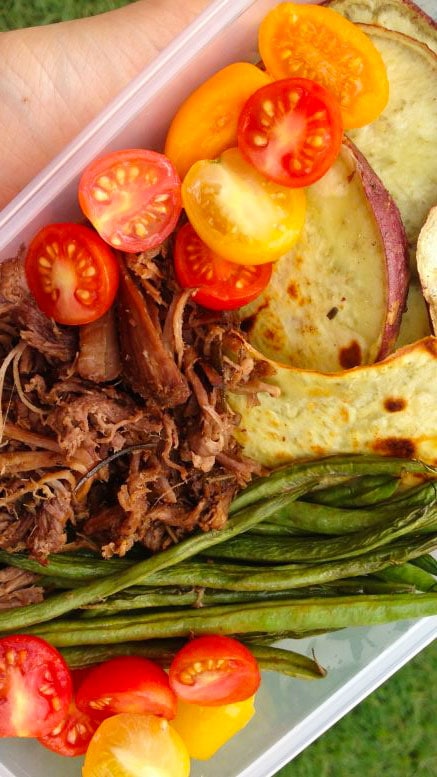
A Crockpot Roast Meal Prep To Make Your Week Easy!
-
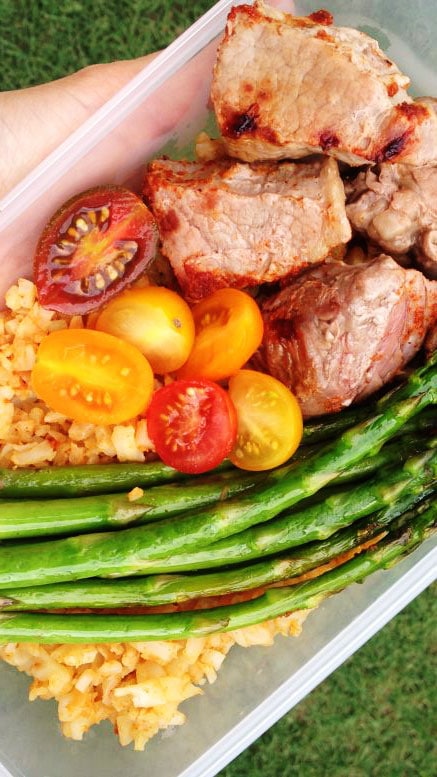
Low Carb Cajun Steak Meal Prep
-
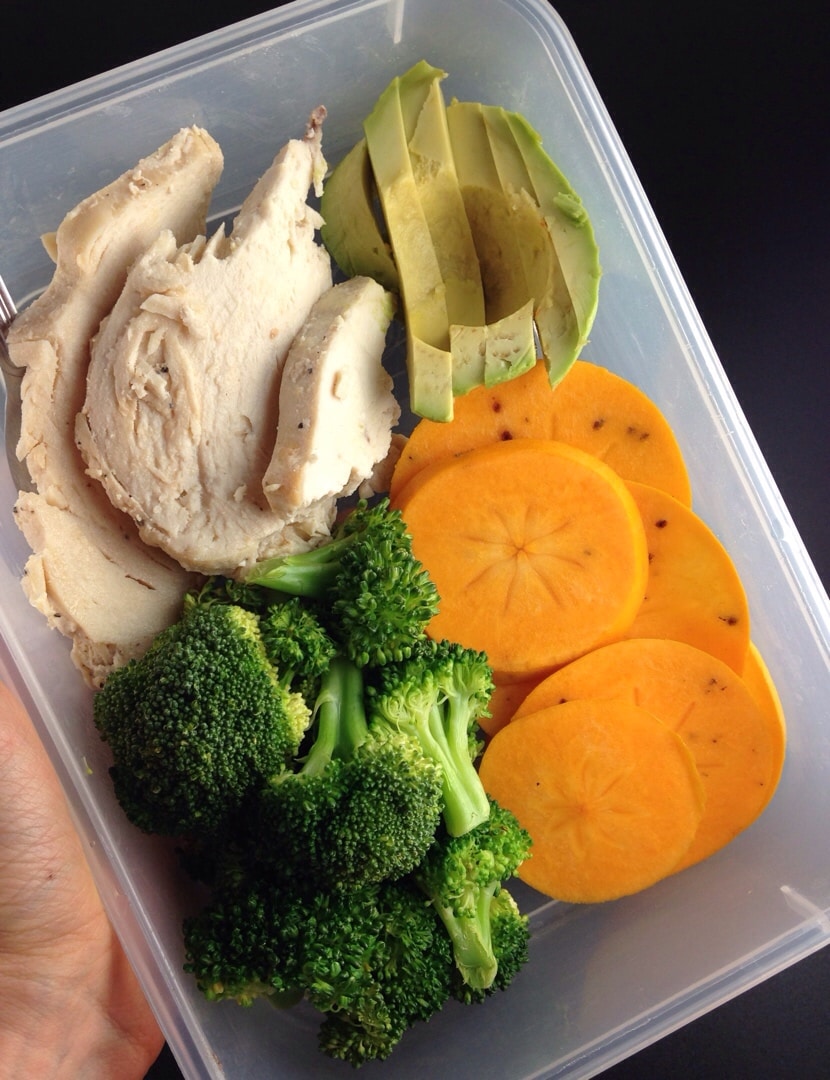
Roasted Chicken and Winter Persimmons Make This Sweet & Savory Meal Prep
-
Four Ingredient Pineapple Thai Turkey Meatball Meal Prep
-
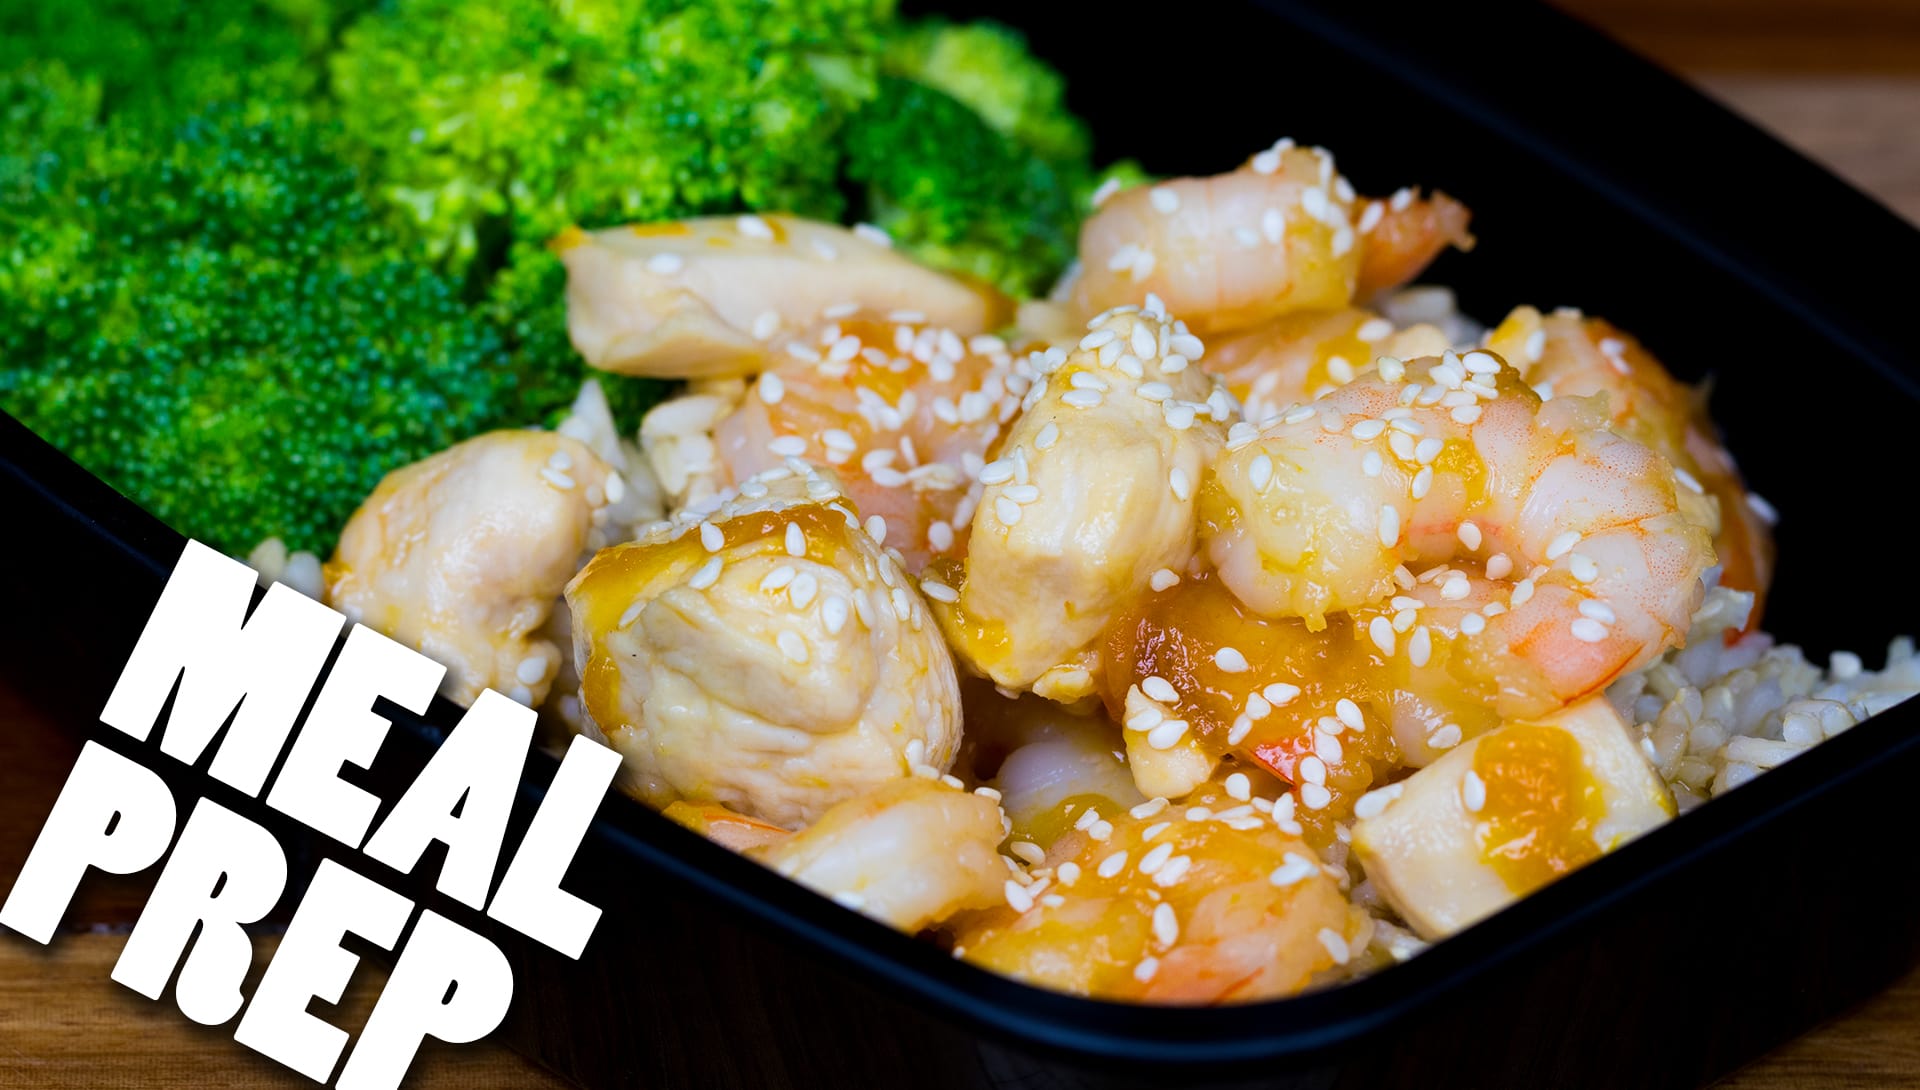
Apricot Sesame Chicken & Shrimp20 Minutes
-
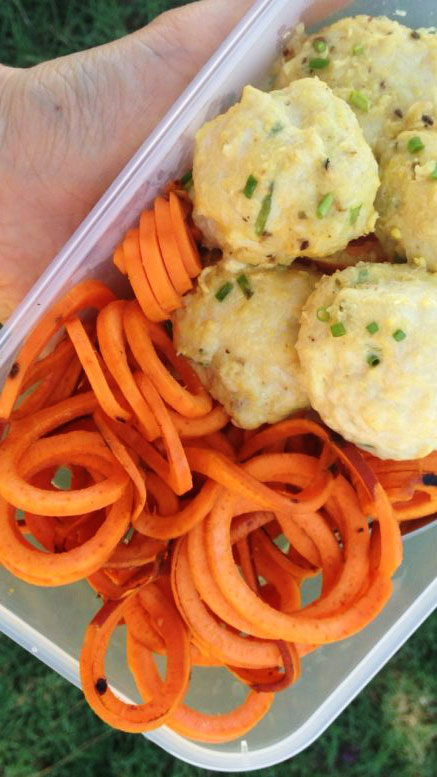
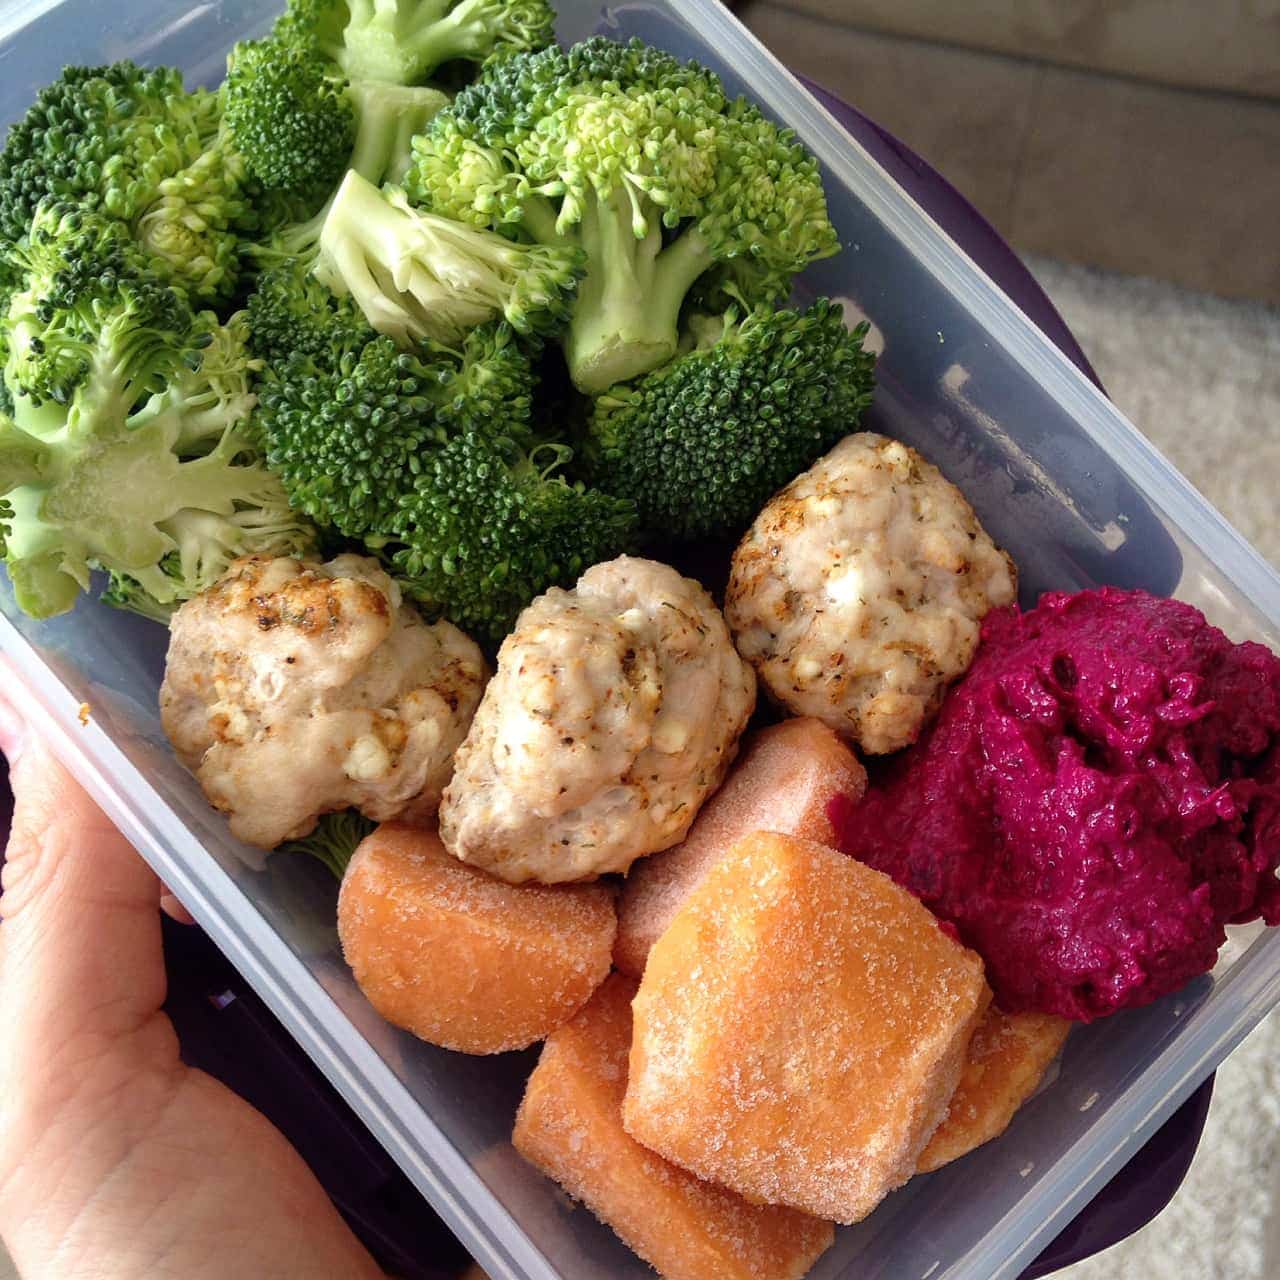
Feta Turkey Meatball Meal Prep + Two Tricks!
-
Simple Fruit Salsa Salmon Meal Prep
-
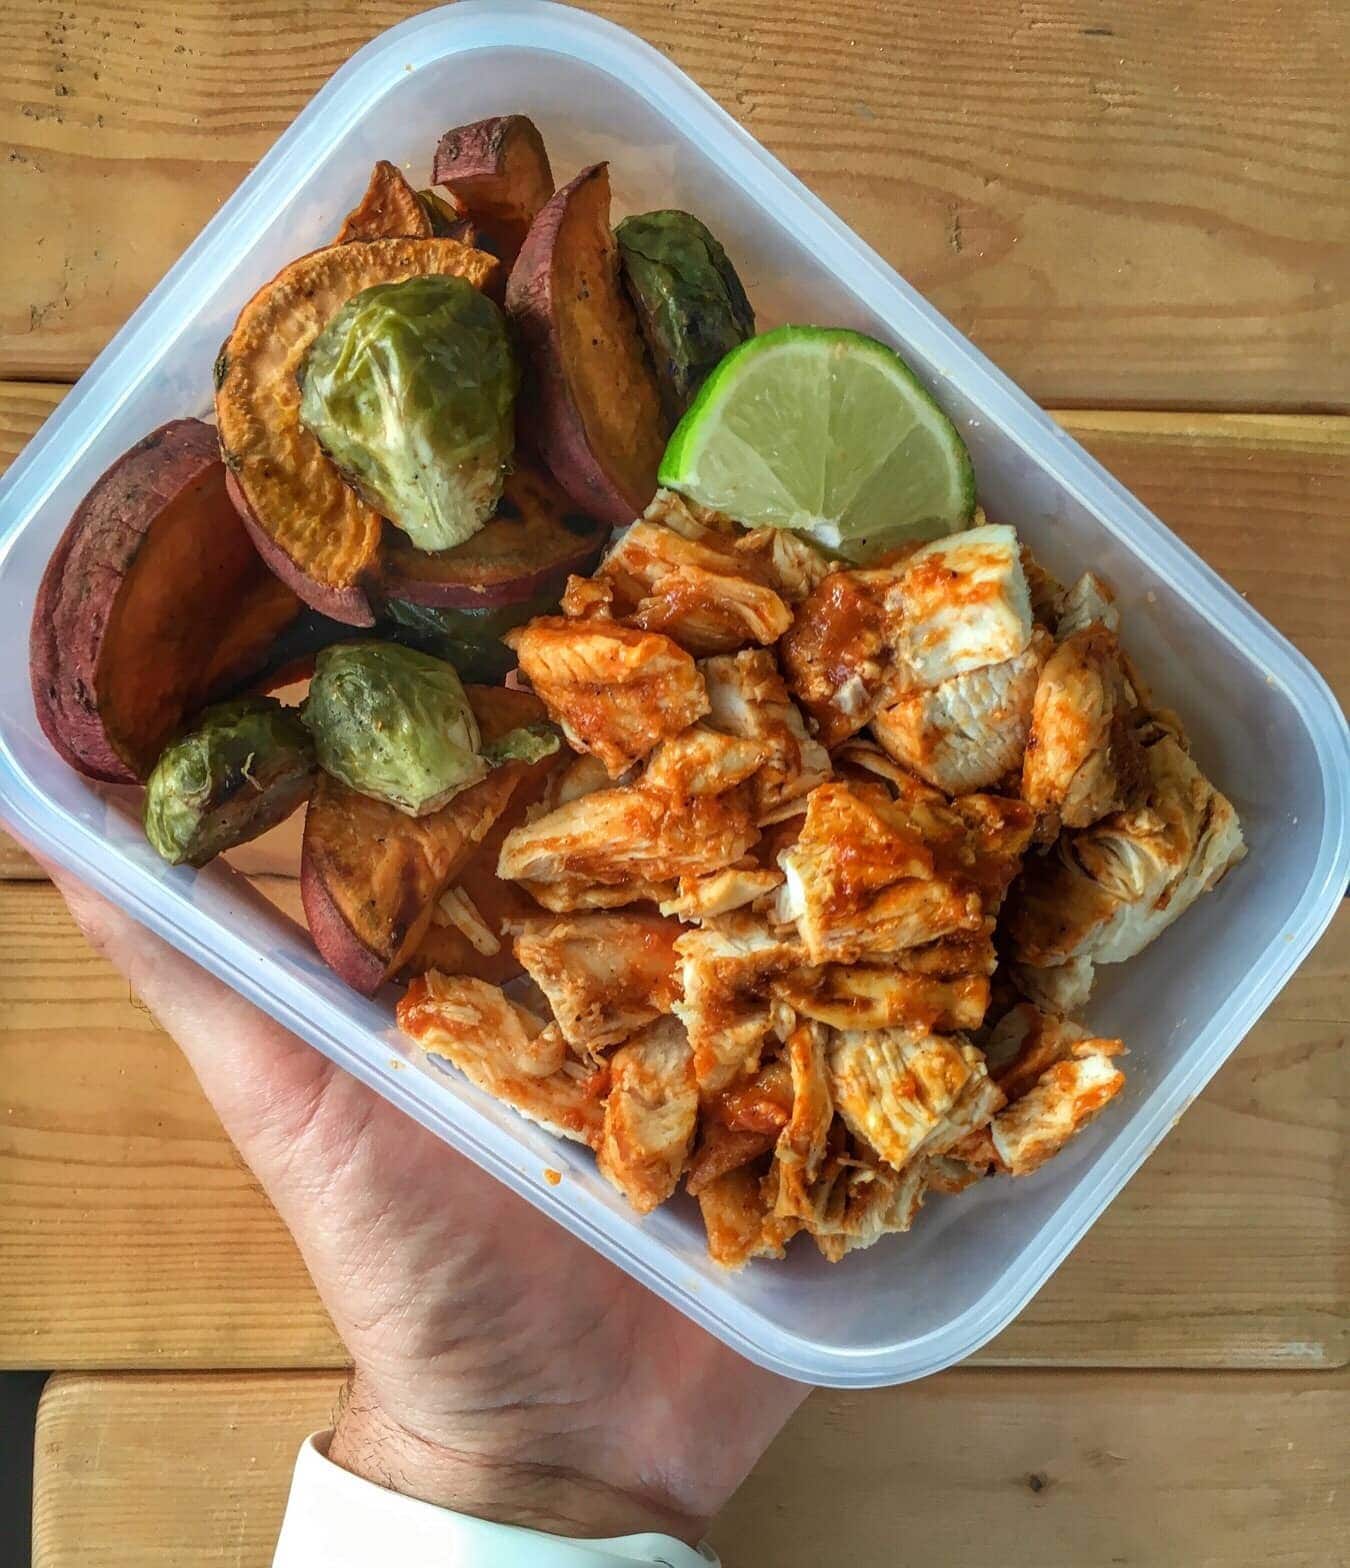
BBQ Chicken Meal Prep with Roasted Brussels Sprouts and Sweet Potato
-
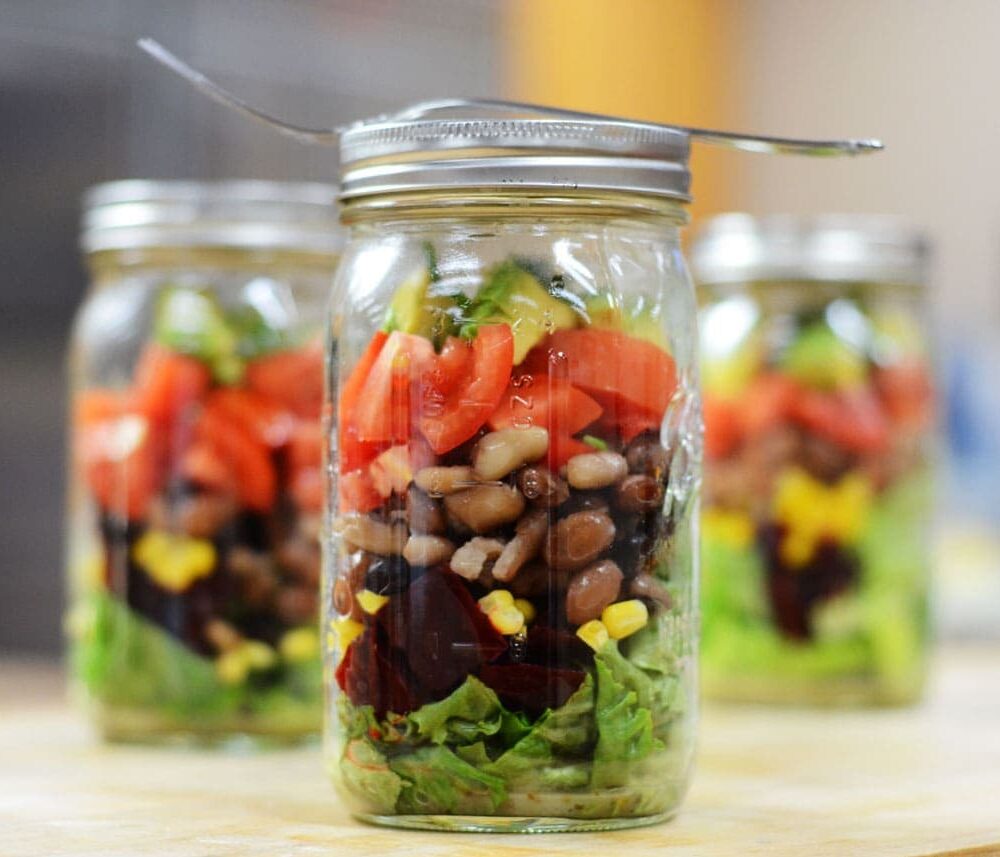
Vegetarian Salad in a Jar
-
3 Ingredient Salmon Meal Prep
-
Zoodle Meal Prep
-
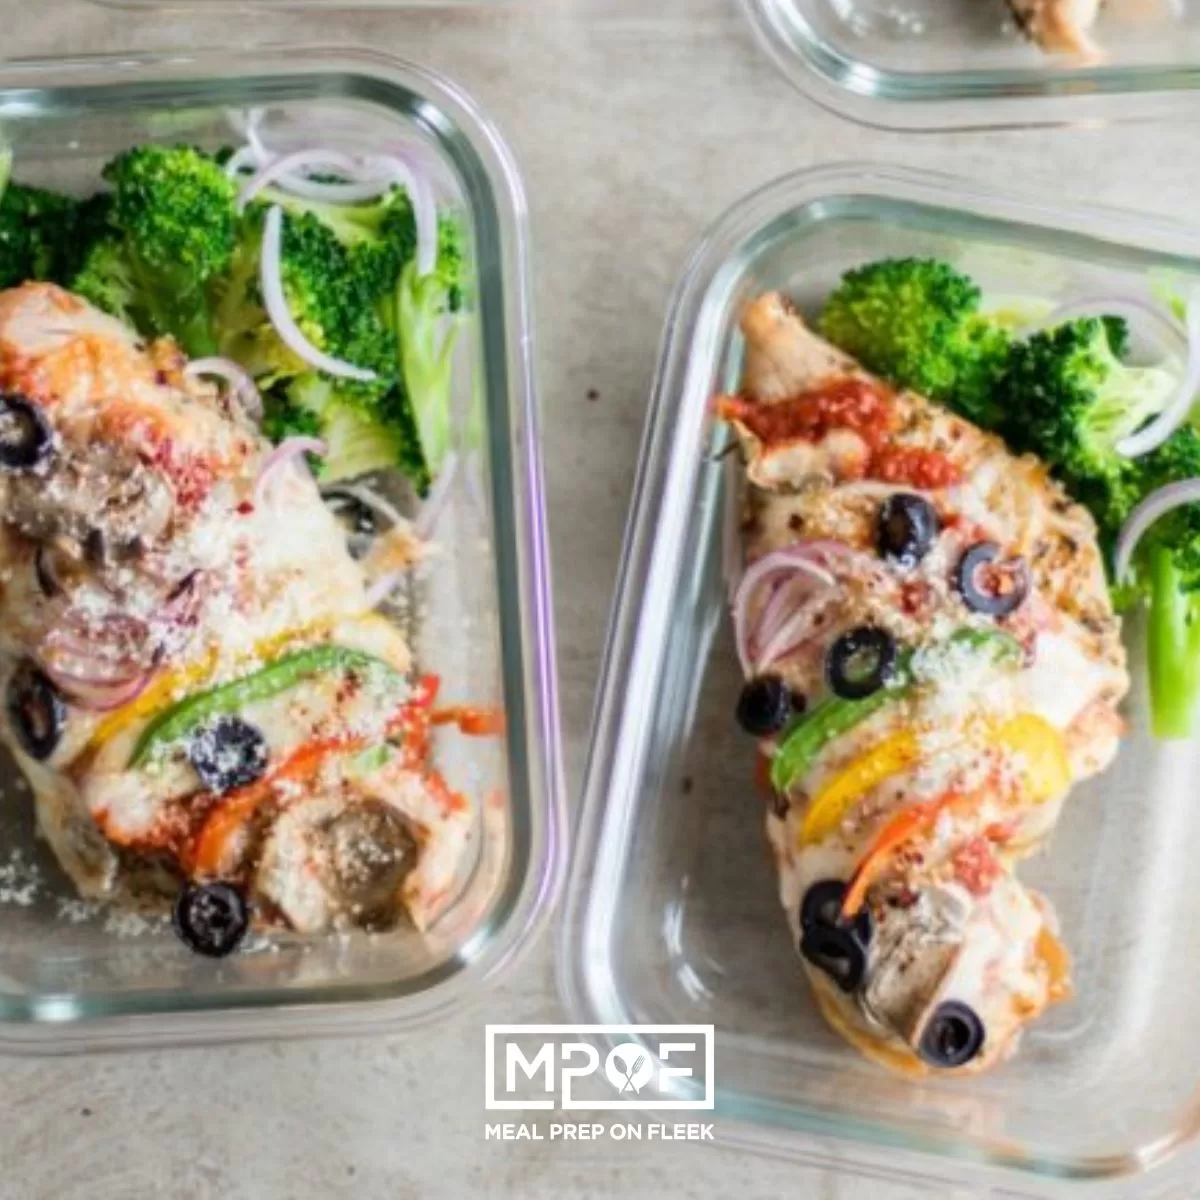
Veggie Supreme Pizza Chicken Meal Prep30 Minutes
-
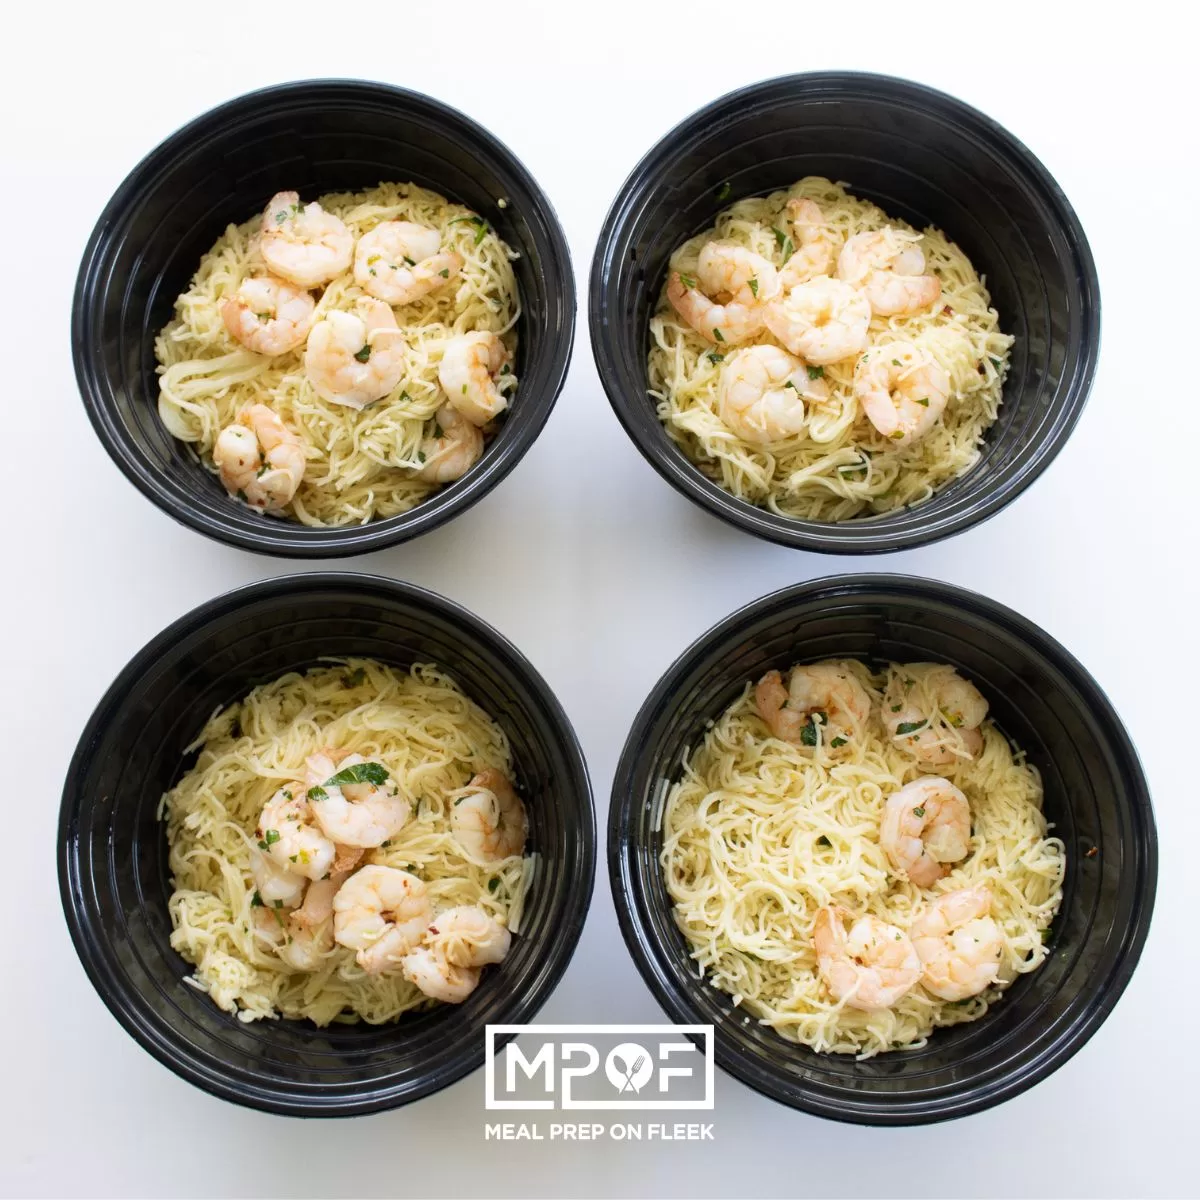
Angel Hair Pasta with Shrimp20 Minutes
-
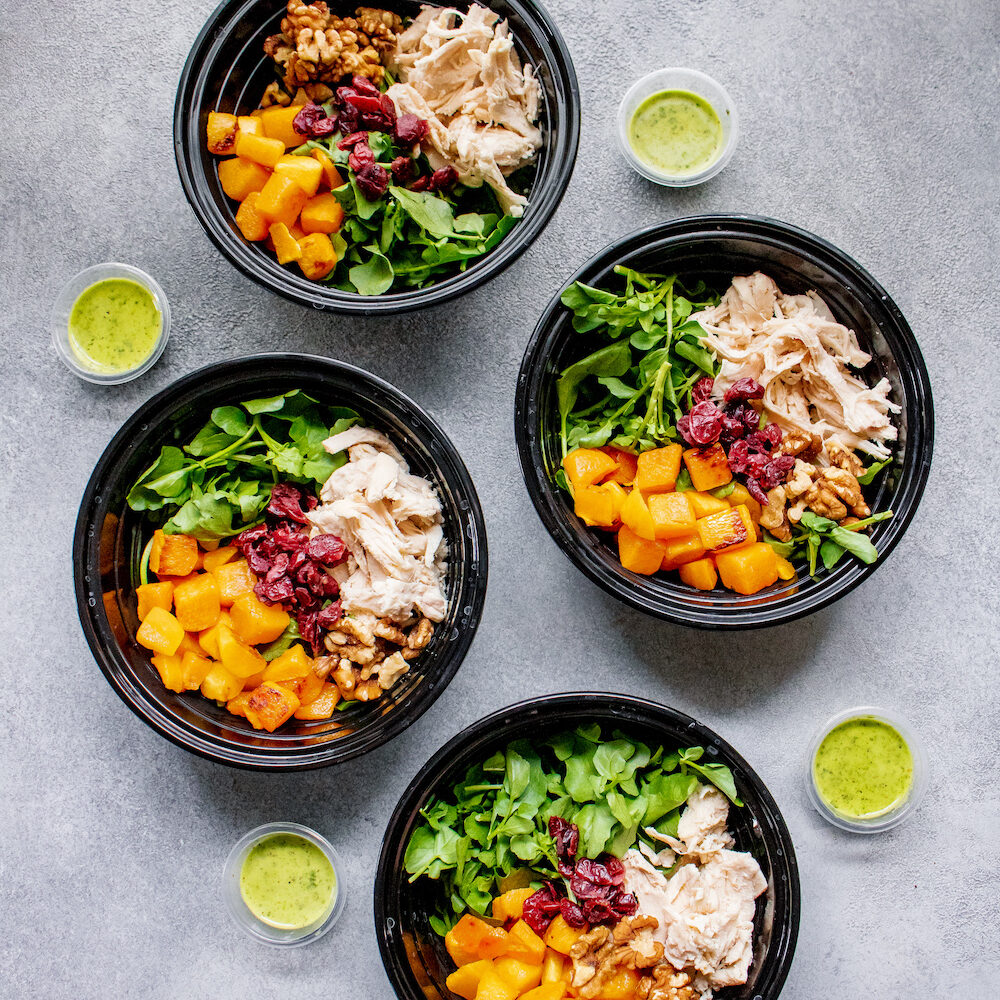
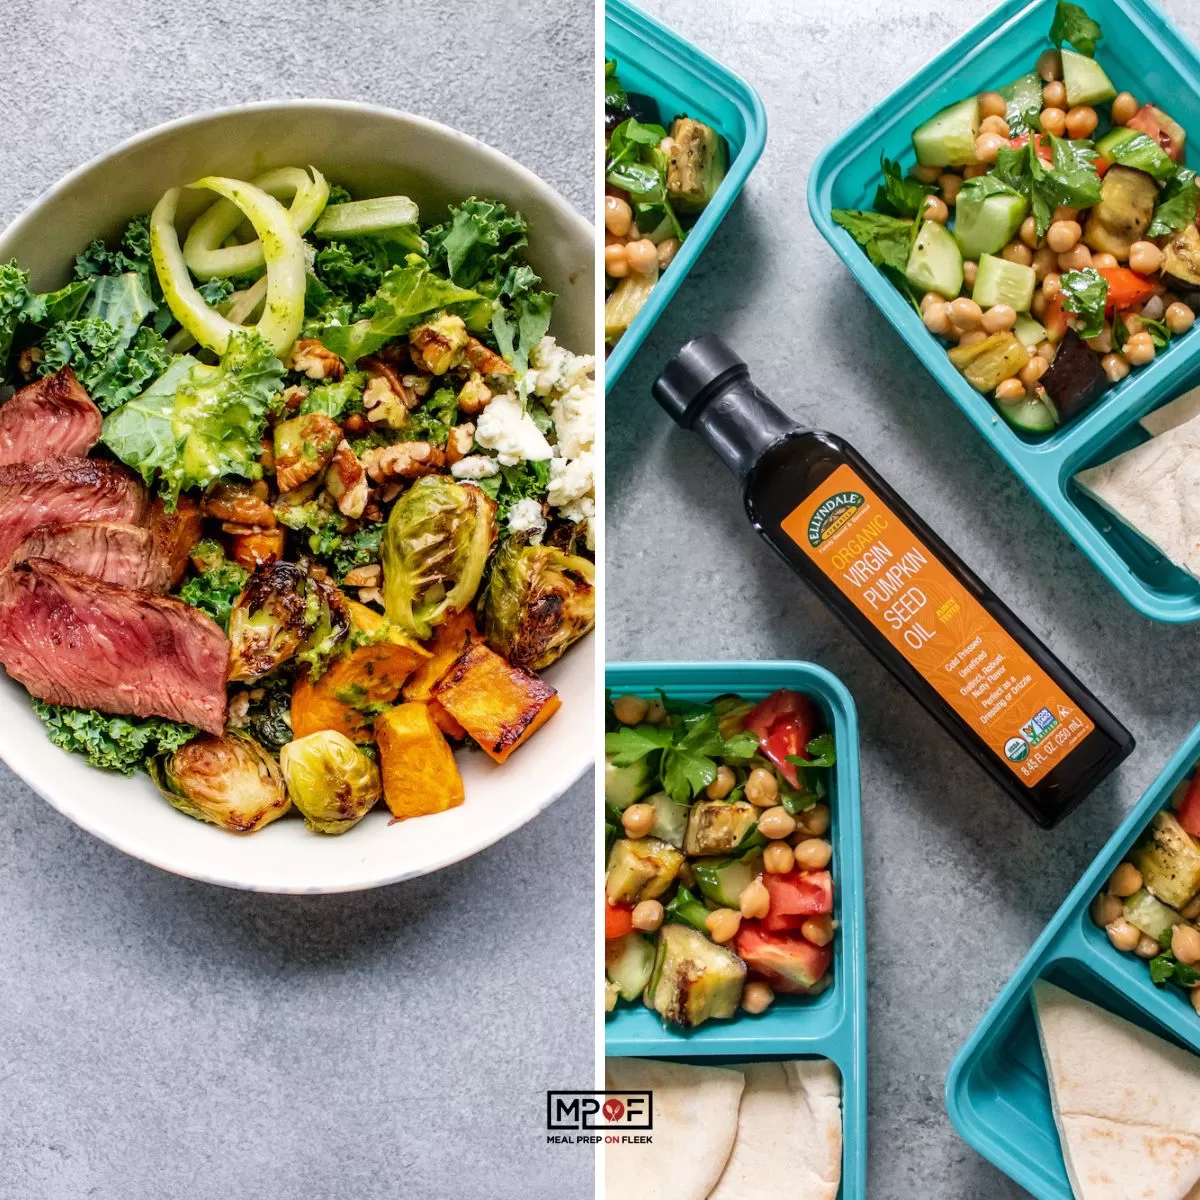
3 Easy Power Salad Bowls for Meal Prep
-
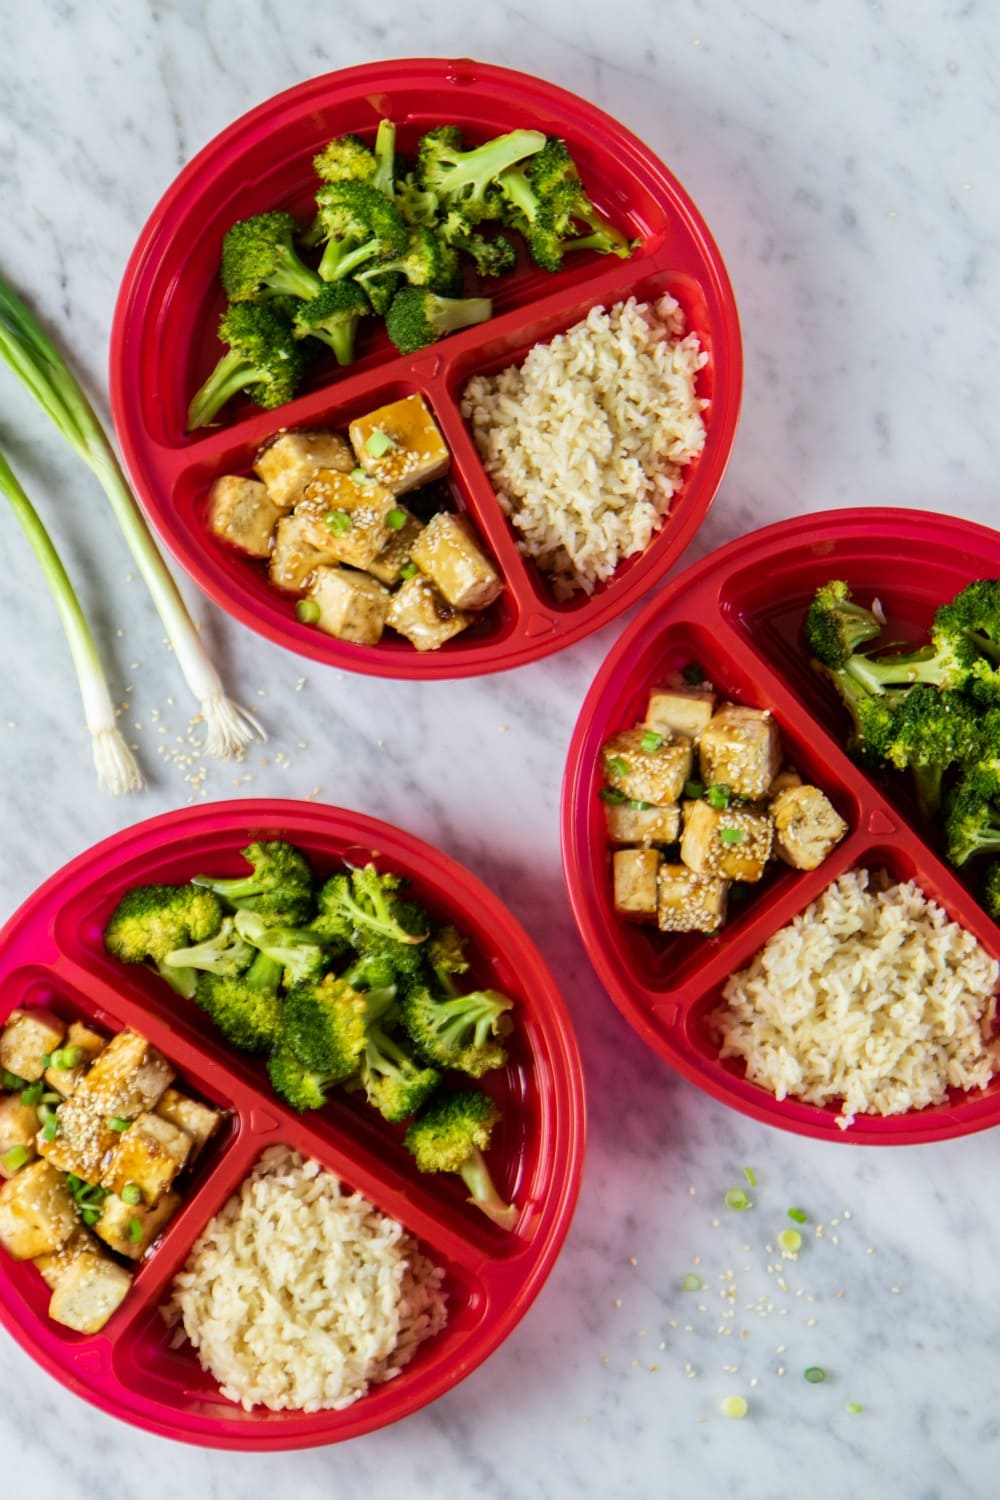
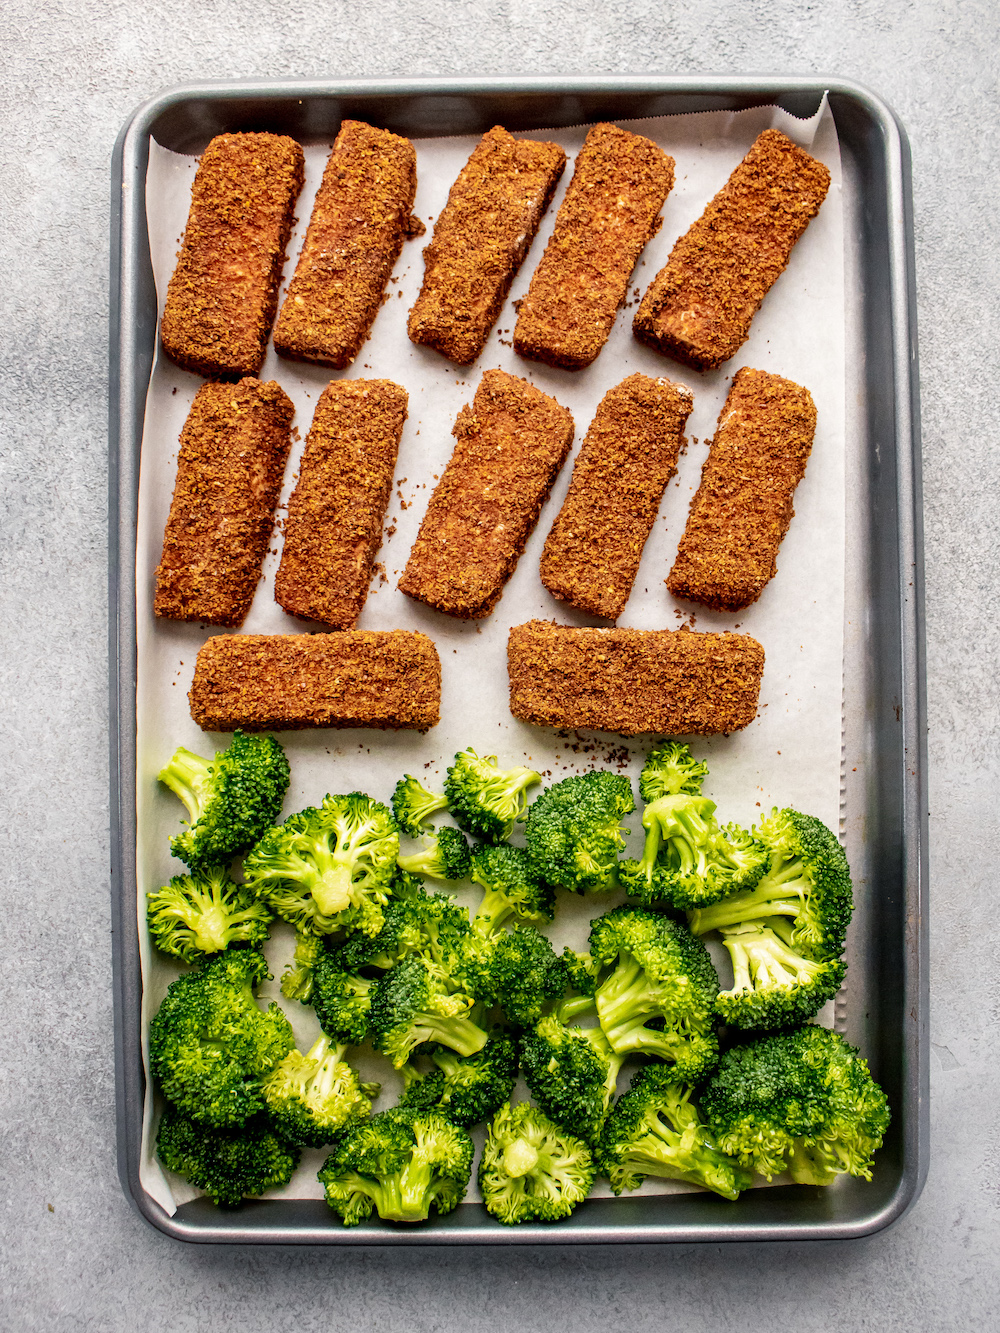
Sheet Pan Crispy Tofu and Broccoli40 Minutes
-
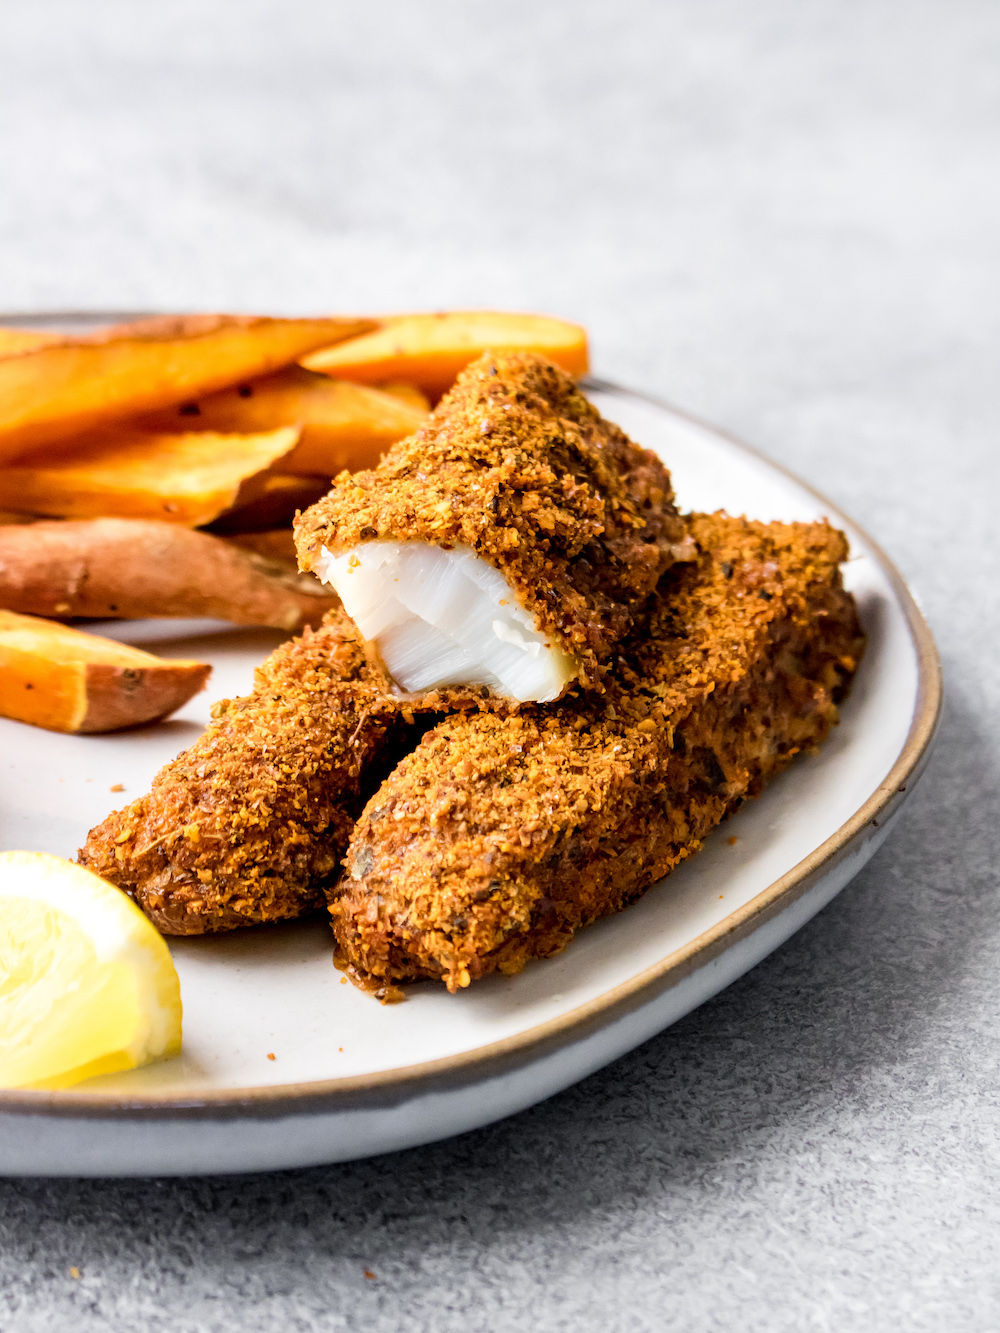
Crispy Fish Sticks50 Minutes
-
Crispy Sheet Pan Tofu38 Minutes
-
Chicken Carnitas Nachos1 Hours 1 Minutes
-
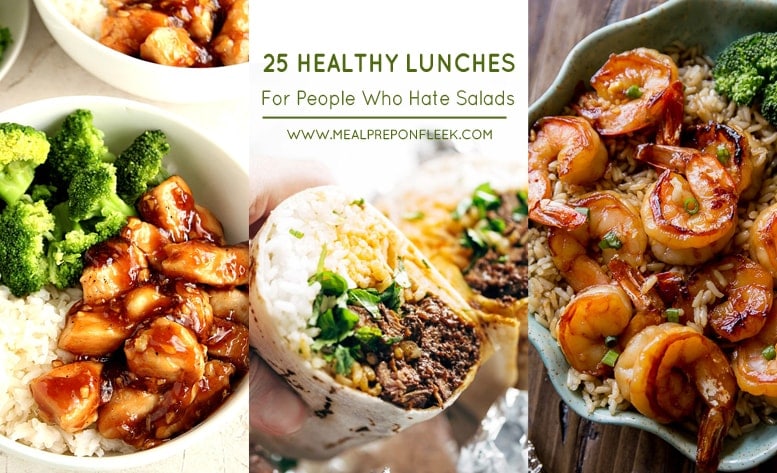
25 Healthy Lunches For People Who Hate Salads (Updated)
-
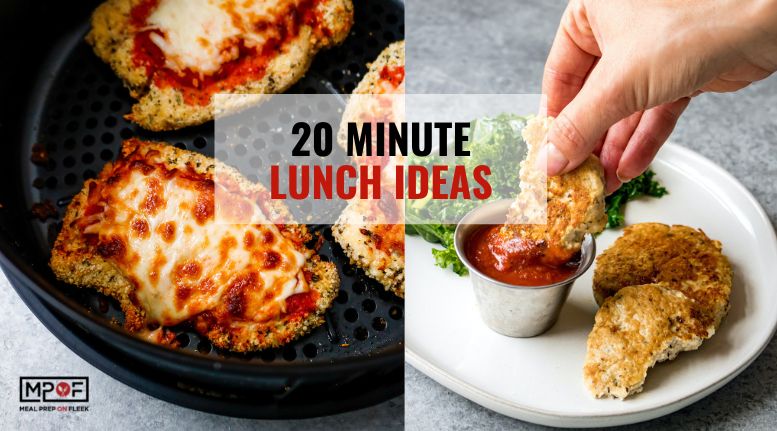
11 Lunch Ideas That Take Less Than 20 Minutes to Make
-
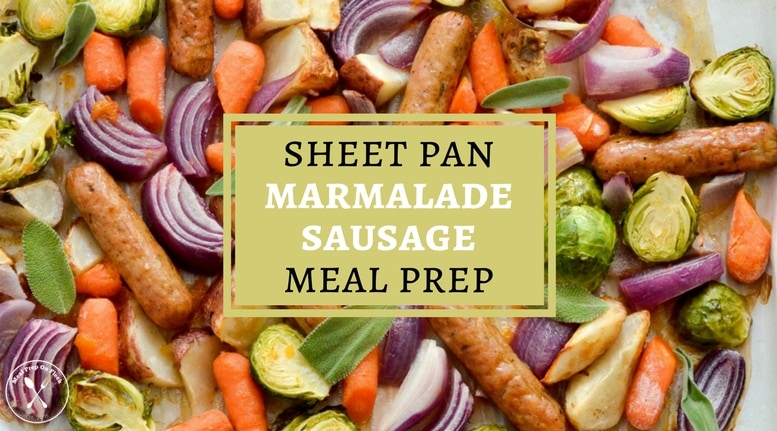
Sheet Pan Marmalade Sausage Meal Prep30 Minutes
-
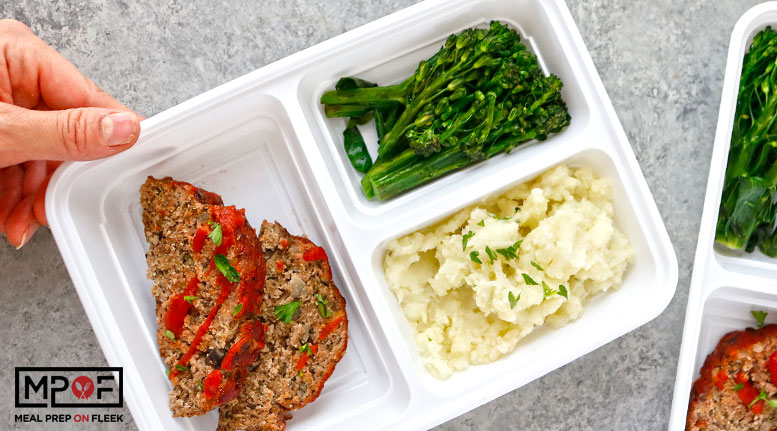
Cremini Mushroom Meatloaf1 Hours 15 Minutes
-
15 Unique Salad Meal Prep Recipes
-
Bacon Ranch Chicken and Veggies Foil Packets40 Minutes
-
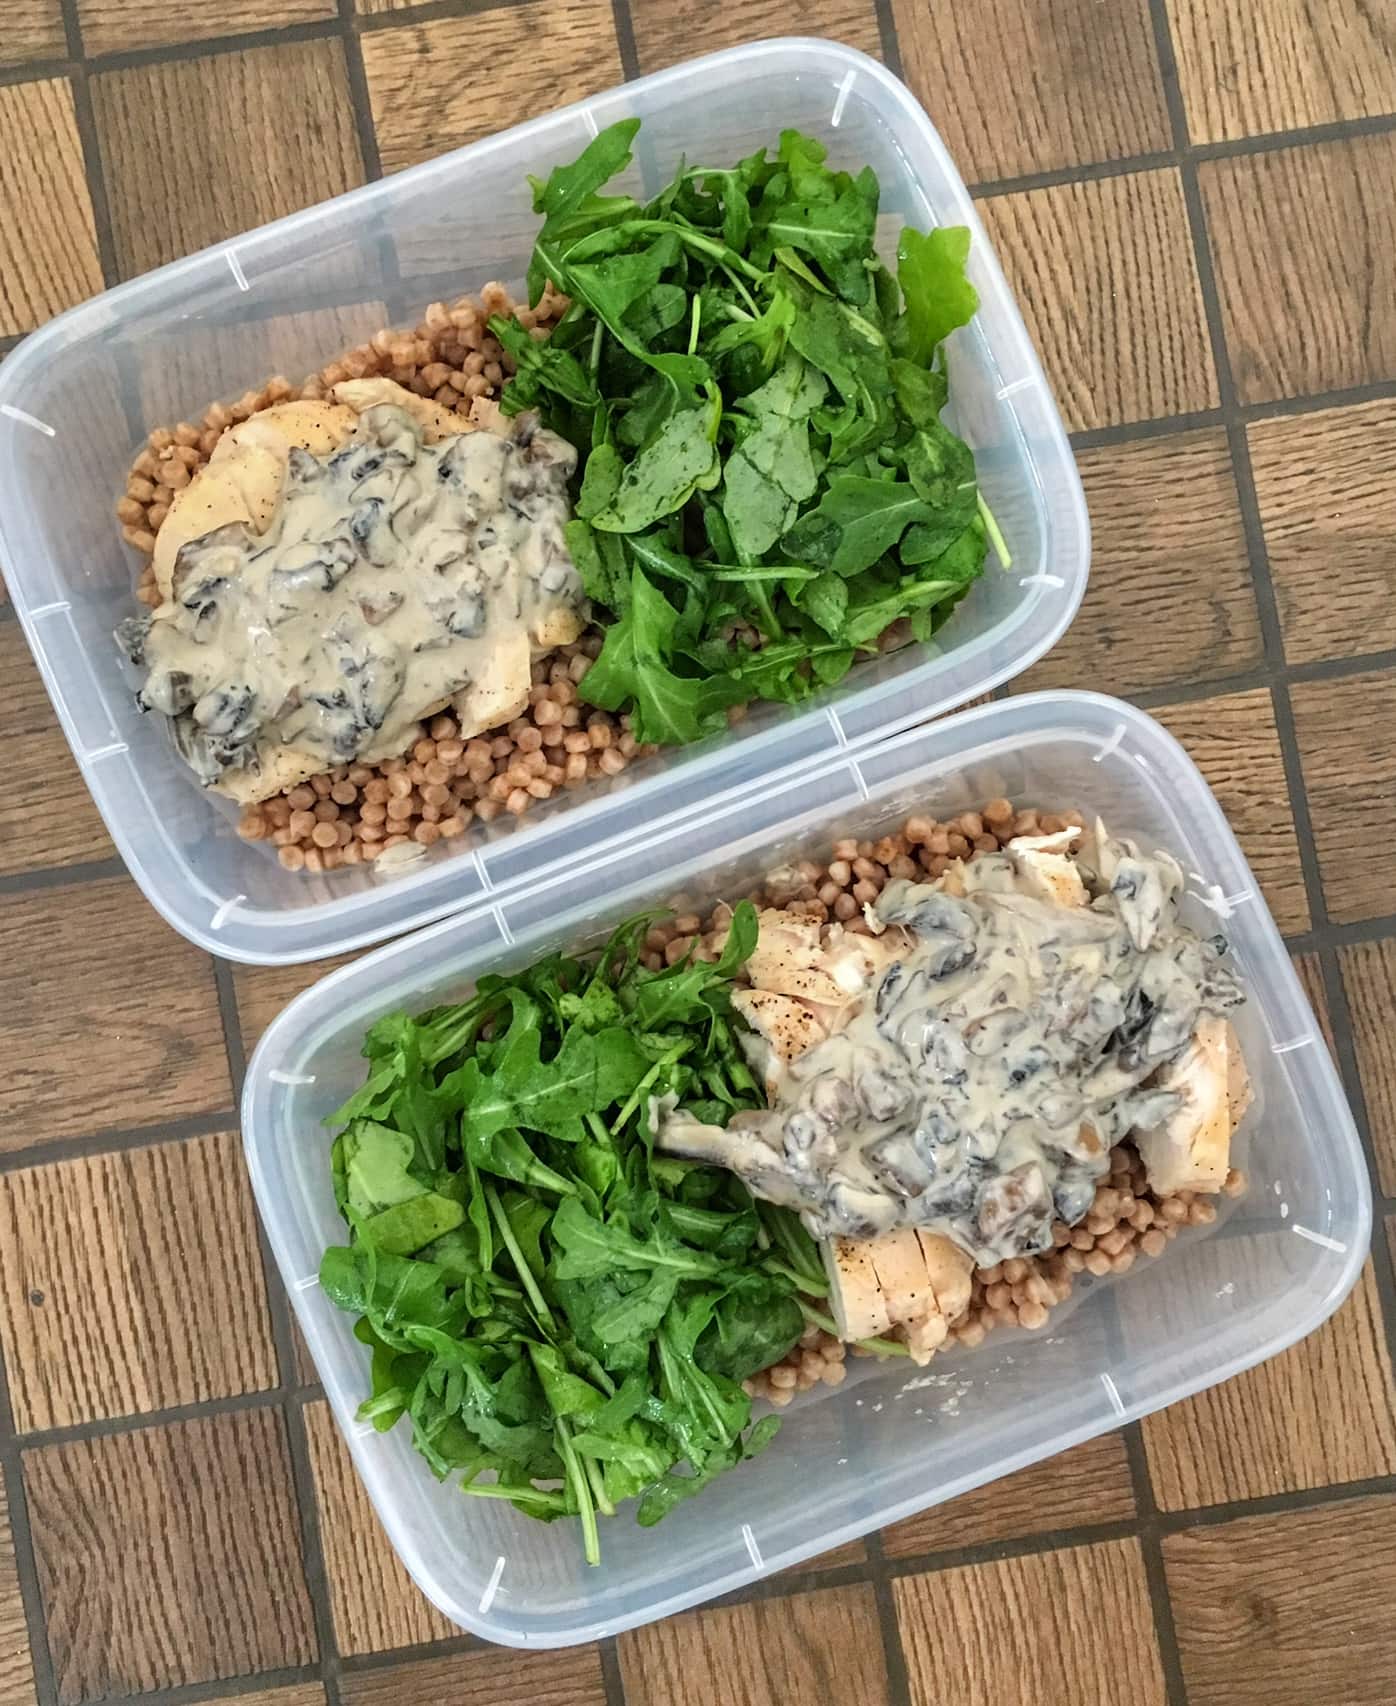
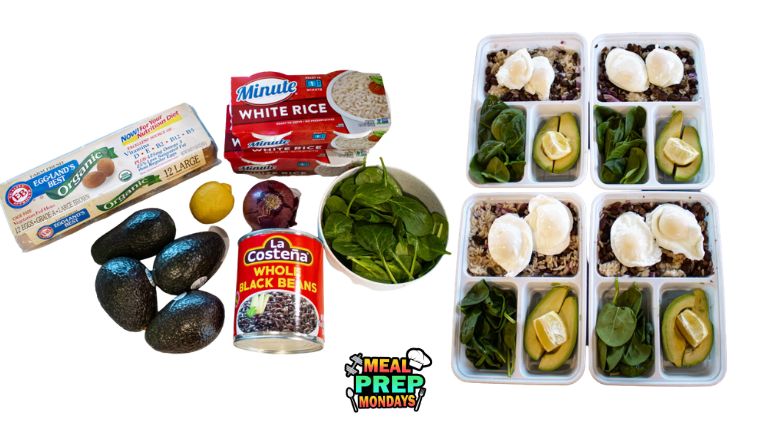
High Protein Vegetarian Meal Prep14 Minutes
-
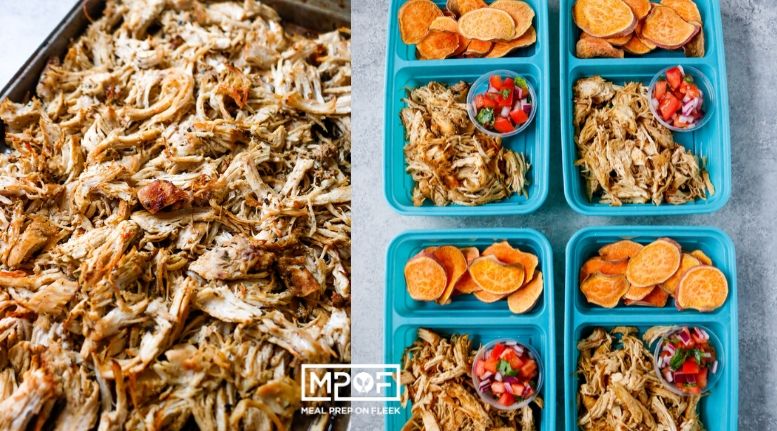
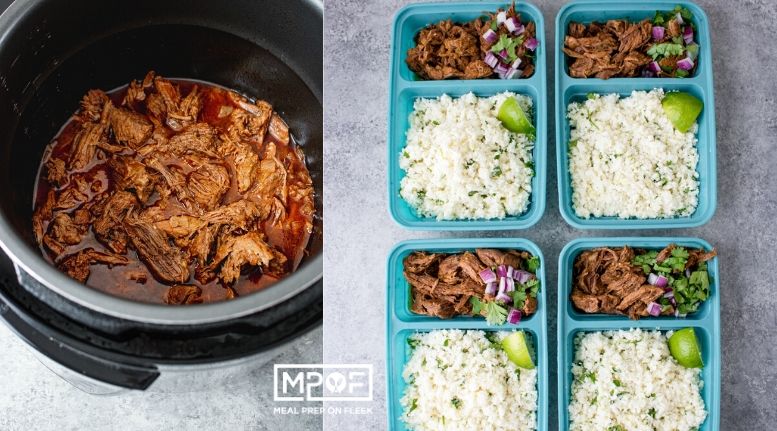
Instant Pot Beef Barbacoa1 Hours 25 Minutes
-
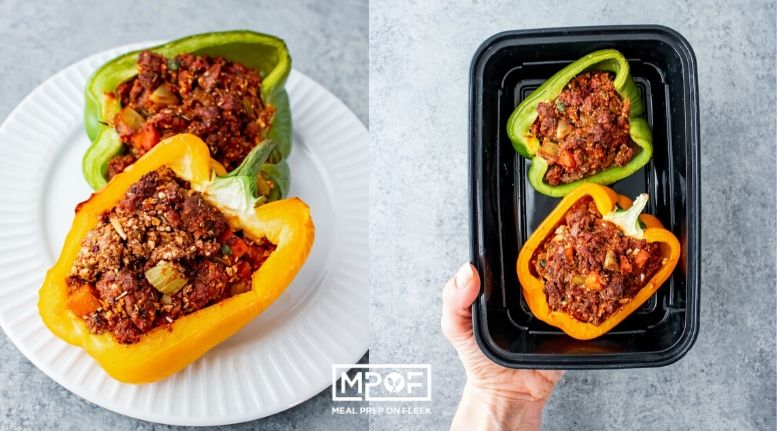
Cajun Stuffed Peppers1 Hours