Lunch Meal Prep Recipes
-
Tempeh Burrito Bowls38 Minutes
-
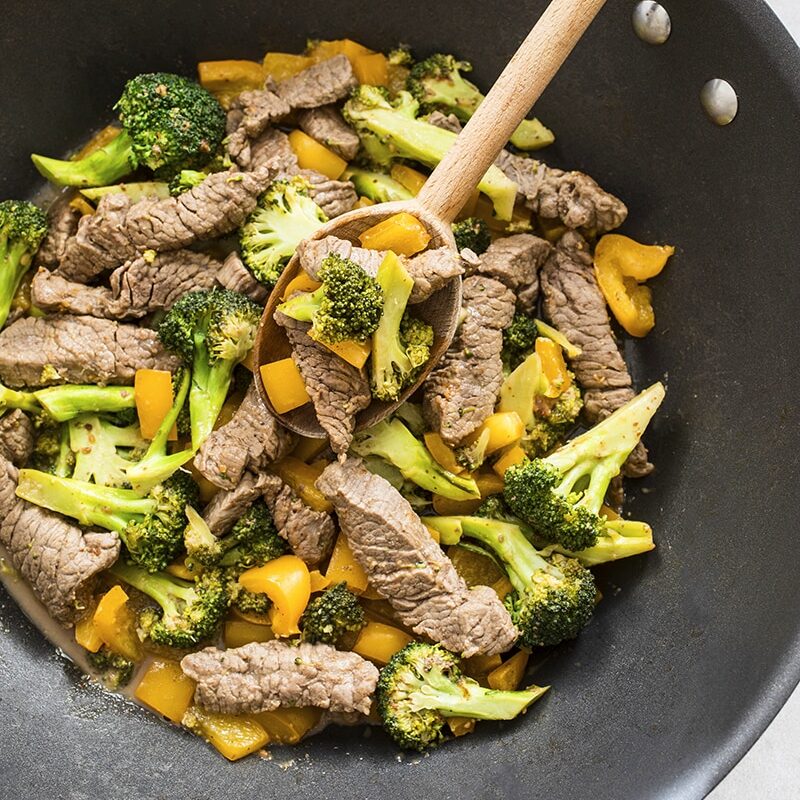
Sesame Chicken and Broccoli Stir Fry25 Minutes
-
Gluten-Free Thai Peanut Stir Fry Meal Prep25 Minutes
-
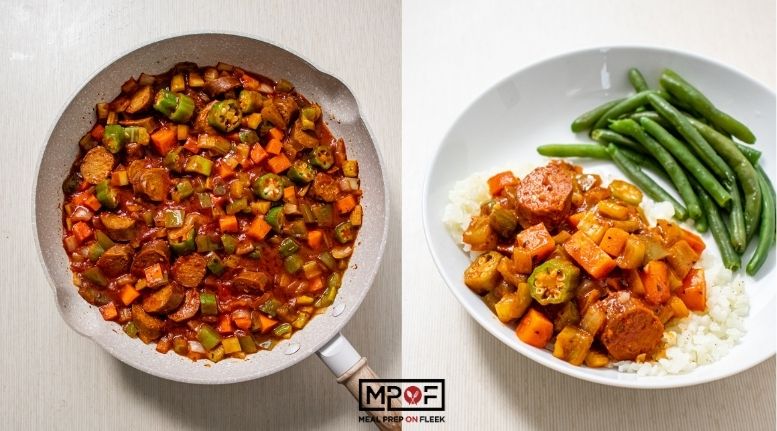
Vegetarian Jambalaya48 Minutes
-
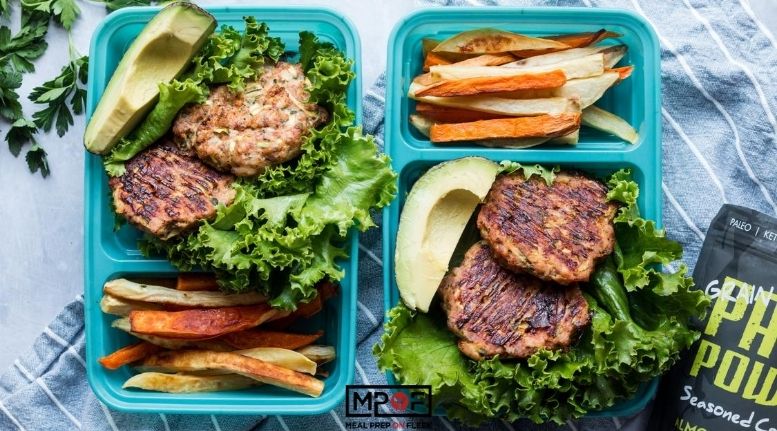
Chicken Zucchini Burgers45 Minutes
-
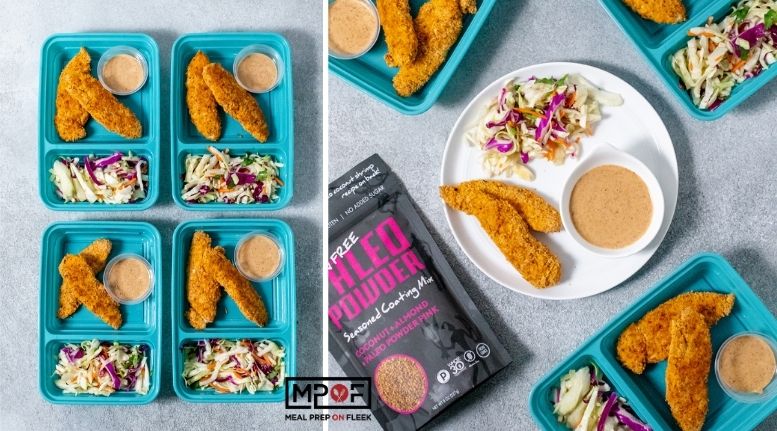
Thai Chicken Tenders with Creamy Almond Dipping Sauce55 Minutes
-
Meal Prep Menu 2023: Week 35
-
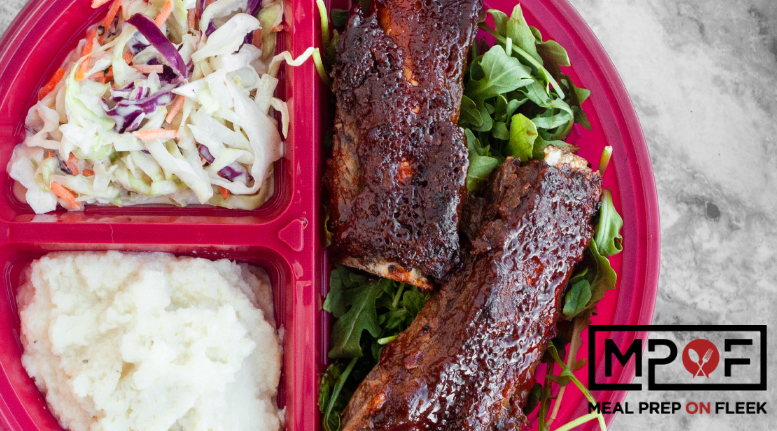
Instant Pot Beef BBQ Ribs50 Minutes
-
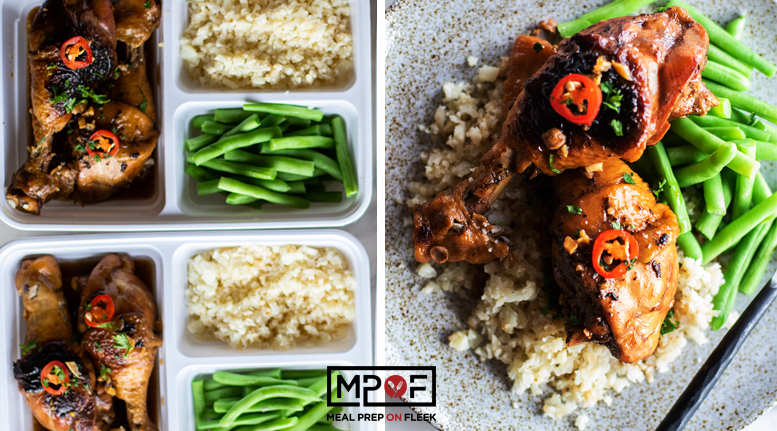
Chicken Adobo Meal Prep40 Minutes
-
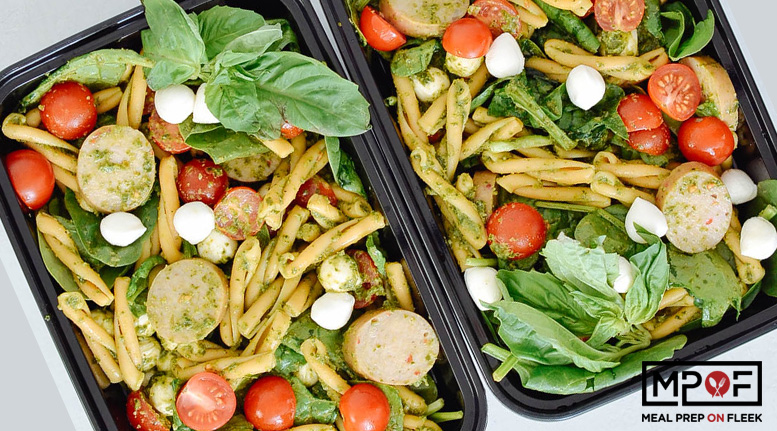
Caprese Pesto Sausage Pasta15 Minutes
-
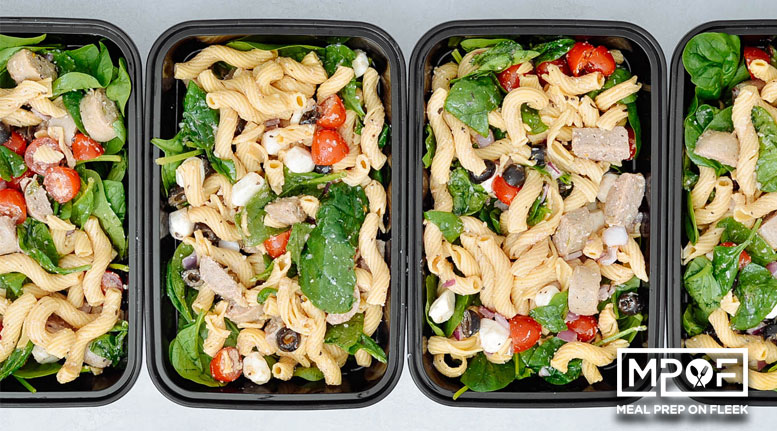
Italian Sausage Pasta Salad Meal Prep15 Minutes
-
One Skillet Spaghetti Squash and Meatballs40 Minutes
-
23 Best High Protein Lunch Meal Prep Recipes
-
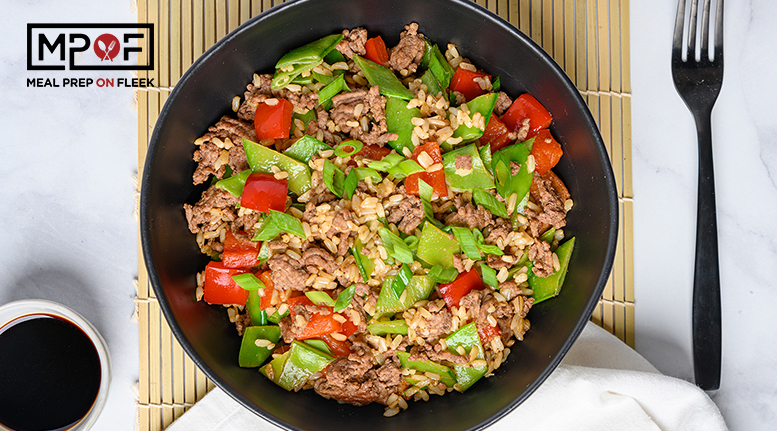
Beef and Vegetable Fried Rice25 Minutes
-
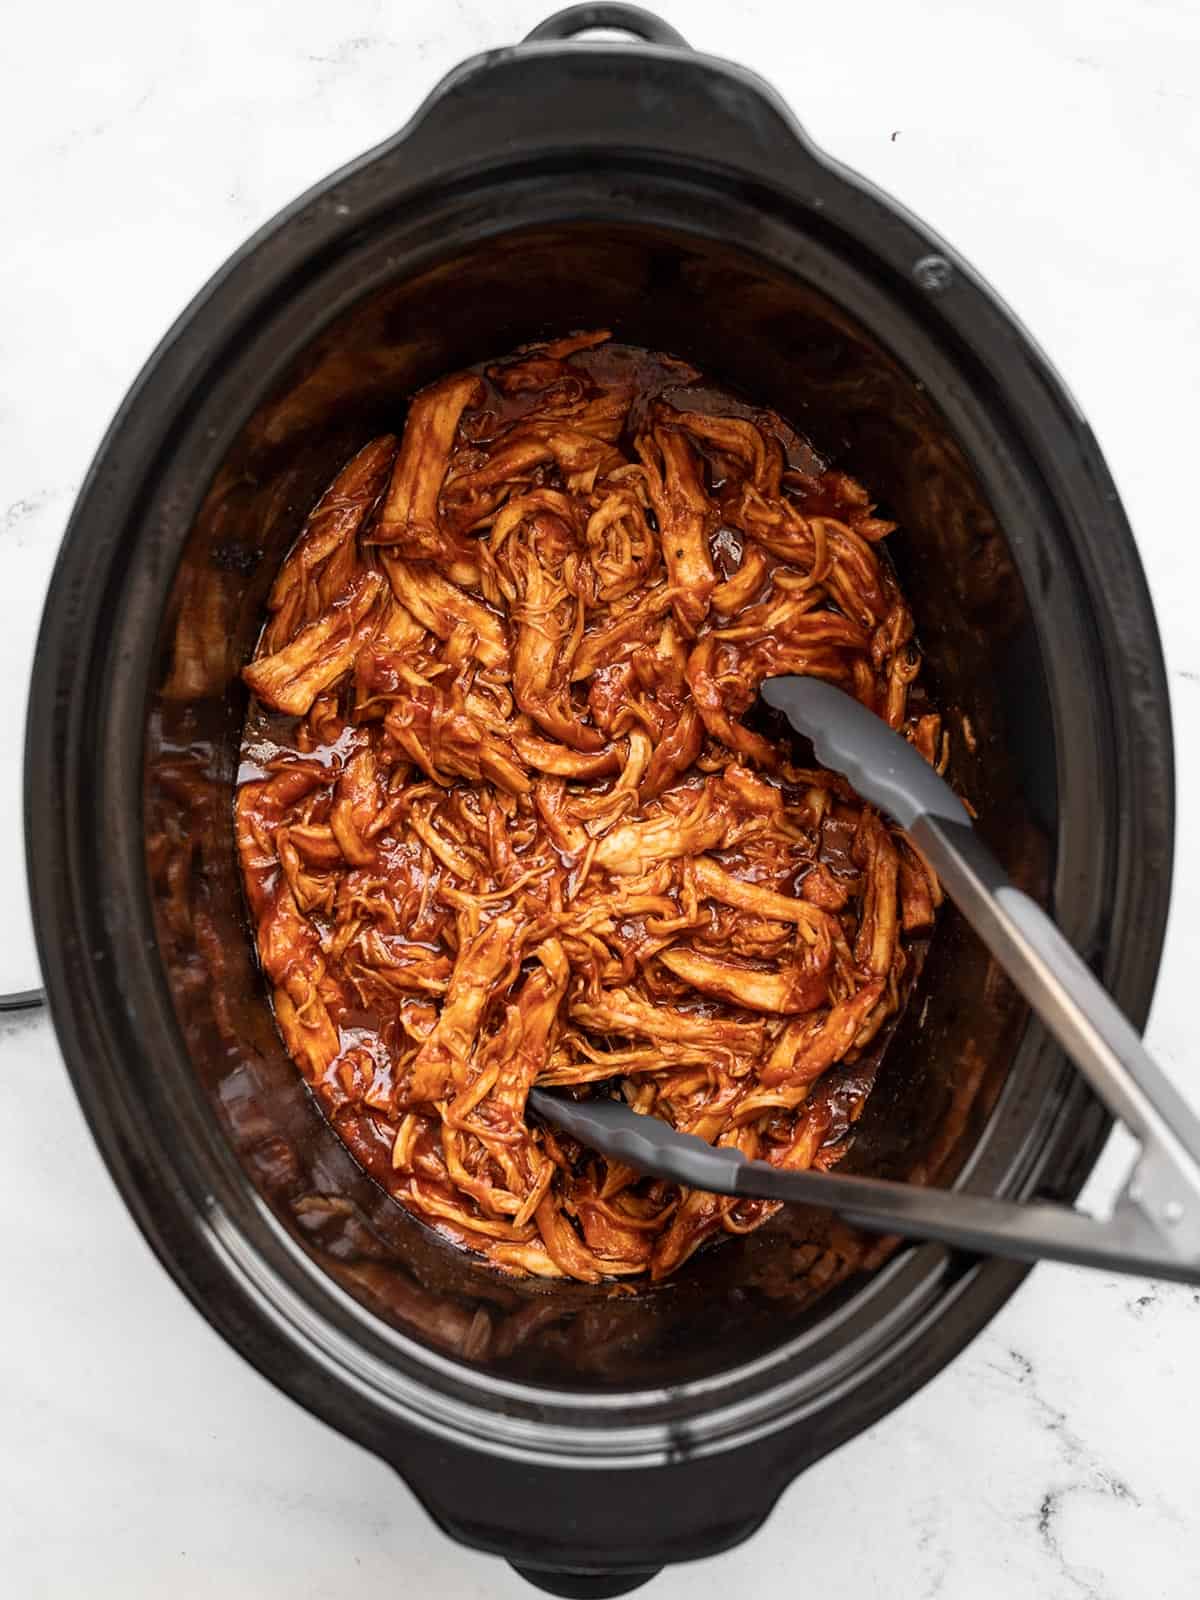
BBQ Pulled Chicken Stuffed Sweet Potatoes45 Minutes
-
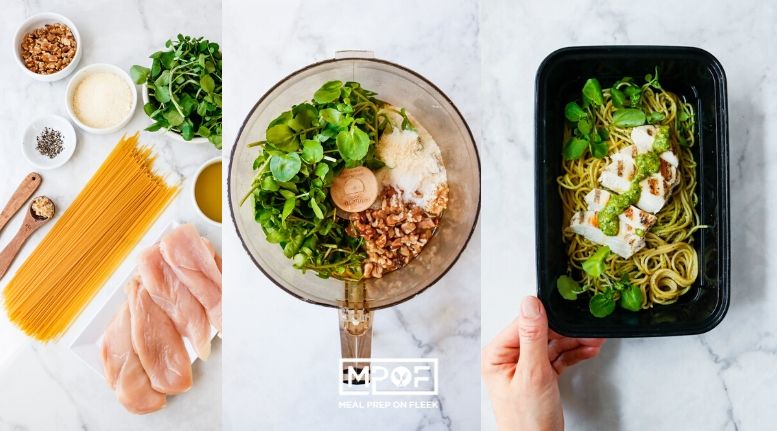
Watercress Pesto Spaghetti26 Minutes
-
Chicken Finger & French Fry Meal Prep50 Minutes
-
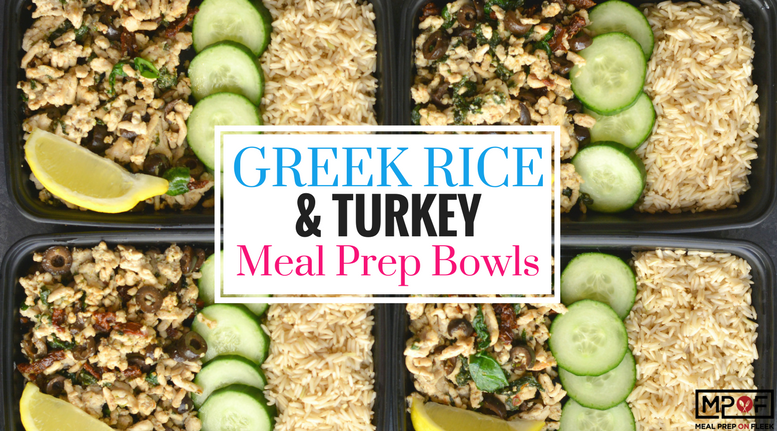
Greek Rice & Turkey Meal Prep Bowls25 Minutes
-
15 Italian Meal Prep Ideas that are Better than Pizza
-
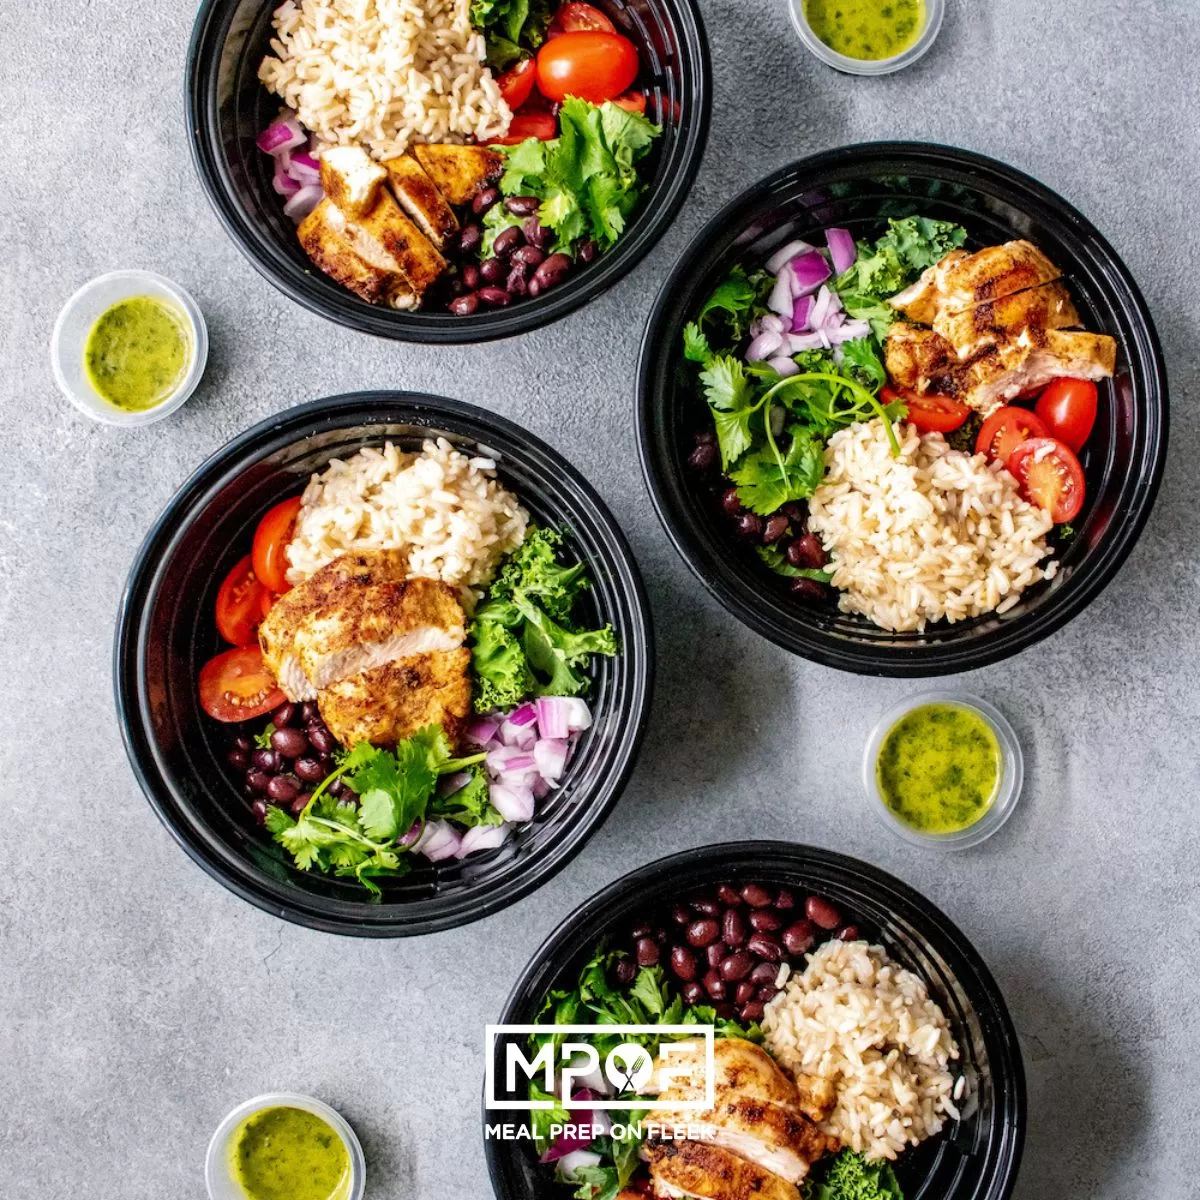
Chipotle Brown Rice Grain Bowl38 Minutes
-
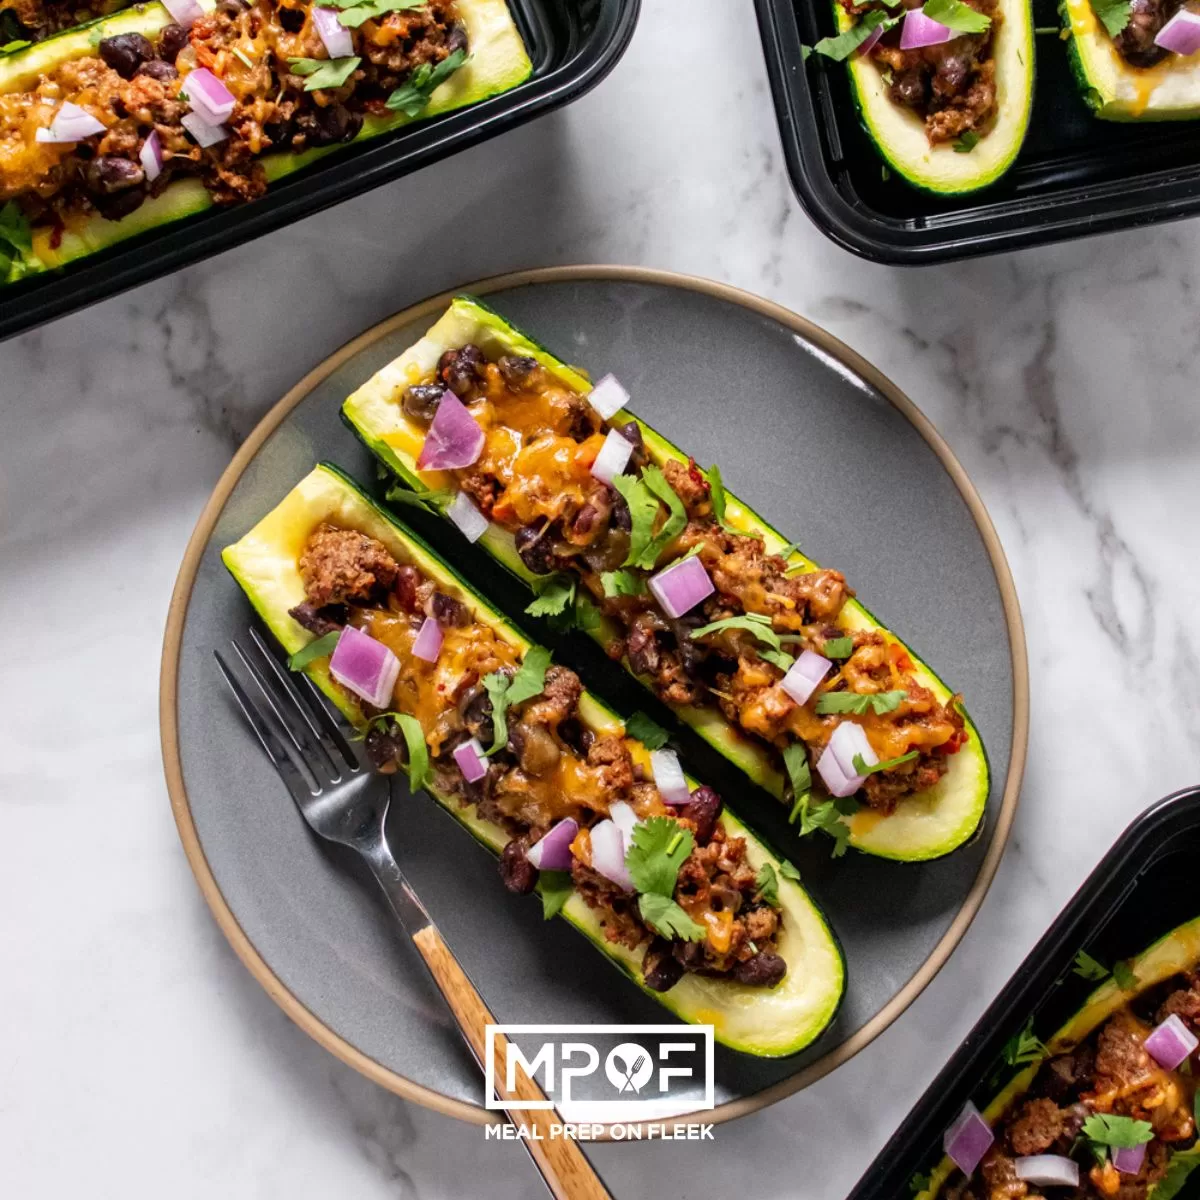
Mexican Zucchini Boats35 Minutes
-
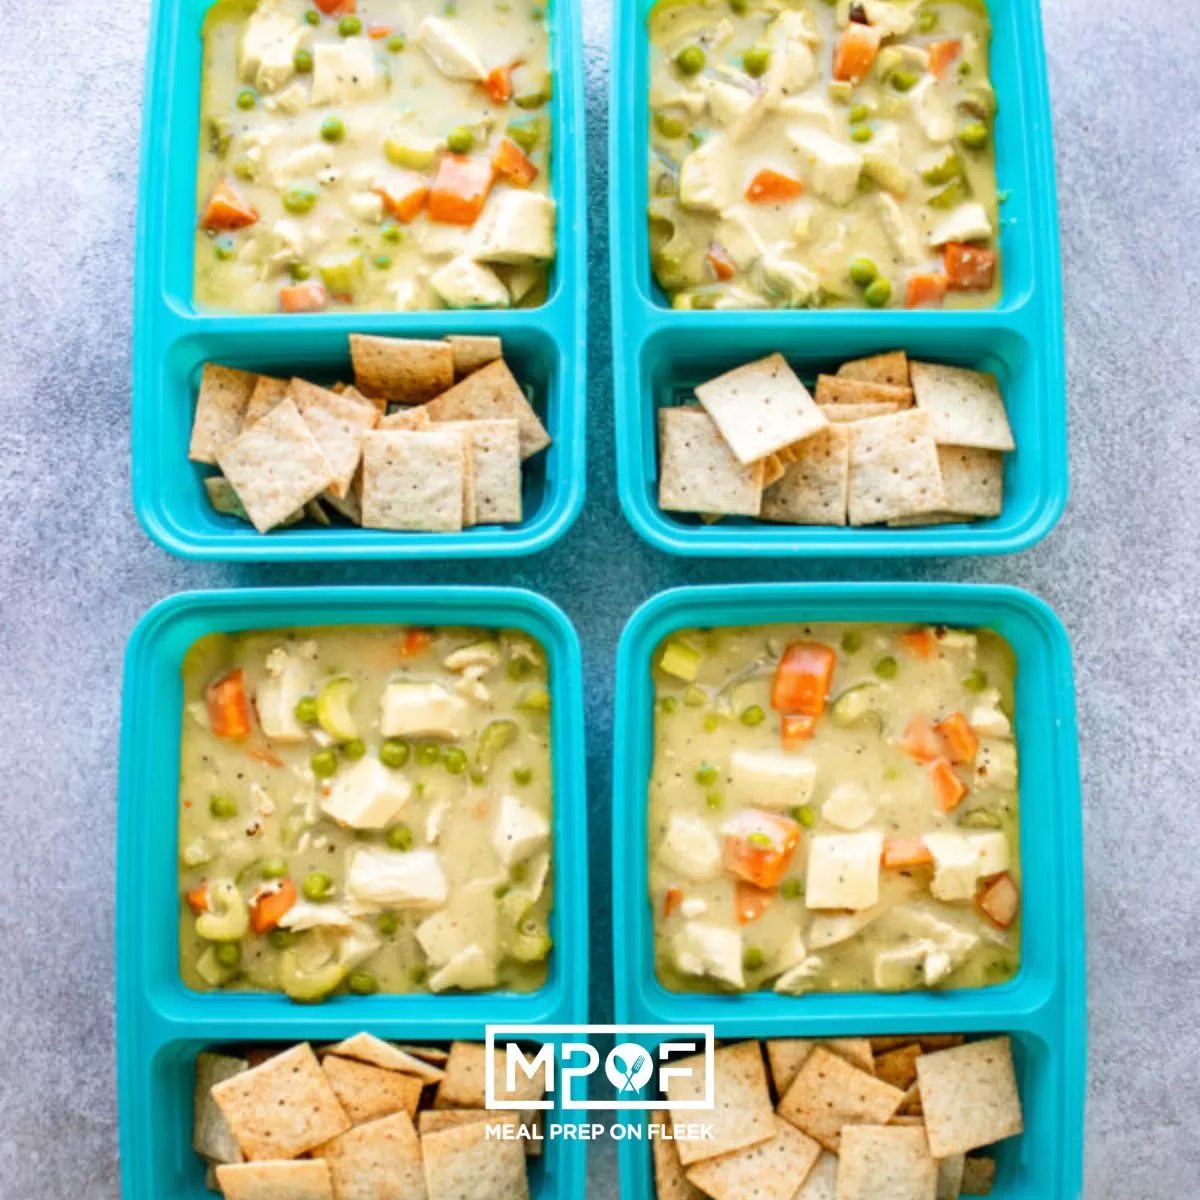
Chicken Pot Pie Stew28 Minutes
-
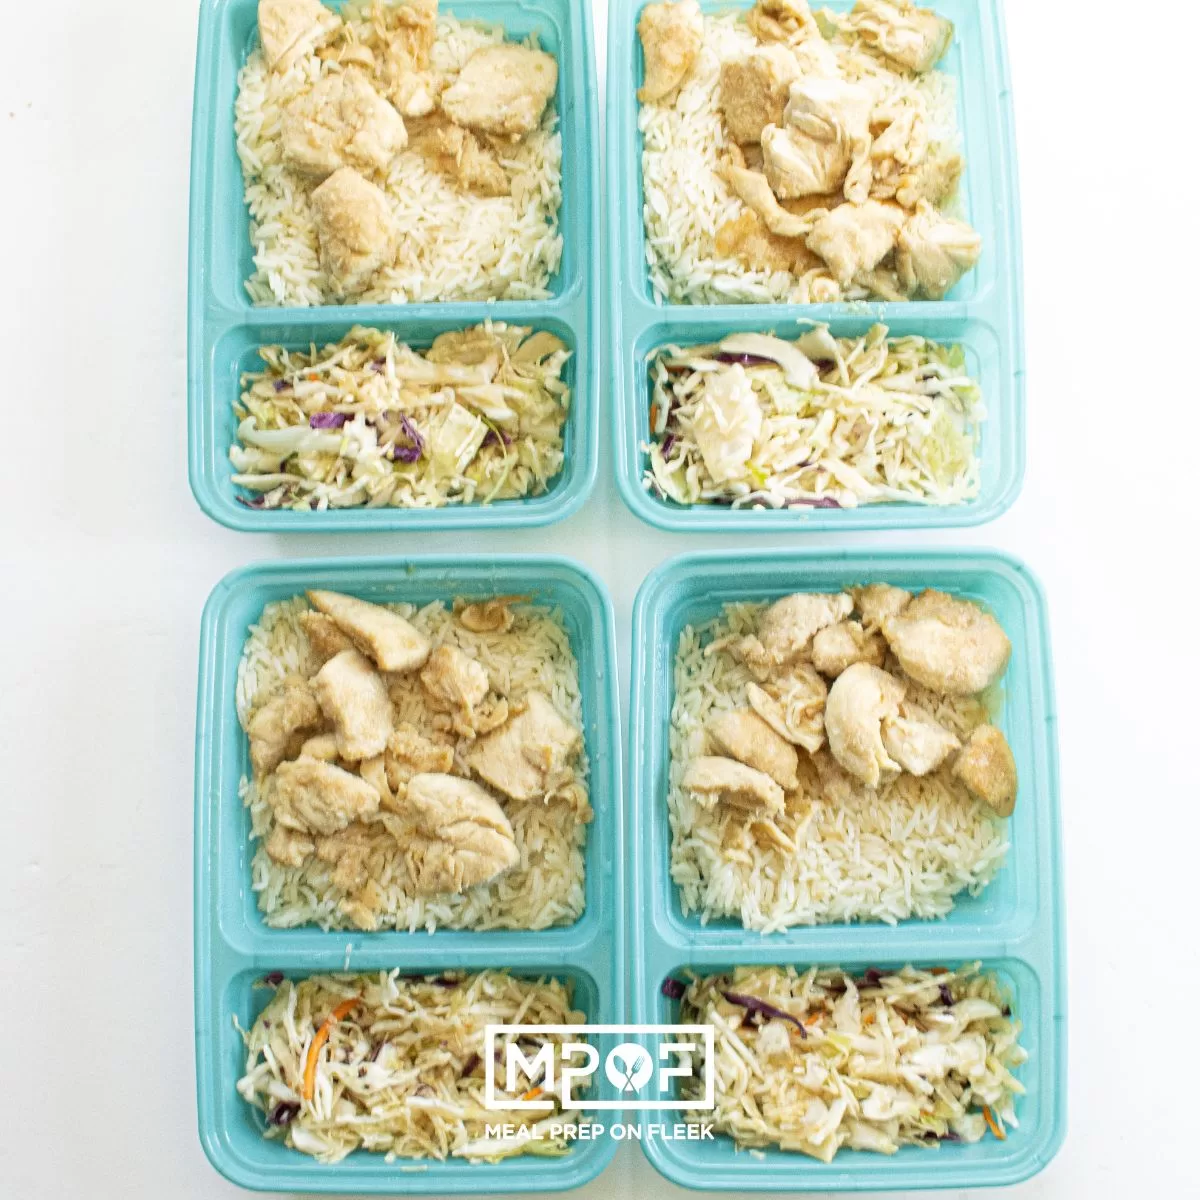
Honey Garlic Chicken20 Minutes
-
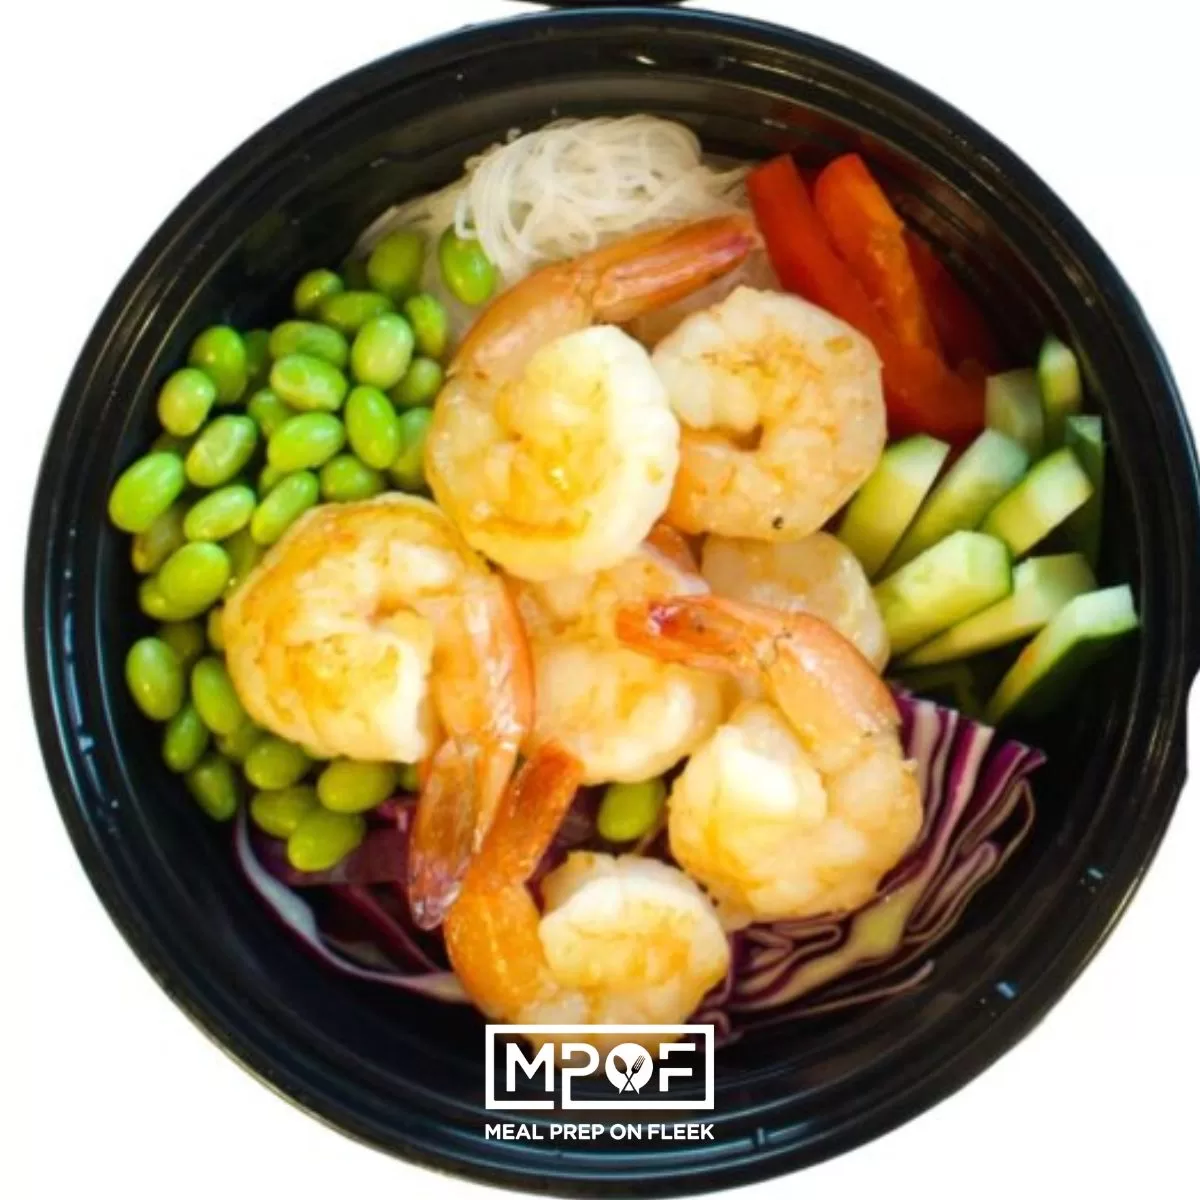
Shrimp Spring Roll Bowl15 Minutes
-
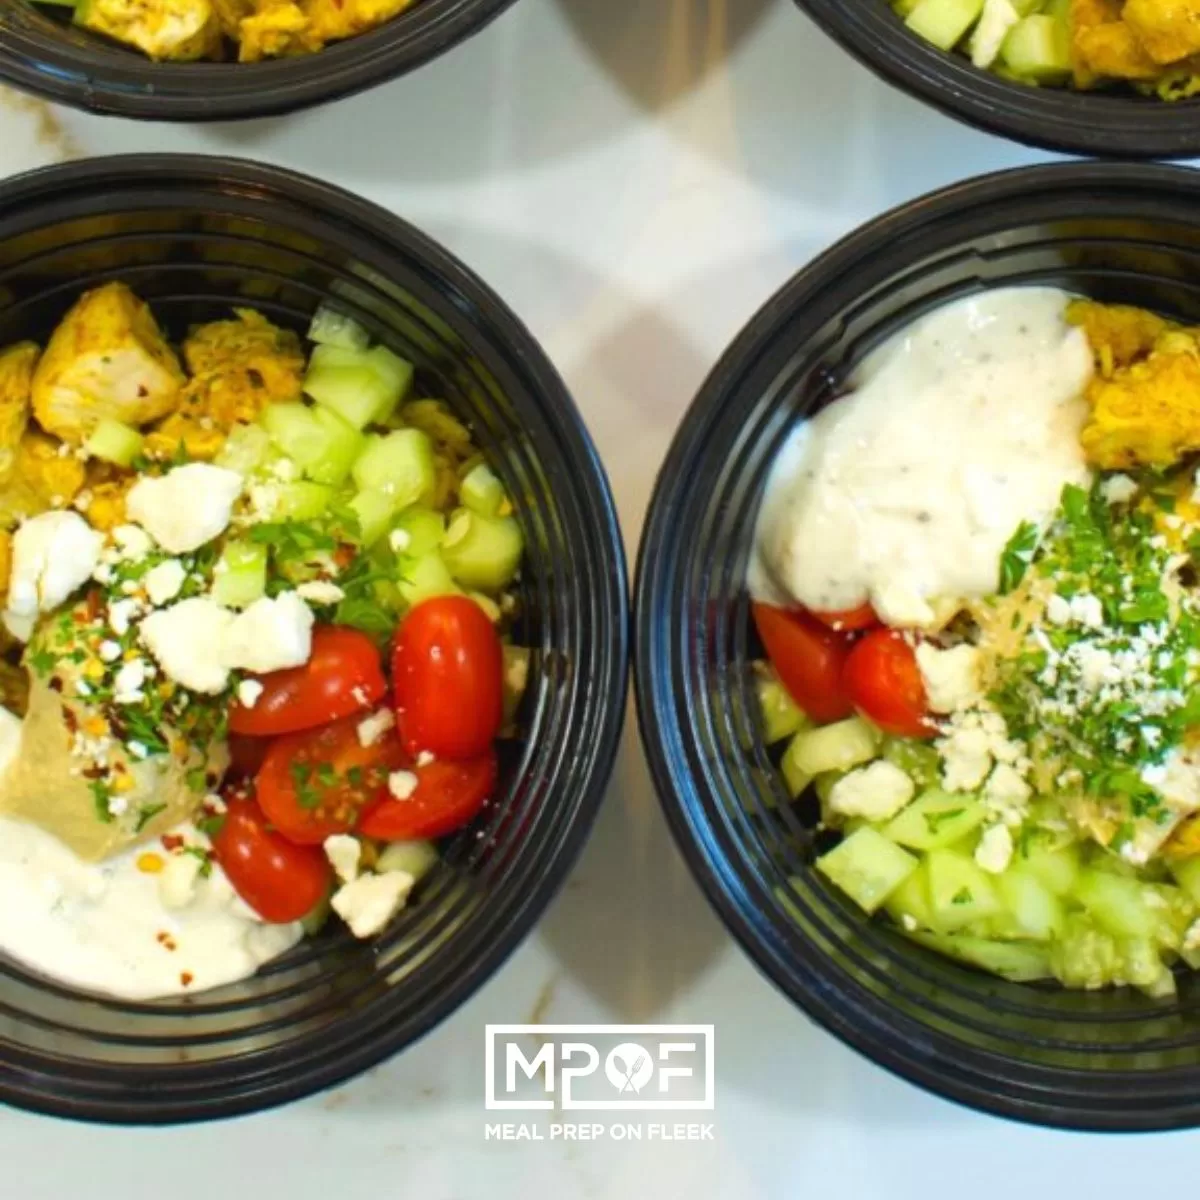
Chicken Shawarma Bowl20 Minutes
-
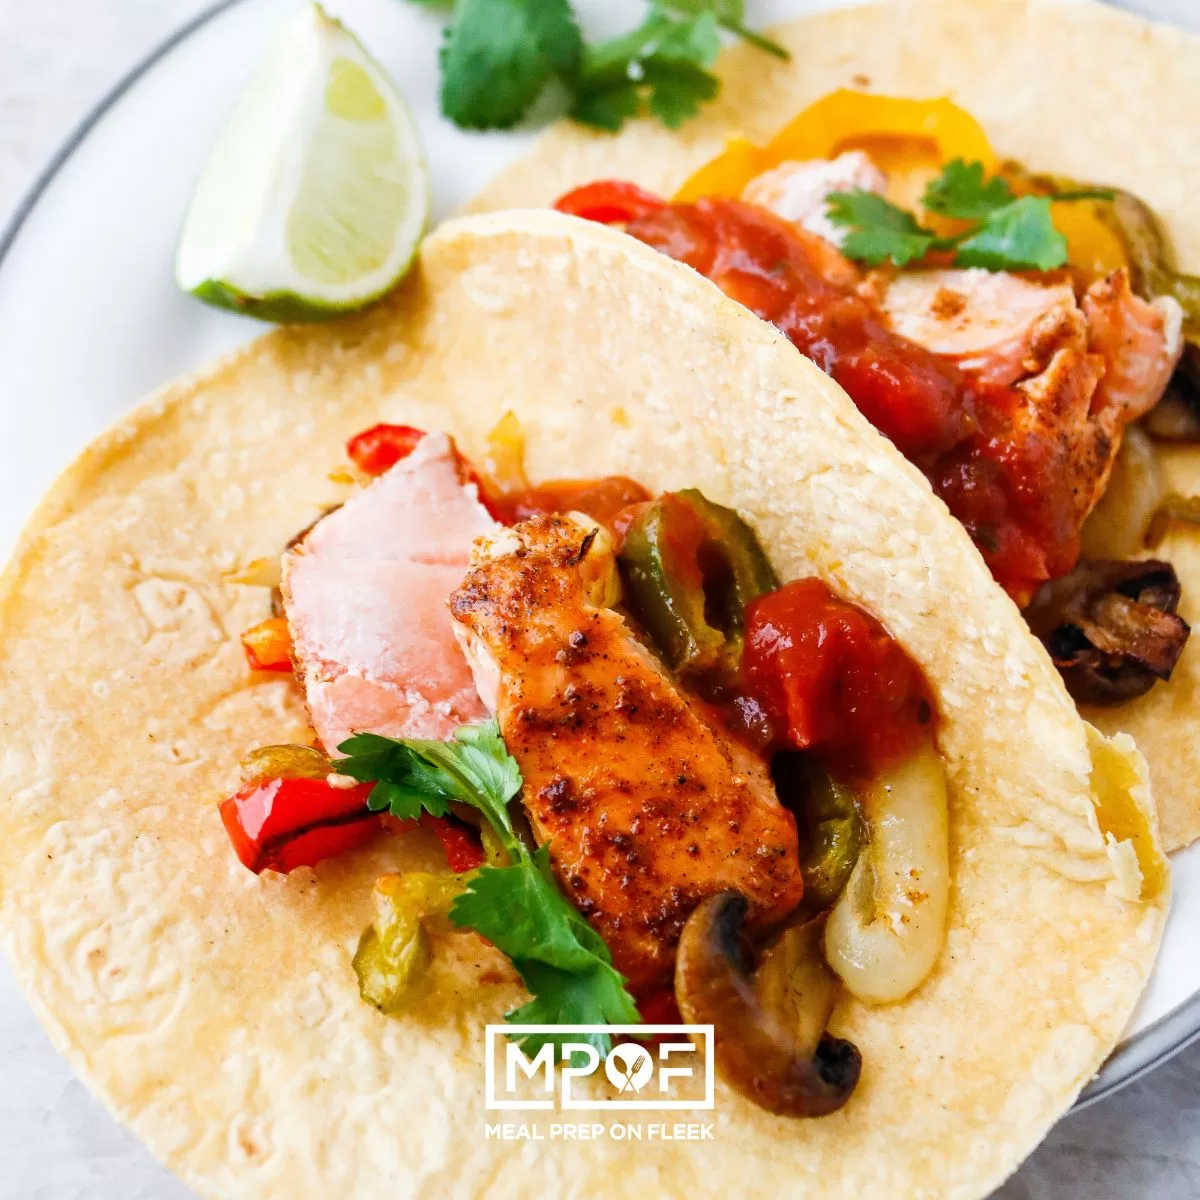
Sheet Pan Salmon Fajitas34 Minutes
-
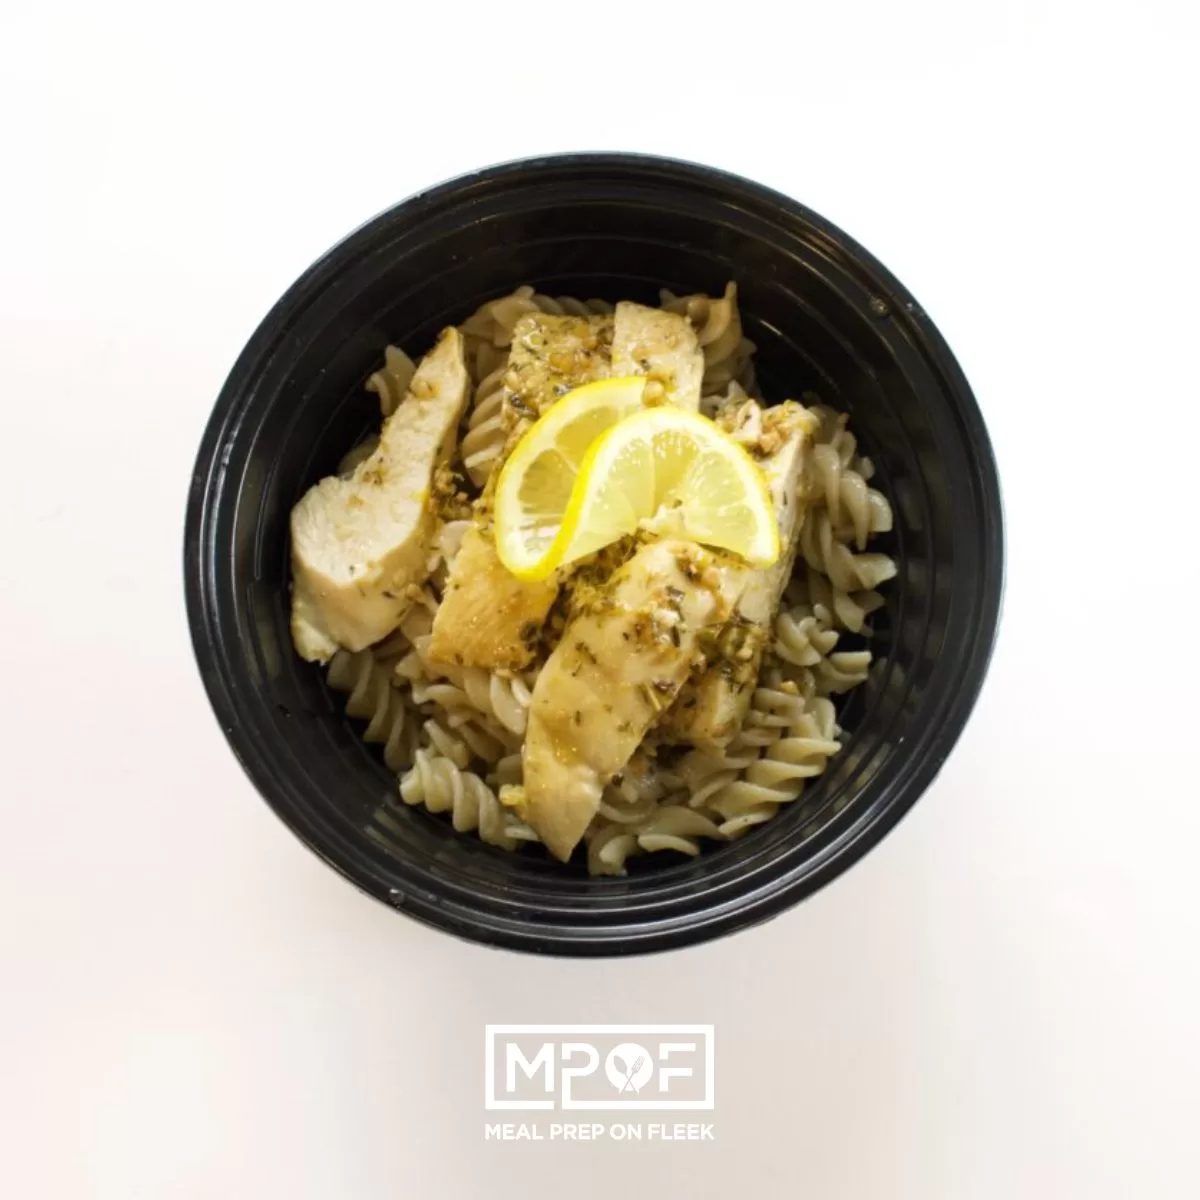
Lemon Chicken and Pasta20 Minutes
-
Sweet 'N Spicy Jalapeno Sausage Fried Rice30 Minutes
-
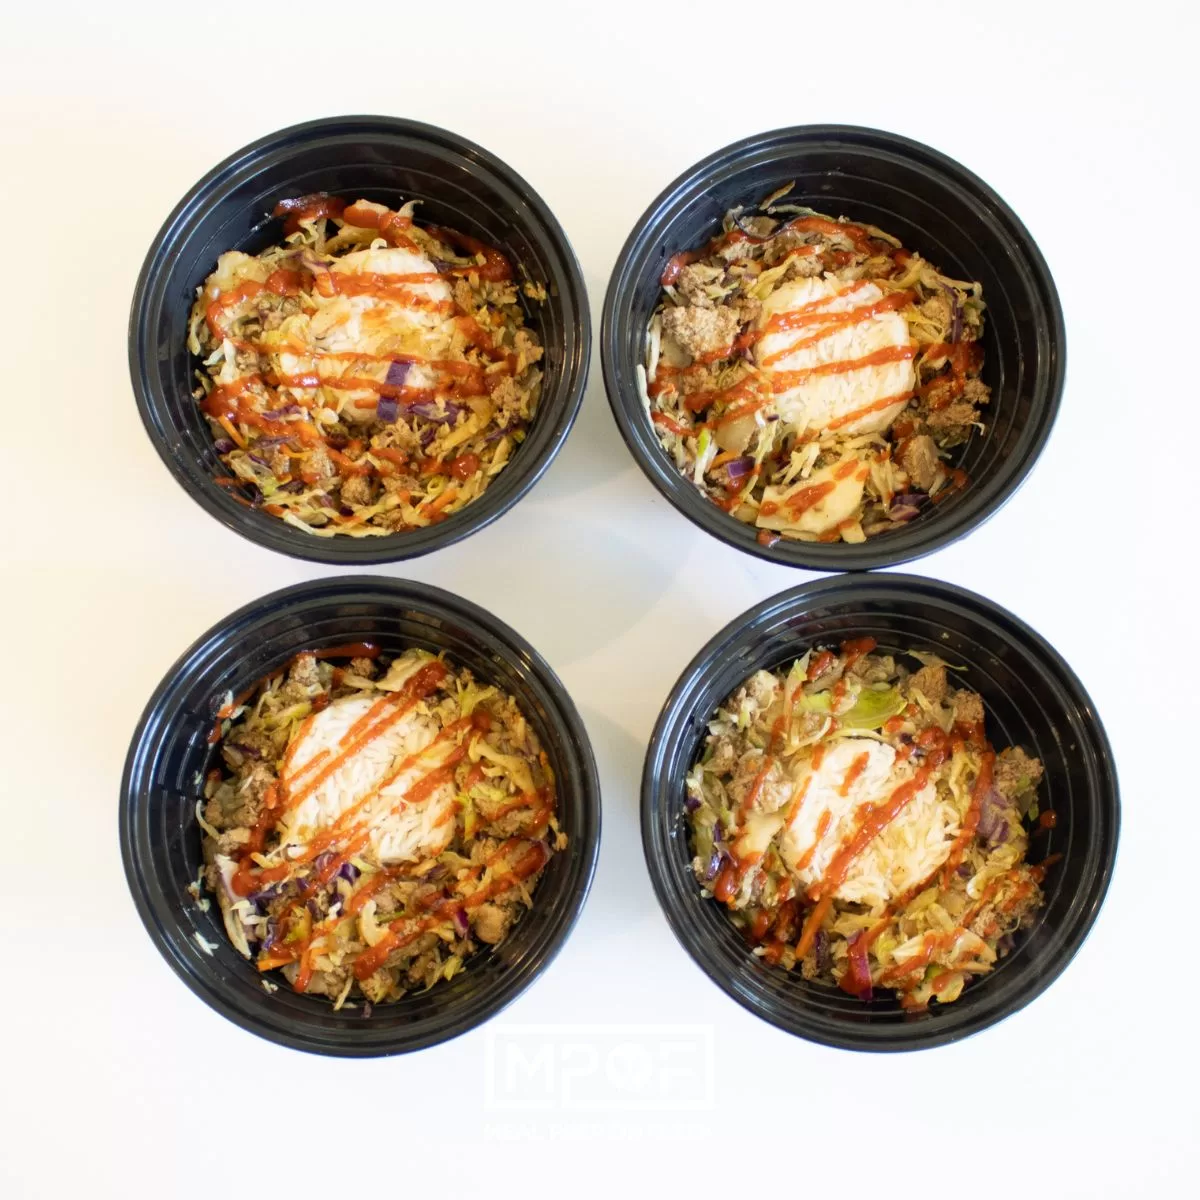
Egg Roll in a Bowl45 Minutes
-
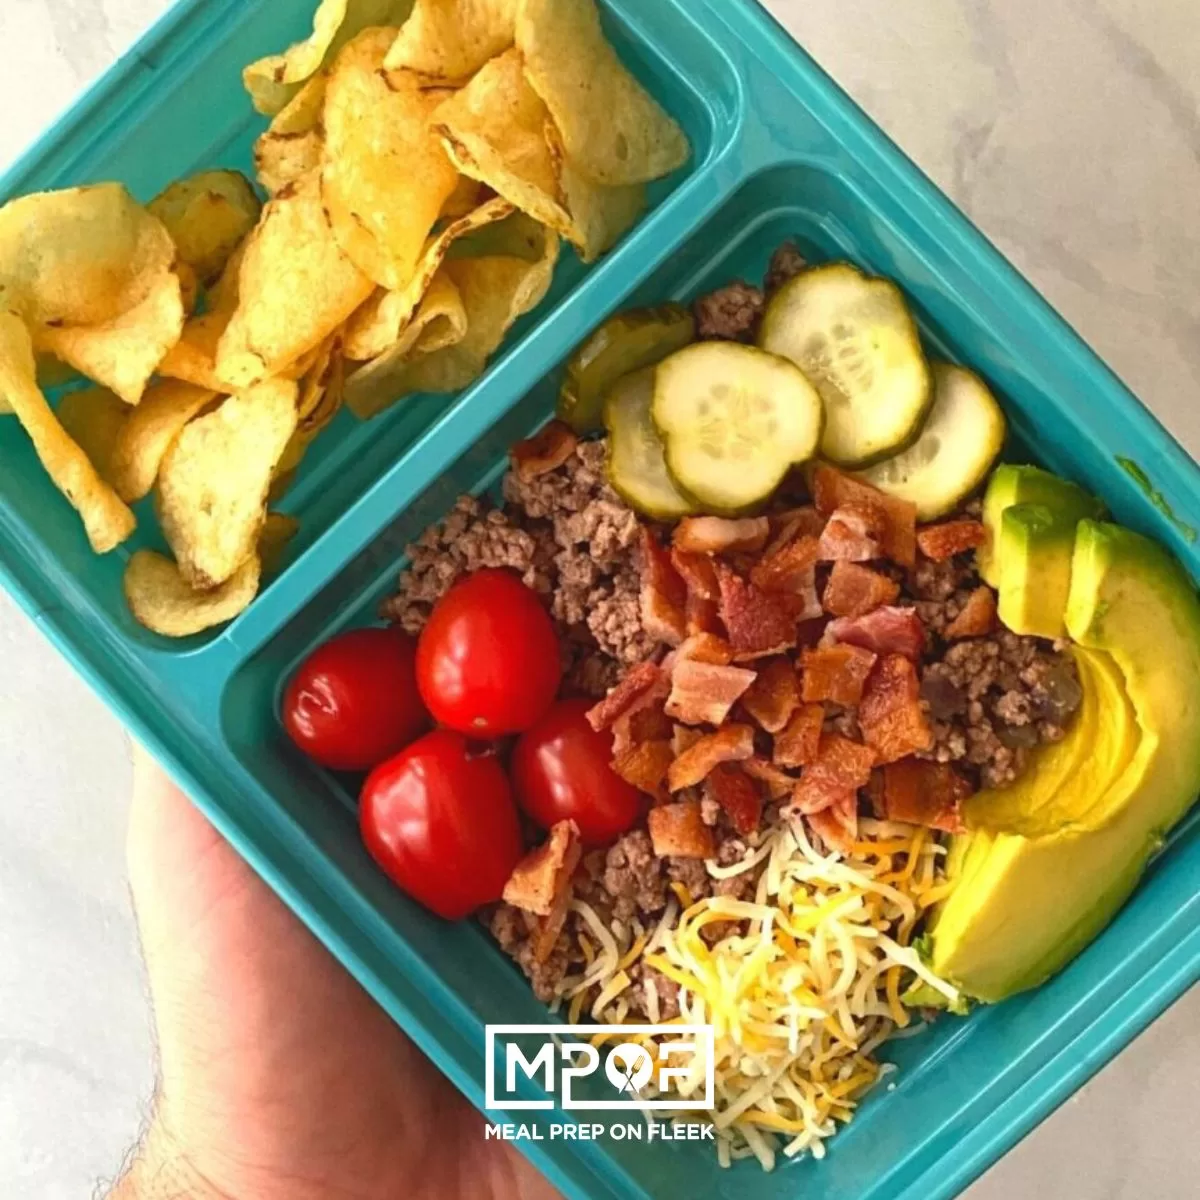
Yummy Bacon Burger Bowls10 Minutes
-
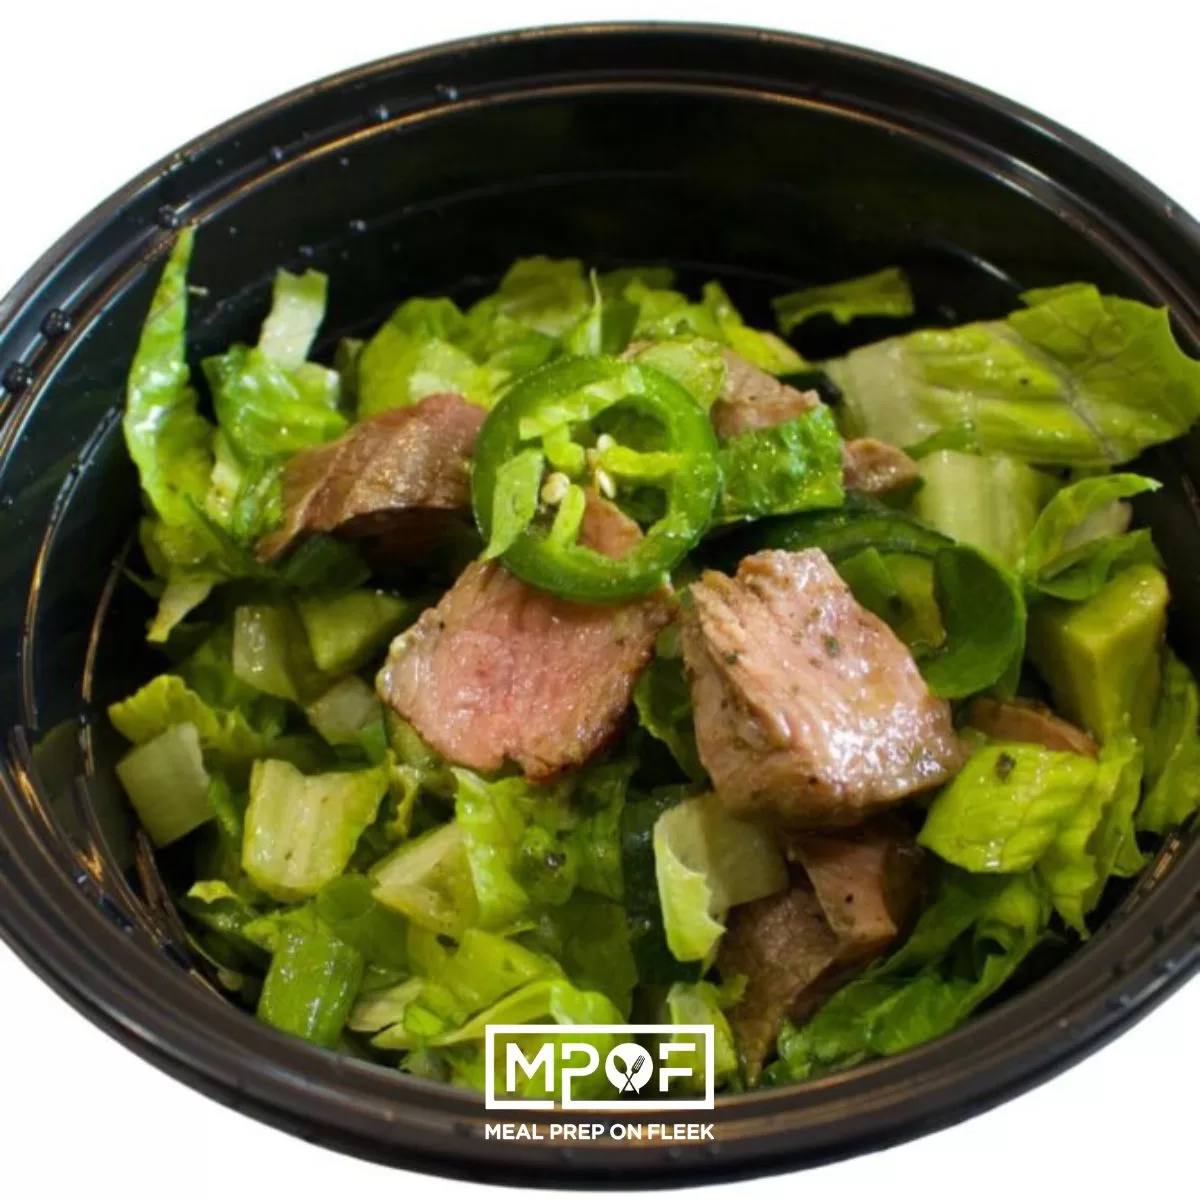
Steak & Avocado Salad Recipe20 Minutes
-
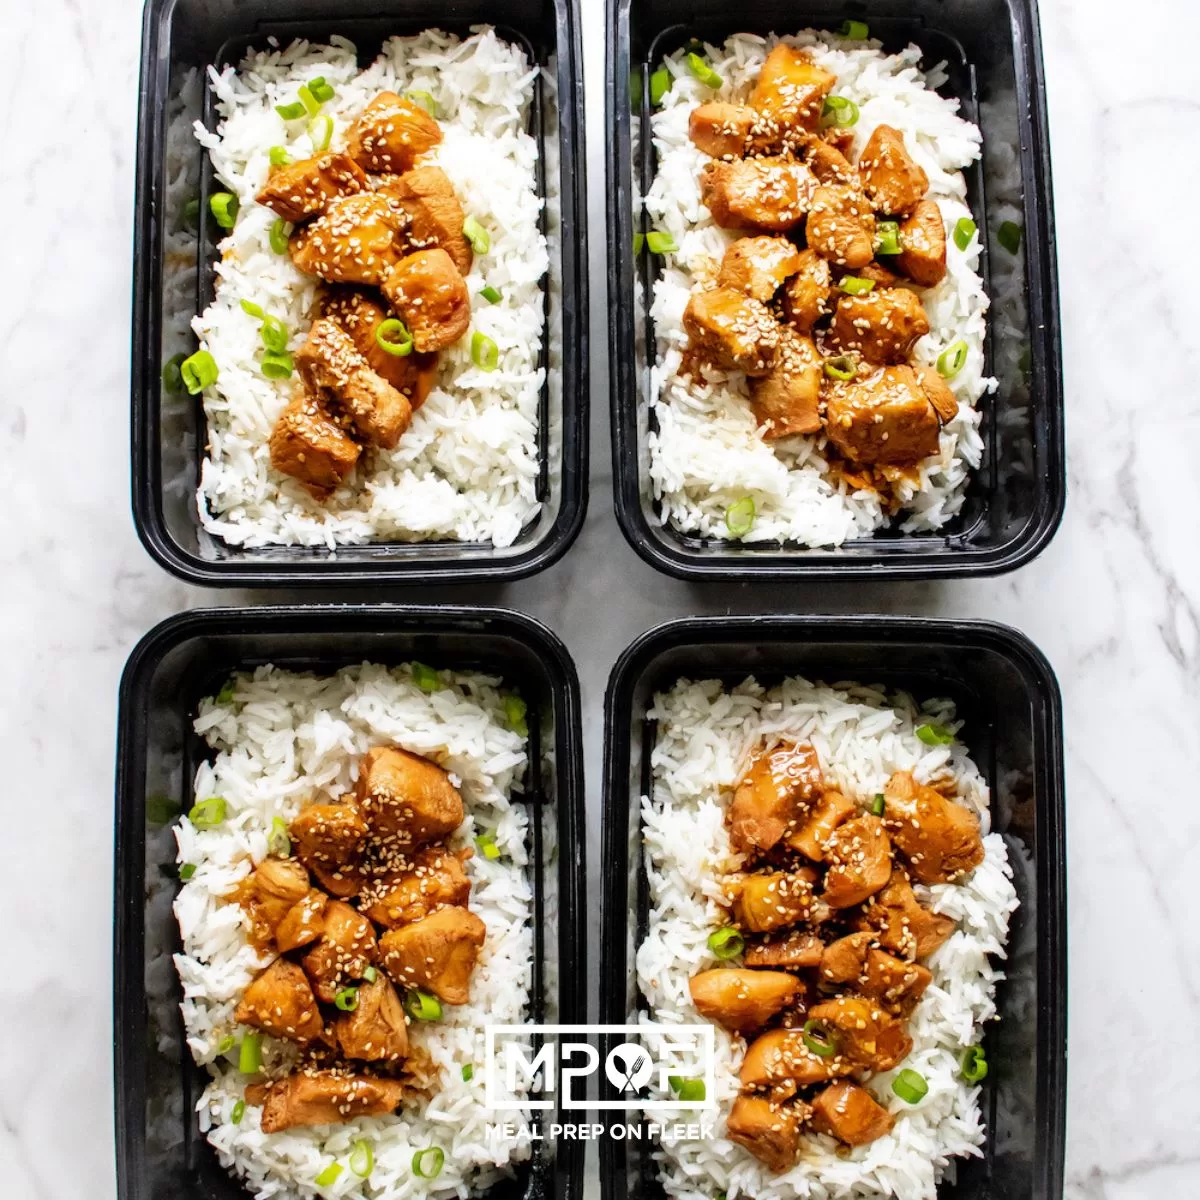
Instant Pot Honey Sesame Chicken25 Minutes
-
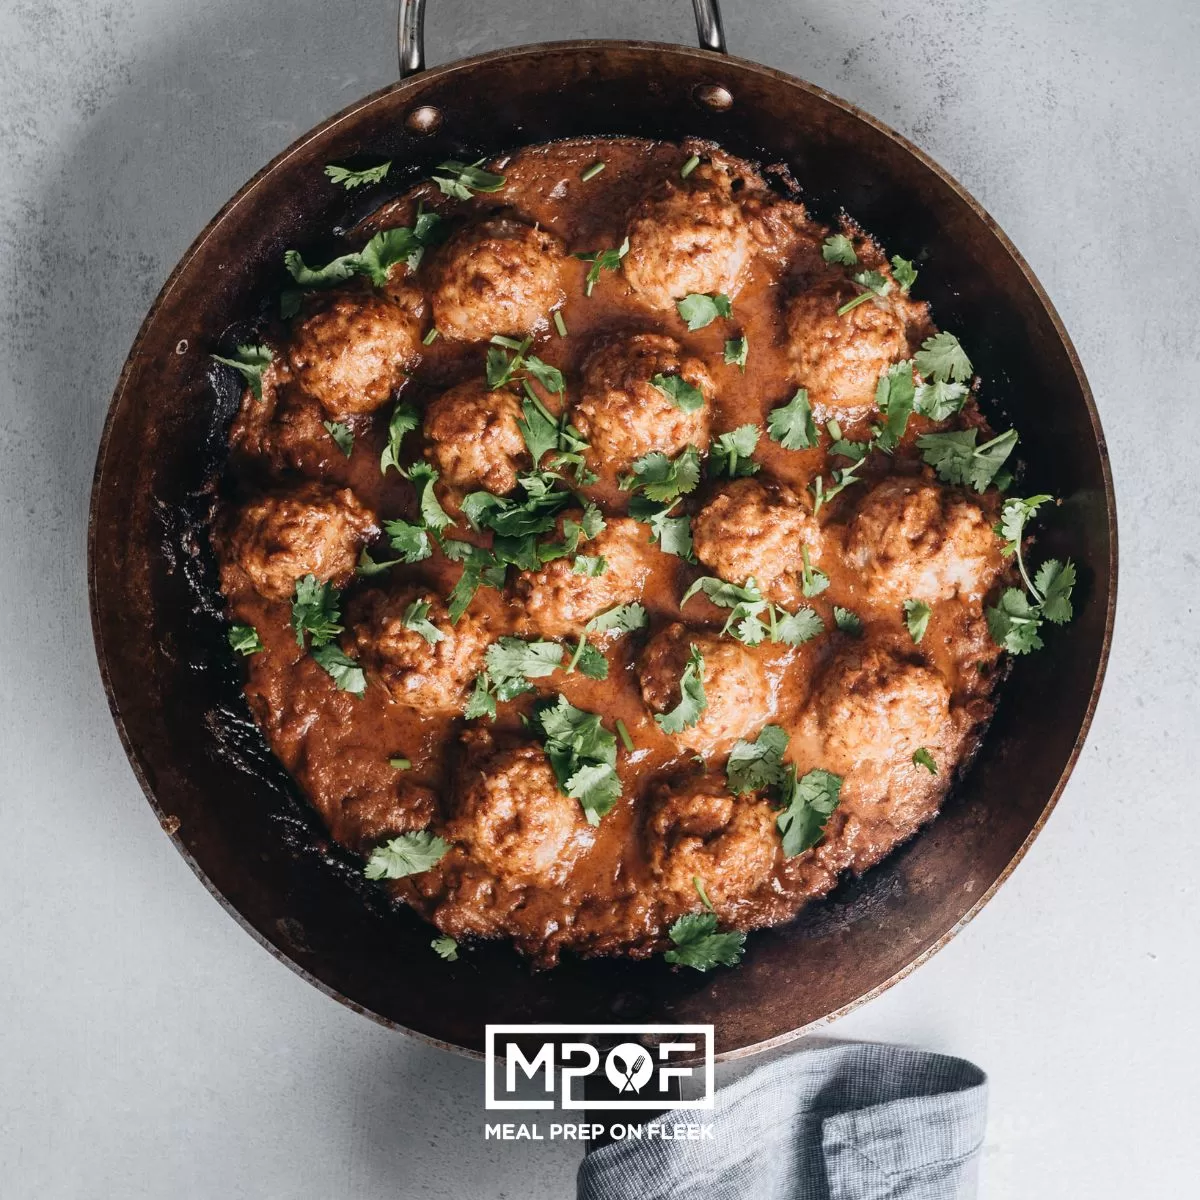
20 Minute Paleo Thai Almond Butter Turkey Meatballs20 Minutes
-
One Pot Bacon Cheeseburger Pasta30 Minutes
-
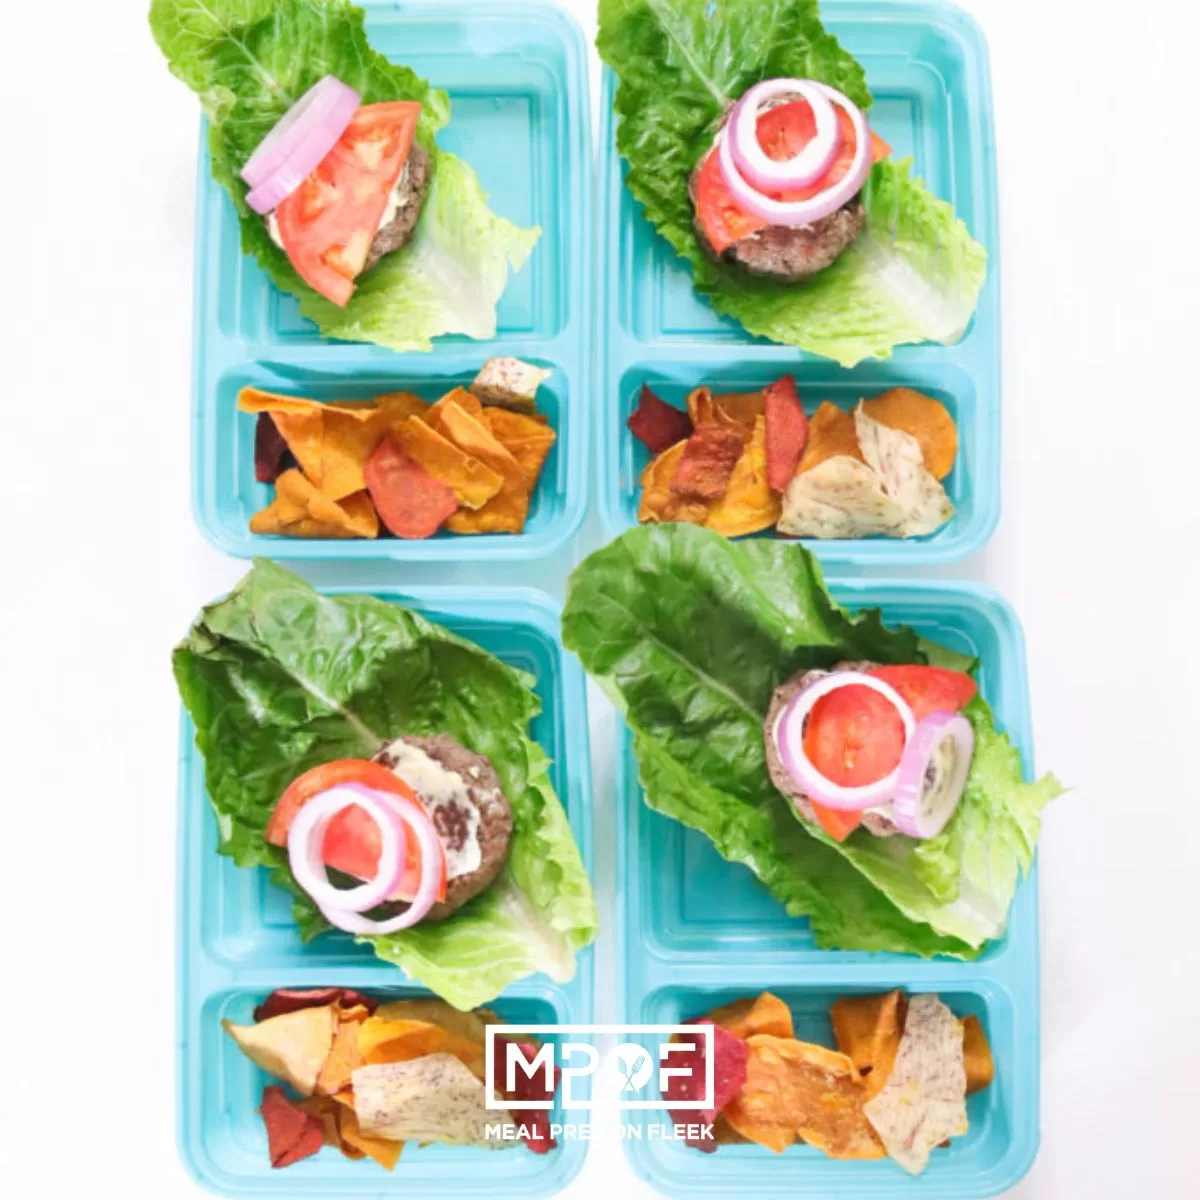
Low-Carb Lettuce Wrap Sliders35 Minutes
-
Mediterranean Salmon Bowl45 Minutes
-
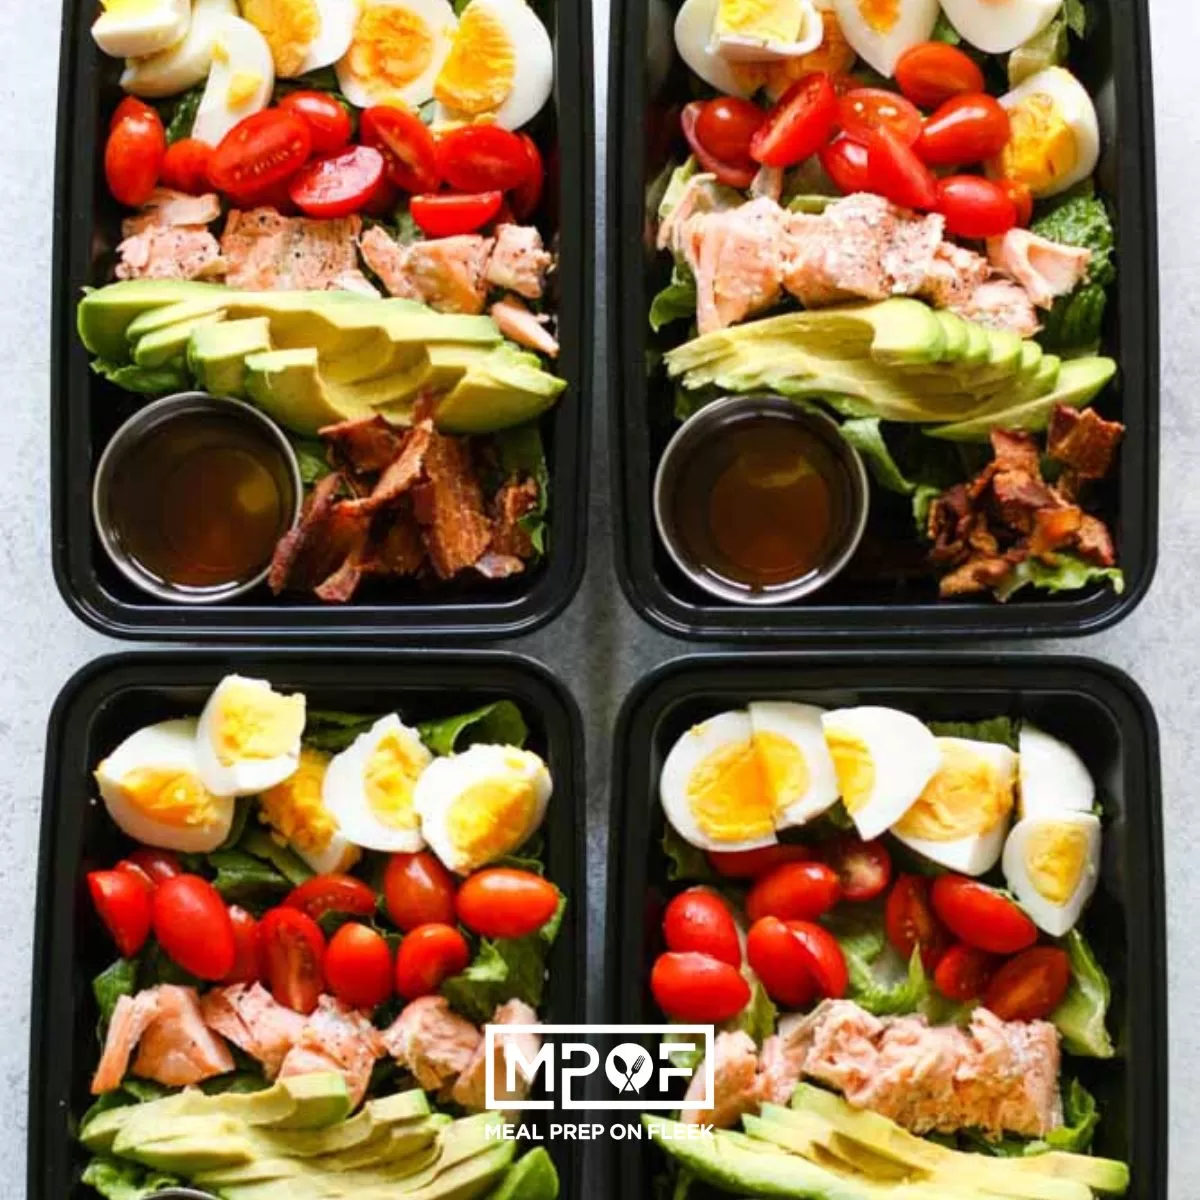
Salmon Cobb Salad Meal Prep45 Minutes
-
Ahi Tuna and Watercress Poke Bowl10 Minutes
-
Gluten Free Sweet Potato Pizza Meal Prep1 Hours 5 Minutes
-
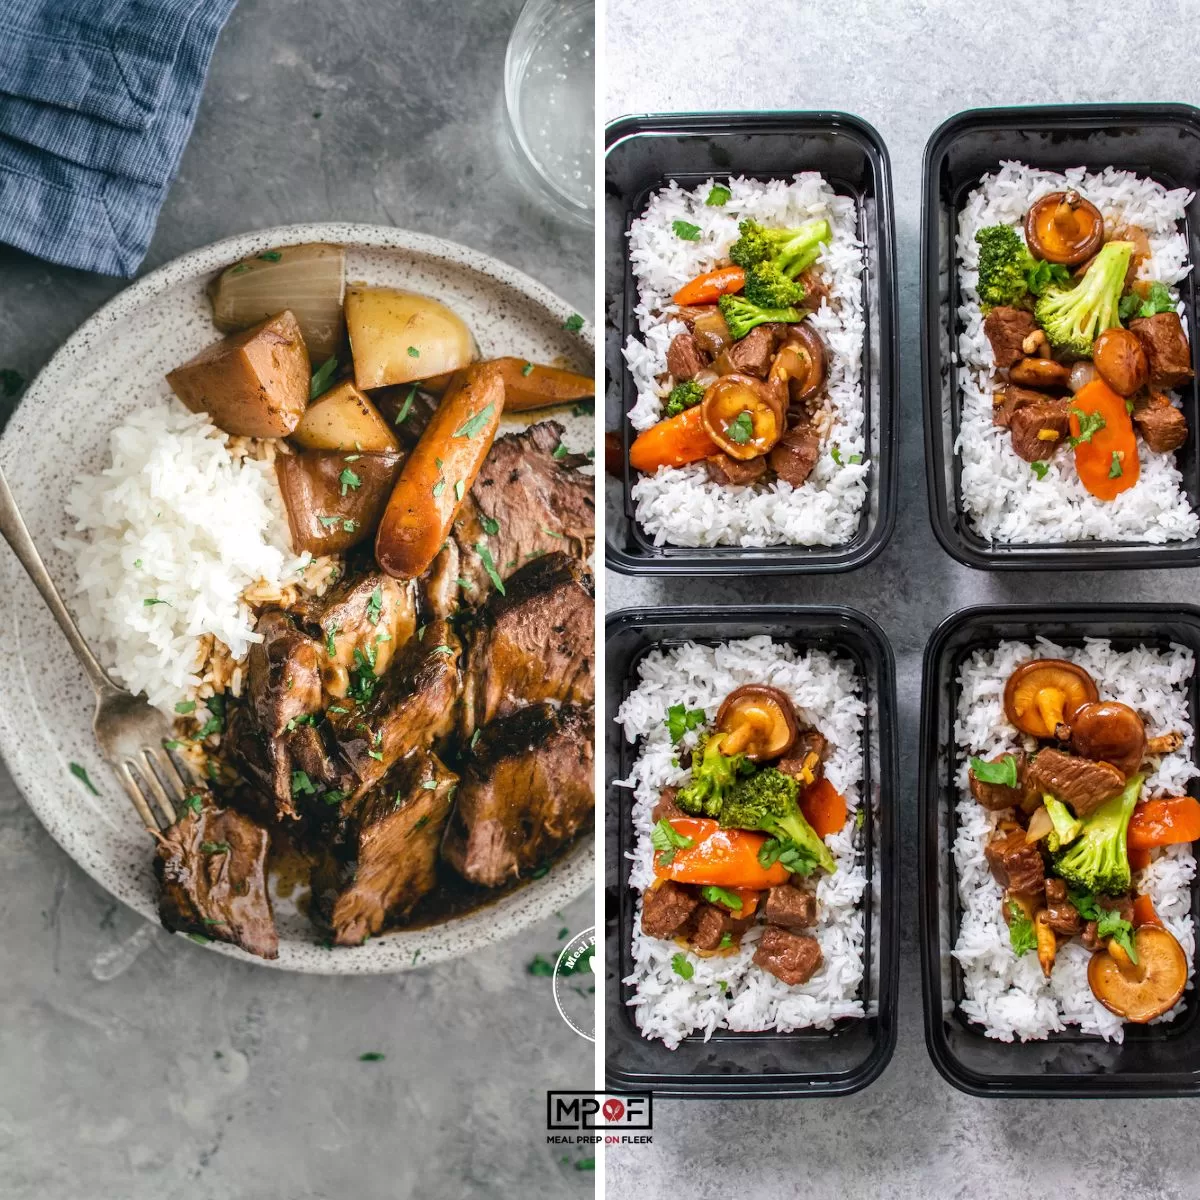
Crockpot Ropa Vieja Meal Prep3 Hours 15 Minutes
-
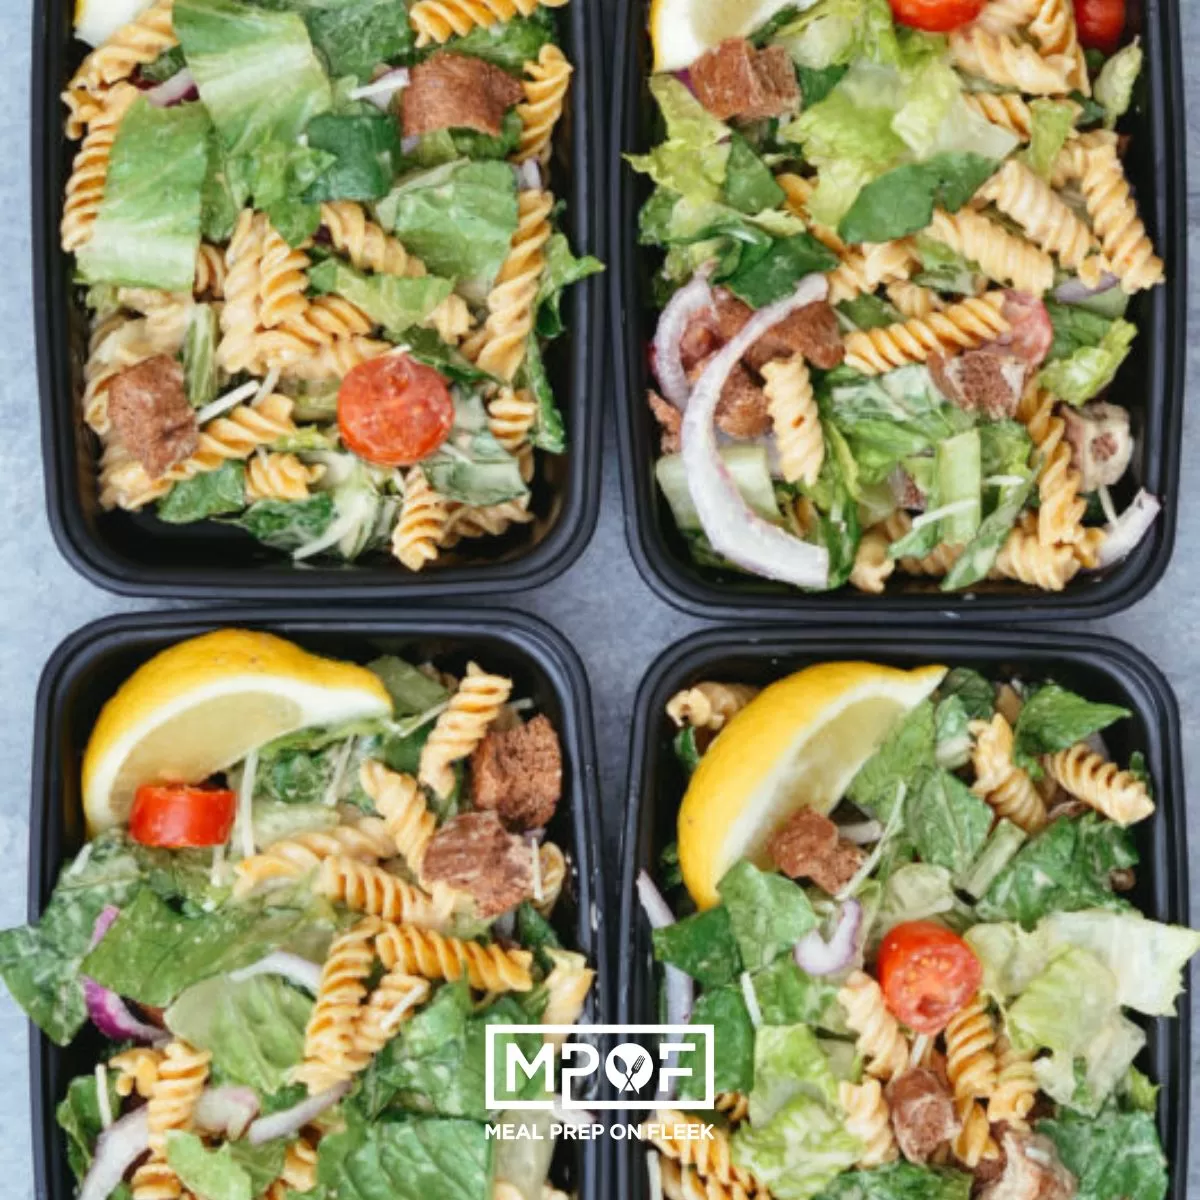
Gluten Free Caesar Pasta Salad Meal Prep15 Minutes
-
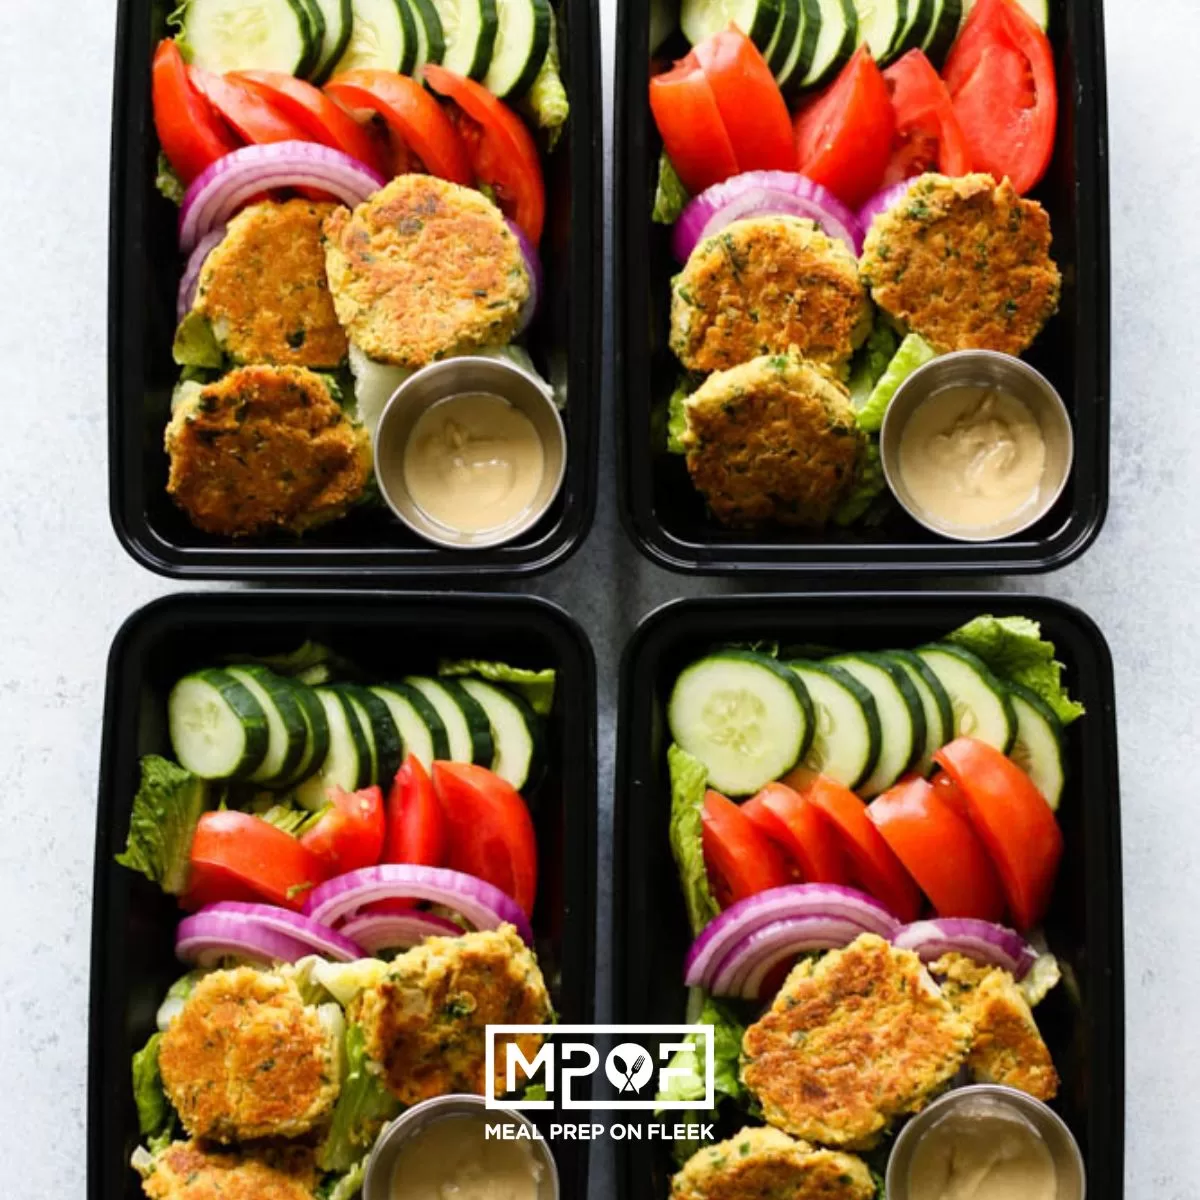
Easy Falafel Meal Prep20 Minutes