Paleo Meal Prep
-
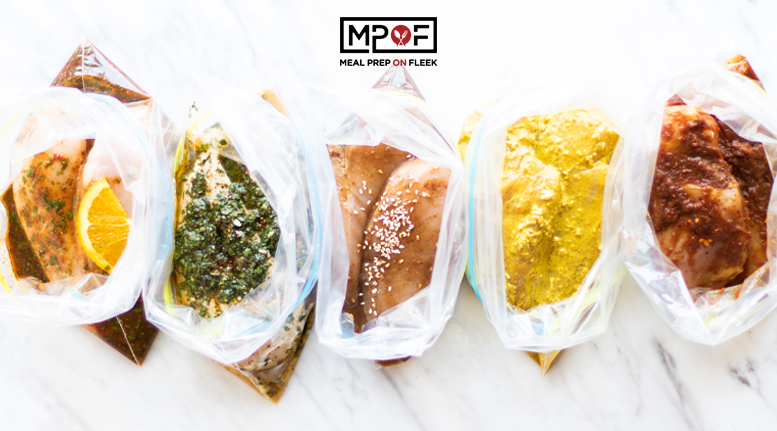
5 Easy Meal Prep Chicken Marinades
-
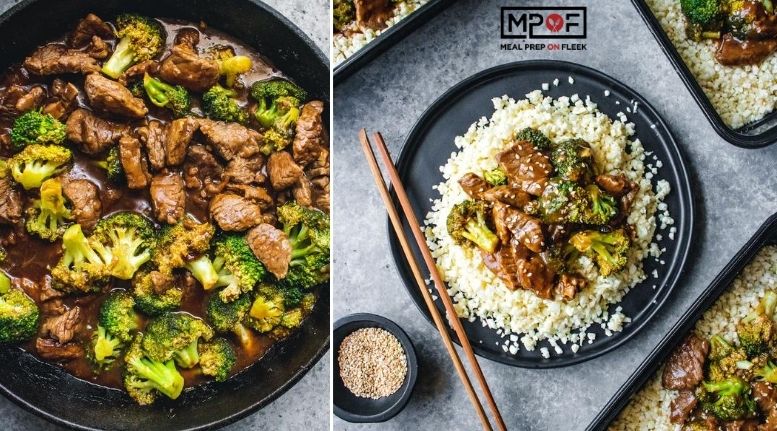
Five-Spice Beef and Broccoli
-
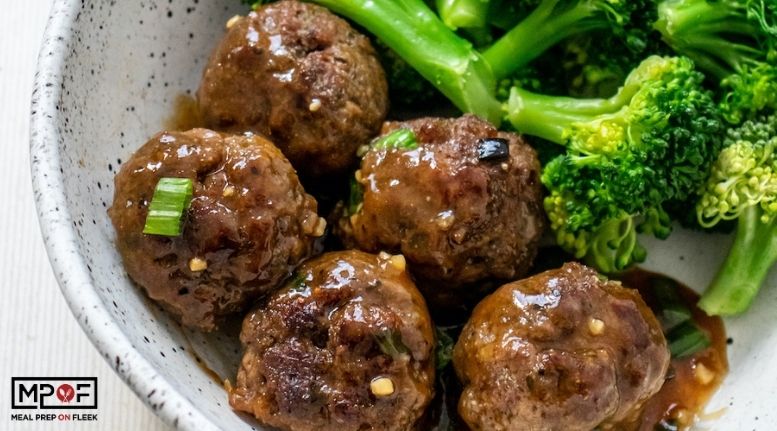
Mongolian Beef Meatballs
-
Thai Red Curry Chicken
-
Sheet Pan Asian Chicken
-
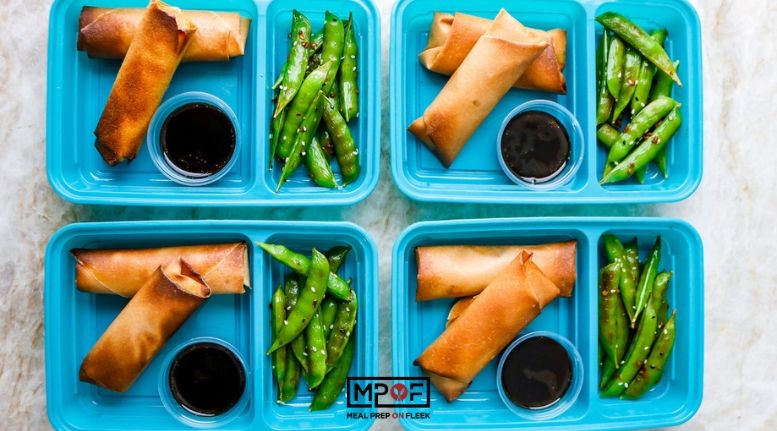
Air Fryer Egg Rolls
-
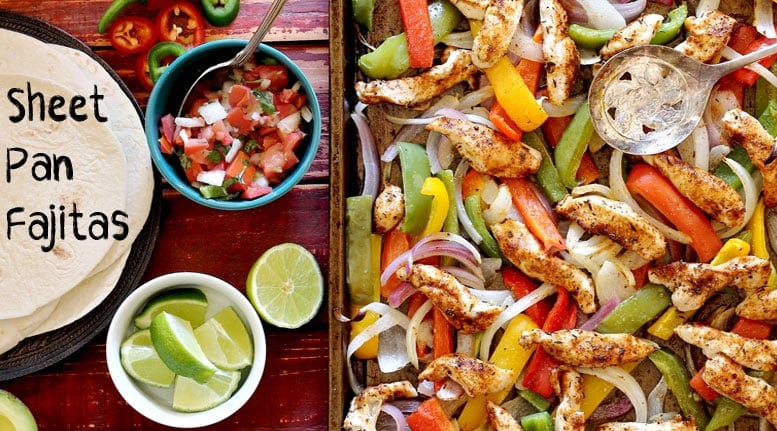
Sheet Pan Chicken Fajitas
-
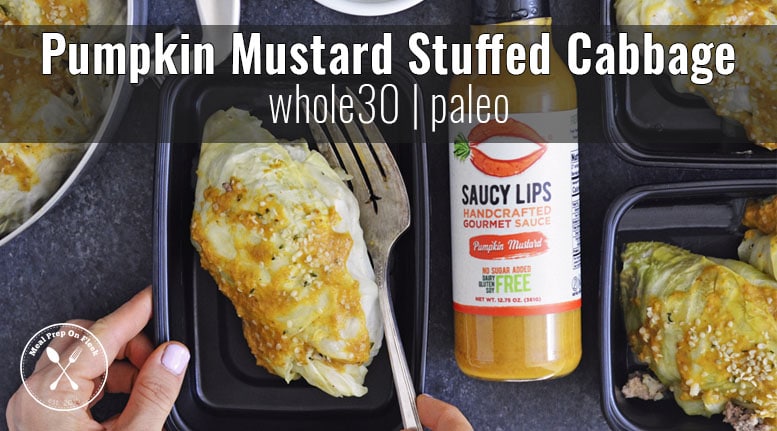
Pumpkin Mustard Stuffed Cabbage
-
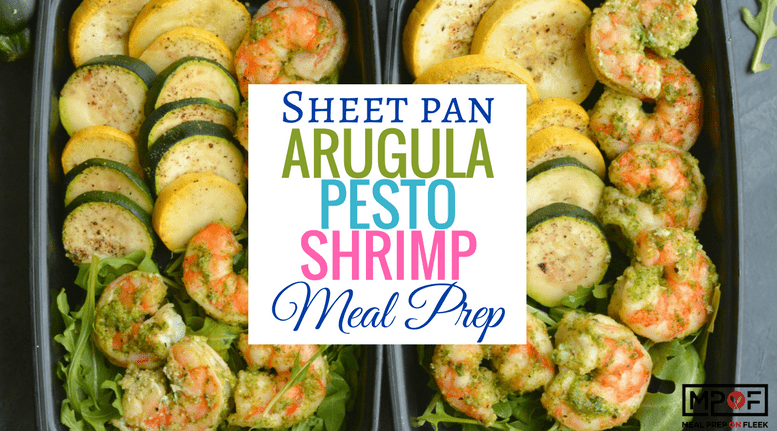
Sheet Pan Arugula Pesto Shrimp Meal Prep
-
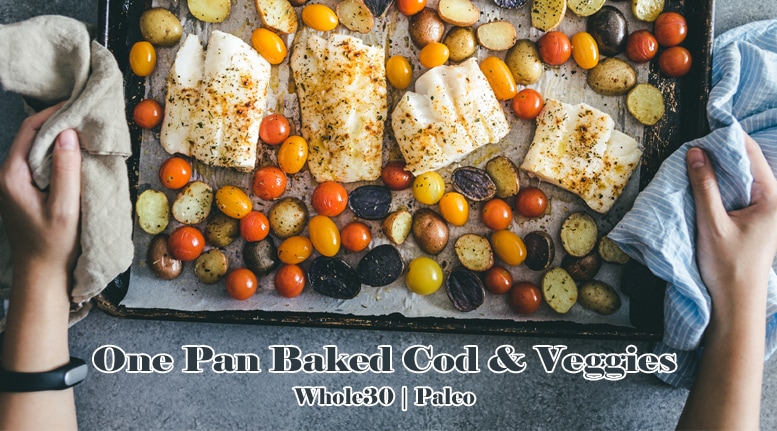
One Pan Baked Cod and Veggies
-
Pork Burger Meal Prep
-
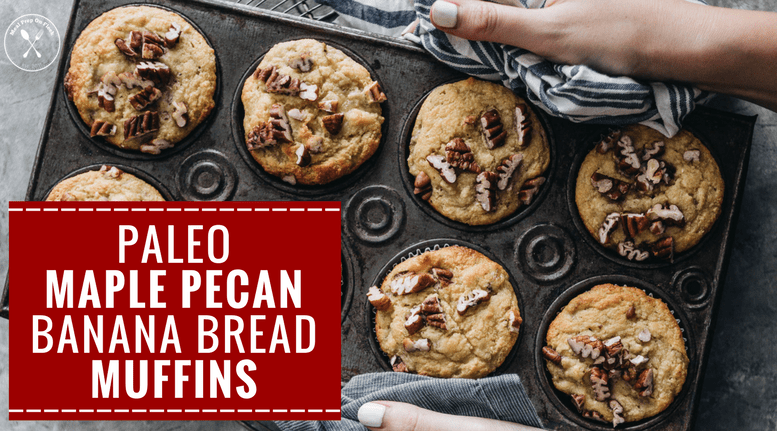
Paleo Maple Pecan Banana Bread Muffins
-
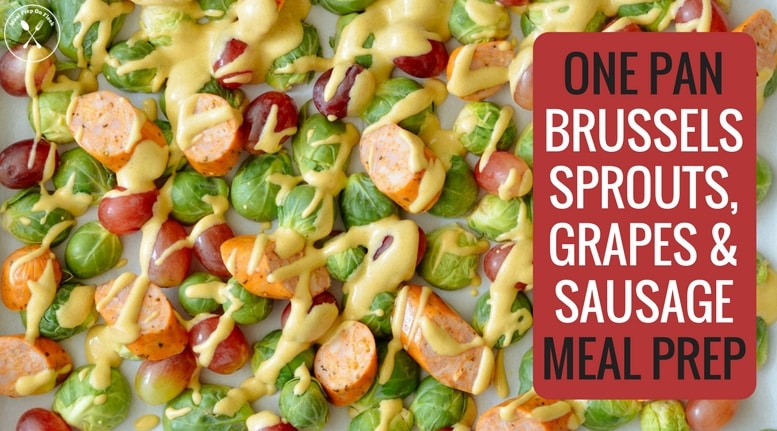
One Pan Roasted Brussels Sprouts, Grapes and Sausage Meal Prep
-
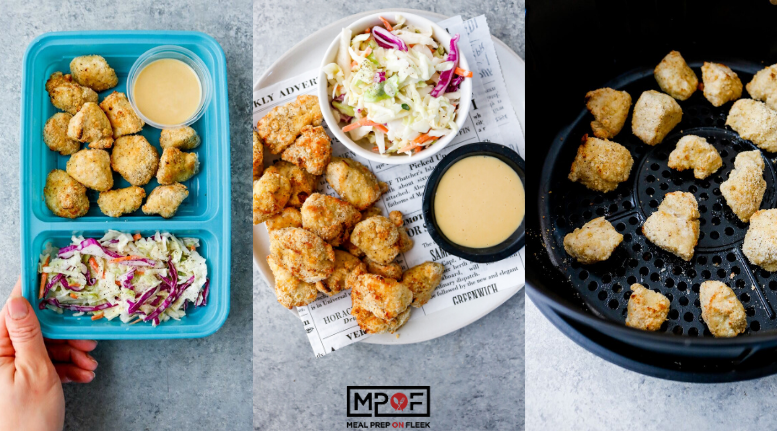
Air Fryer Popcorn Chicken
-
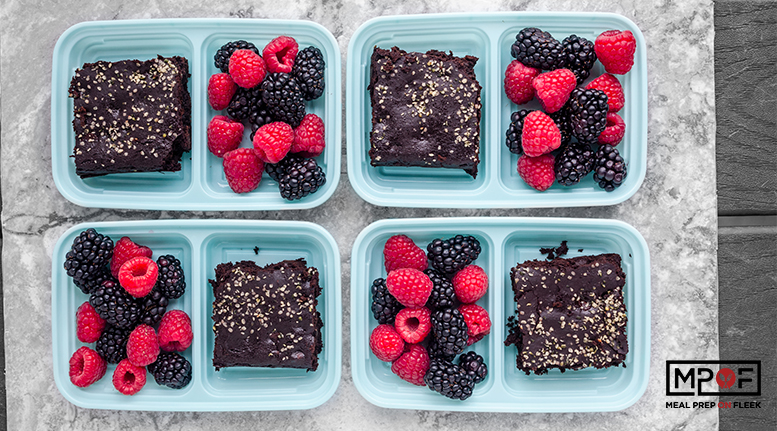
The EASIEST Gluten Free Brownies
-
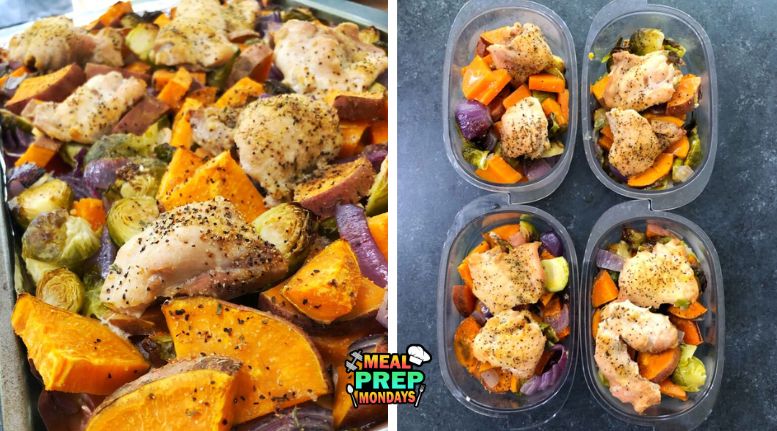
Fall Harvest Sheet Pan Dinner Meal Prep
-
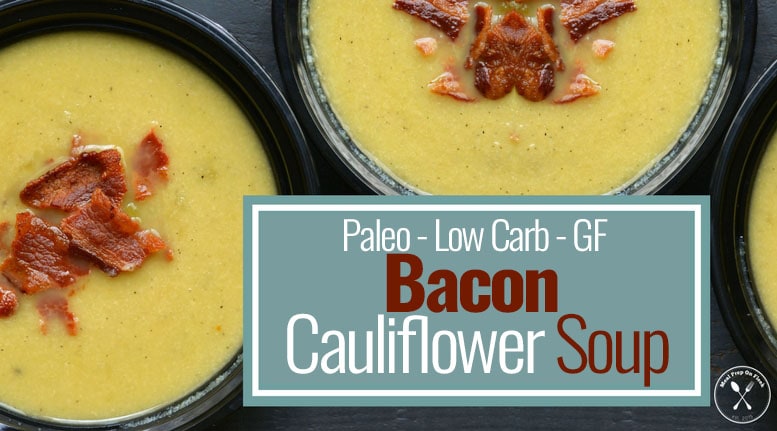
Low Carb Bacon Cauliflower Soup
-
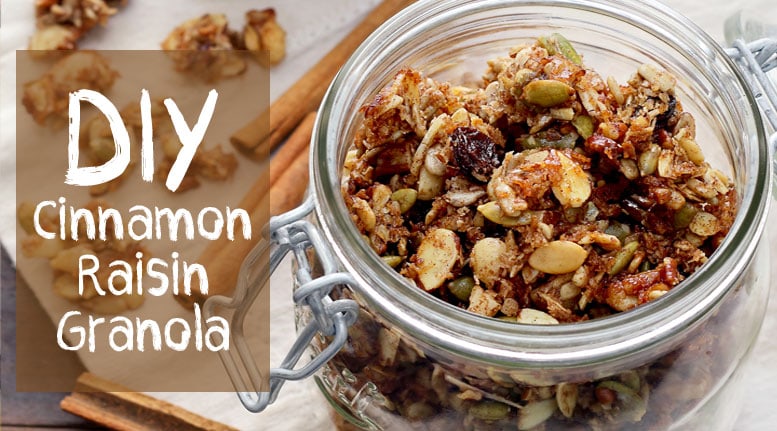
Cinnamon Raisin Granola
-
Whole30 Zucchini & Sweet Potato Hashbrown Meal Prep
-
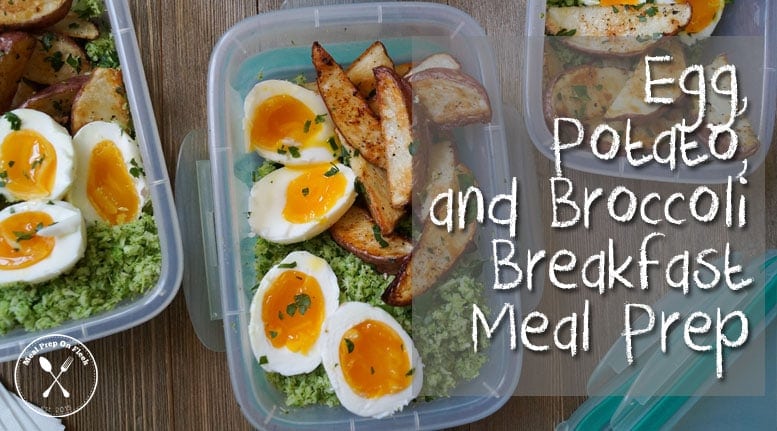
Egg Potato and Broccoli Breakfast Meal Prep
-
One Pot Jambalaya Meal Prep
-
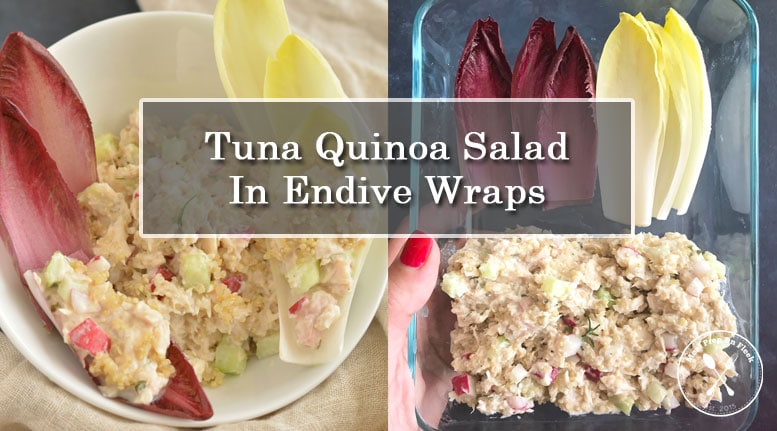
Tuna Quinoa Salad In Endive Wraps
-
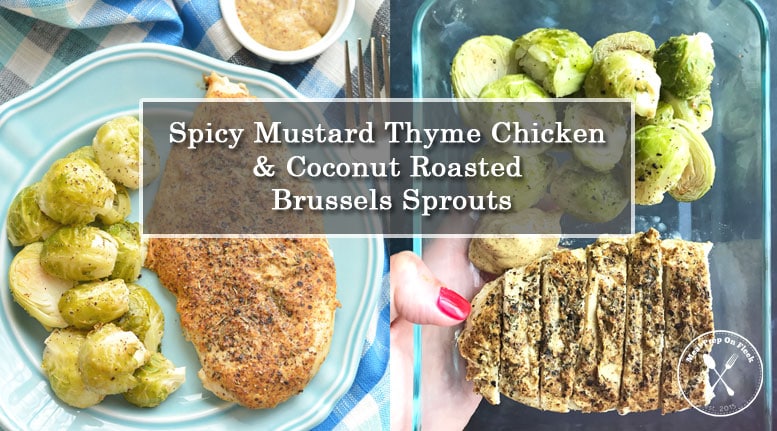
Spicy Mustard Thyme Chicken & Coconut Roasted Brussels Sprouts
-
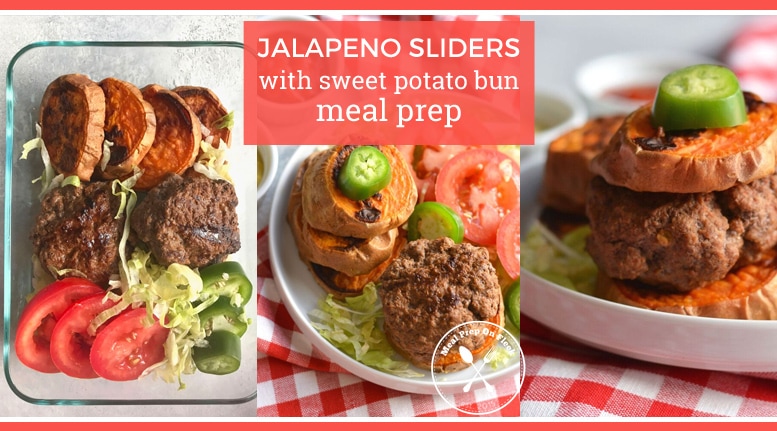
Jalapeno Sliders With Sweet Potato Bun Meal Prep
-
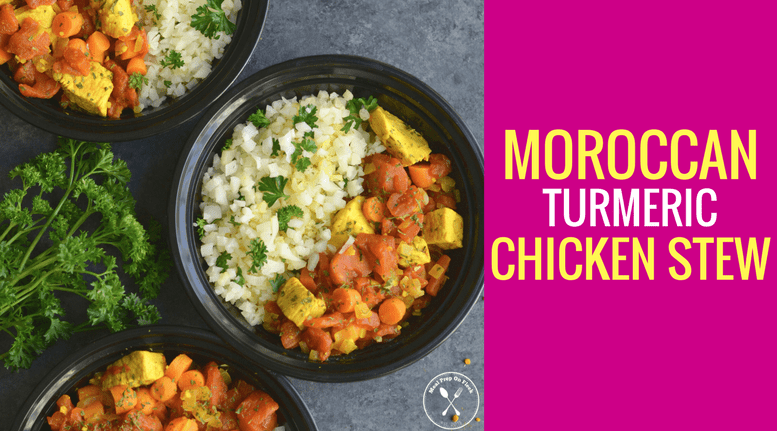
Moroccan Turmeric Chicken Stew
-
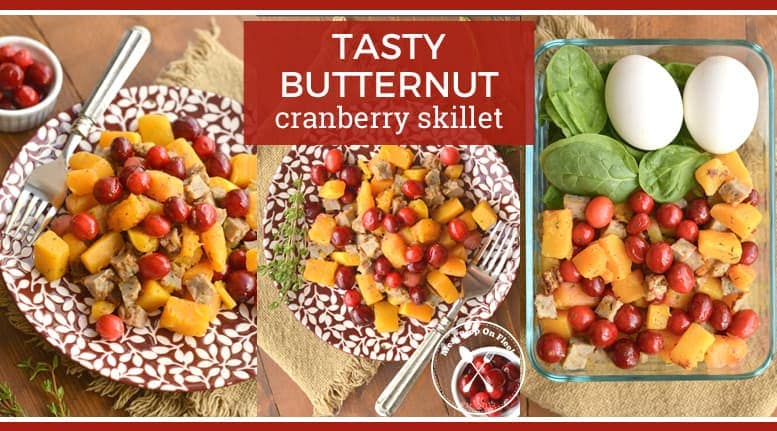
Butternut Squash Cranberry Skillet Meal Prep
-
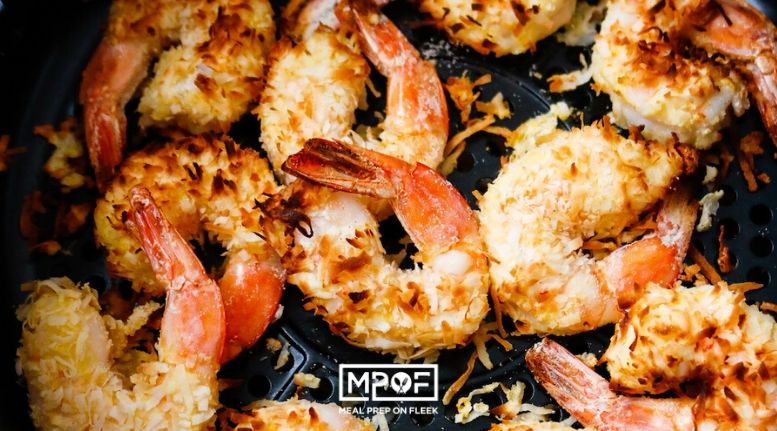
Air Fryer Coconut Shrimp
-
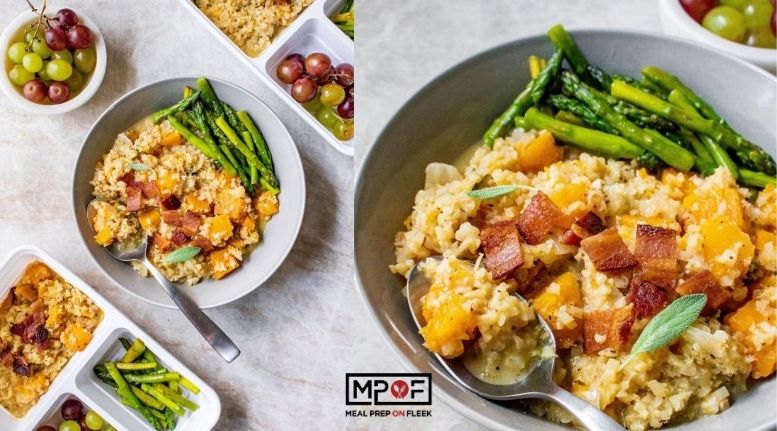
Instant Pot Paleo Butternut Squash Risotto
-
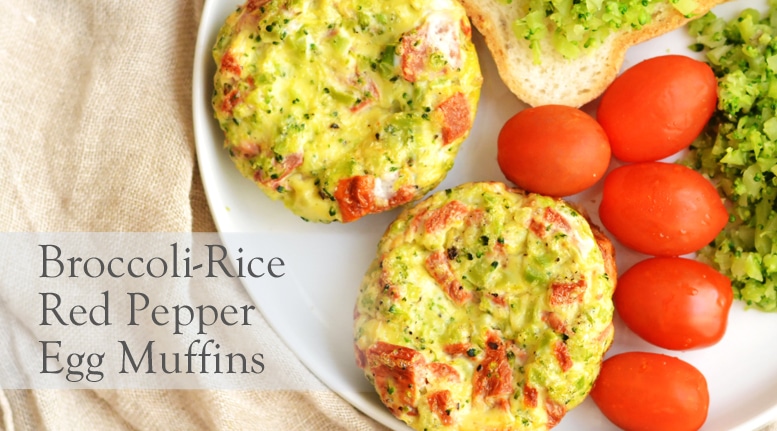
Broccoli Rice Red Pepper Egg Muffins
-
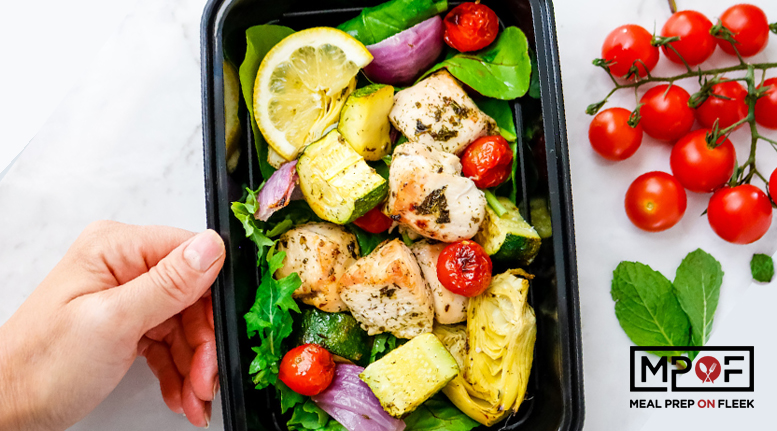
Sheet Pan Greek Chicken and Vegetables
-
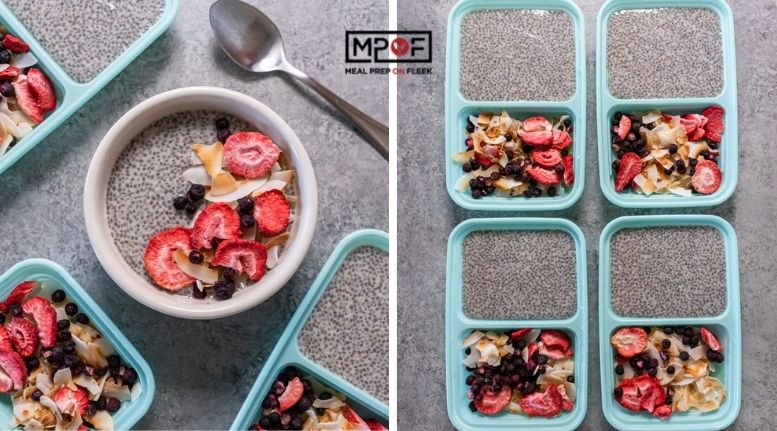
Chia Pudding (Vegan, GF, Paleo)
-
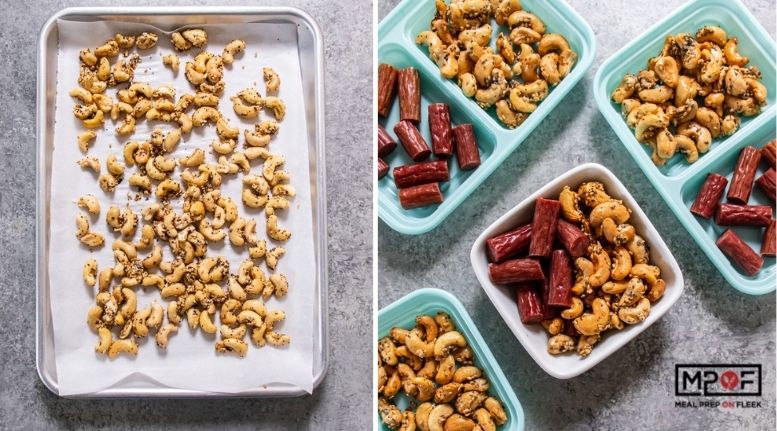
Everything Bagel Cashews
-
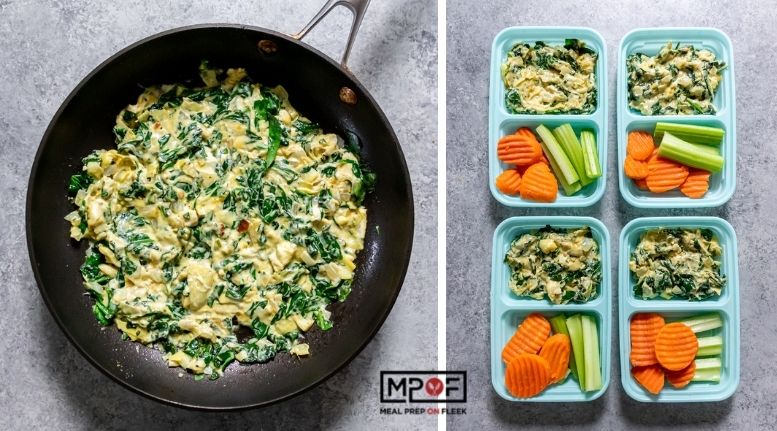
Spinach Artichoke Dip (Paleo, GF, Low Carb)
-
Meal Prep Menu: Week 39
-
Meal Prep Menu: Week 40
-
Hawaiian Chicken Teriyaki Skewer Meal Prep
-
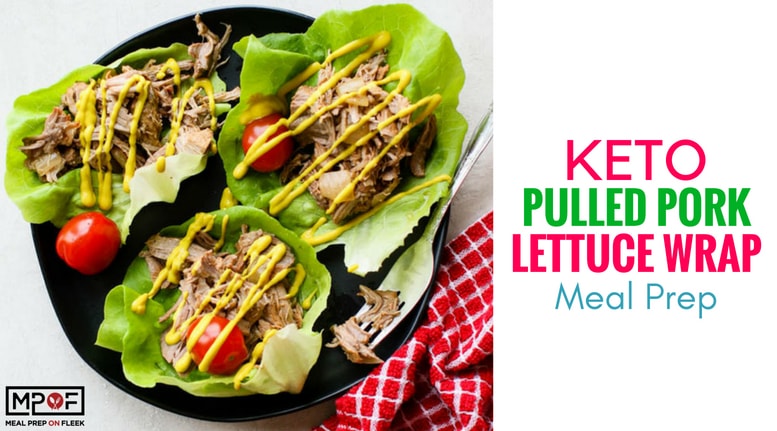
Pulled Pork Lettuce Wrap Meal Prep
-
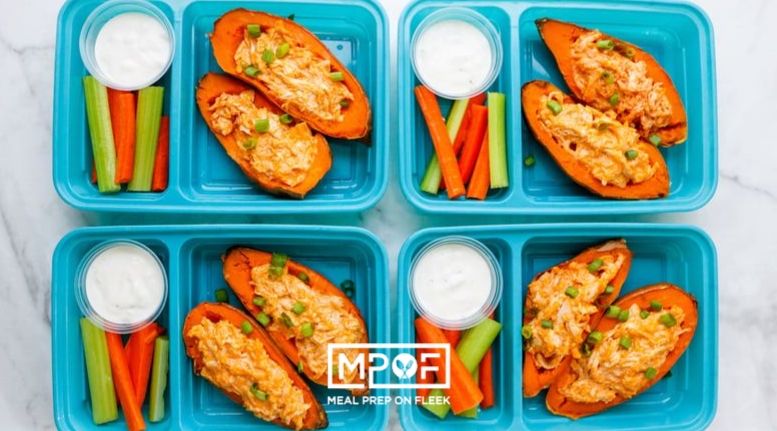
Buffalo Chicken Stuffed Sweet Potato Skins
-
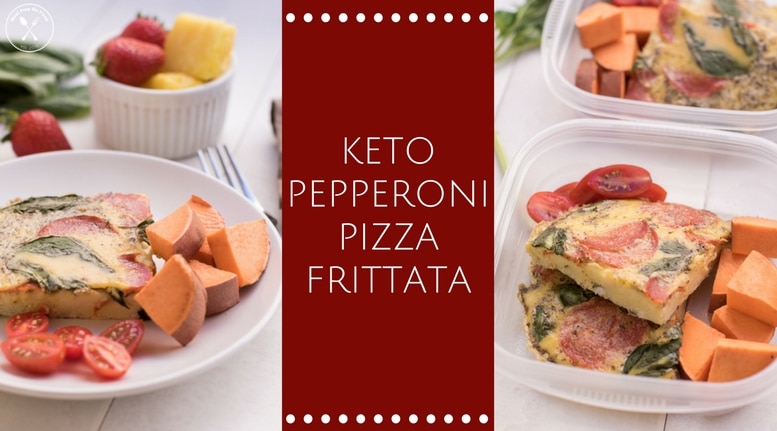
Keto Pizza Frittata Meal Prep