Paleo Meal Prep
-
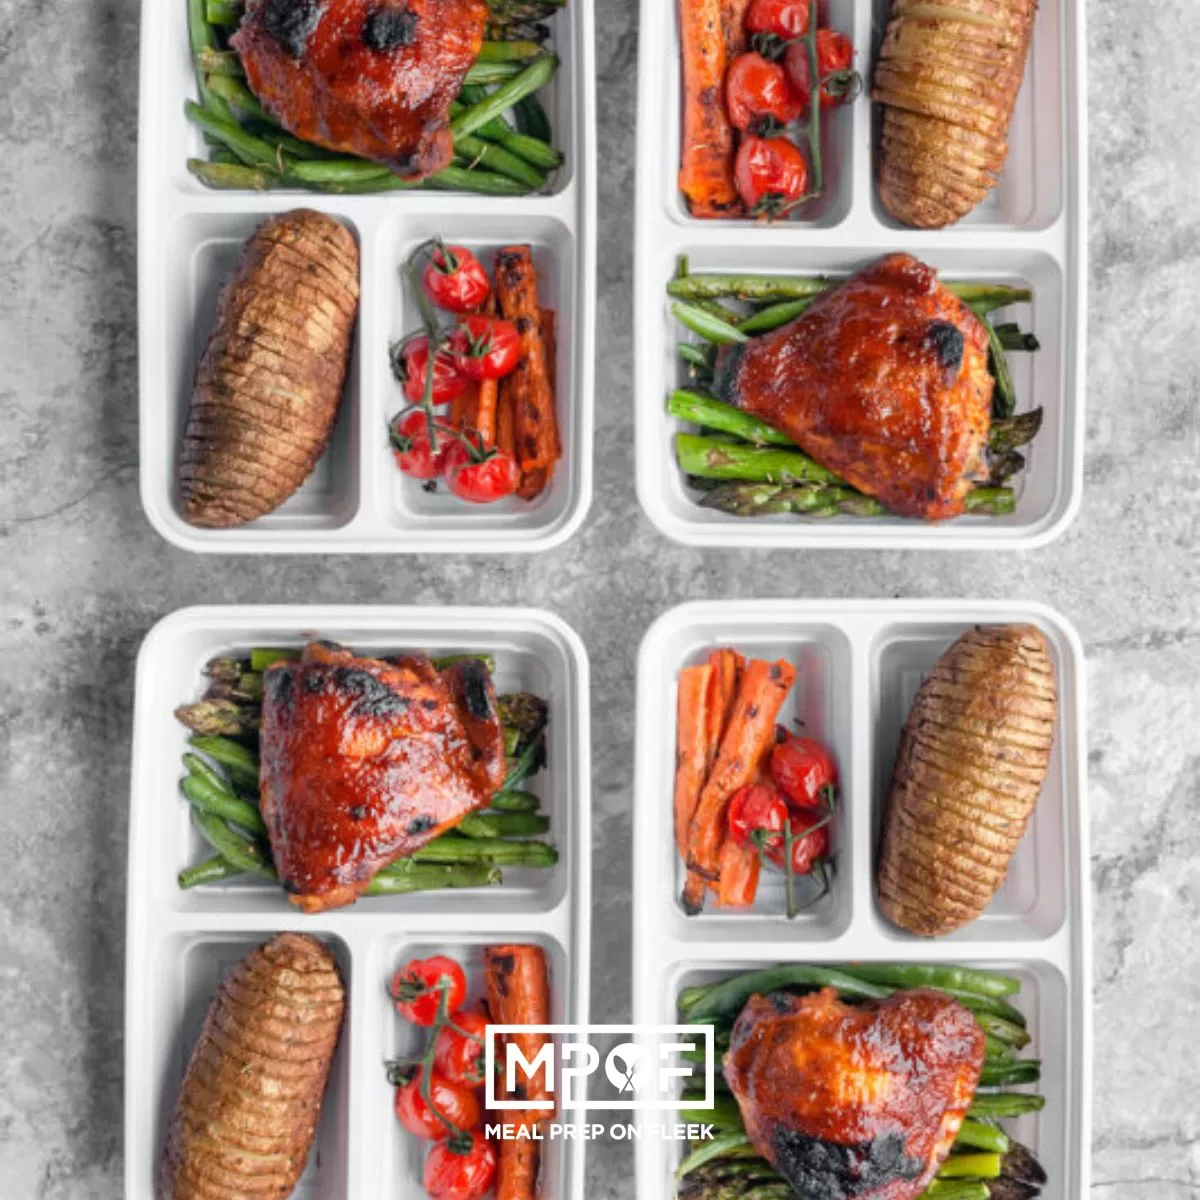
Oven Baked BBQ Chicken and Veggies Meal Prep
-
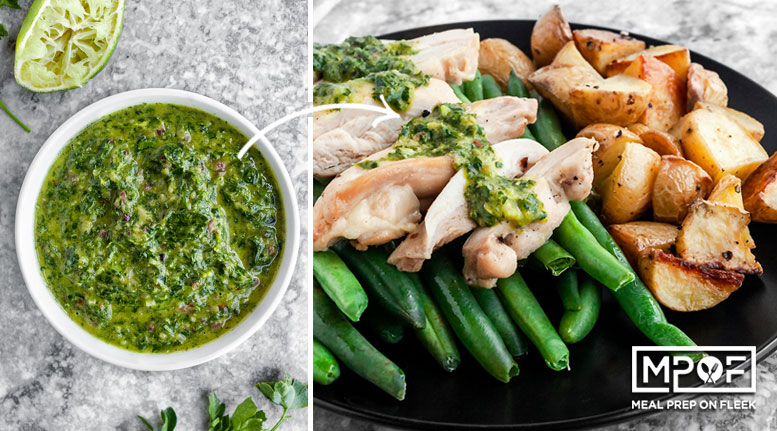
Sheet Pan Chimichurri Chicken and Veggies
-
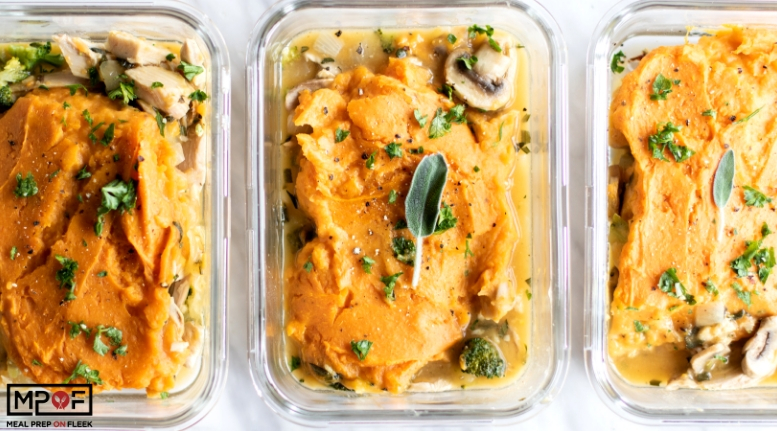
Leftover Turkey Sweet Potato Shepherd’s Pie
-
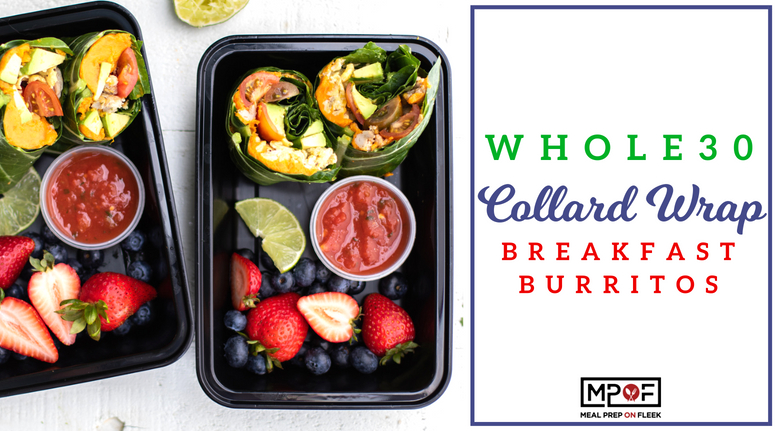
Collard Wrap Breakfast Burritos
-
Chocolate Almond Butter Bark
-
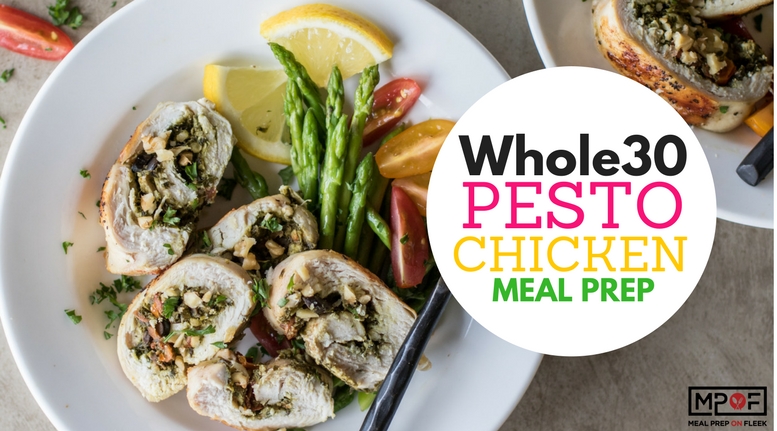
Pesto Chicken Meal Prep
-
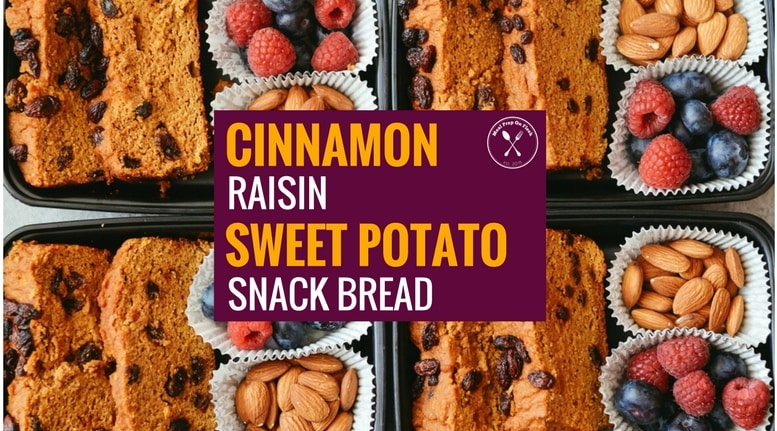
Cinnamon Raisin Sweet Potato Snack Bread
-
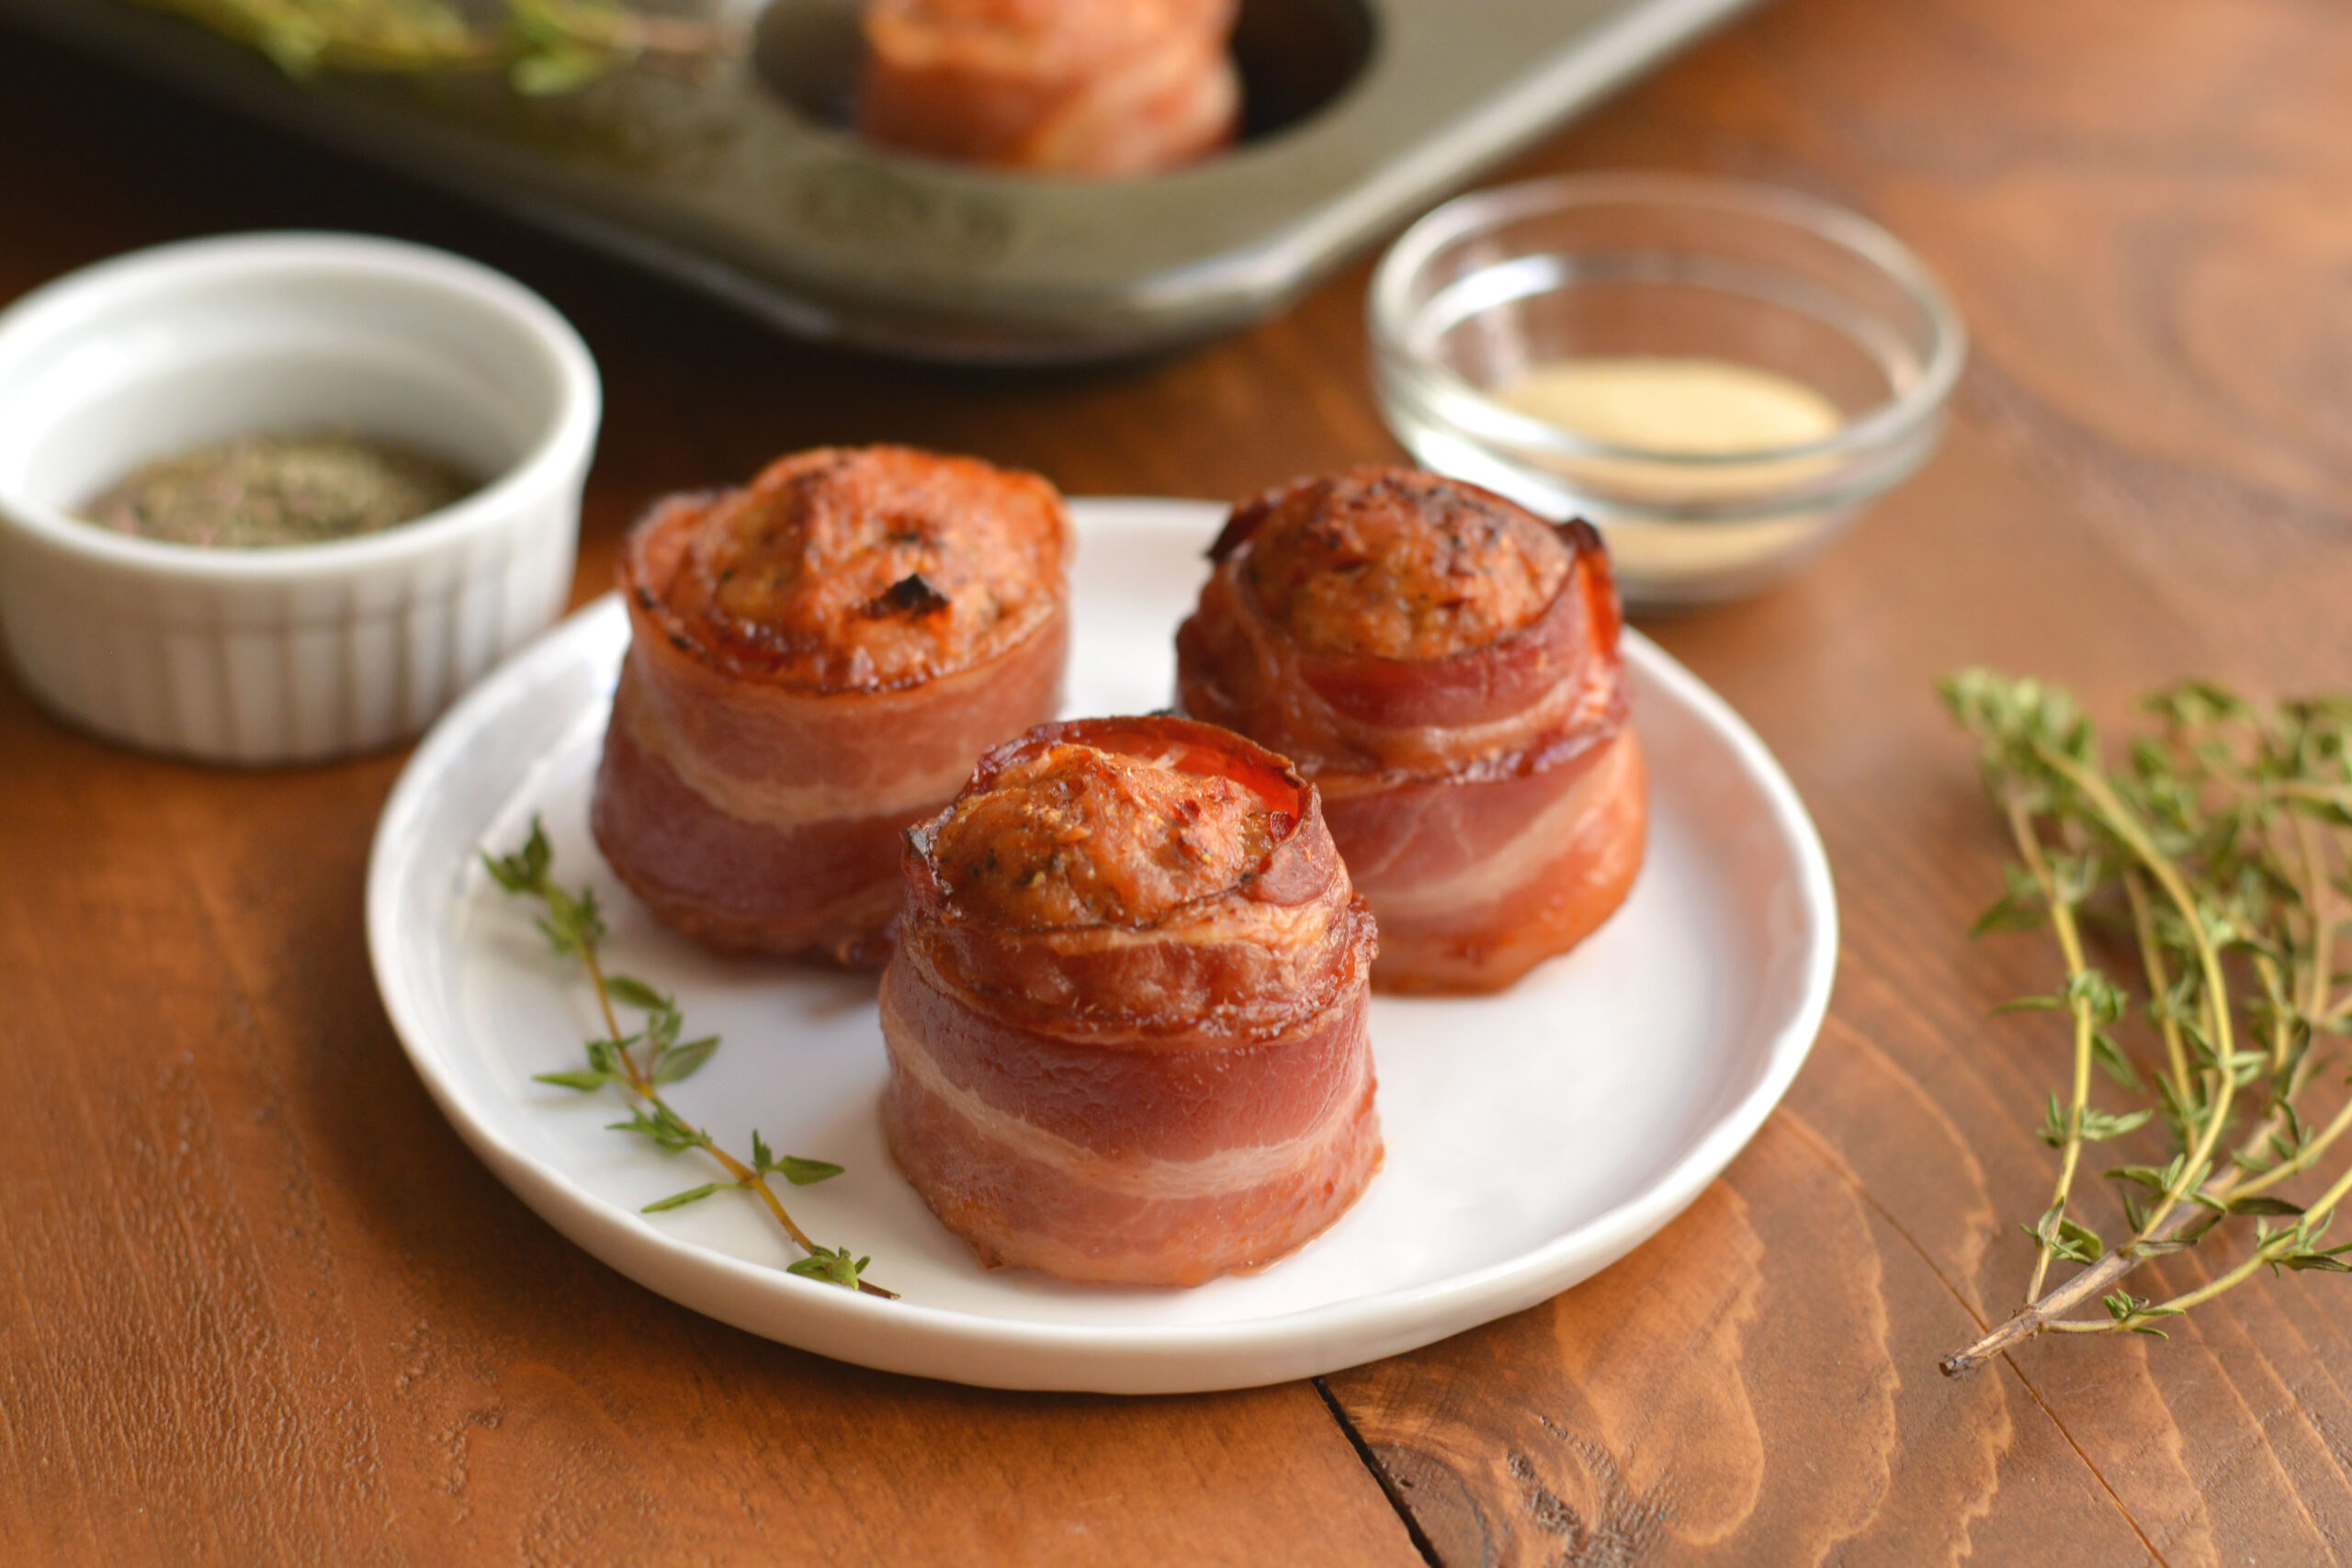
Keto Bacon Sausage Meatballs
-
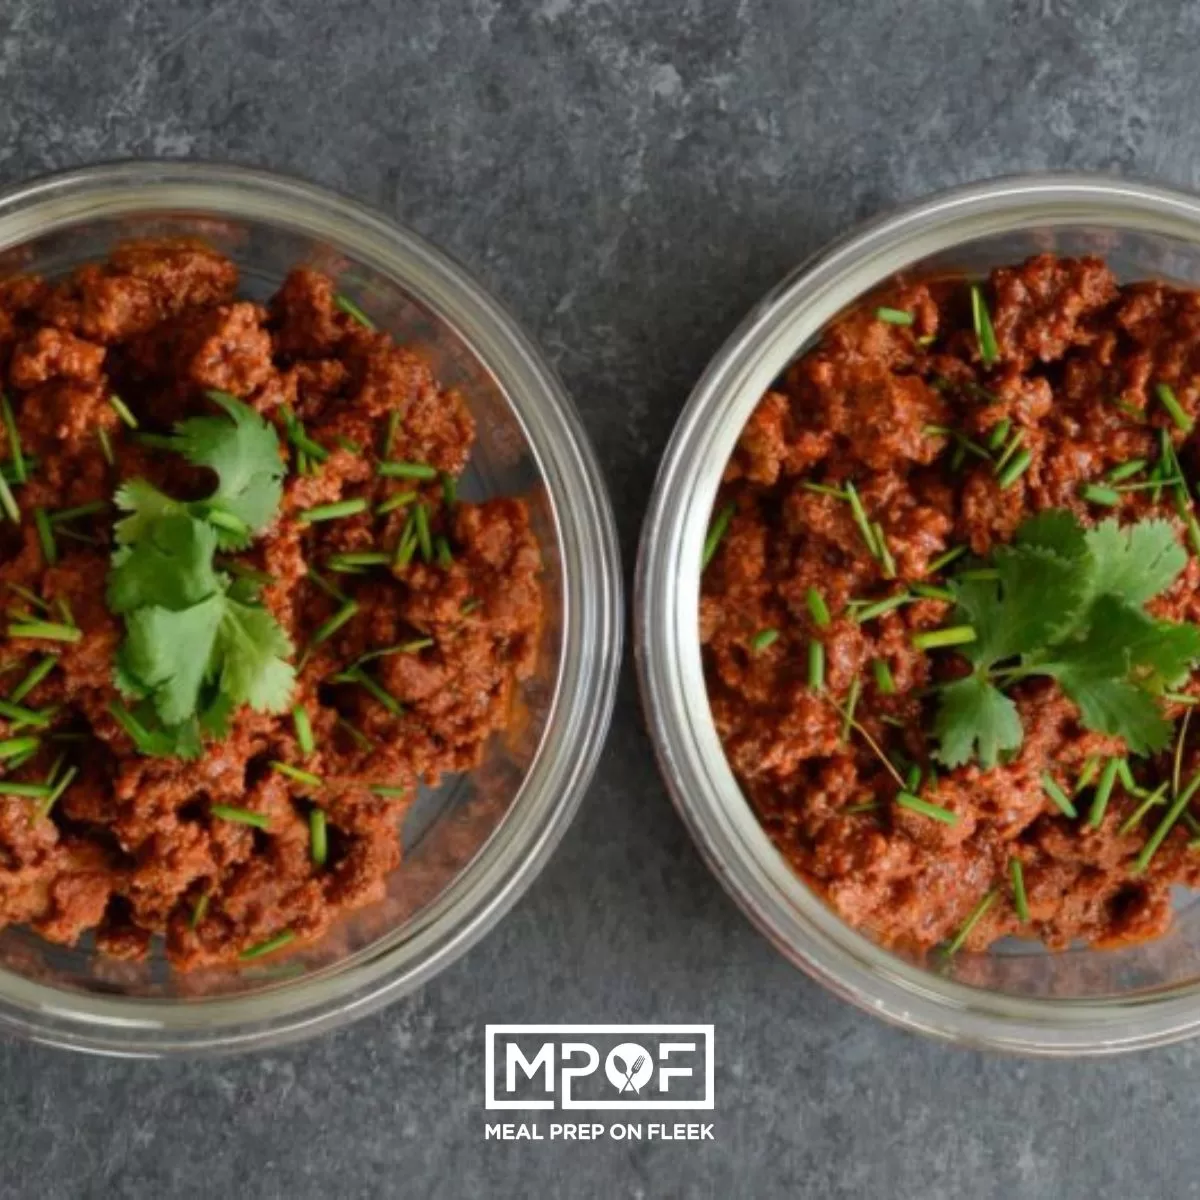
10 Minute Chili Meal Prep
-
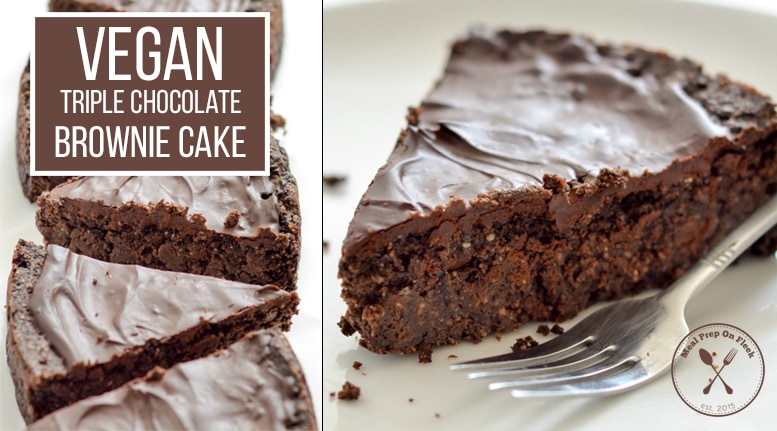
Vegan Triple Chocolate Brownie Cake
-
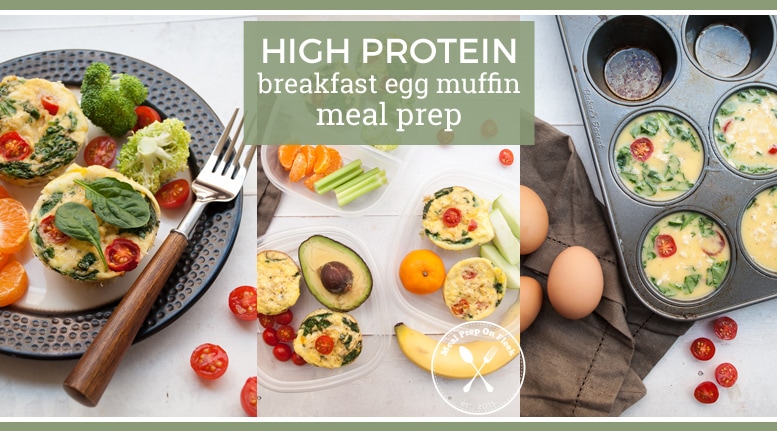
High Protein Breakfast Egg Muffin Meal Prep
-
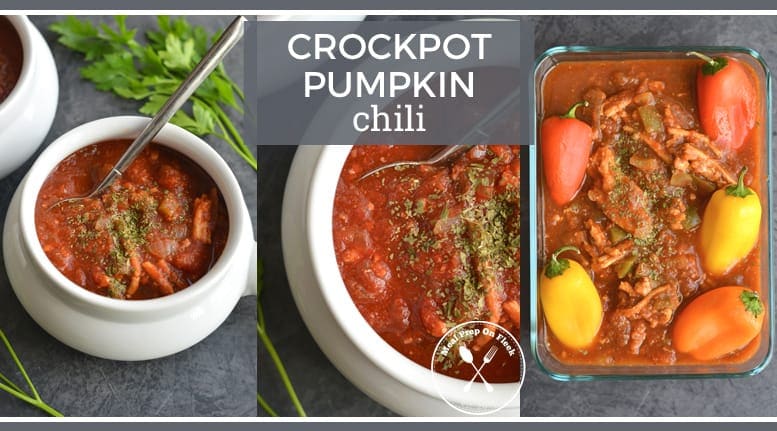
Crockpot Pumpkin Chili Meal Prep
-
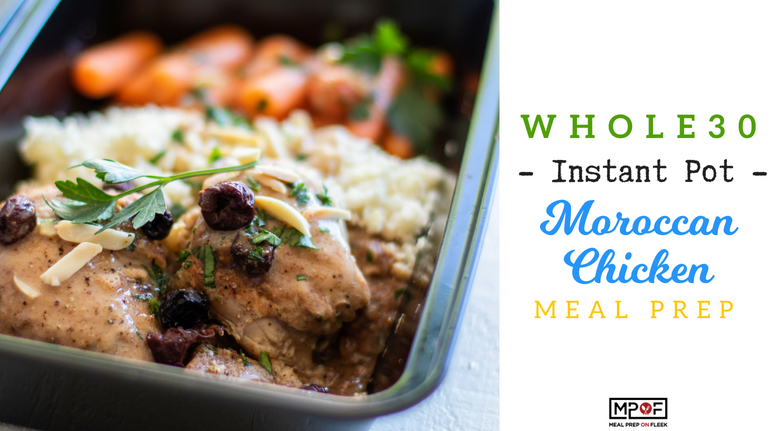
Instant Pot Moroccan Chicken Meal Prep
-
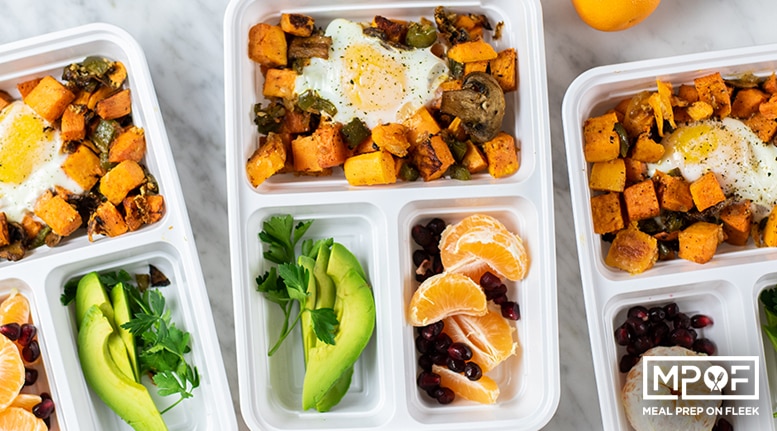
Sheet Pan Sweet Potato Breakfast Hash
-
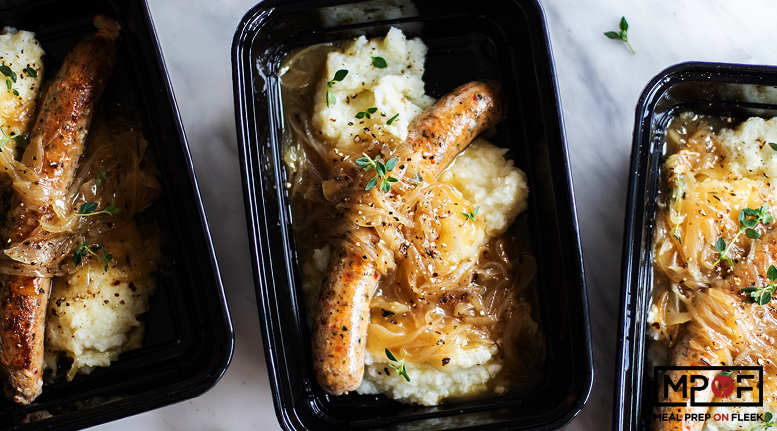
Sausage and Mashed Potato Meal Prep
-
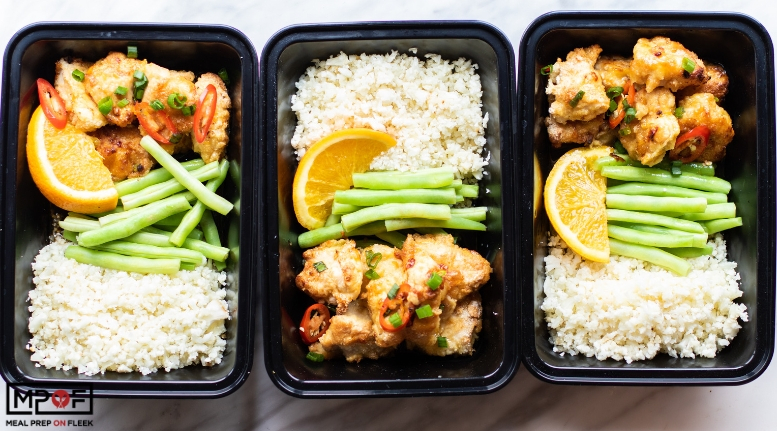
Orange Chicken Meal Prep
-
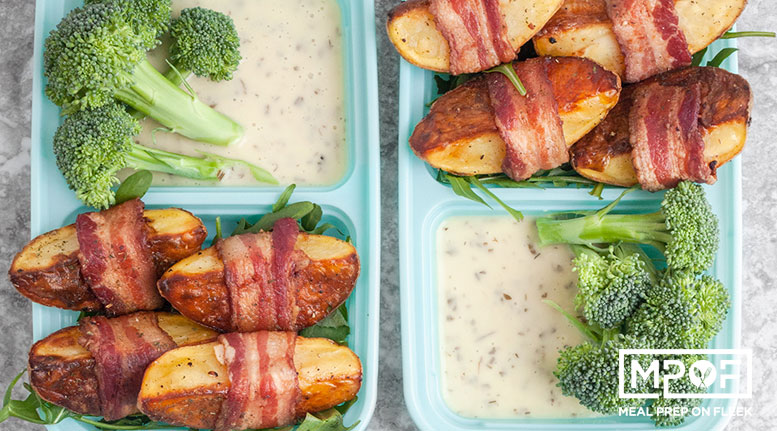
Bacon Wrapped Potato Wedges
-
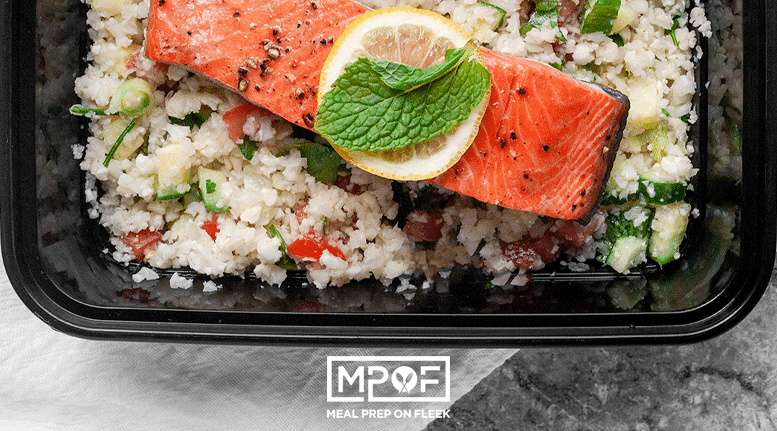
Cauliflower Tabouli and Salmon Meal Prep
-
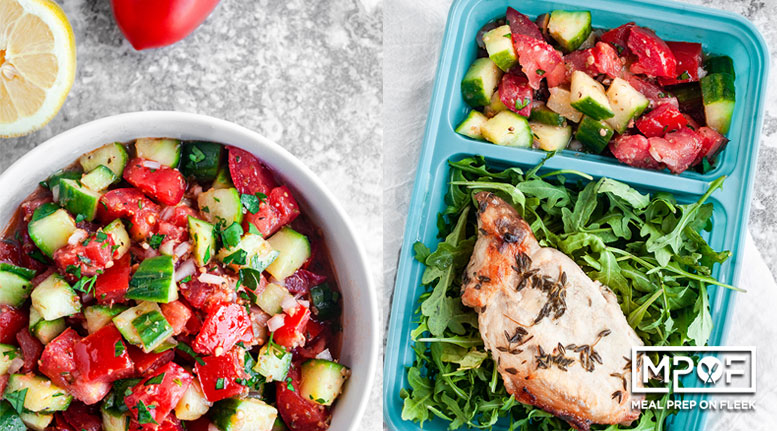
Sheet Pan Thyme Pork Chops and Marinated Salad
-
Coconut Sugar Sriracha Shrimp Meal Prep
-
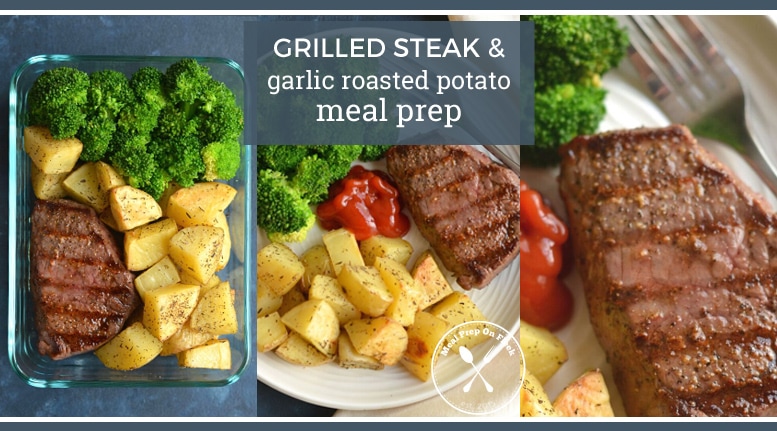
Grilled Steak and Garlic Roasted Potato Meal Prep
-
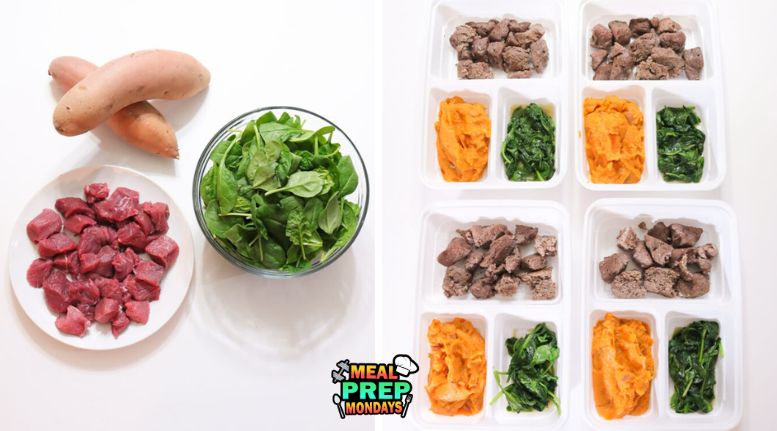
Steak, Spinach, Mashed Sweet Potatoes
-
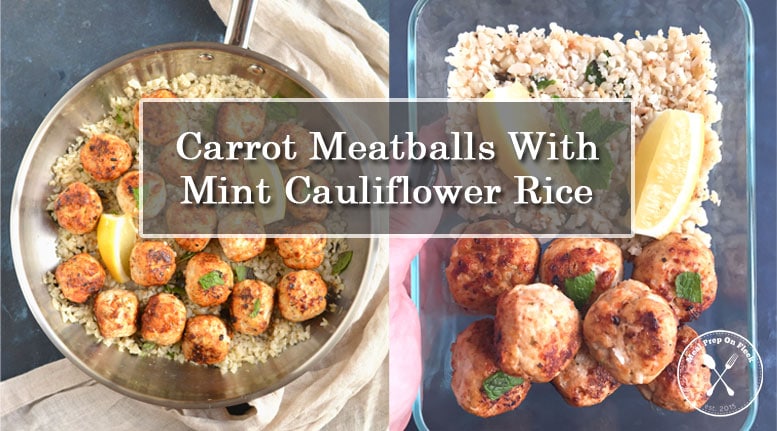
Carrot Meatballs With Mint Cauliflower Rice
-
Slow Cooker Lemon Garlic Chicken Meal Prep
-
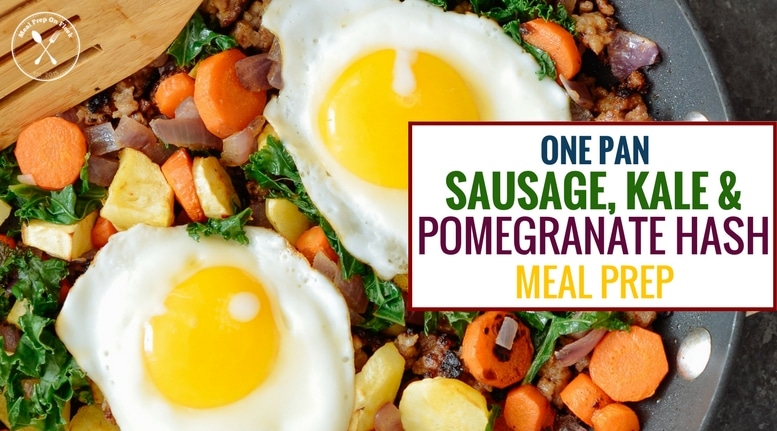
Sausage, Kale & Pomegranate Hash Meal Prep
-
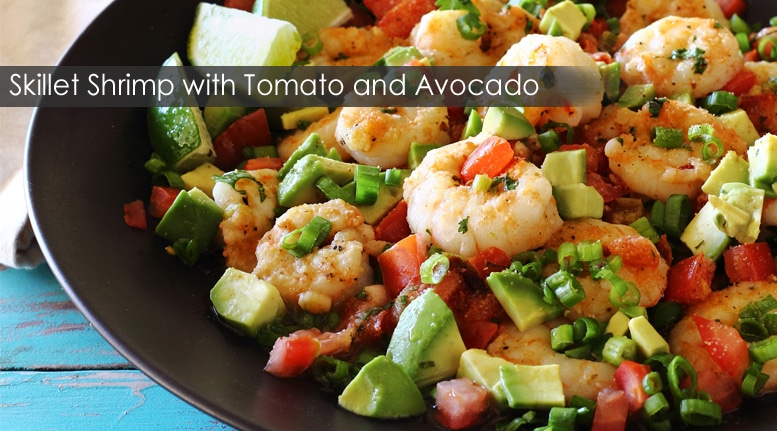
Skillet Shrimp with Tomato and Avocado
-
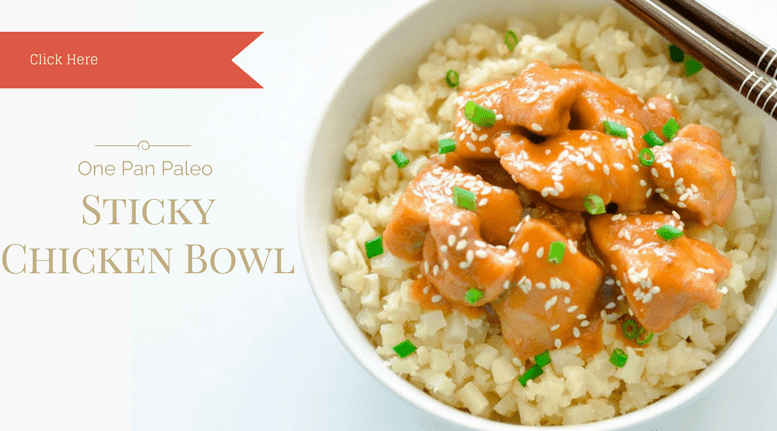
One Pan Paleo Sticky Sesame Chicken Thighs
-
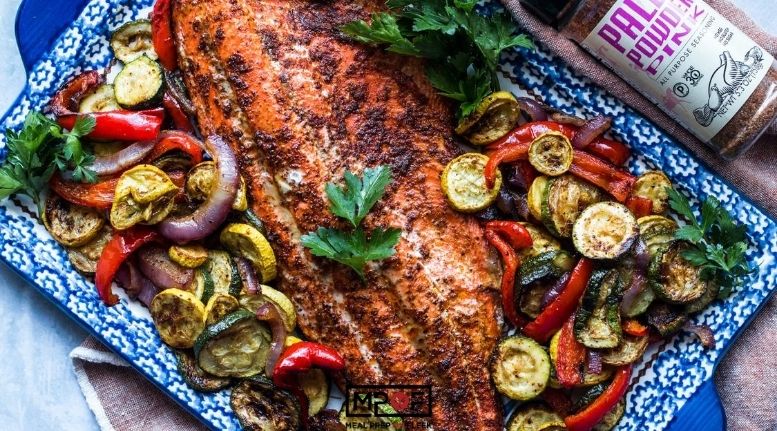
Sheet Pan Salmon and Veggies Meal Prep
-
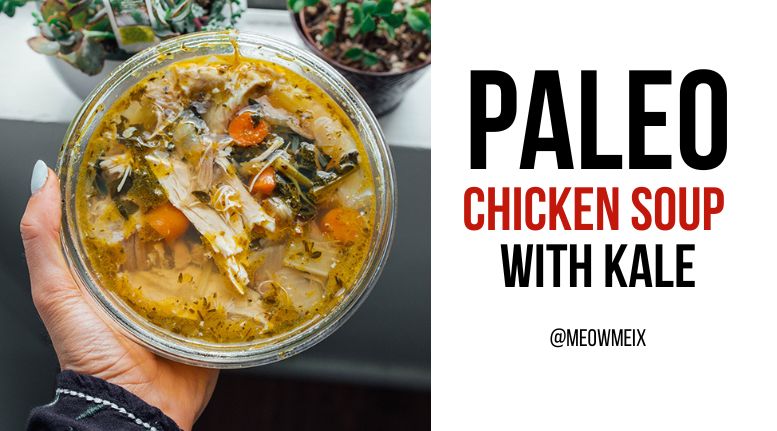
Paleo Chicken Soup with Kale
-
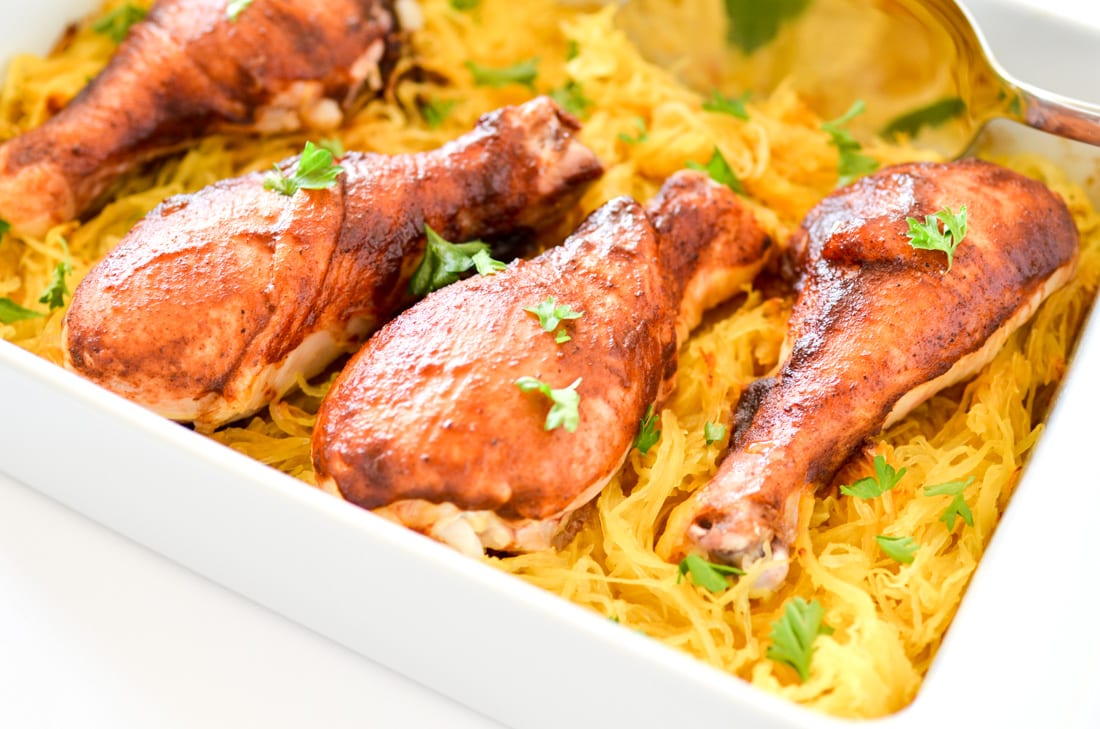
One Dish Spaghetti Squash & Spicy BBQ Chicken Drumsticks
-
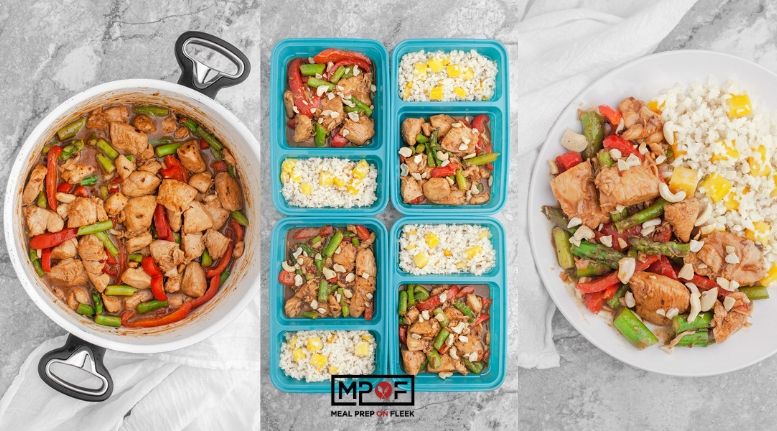
Stir Fry Chicken and Veggies
-
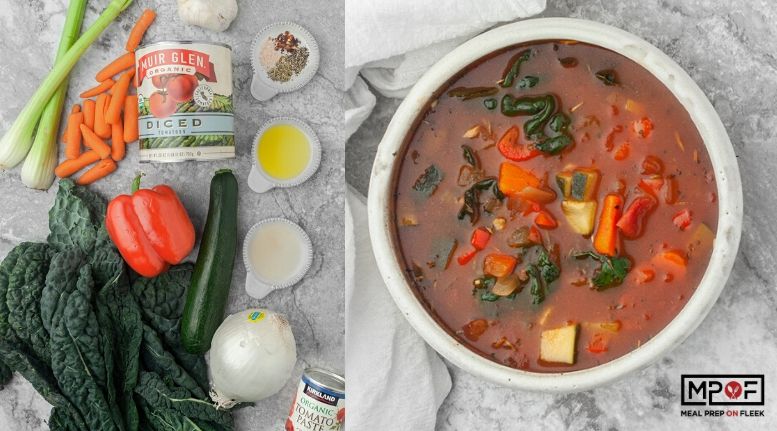
Instant Pot Minestrone Soup
-
Air Fryer Breakfast Sausage
-
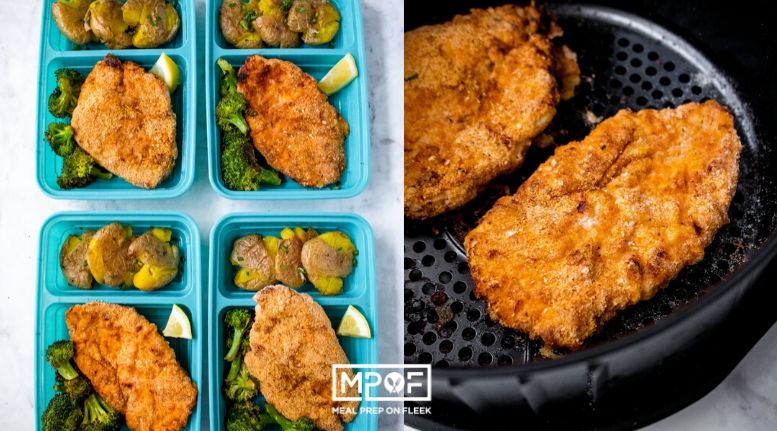
Air Fried Chicken Schnitzel
-
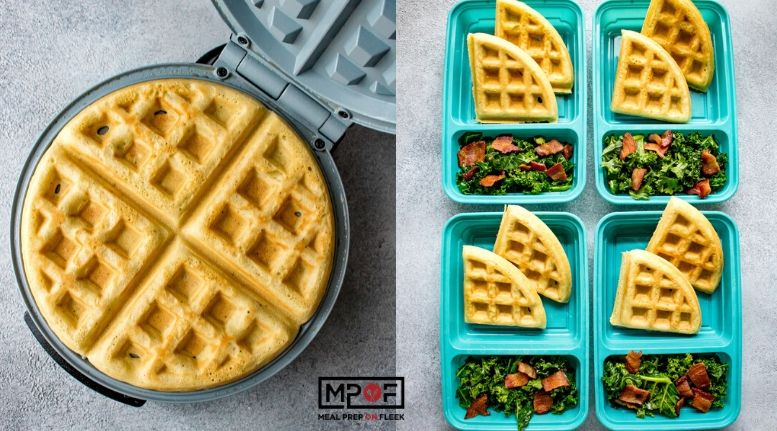
Savory Waffles with Kale and Bacon
-
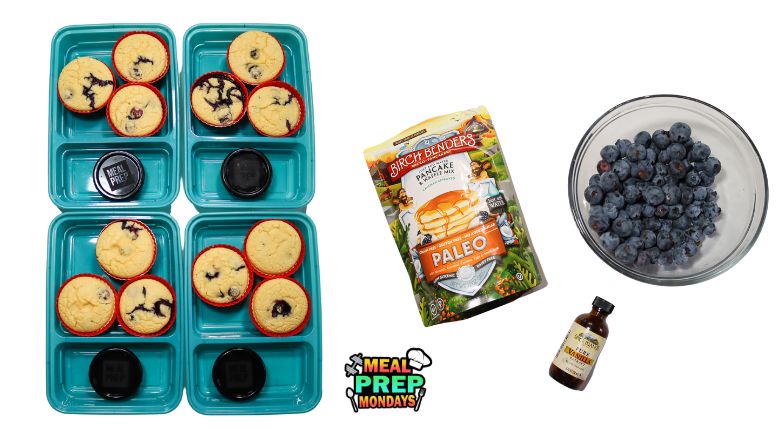
The Best Paleo Blueberry Muffins
-
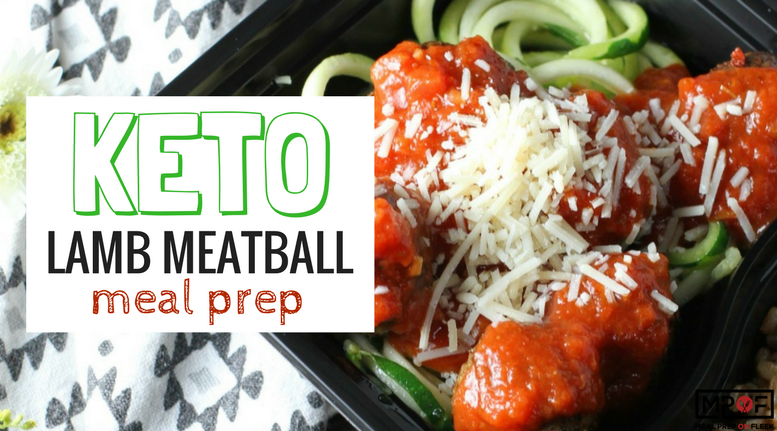
Keto Lamb Meatball Meal Prep
-
Sheet Pan Pork Tenderloin Meal Prep
-
Low Carb Pizza Meal Prep Recipe
-
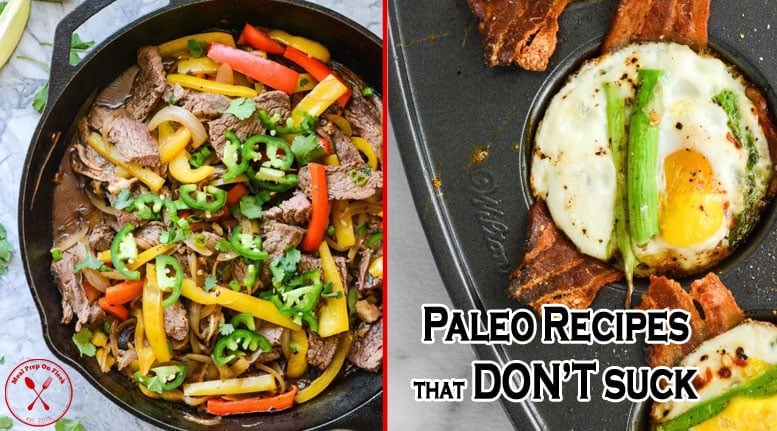
Paleo Recipes That Don't Suck
-
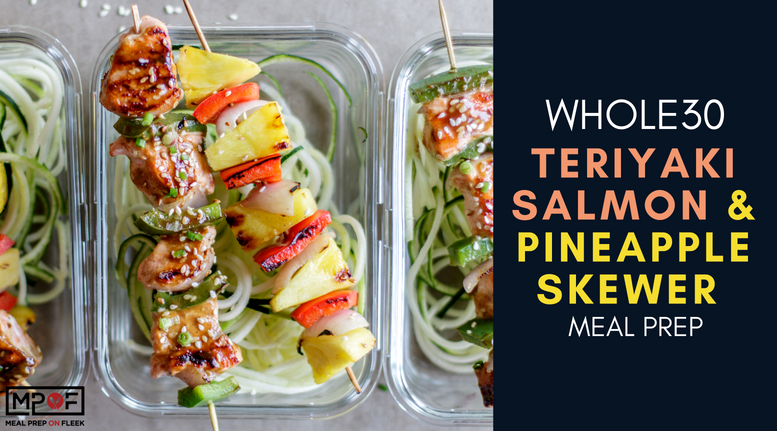
Teriyaki Salmon & Pineapple Skewer Meal Prep
-
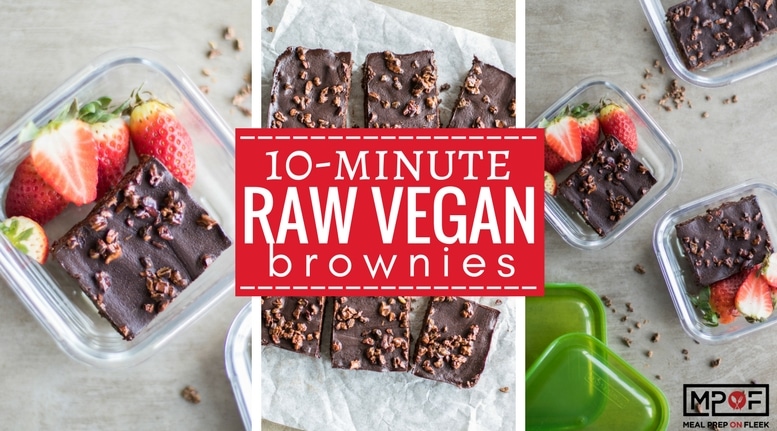
10 Minute Raw Vegan Brownies