Calorie-Conscious Meals
-
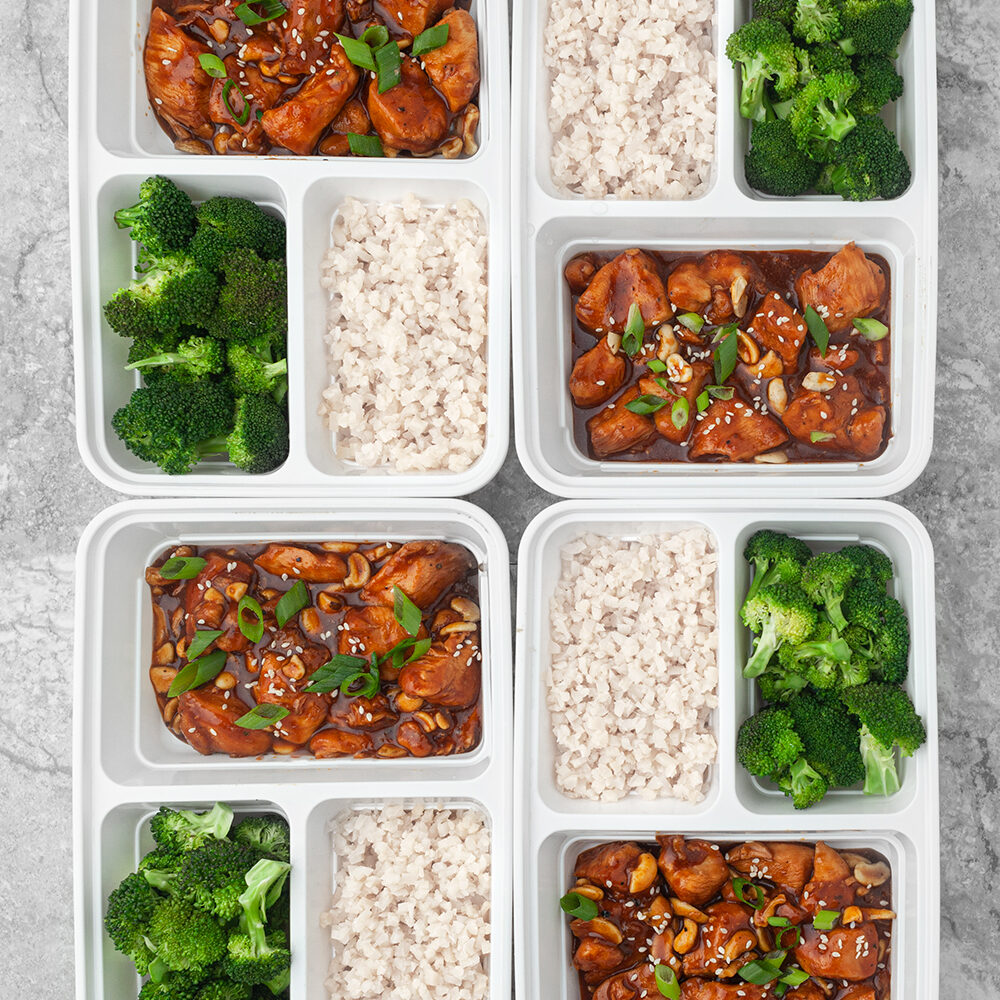
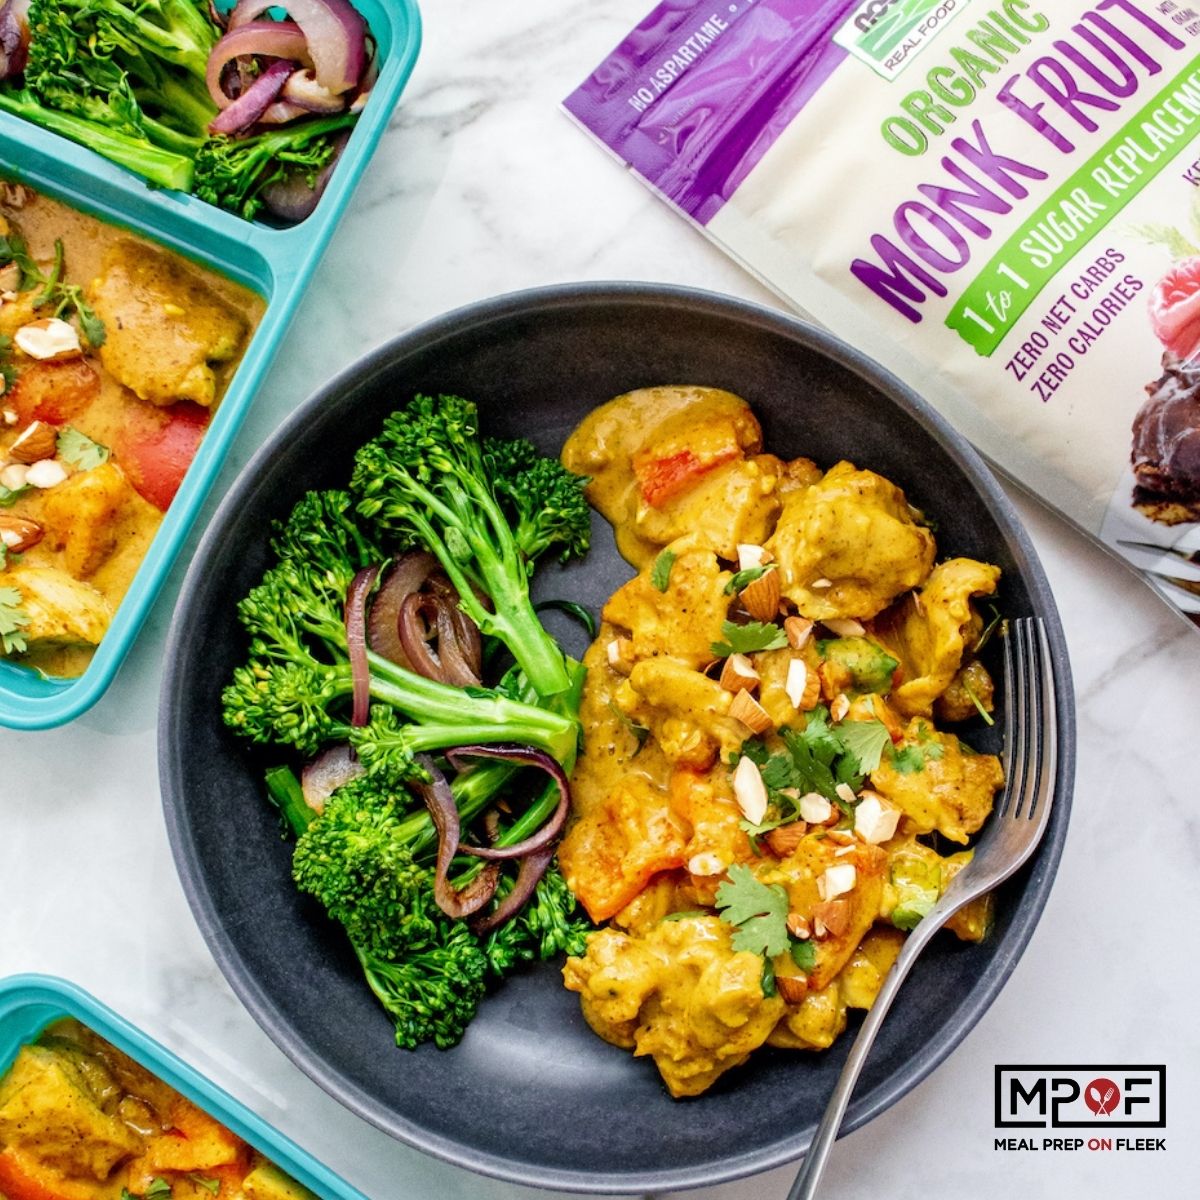
Instant Pot Cashew Chicken (Gluten-Free, Paleo, Whole30)
-
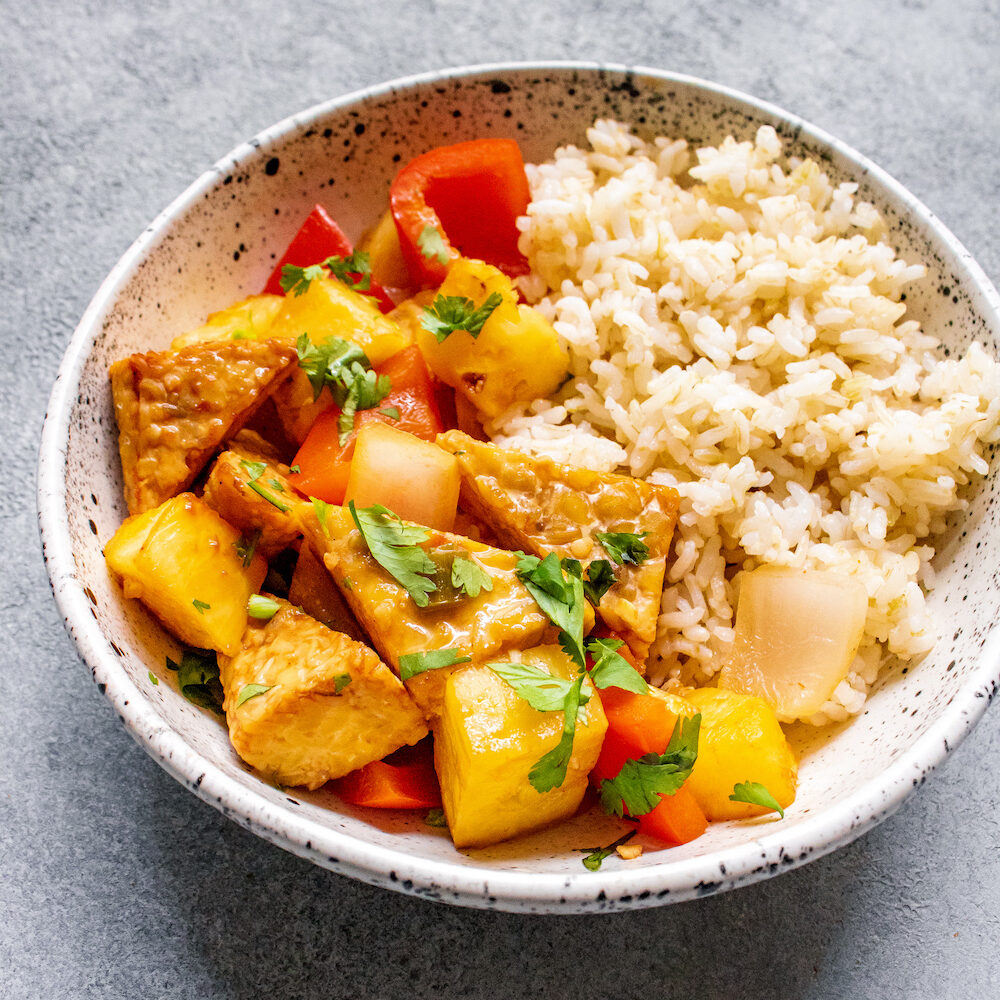
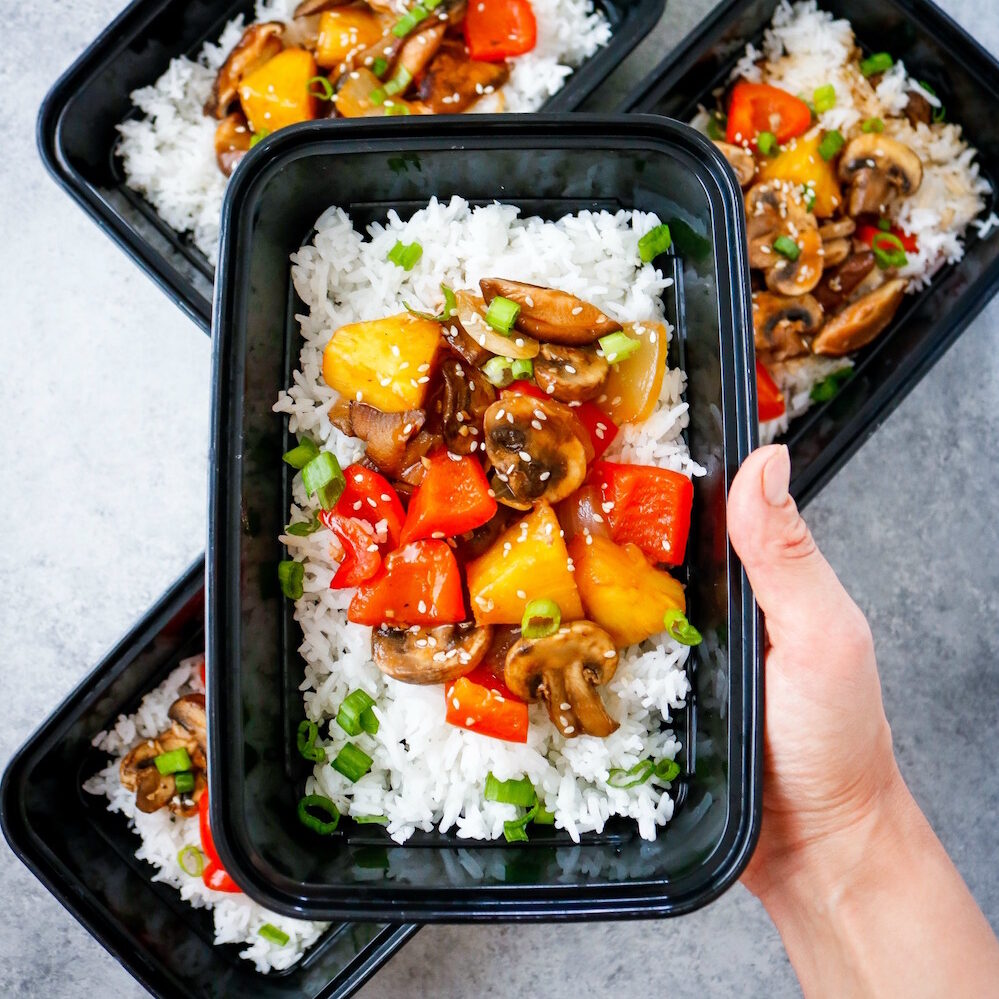
Freeze Friendly Sheet Pan Sweet and Sour Tempeh
-
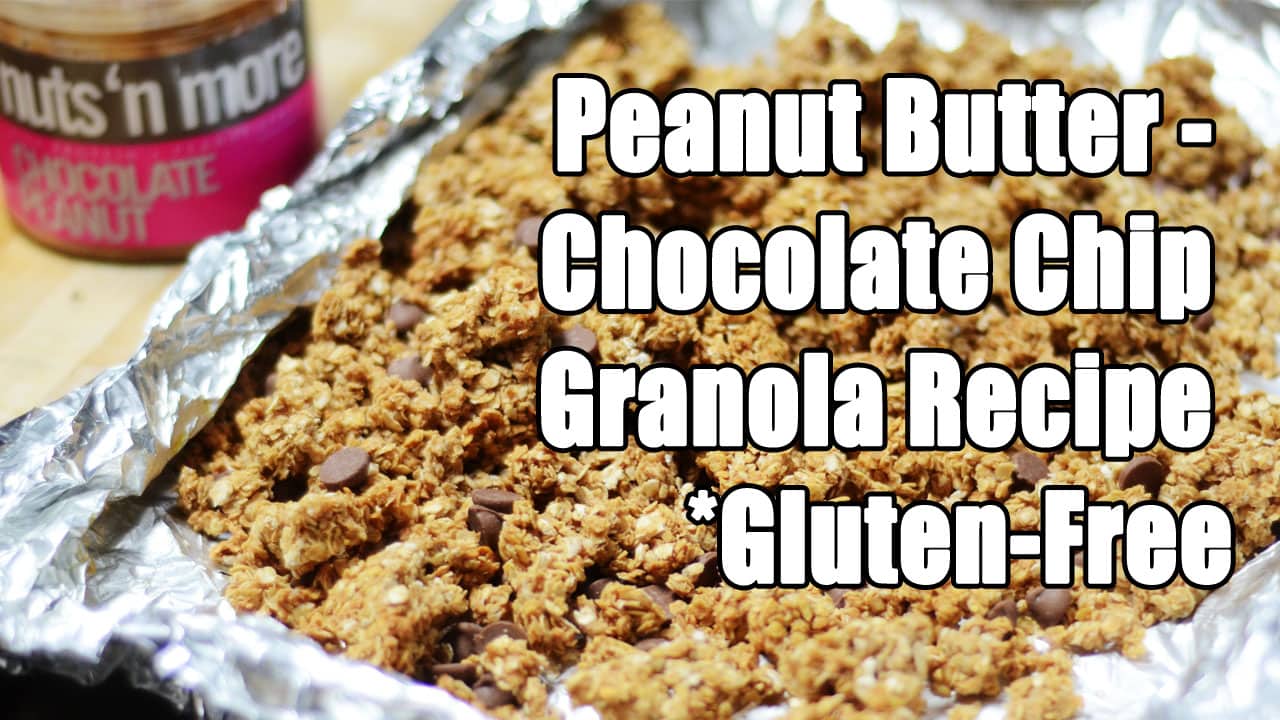
Peanut Butter - Chocolate Chip Granola Recipe - Gluten-Free - Healthy Snack Ideas
-
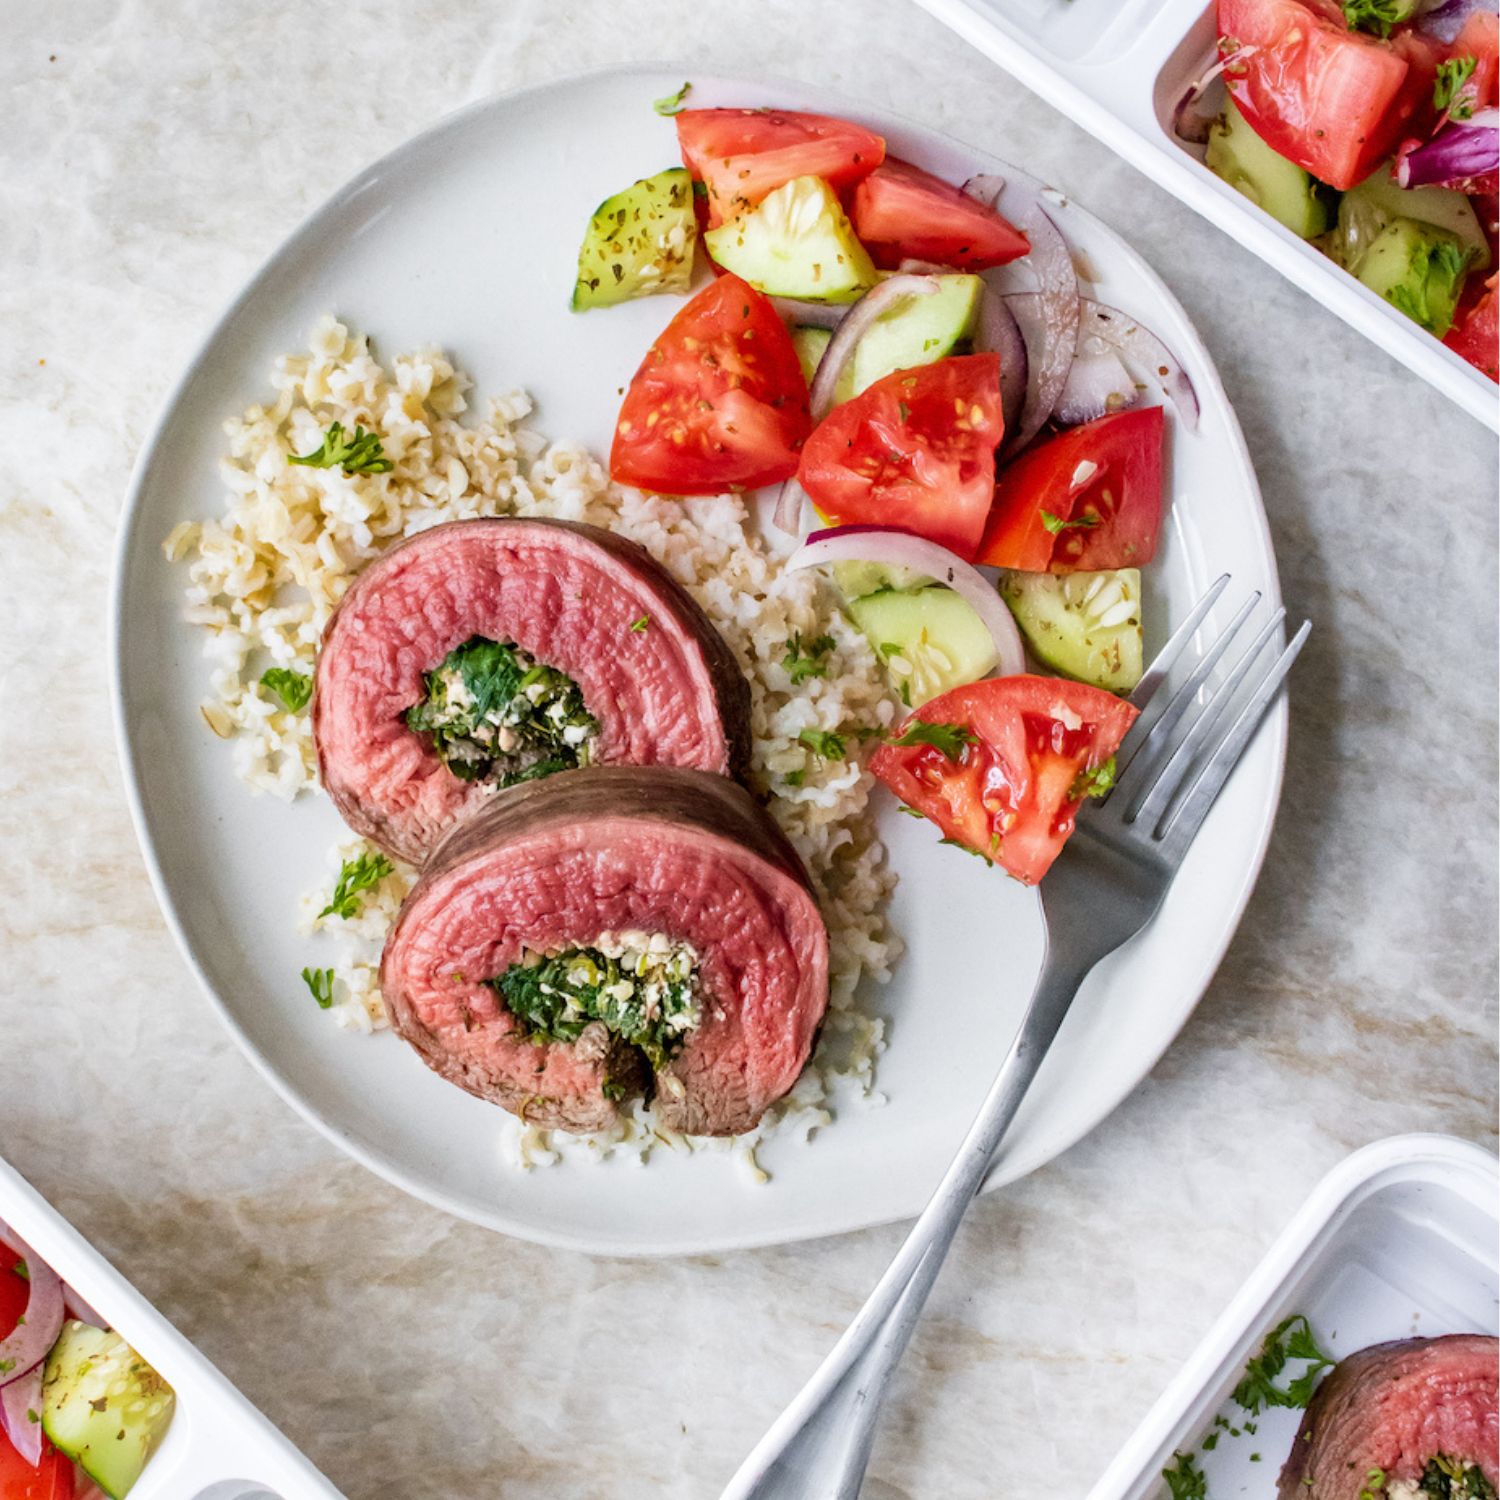
Watercress and Feta Stuffed Flank Steak
-
Savory Almond Butter Chicken Thigh Skillet
-
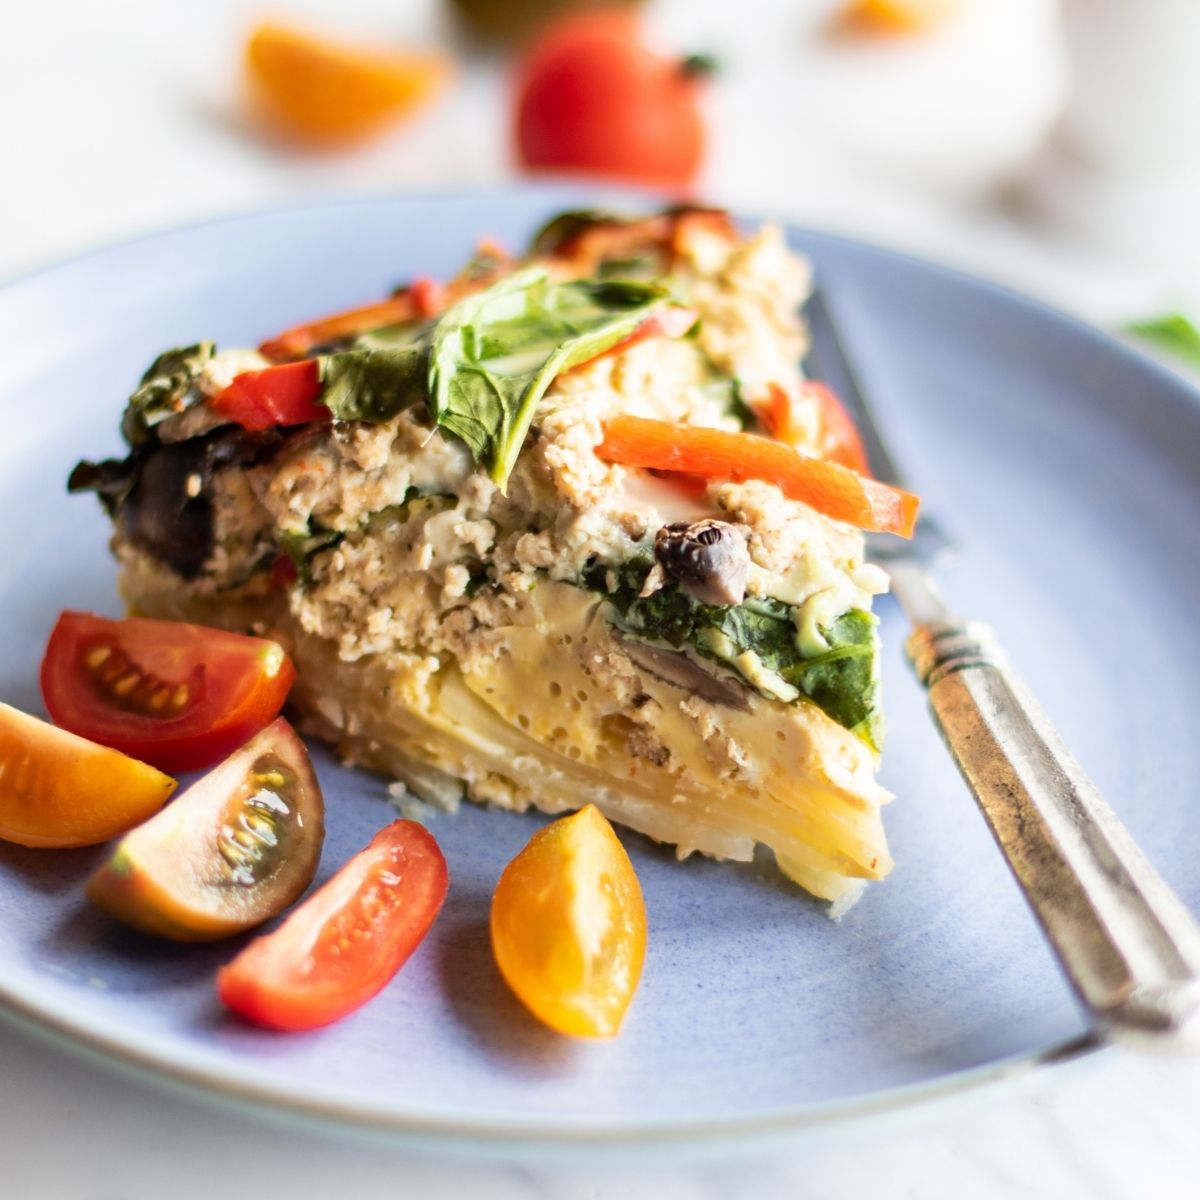
Crockpot Breakfast Casserole
-
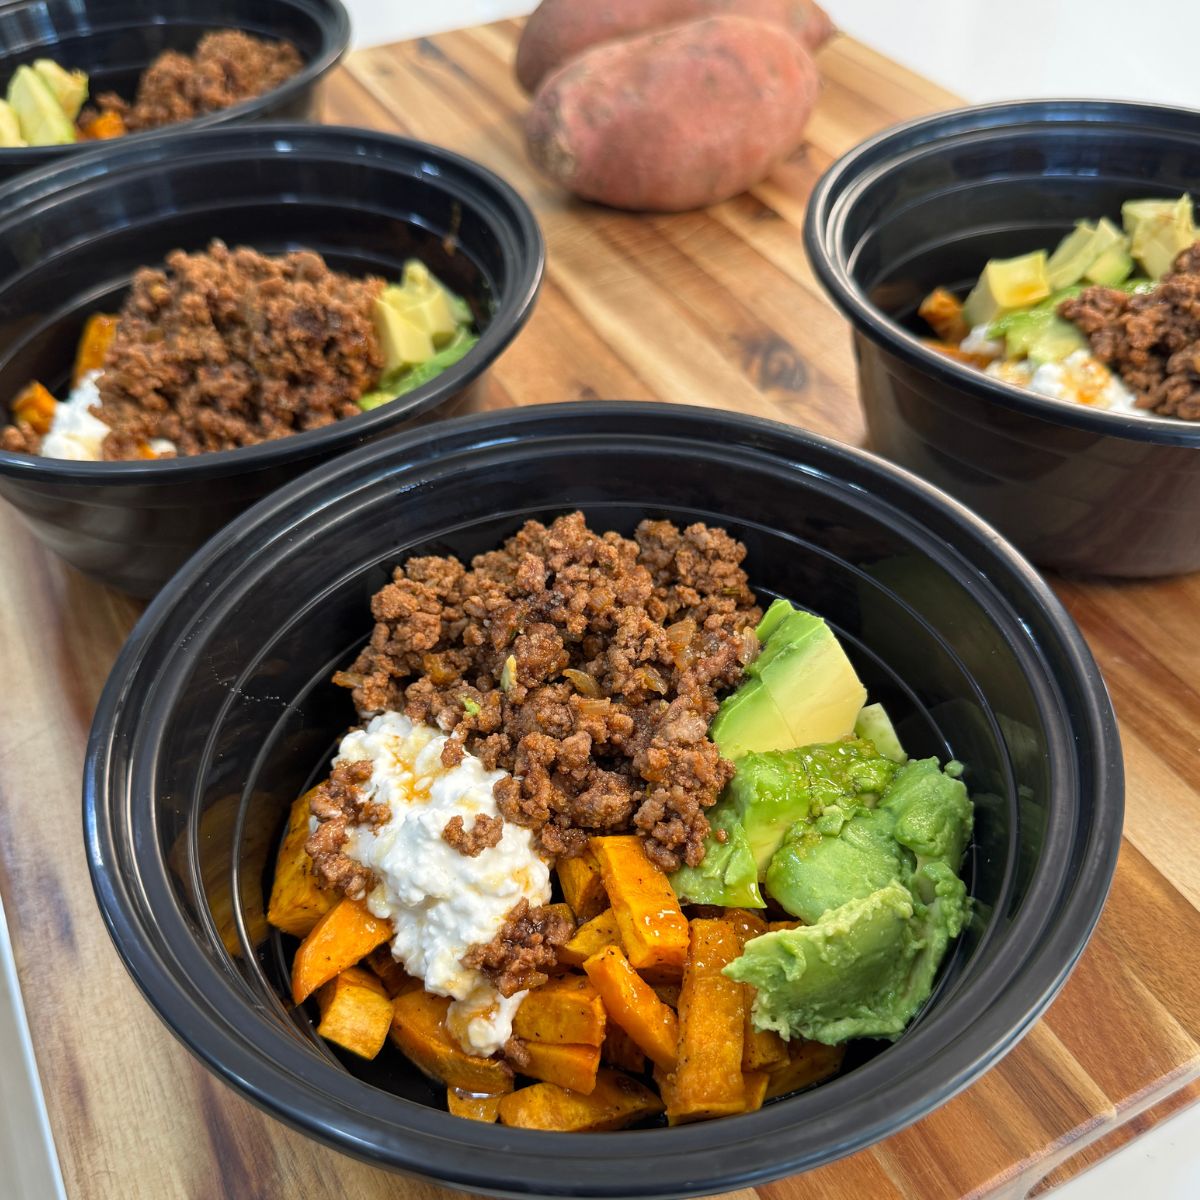
Hot Honey Ground Beef and Sweet Potato Bowls
-
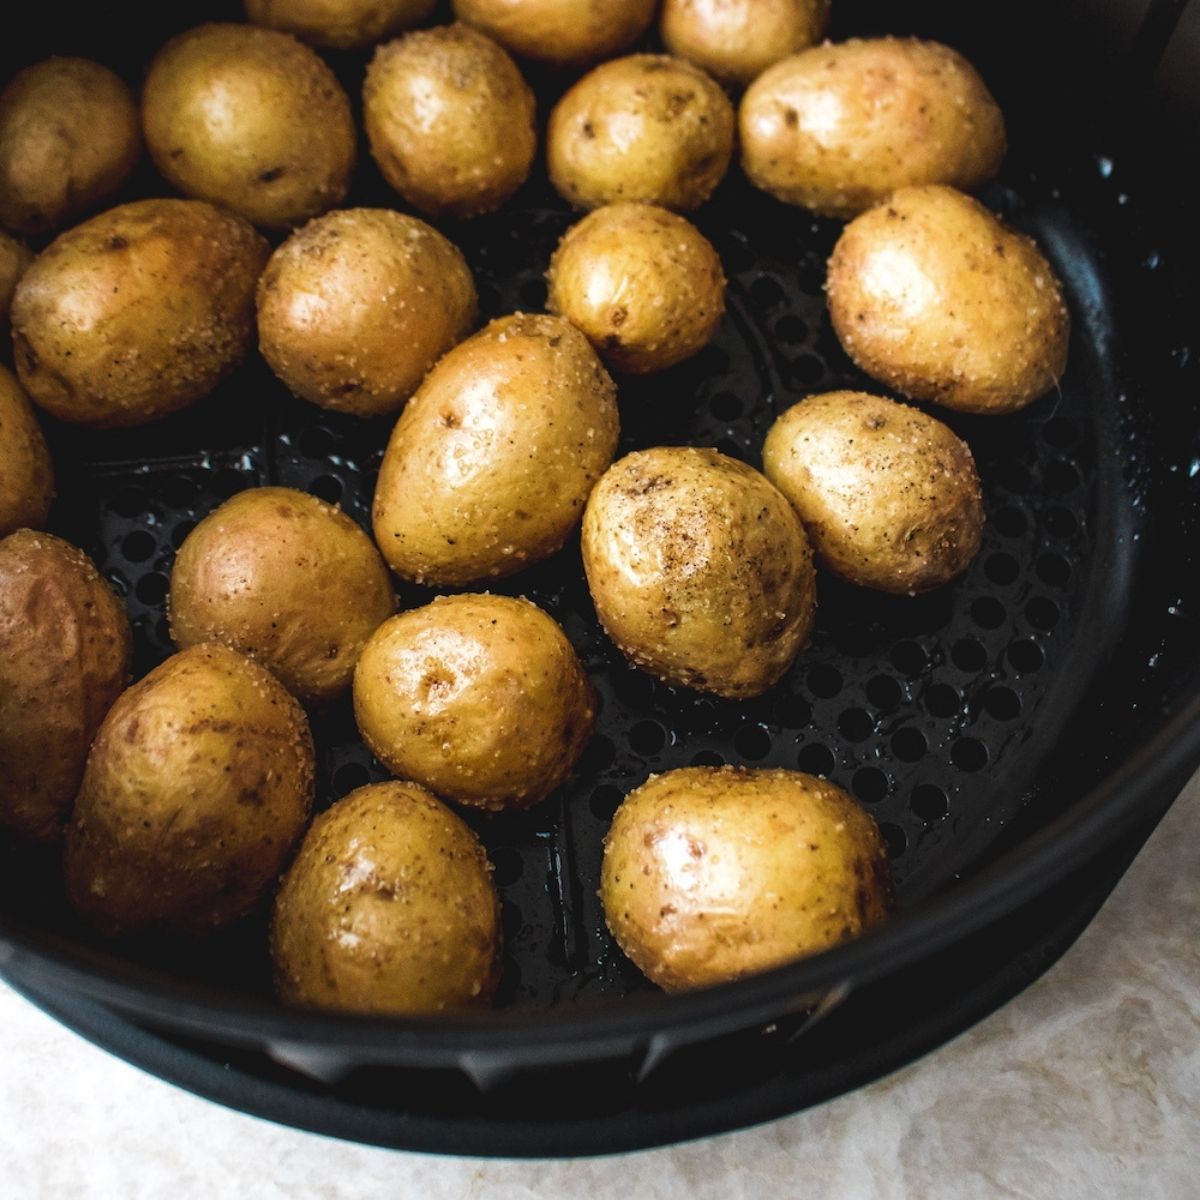
Air Fryer Baby Potatoes
-
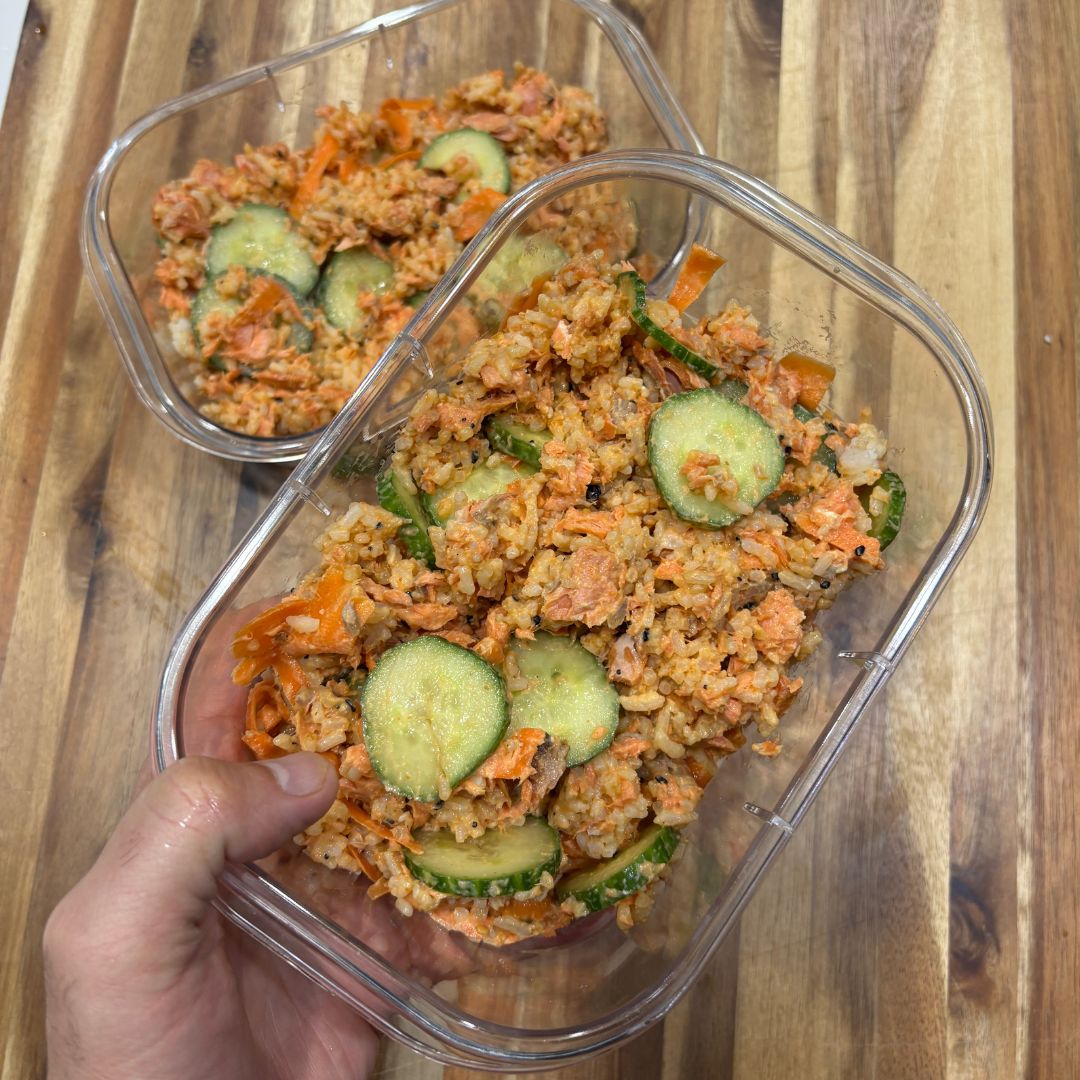
Grilled Spicy Salmon Rice Bowl (15-Minute Meal Prep)
-
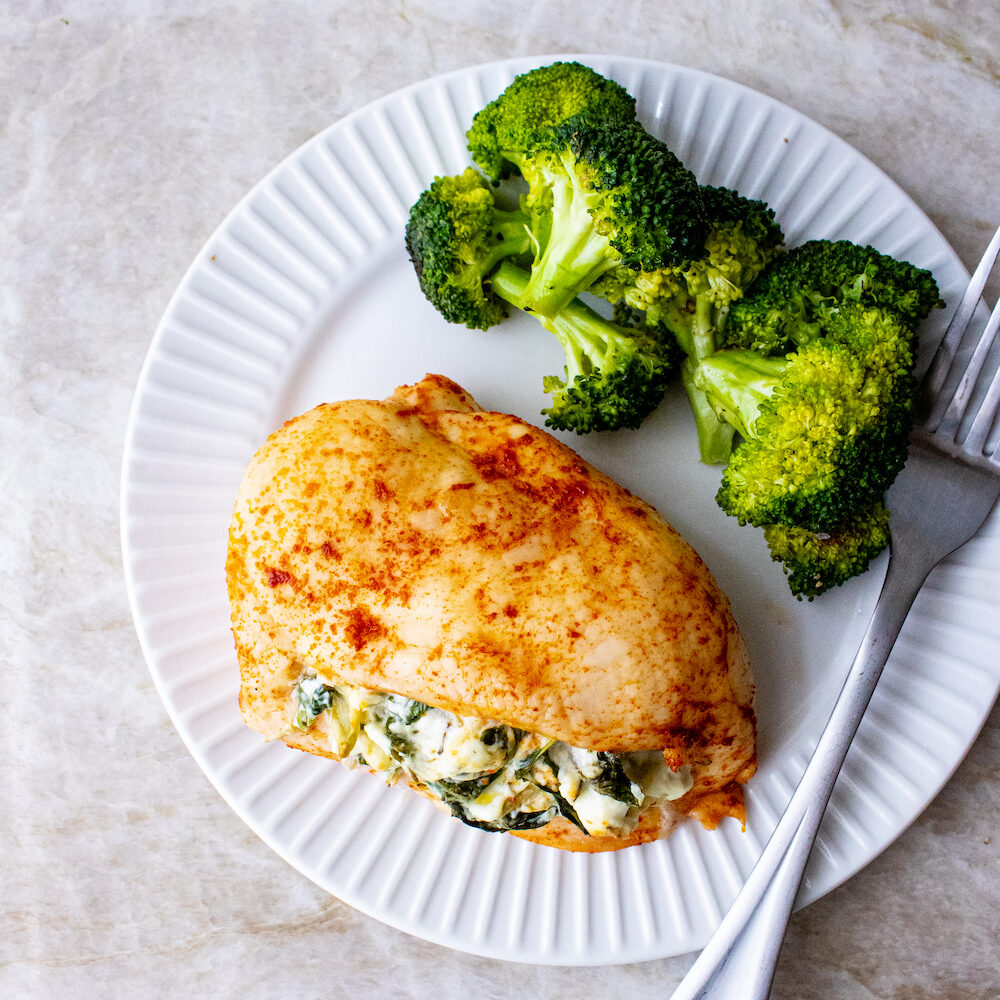
Watercress and Artichoke Stuffed Chicken Breasts
-
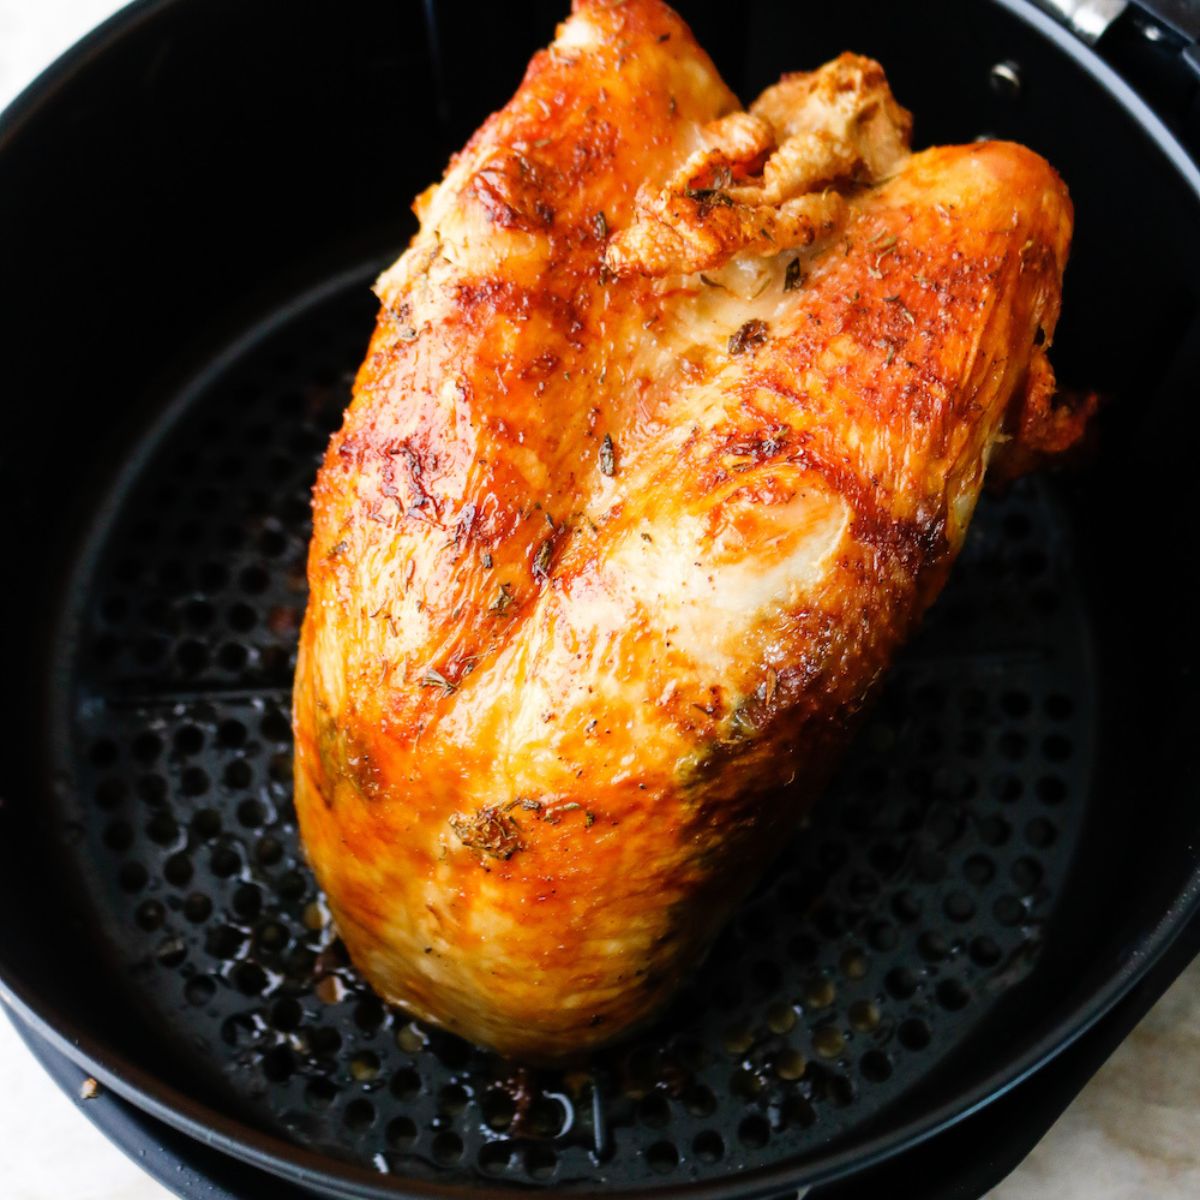
The Perfect Air Fryer Turkey Breast
-
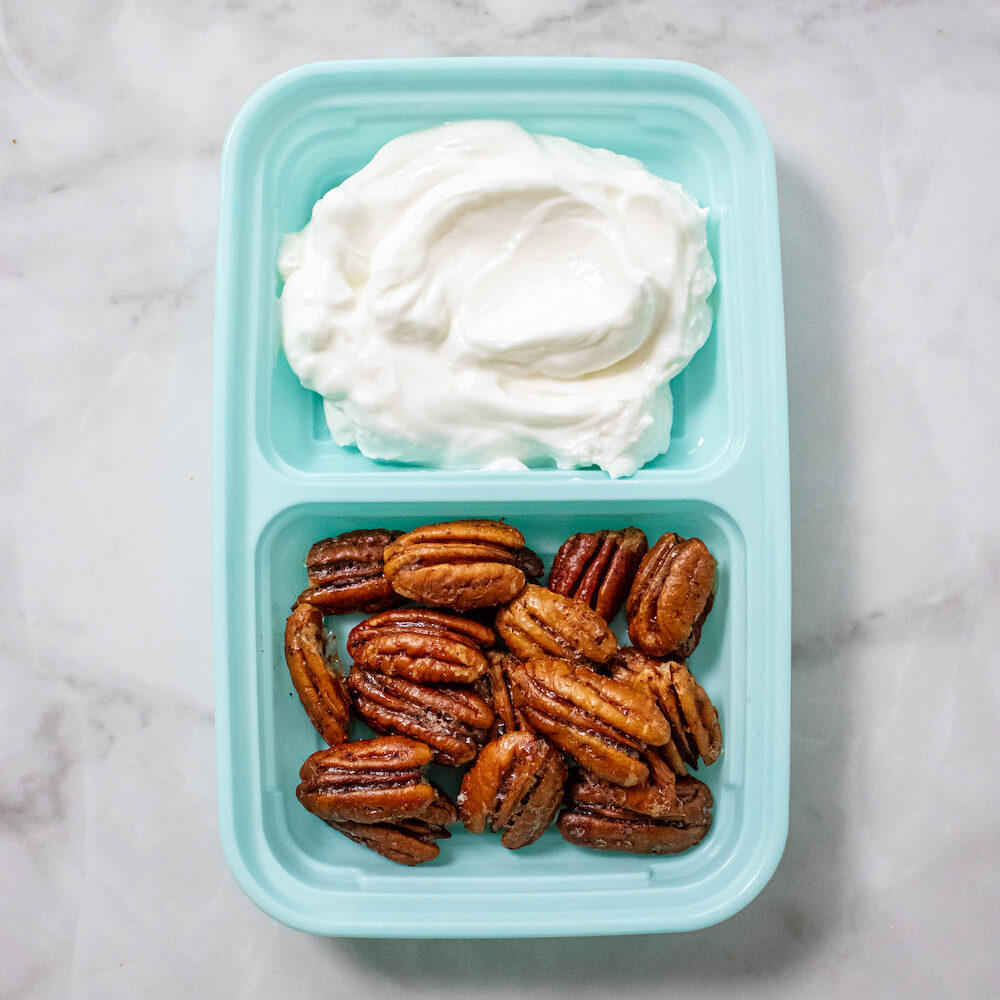
How to Make Candied Pecans for a Holiday Snack
-
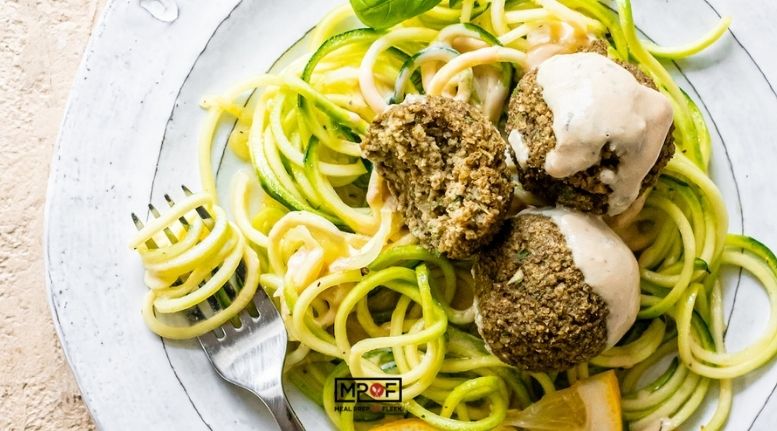
Vegan Meatballs with Lemon Dijon Sauce
-
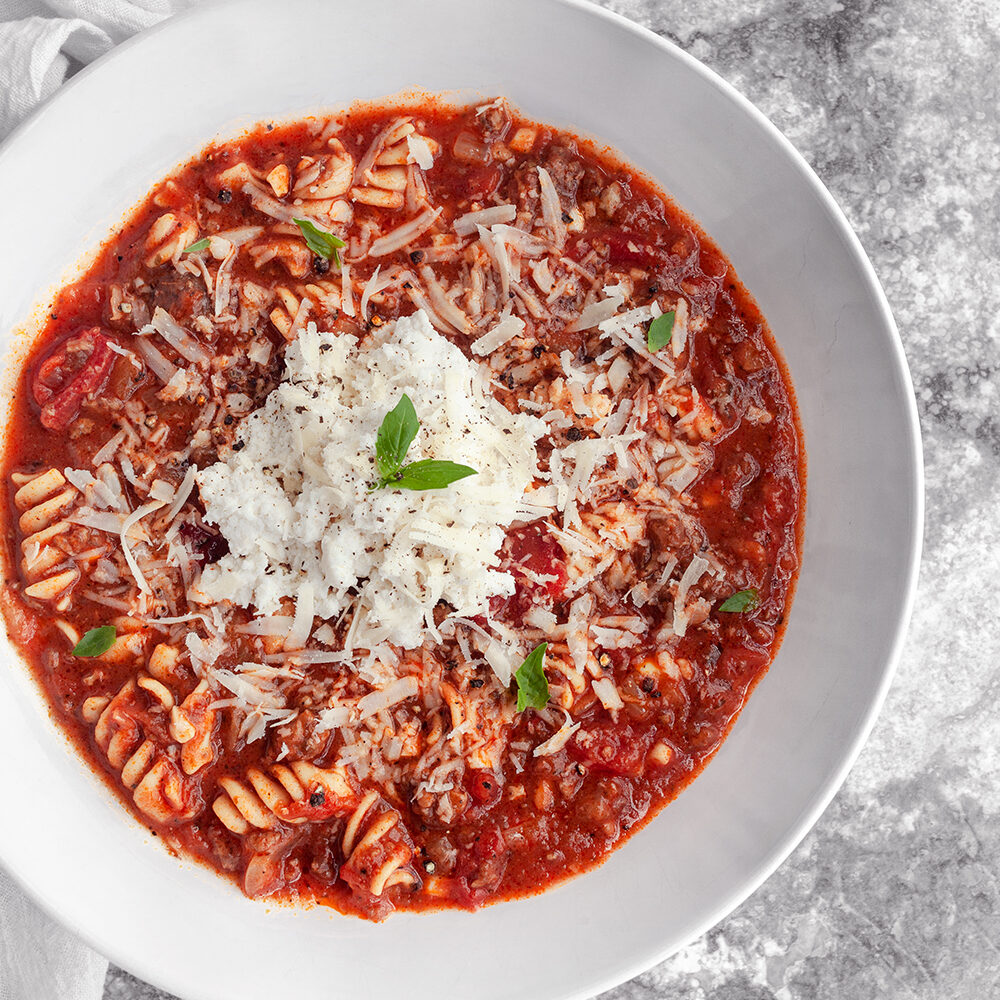
Vegan Lasagna Soup
-
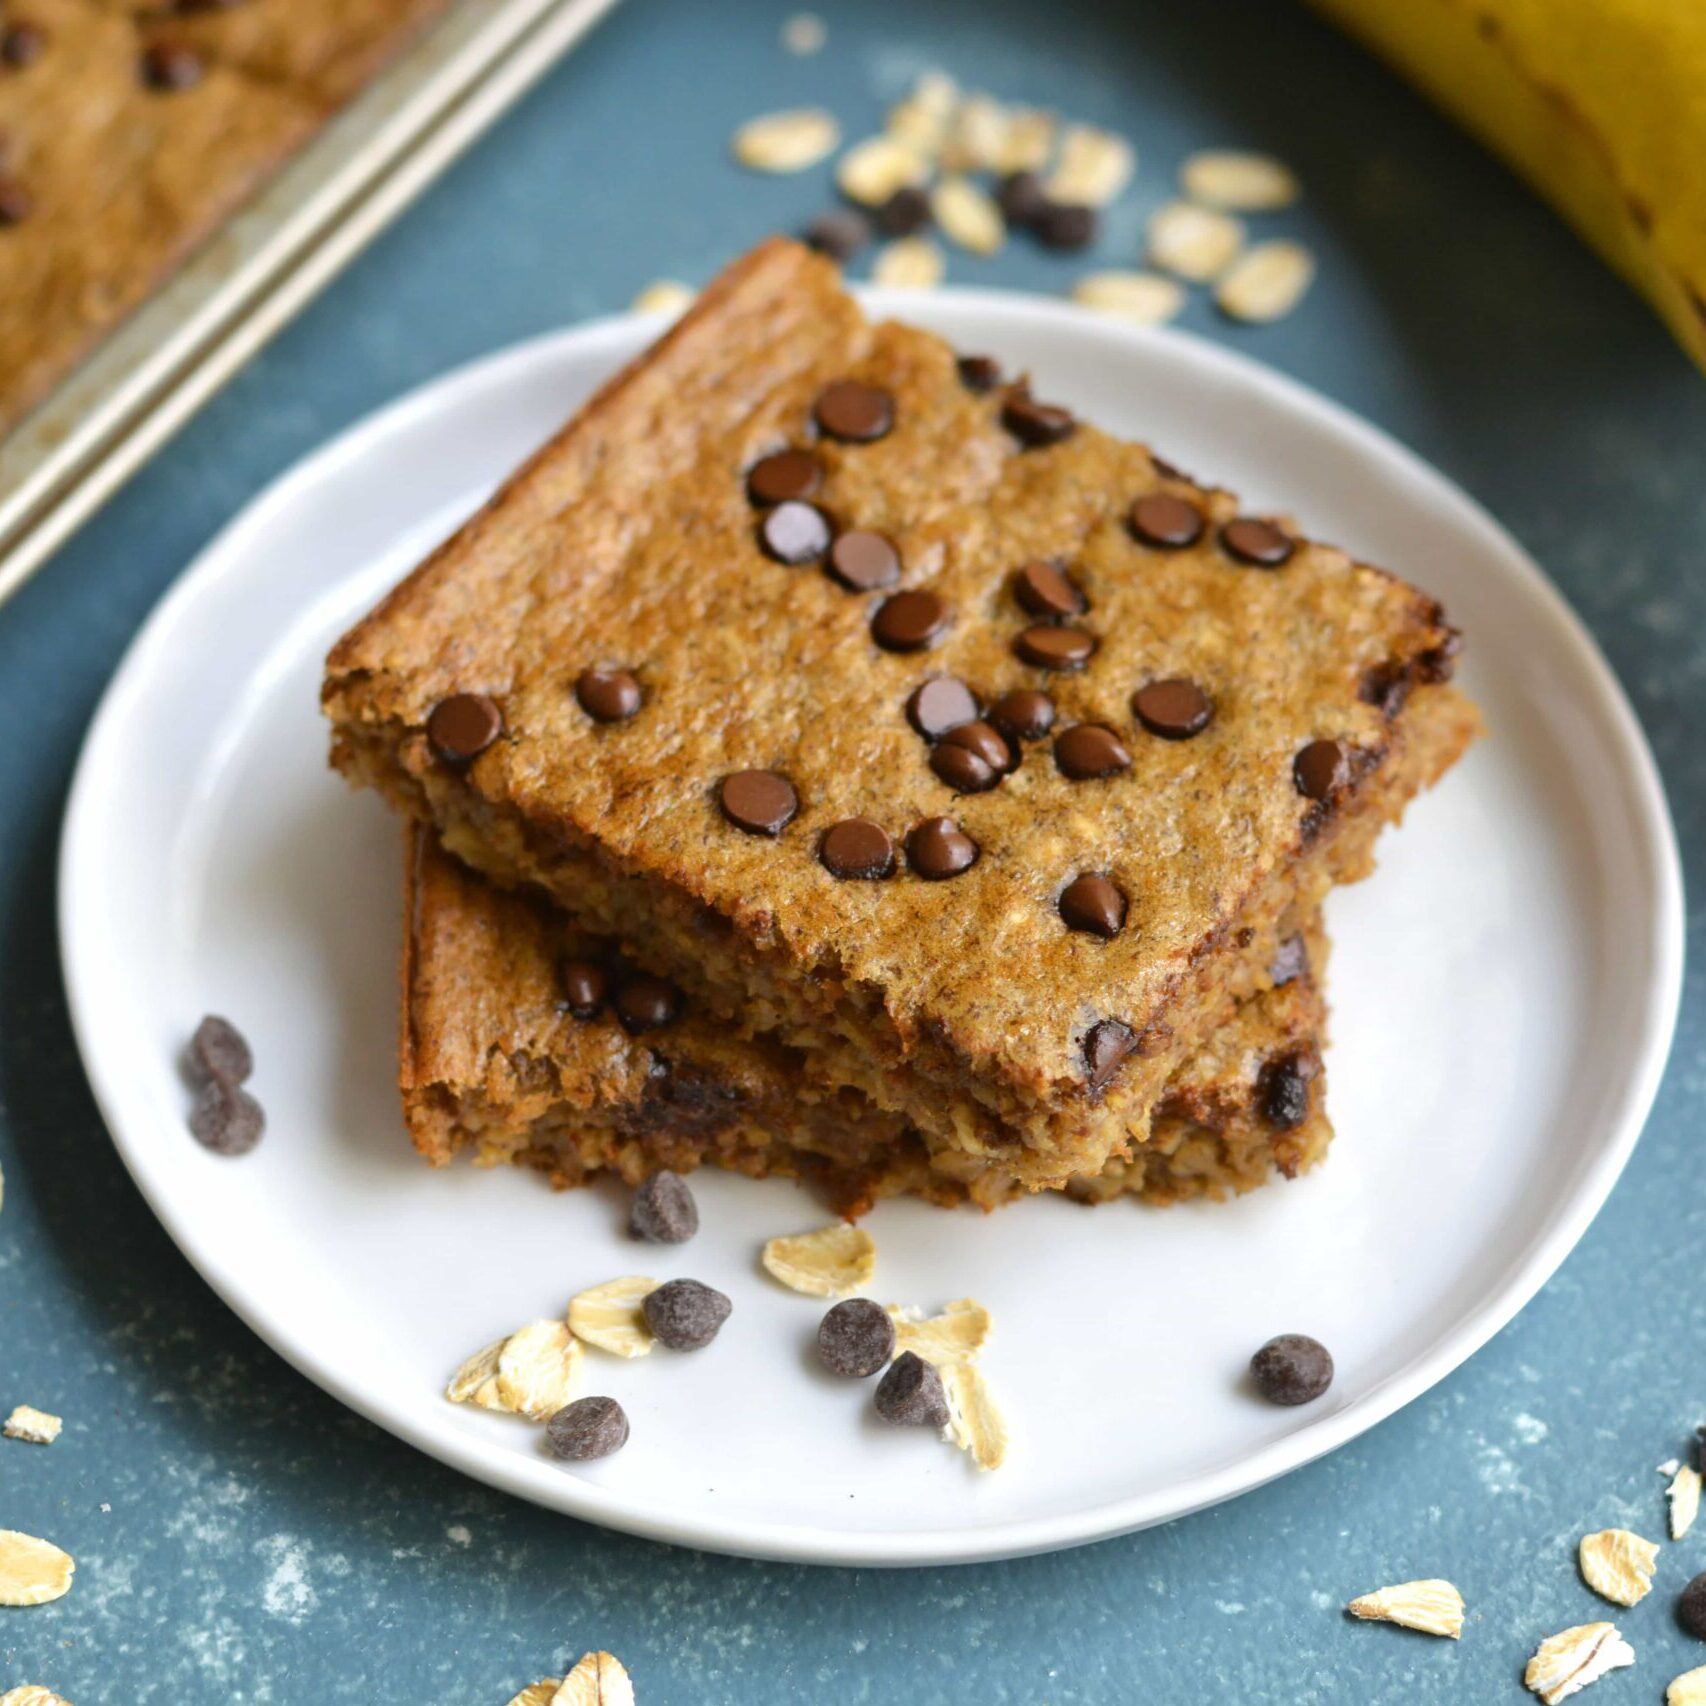
Banana oat breakfast bars (gluten and dairy free)
-
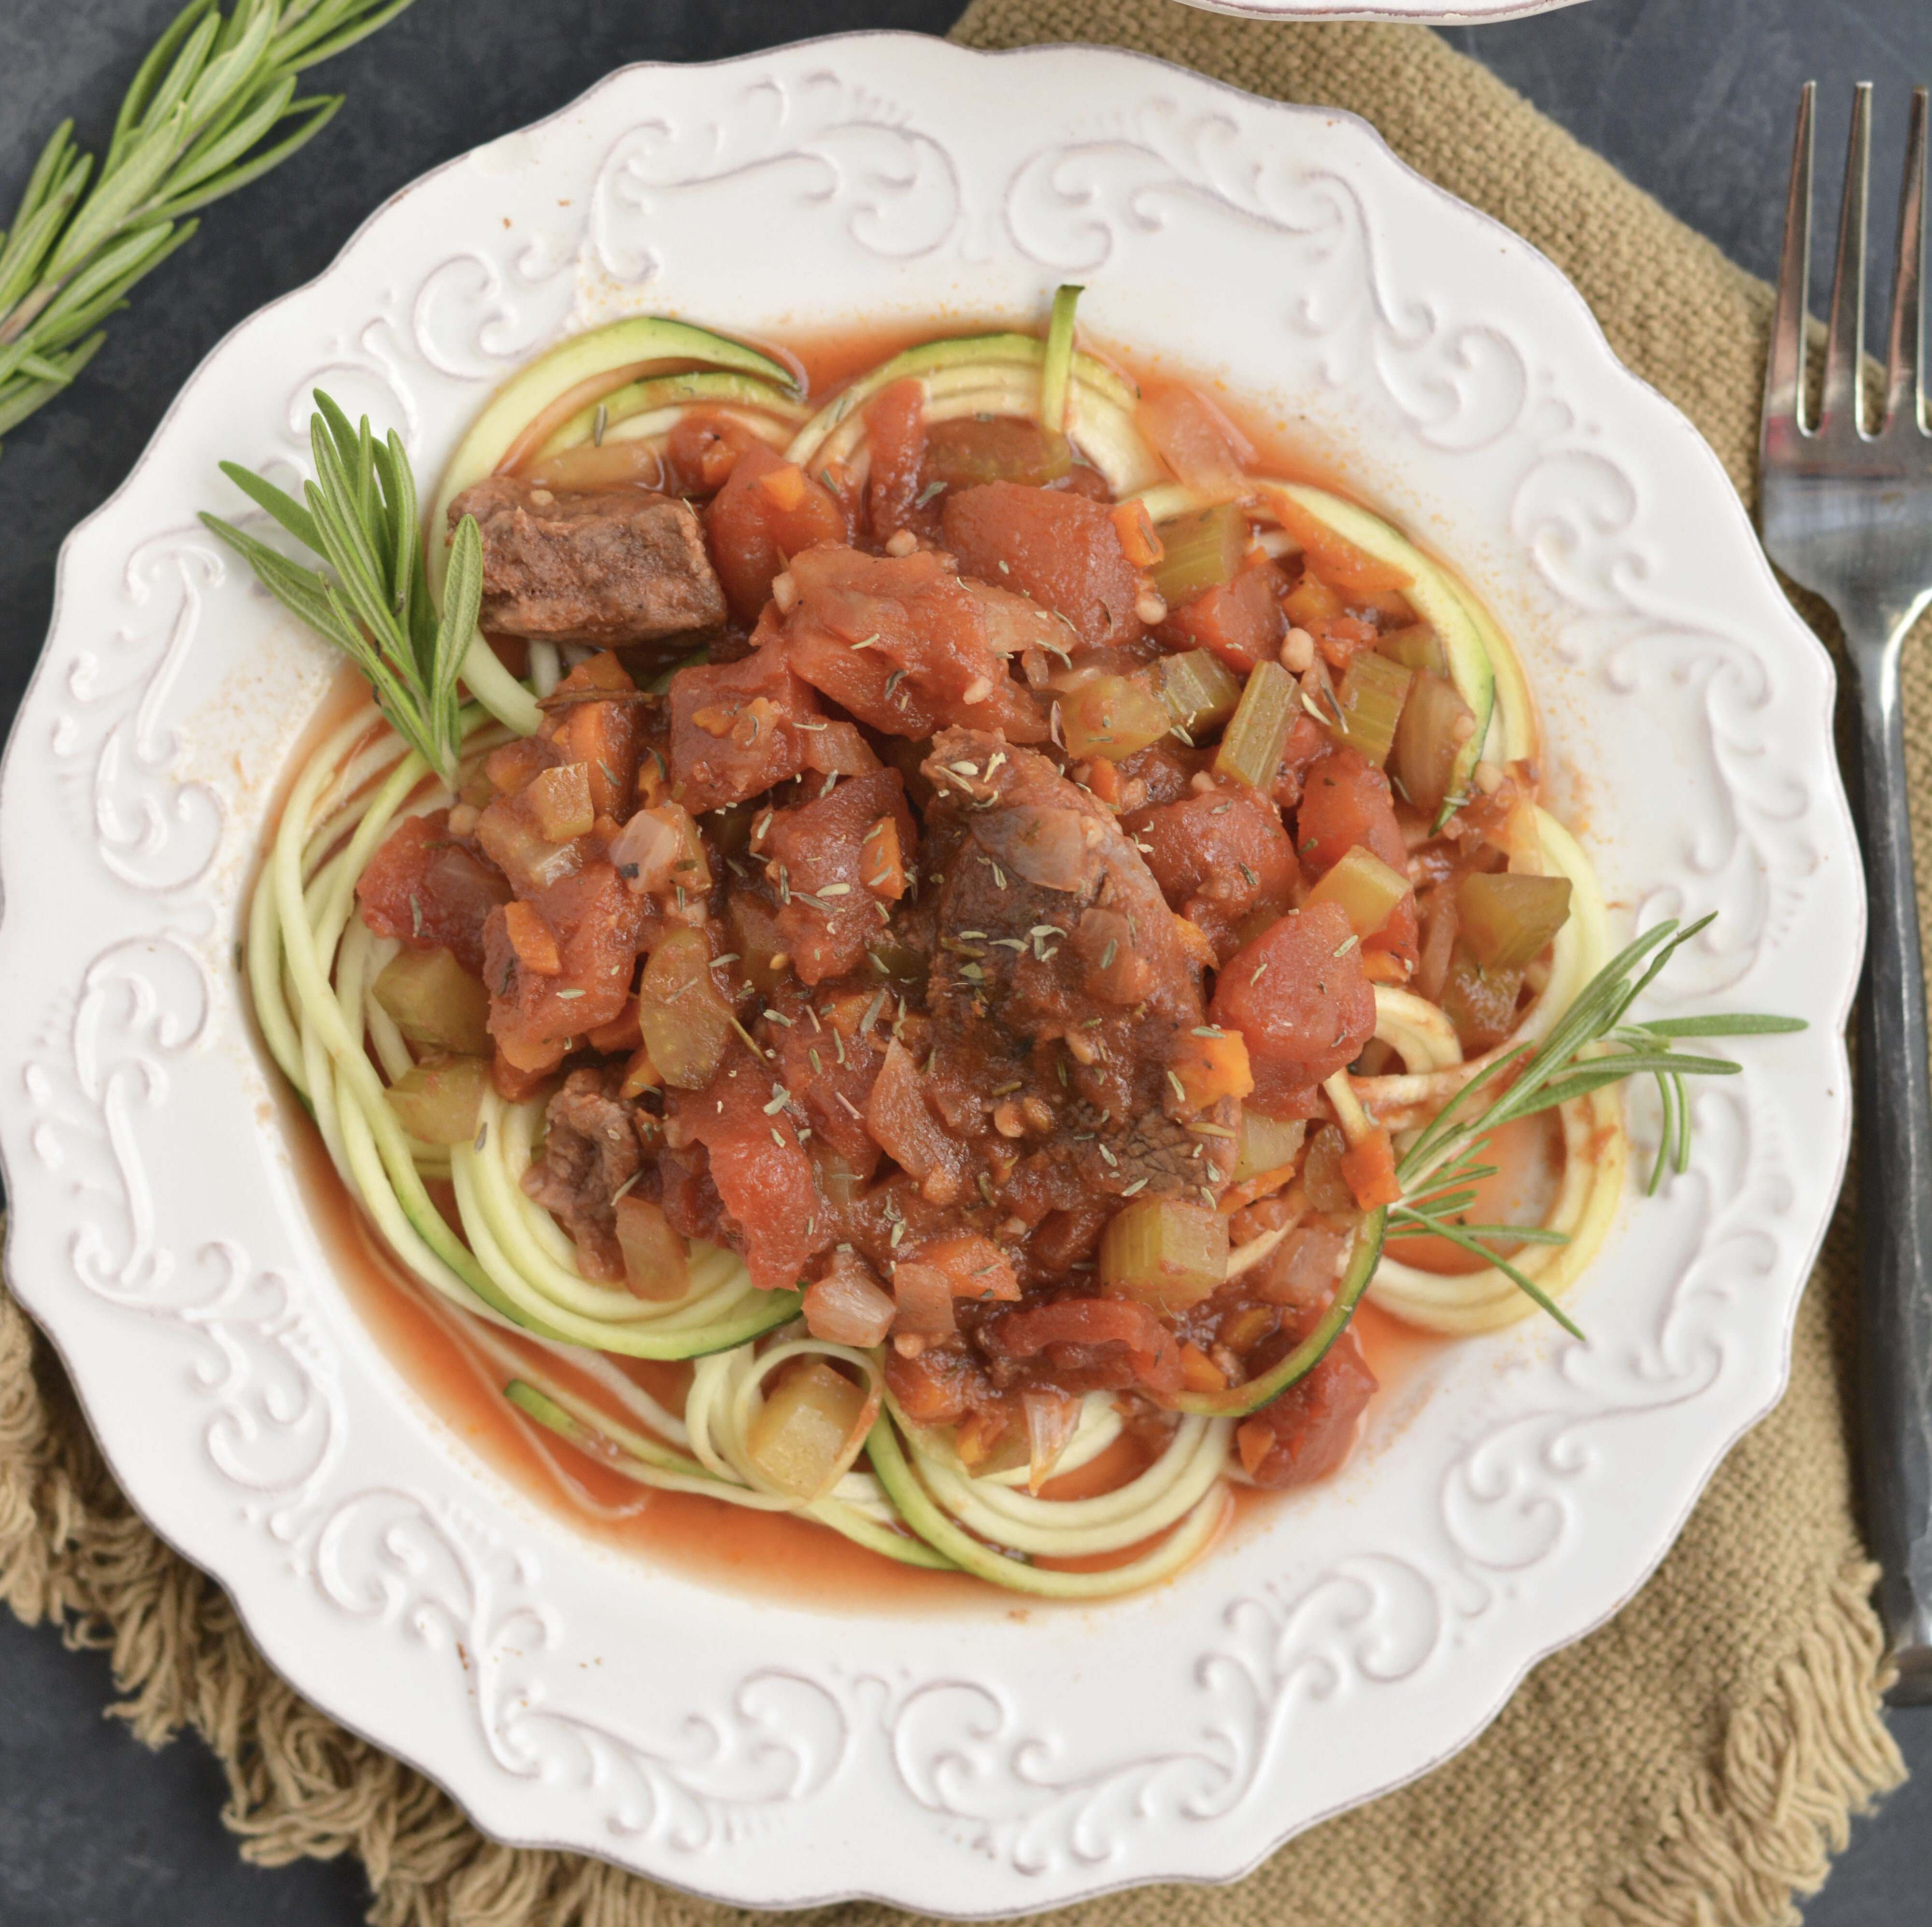
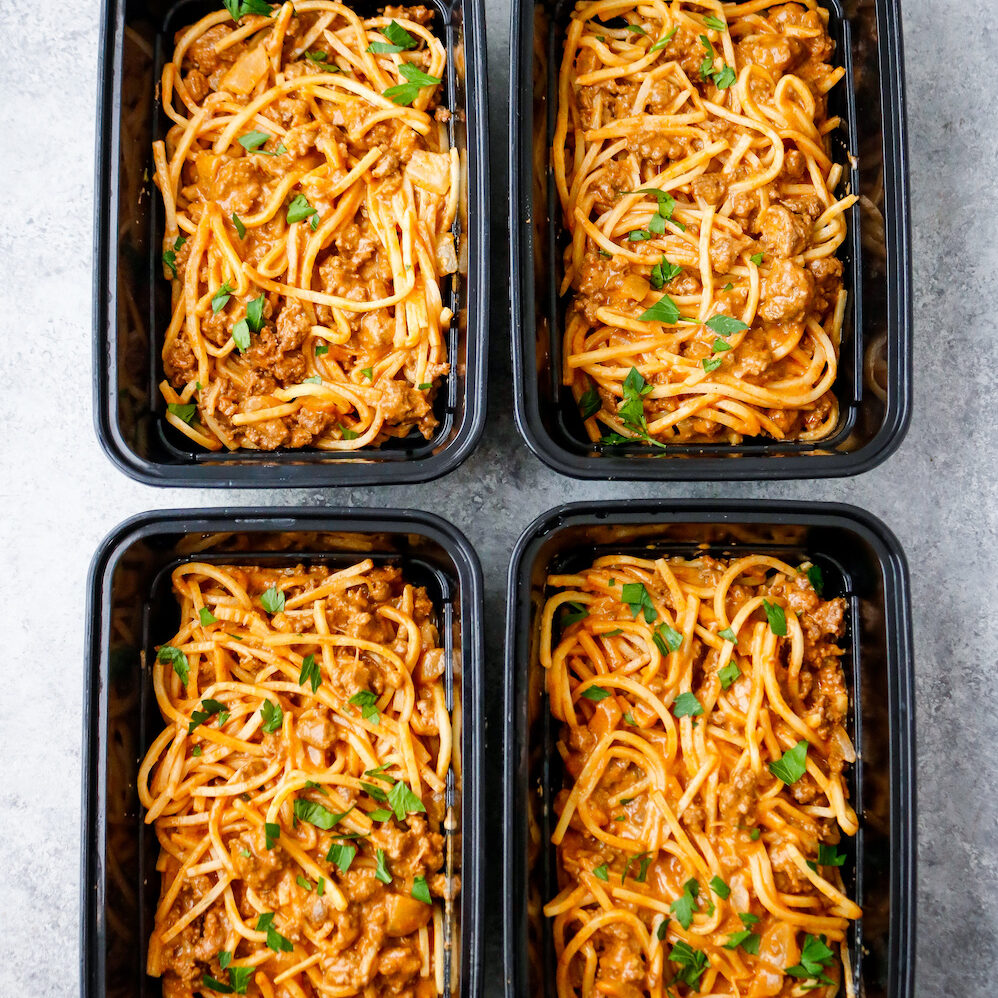
Low Carb Crockpot Beef Ragu Meal Prep
-
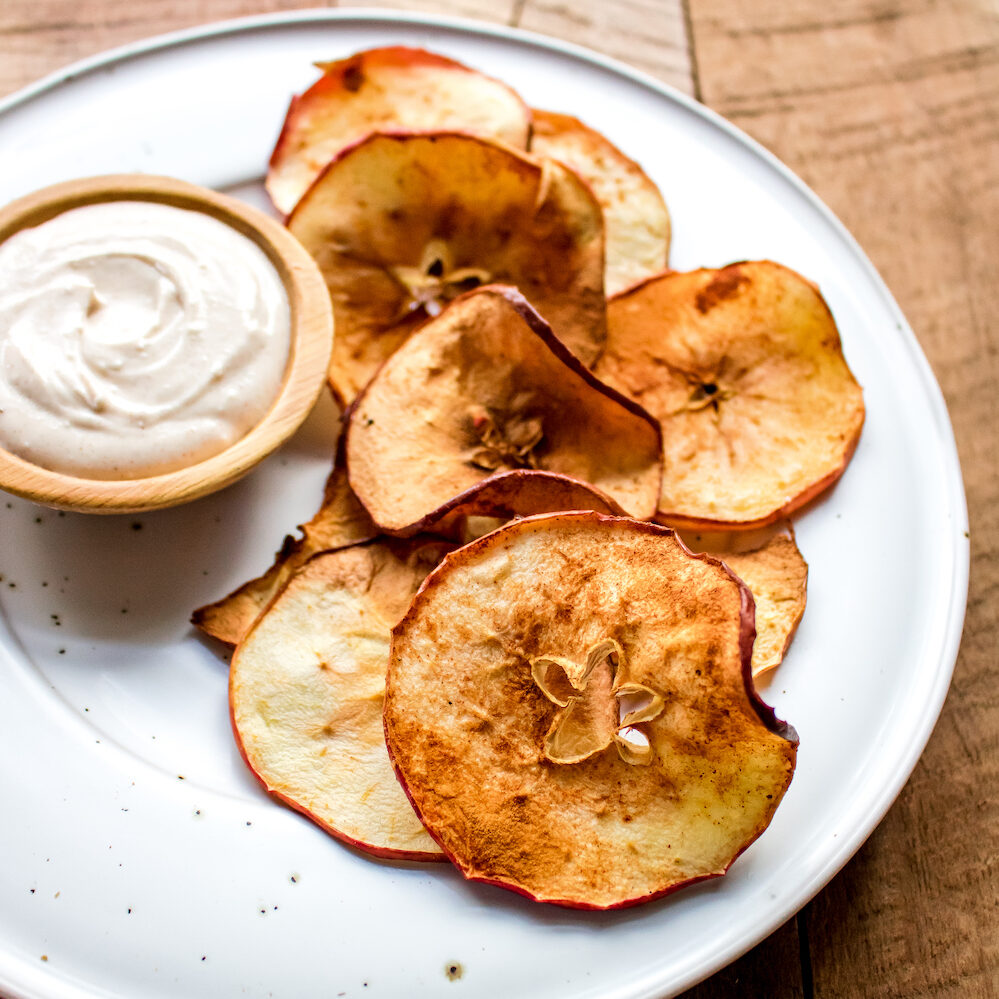
Air-Fried Apple Chips
-
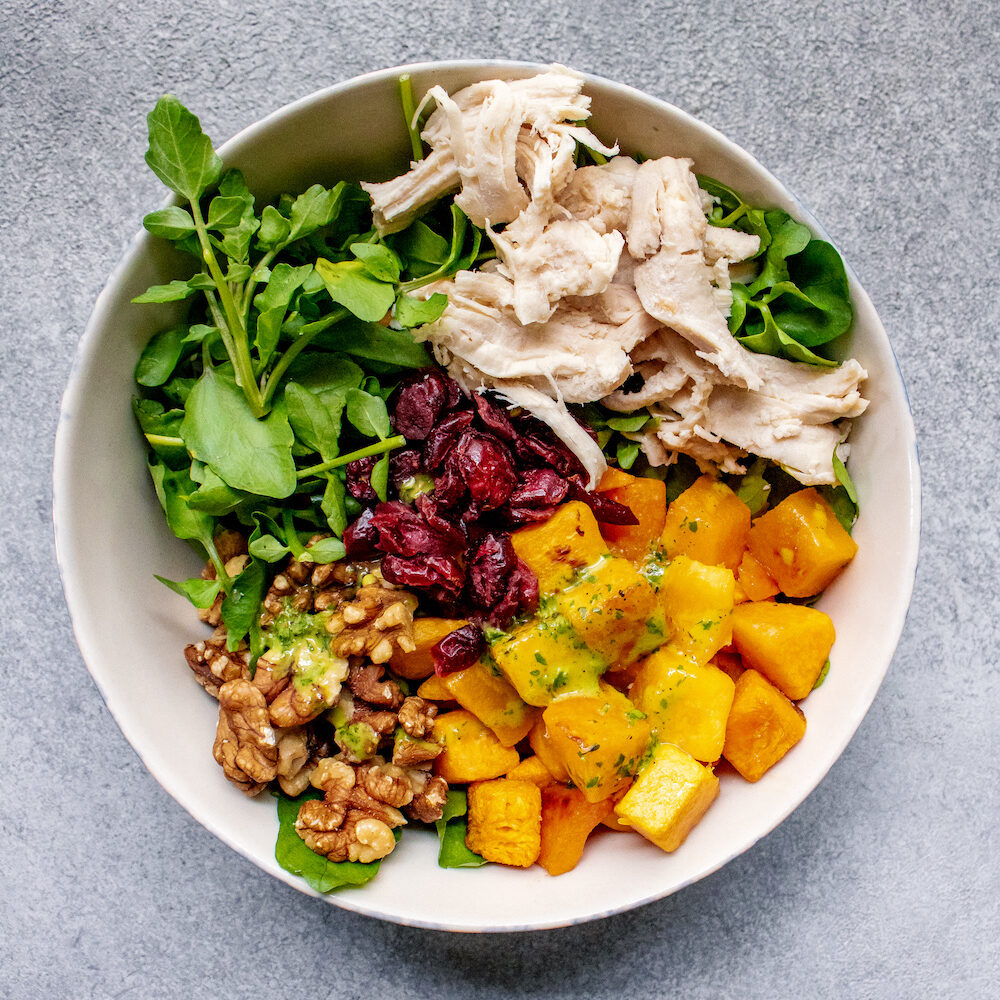
Fall Harvest Power Salad
-
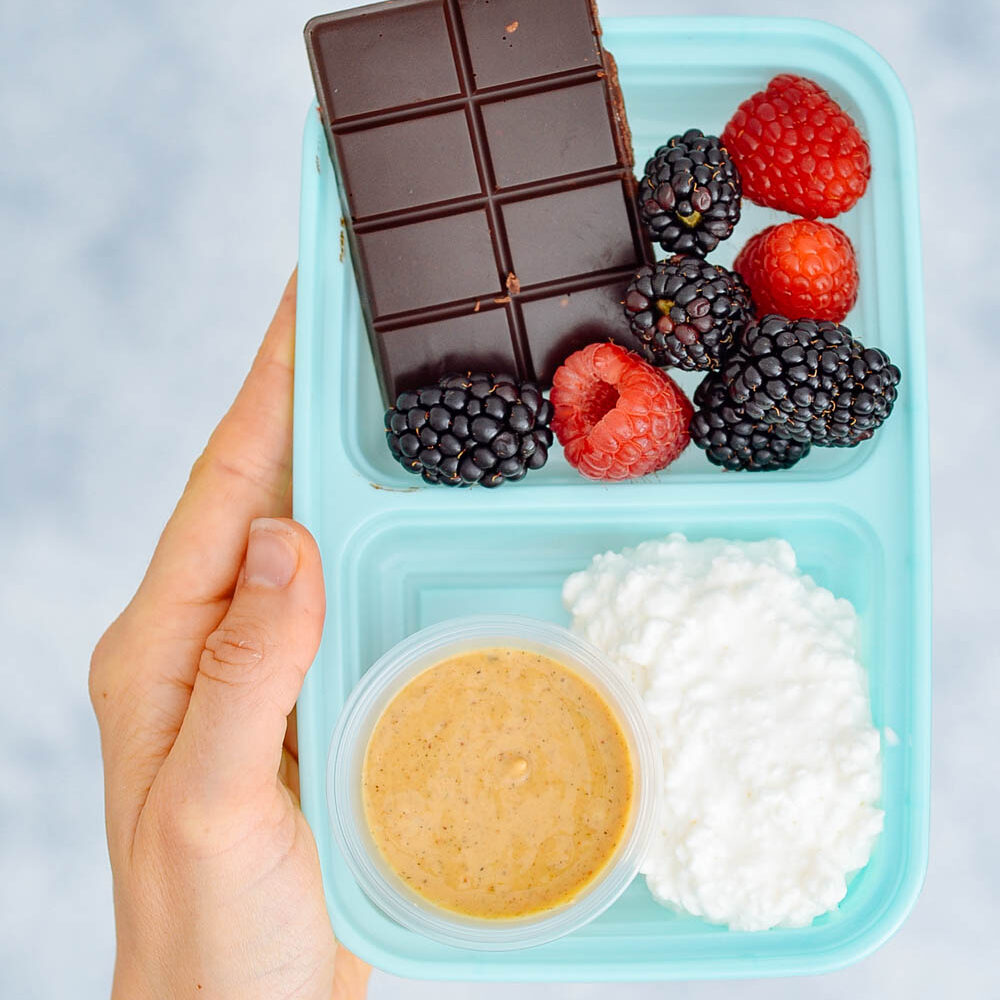
Keto Chocolate Snack Boxes
-
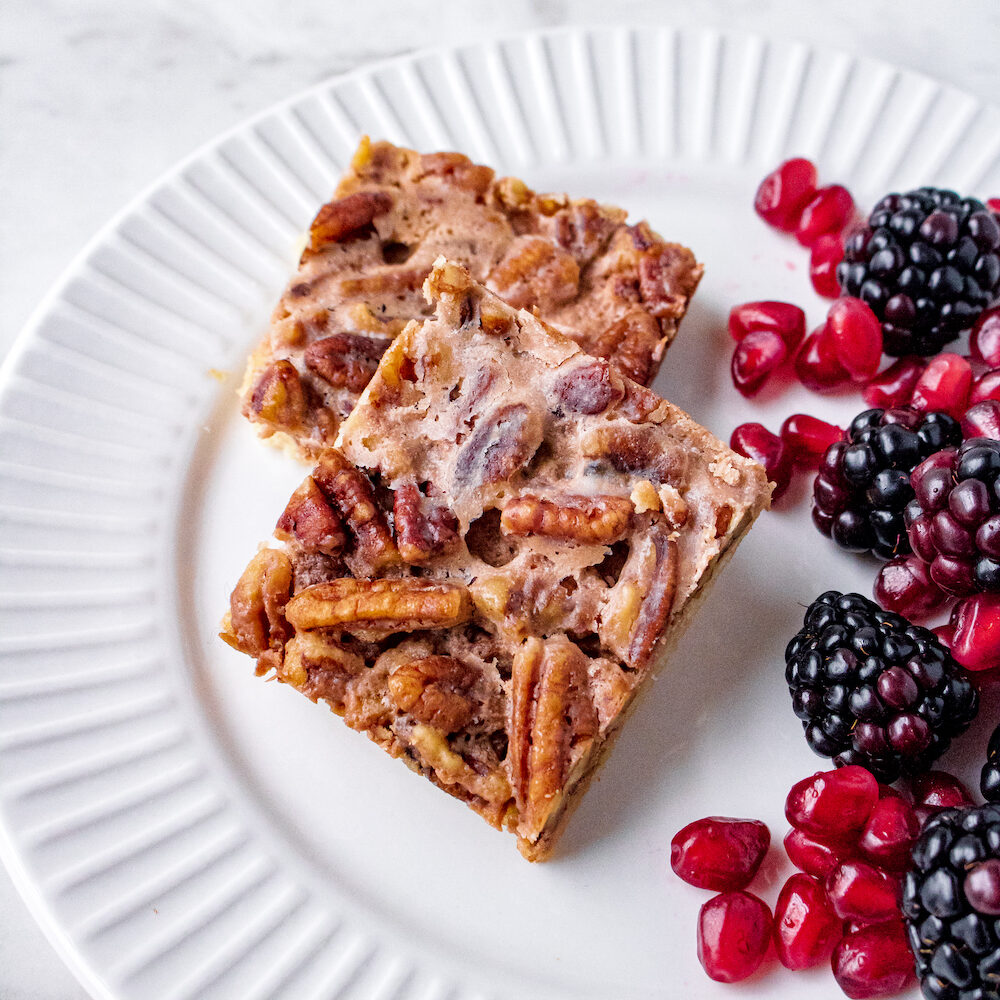
The Best Pecan Pie Bars (Low Carb and Meal Prep friendly)
-
Low Carb Hamburger Helper
-
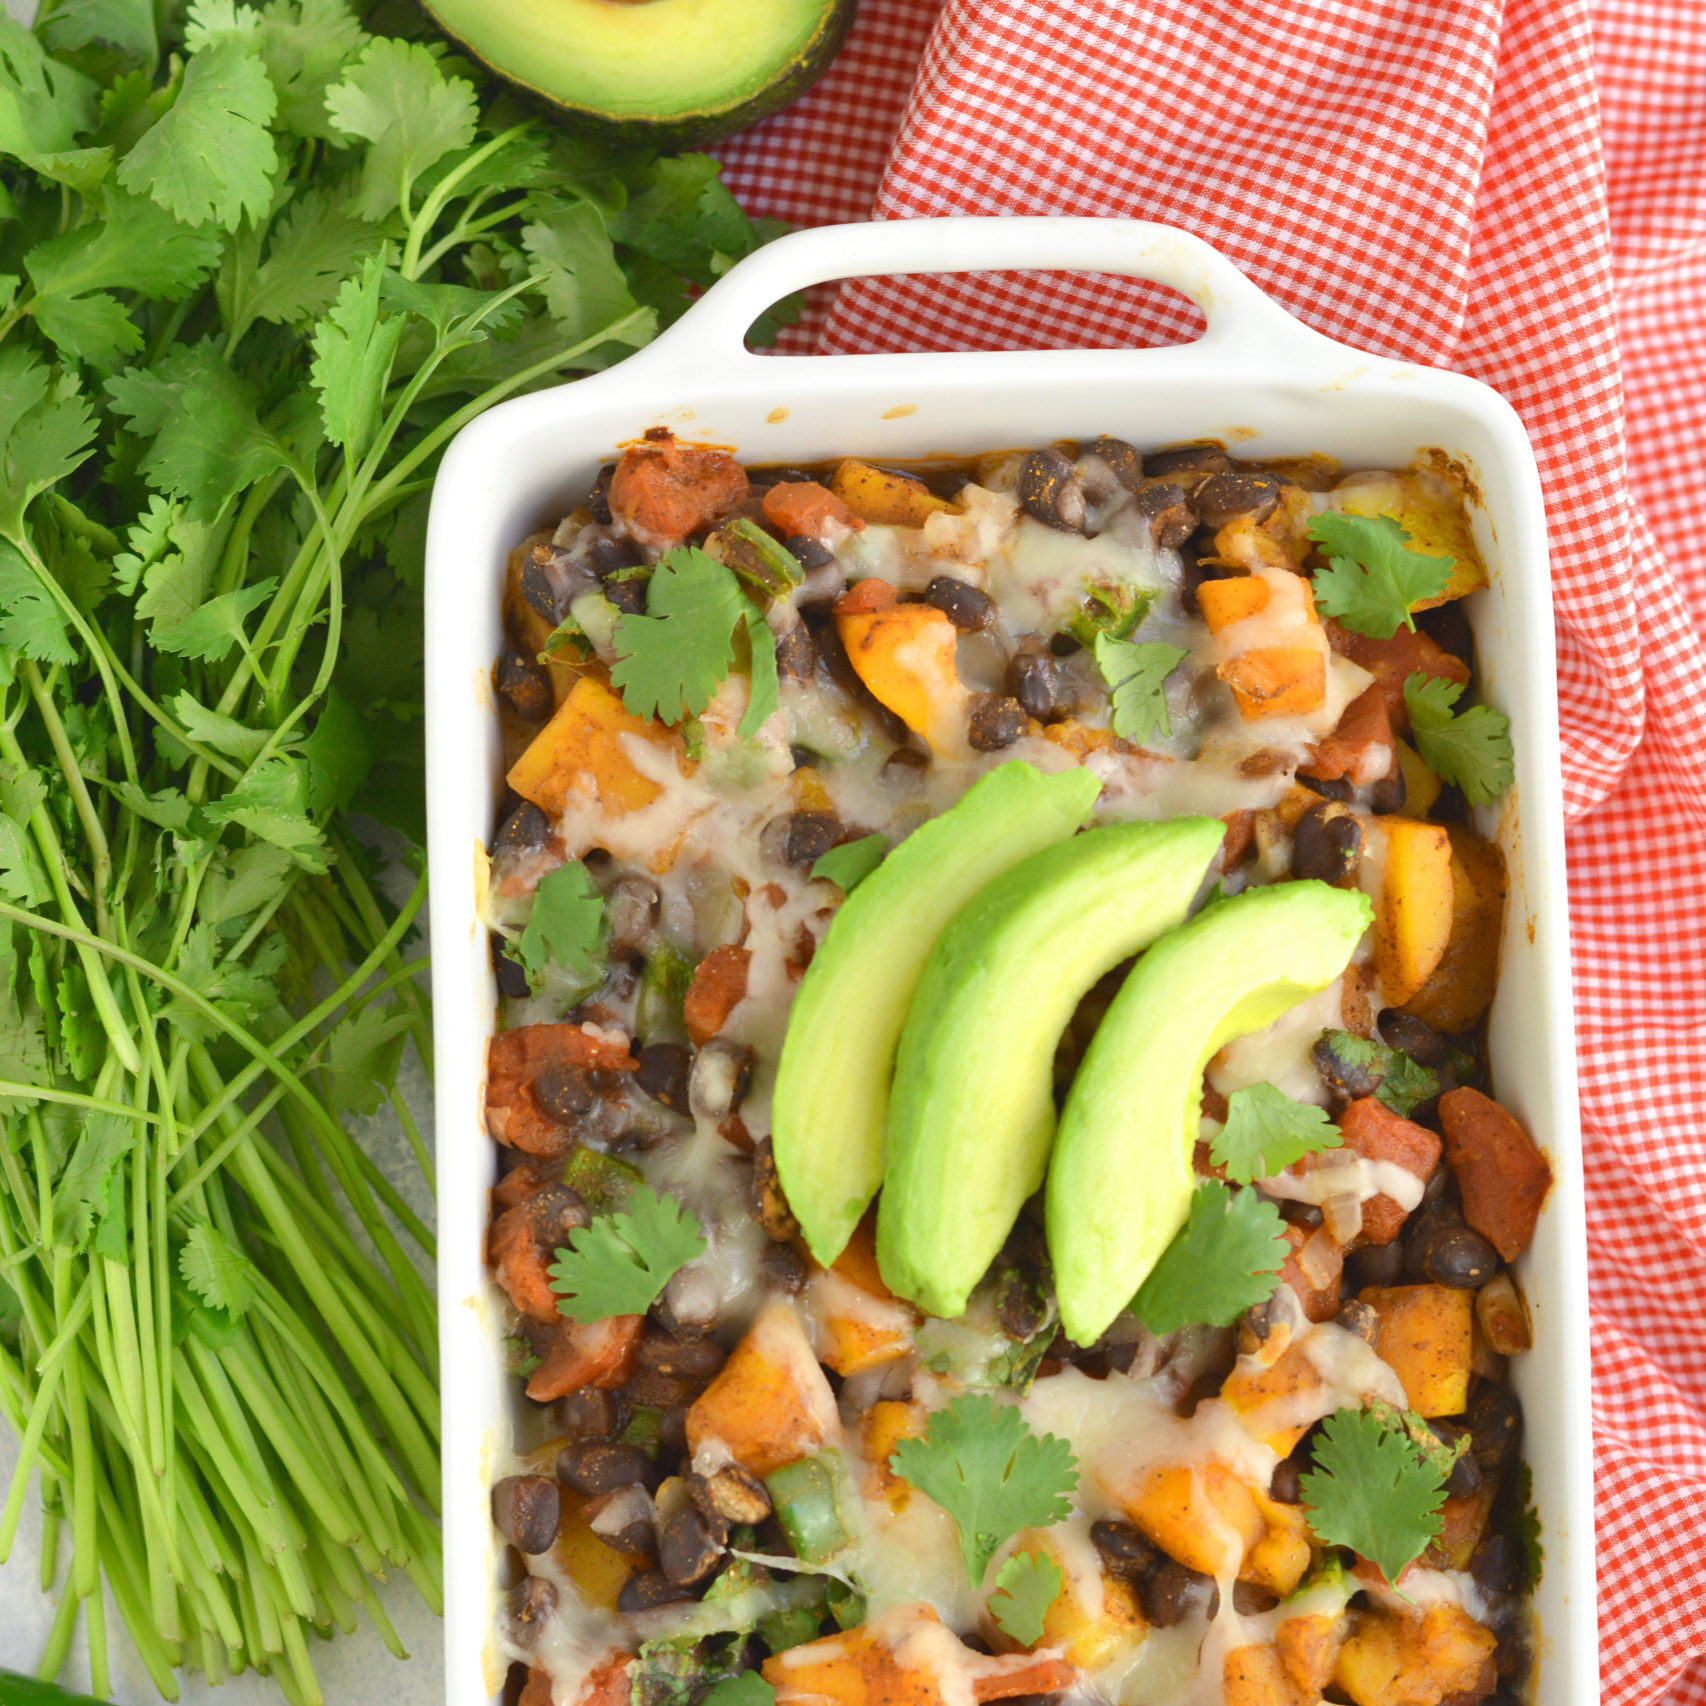
Vegan Butternut Squash Casserole Meal Prep
-
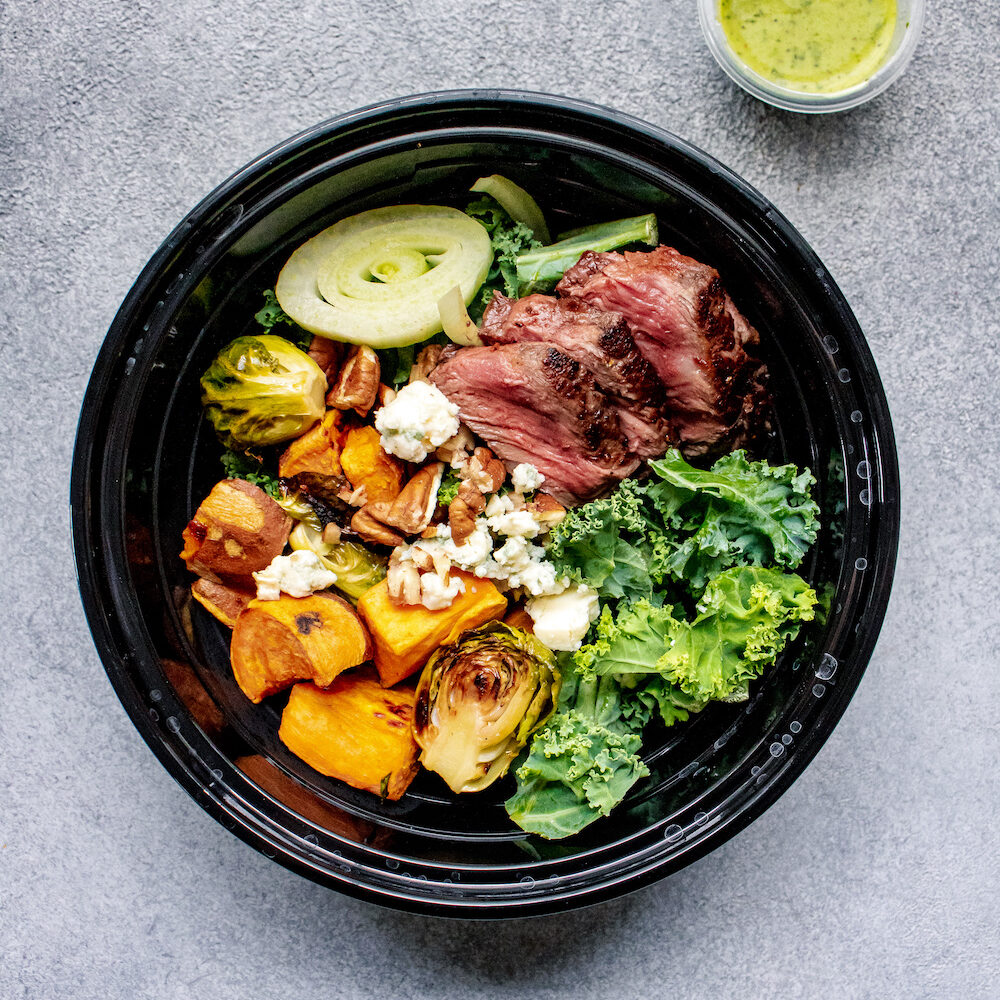
Kale and Steak Power Salad
-
Jamaican Beef Stew Meal Prep (Gluten-Free + Freezer-Friendly)
-
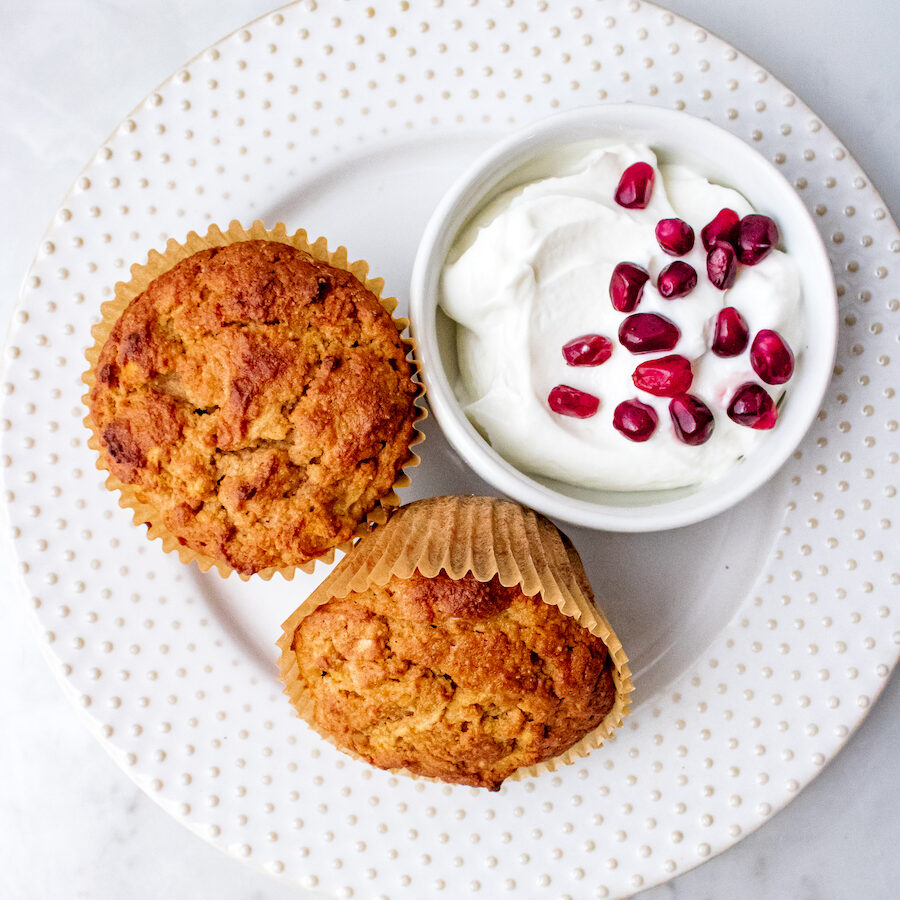
Low Carb Cinnamon Apple Muffins
-
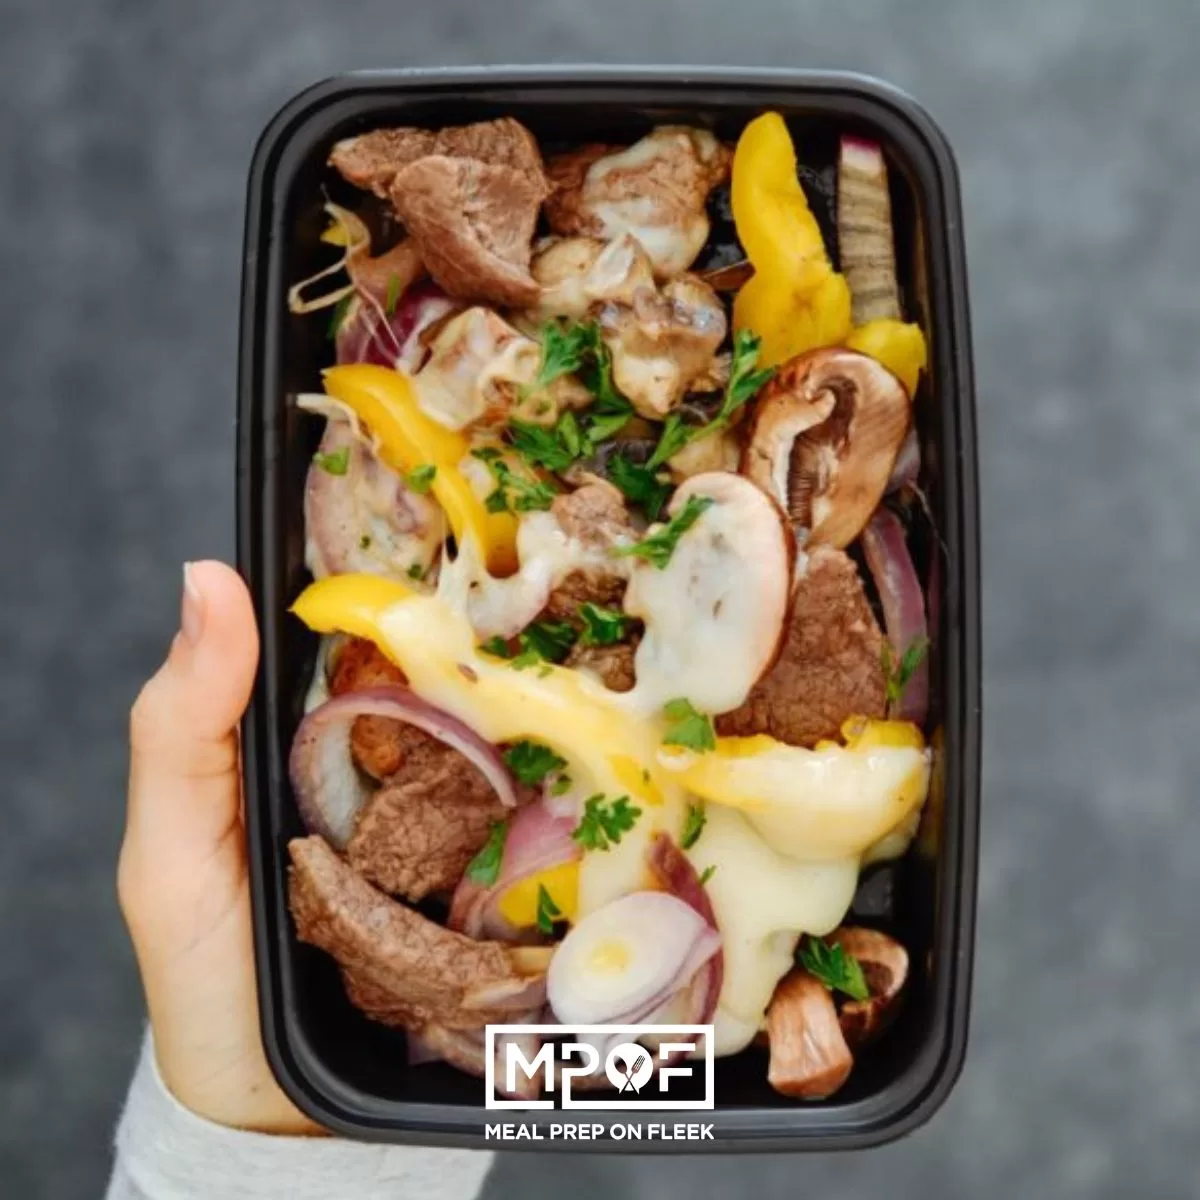
Low Carb Philly Cheesesteak Meal Prep (Griddle or Skillet Method)
-
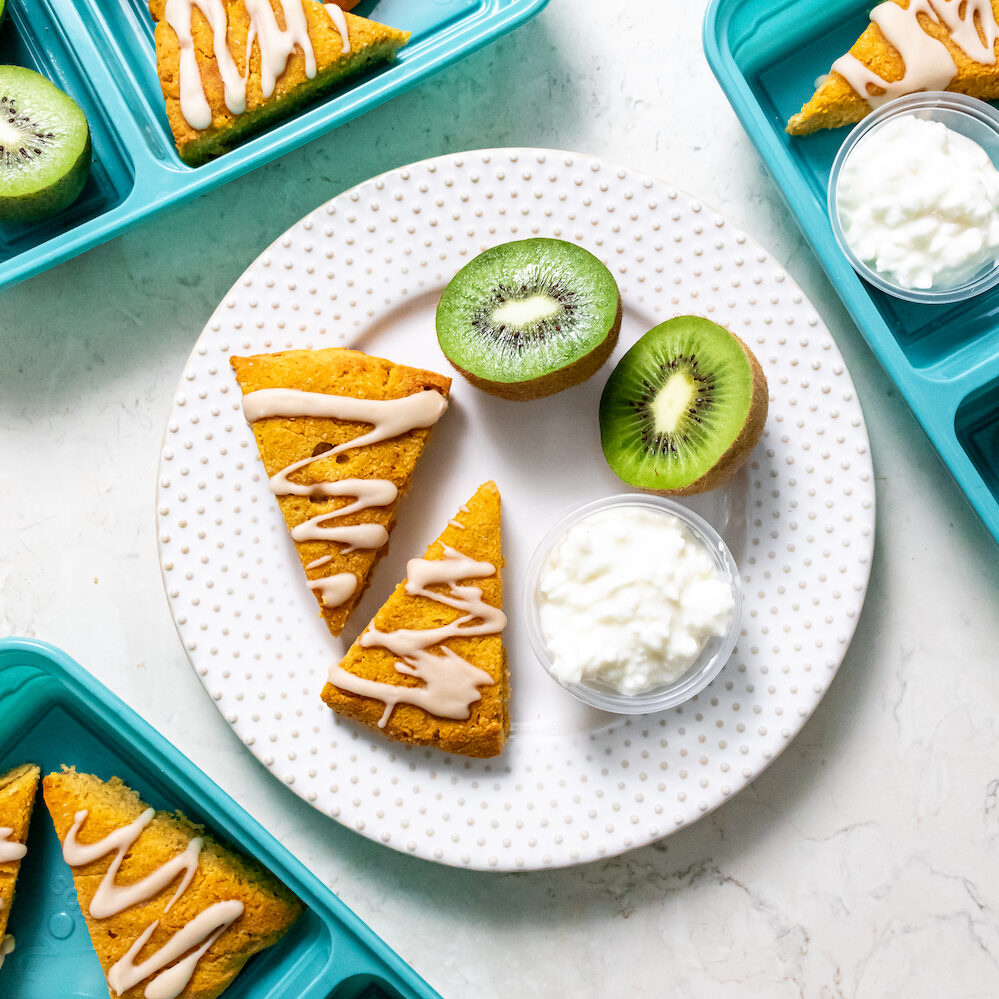
Pumpkin Scones with Maple Glaze (Gluten-Free + Low Sugar)
-
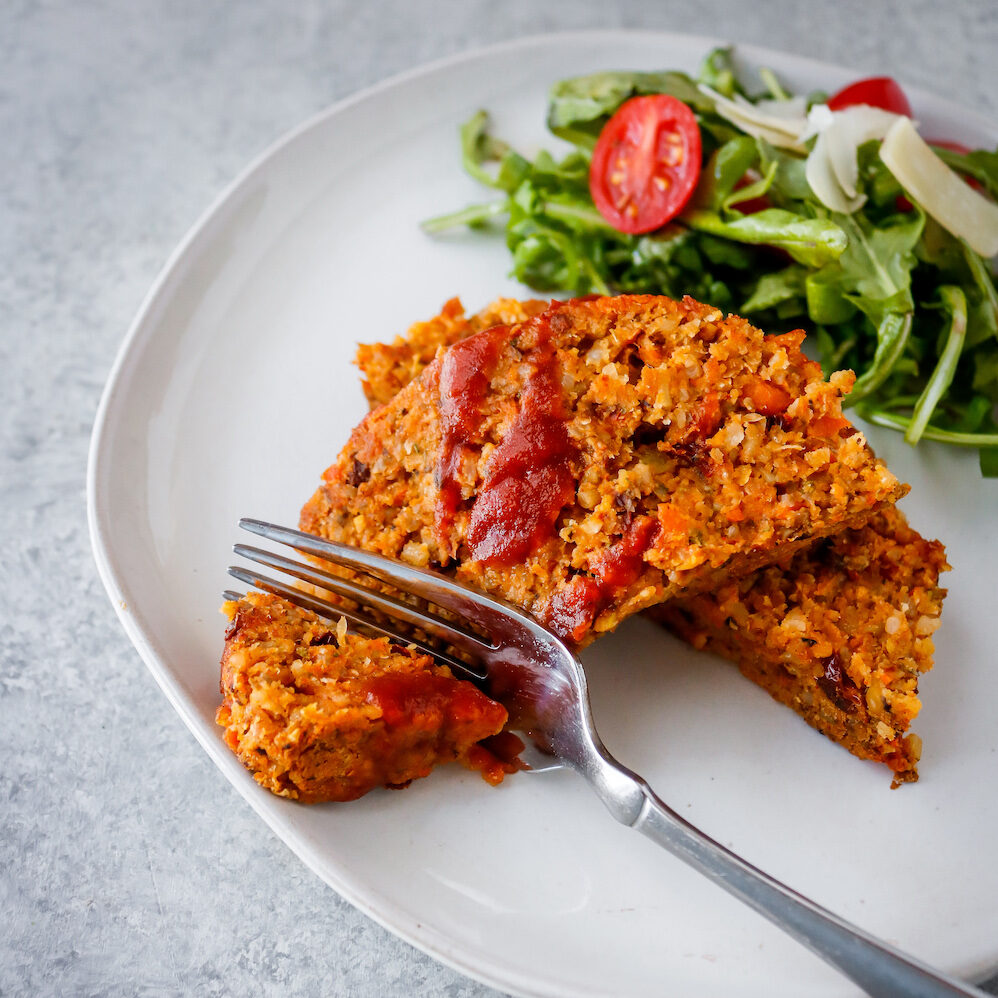
Sun Dried Tomato Meatloaf (Vegan + Gluten-Free Meal Prep)
-
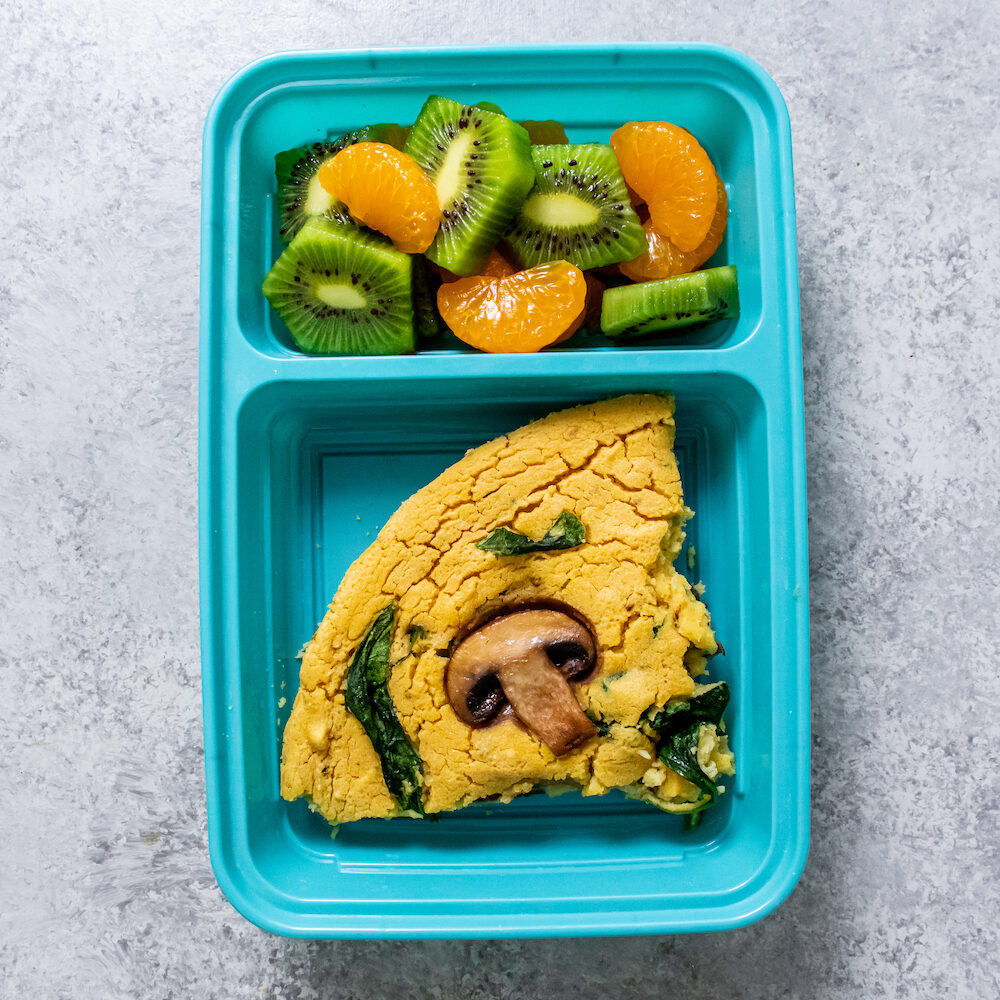
Chickpea Frittata Meal Prep (Vegan + Gluten-Free)
-
Brazilian Style Skirt Steak Meal Prep (Keto, Paleo, Whole30)
-
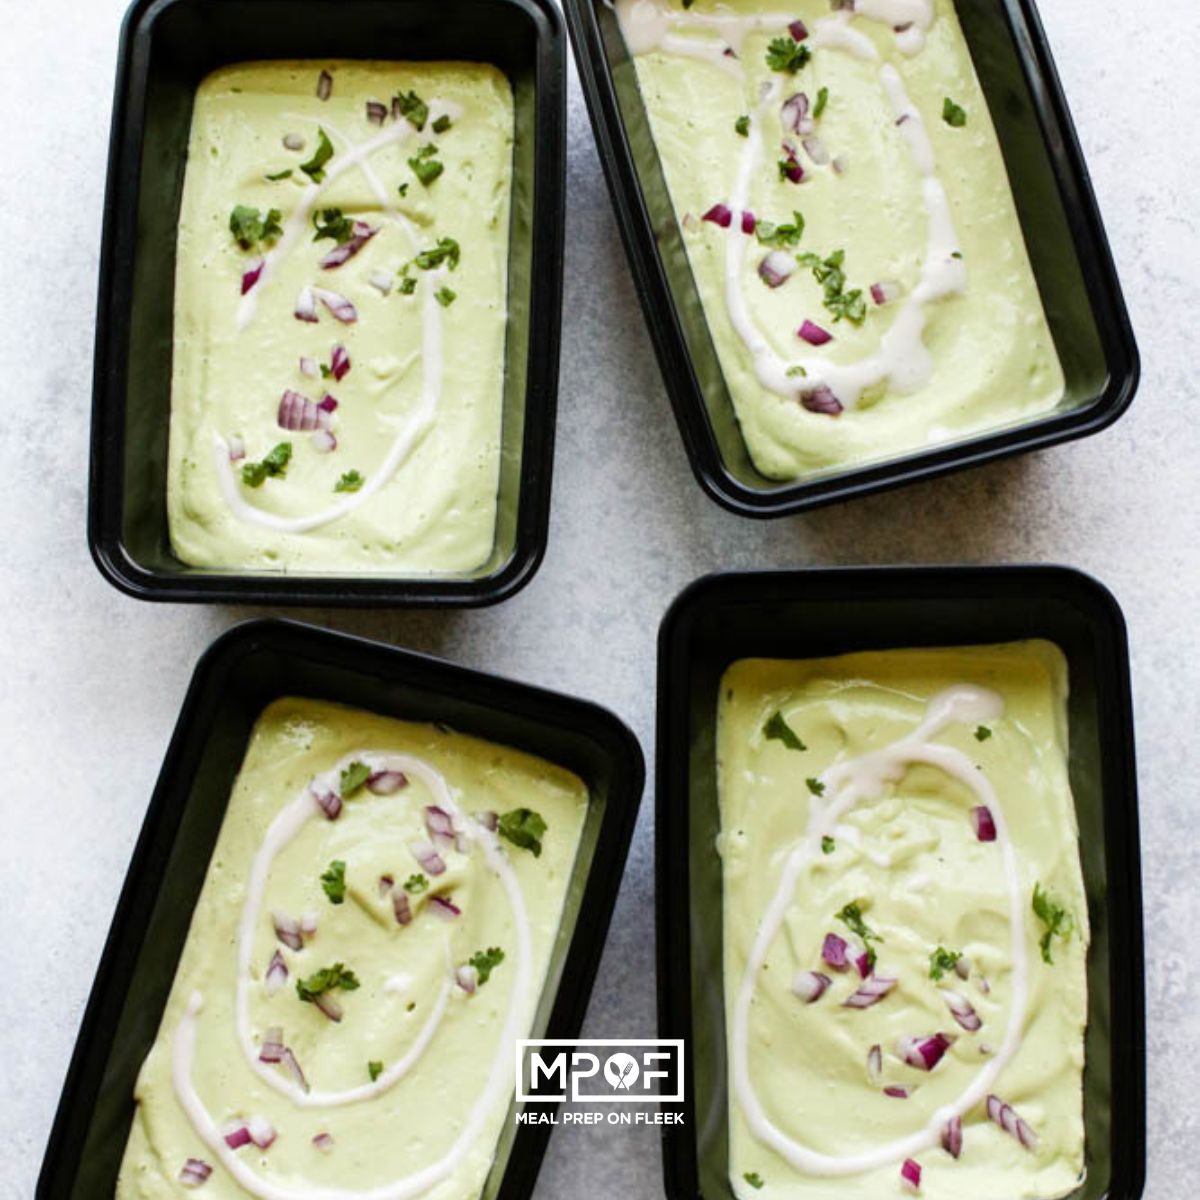
Chilled Avocado Soup Meal Prep (Keto + Dairy-Free Option)
-
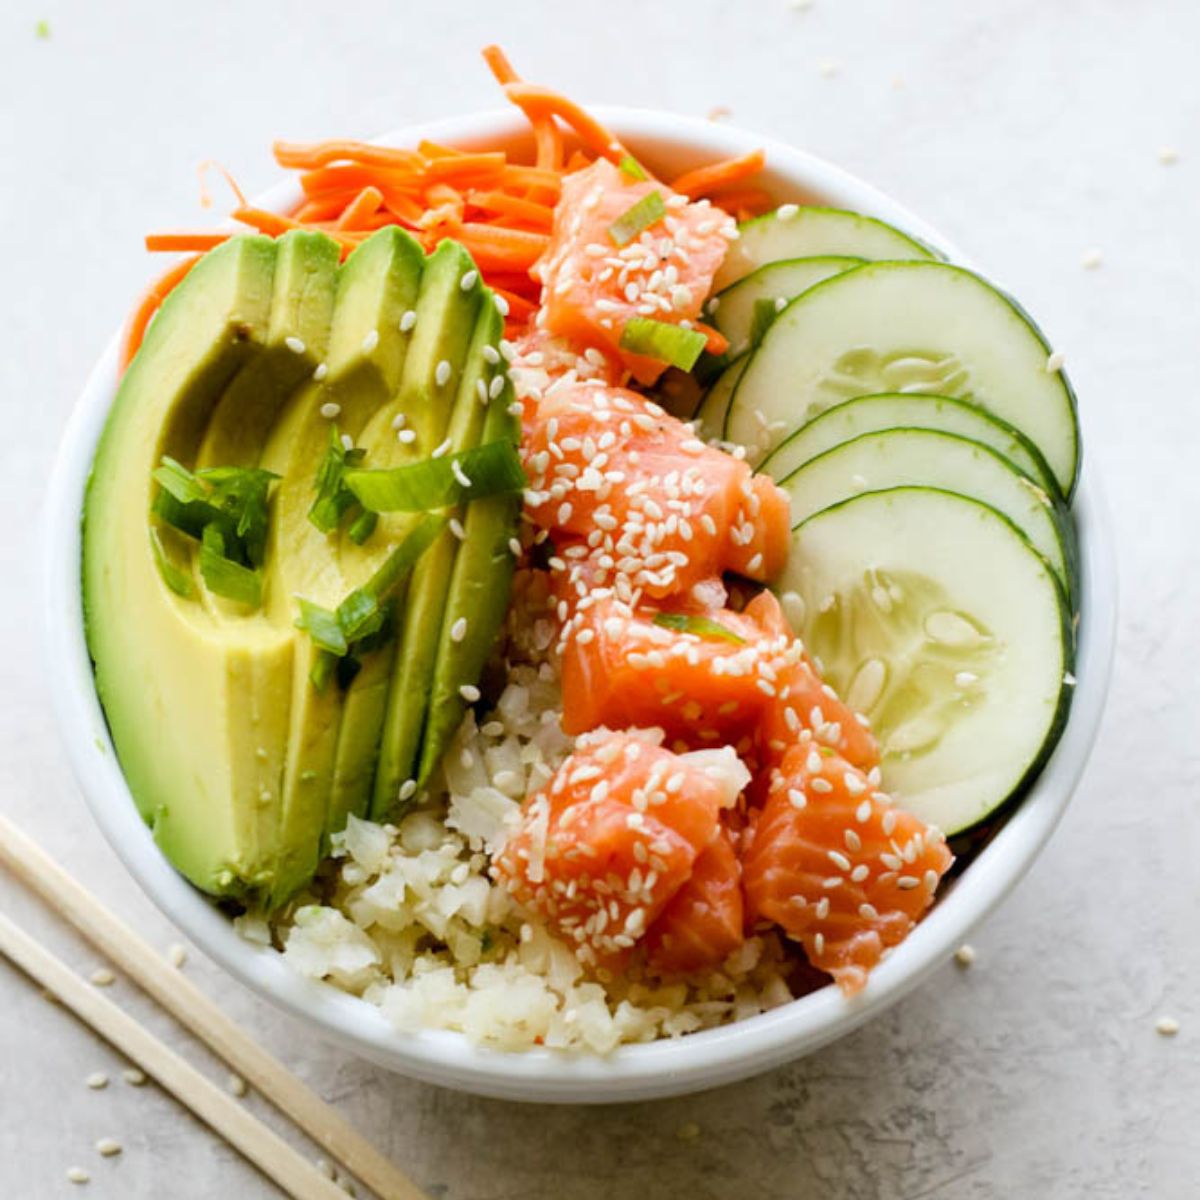
Cauliflower Rice Salmon Poke Bowl Meal Prep (Whole30 compliant)
-
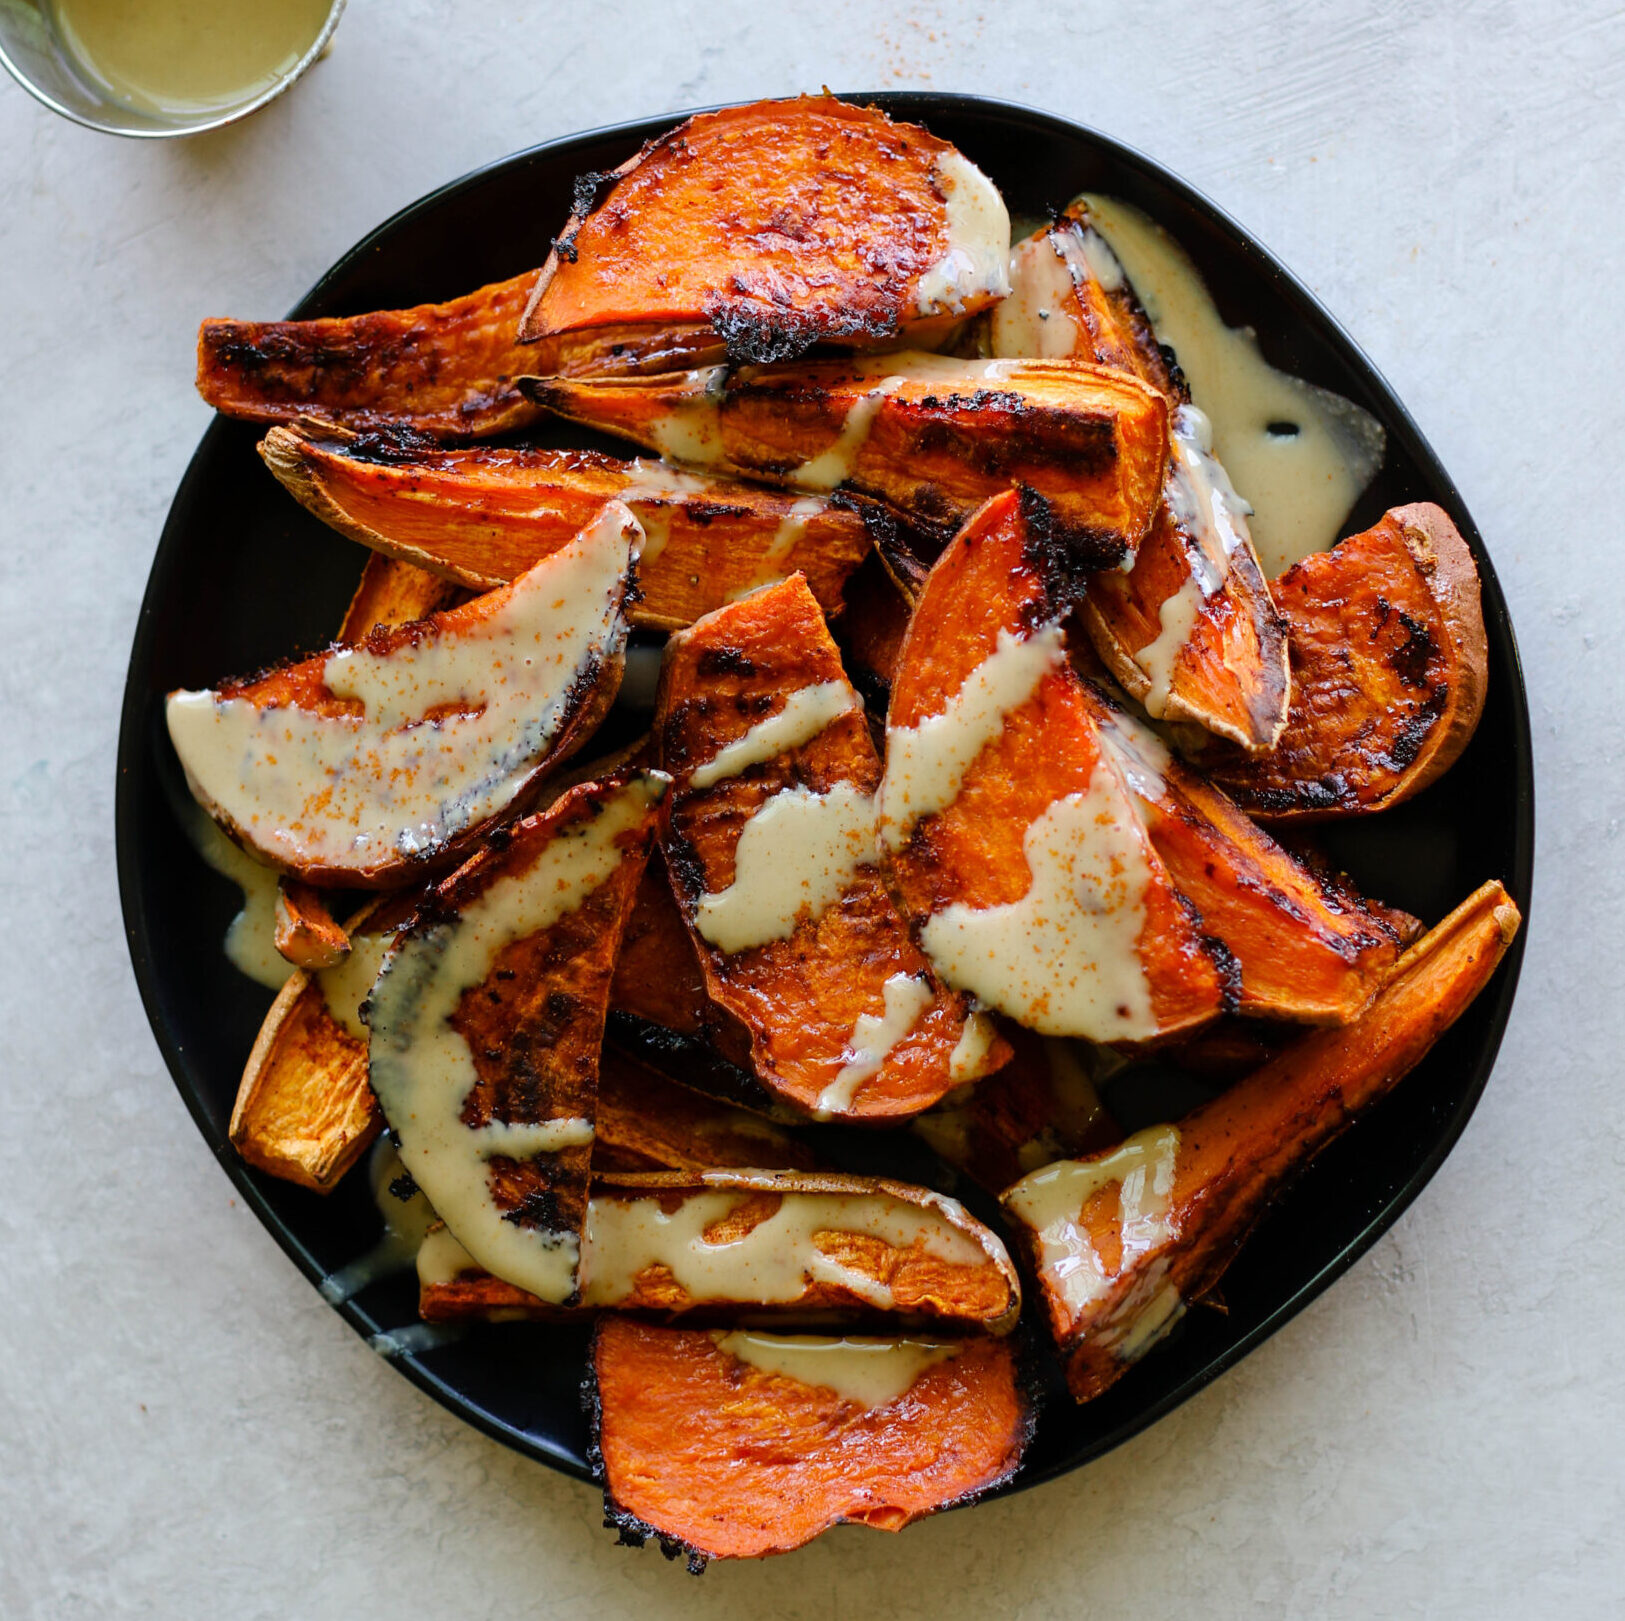
Sweet Potato Wedges With Tahini
-
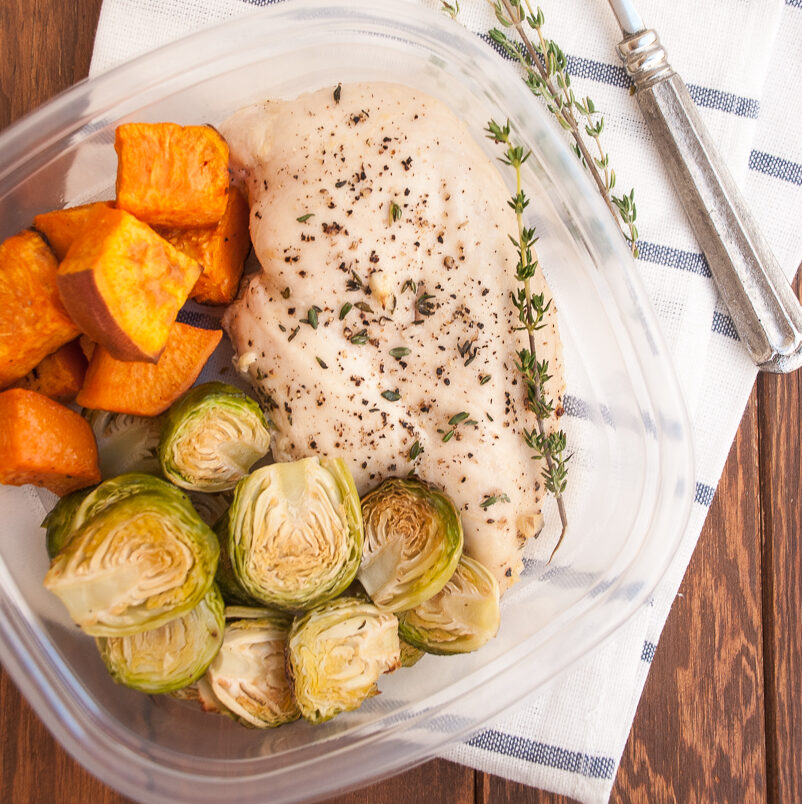
Garlic and Thyme Chicken Meal Prep (Whole30 Friendly)
-
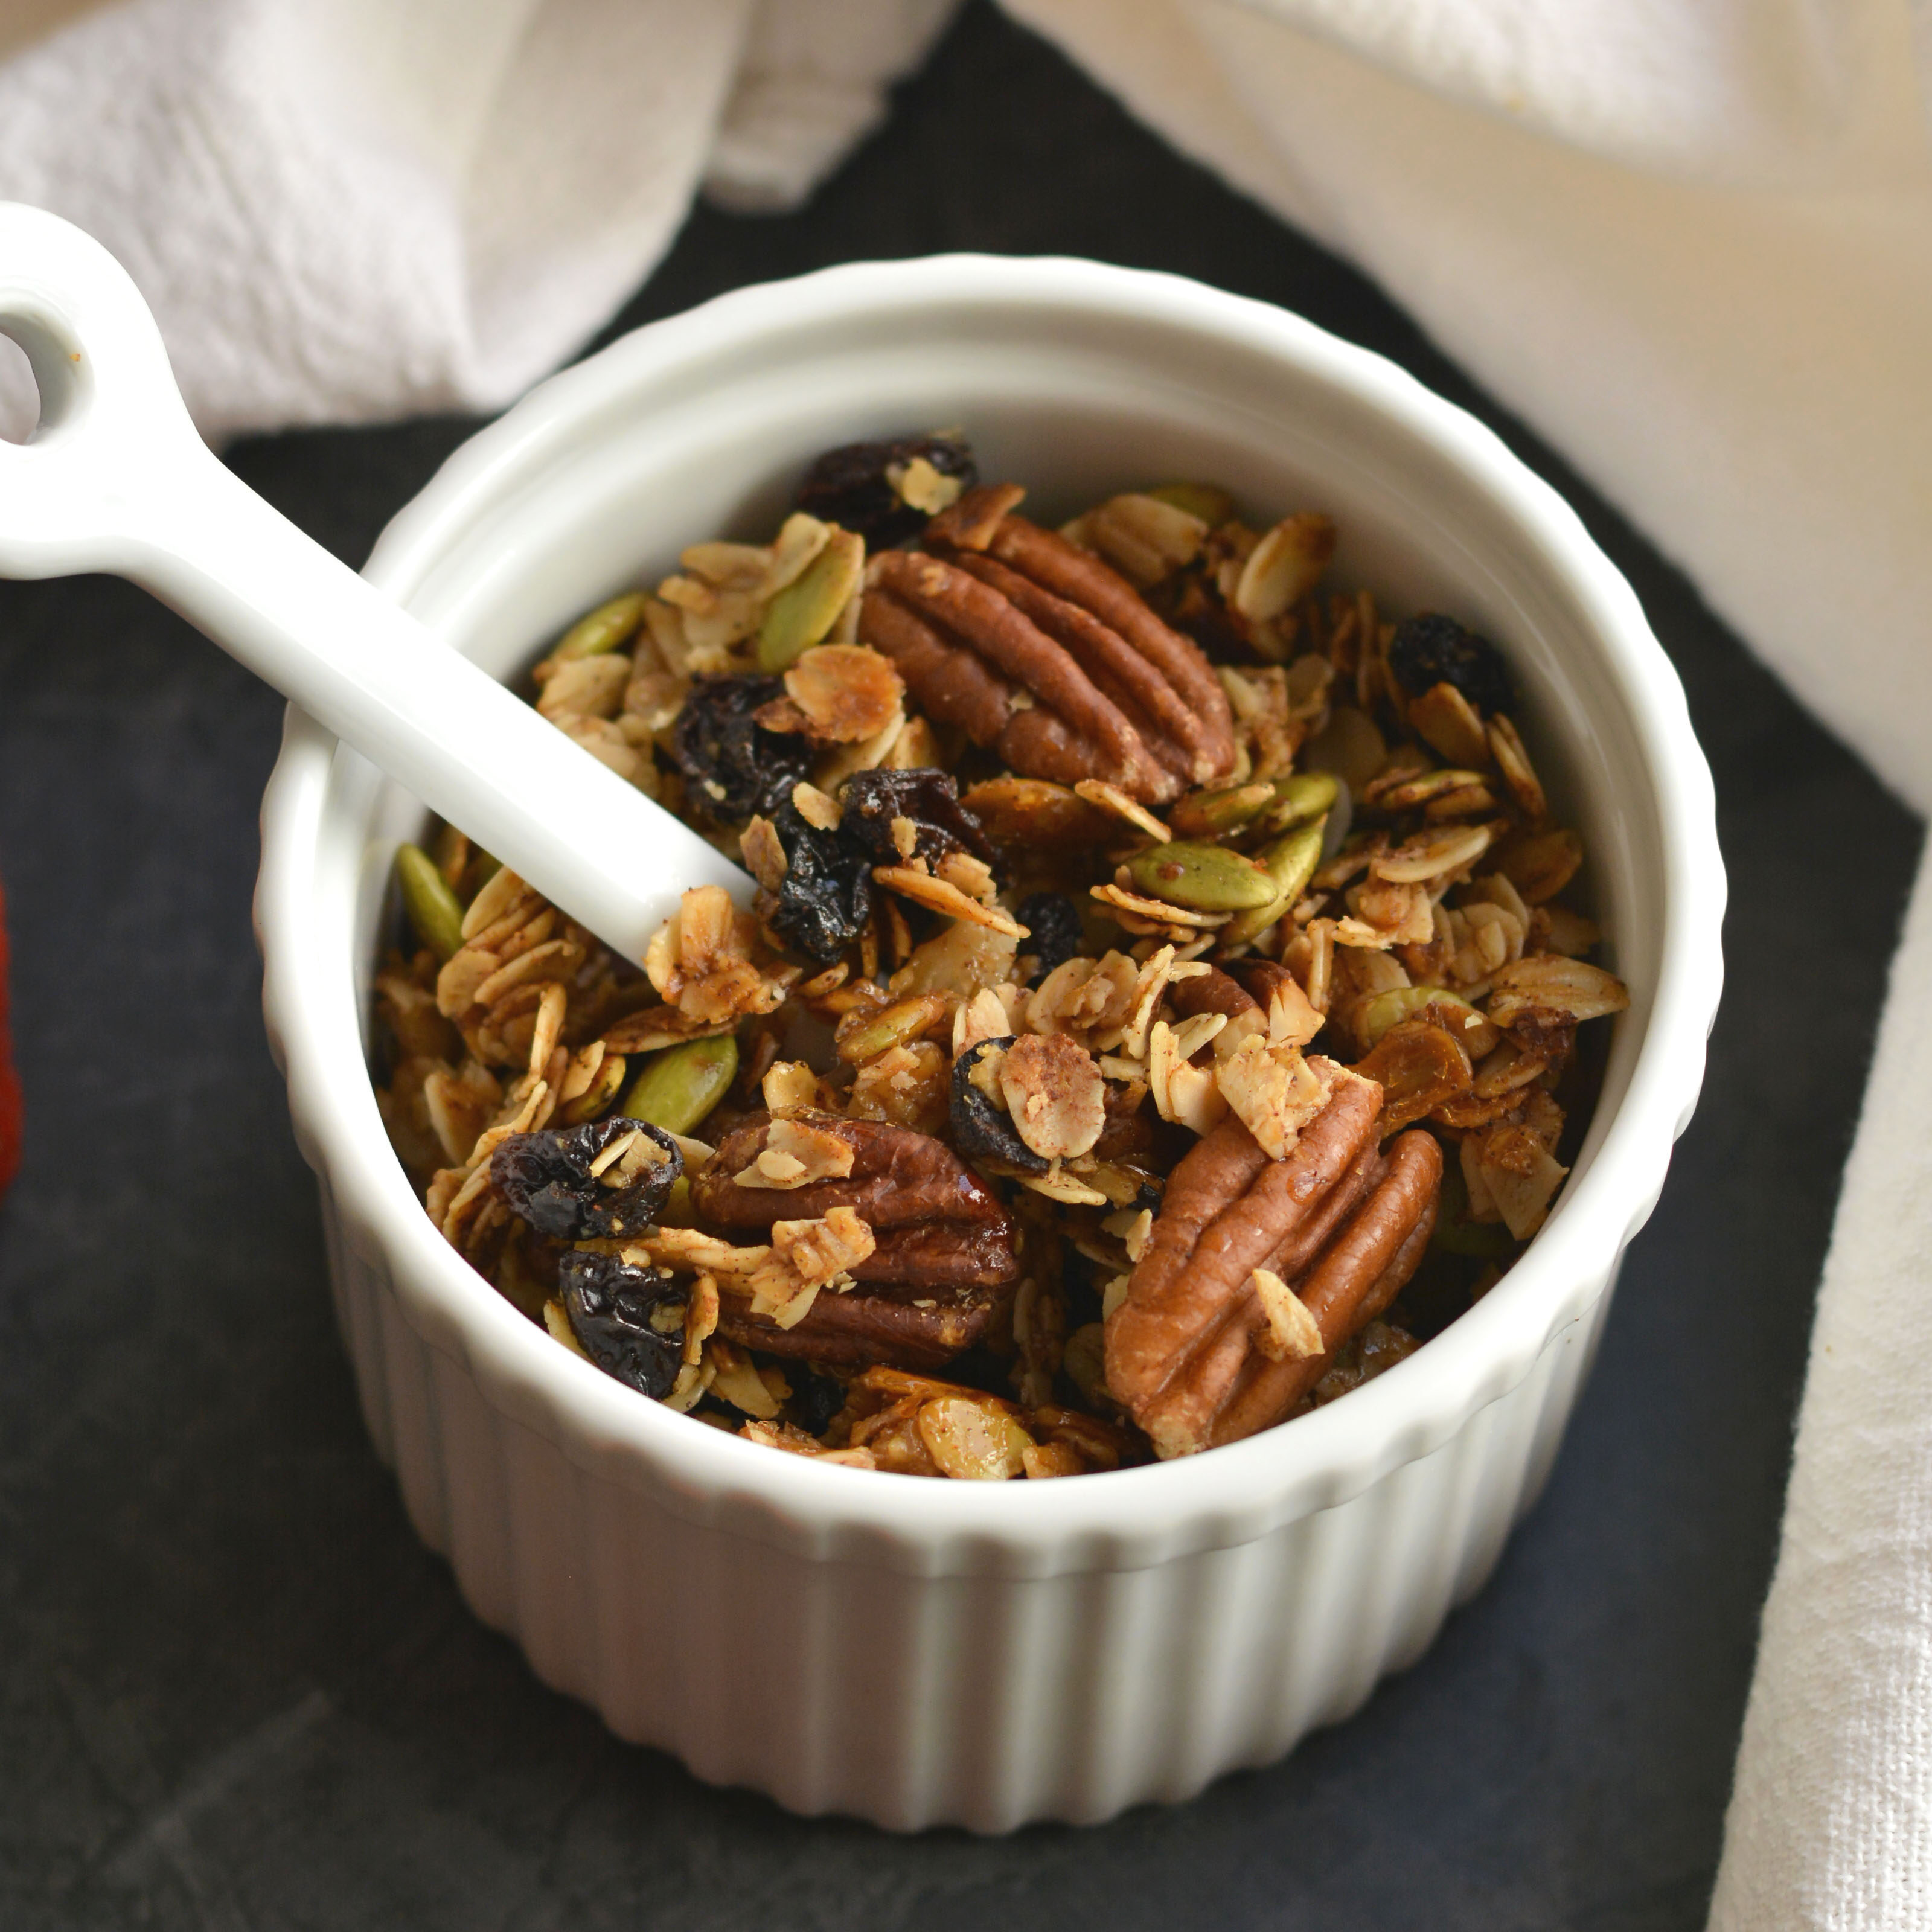
Easy Gluten-Free Fall Breakfast Granola (Healthy Meal Prep Snack)
-
Sweet and Sour Mushrooms
-
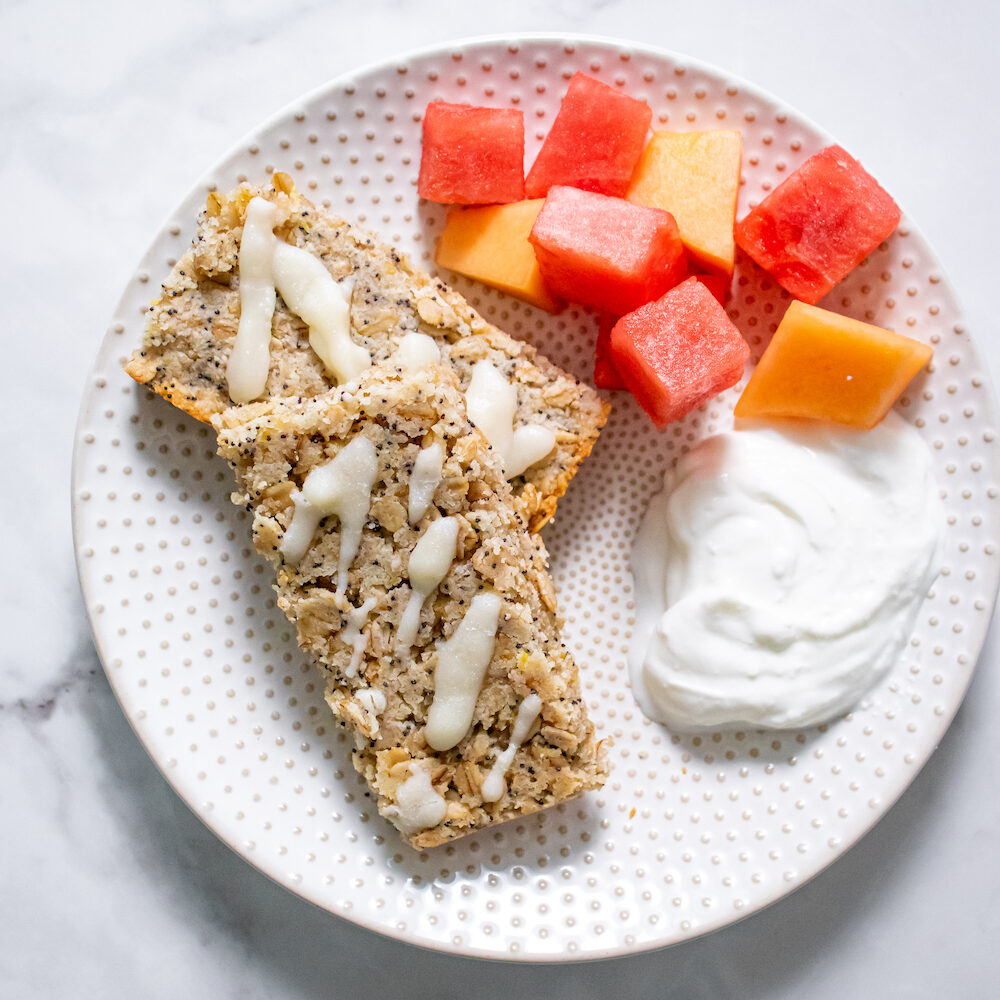
Lemon Poppy Seed Oatmeal Bars (Easy Snack Meal Prep)
-
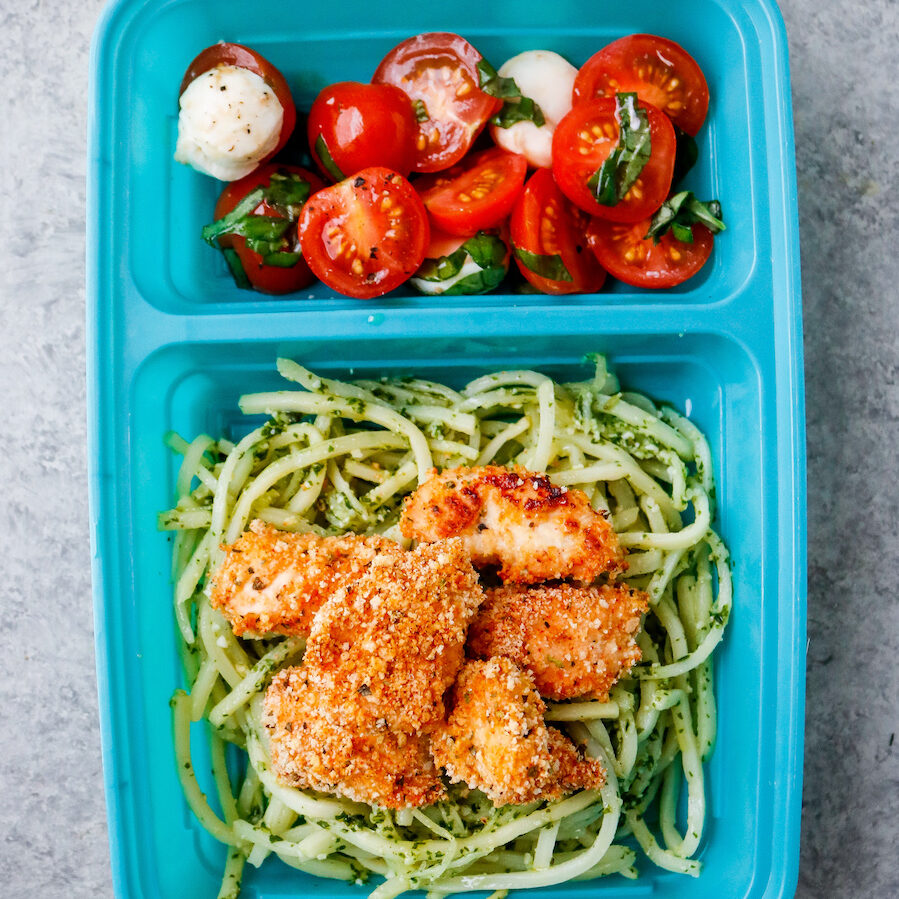
Pesto Noodles with Crispy Chicken Bites (Gluten-Free Meal Prep)
-
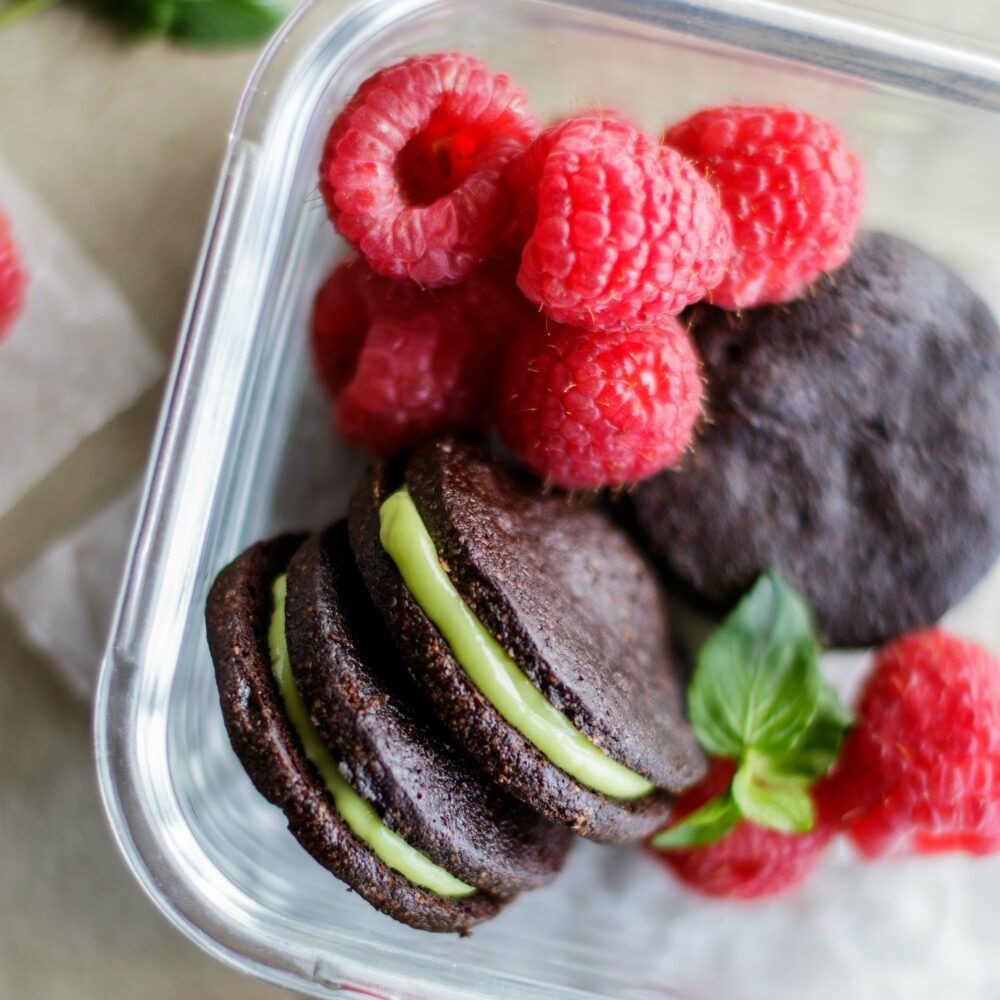
How to Make Homemade Mint Oreo Cookies (Vegan friendly)
-
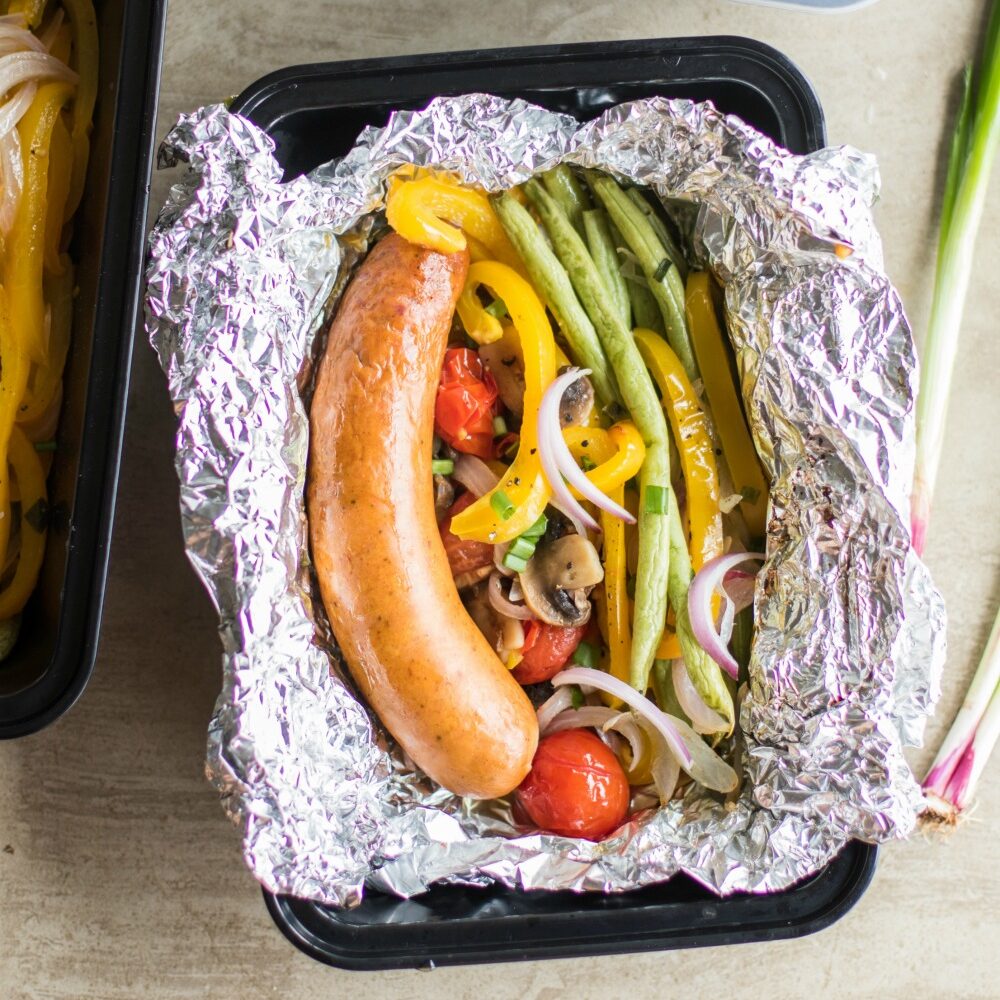
Sausage Grill Packet Meal Prep
-
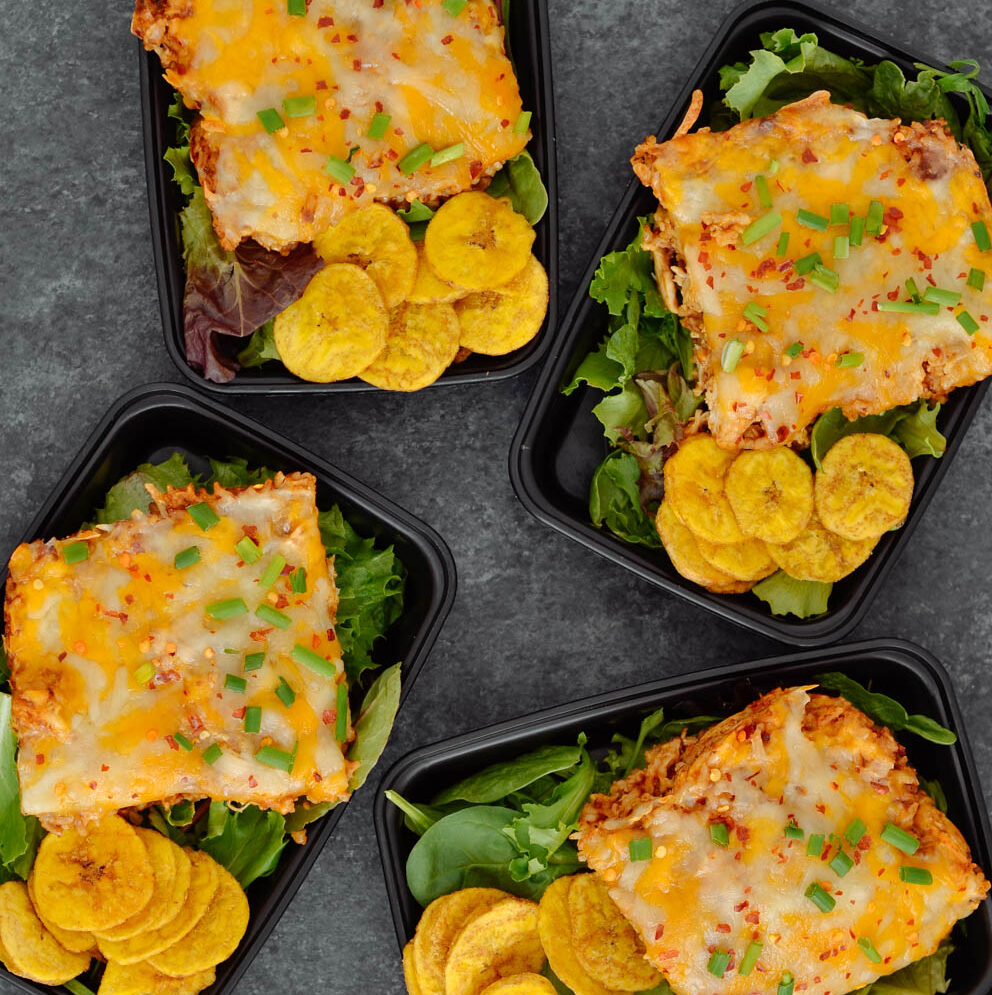
Mexican Whole Grain Rice & Quinoa Casserole Meal Prep
-
Morning Glory Muffins (Gluten-Free, Refined Sugar-Free)