Calorie-Conscious Meals
-
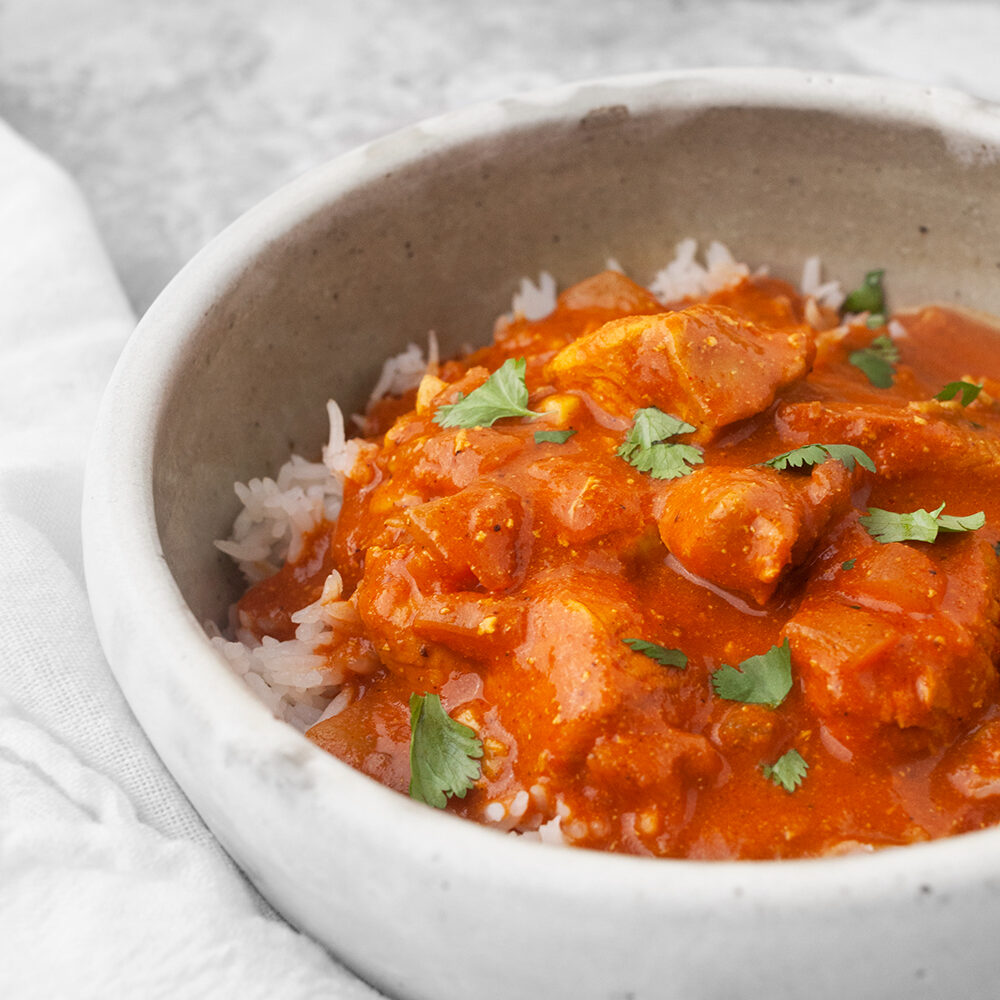
Chicken Tikka Masala Meal Prep (Instant Pot Version)
-
Healthier Kung Pao Chicken Meal Prep
-
Instant Pot Beef Barbacoa Meal Prep Bowls
-
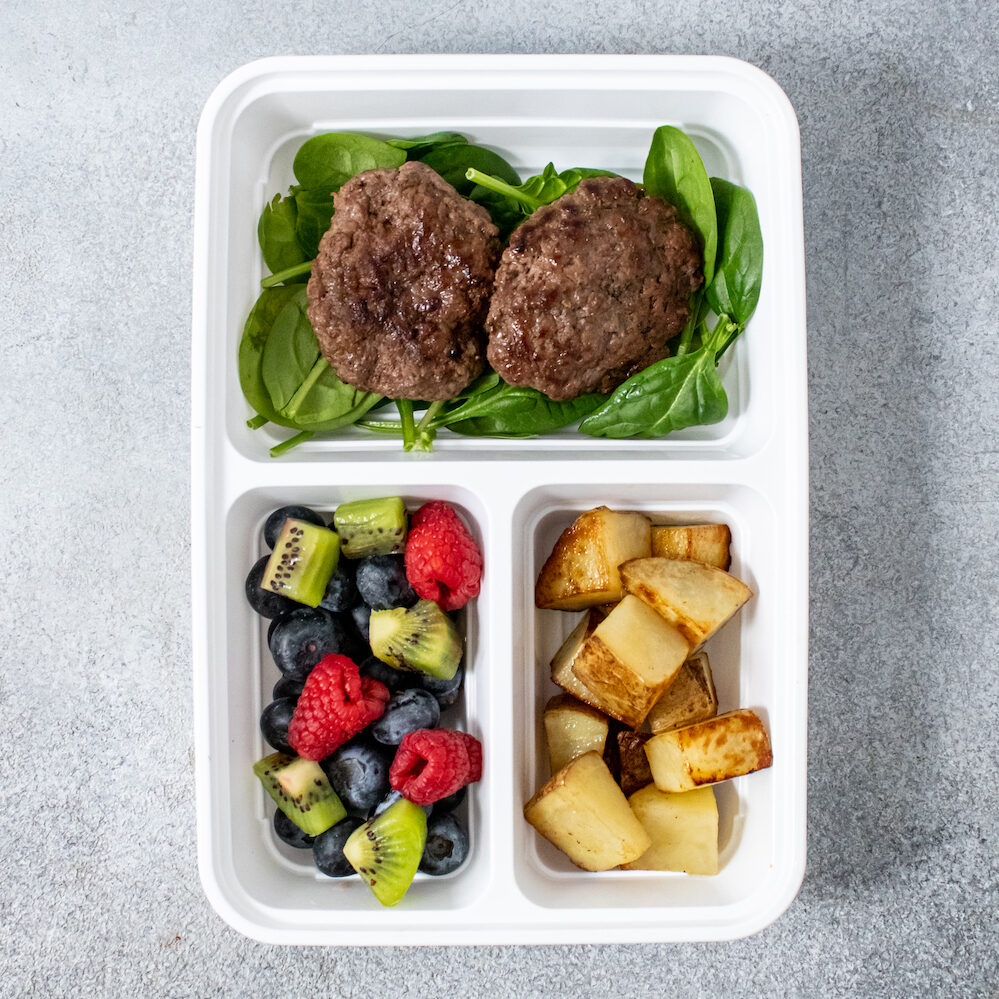
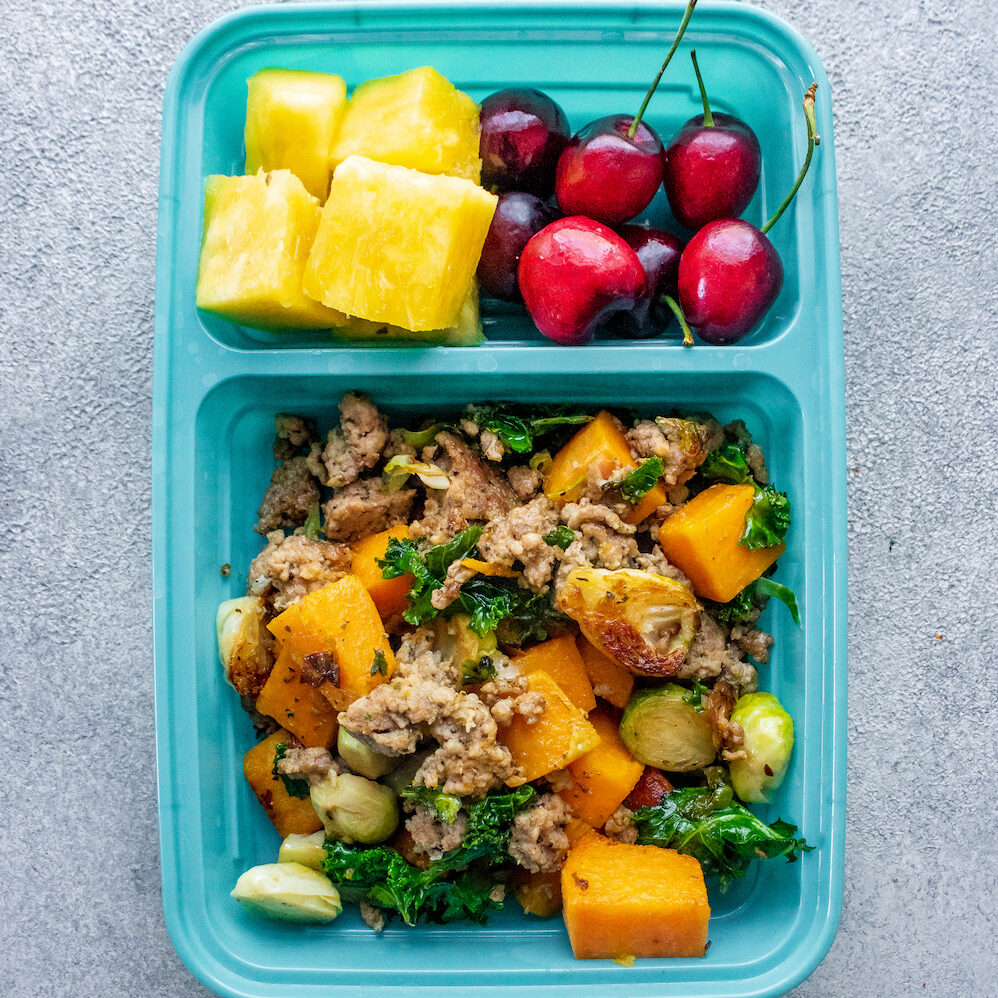
Easy Breakfast Beef Sausage (AIP, Paleo, Whole30, Keto)
-
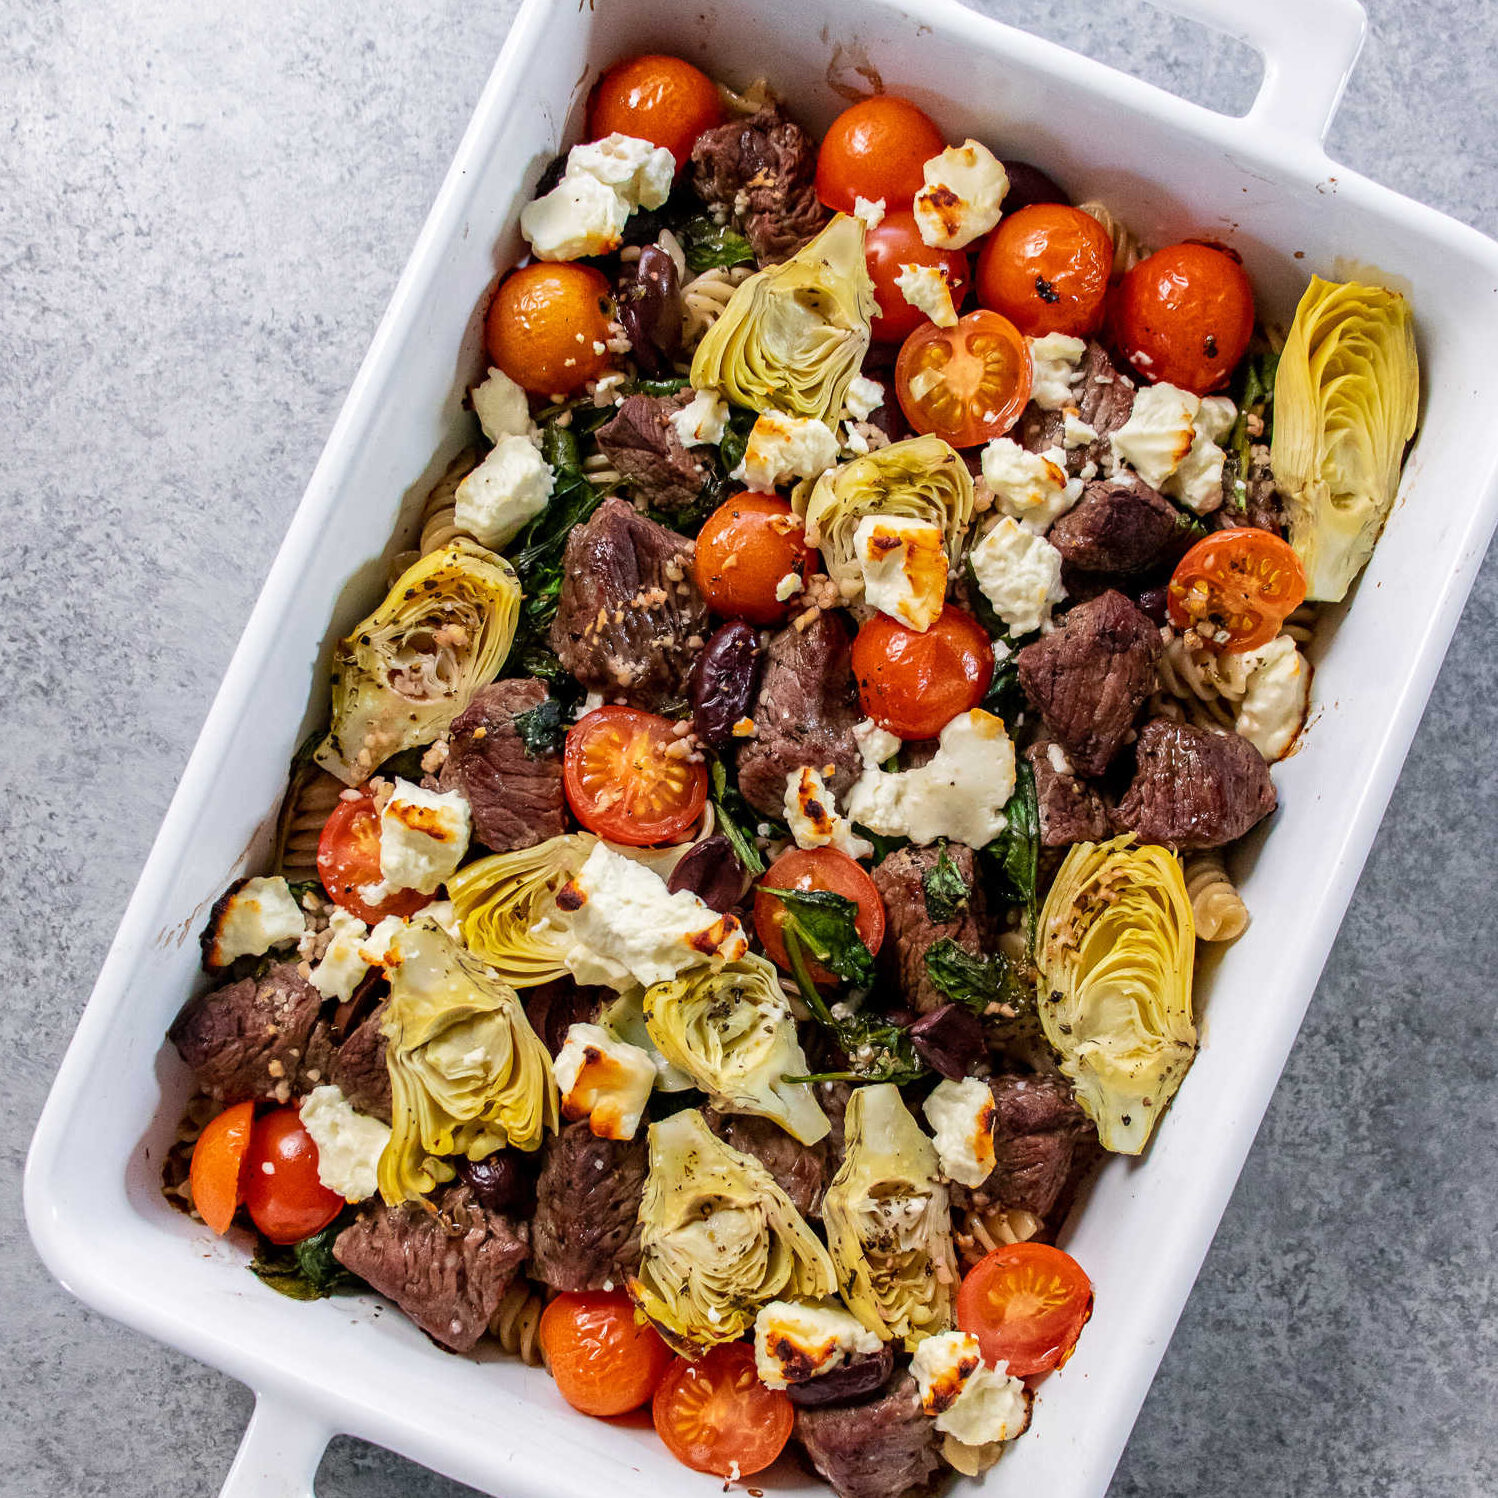
Mediterranean Pasta Bake (Meal Prep Friendly)
-
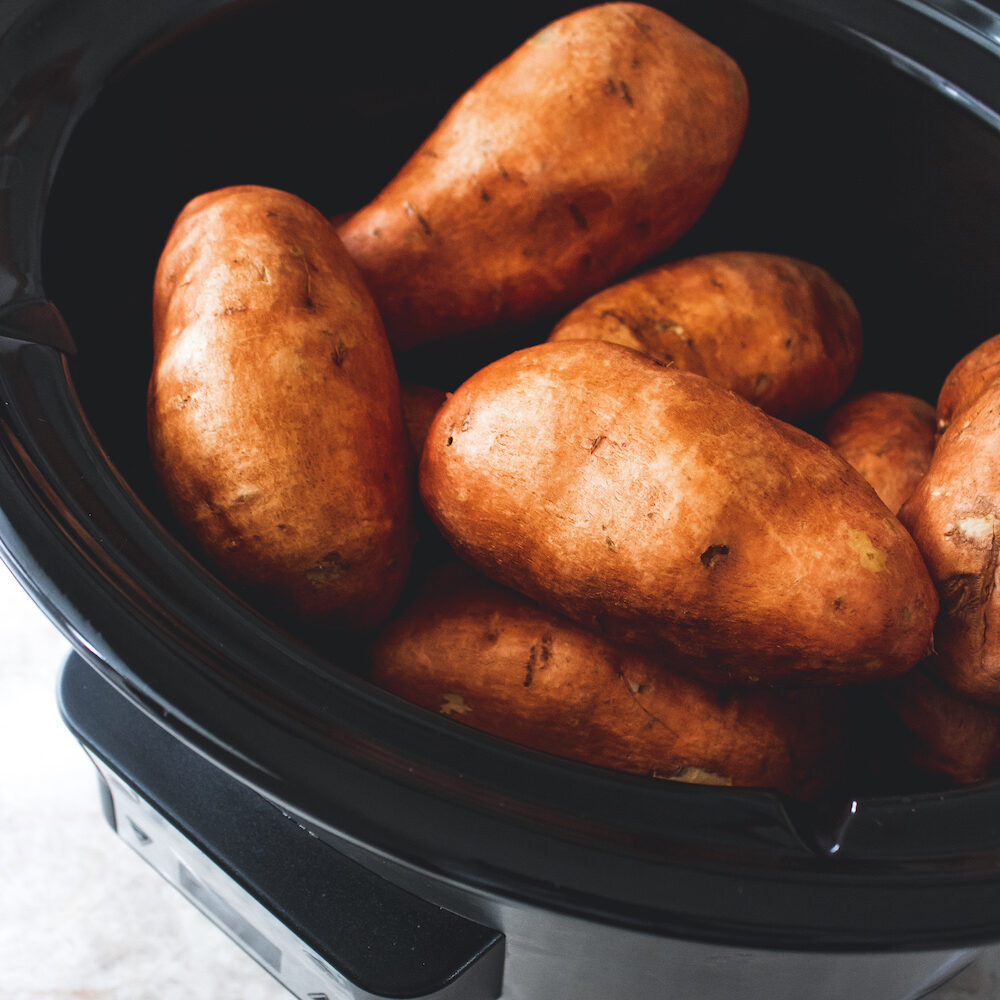
How to Make Crockpot Sweet Potatoes
-
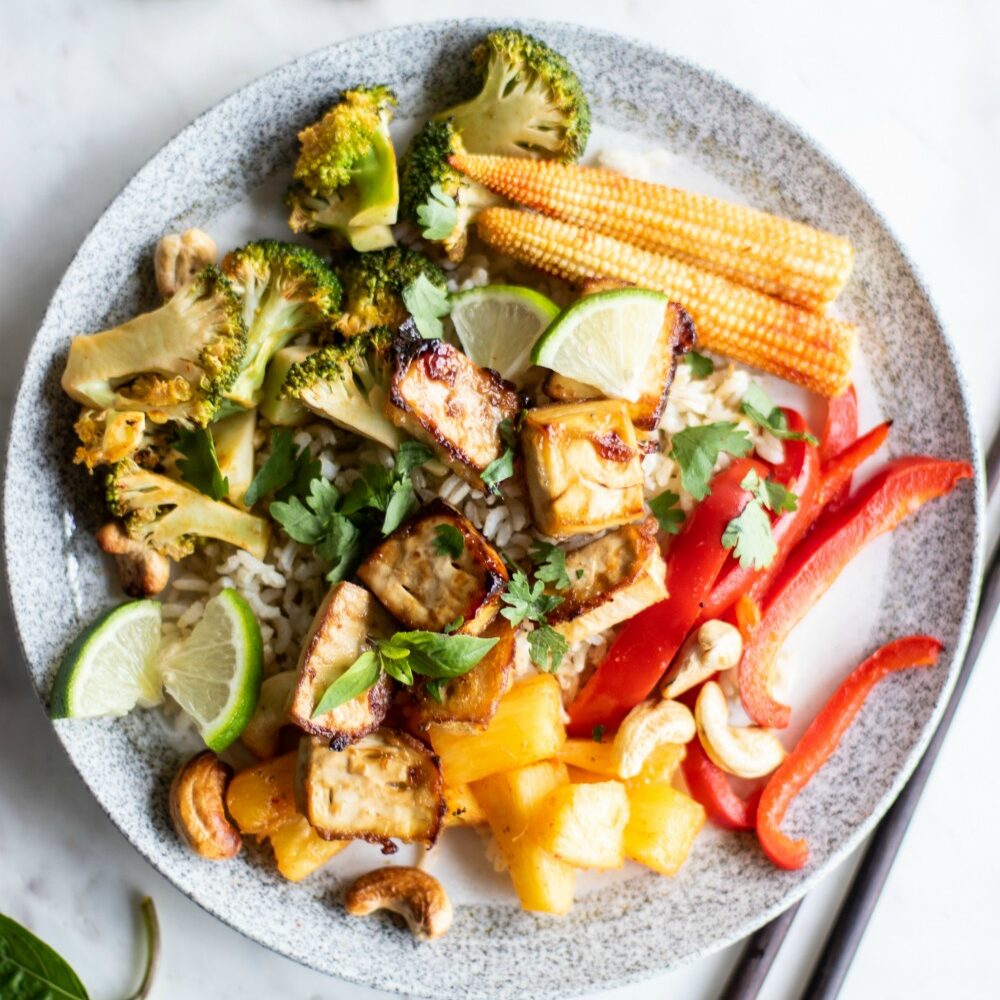
Thai Chili Tofu Sheet Pan Meal Prep
-
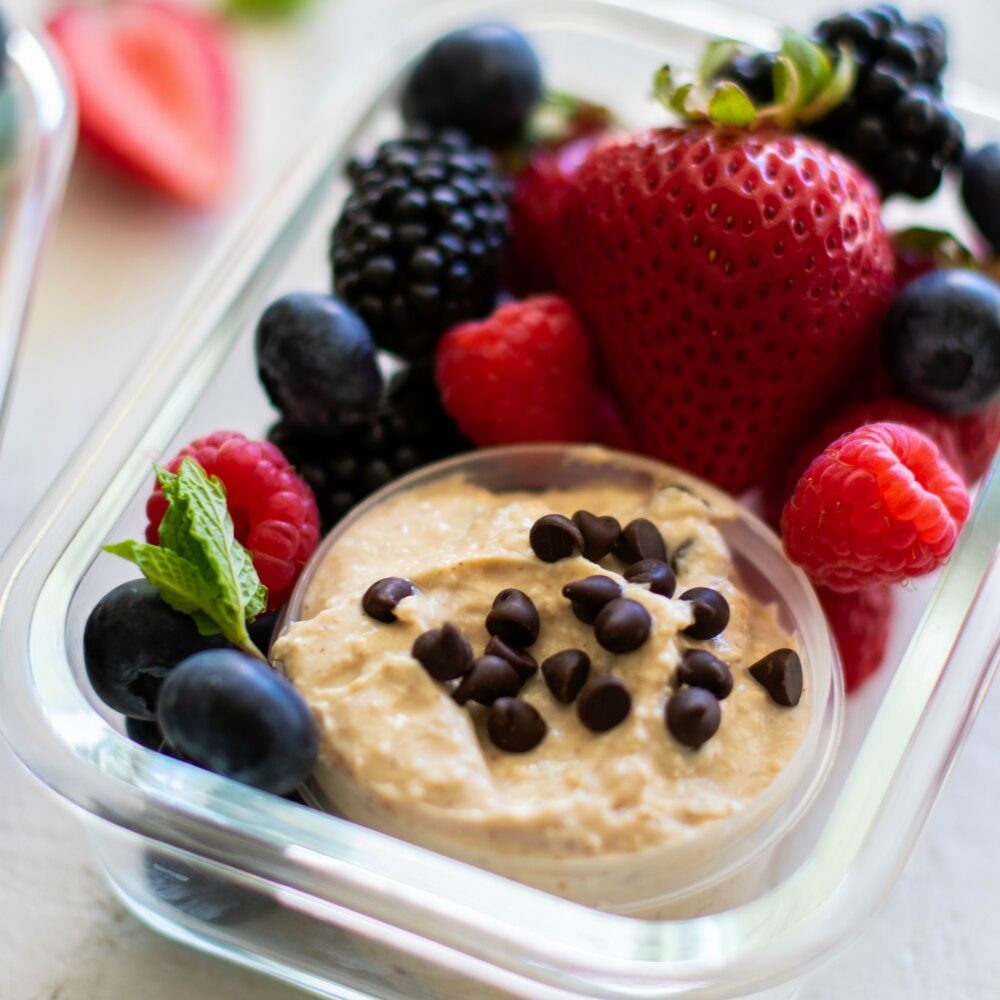
Meal Prep Snack idea: Greek Yogurt Cookie Dough Fruit Dip
-
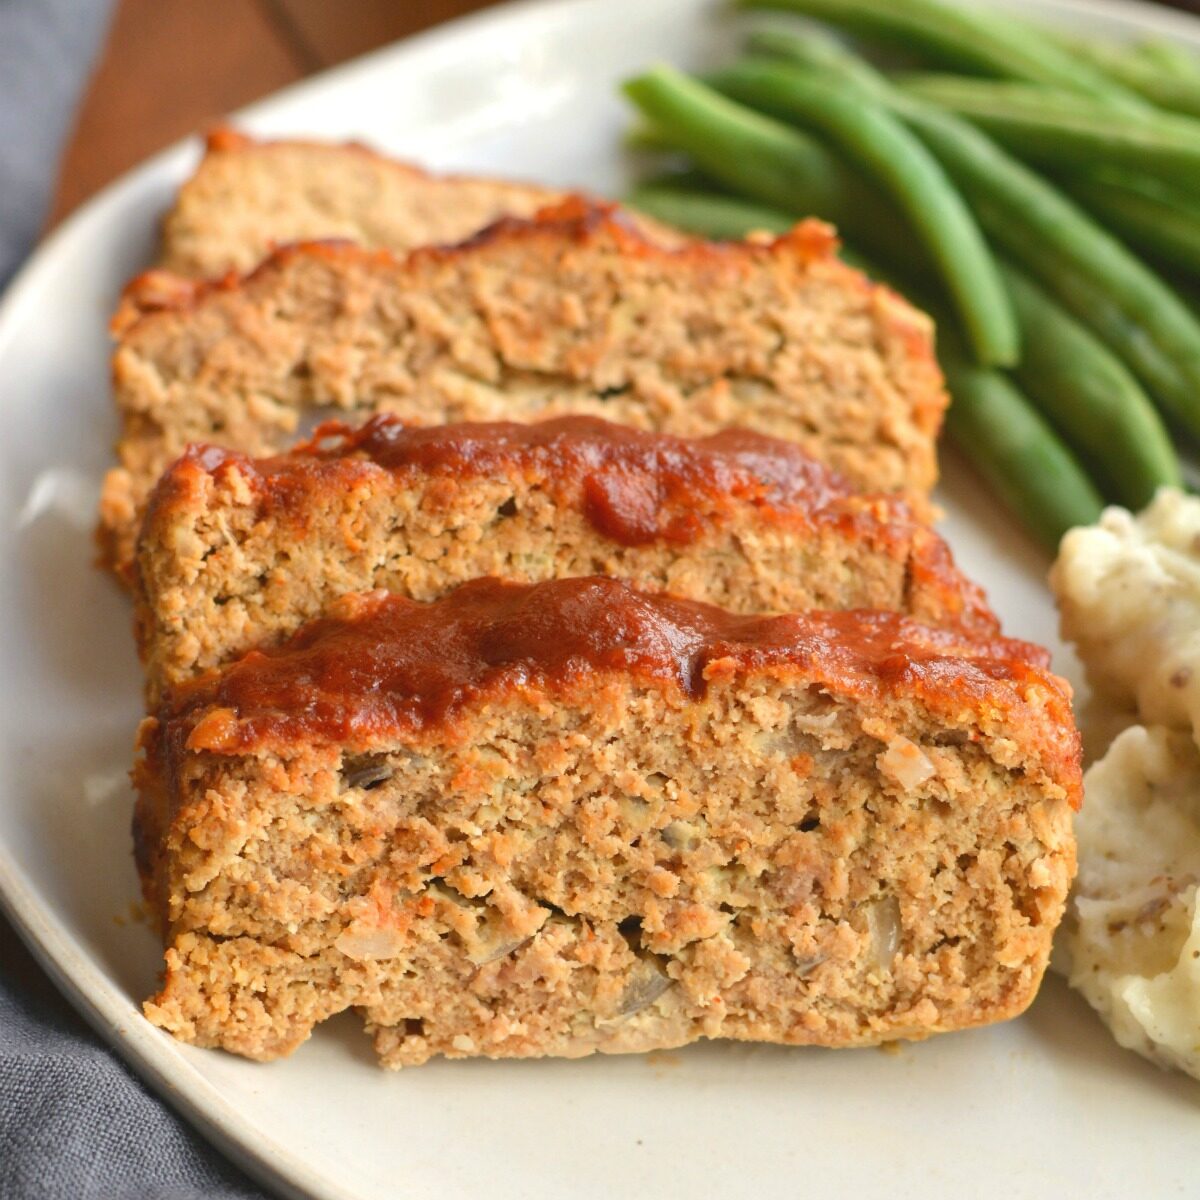
Apple BBQ Meatloaf & Mashed Potato Meal Prep
-
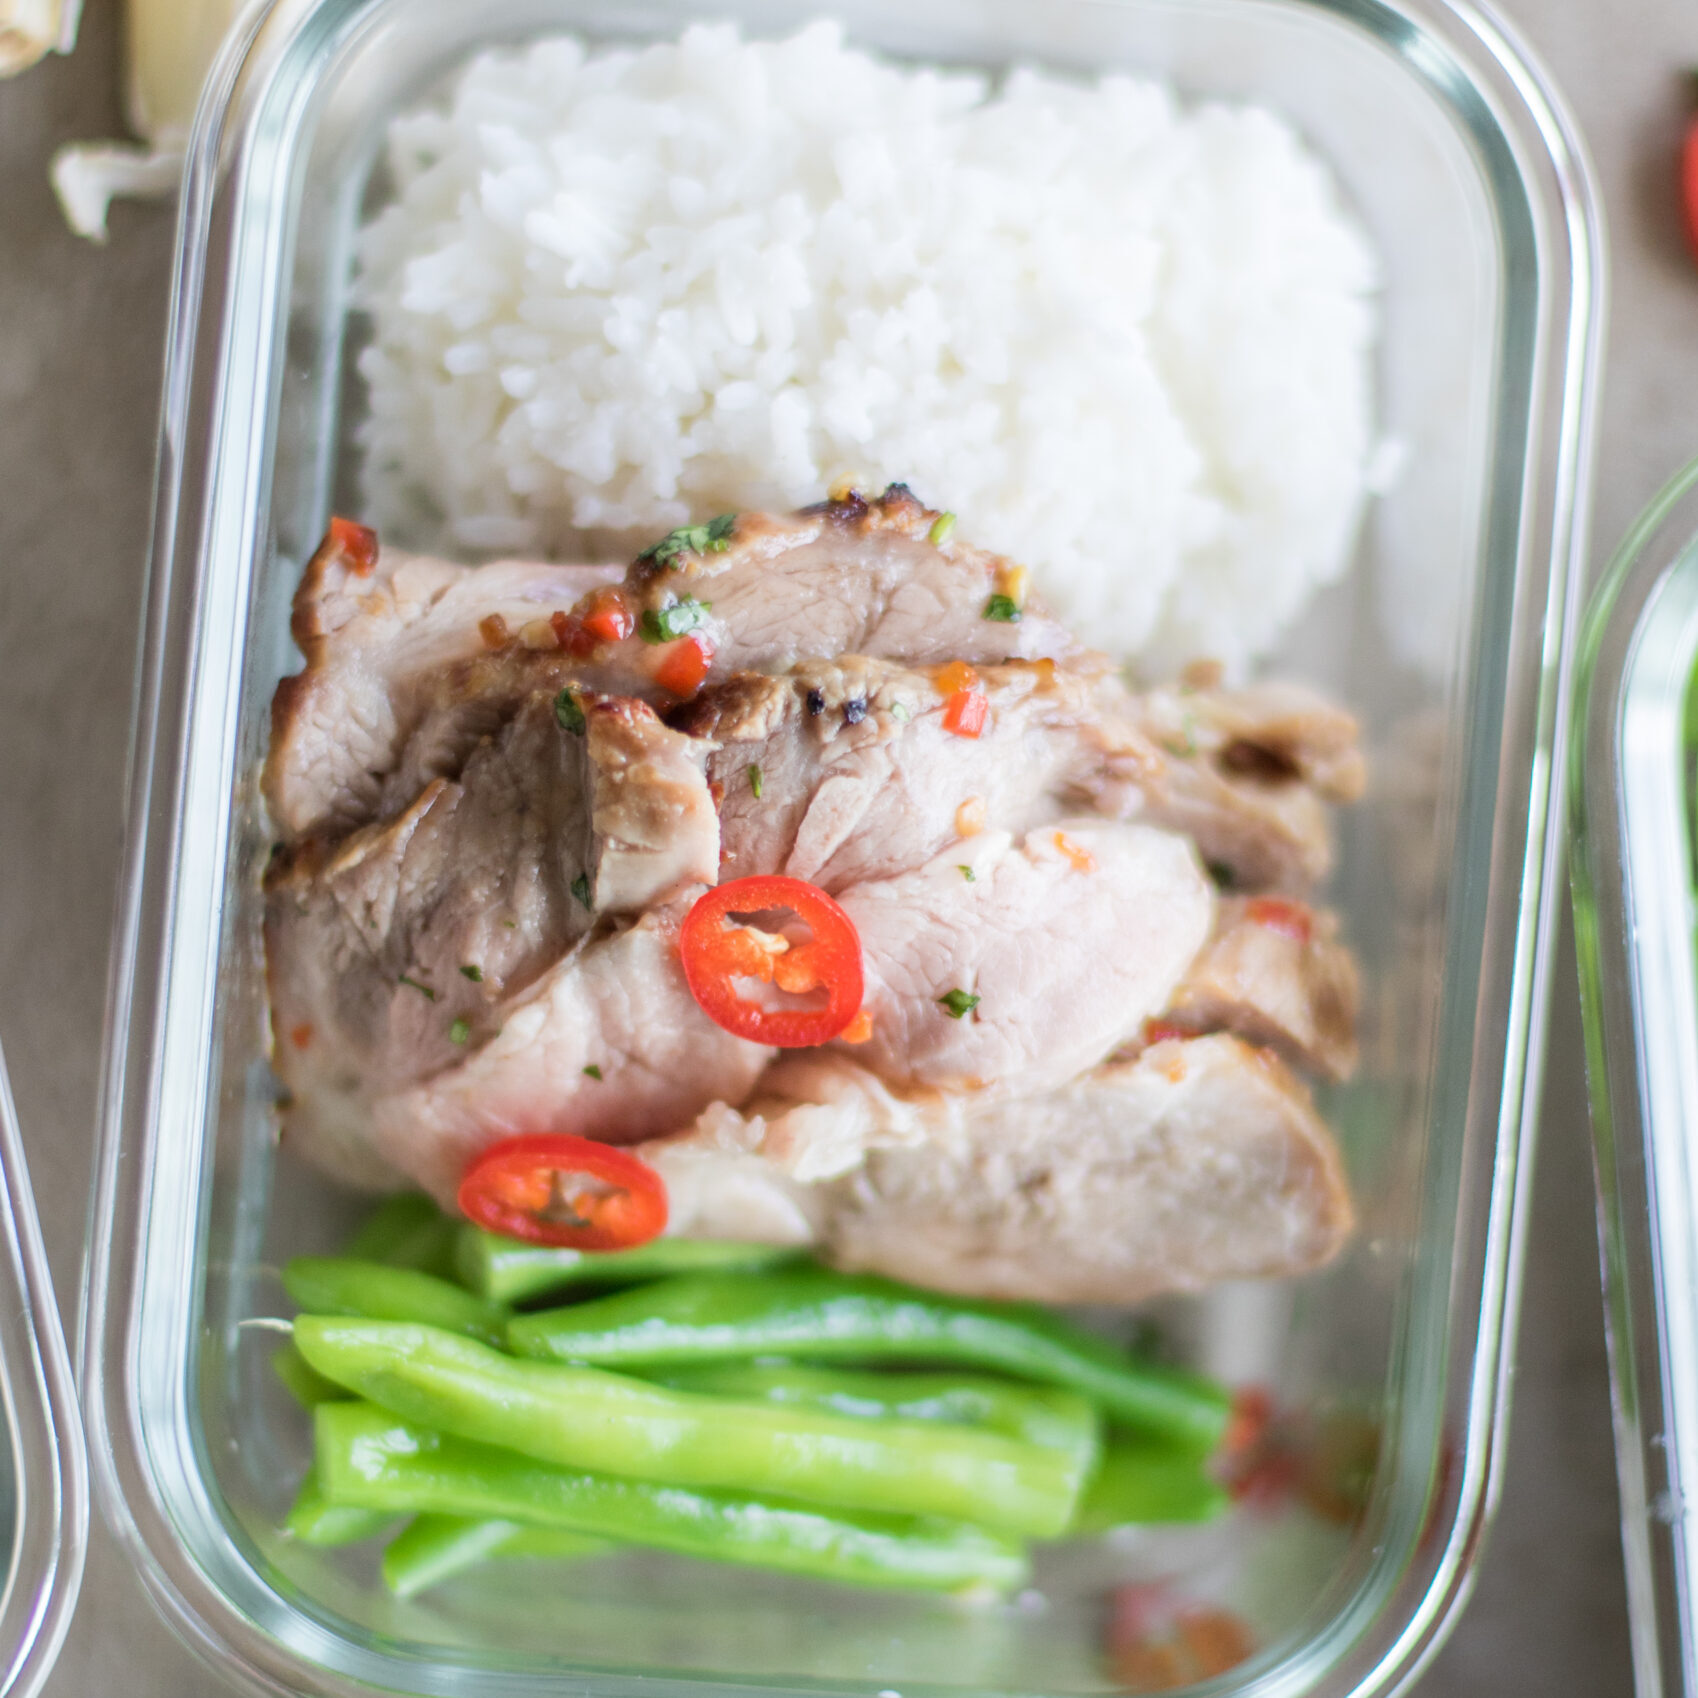
Thai Inspired Tenderloin: Thai Sweet Chili Pork Meal Prep
-
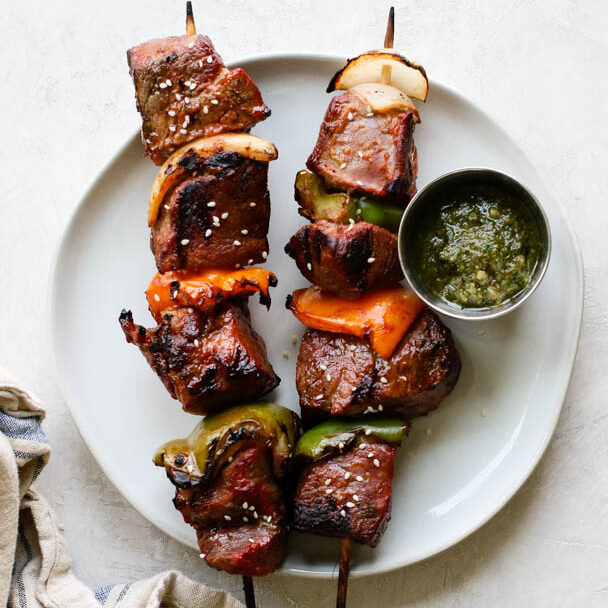
My Favorite Pesto Beef Kabob Meal Prep
-
Garlic Shrimp and Broccoli Meal Prep (Whole30 & Takeout-Inspired)
-
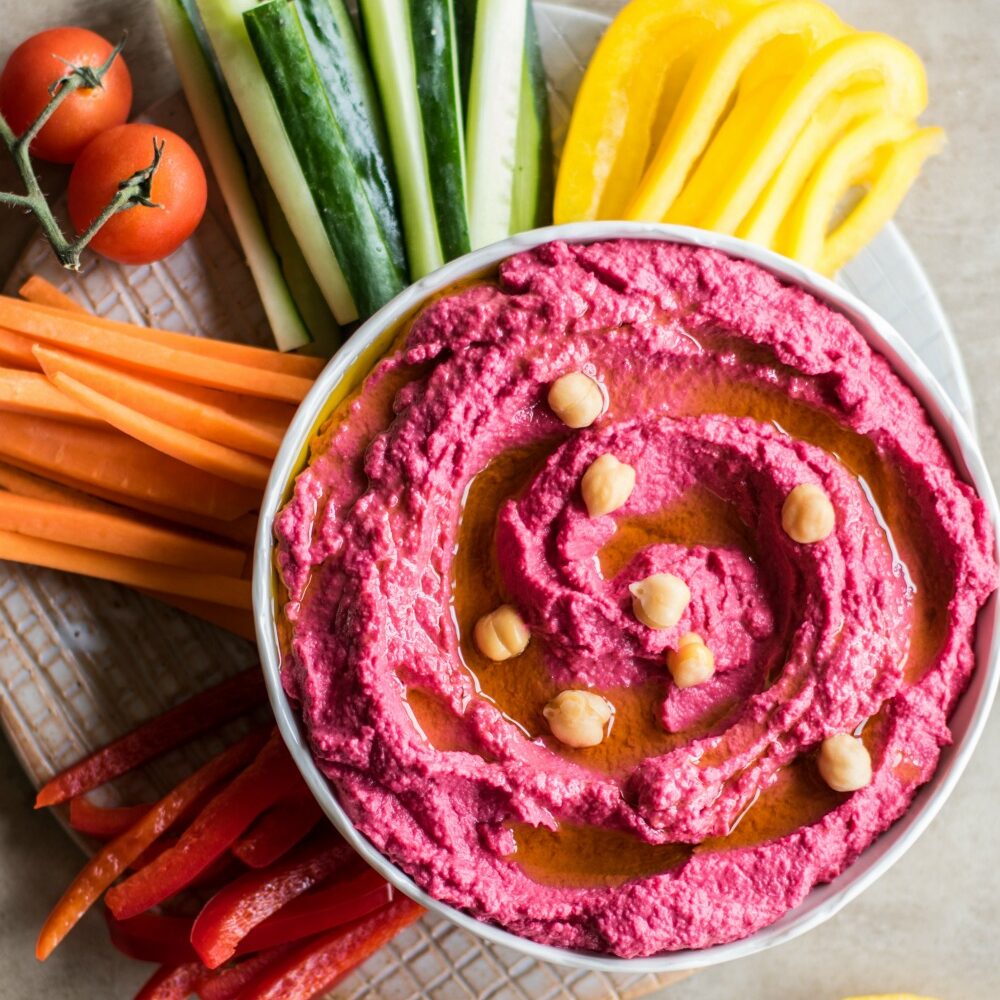
The Best Beet Hummus - Plus a Veggie Dipper Snacks
-
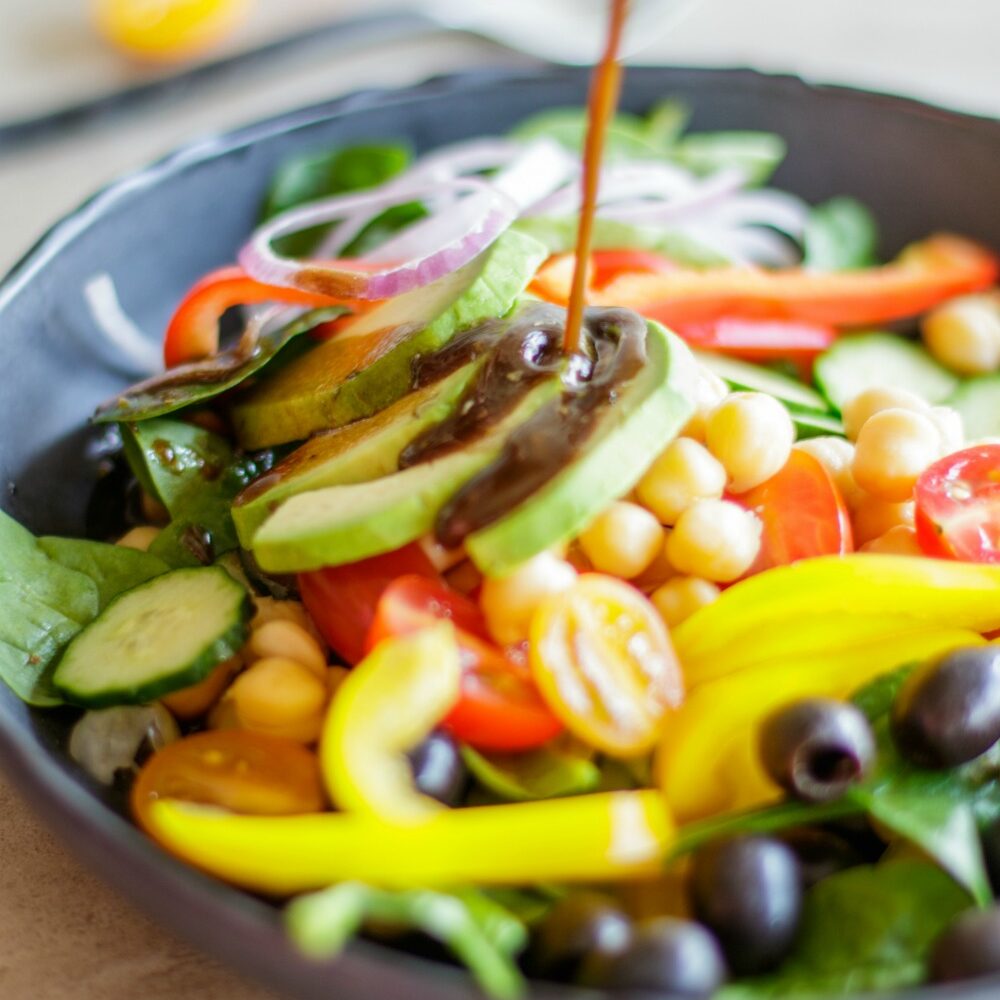
Vegan Chopped Chickpea Greek Salad Meal Prep
-
Chimichurri Steak Meal Prep - Two Ways (Bowls and Tacos)
-
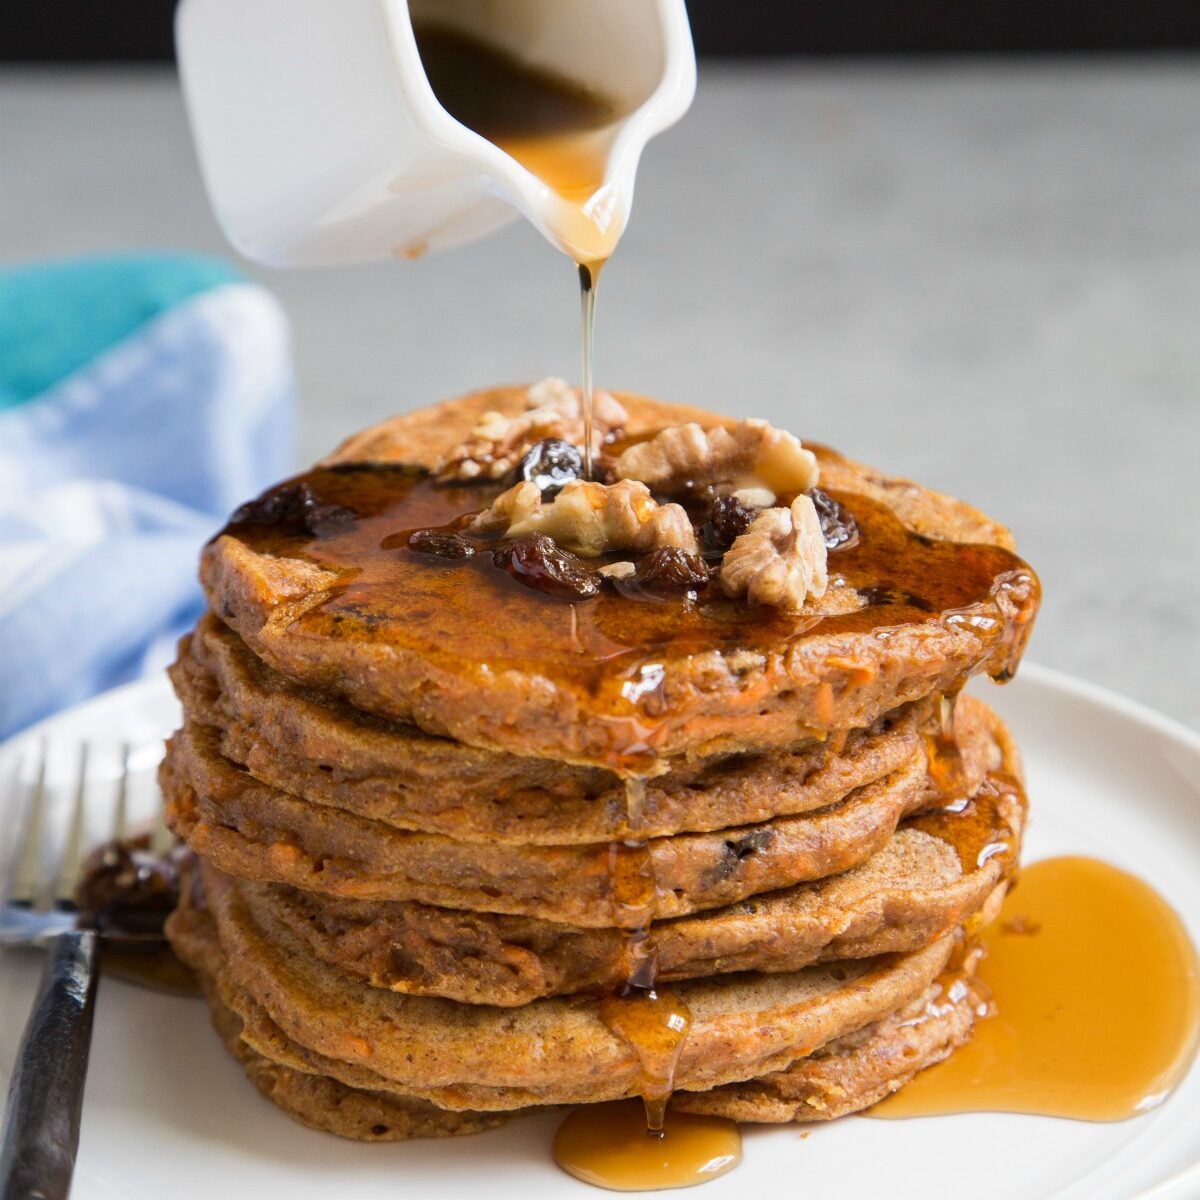
How to Make Carrot Cake Pancakes
-
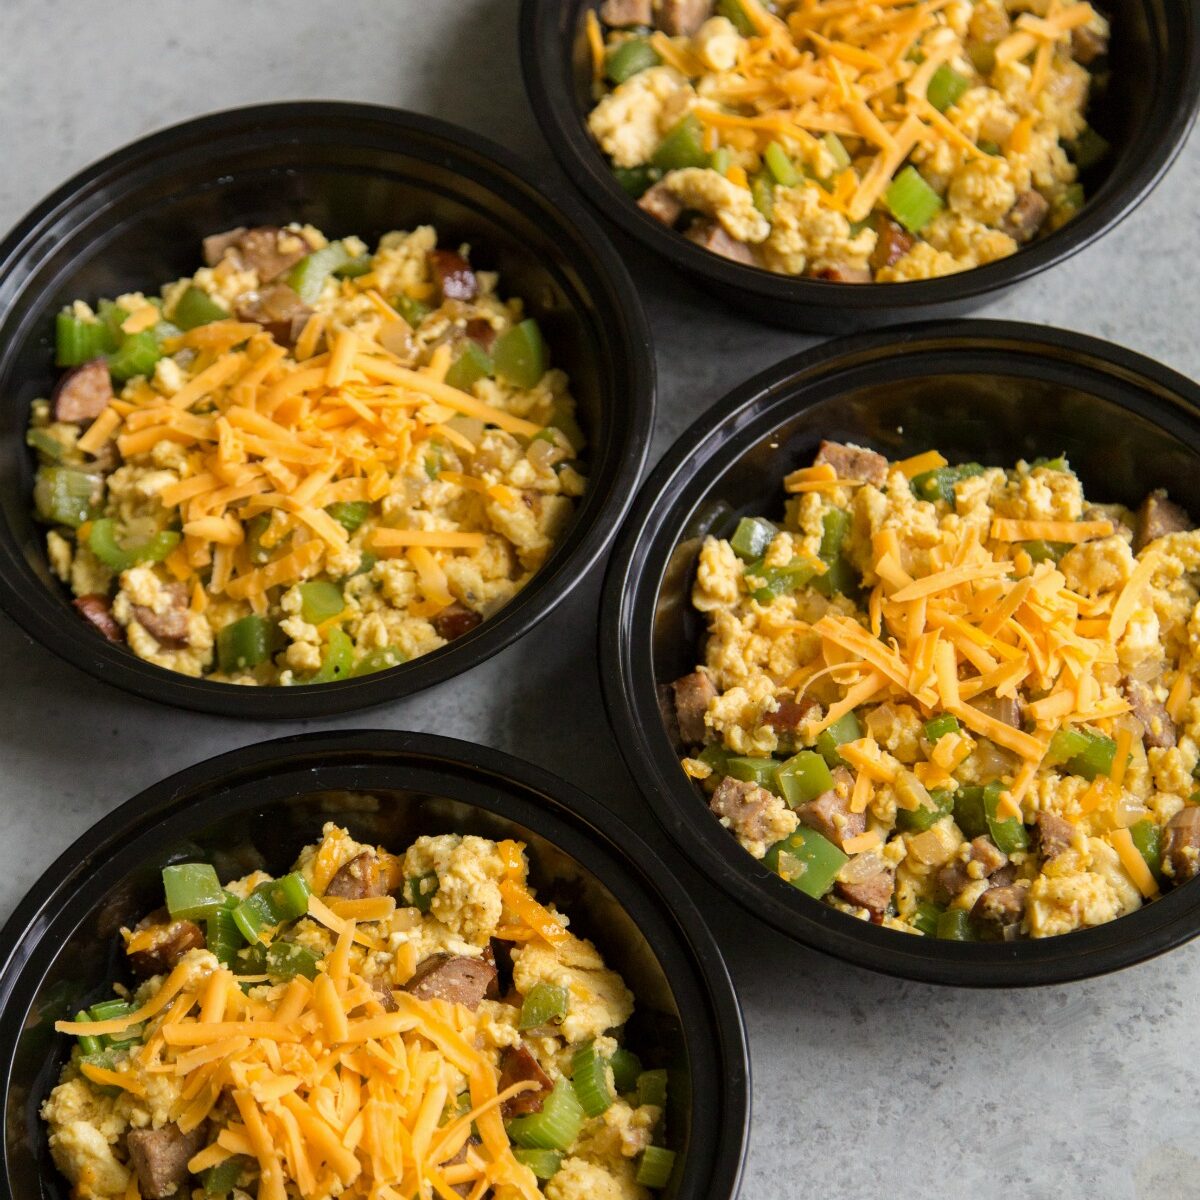
Cajun Sausage Breakfast Scramble
-
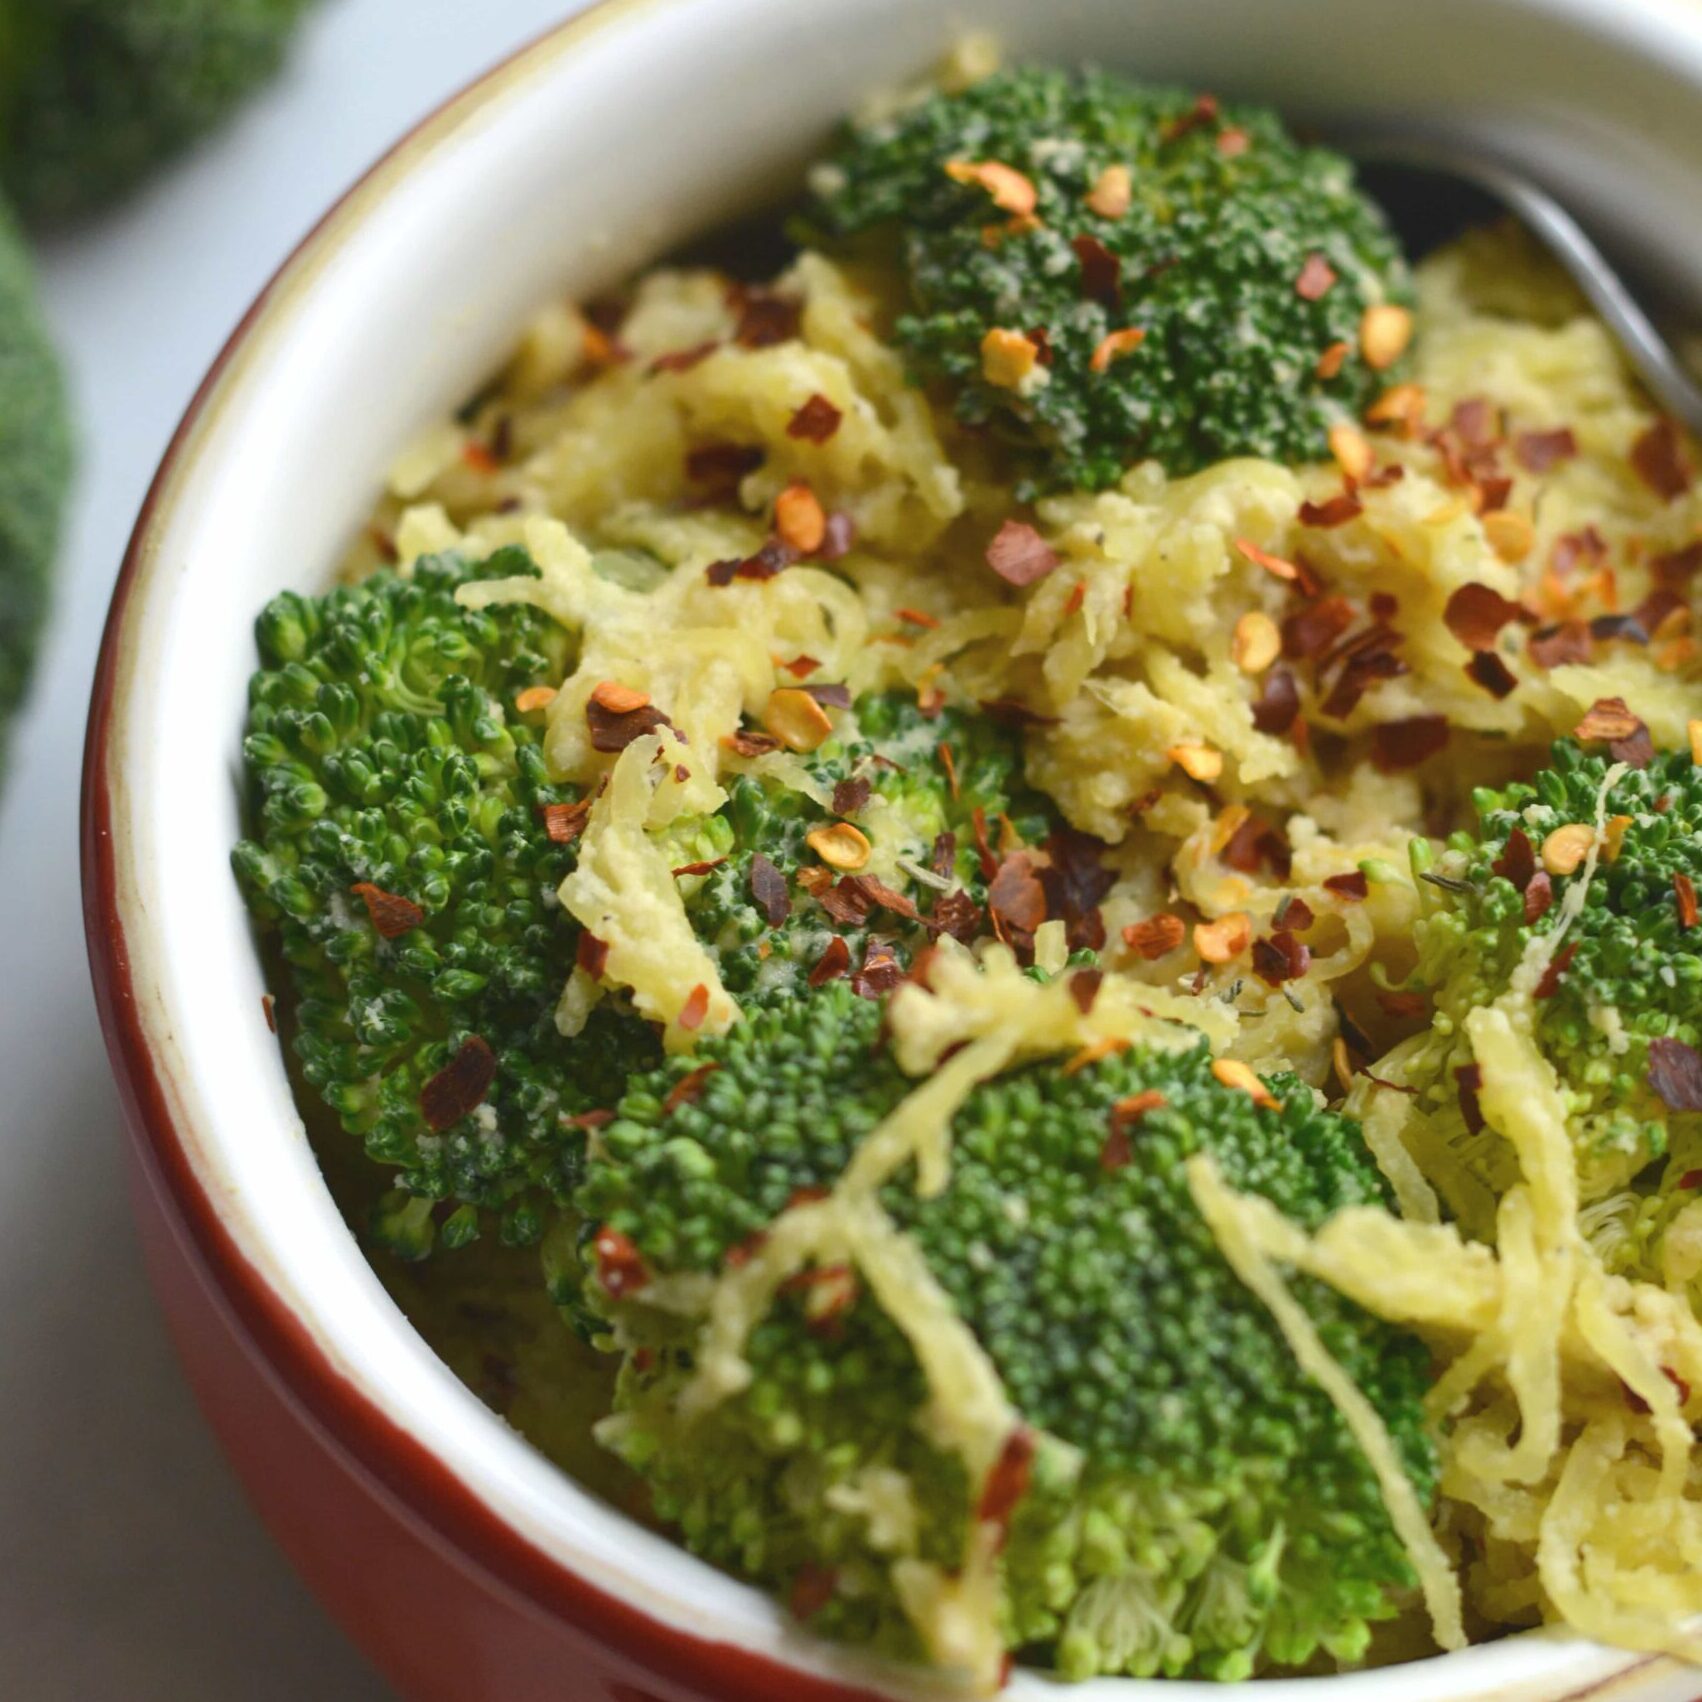
Vegan 'Cheesy' Spaghetti Squash Meal Prep
-
Plantain Taco Bowl Meal Prep (Whole30 Friendly)
-
Pizza Chicken Meal Prep Recipe (Low Carb, High Flavor)
-
Cocoa Hazelnut Energy Bites (No Bake!)
-
Grain Free Granola
-
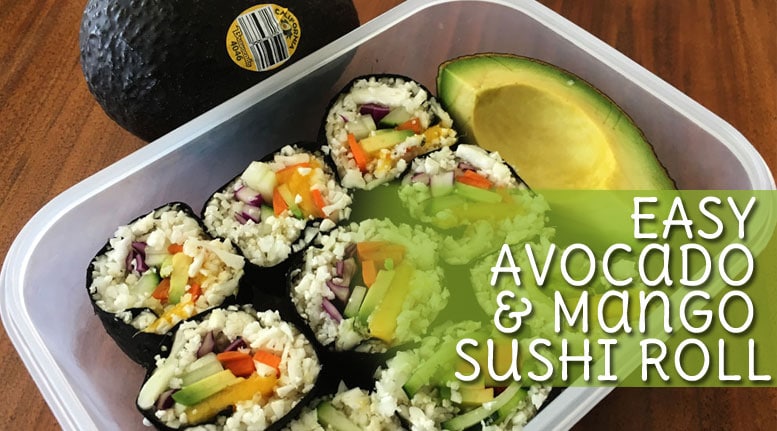
Easy Avocado + Mango Sushi Roll
-
Grilled Halloumi & Summer Squash Kabob Meal Prep
-
Easy Summer Breakfast Salad Meal Prep
-
Avocado and Chicken Summer Rolls | (No-Cook + Meal Prep Friendly)
-
Peach Summer Rolls with Tahini Dipping Sauce
-
The Best Turmeric Scrambled Eggs for Breakfast
-
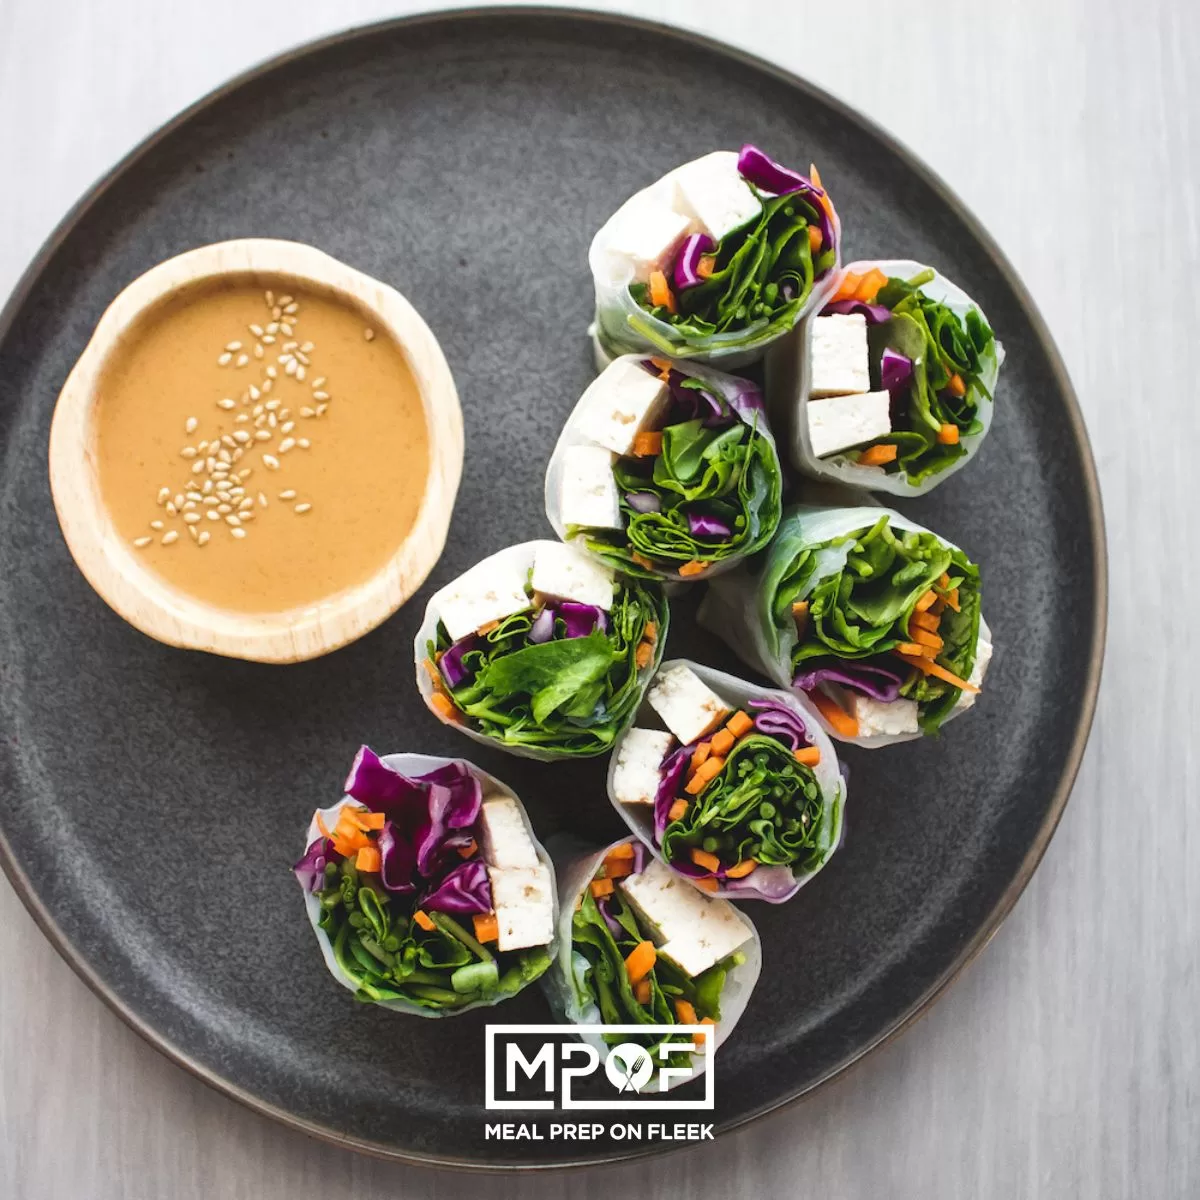
Watercress Spring Rolls (No-Cook + Meal Prep Friendly!)
-
My Favorite Teriyaki Chicken and Vegetables Recipe for Meal Prep
-
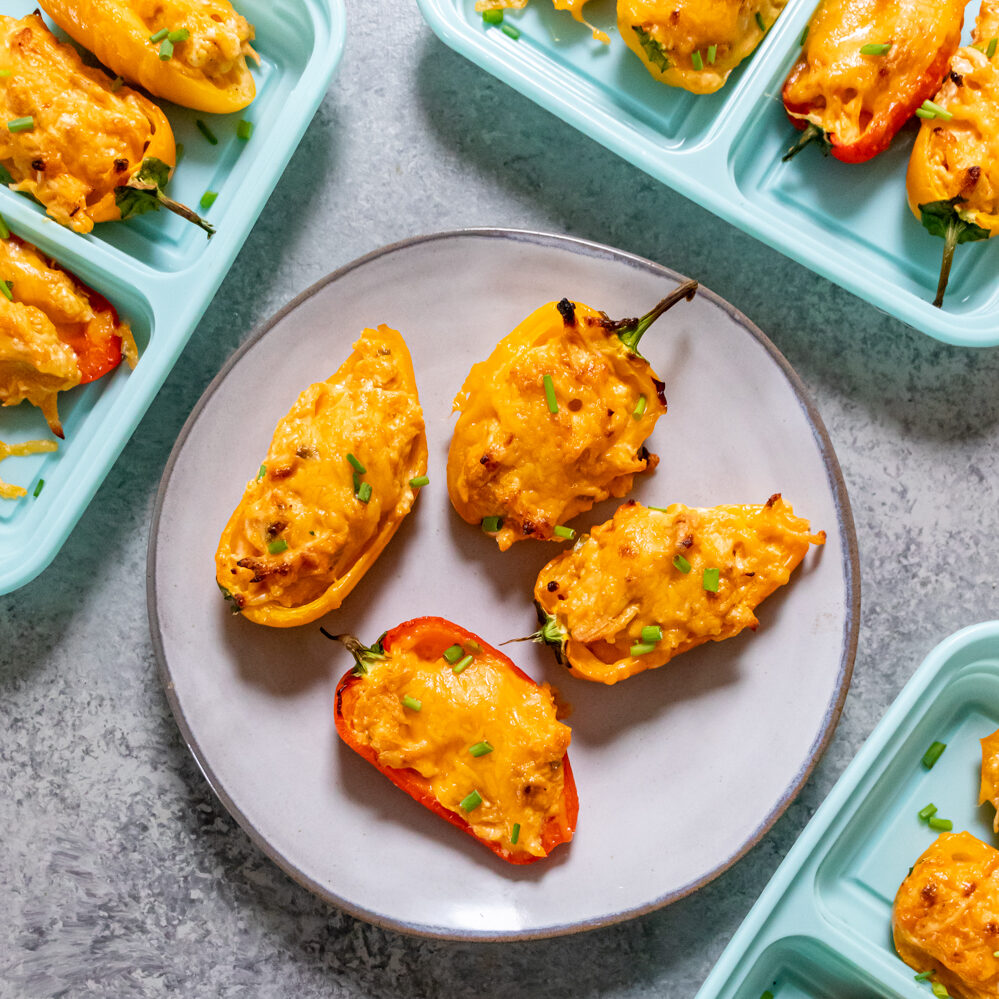
Low Carb Buffalo Chicken Mini Bell Peppers
-
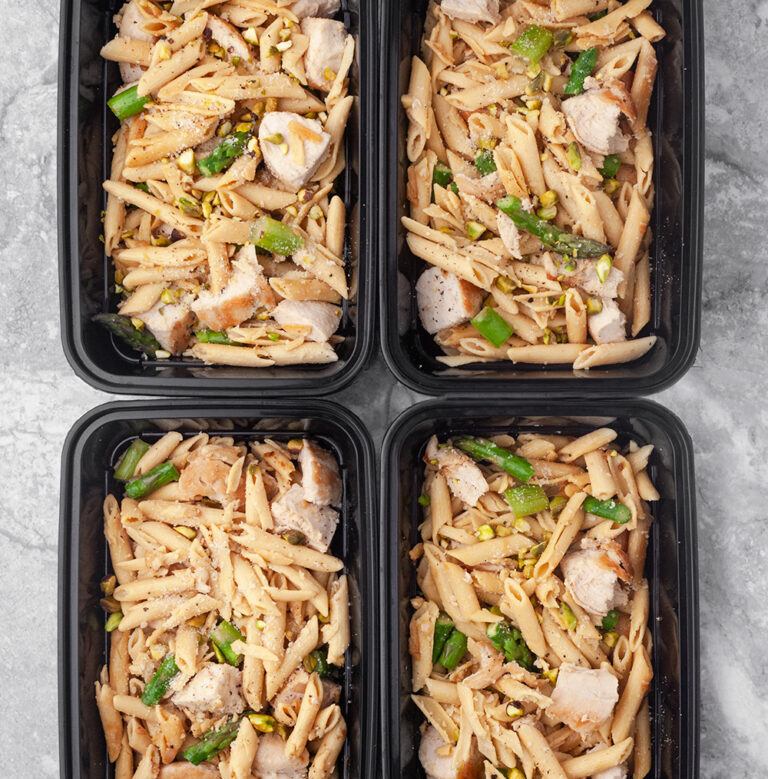
Chicken Penne With Asparagus and Pistachios
-
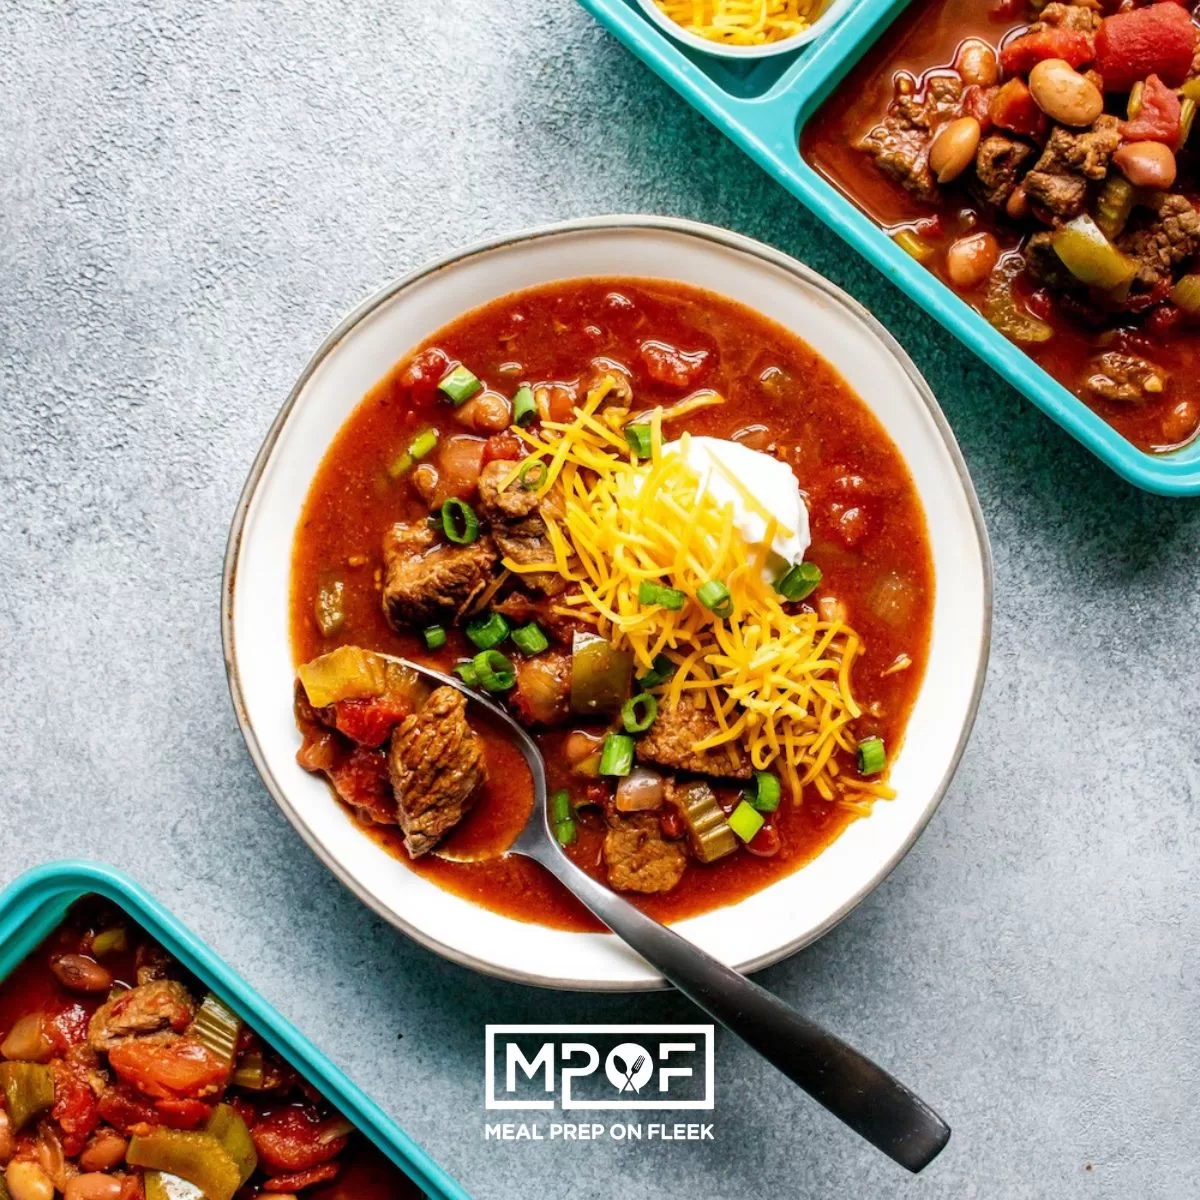
Freeze-Friendly Instant Pot Steakhouse Chili
-
Easy Beef Lasagna Casserole (Quick and Easy)
-
Chicken Apple Sausage and Veggies
-
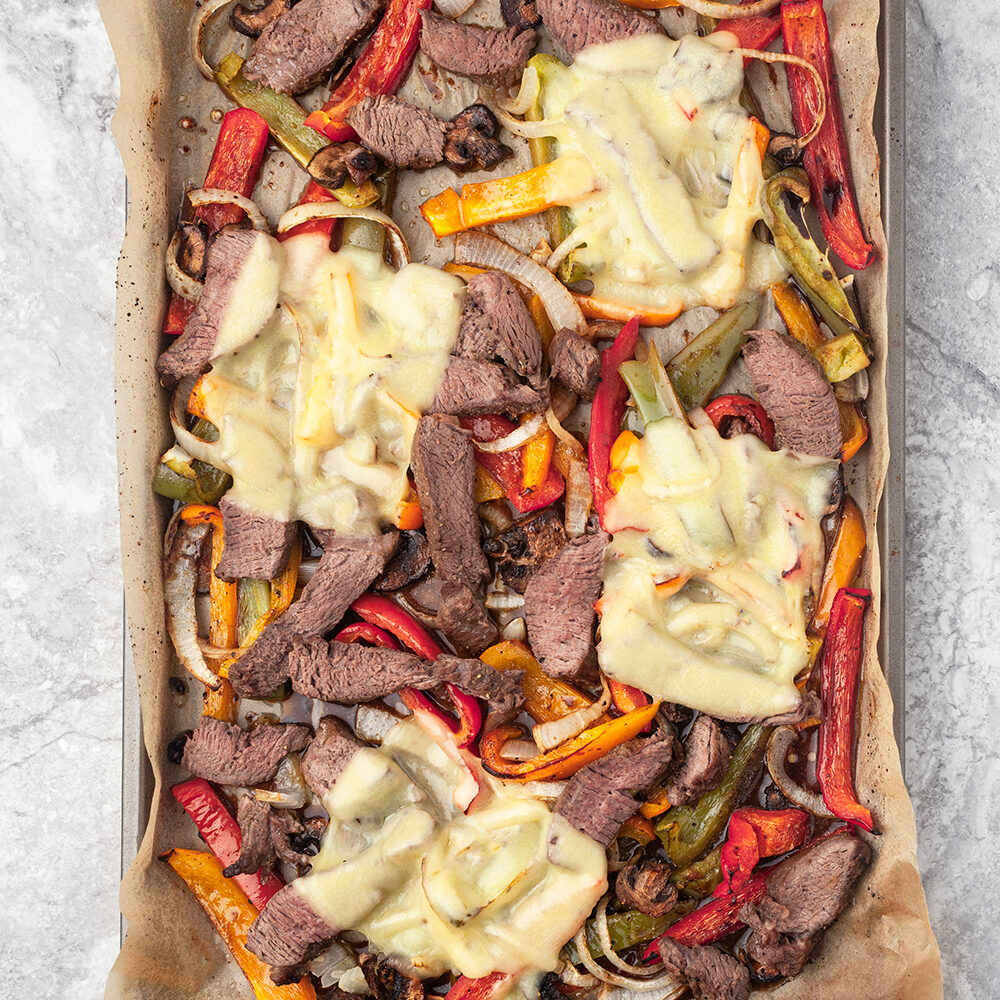
Sheet Pan Philly Cheesesteak - Easy Dinner Meal Prep
-
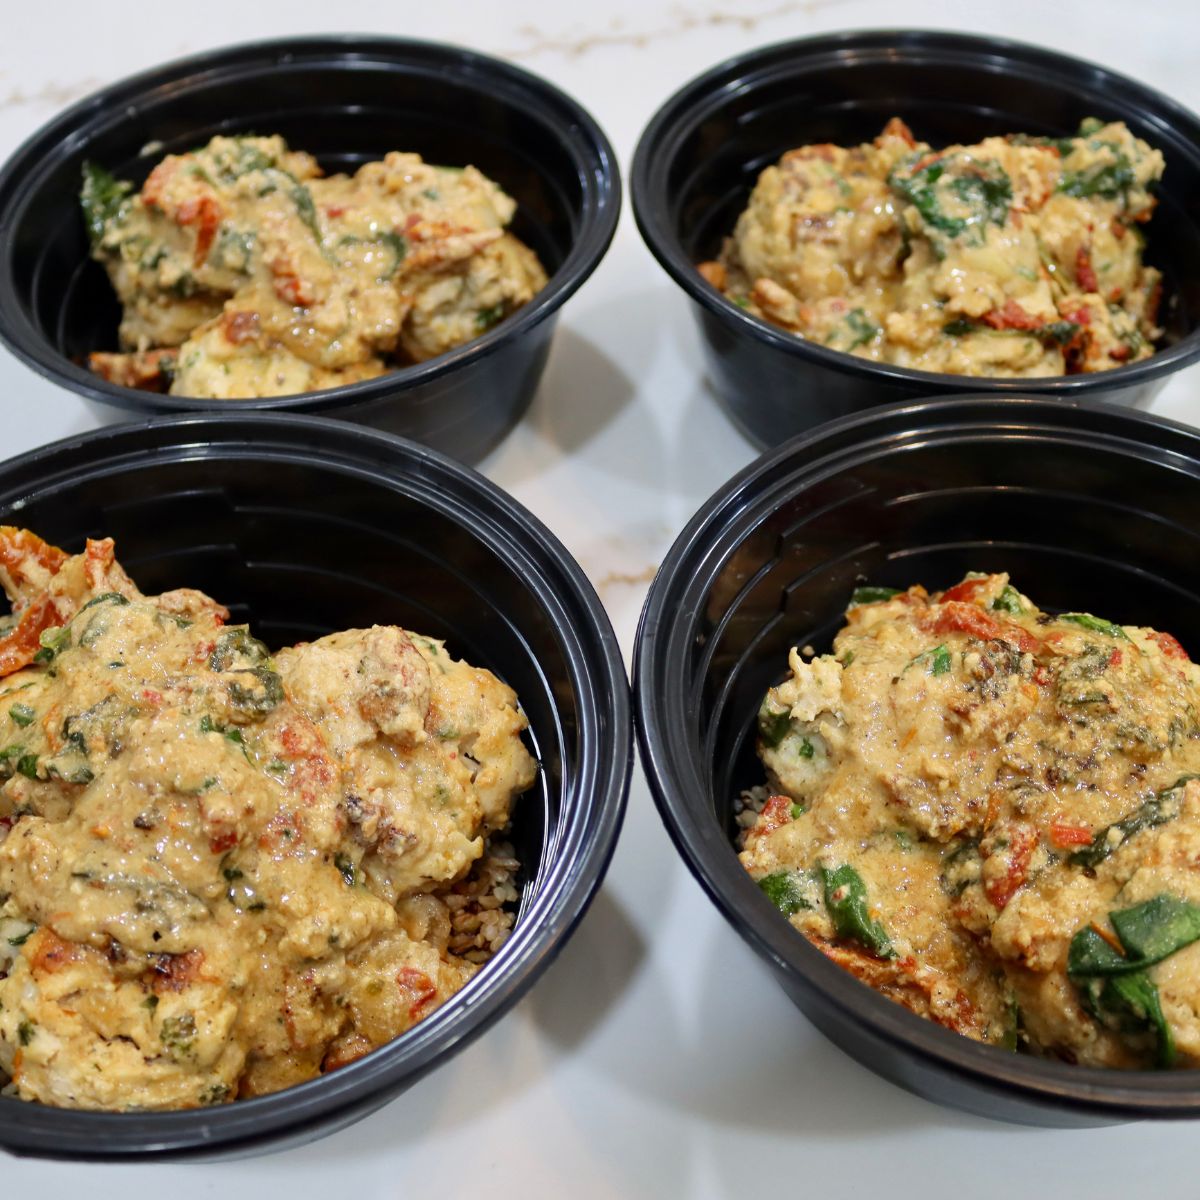
High Protein Meal Prep: Creamy Spinach Turkey Meatballs
-
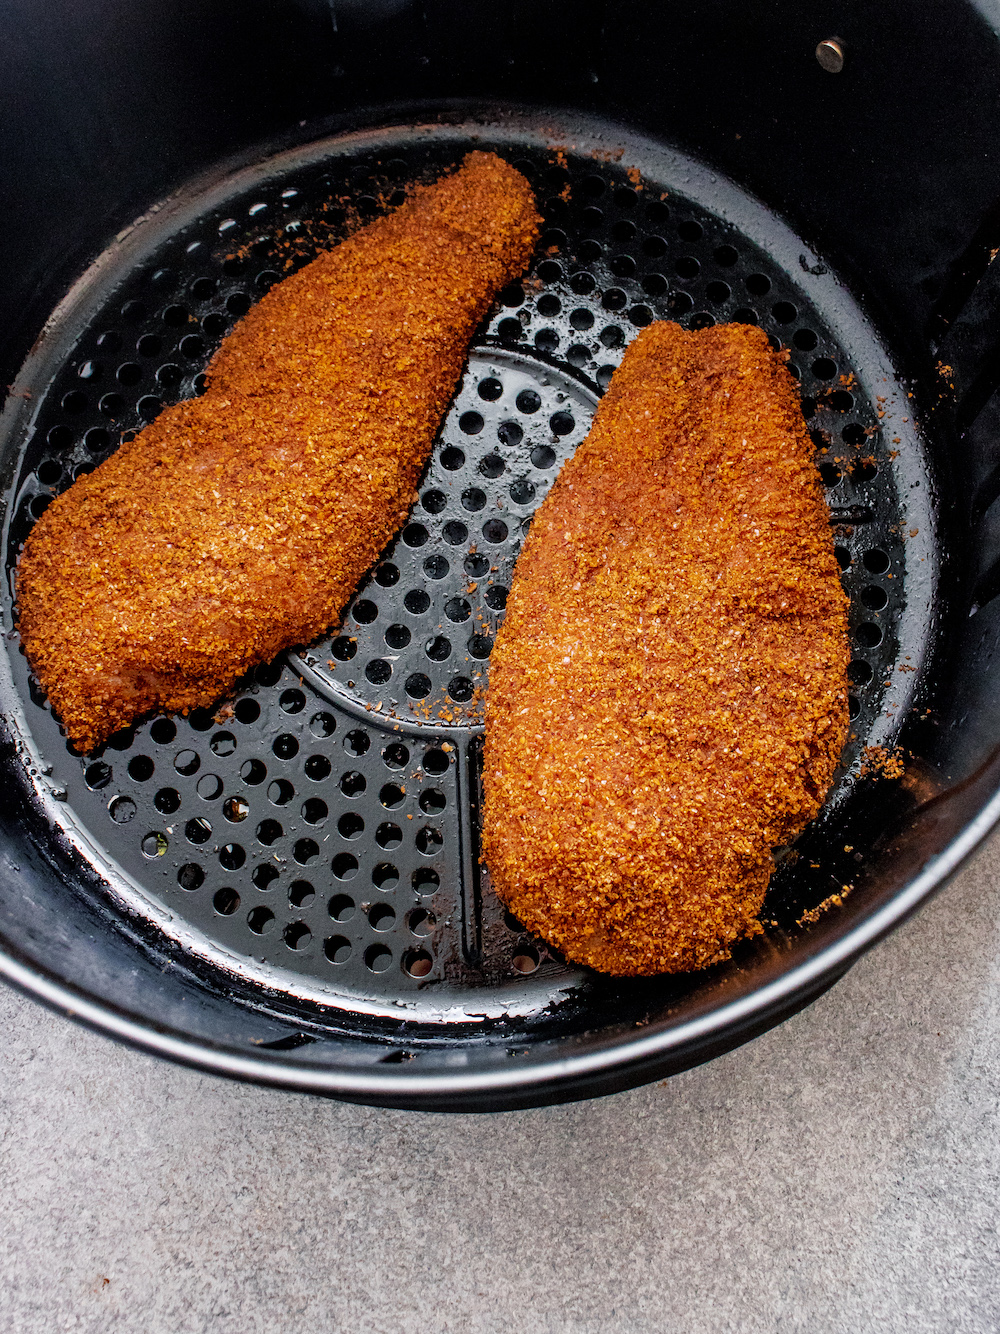
Air Fried Crispy Chicken
-
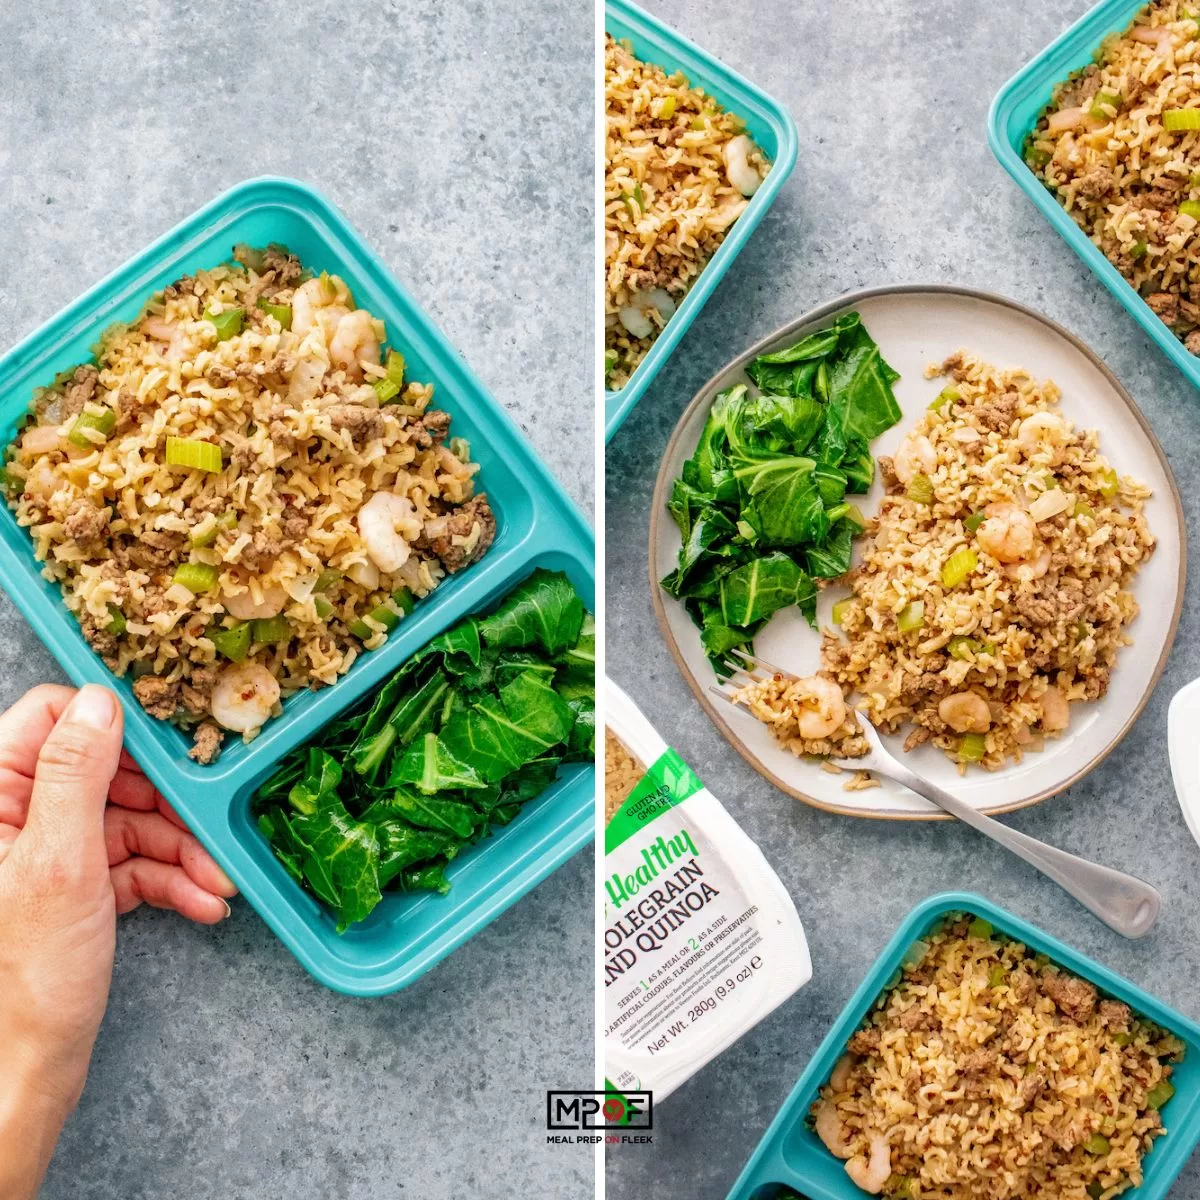
10-Ingredient Cajun Dirty Rice with Shrimp
-
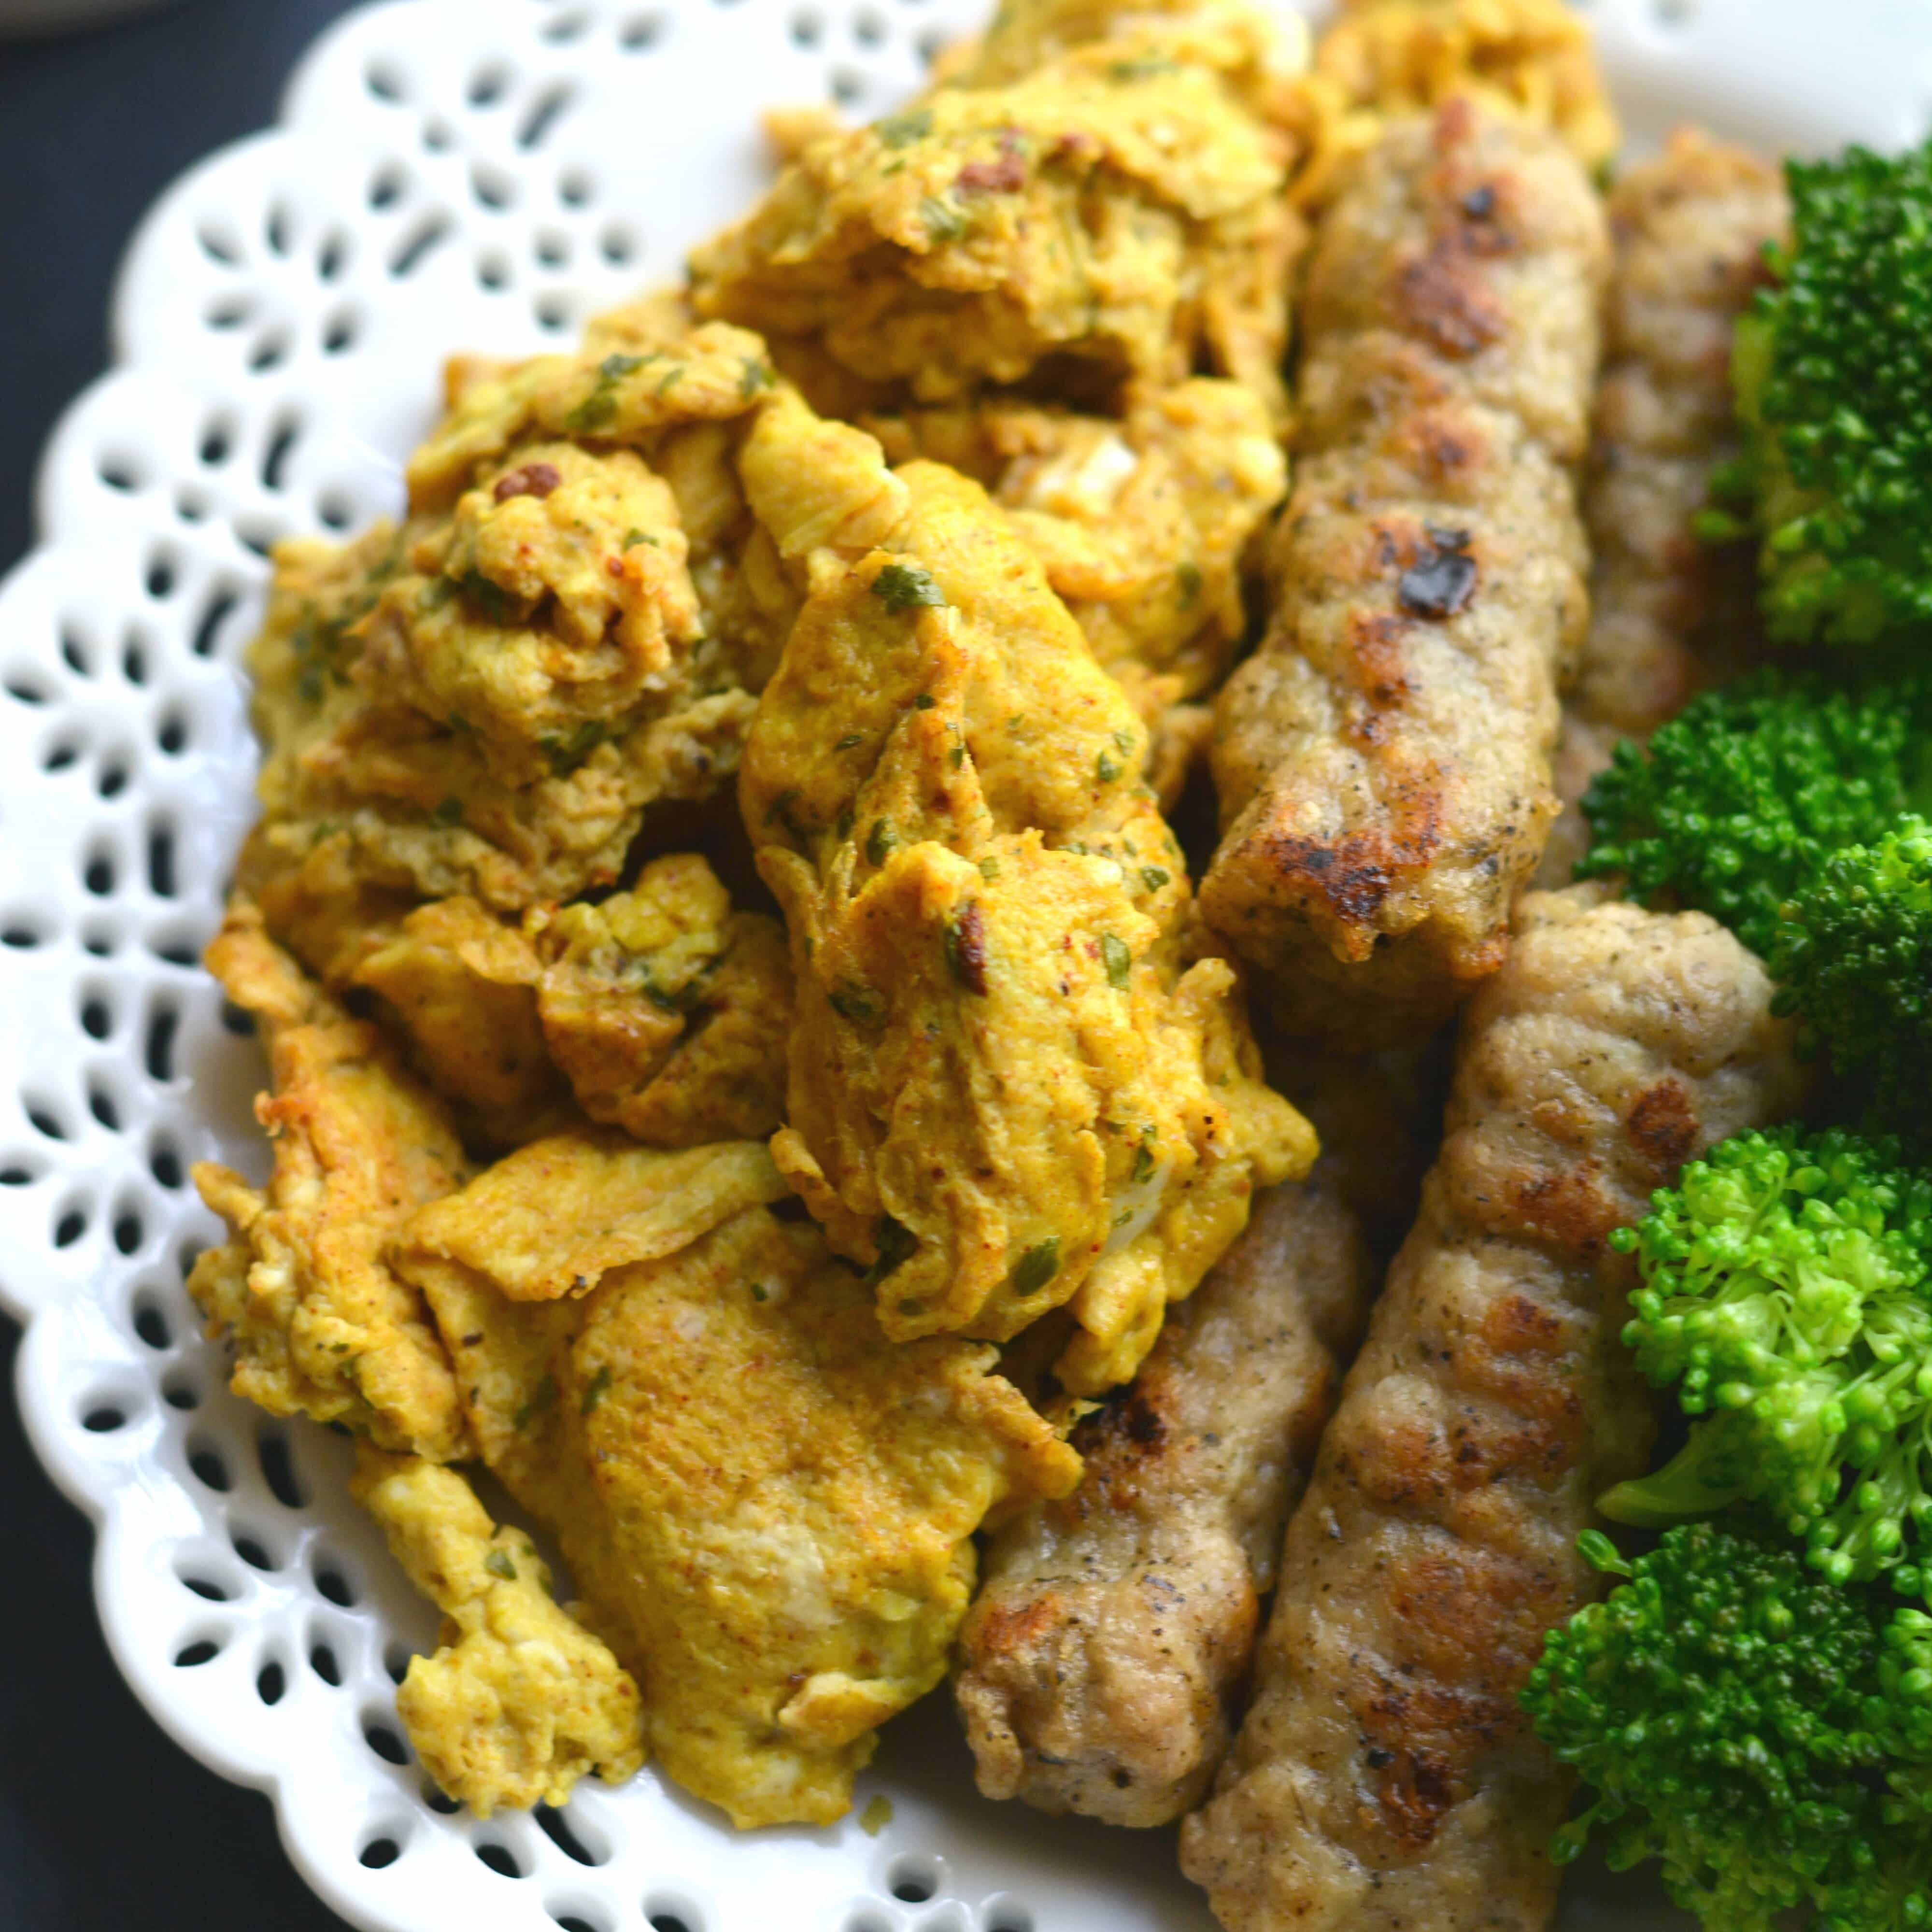
Easy Pork Breakfast Hash Recipe - AIP-Friendly
-
Creamy Garlic Zoodles with Chicken
-
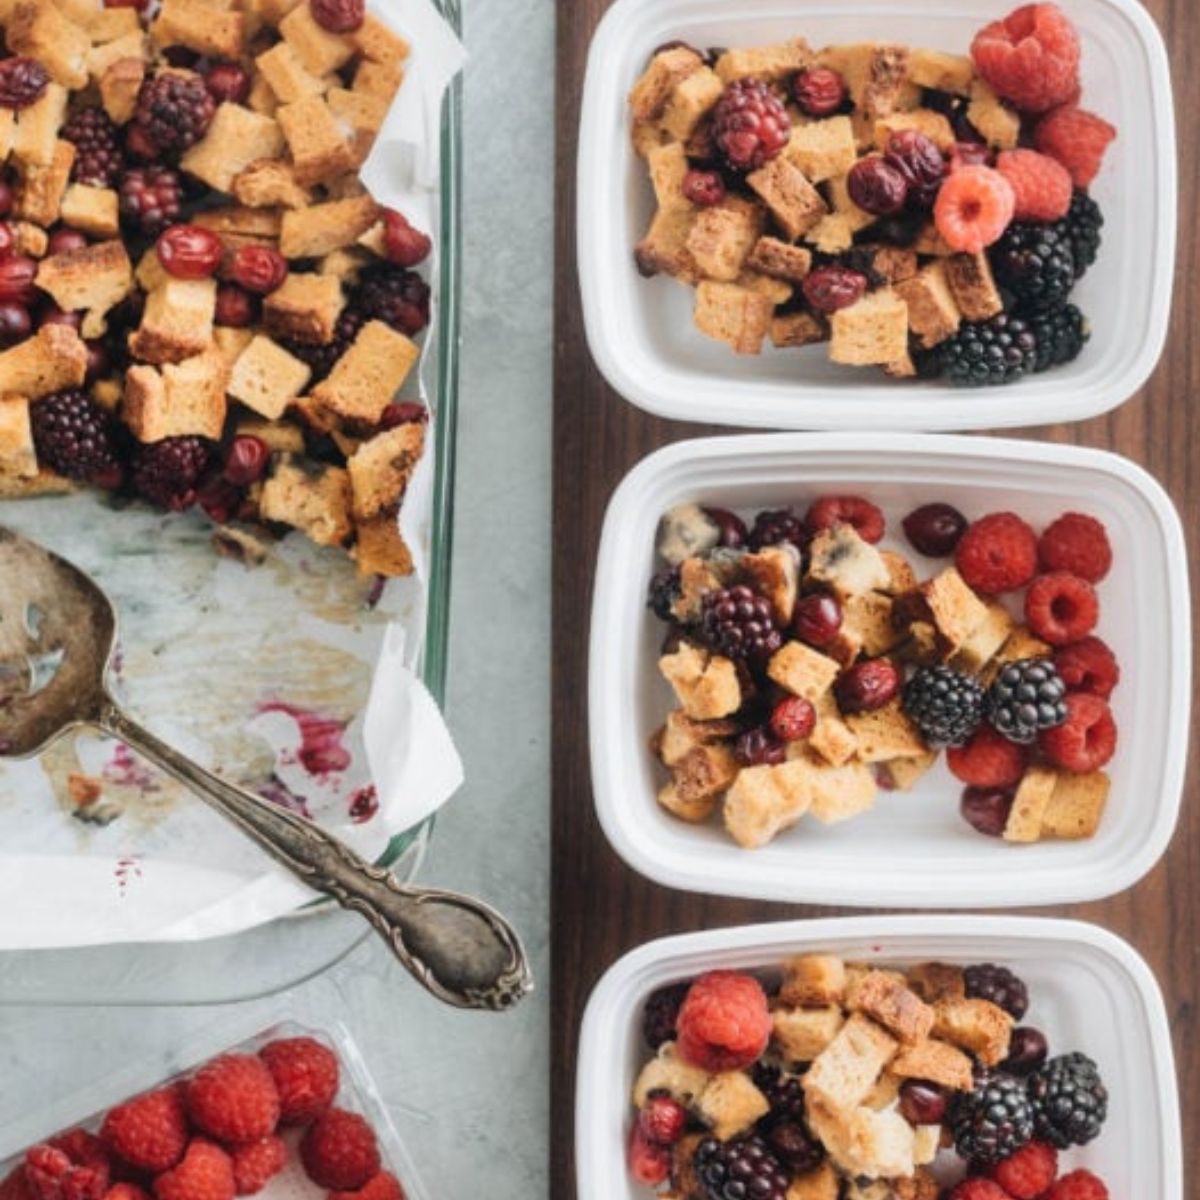
Cran-Blackberry Overnight French Toast (Paleo friendly)