Dinner
-
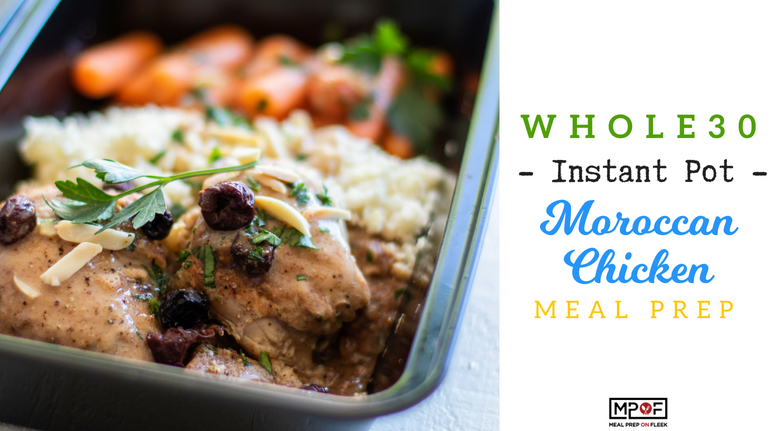
Instant Pot Moroccan Chicken Meal Prep30 Minutes
-
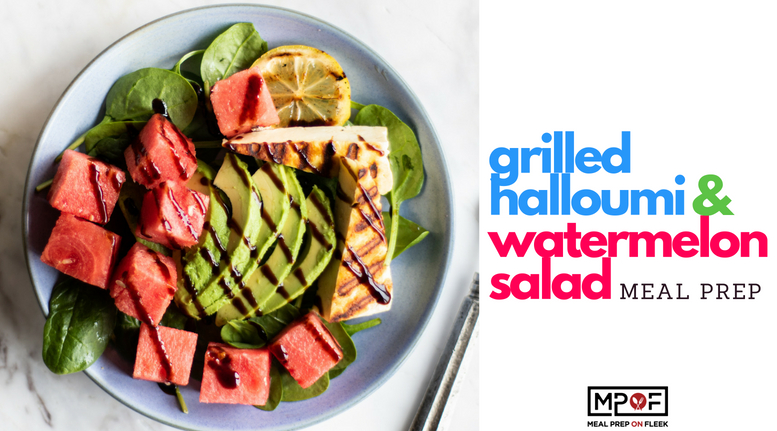
Grilled Halloumi and Watermelon Salad22 Minutes
-
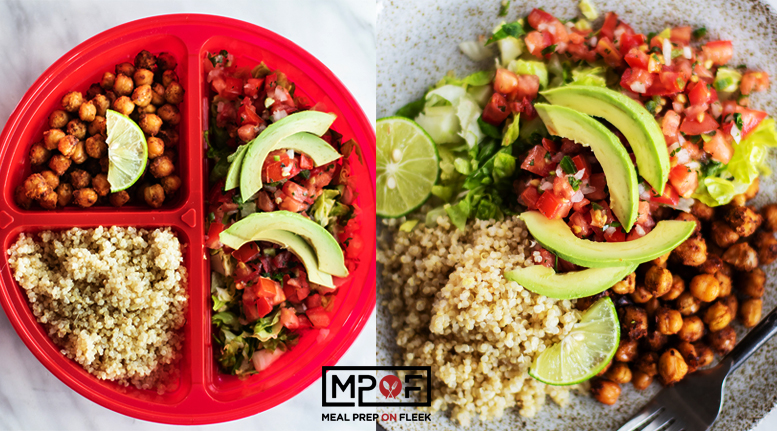
Quinoa Chickpea Taco Bowls35 Minutes
-
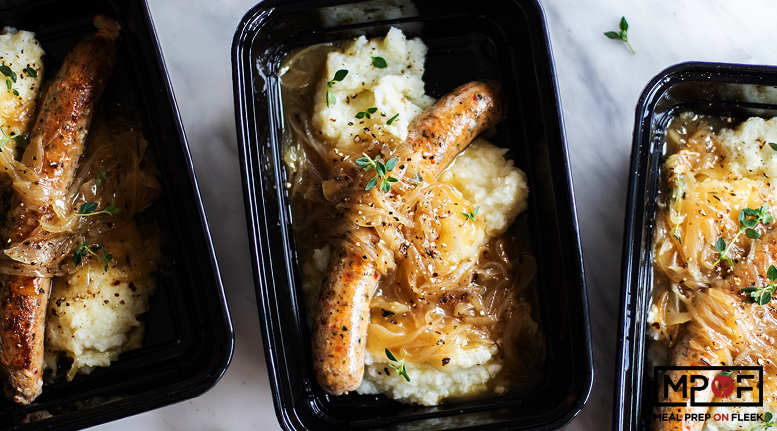
Sausage and Mashed Potato Meal Prep1 Hours
-
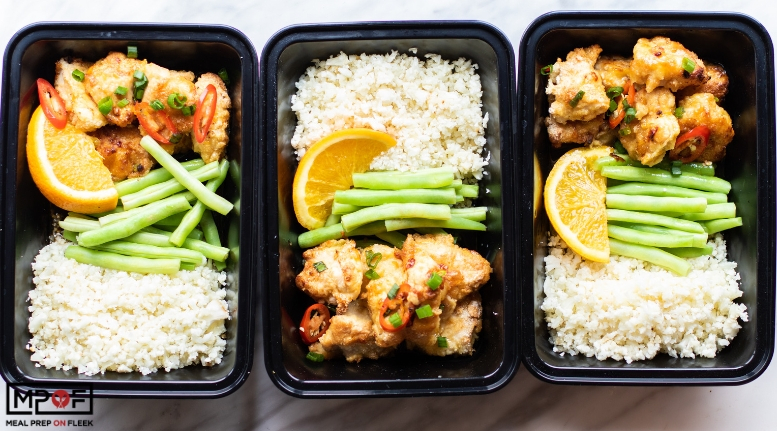
Orange Chicken Meal Prep50 Minutes
-
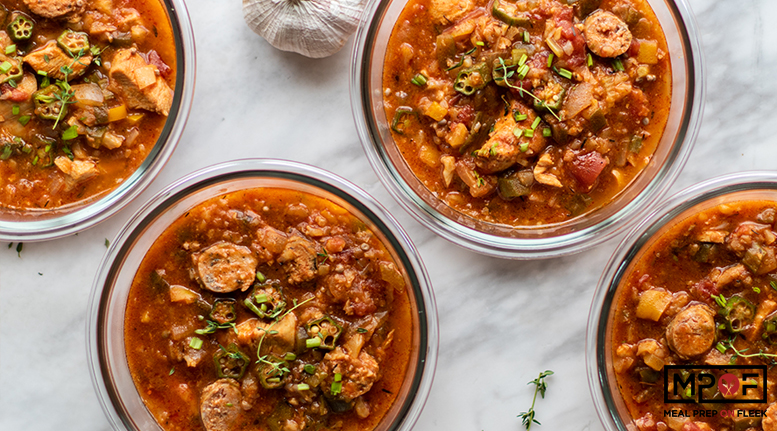
Gumbo Meal Prep3 Hours 15 Minutes
-
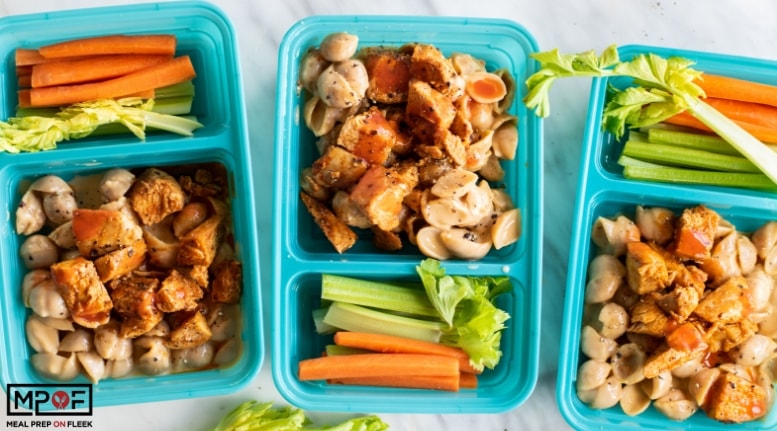
Buffalo Chicken Mac & Cheese40 Minutes
-
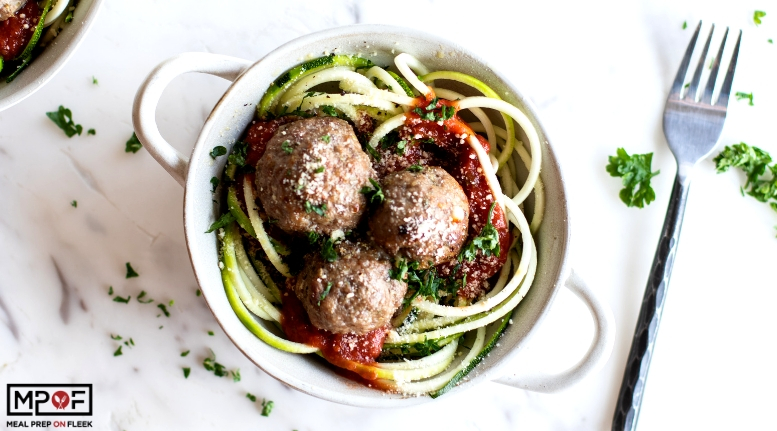
Mozzarella Stuffed Meatballs40 Minutes
-
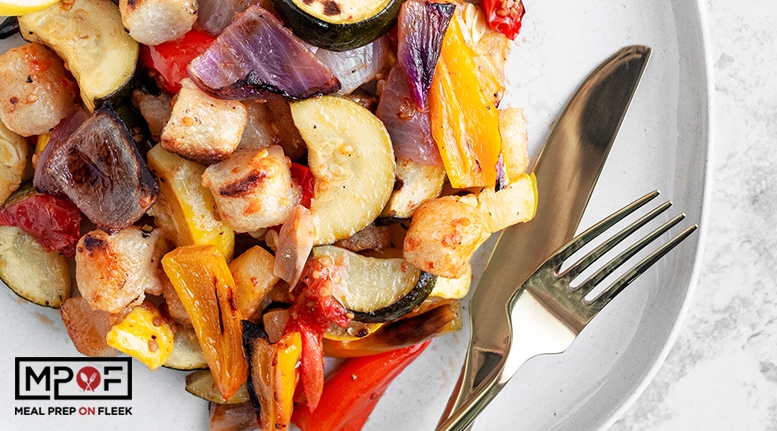
Roasted Mediterranean Cauliflower Gnocchi & Veggies30 Minutes
-
Zuppa Pomodoro Meal Prep30 Minutes
-
Indonesian Grain Bowl30 Minutes
-
One Pan Mushroom Tetrazzini40 Minutes
-
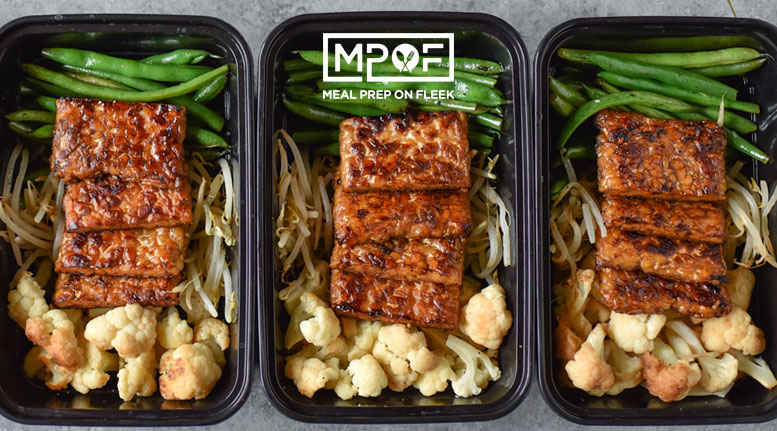
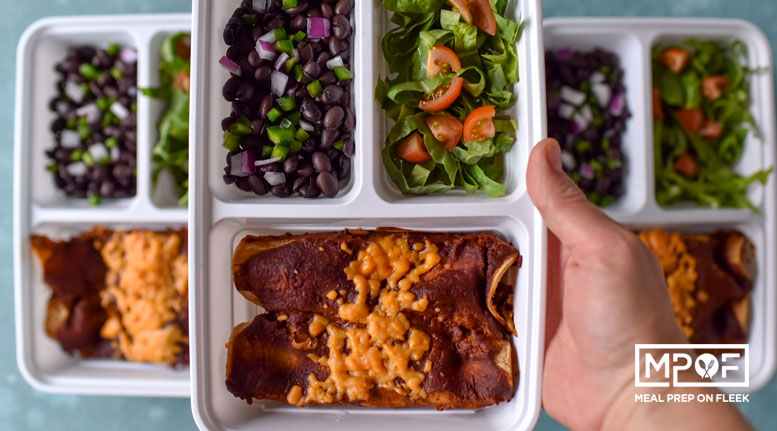
Mole Tempeh Enchiladas50 Minutes
-
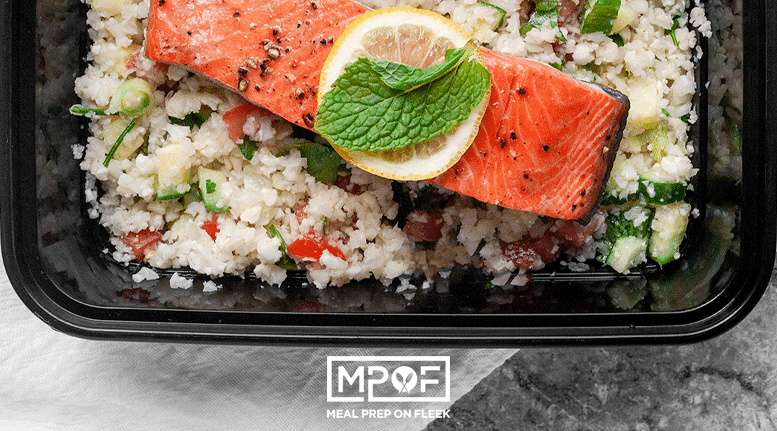
Cauliflower Tabouli and Salmon Meal Prep30 Minutes
-
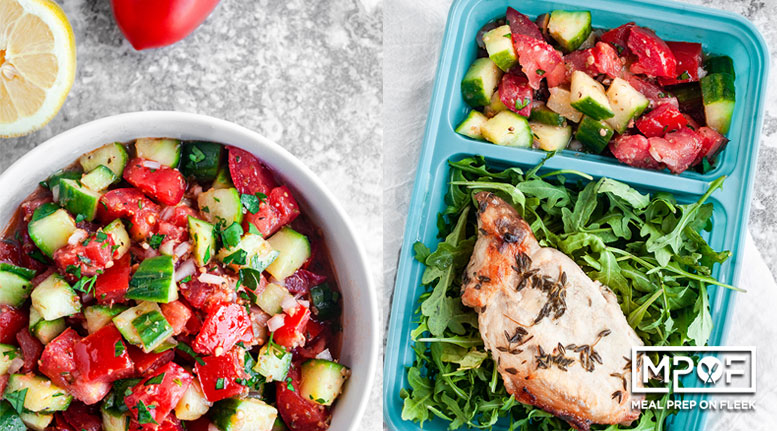
Sheet Pan Thyme Pork Chops and Marinated Salad3 Hours 25 Minutes
-
Coconut Sugar Sriracha Shrimp Meal Prep10 Minutes
-
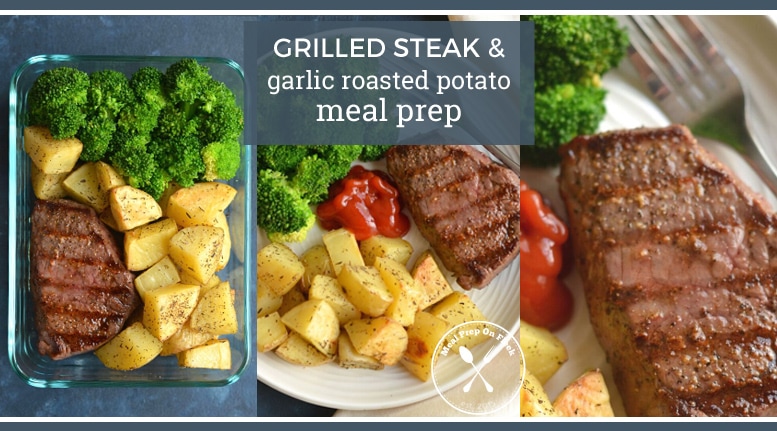
Grilled Steak and Garlic Roasted Potato Meal Prep30 Minutes
-
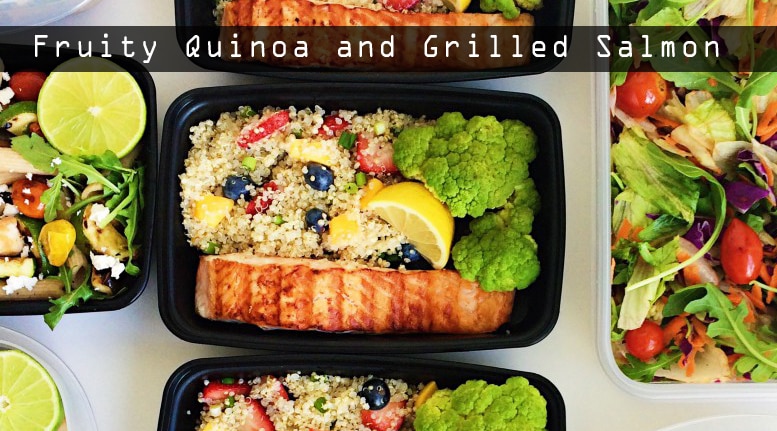
Fruity Quinoa and Grilled Salmon25 Minutes
-
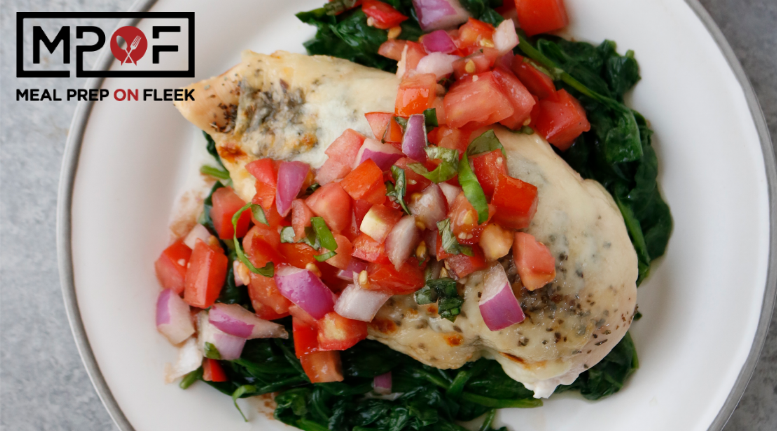
Sheet Pan Bruschetta Chicken50 Minutes
-
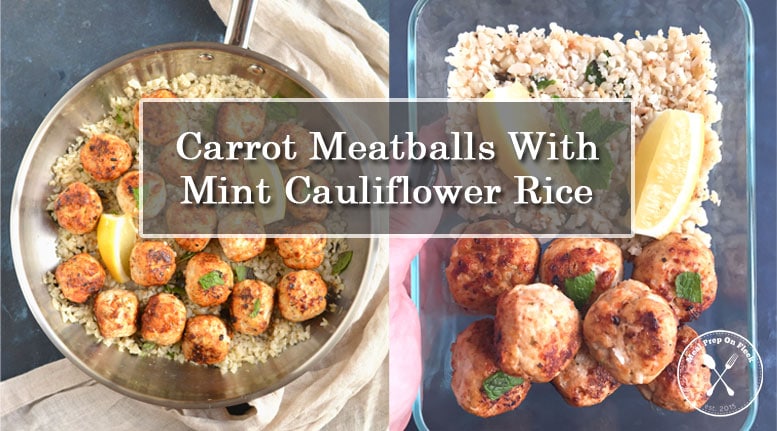
Carrot Meatballs With Mint Cauliflower Rice30 Minutes
-
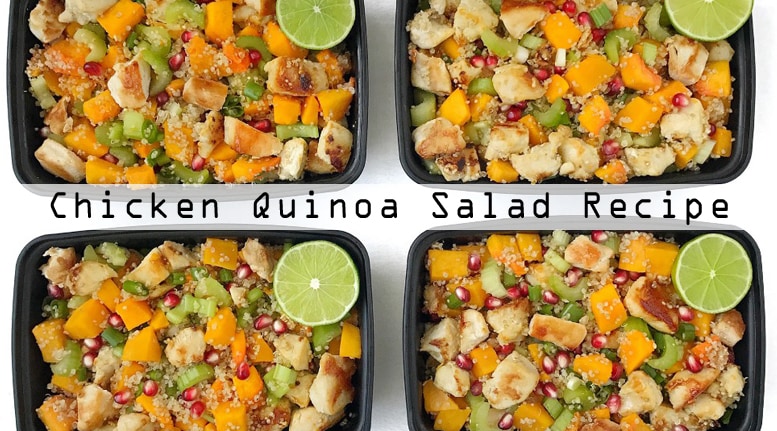
Chicken Quinoa Salad50 Minutes
-
Air Fried Parmesan Broccoli10 Minutes
-
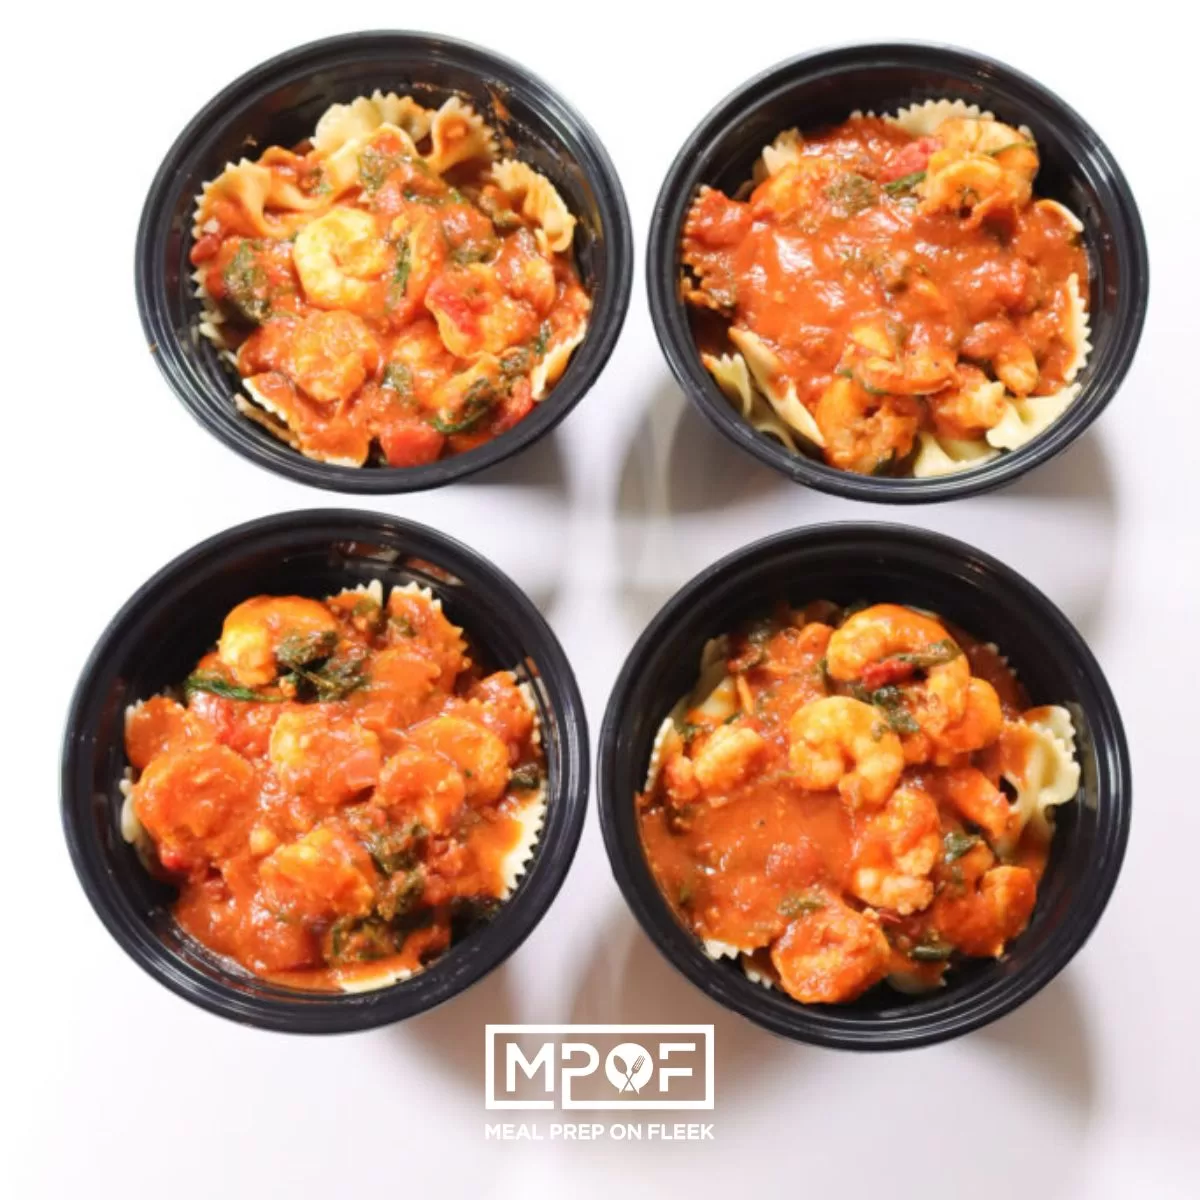
Shrimp Bowtie Pasta45 Minutes
-
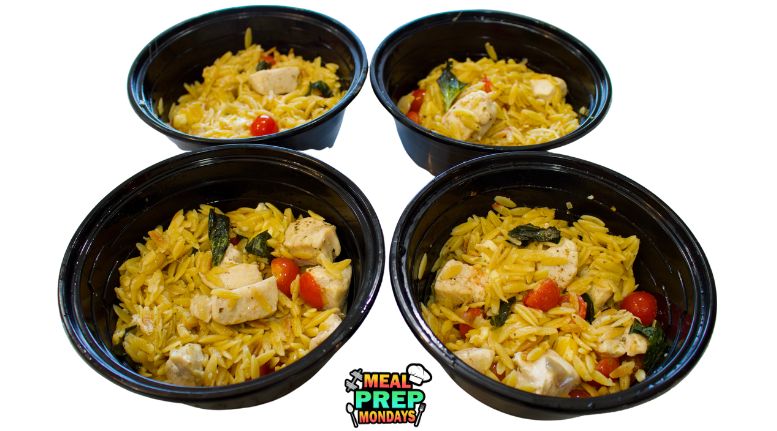
One-Pan Chicken and Orzo Recipe20 Minutes
-
Tuna Poke Bowl Meal Prep20 Minutes
-
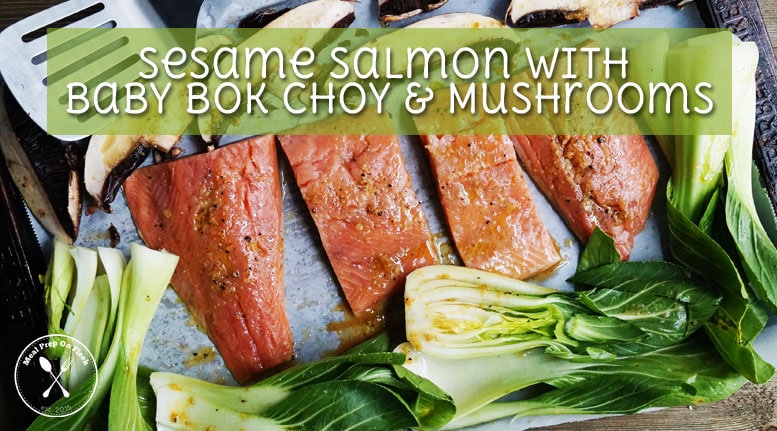
Sesame Salmon with Baby Bok Choy and Mushrooms30 Minutes
-
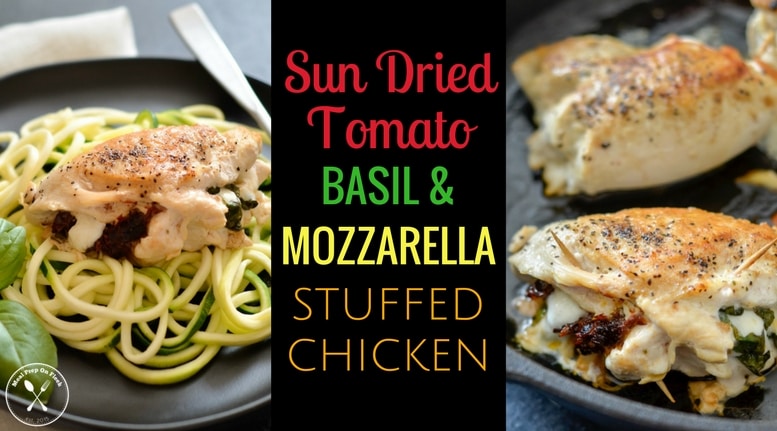
Sun Dried Tomato, Mozzarella & Basil Stuffed Chicken17 Minutes
-
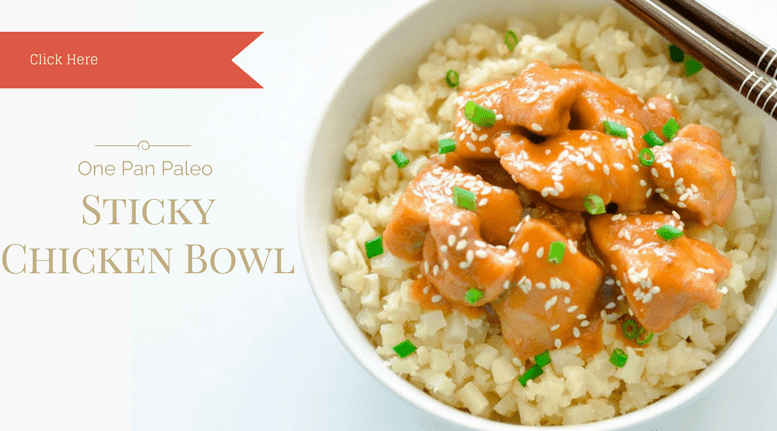
One Pan Paleo Sticky Sesame Chicken Thighs20 Minutes
-
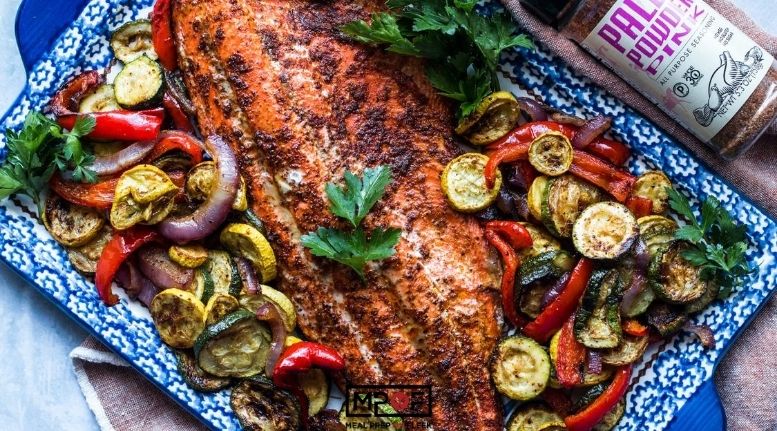
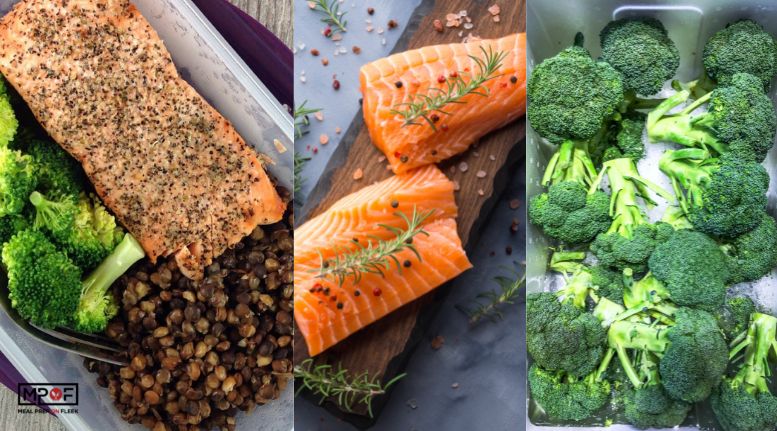
Sheet Pan Salmon and Veggies Meal Prep30 Minutes
-
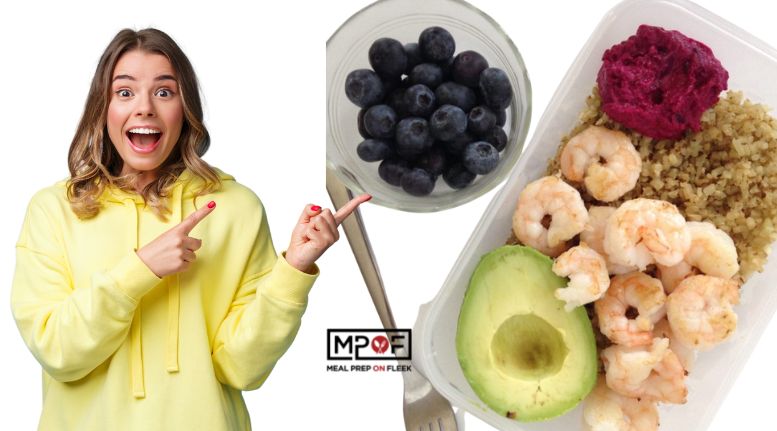
Change Up Your Meal Prep Protein Game With A Shrimp Meal Prep15 Minutes
-
Packing A Bunch Of Protein Into Your Meal Prep Has Never Been Easier!15 Minutes
-
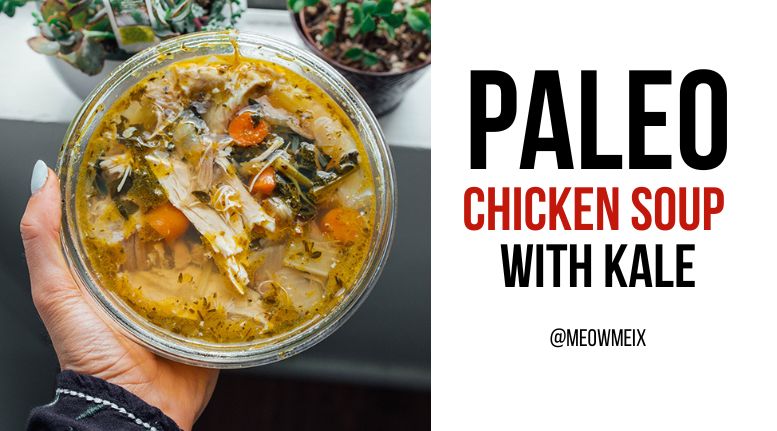
Paleo Chicken Soup with Kale35 Minutes
-
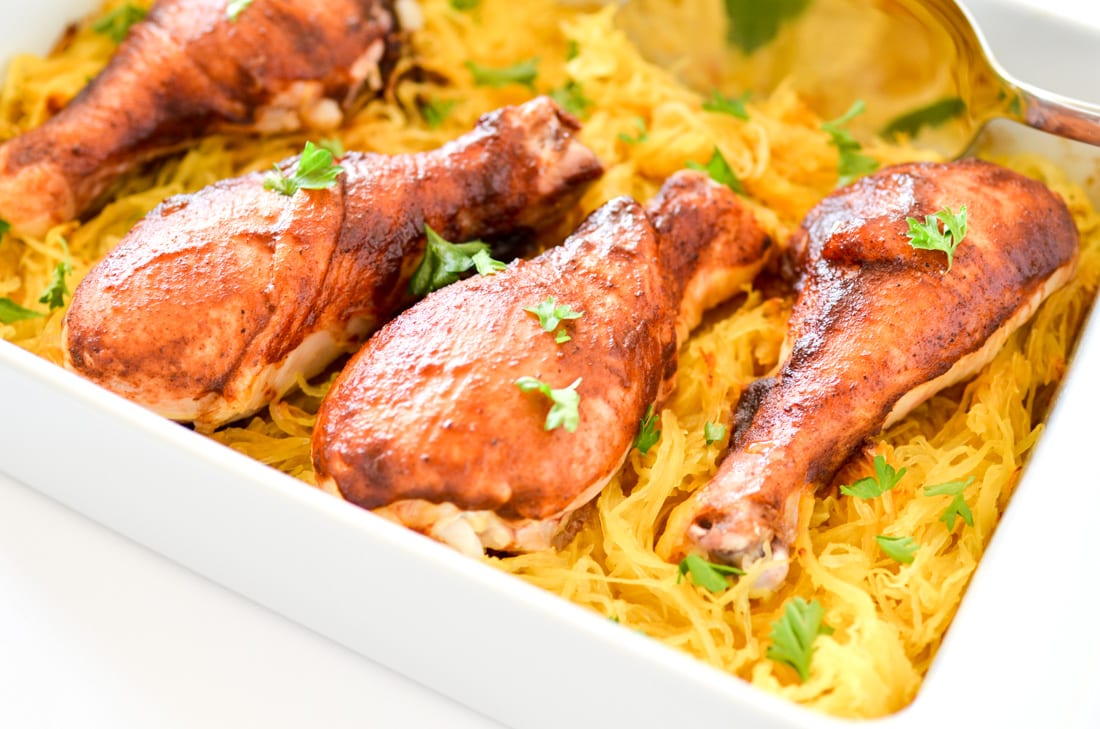
One Dish Spaghetti Squash & Spicy BBQ Chicken Drumsticks1 Hours 10 Minutes
-
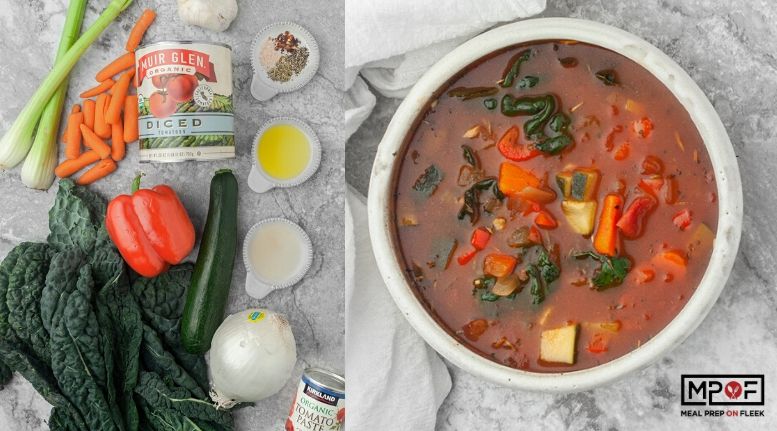
Vegan Minestrone Soup1 Hours
-
Molasses Bourbon BBQ Glazed Chicken Meatballs45 Minutes
-
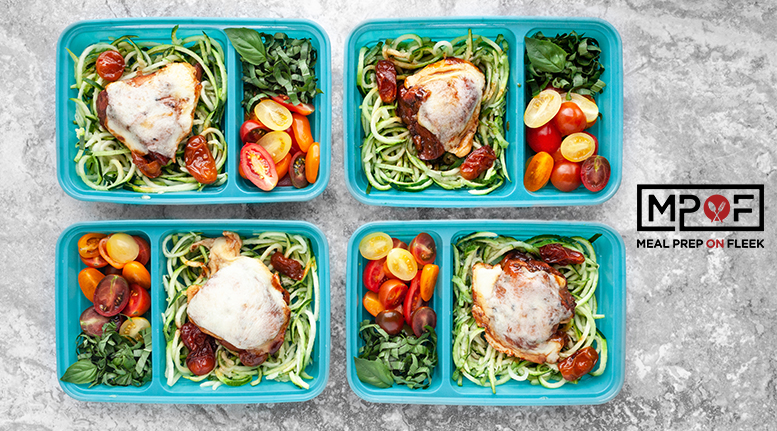
Balsamic Caprese Chicken1 Hours
-
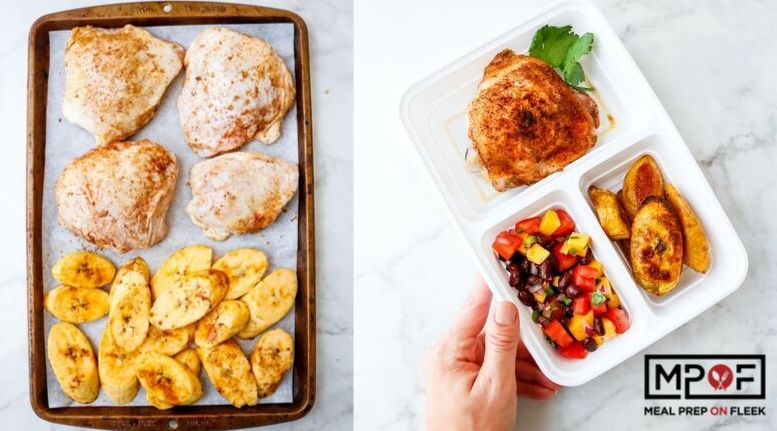
Sheet Pan Caribbean Chicken Thighs
-
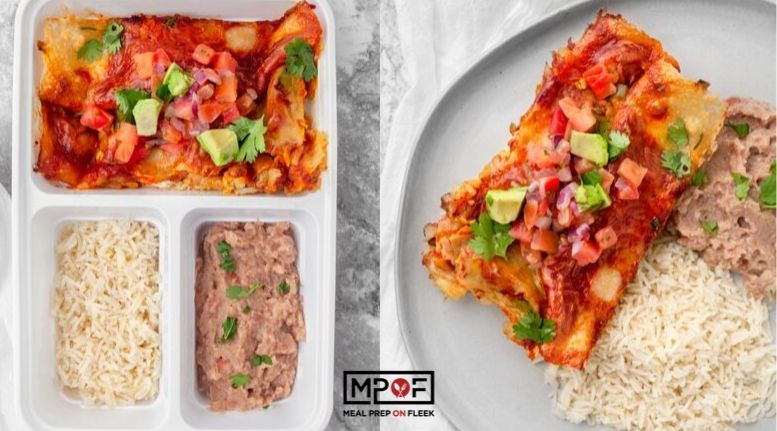
Chicken Enchiladas
-
Turkey Stuffed Sweet Potatoes1 Hours
-
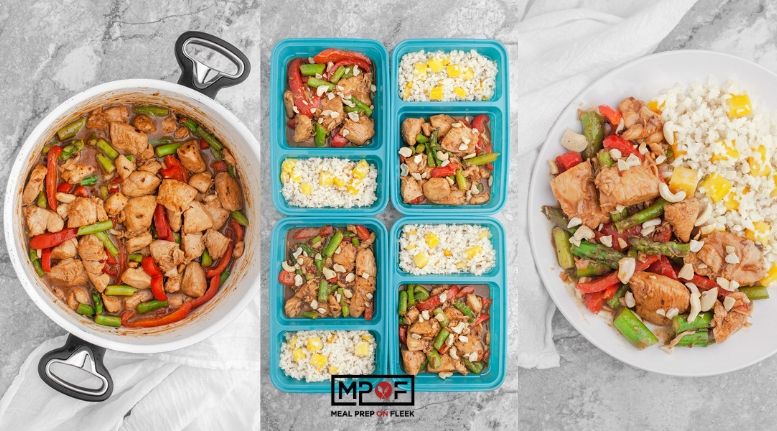
Stir Fry Chicken and Veggies35 Minutes
-
Broiled Cod with Mango Relish30 Minutes
-
Instant Pot Minestrone Soup25 Minutes