Dinner
-
Slow Cooker Thai Yellow Curry Meal Prep3 Hours 20 Minutes
-
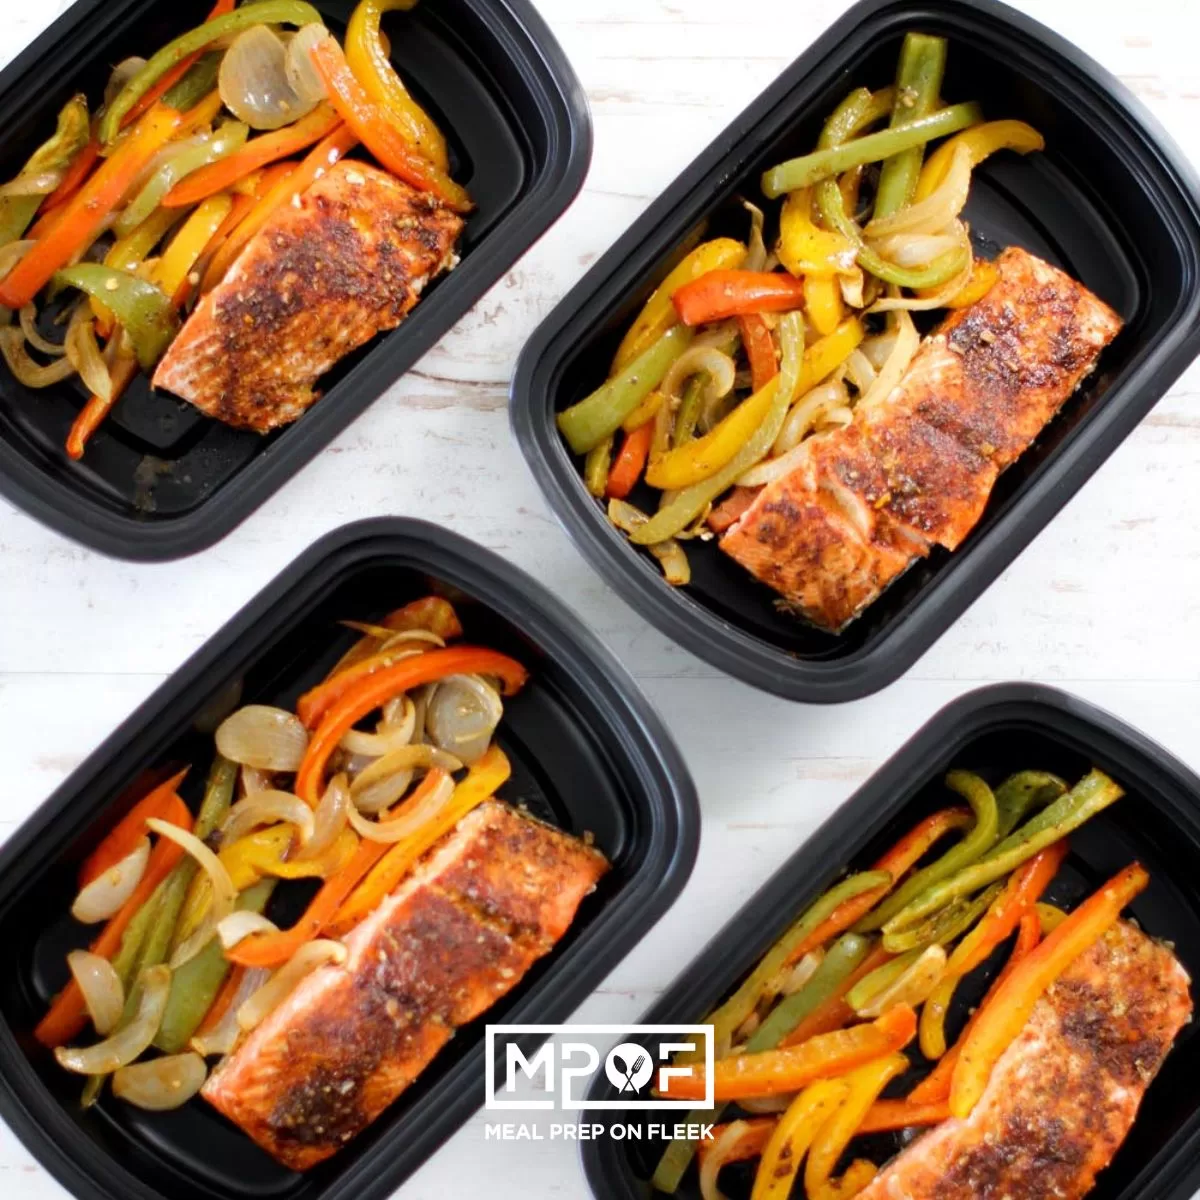
One Pan Fajita Salmon Meal Prep28 Minutes
-
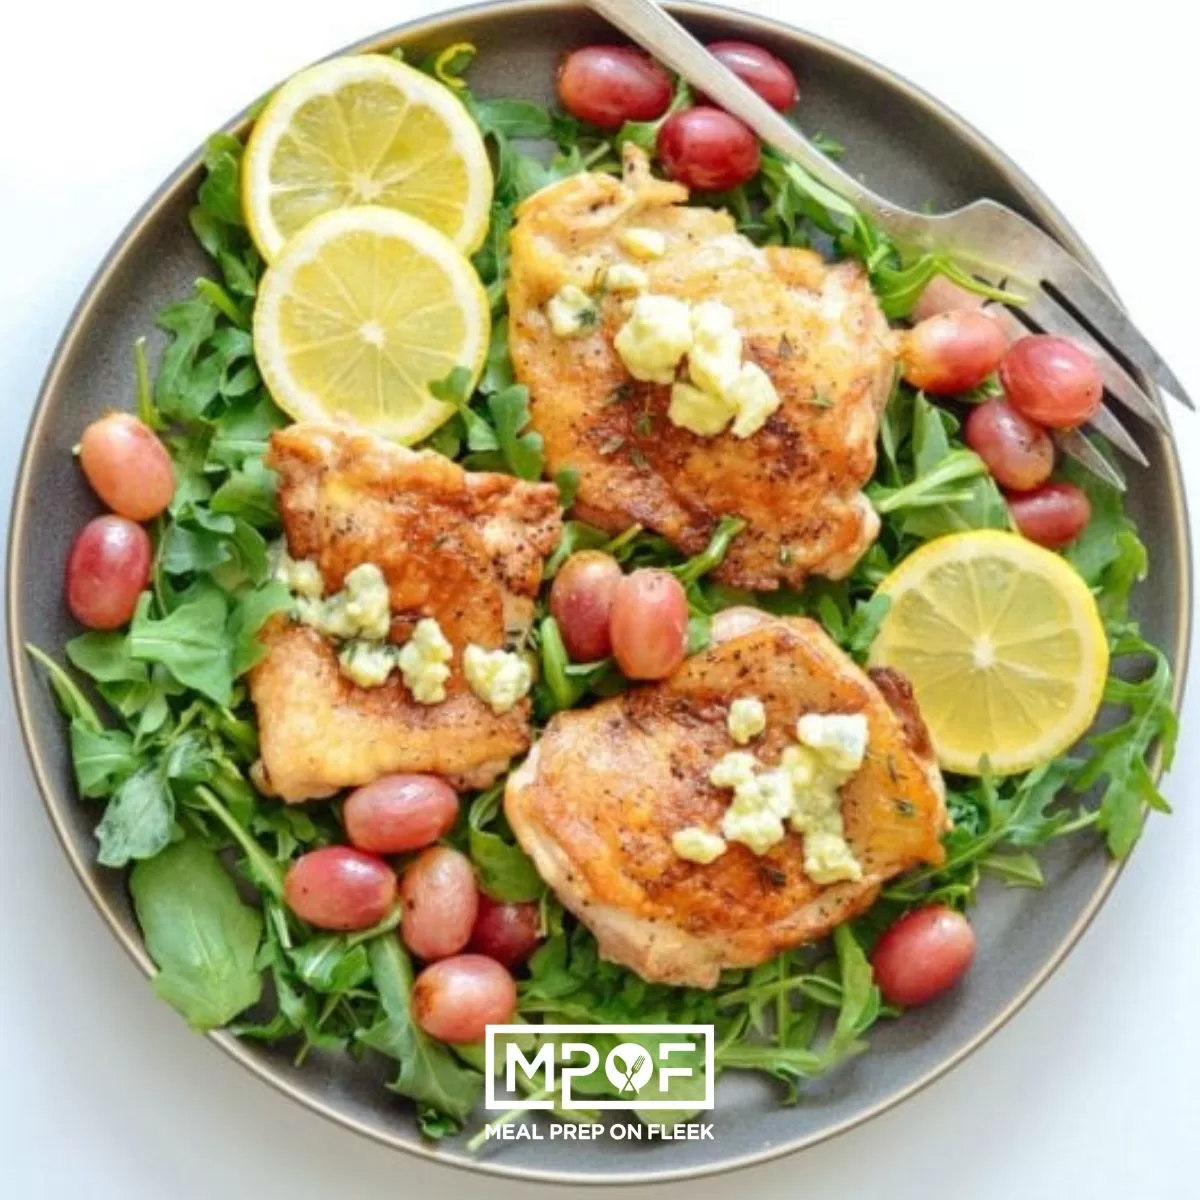
One Skillet Chicken Thighs With Roasted Grapes and Blue Cheese30 Minutes
-
Crockpot Mississippi Chicken Thighs with Noodles7 Hours 30 Minutes
-
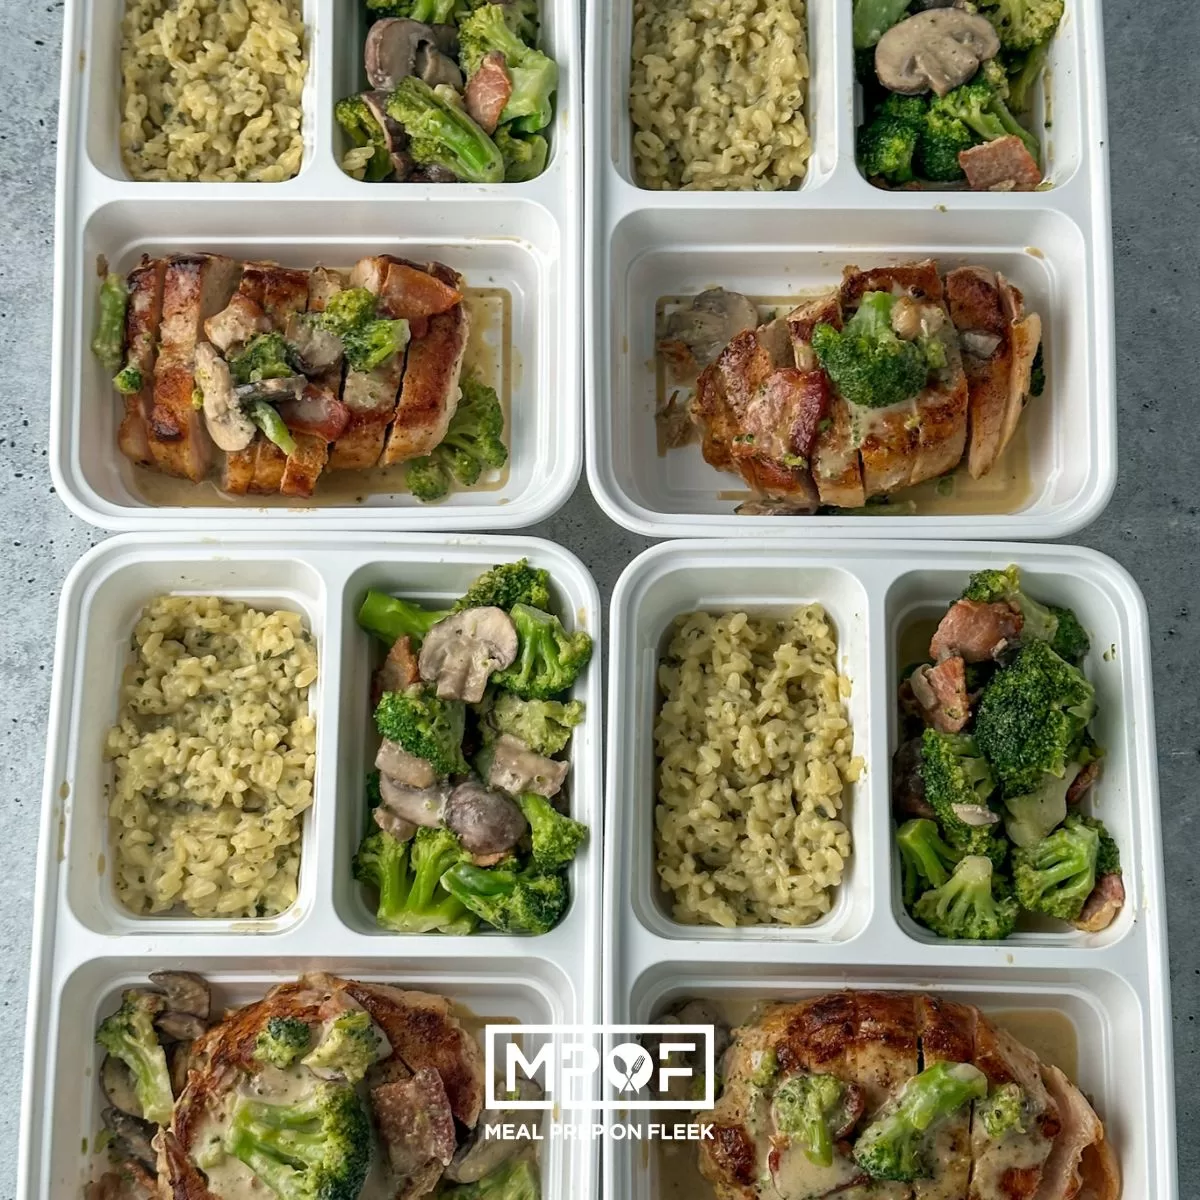
Skillet Bacon Broccoli Pork Chops Meal Prep40 Minutes
-
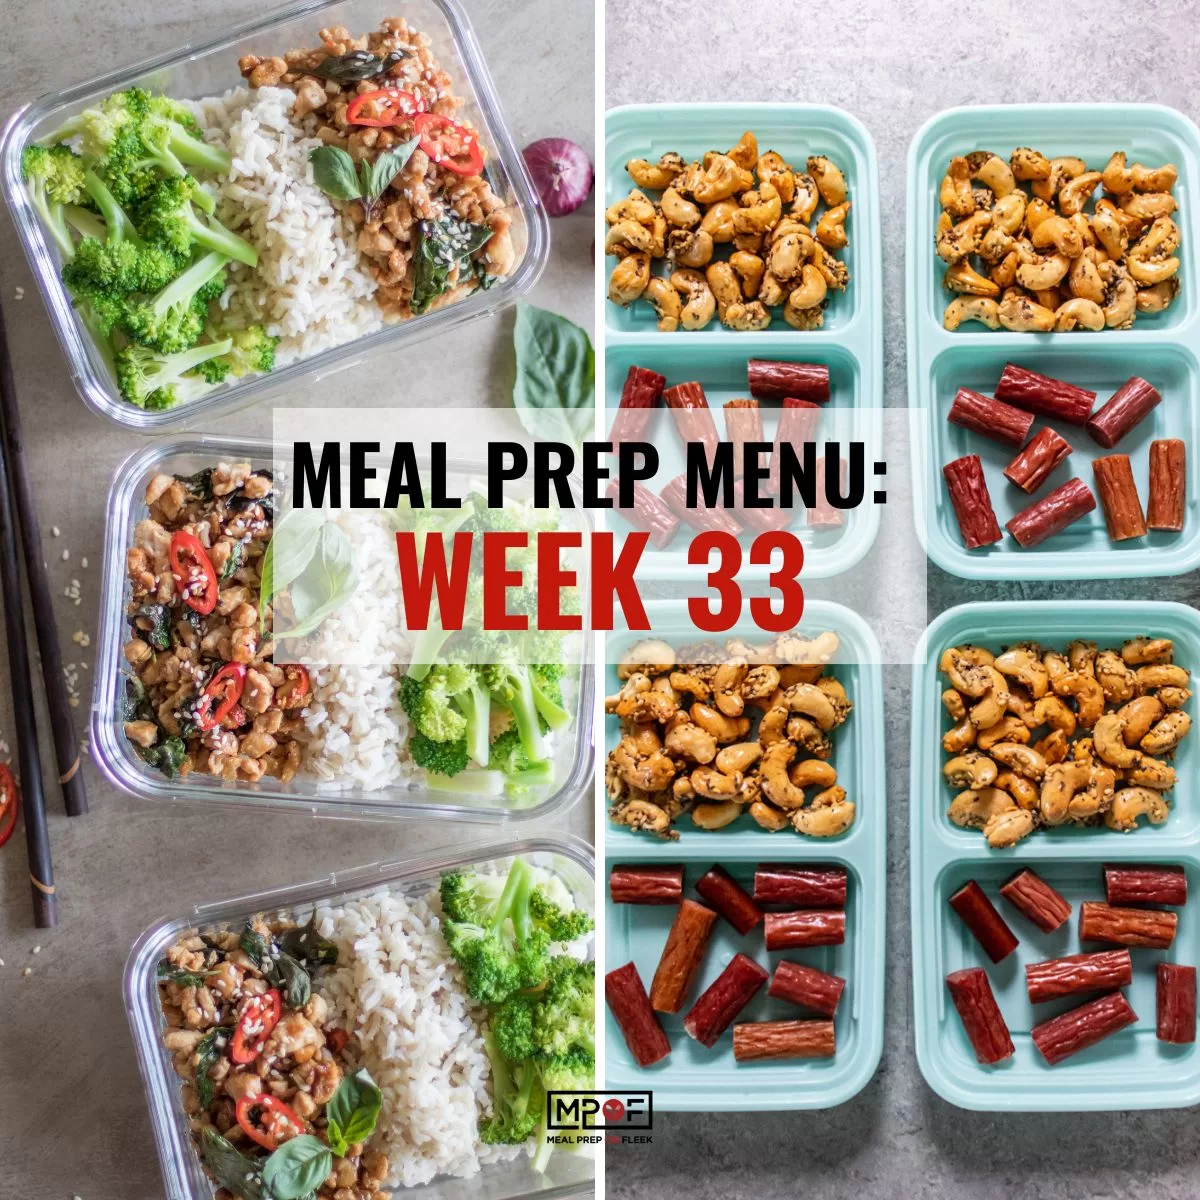
Meal Prep Menu 2023: Week 33
-
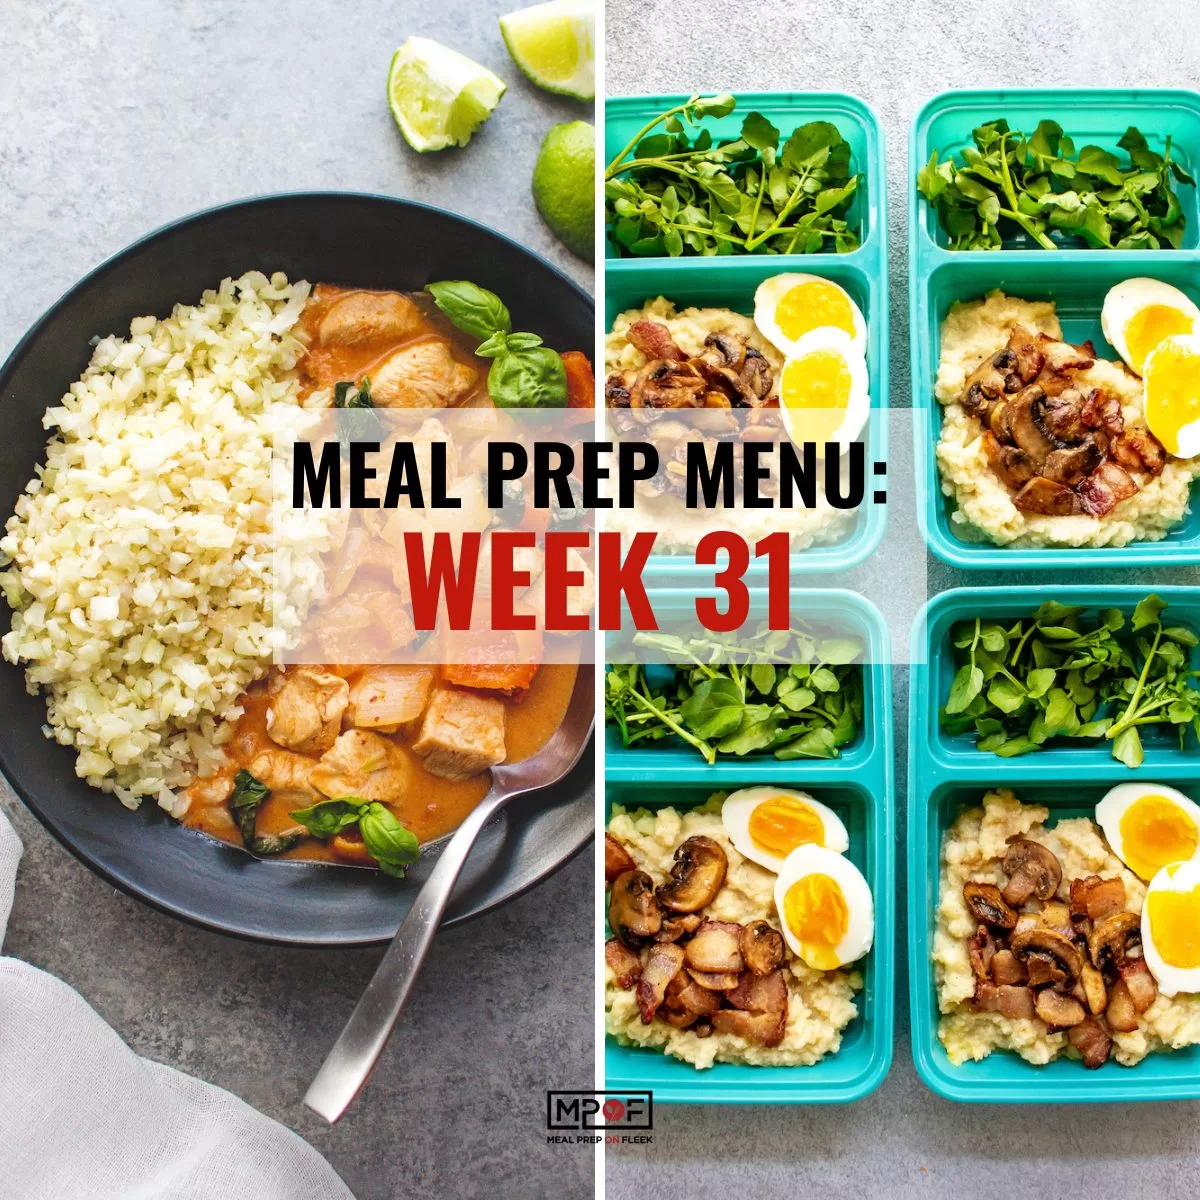
Meal Prep Menu 2023: Week 31
-
Crockpot French Onion Stuffed Shells Meal Prep6 Hours 10 Minutes
-
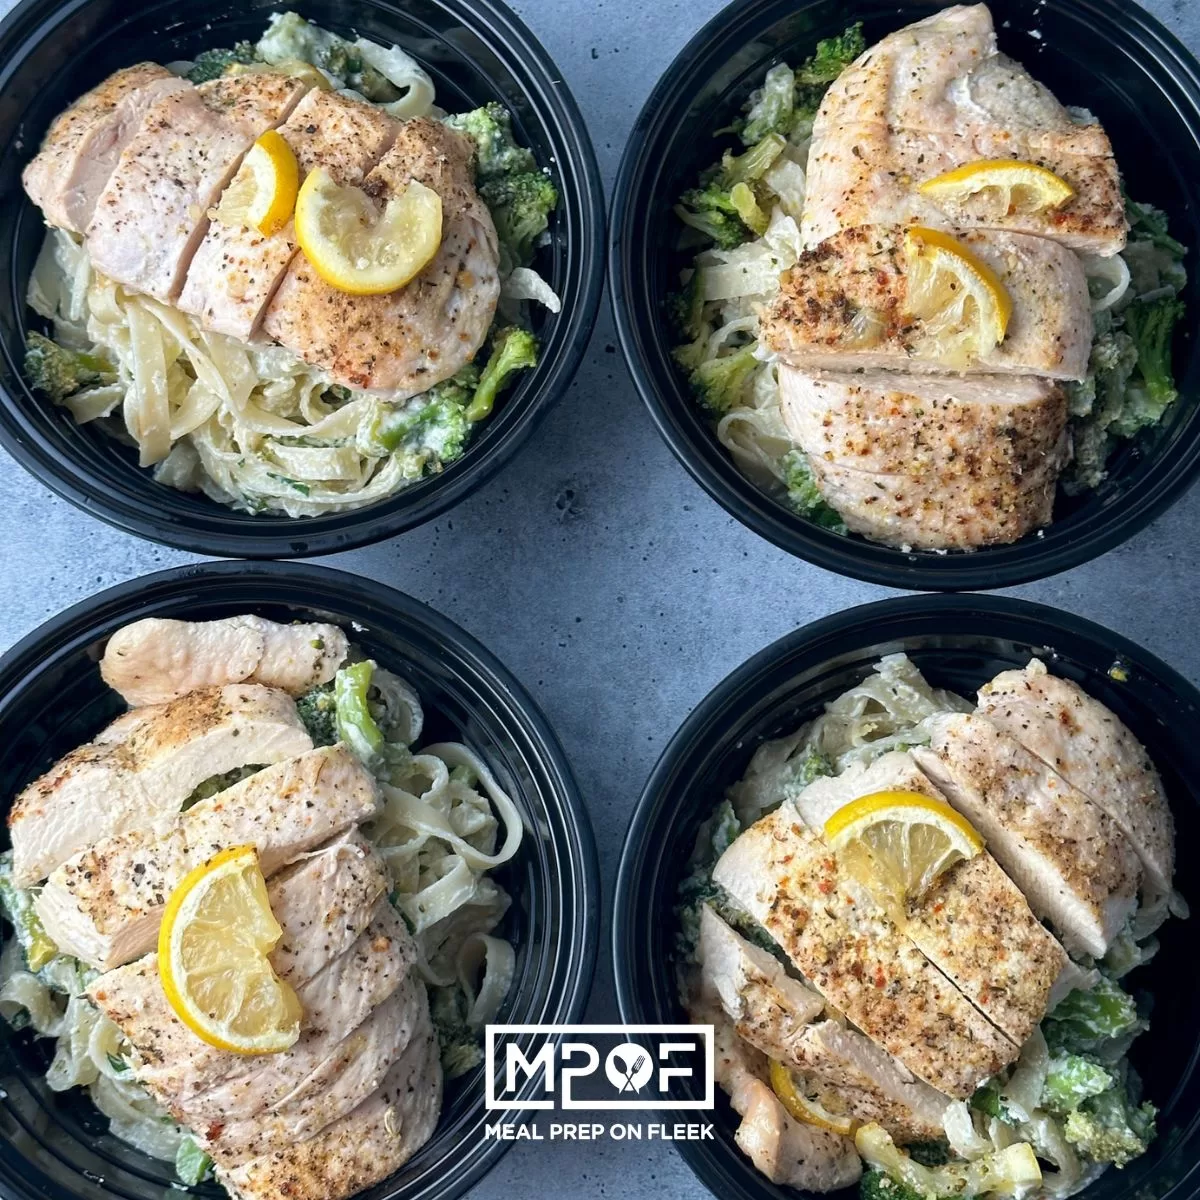
Sheet Pan Lemon Ricotta Chicken and Roasted Broccoli30 Minutes
-
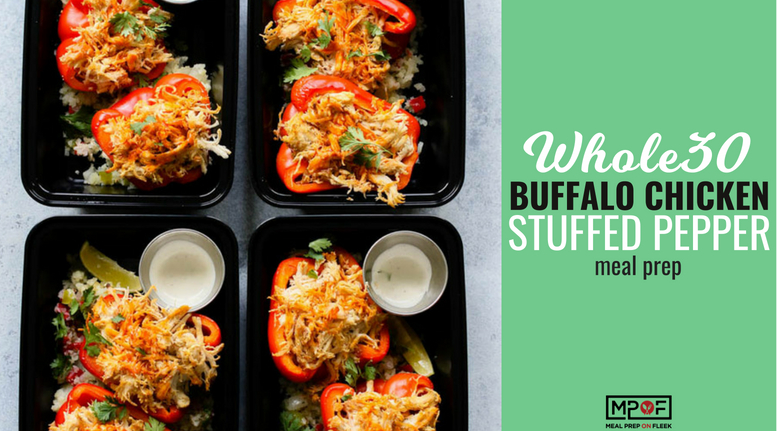
Buffalo Chicken Stuffed Pepper Meal Prep6 Hours 30 Minutes
-
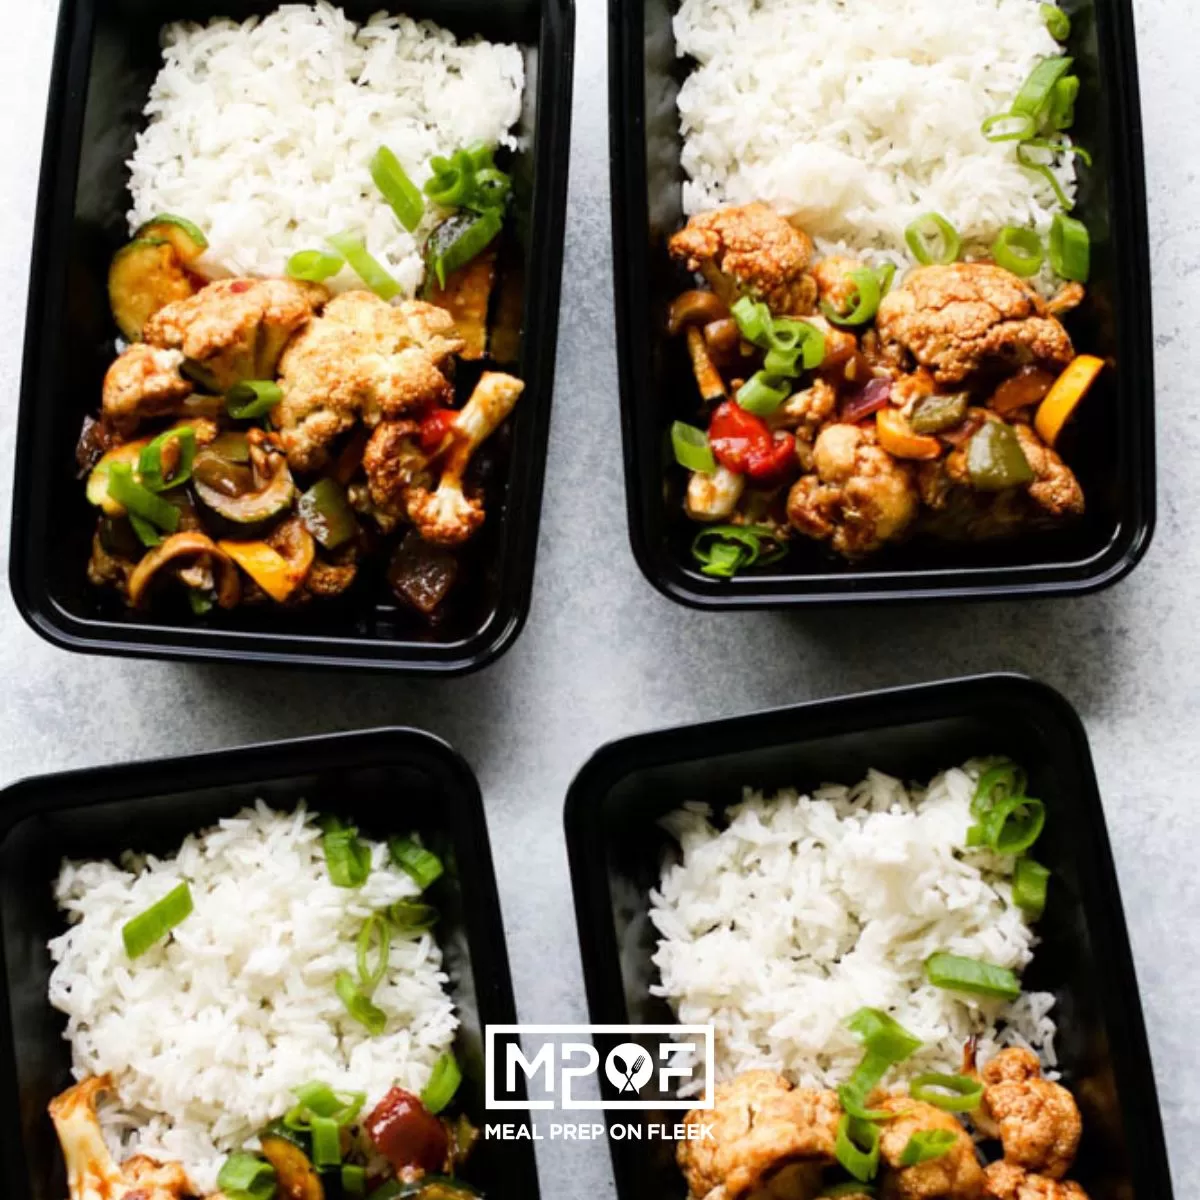
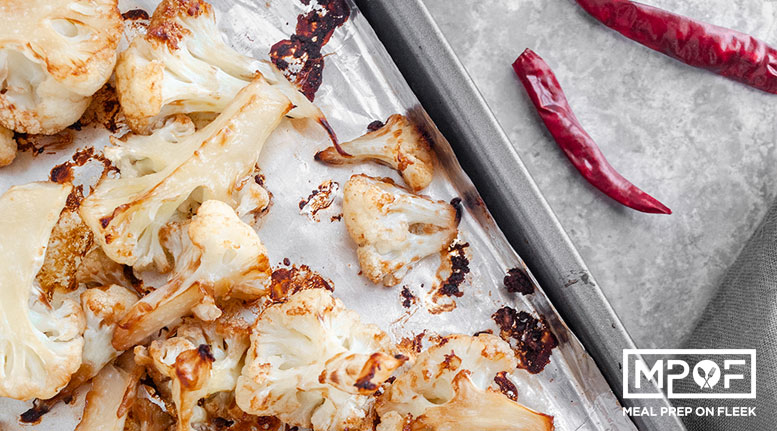
Sweet and Sour Cauliflower Bites Meal Prep30 Minutes
-
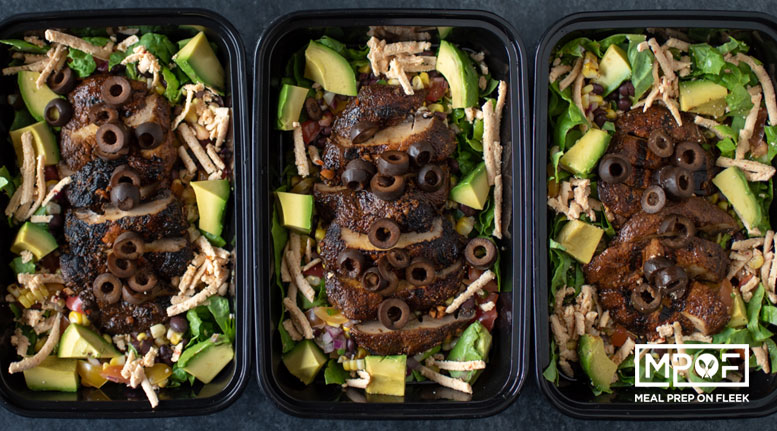
Mushroom Carnitas Burrito Bowls35 Minutes
-
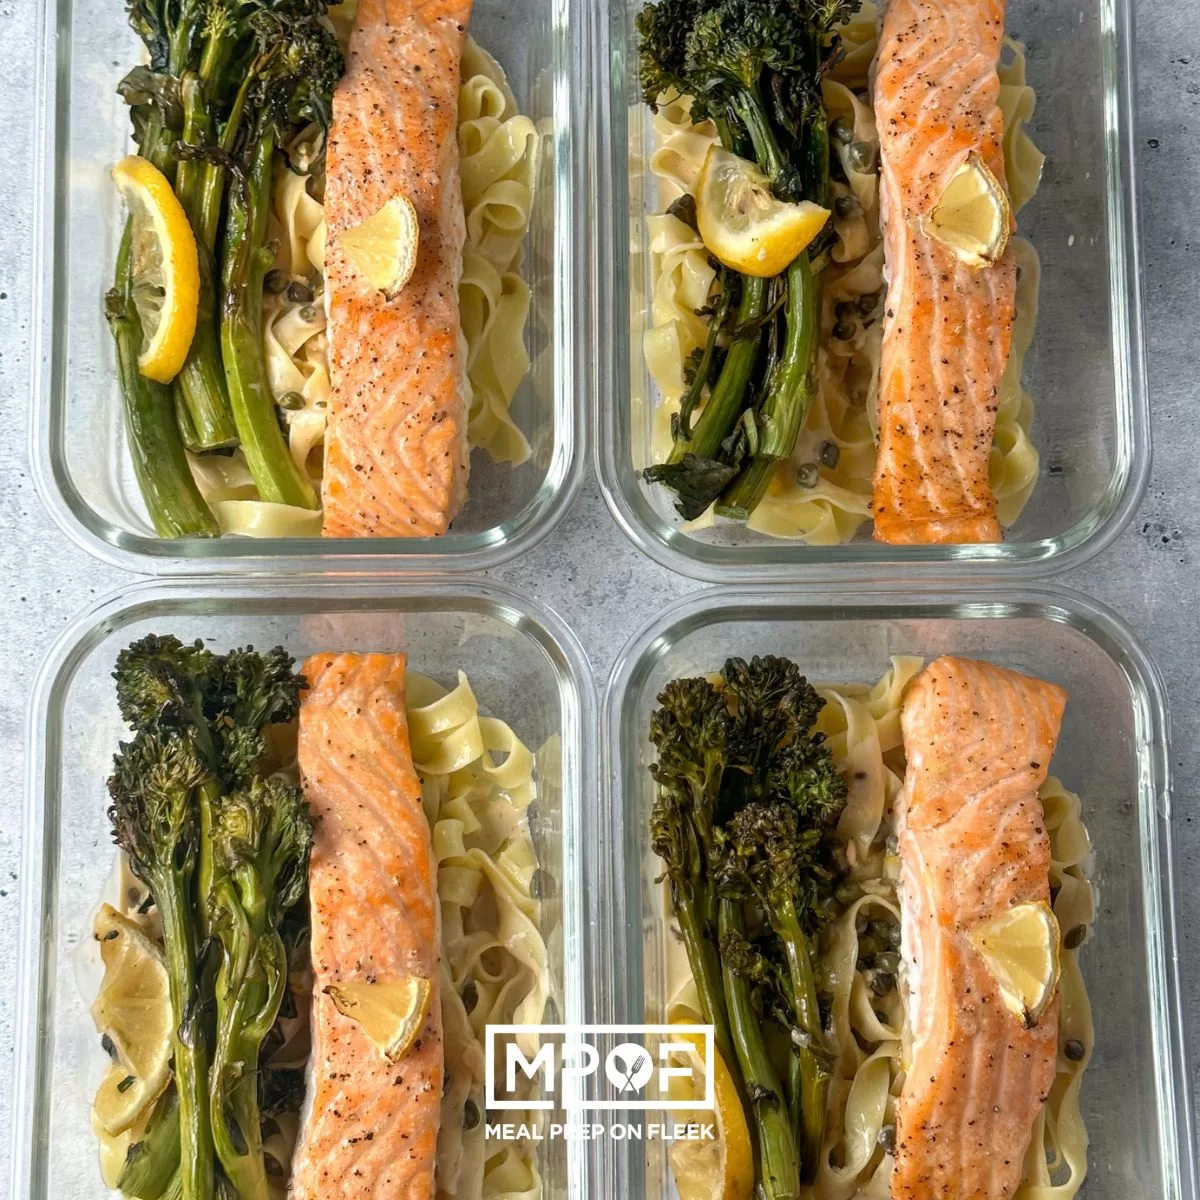
Sheet Pan Salmon with Capers and Broccolini Pasta30 Minutes
-
Sheet Pan Butter Herb Shrimp Corn and Potato Bake47 Minutes
-
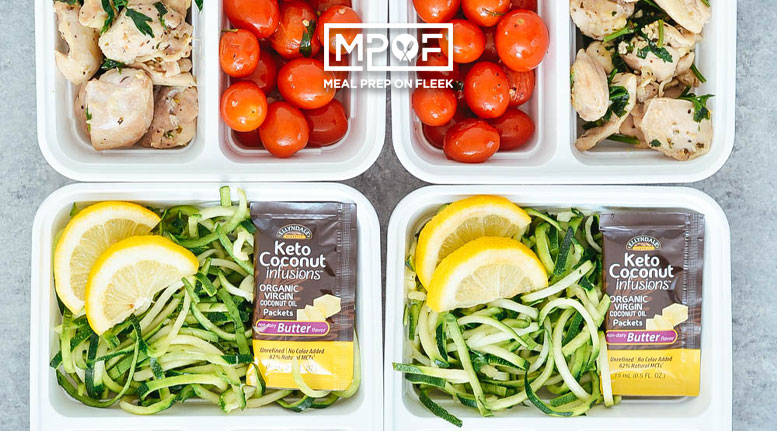
Garlic Coconut Butter Chicken Thighs and Zoodles20 Minutes
-
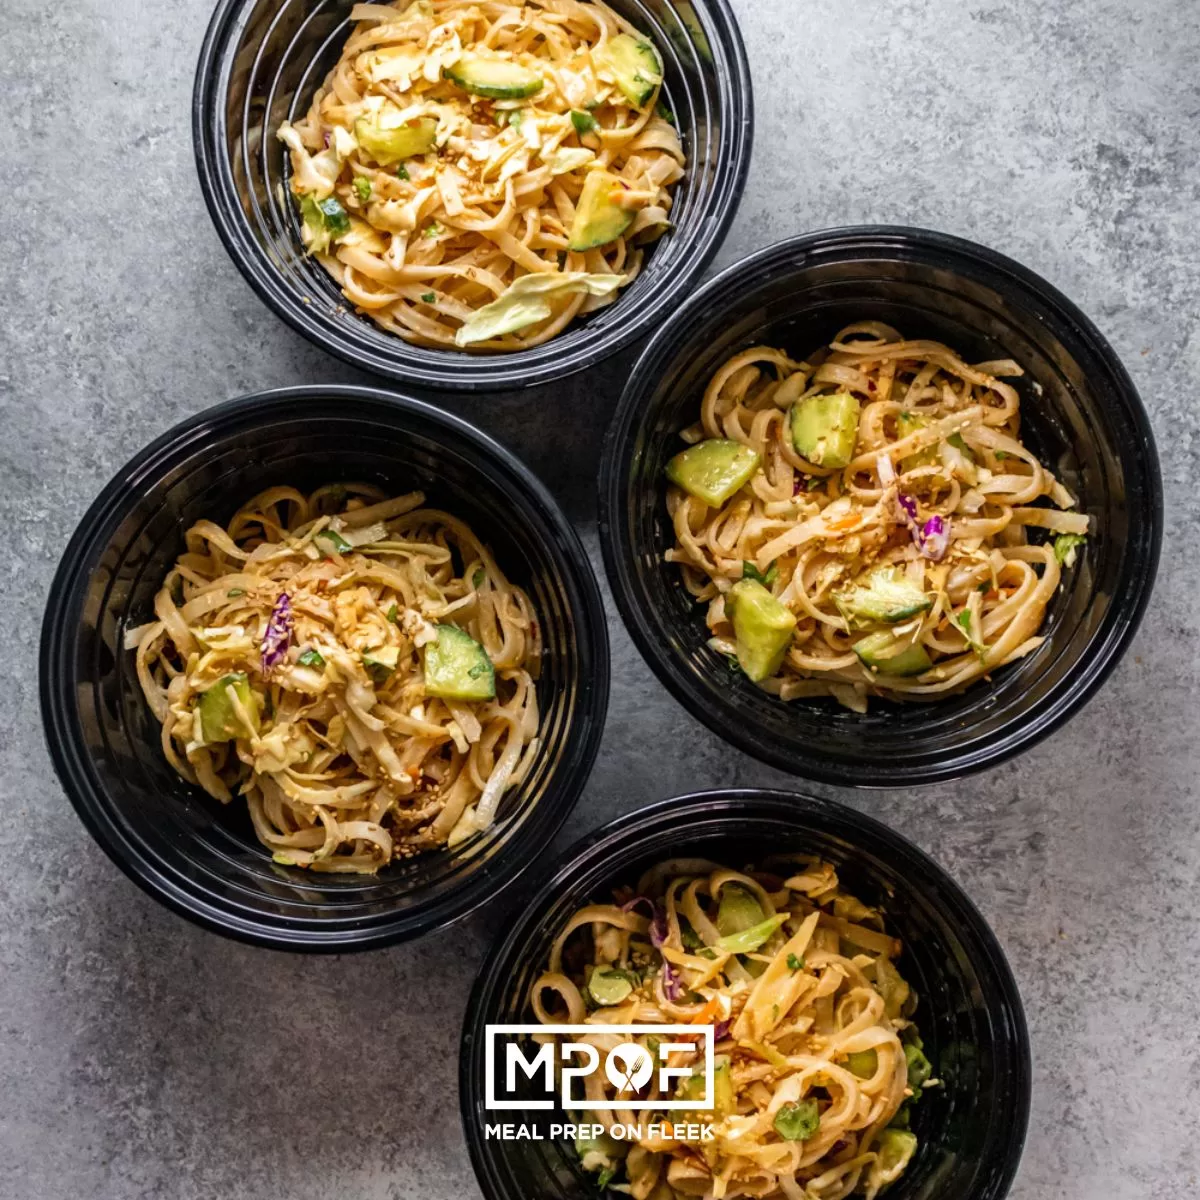
Nutty Peanut Noodles1 Hours 18 Minutes
-
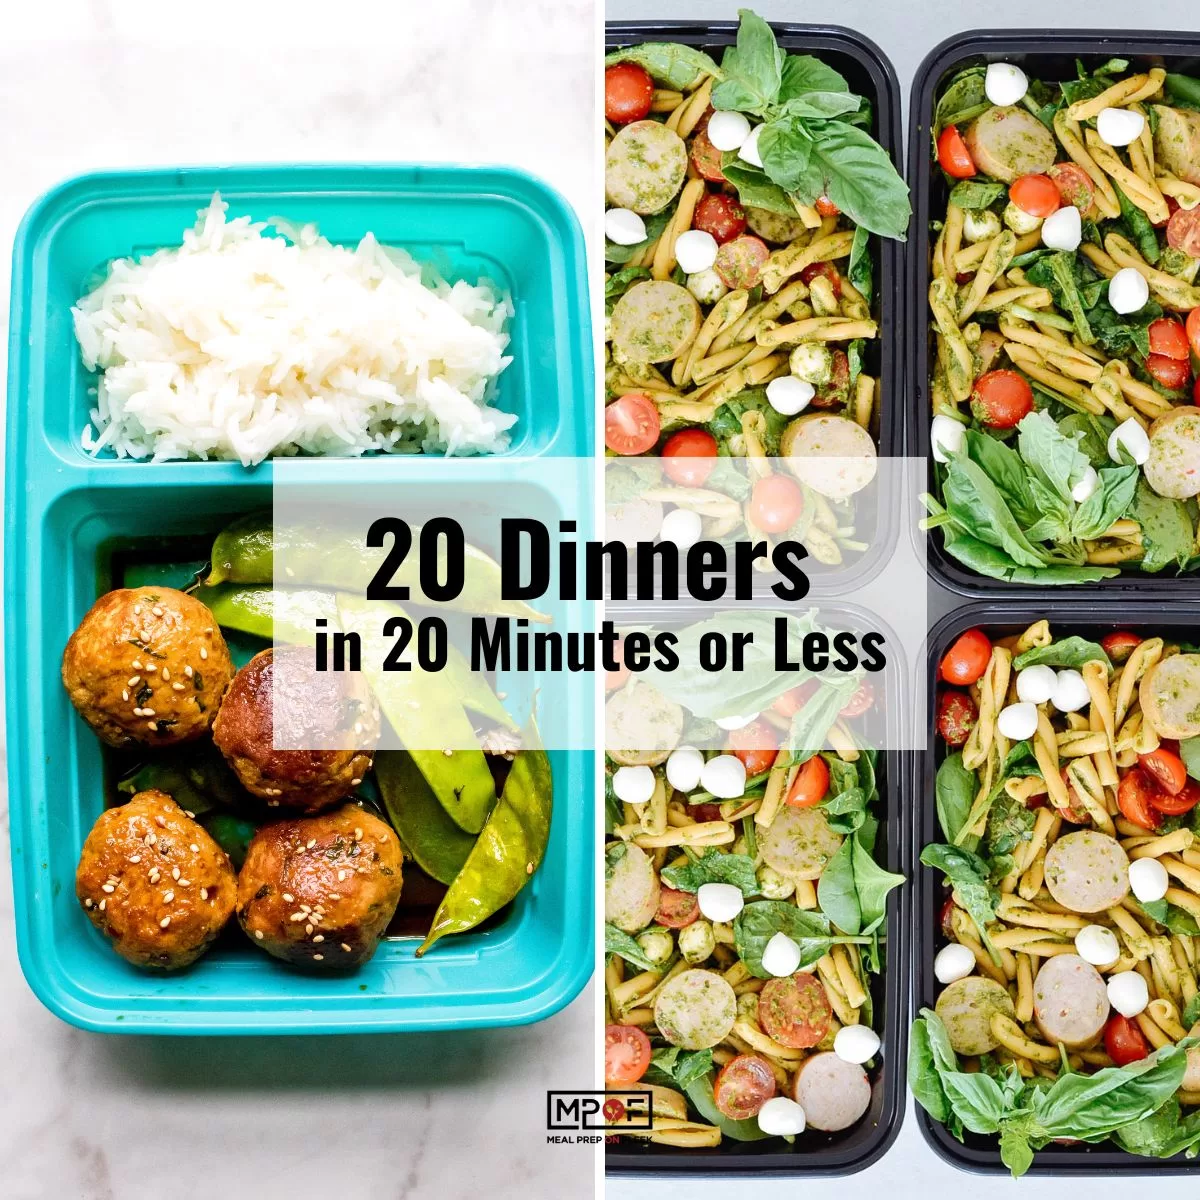
20 Dinners in 20 Minutes or Less
-
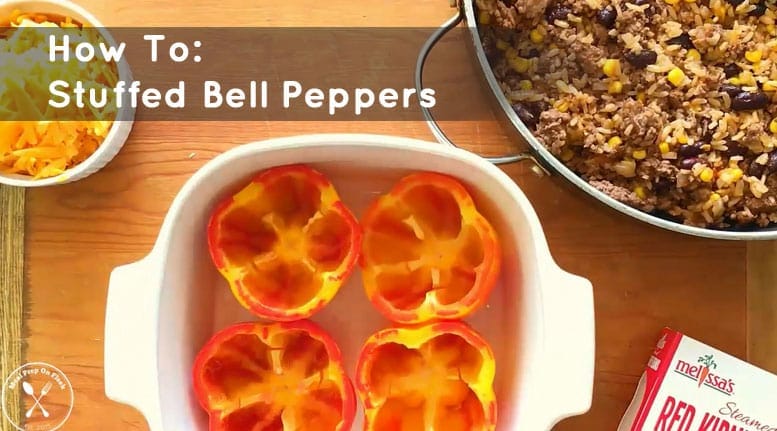
Simple Stuffed Enjoya Bell Peppers50 Minutes
-
Vegan Shakshuka Meal Prep40 Minutes
-
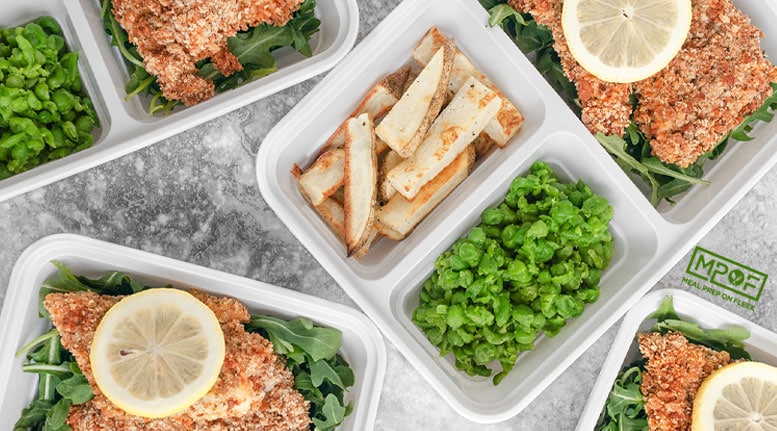
Baked Fish and Chips Meal Prep50 Minutes
-
General Tso’s Cauliflower Bowls55 Minutes
-
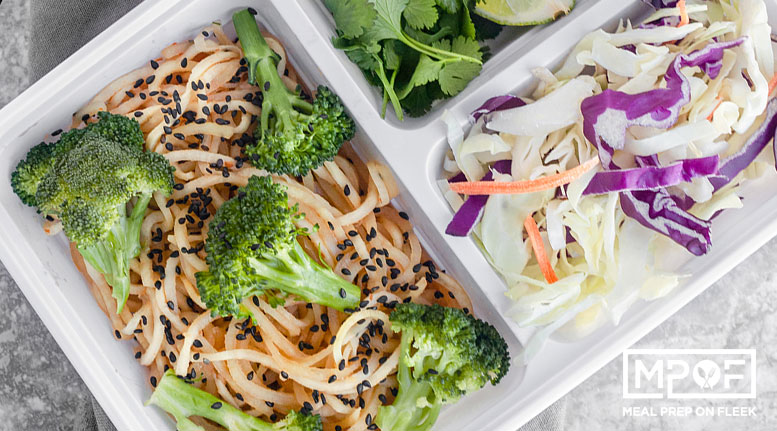
Tasty Thai Chili Garlic “Noodles”30 Minutes
-
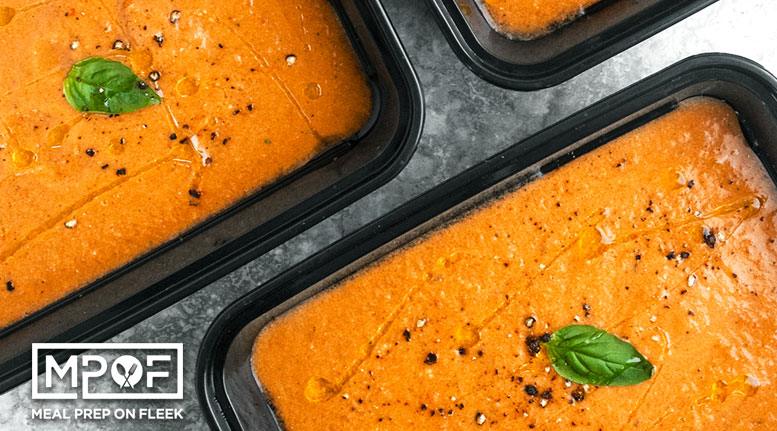
Gazpacho Meal Prep15 Minutes
-
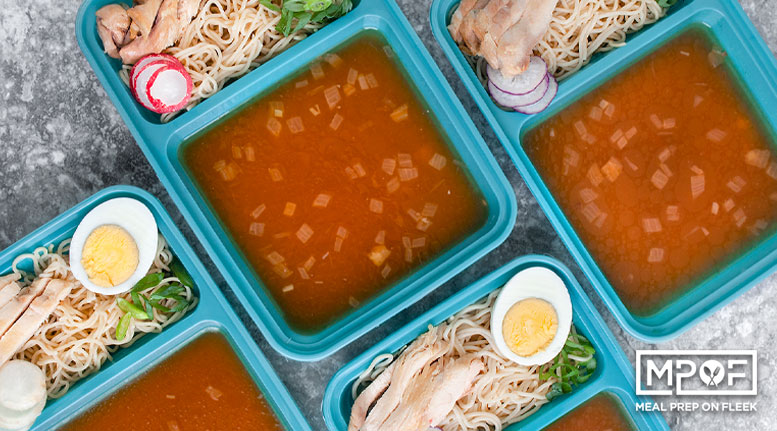
Chicken Ramen Meal Prep50 Minutes
-
Vegetarian Cobb Salad Meal Prep40 Minutes
-
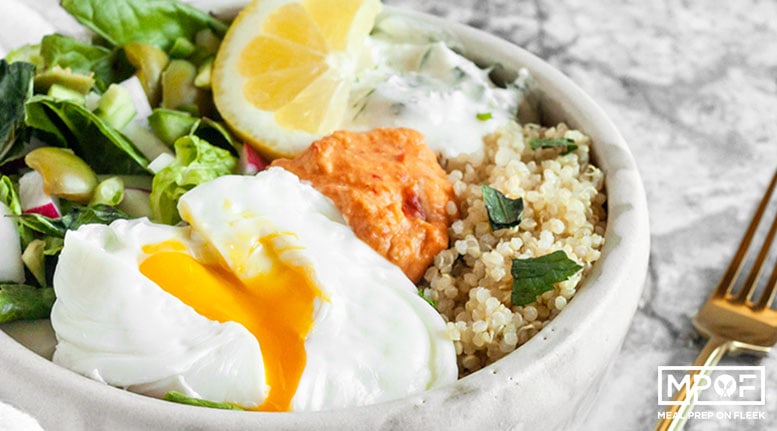
Middle Eastern Breakfast Salad Bowls15 Minutes
-
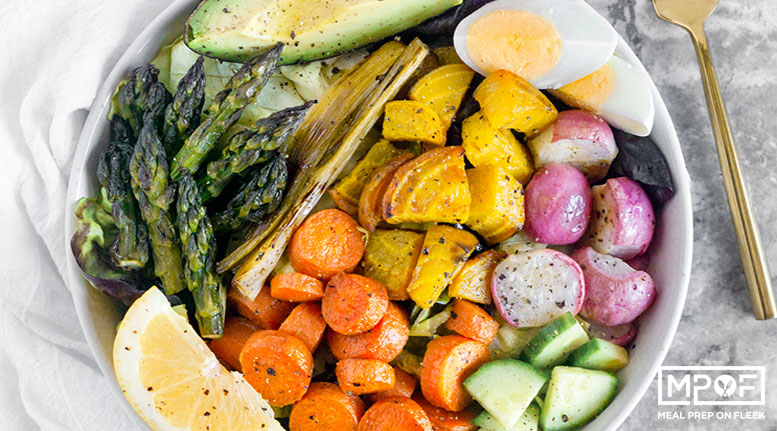
Macrobiotic Bowl30 Minutes
-
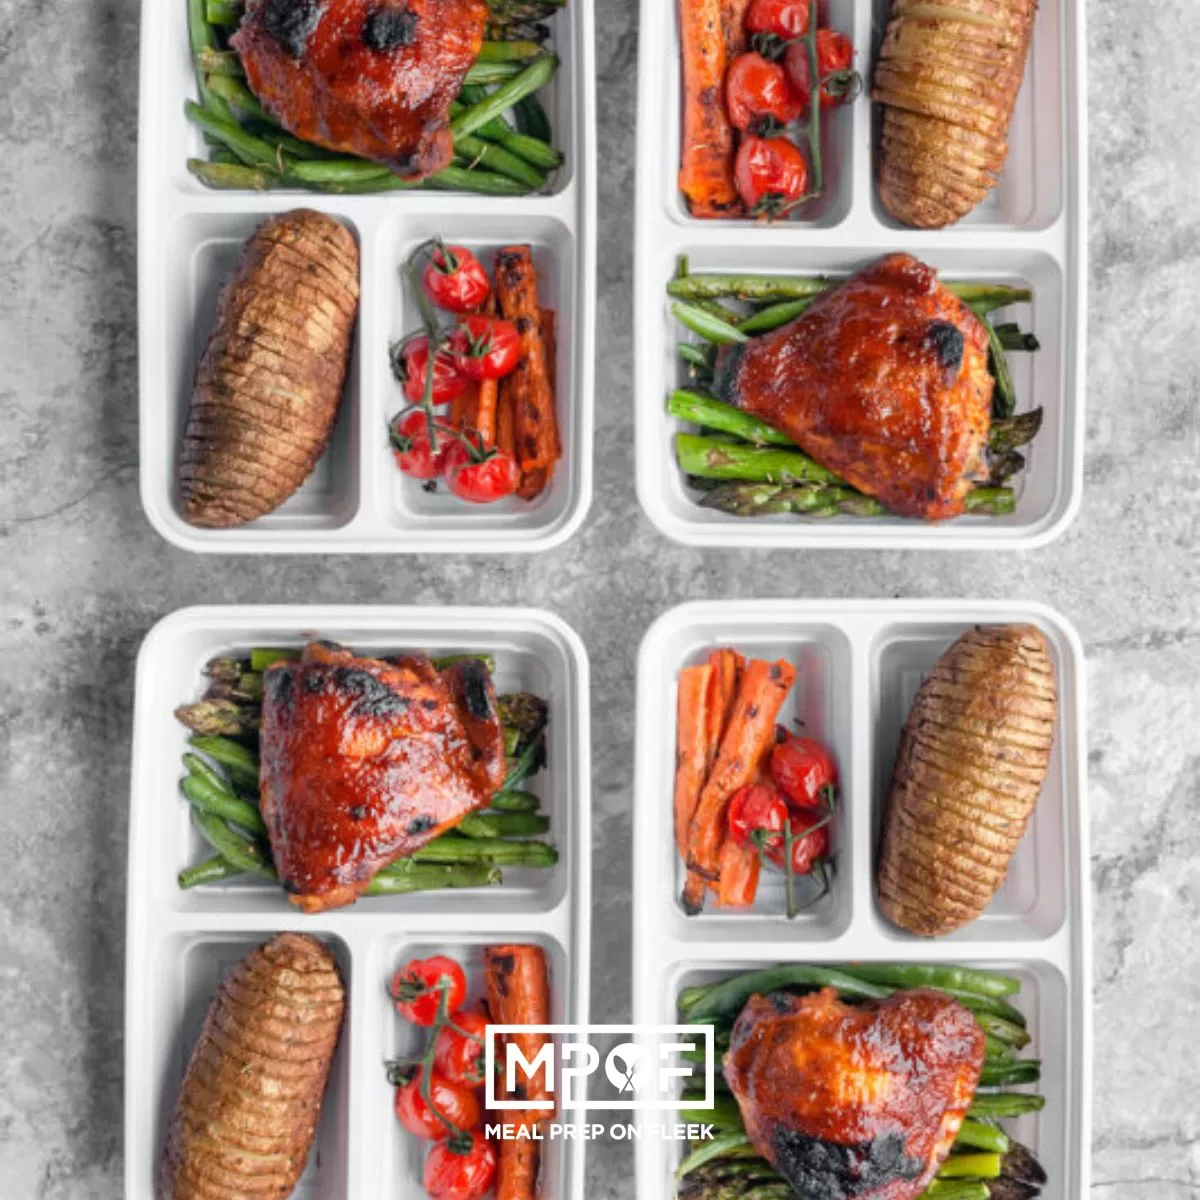
Oven Baked BBQ Chicken and Veggies Meal Prep1 Hours 15 Minutes
-
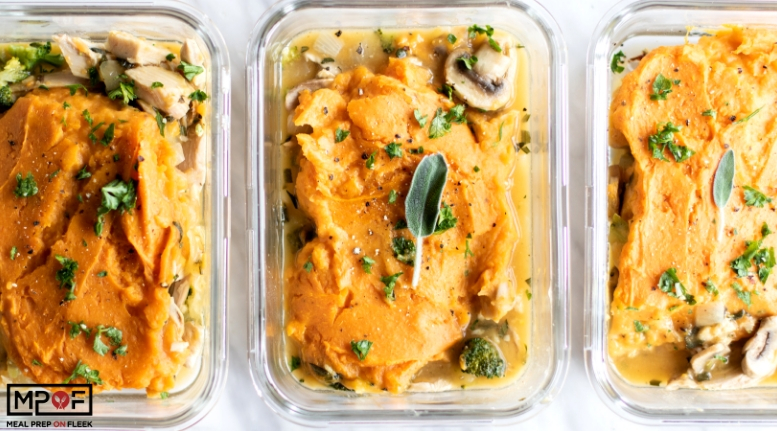
Leftover Turkey Sweet Potato Shepherd’s Pie1 Hours
-
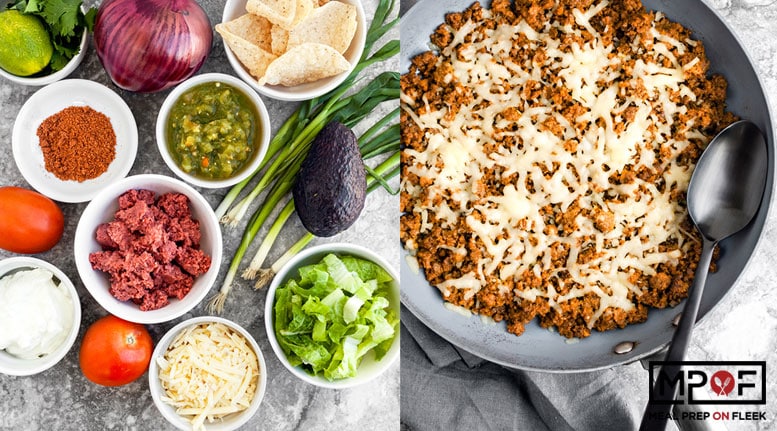
Taco Skillet Meal Prep30 Minutes
-
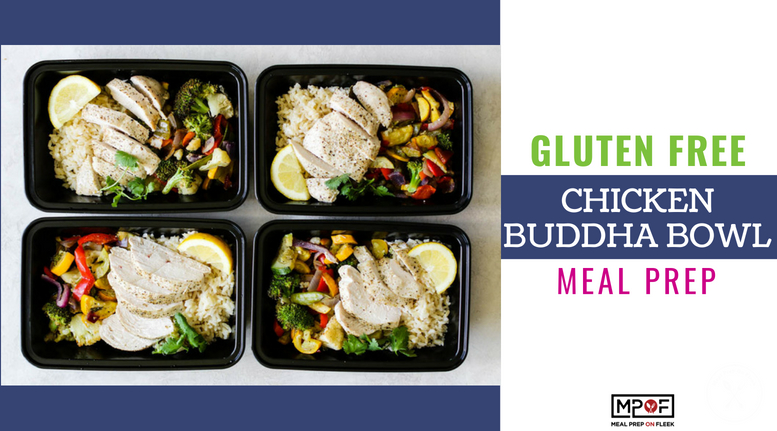
Chicken Buddha Bowl Meal Prep40 Minutes
-
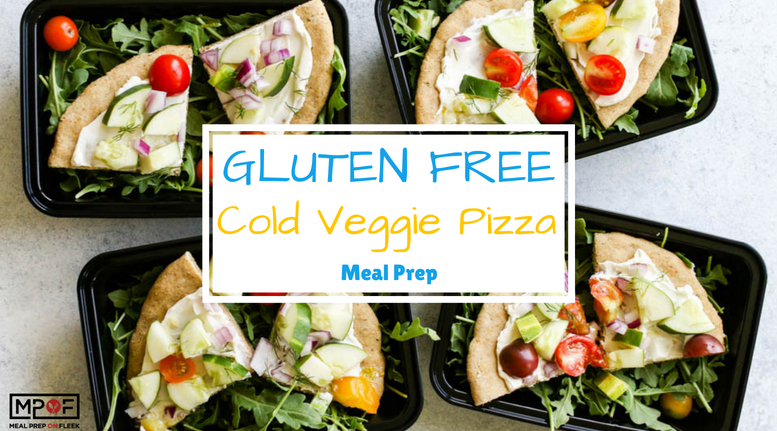
Cold Veggie Pizza Meal Prep25 Minutes
-
Pulled Pork Stuffed Sweet Potatoes7 Hours 10 Minutes
-
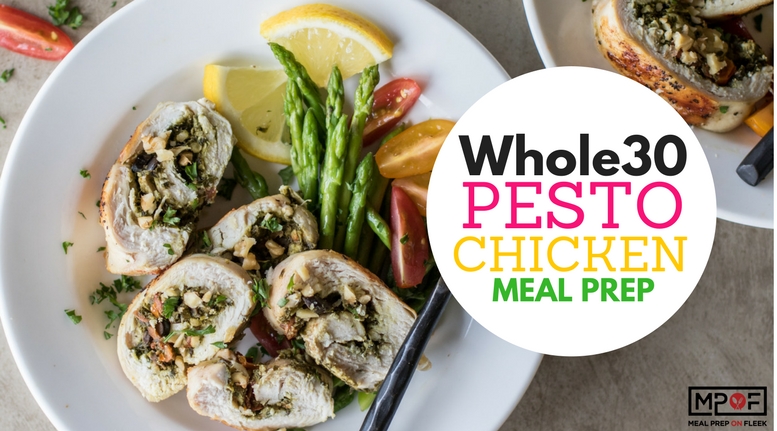
Pesto Chicken Meal Prep40 Minutes
-
Popcorn Chicken with Rice Noodles and Gochujang Sauce50 Minutes
-
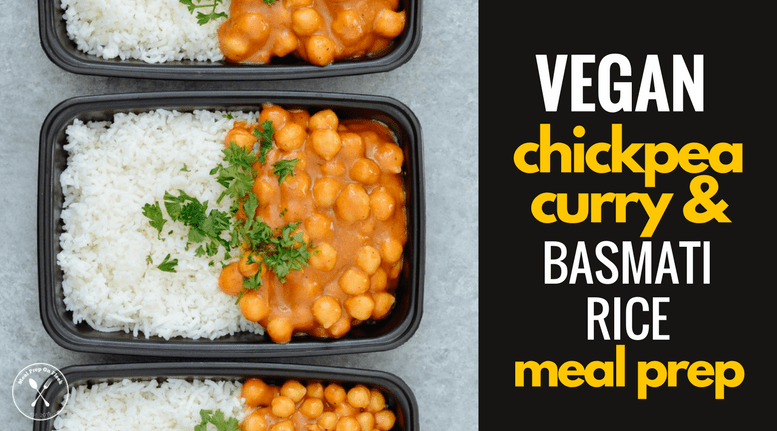
Vegan Chickpea Curry & Basmati Rice Meal Prep15 Minutes
-
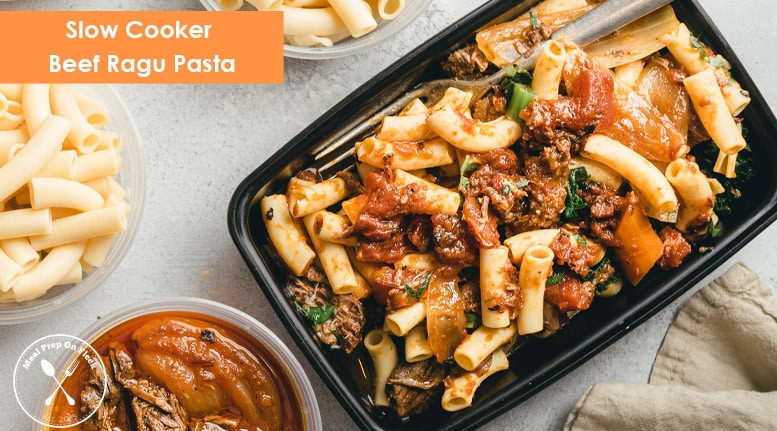
Slow Cooker Beef Ragu Pasta Meal Prep16 Hours 5 Minutes
-
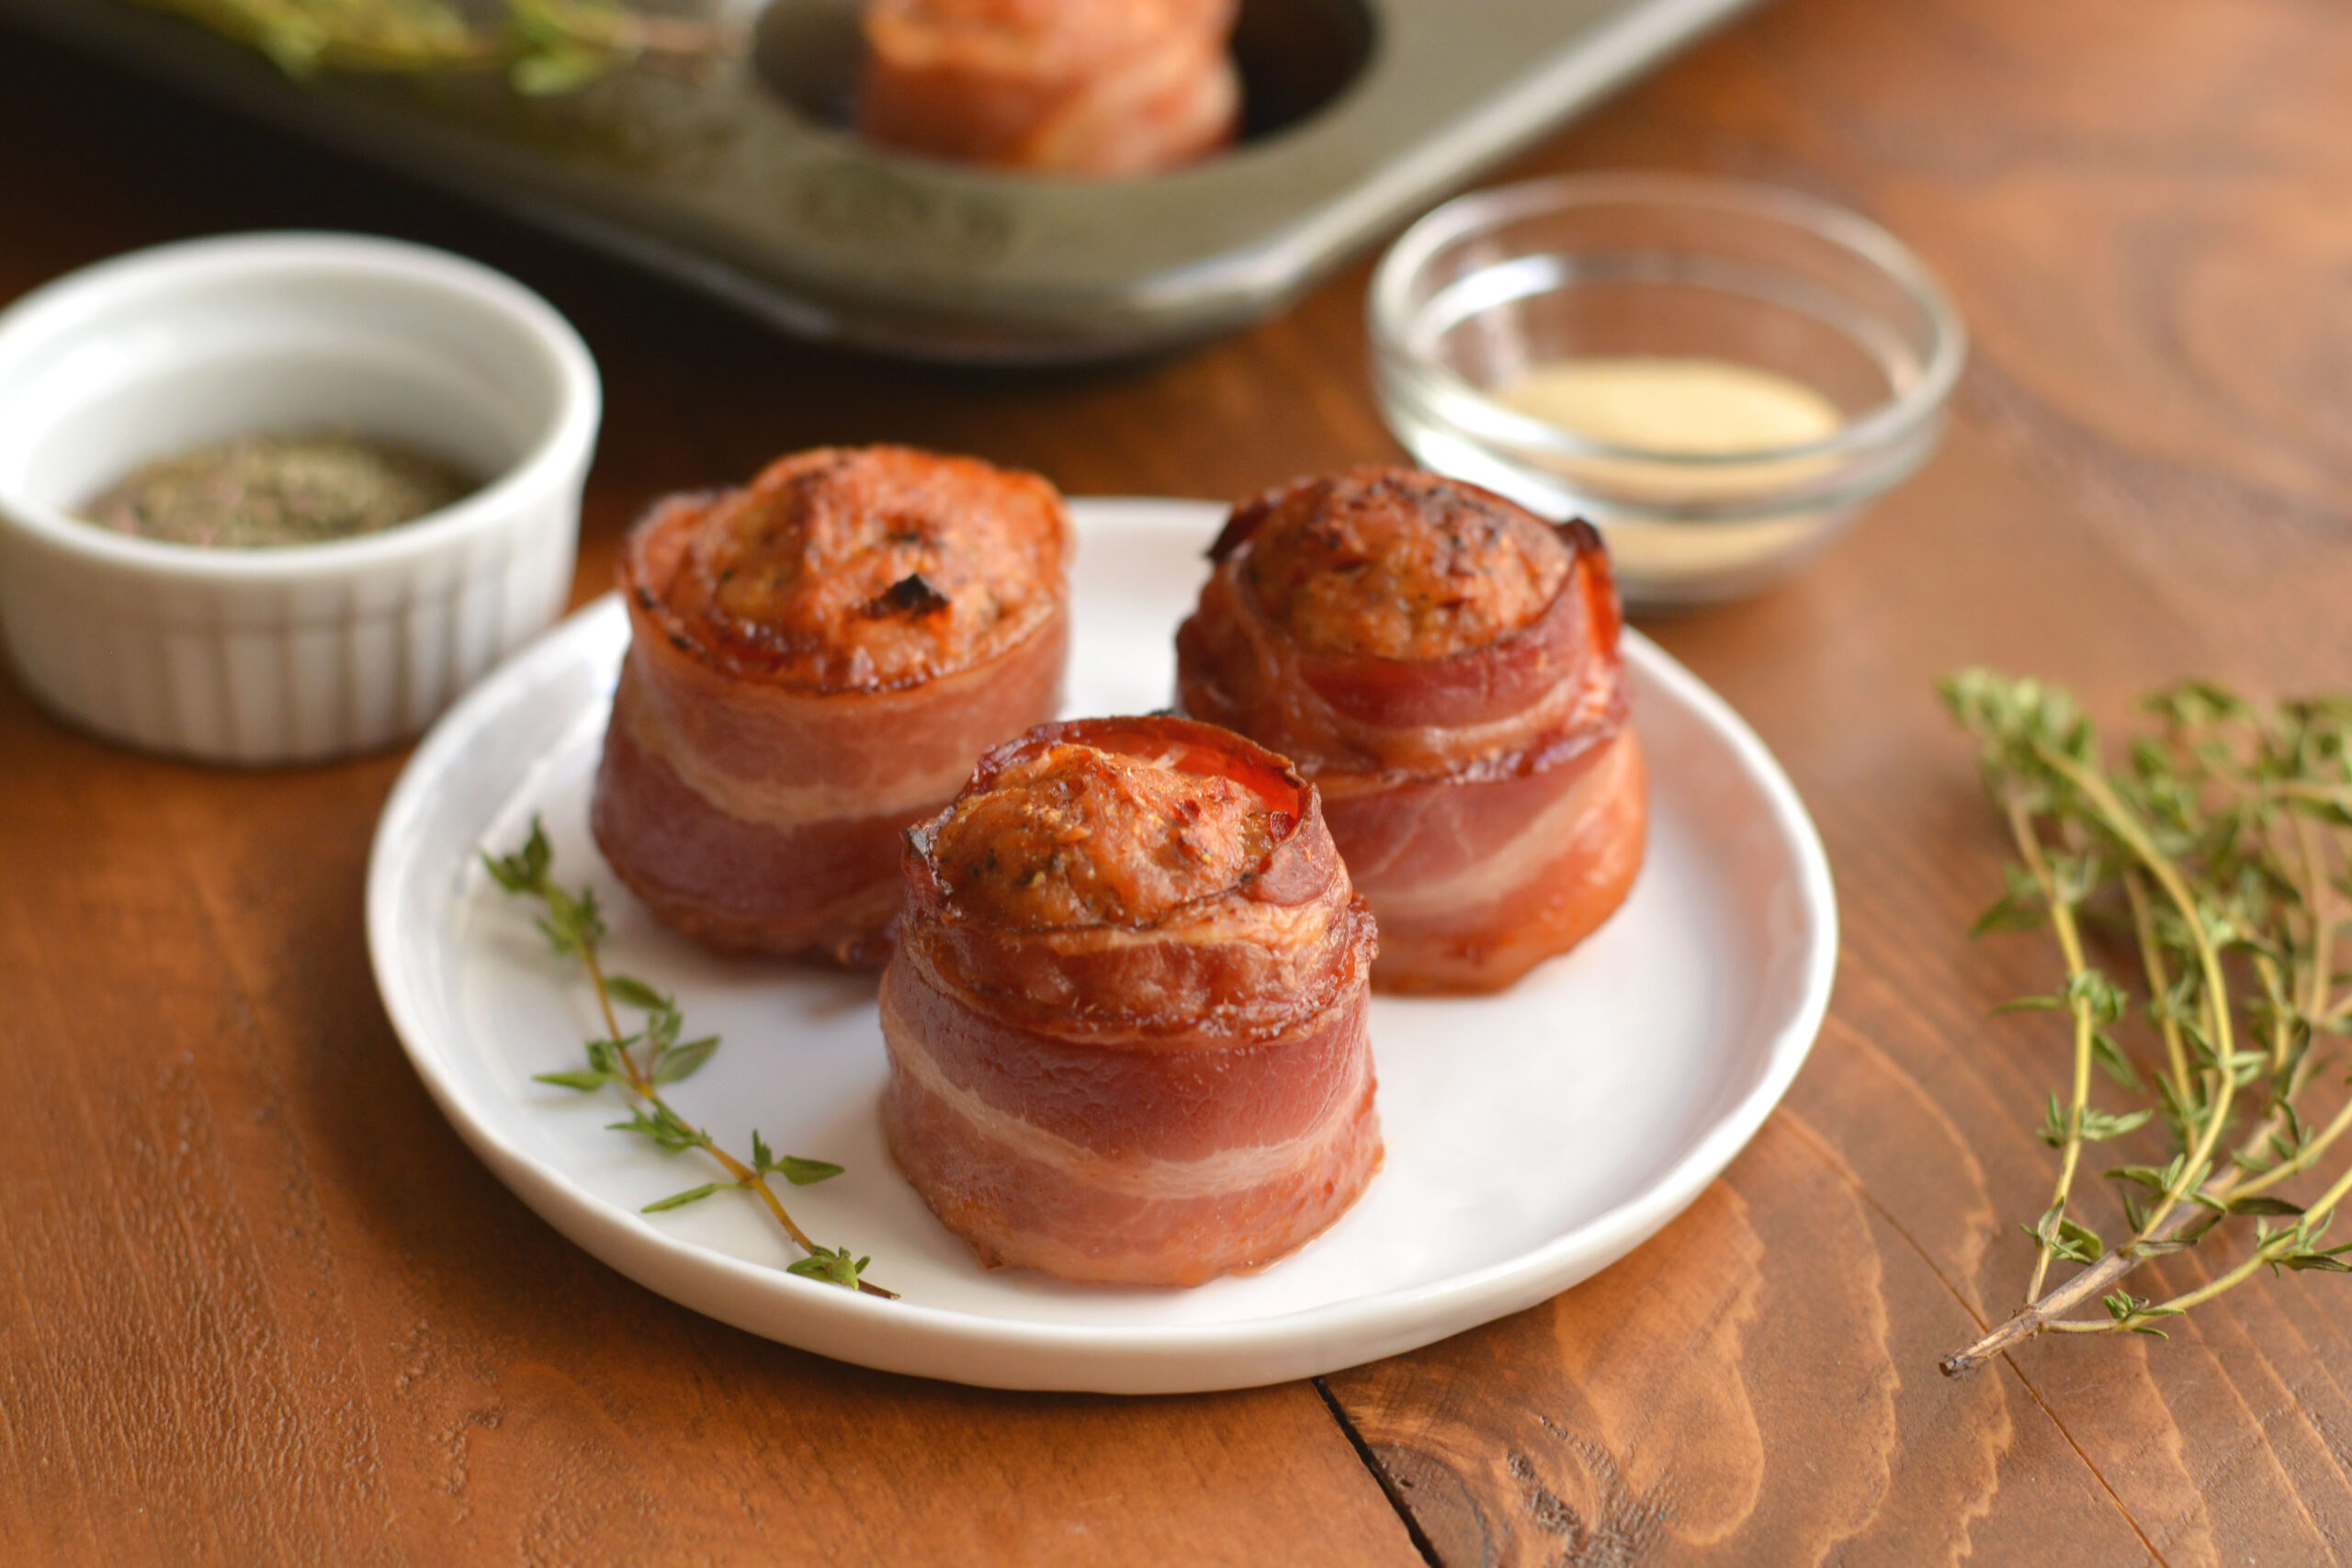
Keto Bacon Sausage Meatballs40 Minutes
-
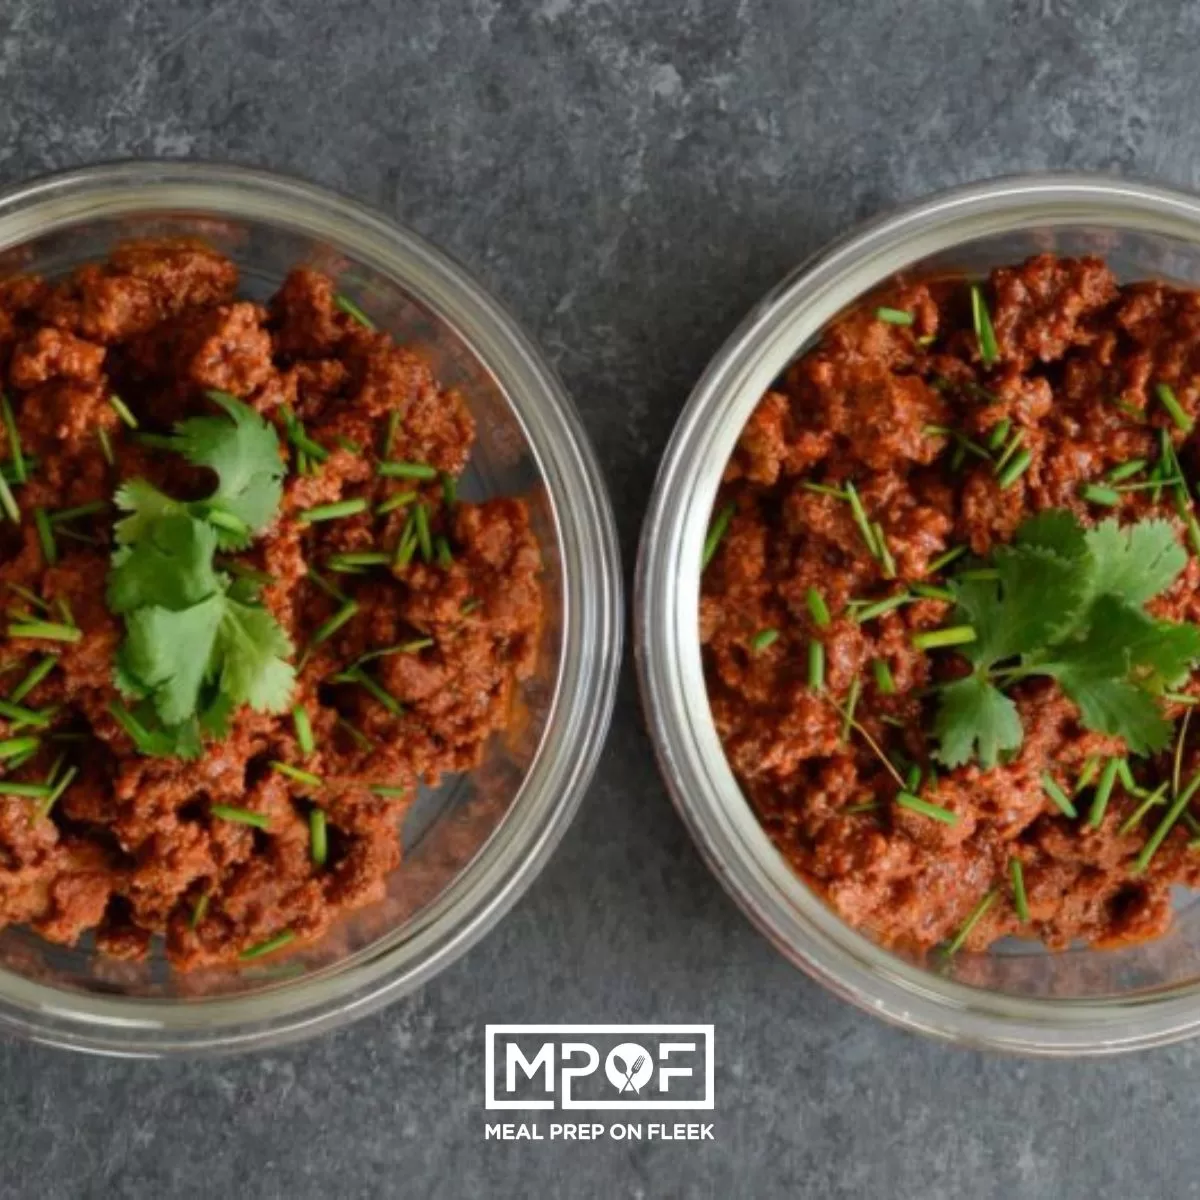
10 Minute Chili Meal Prep10 Minutes
-
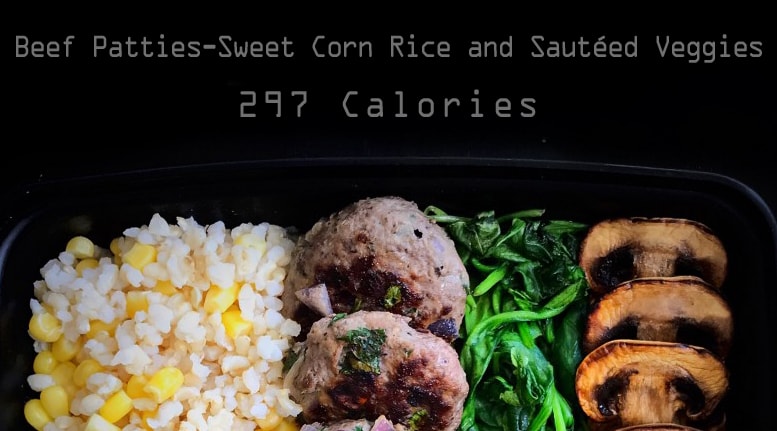
Beef Patties-Sweet Corn Rice and Sautéed Veggies25 Minutes
-
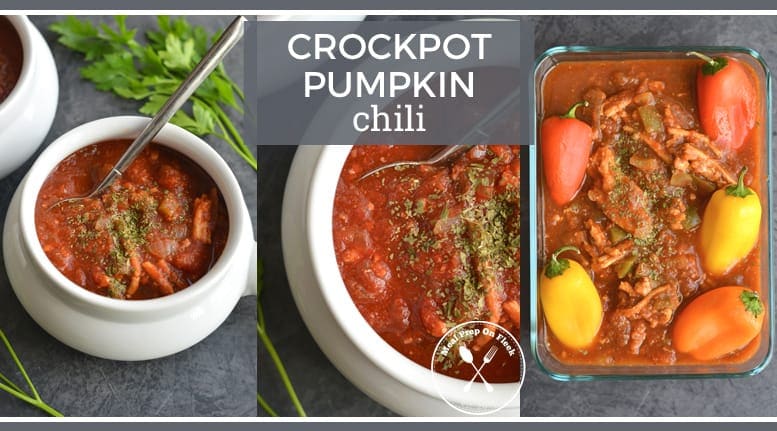
Crockpot Pumpkin Chili Meal Prep3 Hours 10 Minutes
-
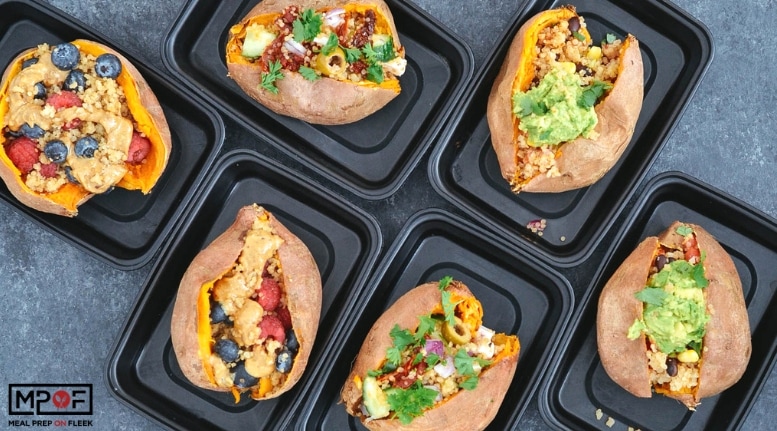
Quinoa Stuffed Sweet Potato Meal Prep - 3 Ways!15 Minutes