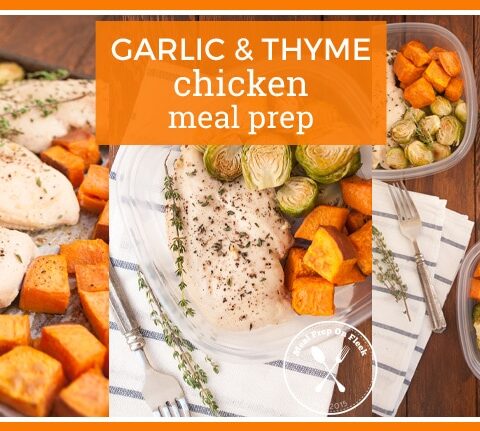
Garlic & Thyme Chicken Meal Prep
The warm, fall flavors of garlic and thyme paired with sweet potatoes and roasted brussels sprouts make this Whole30 friendly meal prep easy, affordable and nutritious!
Meal Prep Ideas for Busy People
Meal Prep Ideas for Busy People
Browsing Category
Allow MPOF to offer a delicious new twist to your dinner menu with these easy dinner meal prep recipes, you and your family can enjoy!
The warm, fall flavors of garlic and thyme paired with sweet potatoes and roasted brussels sprouts make this Whole30 friendly meal prep easy, affordable and nutritious!
Vegan Lasagna Soup has all the down-to-earth lovability of traditional lasagna but without the layering, baking, and waiting. Your 646 kcal meal will serve up 32g protein in 20 minutes from start to mouth. That’s …

Low Carb Crockpot Beef Ragu Meal Prep Slow cooked beef in an aromatic blend of tomatoes, spices and red wine! An impossibly easy dinner that tastes like a 5-star meal. Serve over zucchini or sweet …
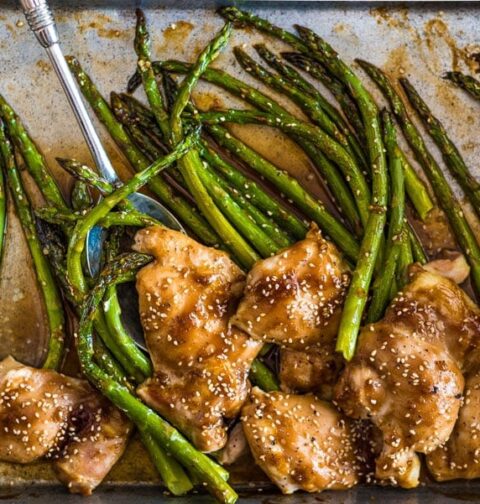
Sheet Pan Recipe - Chicken and Asparagus Bowl We get it, meal prep fam. You’re really, super busy in your life, especially if you work or go to school full-time. Just like any other human …
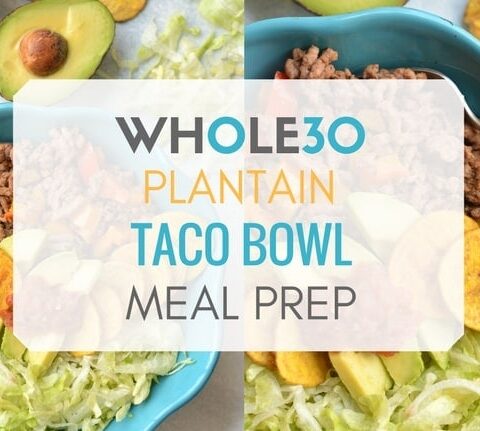
Plantain Taco Bowl Meal Prep Move over Chipotle! These homemade Plantain Taco Bowls have all the flavor of take-out but are made with fresh and wholesome ingredients. Easy to meal prep and more fun to …
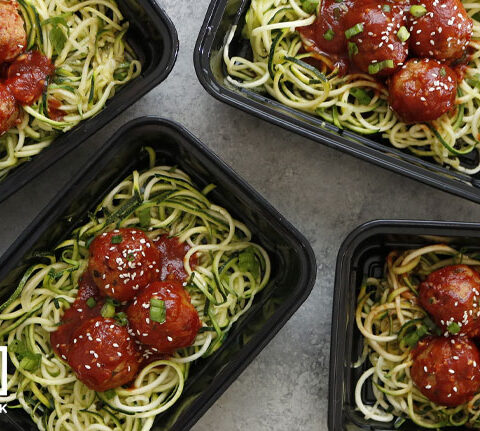
Honey Garlic Mushroom Meatballs Using Cremini Mushrooms Looking for something sweet and savory to blow your family away? Our meal prep recipe for honey garlic cremini mushrooms will certainly do the trick. It’s fun and …
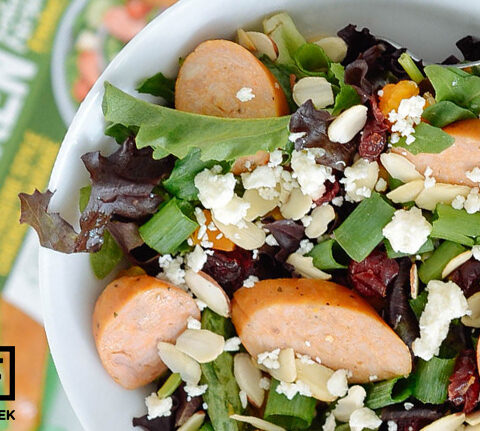
Thank you to al fresco for sponsoring this Fall Harvest Sausage Salad Meal Prep post, and thank YOU for supporting the brands that help make Meal Prep On Fleek possible. All opinions are our own. …
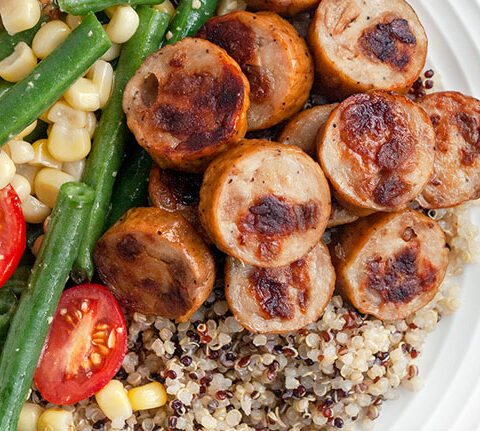
Thank you to GoodCook for sponsoring this Chicken Apple Sausage and Veggies post, and thank YOU for supporting the brands that help make Meal Prep On Fleek possible. All opinions are our own. Ready in …
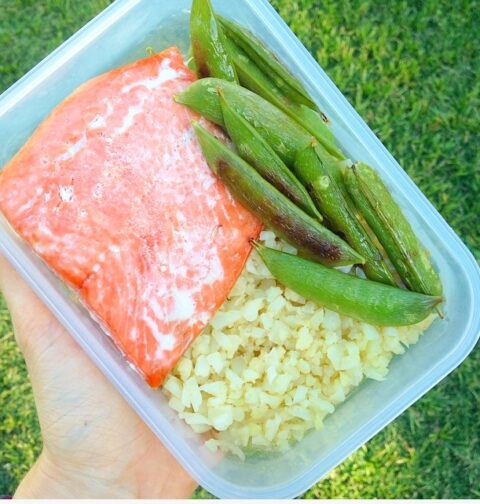
Simple Low Carb Salmon Meal Prep. Paleo and Whole30 compliant! Are you looking for a simple low carb salmon meal prep that can be made in just minutes? This perfect meal prep container has a …