501-600 Calories
-
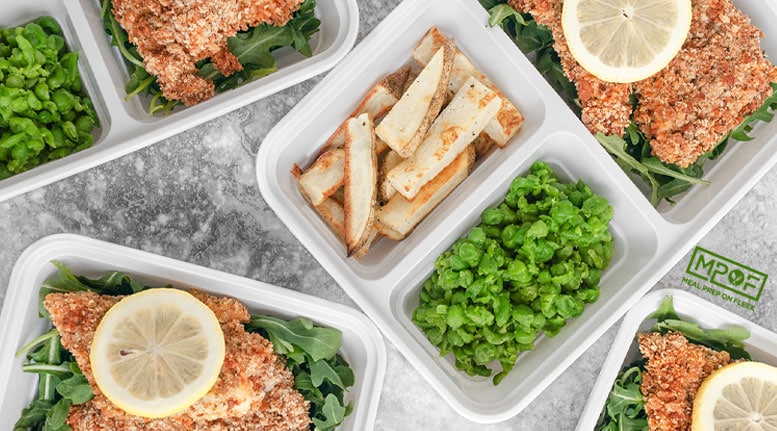
Baked Fish and Chips Meal Prep
-
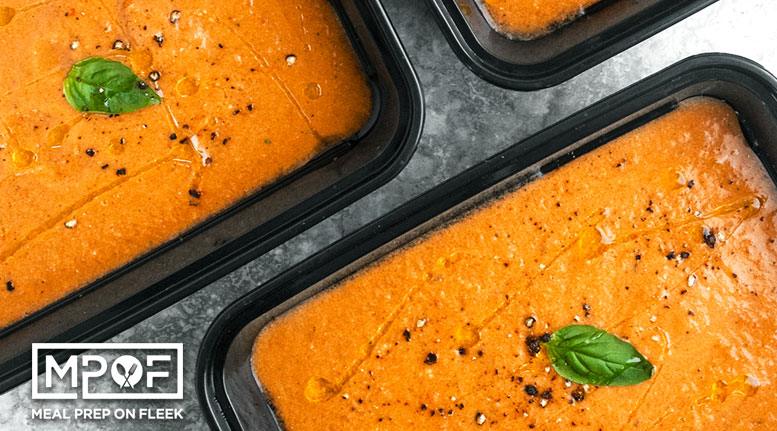
Gazpacho Meal Prep
-
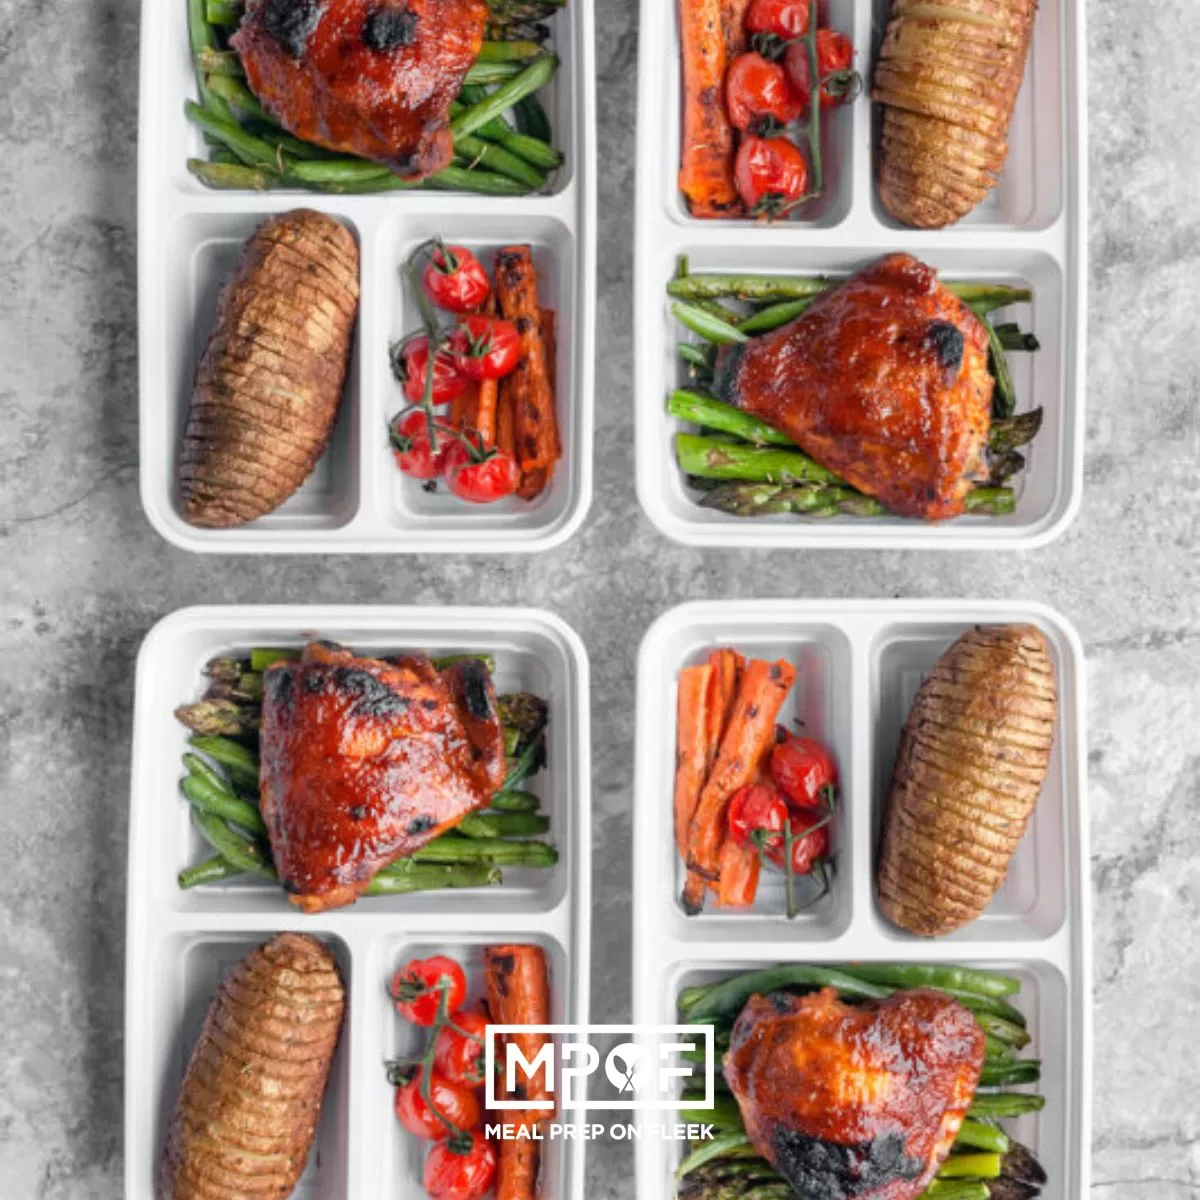
Oven Baked BBQ Chicken and Veggies Meal Prep
-
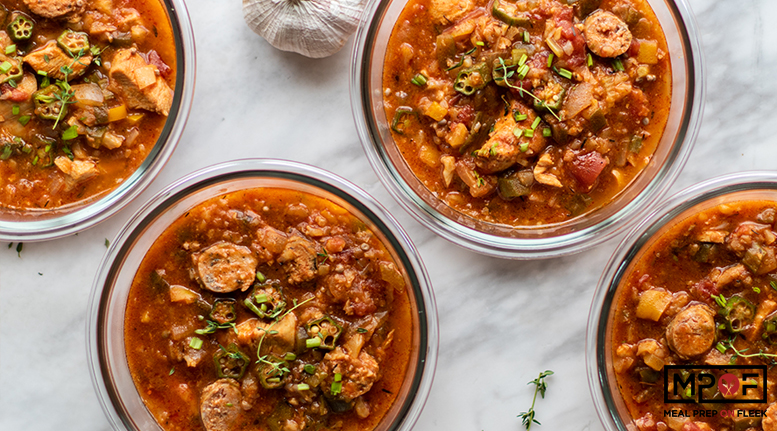
Gumbo Meal Prep
-
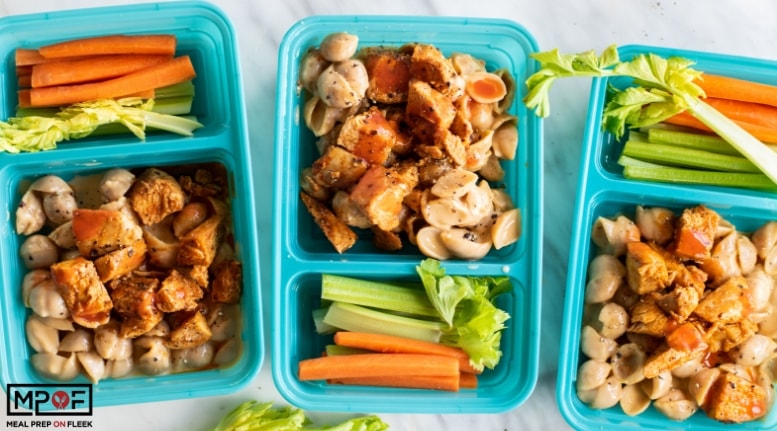
Buffalo Chicken Mac & Cheese
-
Loaded Sausage and Bacon Breakfast Casserole
-
One Pan Mushroom Tetrazzini
-
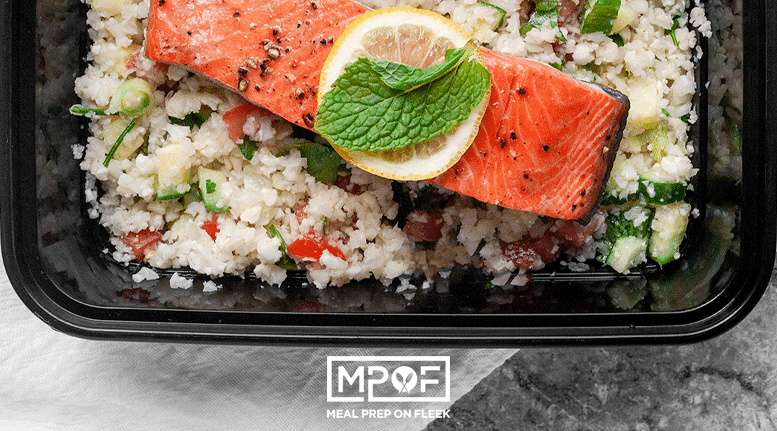
Cauliflower Tabouli and Salmon Meal Prep
-
Slow Cooker Lemon Garlic Chicken Meal Prep
-
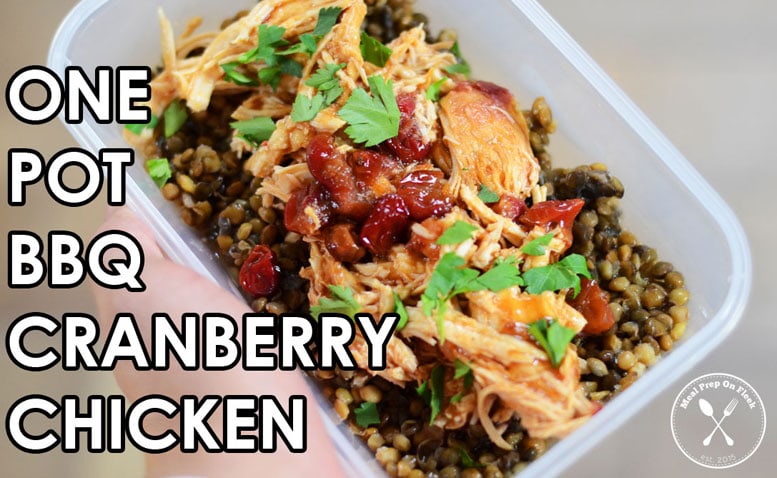
Crockpot BBQ Chicken Meal Prep Recipe
-
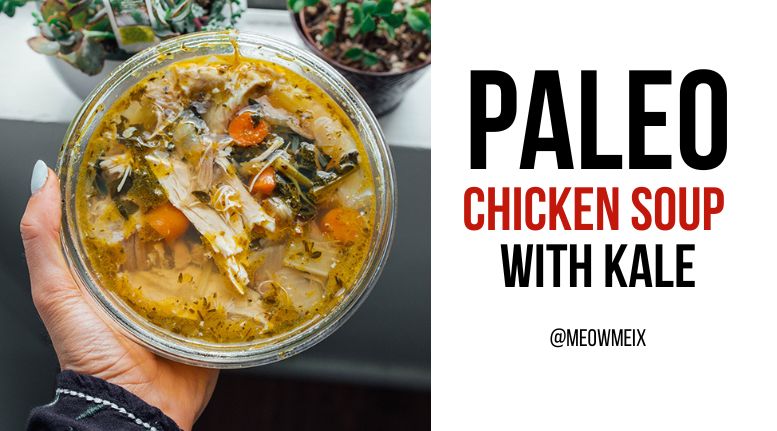
Paleo Chicken Soup with Kale
-
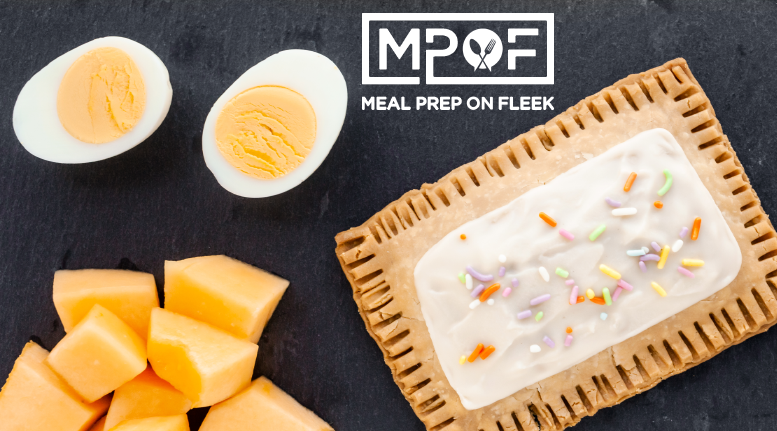
Gluten-free Healthy-ish Pop Tarts
-
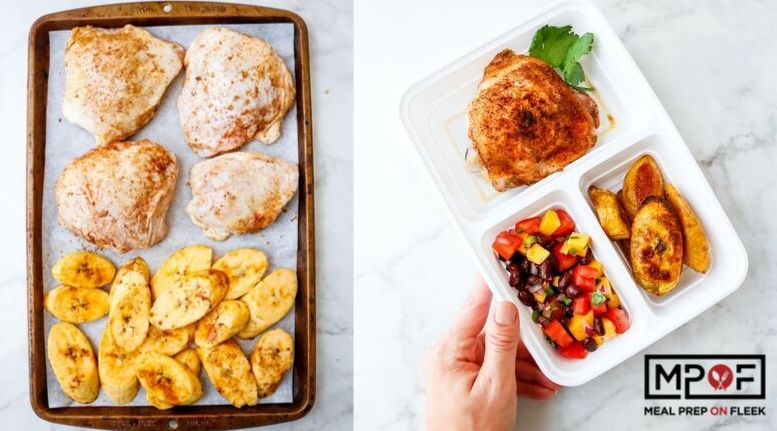
Sheet Pan Caribbean Chicken Thighs
-
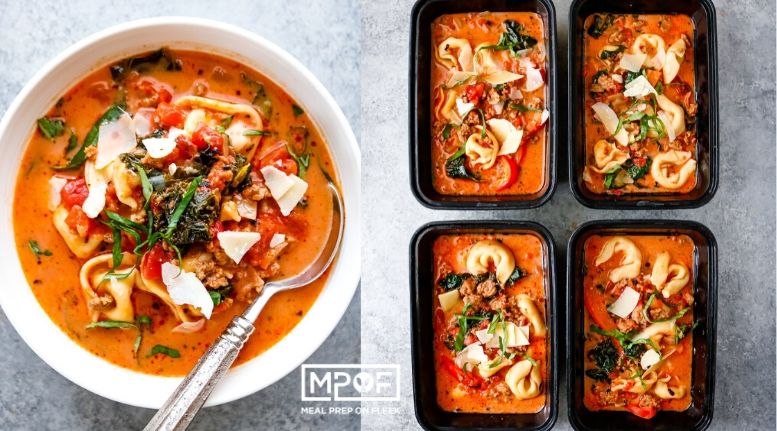
Spicy Italian Sausage and Tortellini Soup
-
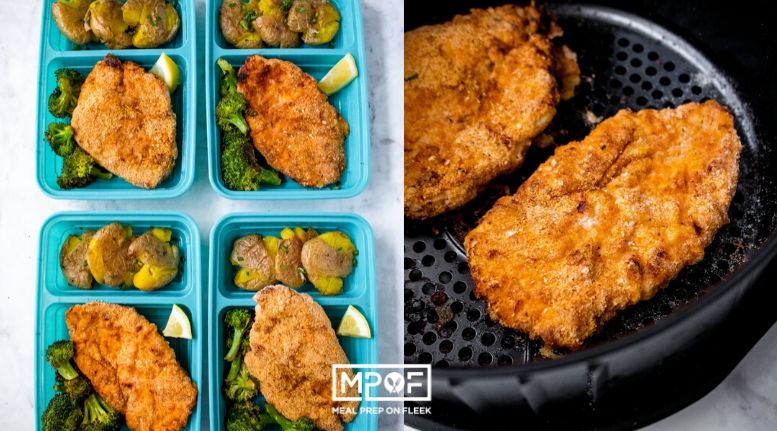
Air Fried Chicken Schnitzel
-
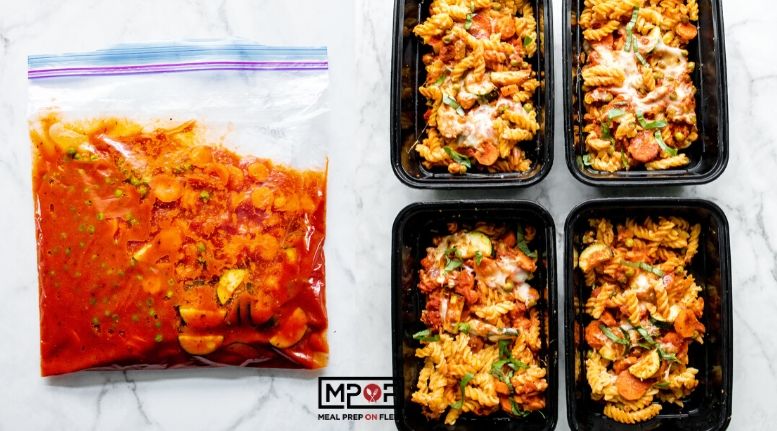
One Pan Baked Pasta Primavera
-
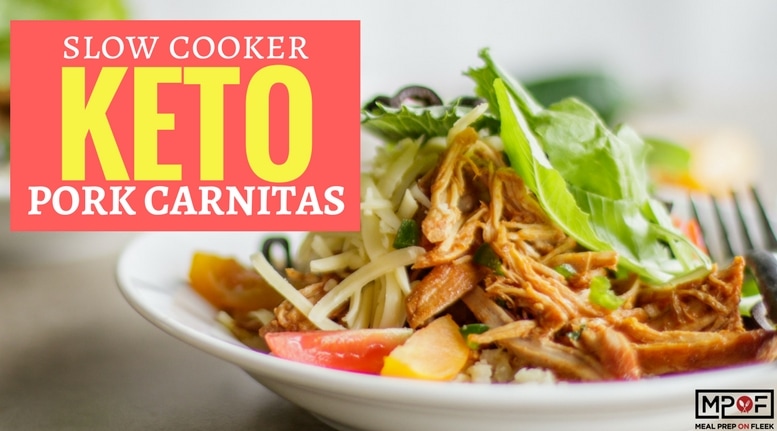
Slow Cooker Keto Pork Carnitas Bowls
-
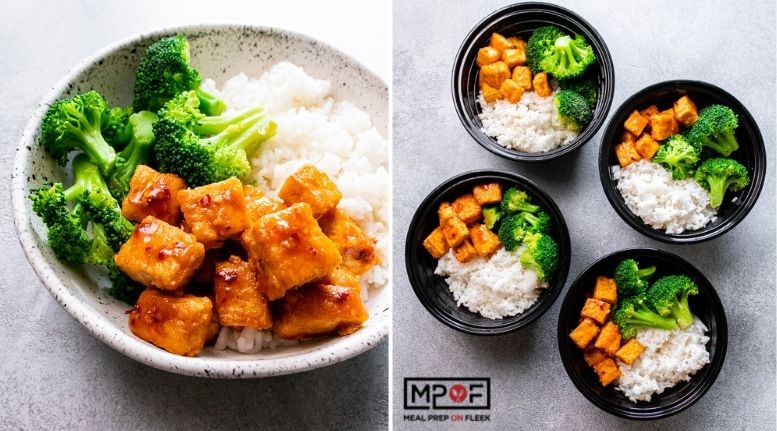
Firecracker Tofu
-
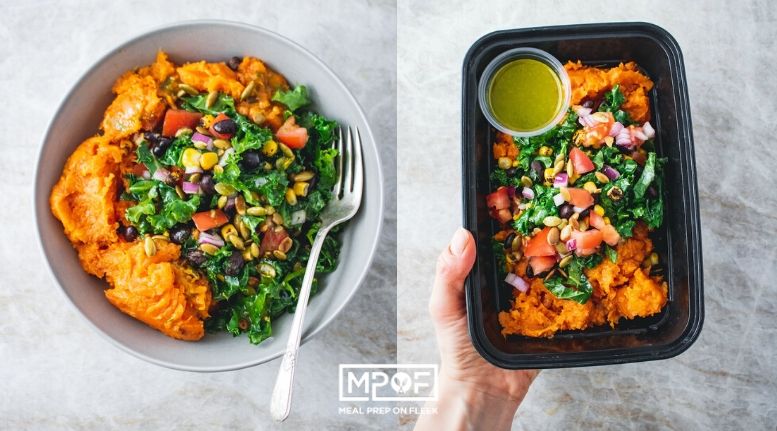
Vegan Sweet Potato Chipotle Bowl
-
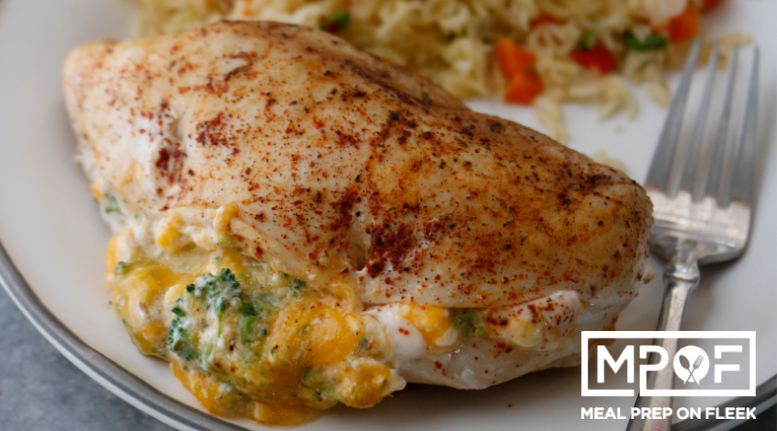
Broccoli Cheddar Stuffed Chicken Breast & Rice Pilaf
-
Korean BBQ Chicken Thighs
-
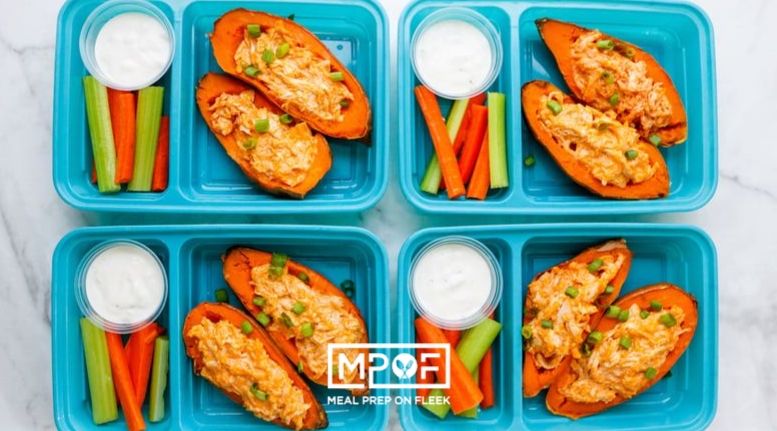
Buffalo Chicken Stuffed Sweet Potato Skins
-
Honey Garlic Mushroom Meatballs
-
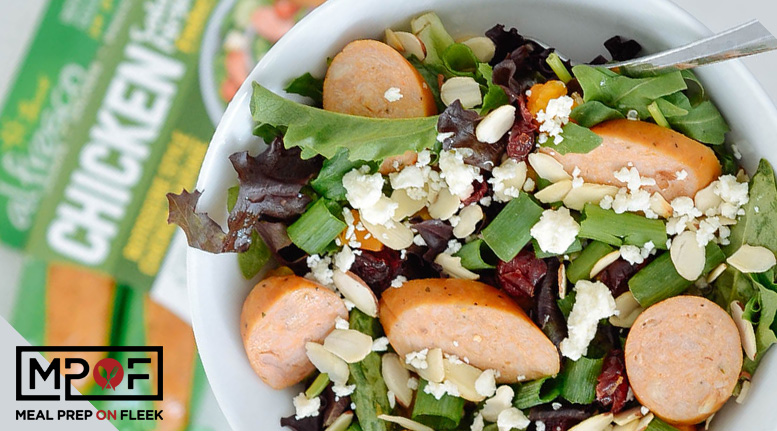
Fall Harvest Sausage Salad