Weight Watchers
-
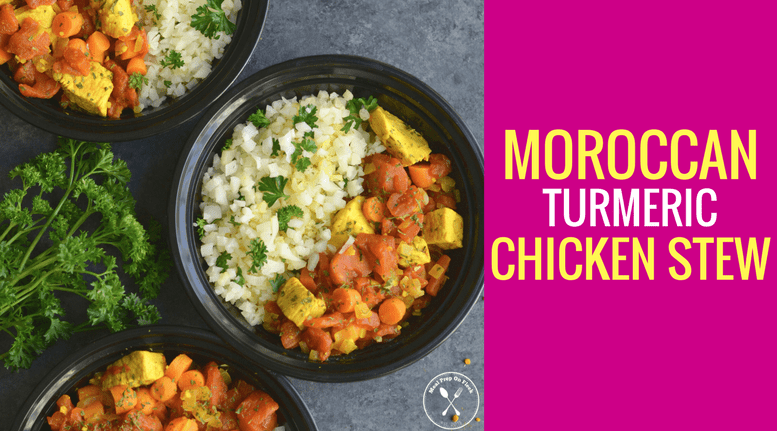
Moroccan Turmeric Chicken Stew
-
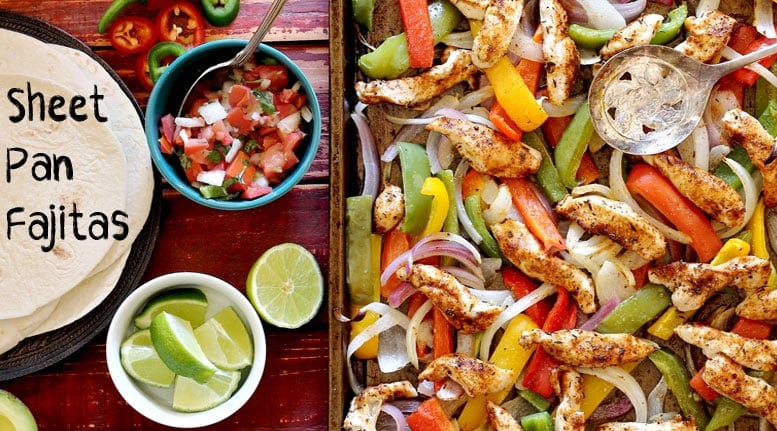
Sheet Pan Chicken Fajitas
-
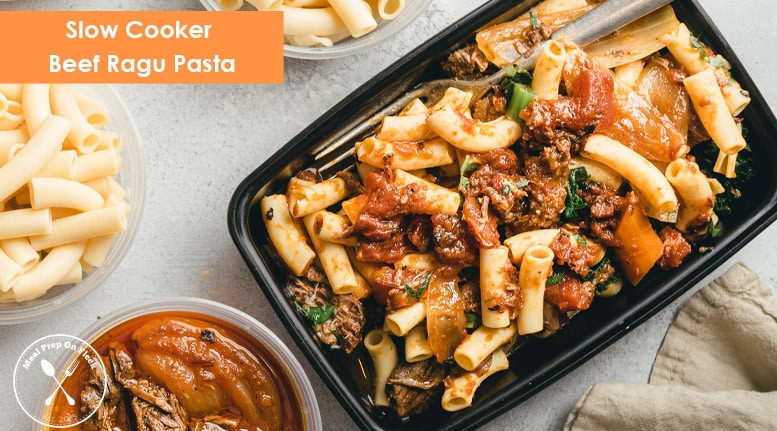
Slow Cooker Beef Ragu Pasta Meal Prep
-
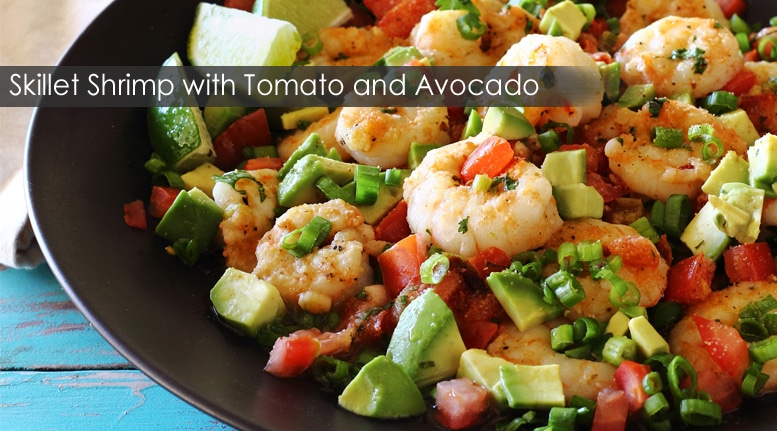
Skillet Shrimp with Tomato and Avocado
-
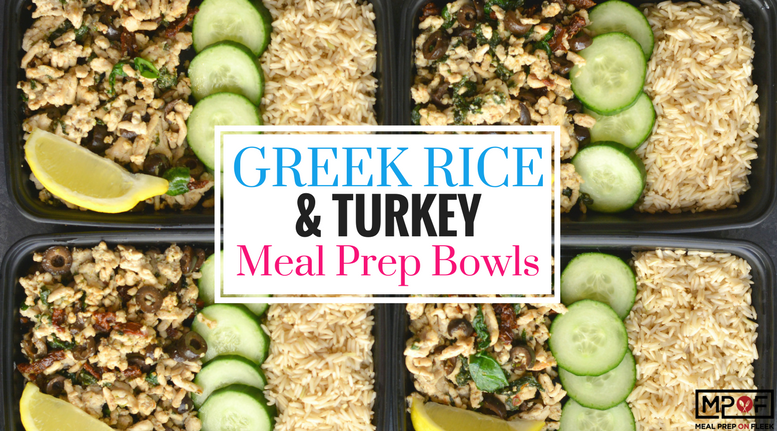
Greek Rice & Turkey Meal Prep Bowls
-
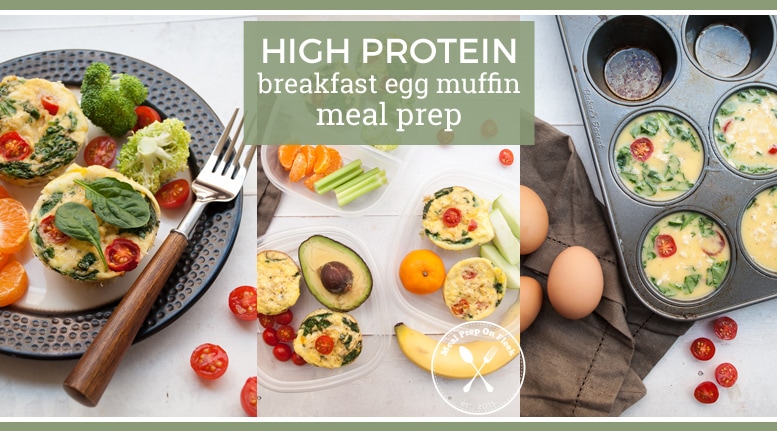
High Protein Breakfast Egg Muffin Meal Prep
-
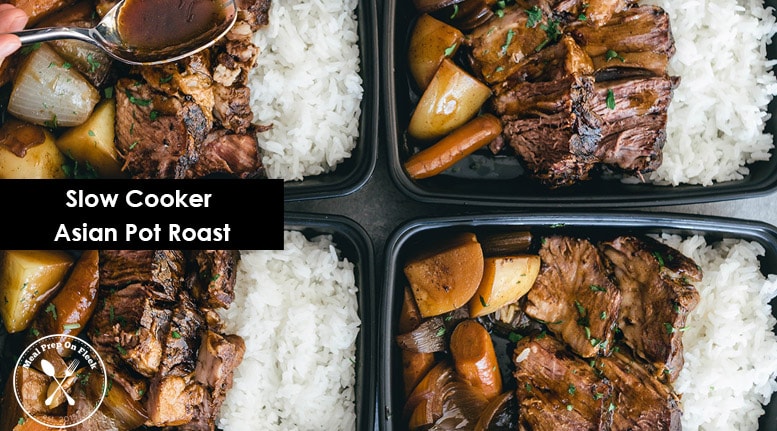
Slow Cooker Asian Pot Roast Meal Prep
-
Sheet Pan Pork Tenderloin Meal Prep
-
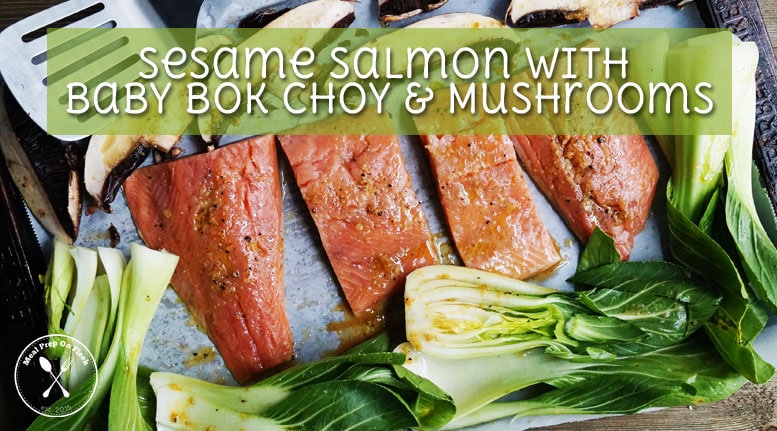
Sesame Salmon with Baby Bok Choy and Mushrooms
-
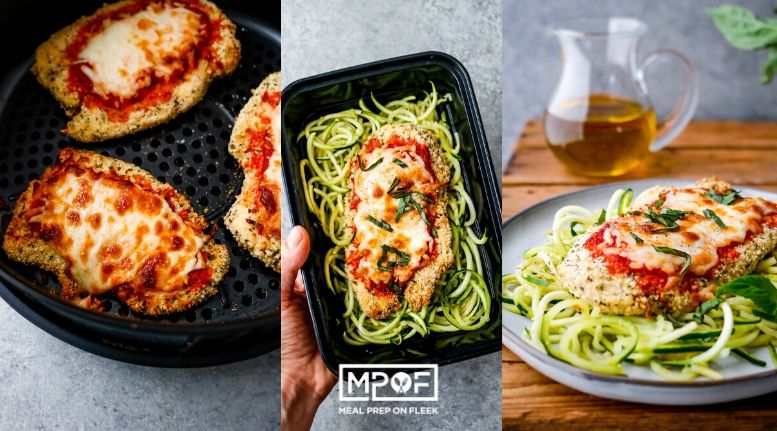
Air Fryer Chicken Parmesan
-
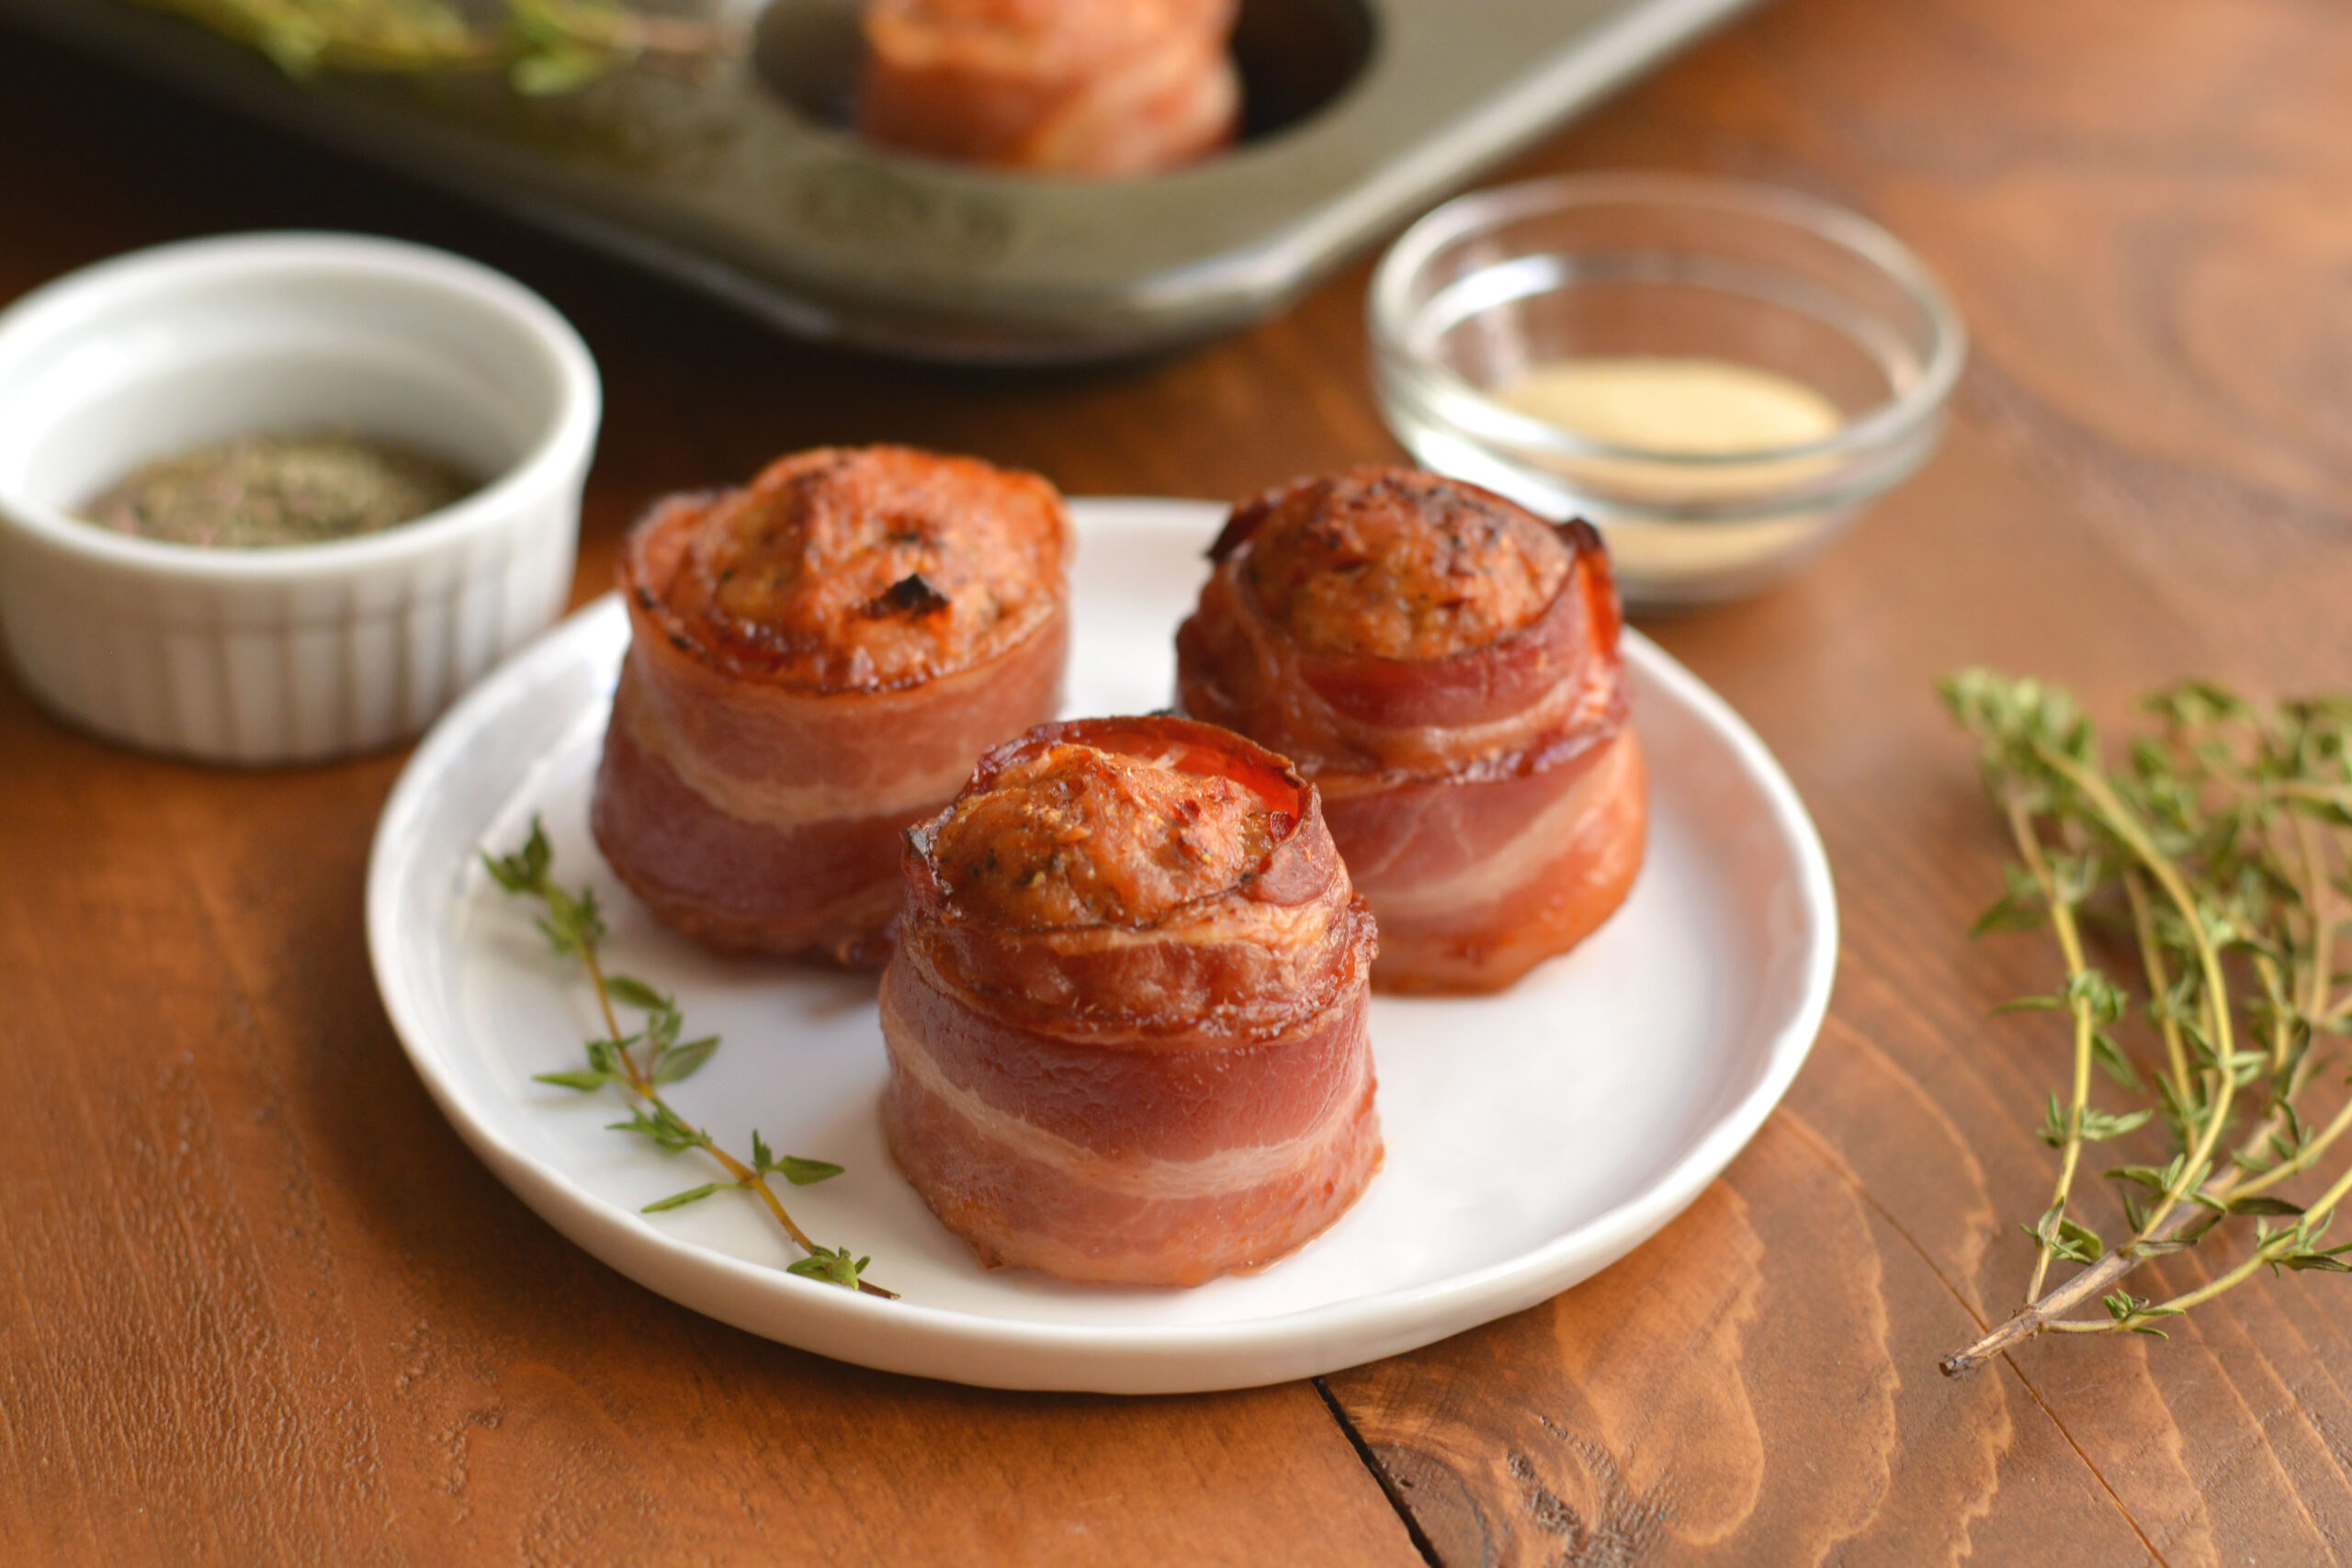
Keto Bacon Sausage Meatballs
-
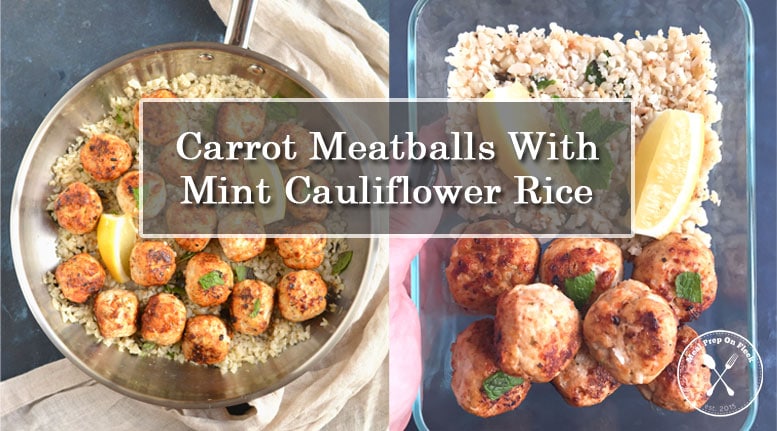
Carrot Meatballs With Mint Cauliflower Rice
-
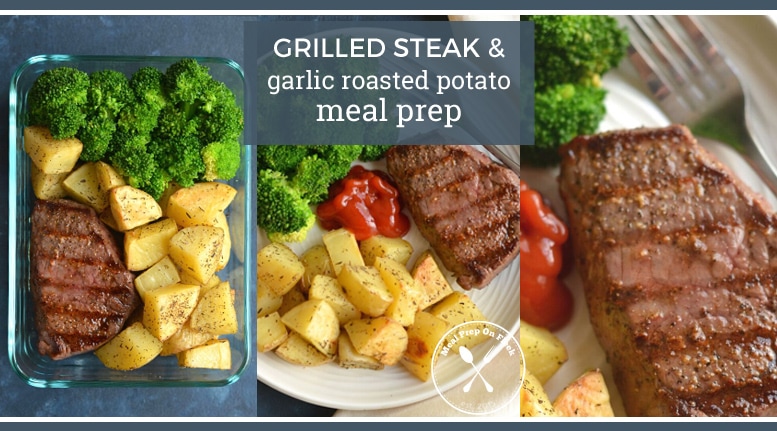
Grilled Steak and Garlic Roasted Potato Meal Prep
-
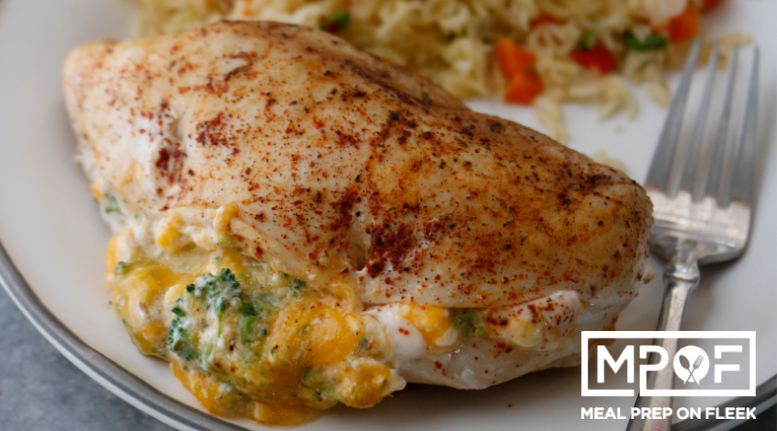
Broccoli Cheddar Stuffed Chicken Breast & Rice Pilaf
-
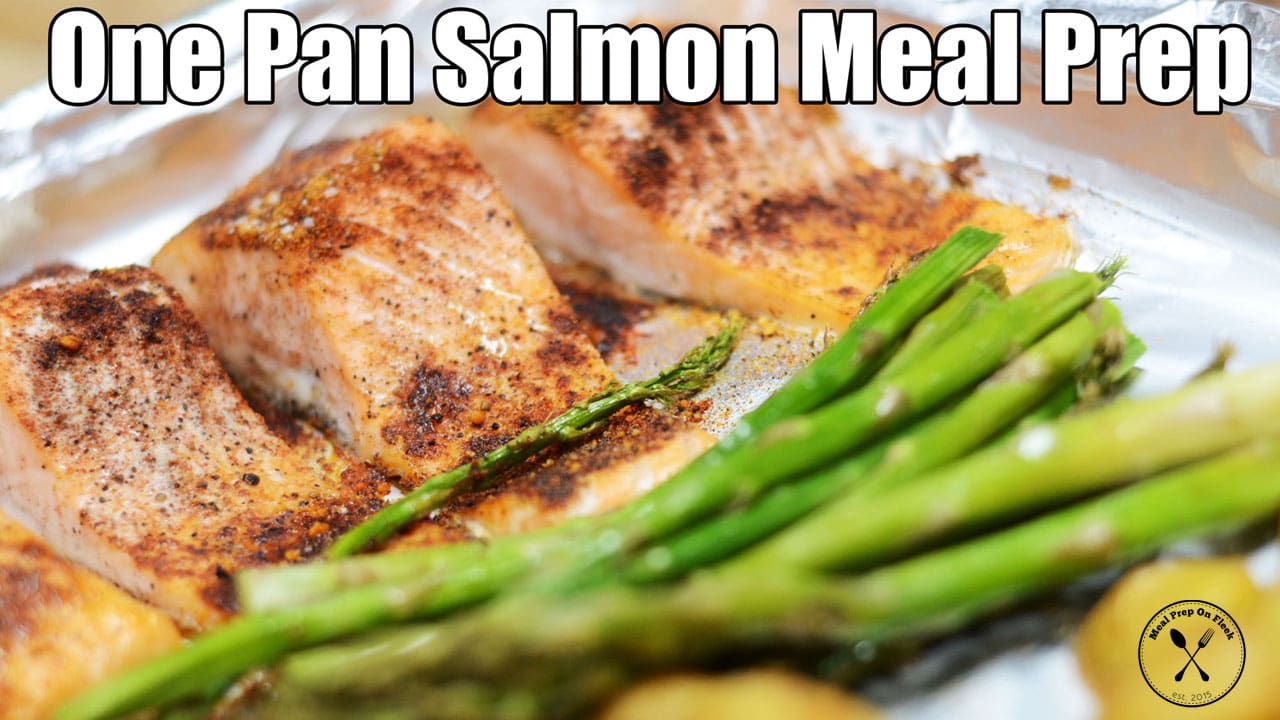
One Pan Roasted Salmon, Asparagus & Potatoes Recipe
-
Low Carb Lasagna Meal Prep
-
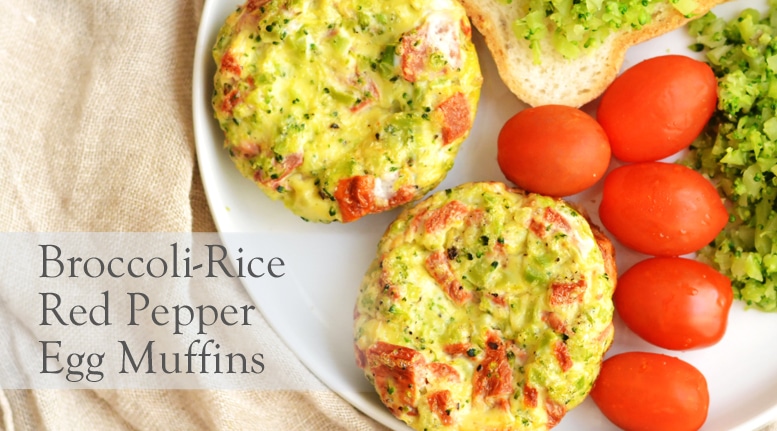
Broccoli Rice Red Pepper Egg Muffins
-
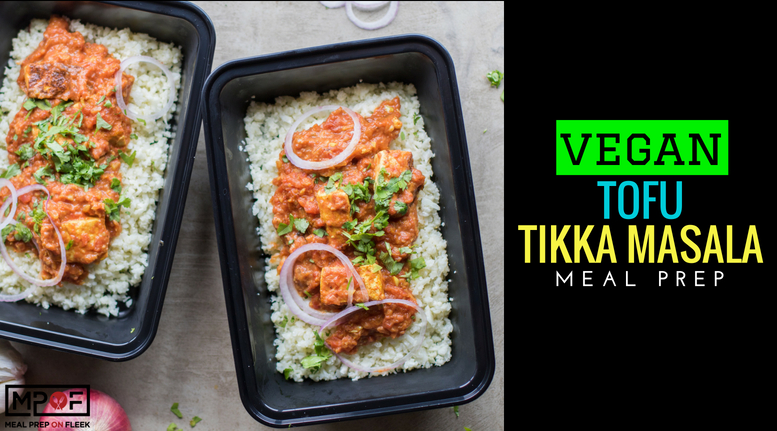
Tofu Tikka Masala
-
Mediterranean Style Meal Prep Bowls
-
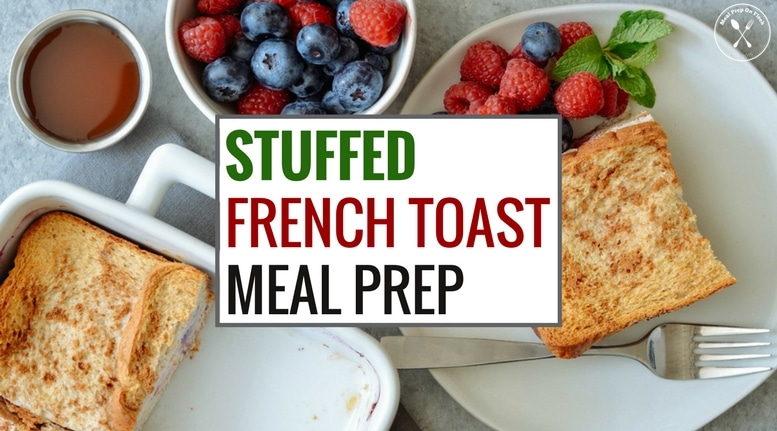
Stuffed French Toast Meal Prep
-
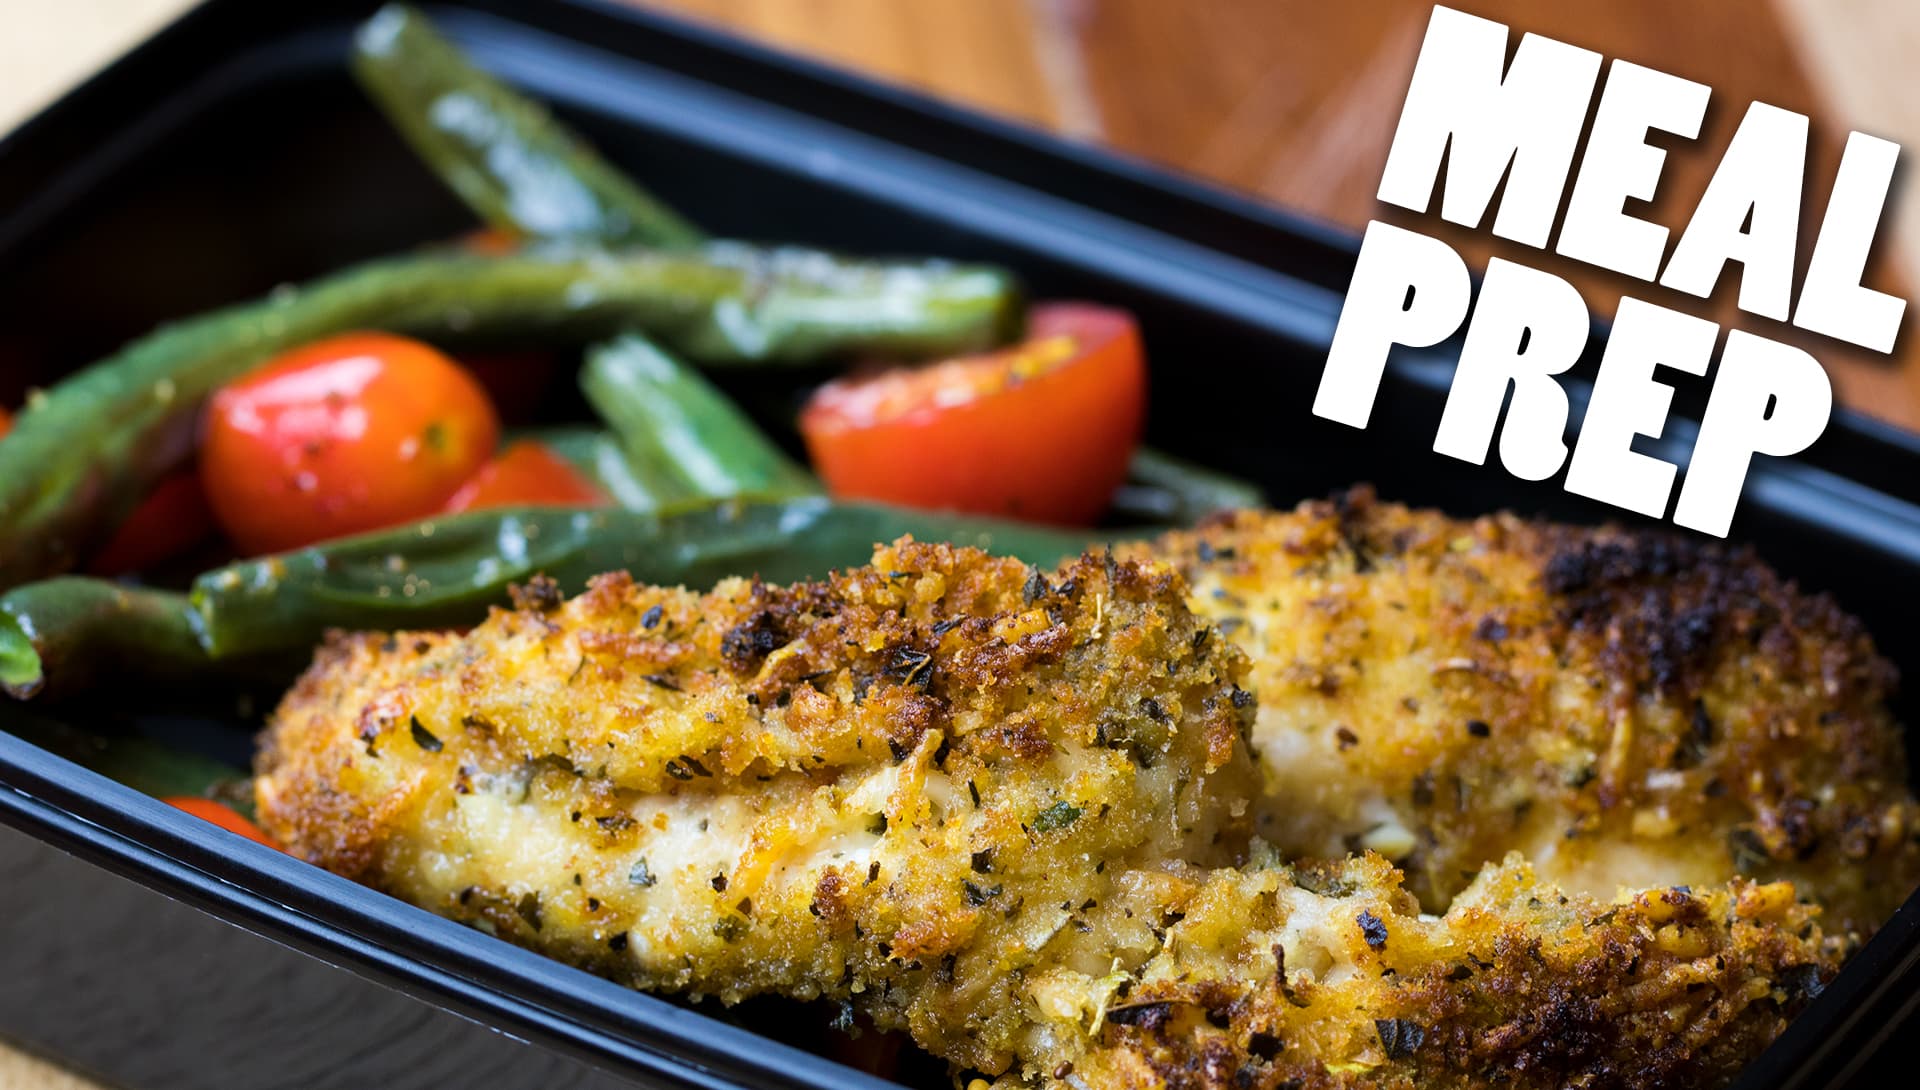
Parmesan Chicken Tenders | Meal Prep
-
Coconut Sugar Sriracha Shrimp Meal Prep
-
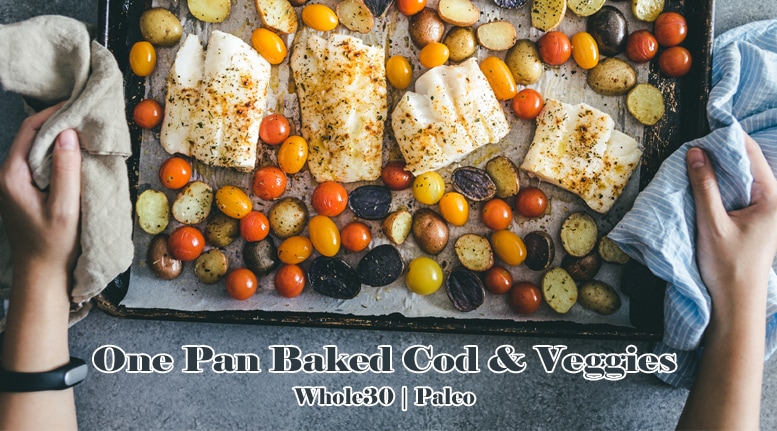
One Pan Baked Cod and Veggies
-
Air Fryer Breakfast Sausage
-
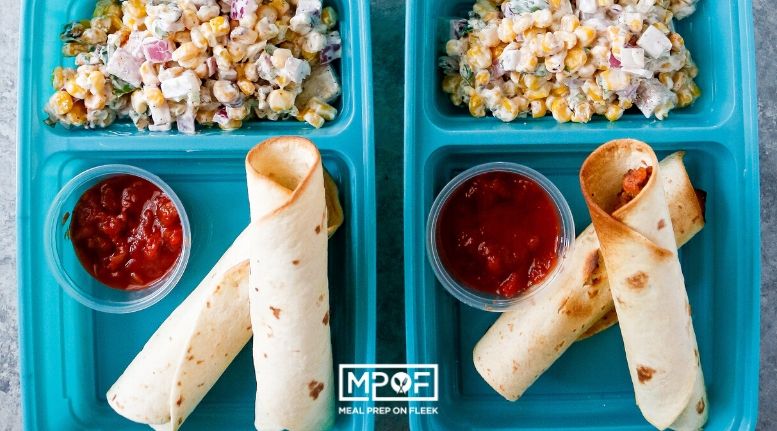
Beef and Cheese Taquitos
-
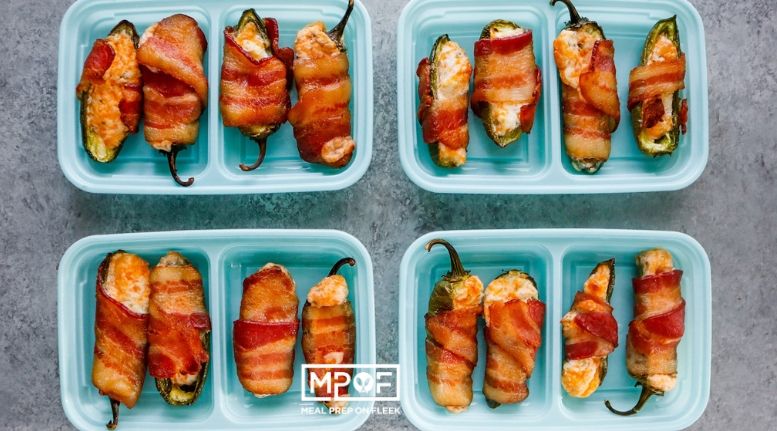
Bacon Jalapeño Poppers
-
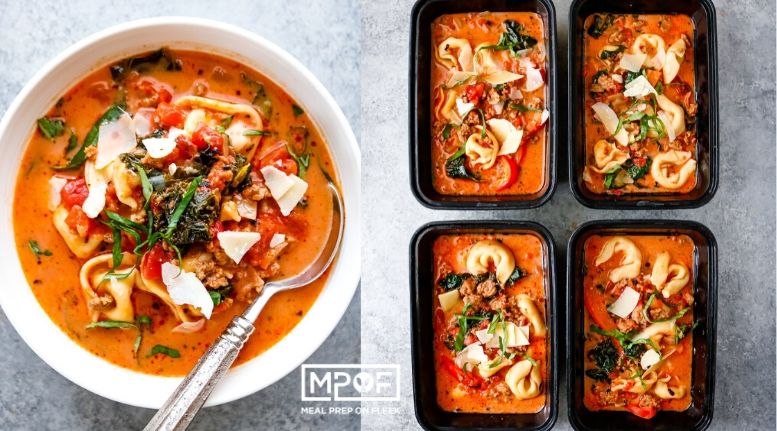
Spicy Italian Sausage and Tortellini Soup
-
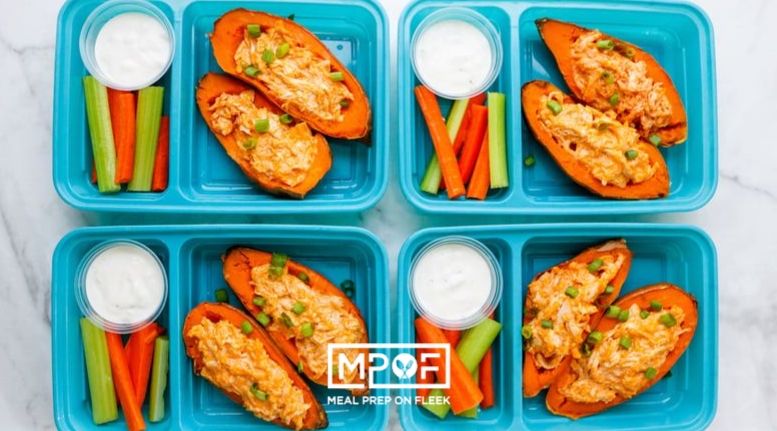
Buffalo Chicken Stuffed Sweet Potato Skins
-
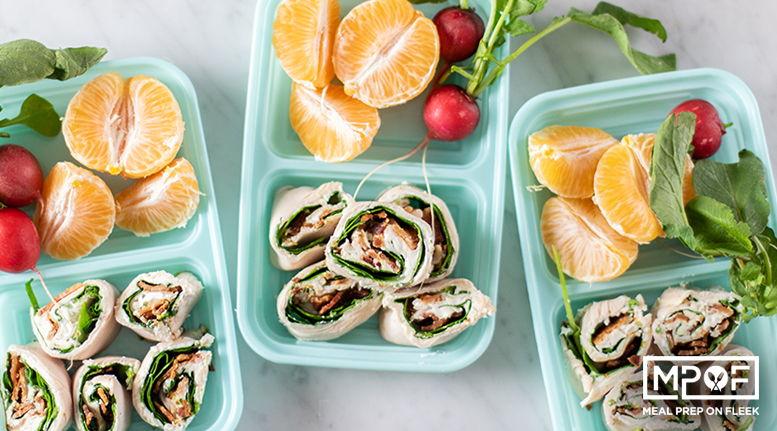
Turkey Bacon Ranch Pinwheel Snack Boxes
-
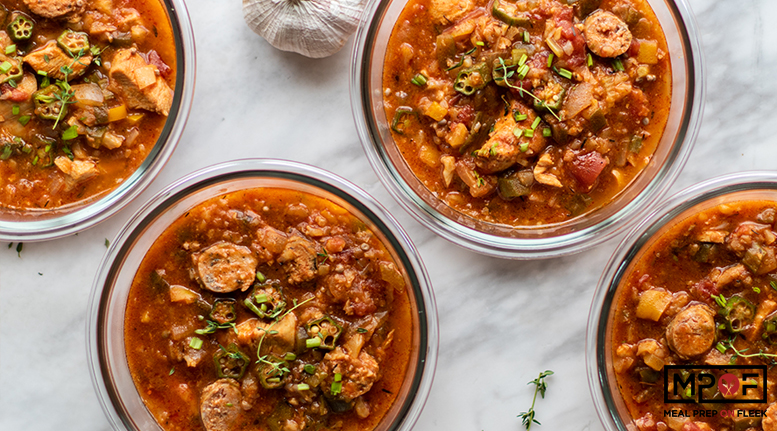
Gumbo Meal Prep
-
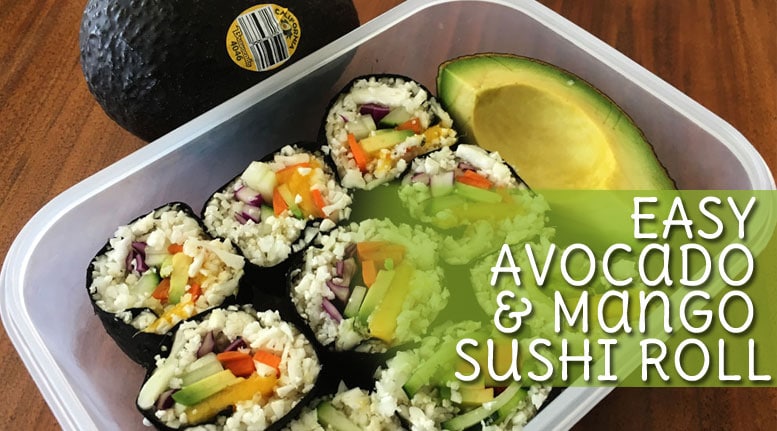
Easy Avocado + Mango Sushi Roll