Meal Prep Recipes
-
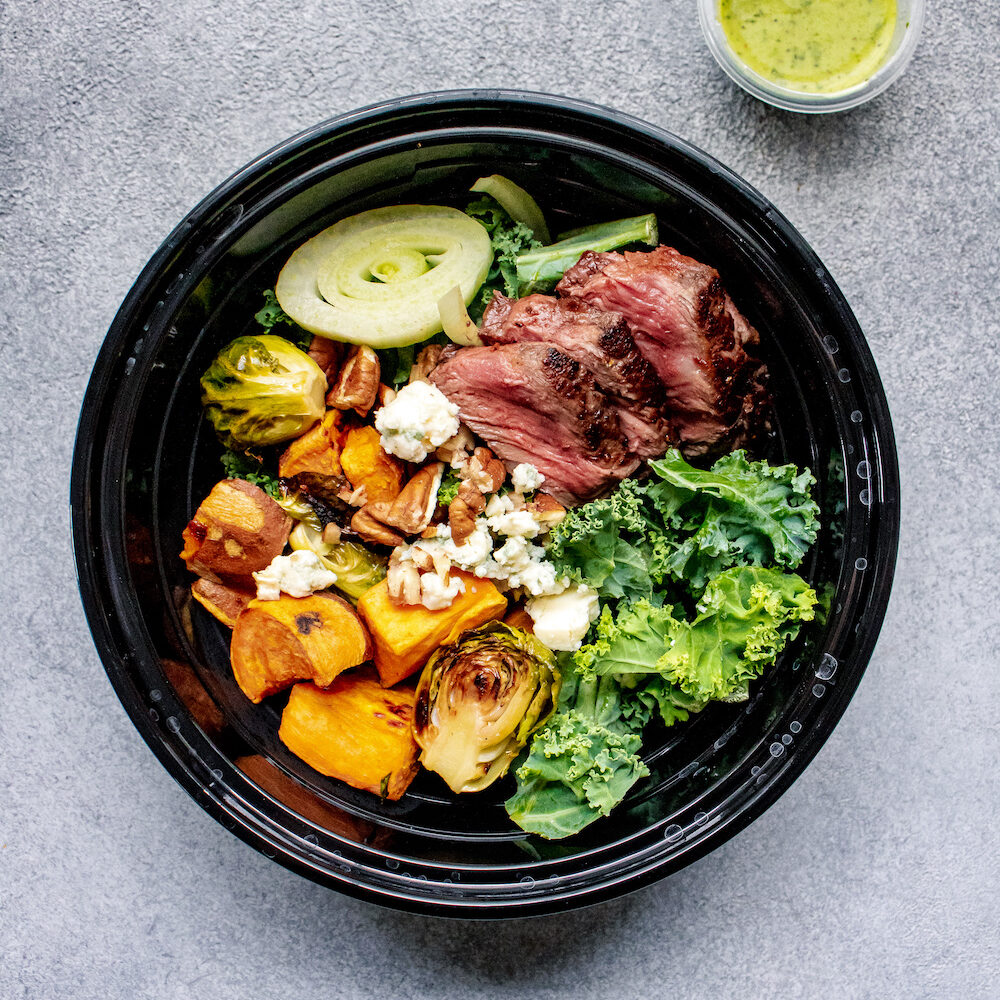
Kale and Steak Power Salad
-
Jamaican Beef Stew Meal Prep (Gluten-Free + Freezer-Friendly)
-
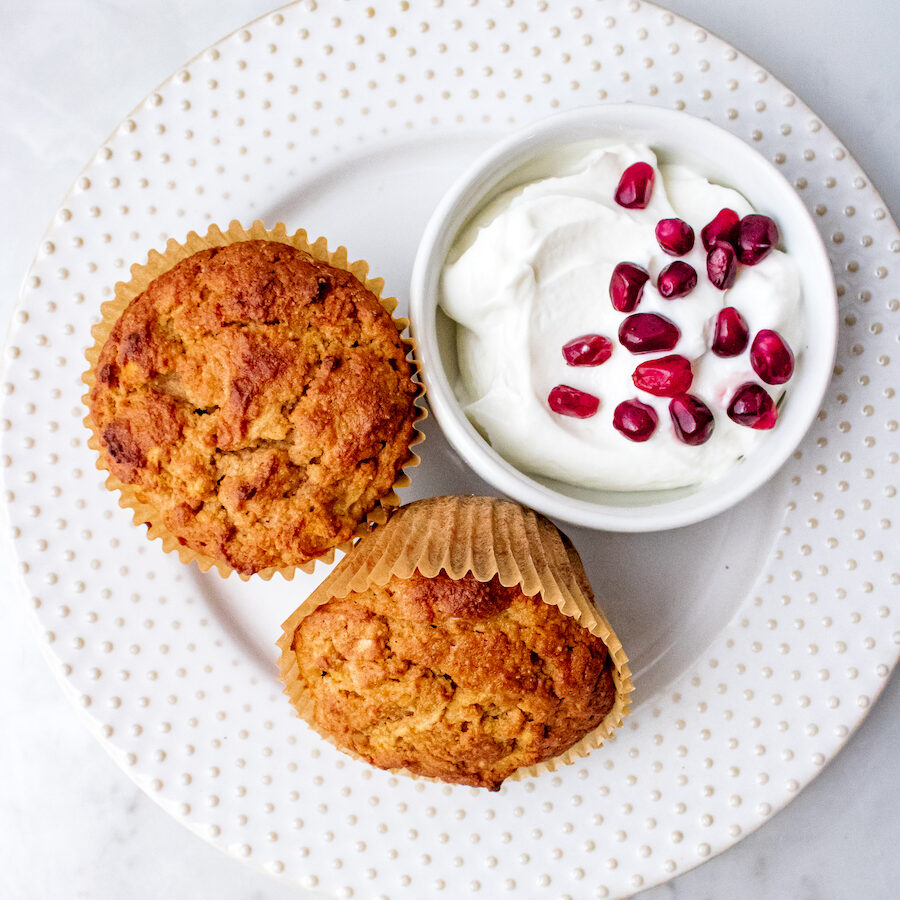
Low Carb Cinnamon Apple Muffins
-
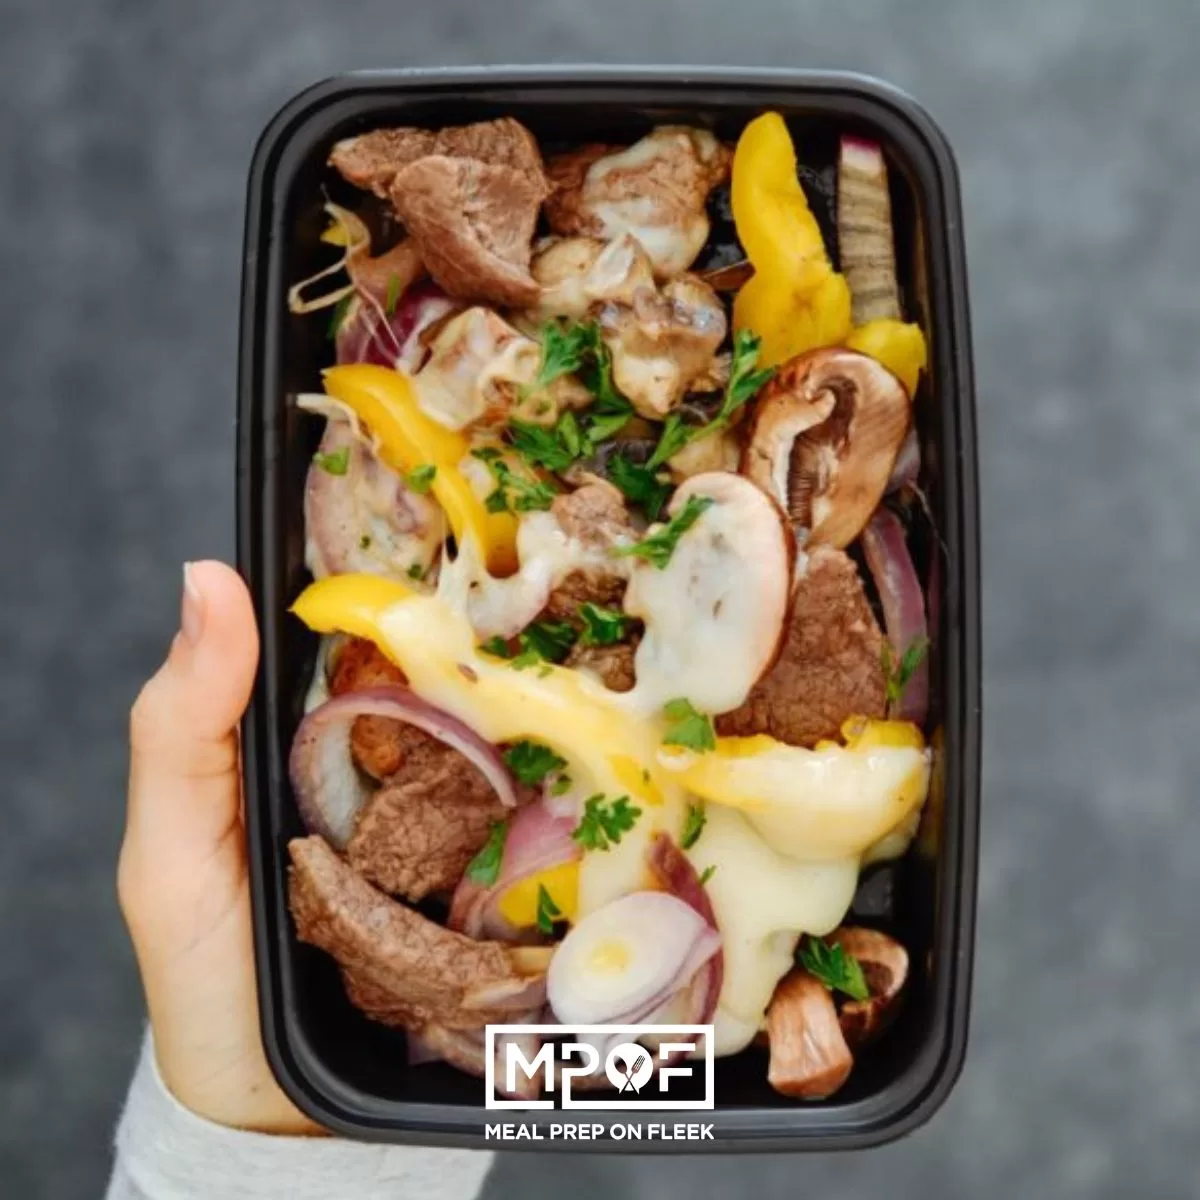
Low Carb Philly Cheesesteak Meal Prep (Griddle or Skillet Method)
-
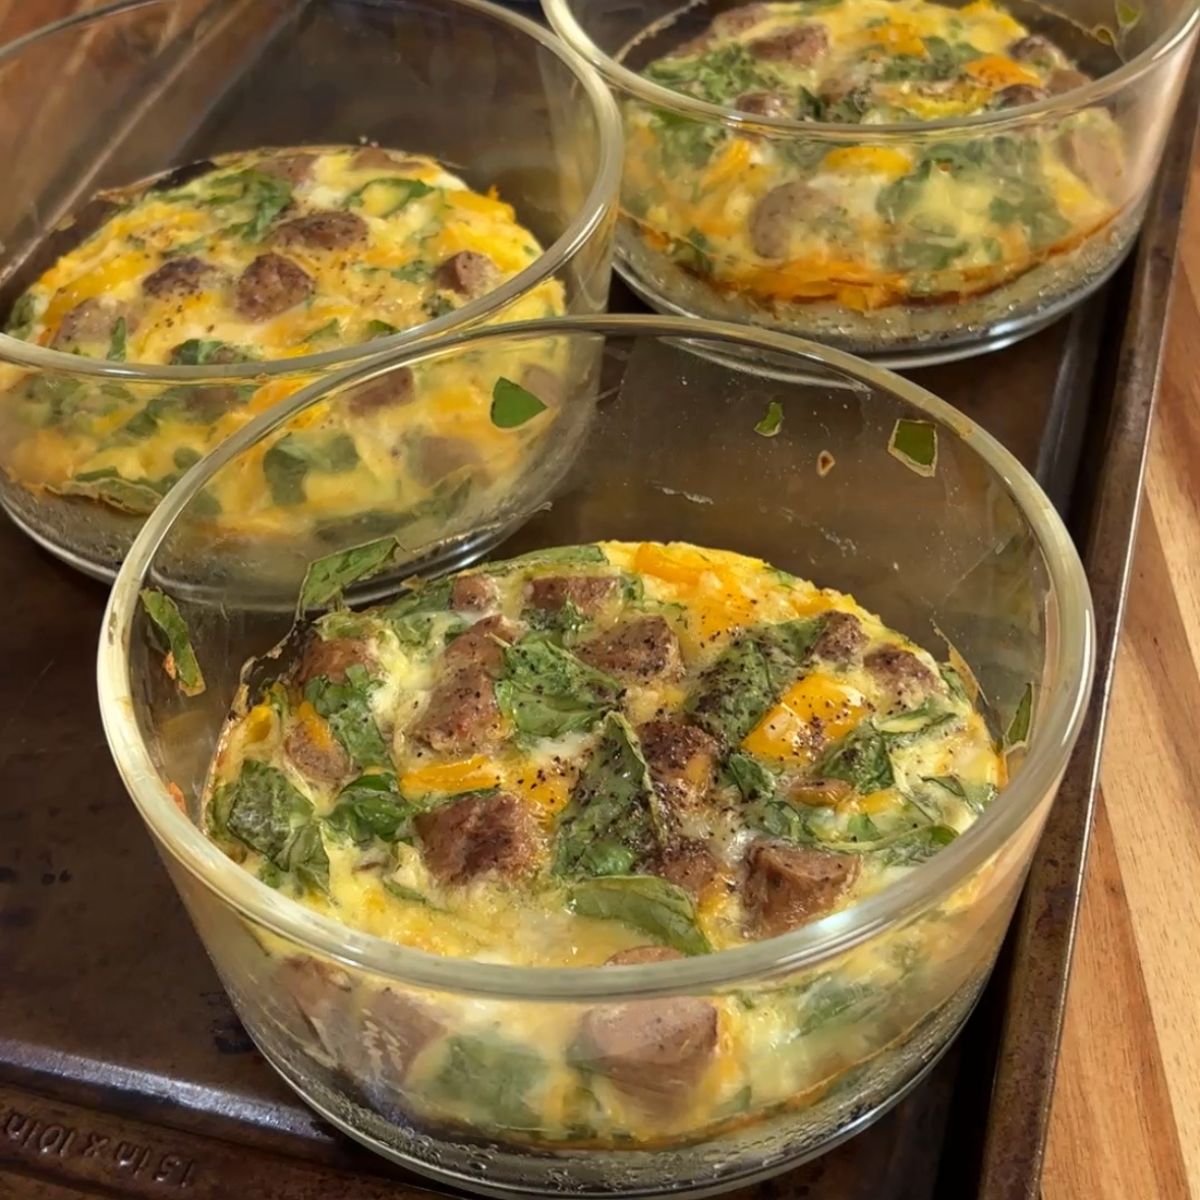
Meal Prep Breakfast Bowl (Individual Omelette Bowls)
-
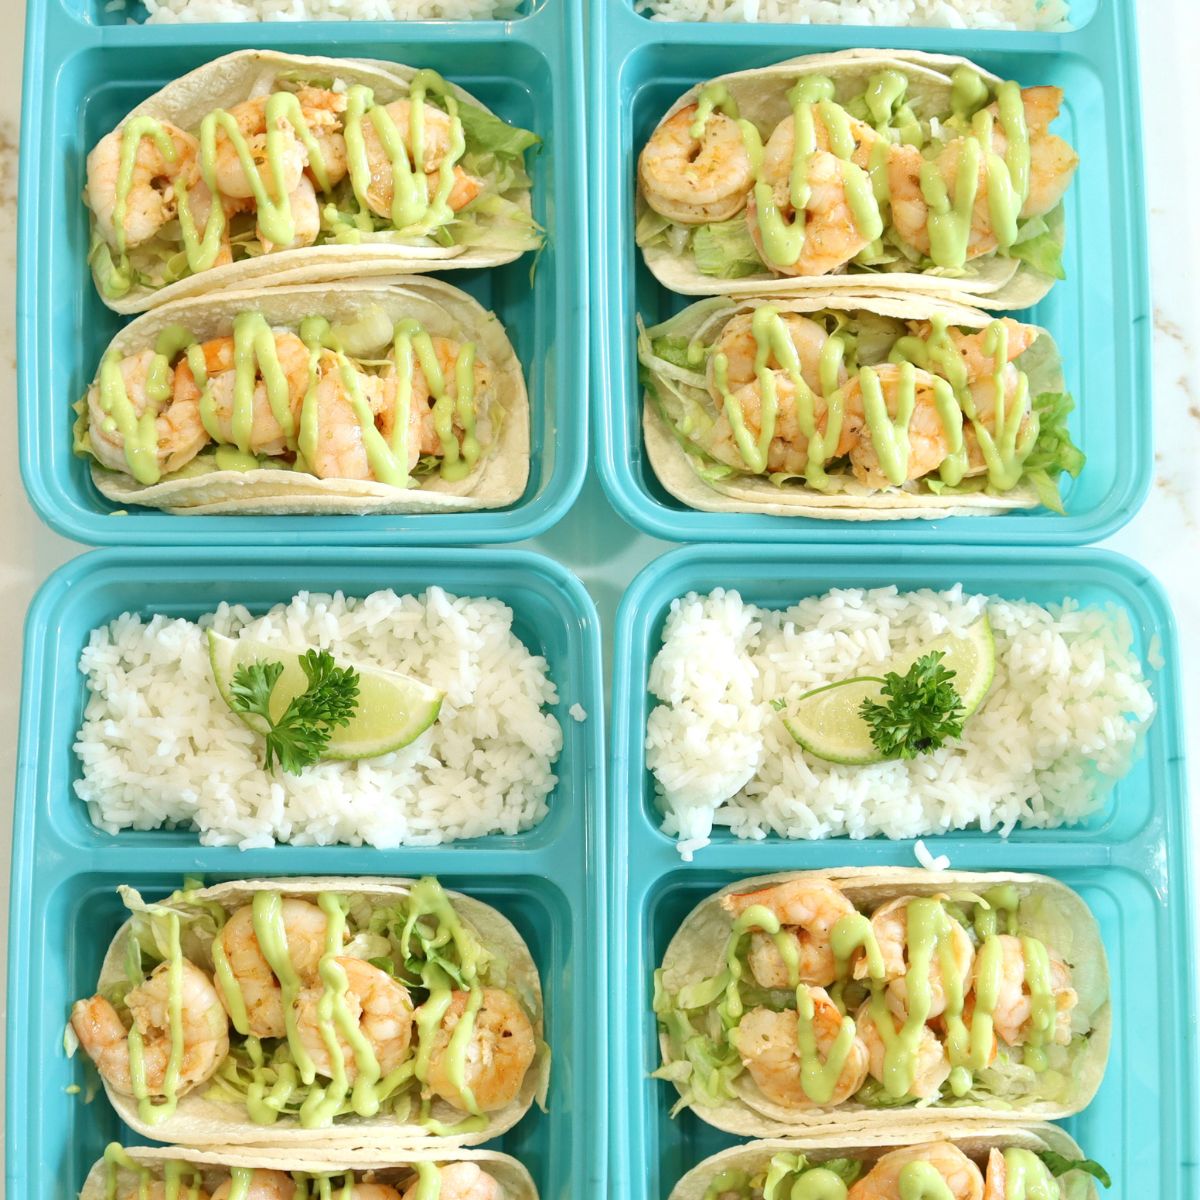
Shrimp Tacos with Avocado Crema (Meal Prep Style!)
-
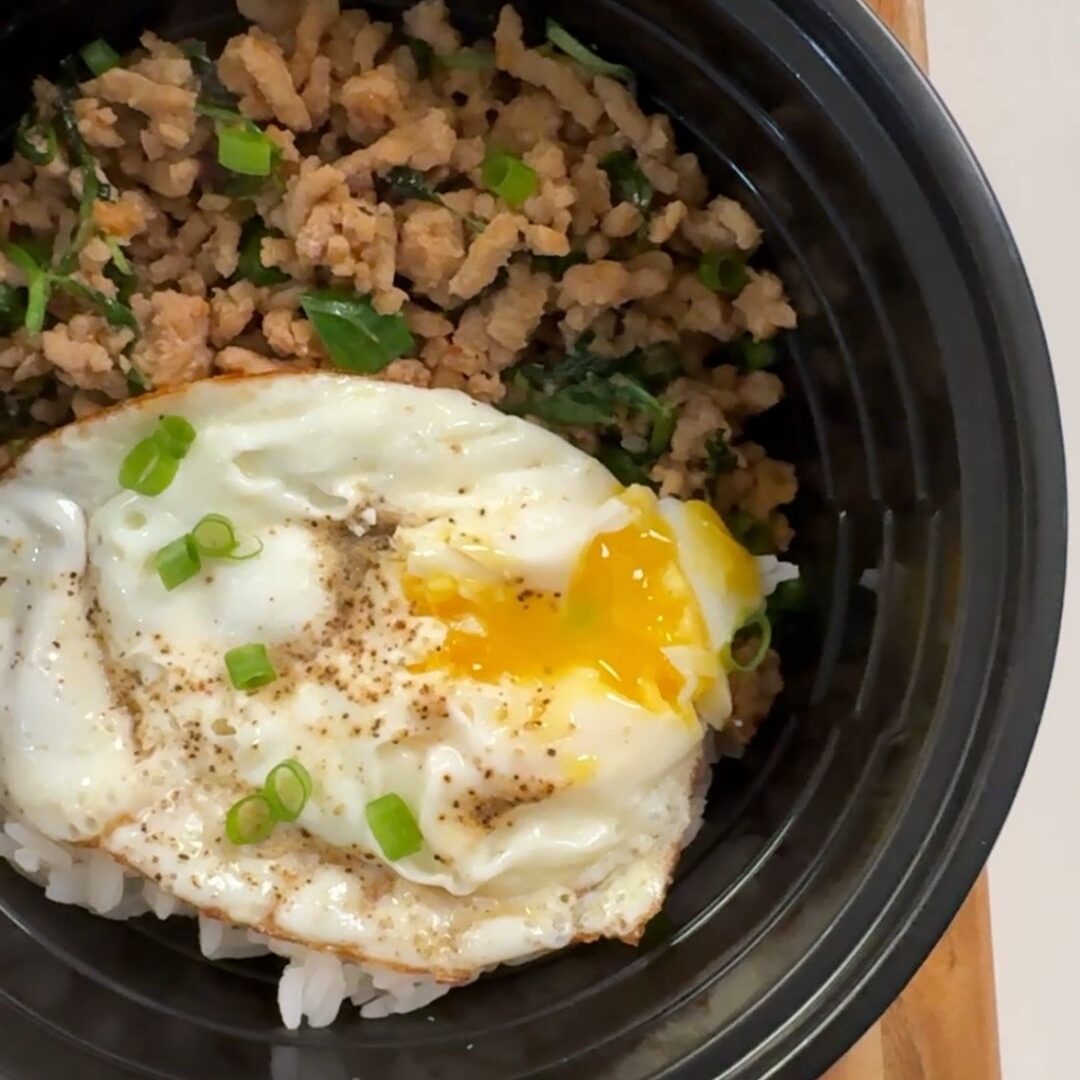
Thai-Inspired Ground Turkey Stir Fry (Pad Kra Pao-Style)
-
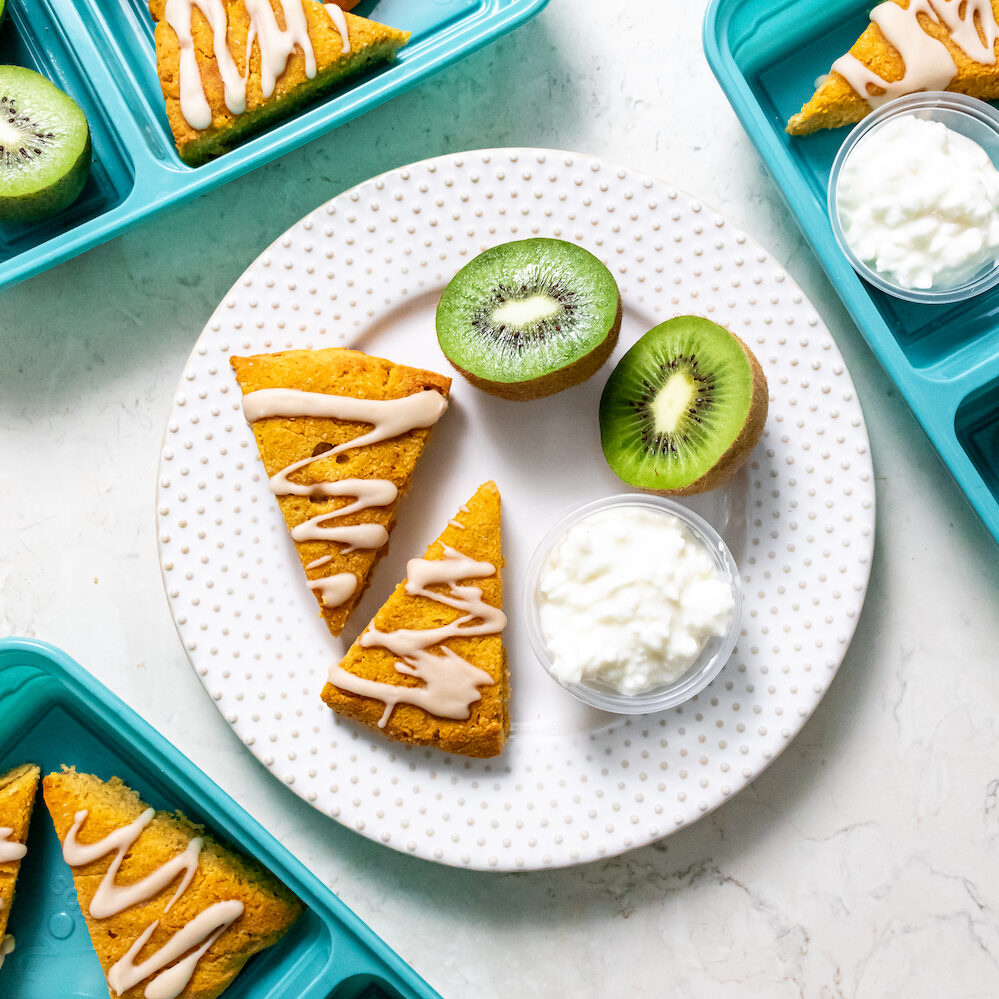
Pumpkin Scones with Maple Glaze (Gluten-Free + Low Sugar)
-
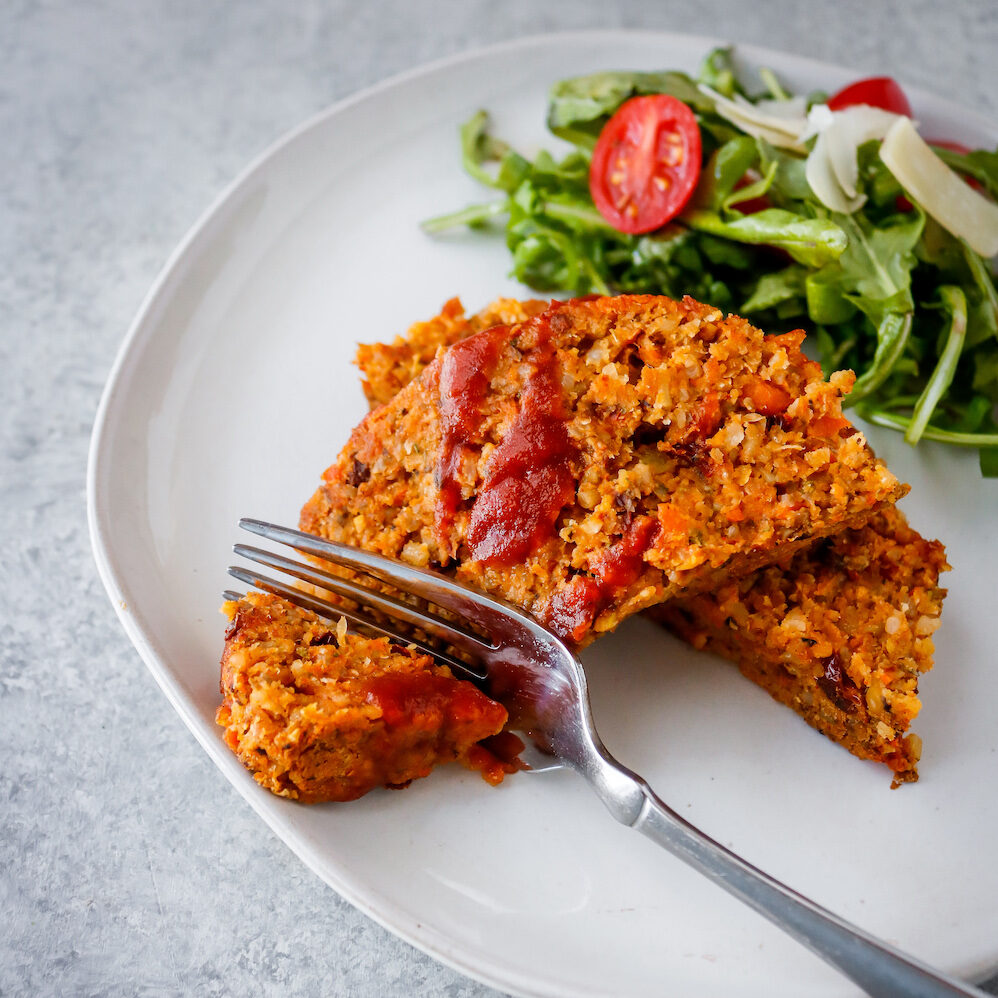
Sun Dried Tomato Meatloaf (Vegan + Gluten-Free Meal Prep)
-
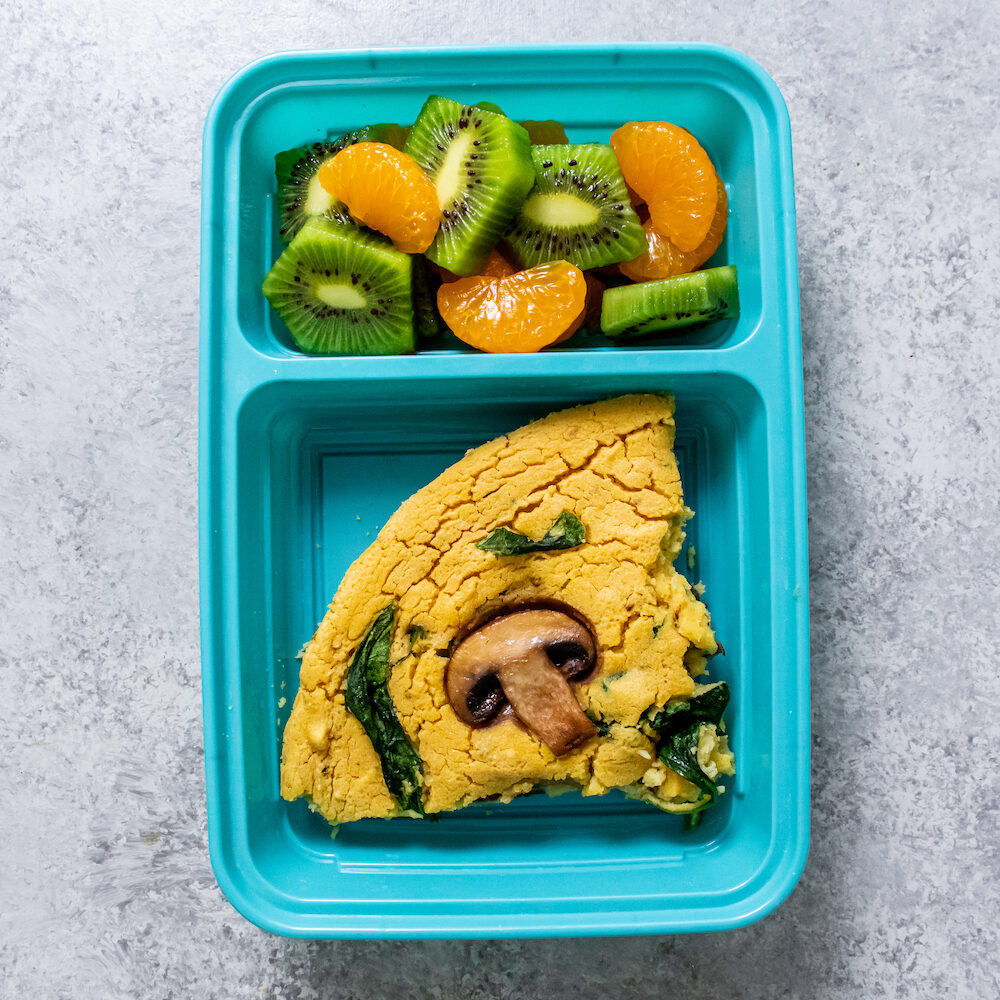
Chickpea Frittata Meal Prep (Vegan + Gluten-Free)
-
Brazilian Style Skirt Steak Meal Prep (Keto, Paleo, Whole30)
-
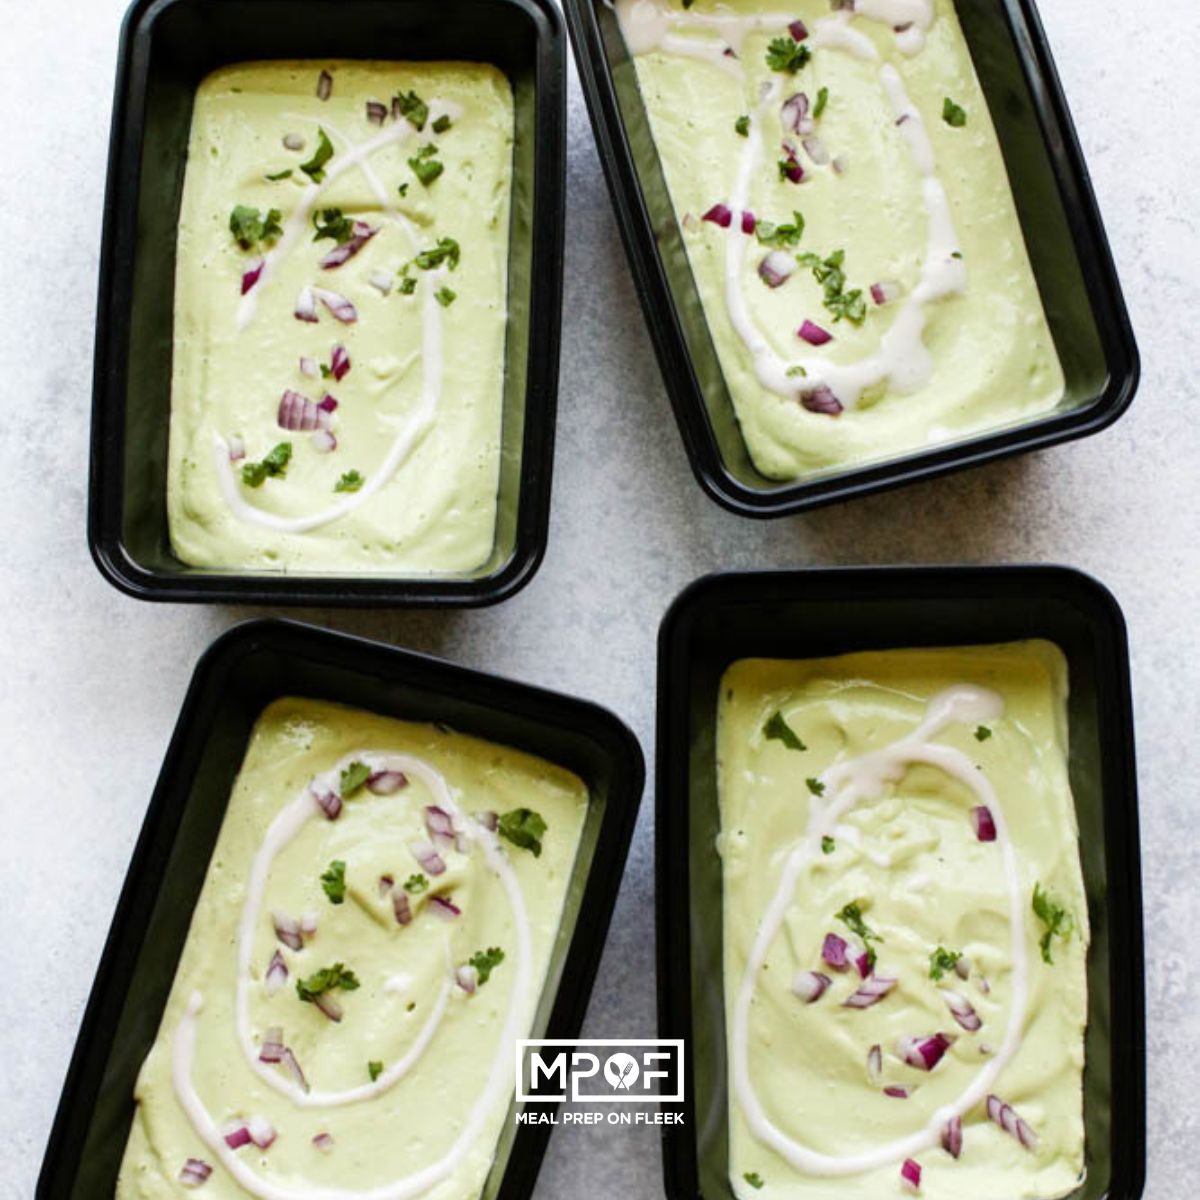
Chilled Avocado Soup Meal Prep (Keto + Dairy-Free Option)
-
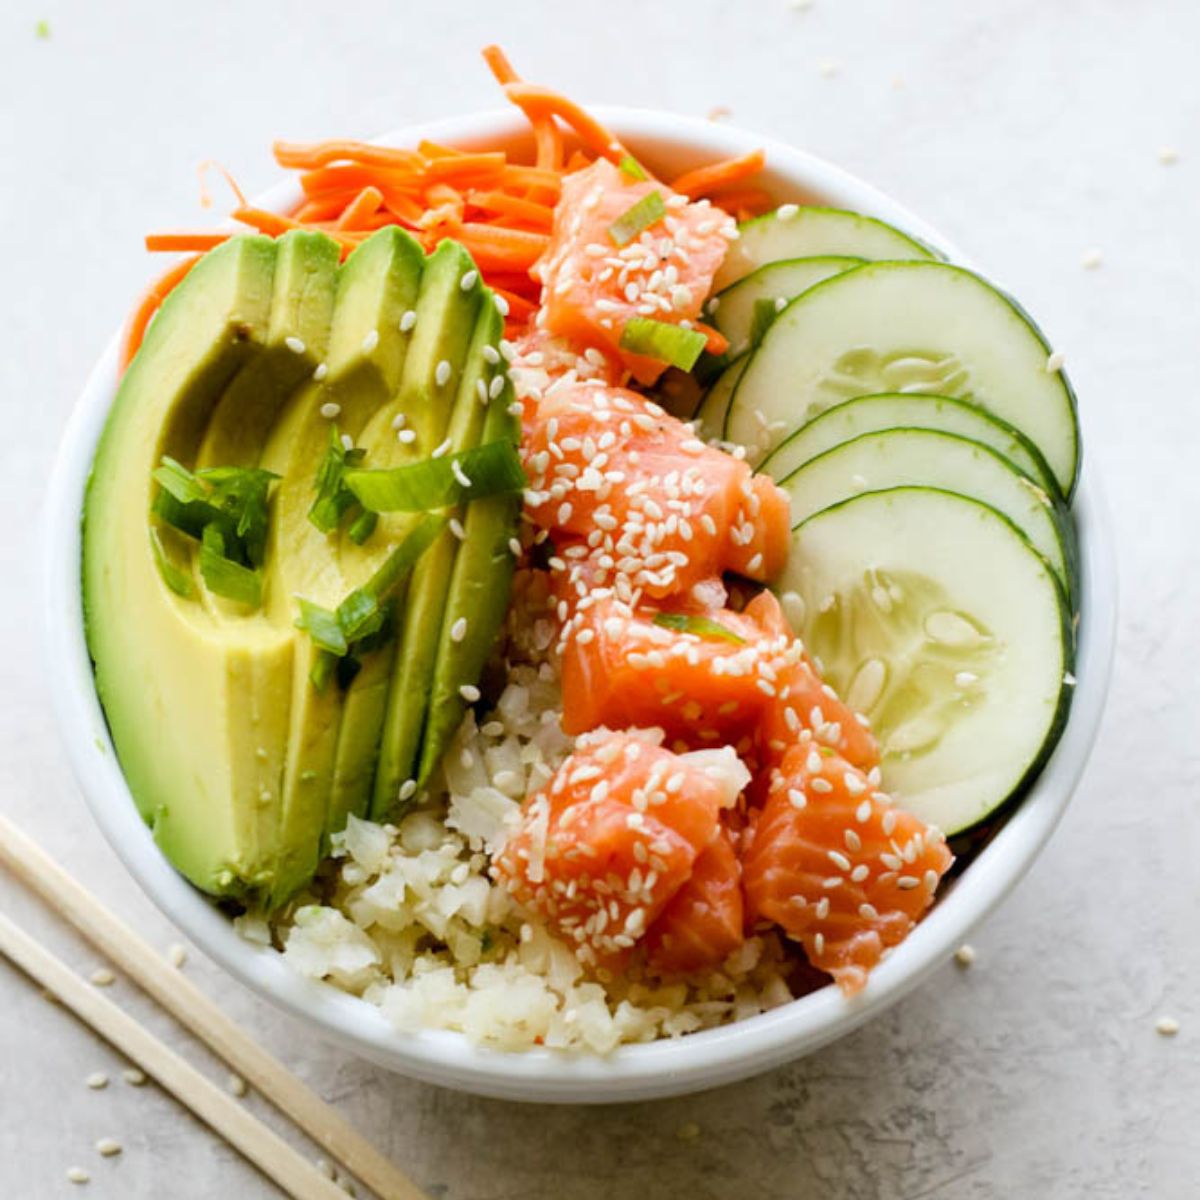
Cauliflower Rice Salmon Poke Bowl Meal Prep (Whole30 compliant)
-
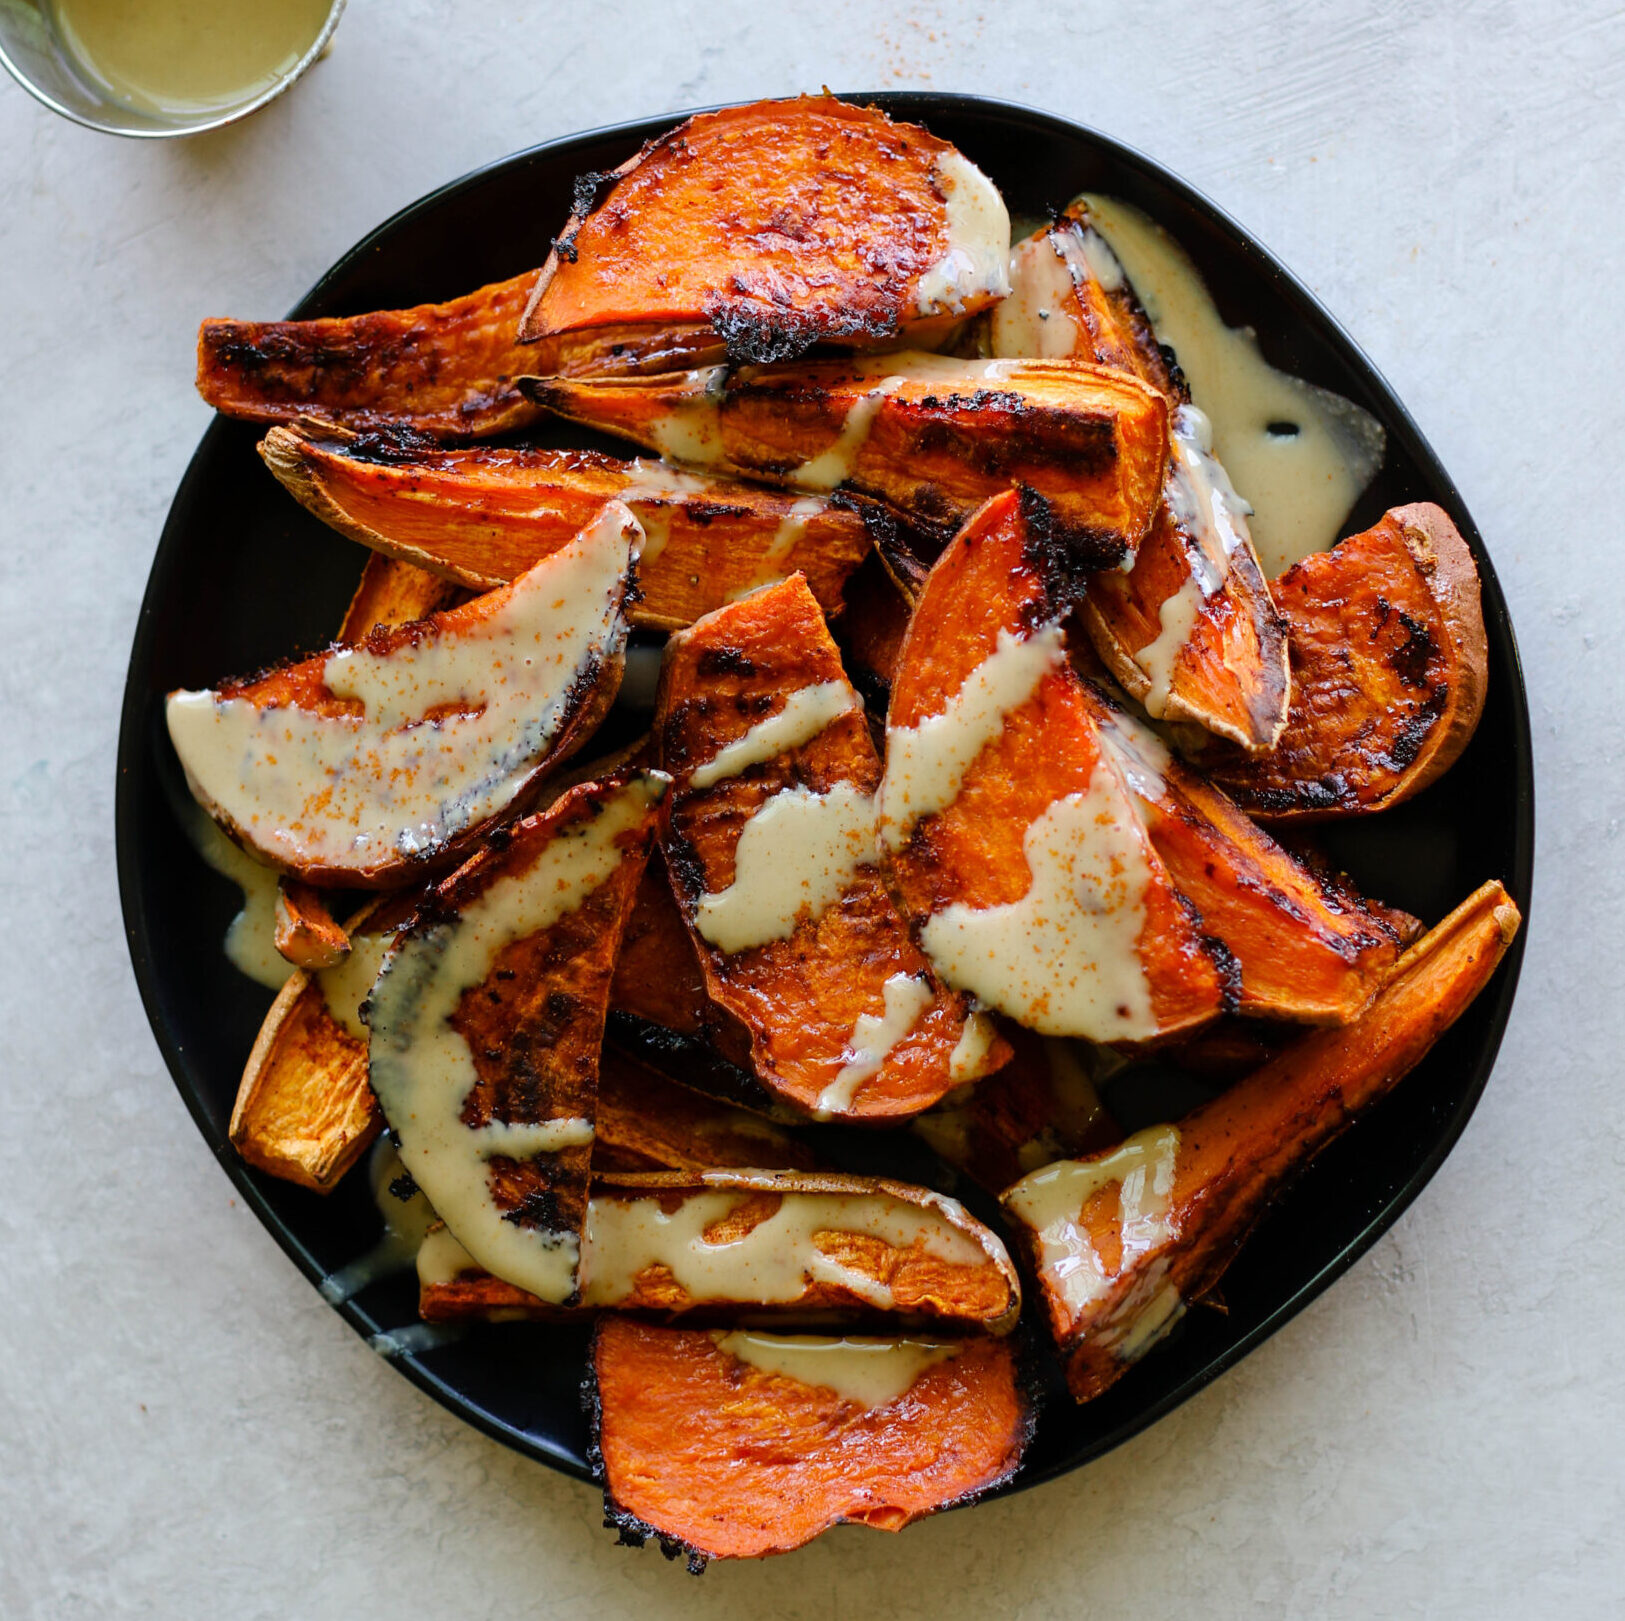
Sweet Potato Wedges With Tahini
-
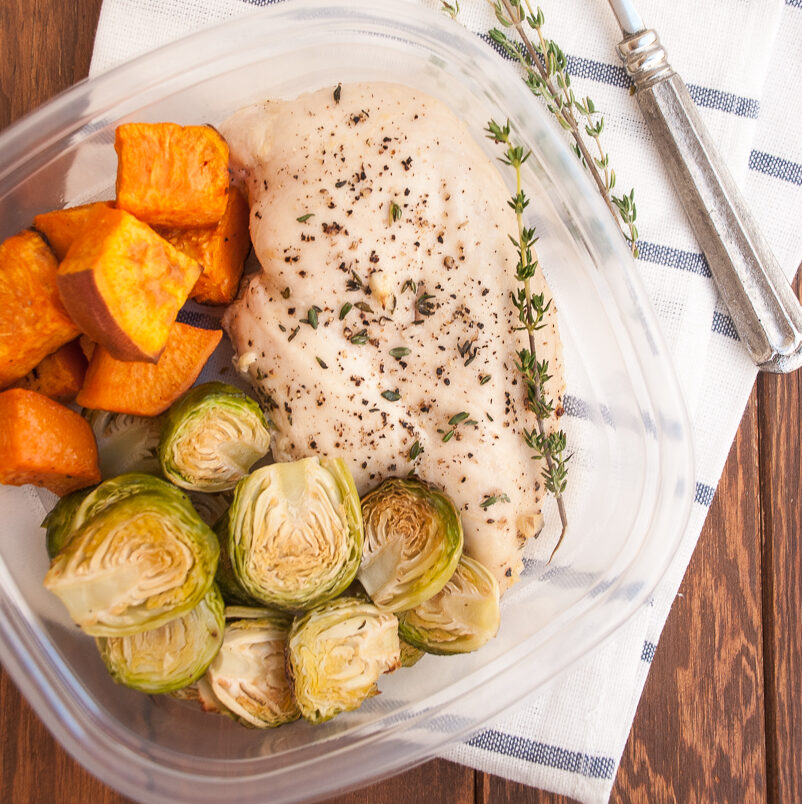
Garlic and Thyme Chicken Meal Prep (Whole30 Friendly)
-
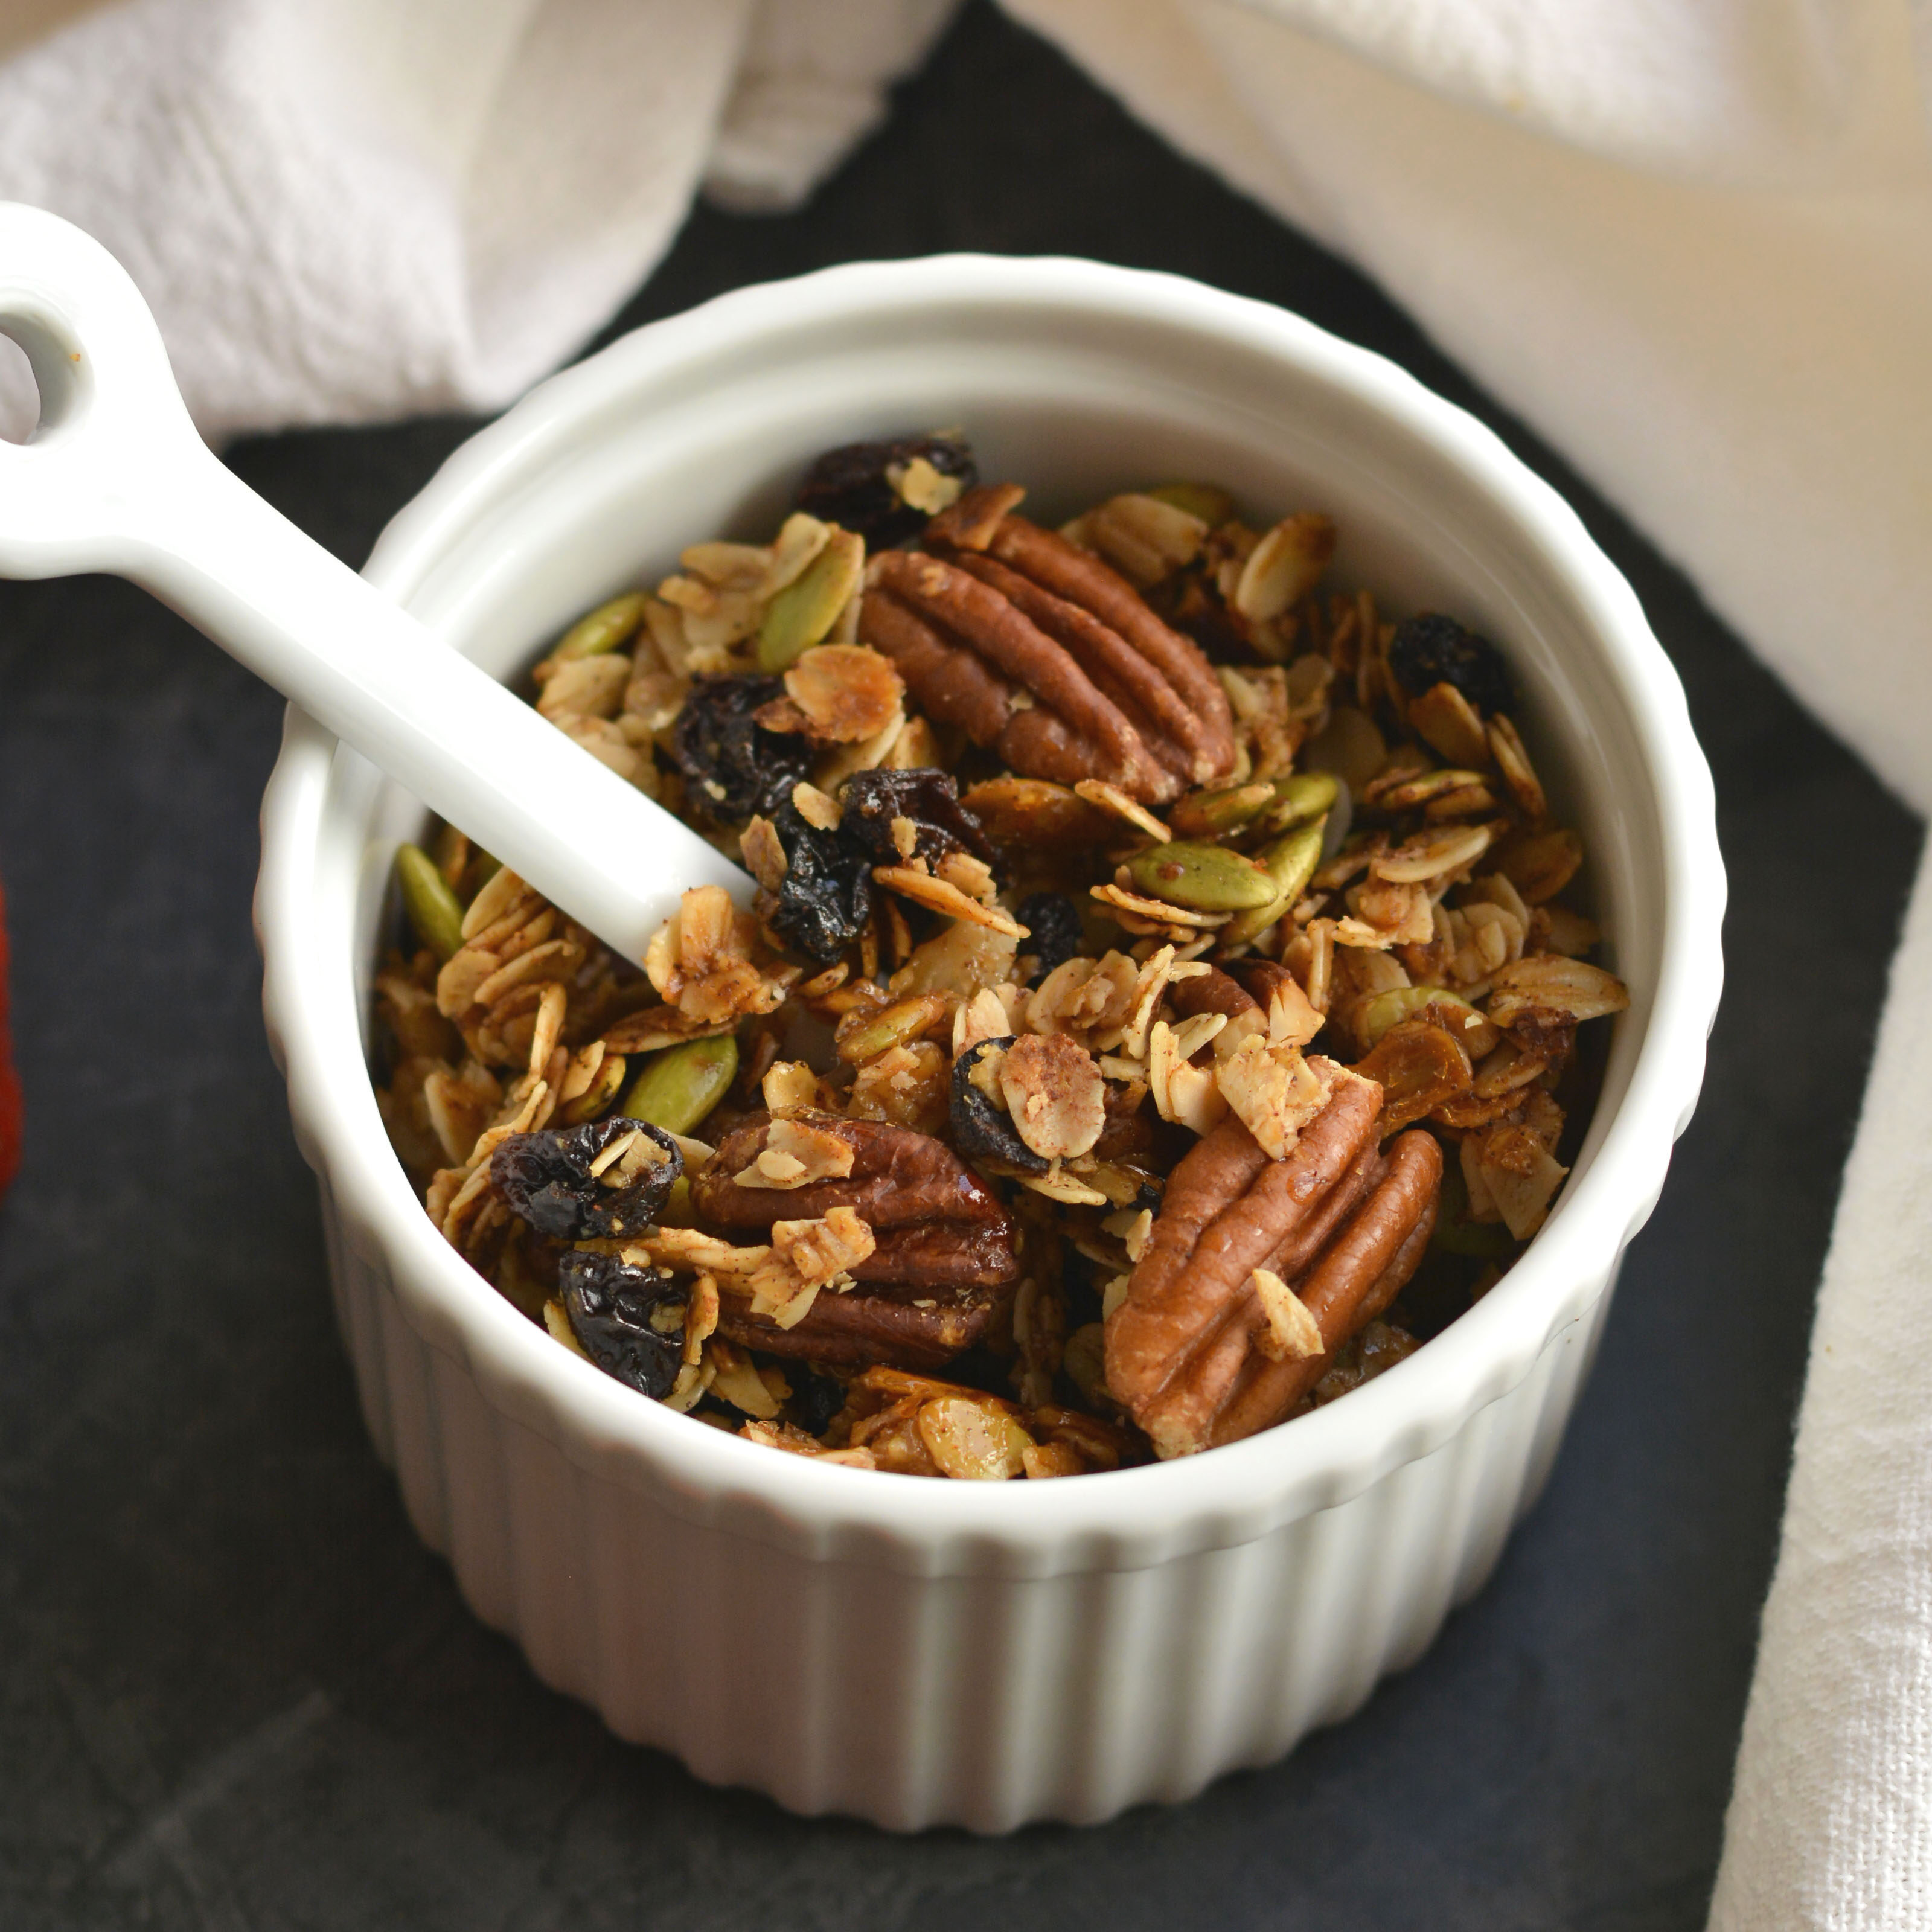
Easy Gluten-Free Fall Breakfast Granola (Healthy Meal Prep Snack)
-
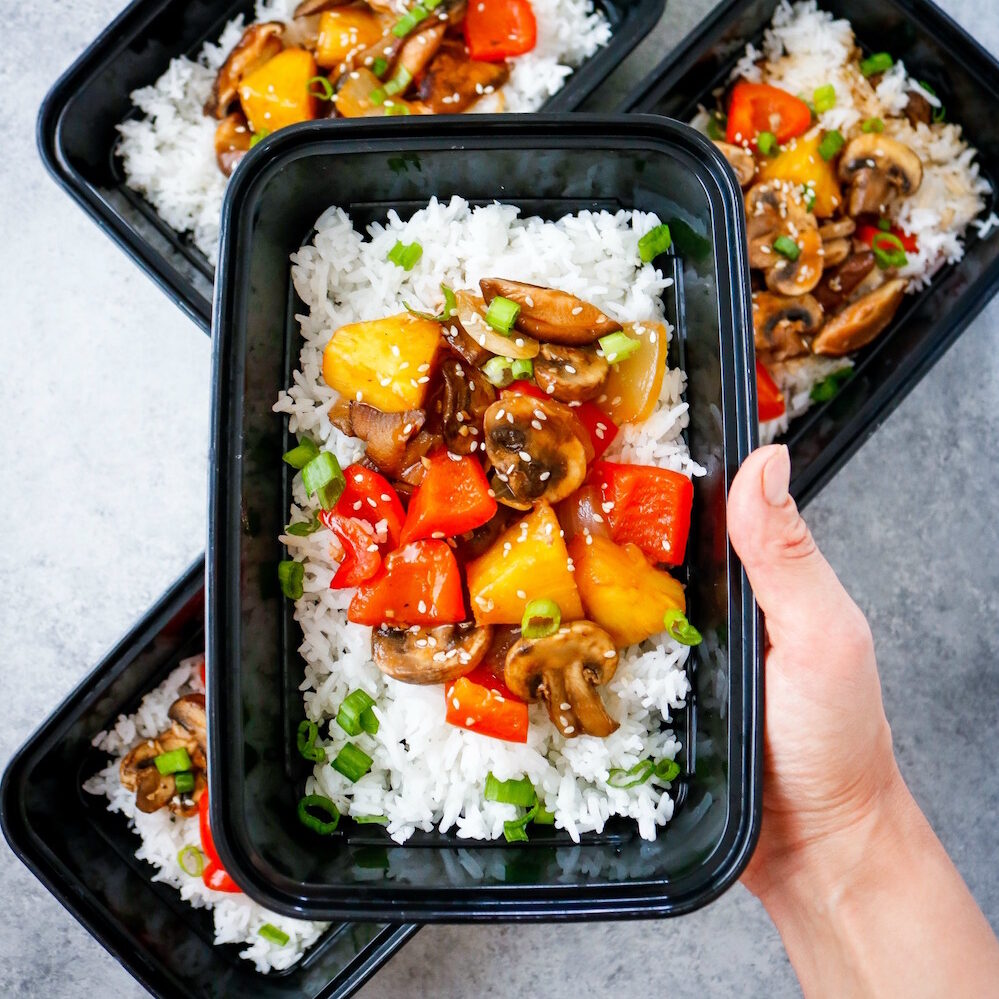
Sweet and Sour Mushrooms
-
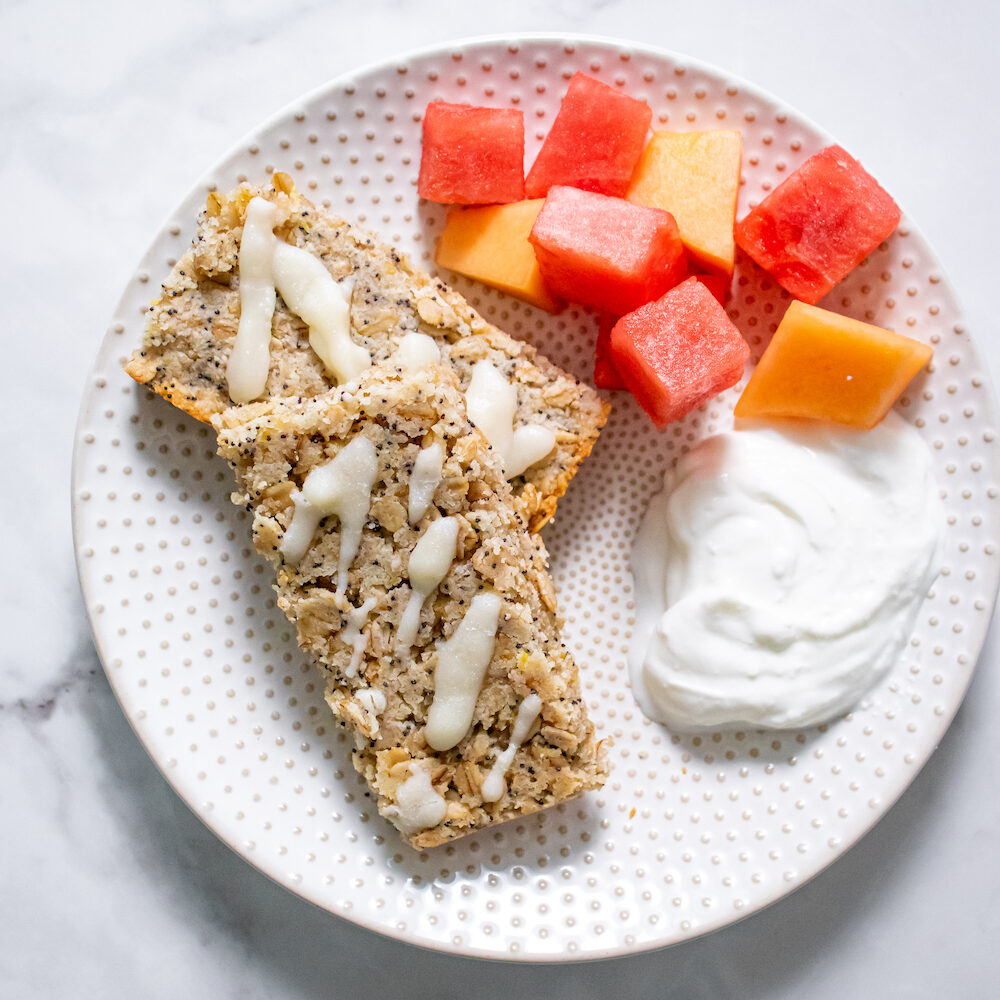
Lemon Poppy Seed Oatmeal Bars (Easy Snack Meal Prep)
-
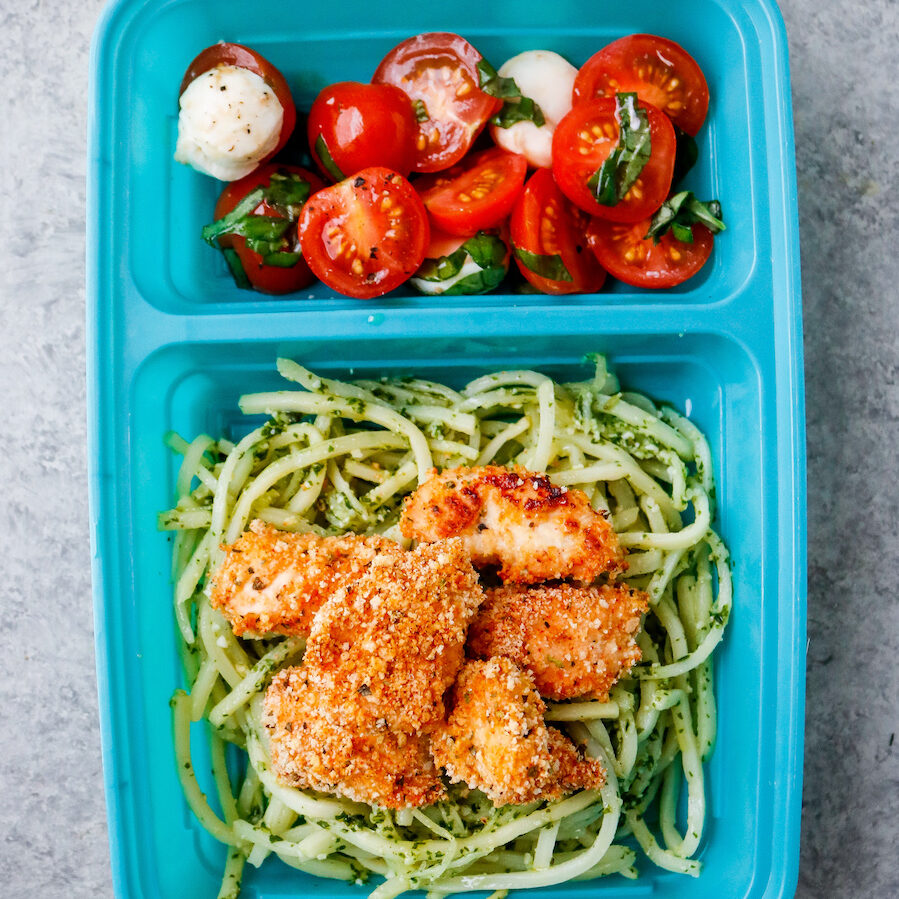
Pesto Noodles with Crispy Chicken Bites (Gluten-Free Meal Prep)
-
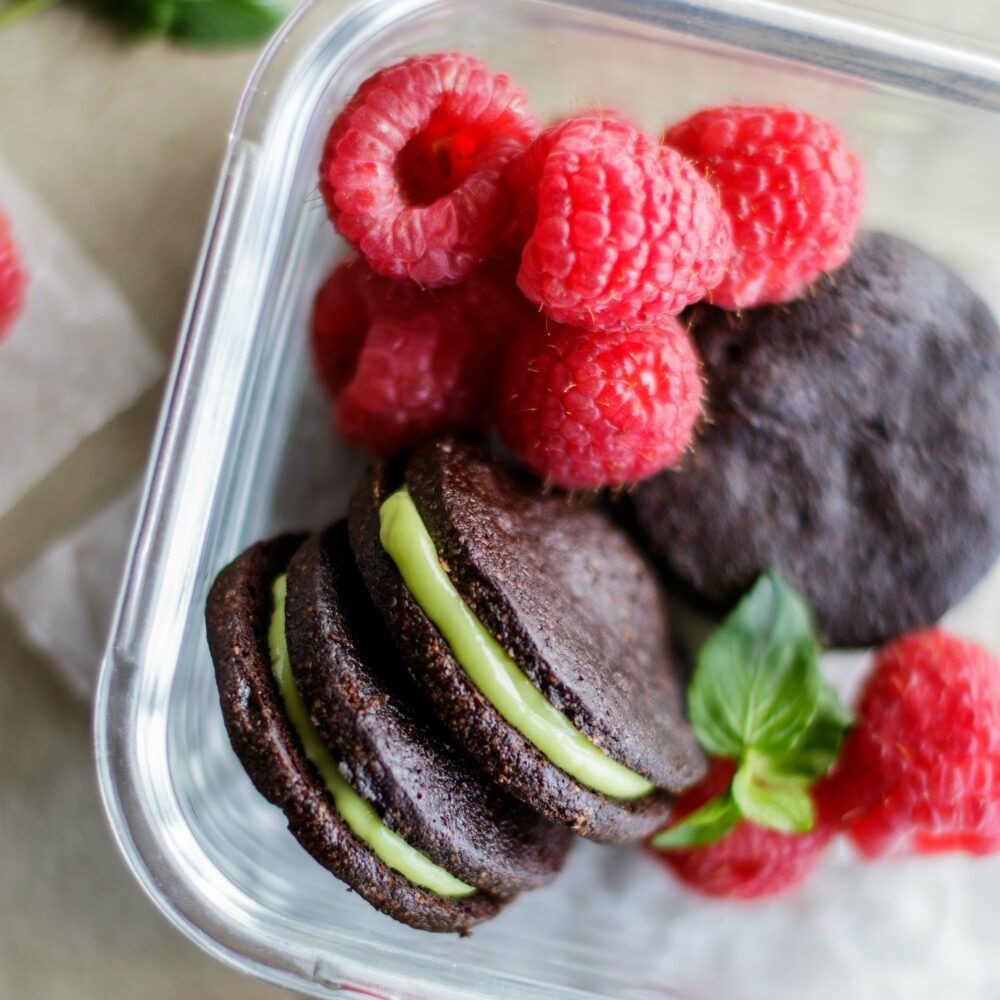
How to Make Homemade Mint Oreo Cookies (Vegan friendly)
-
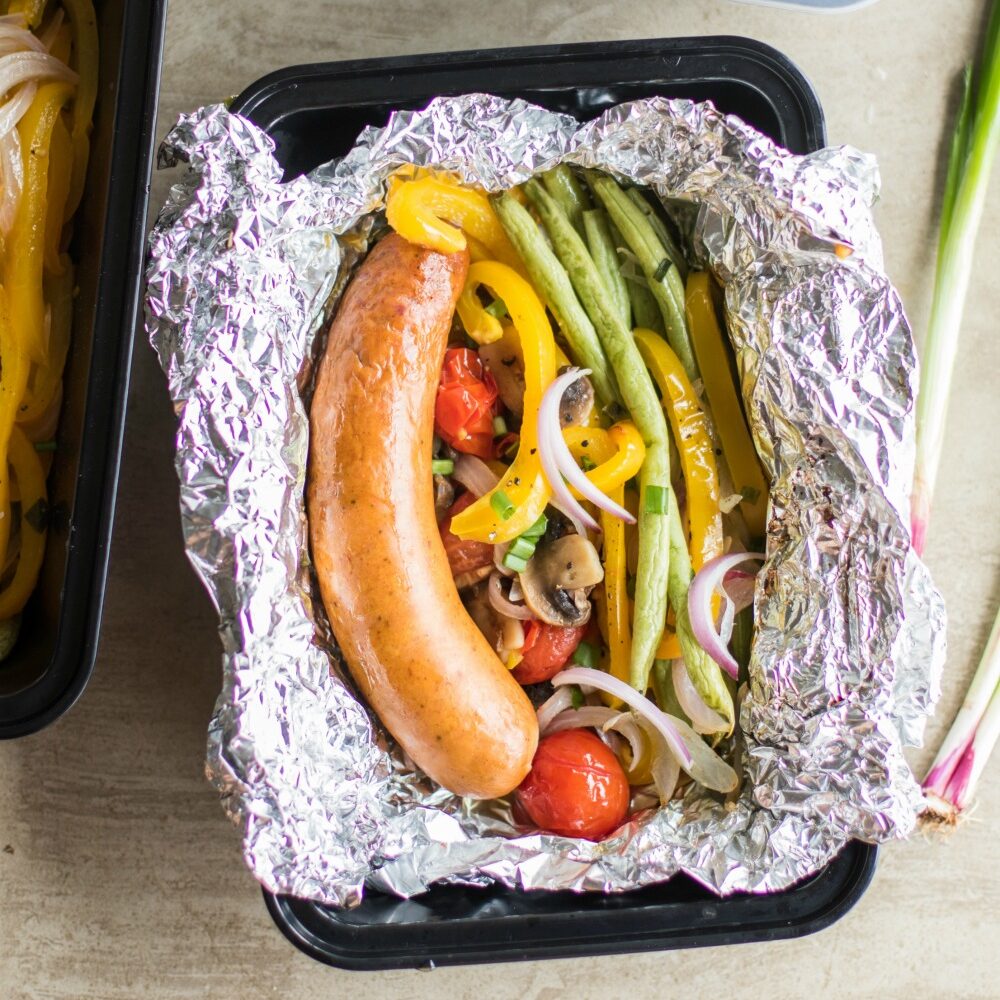
Sausage Grill Packet Meal Prep
-
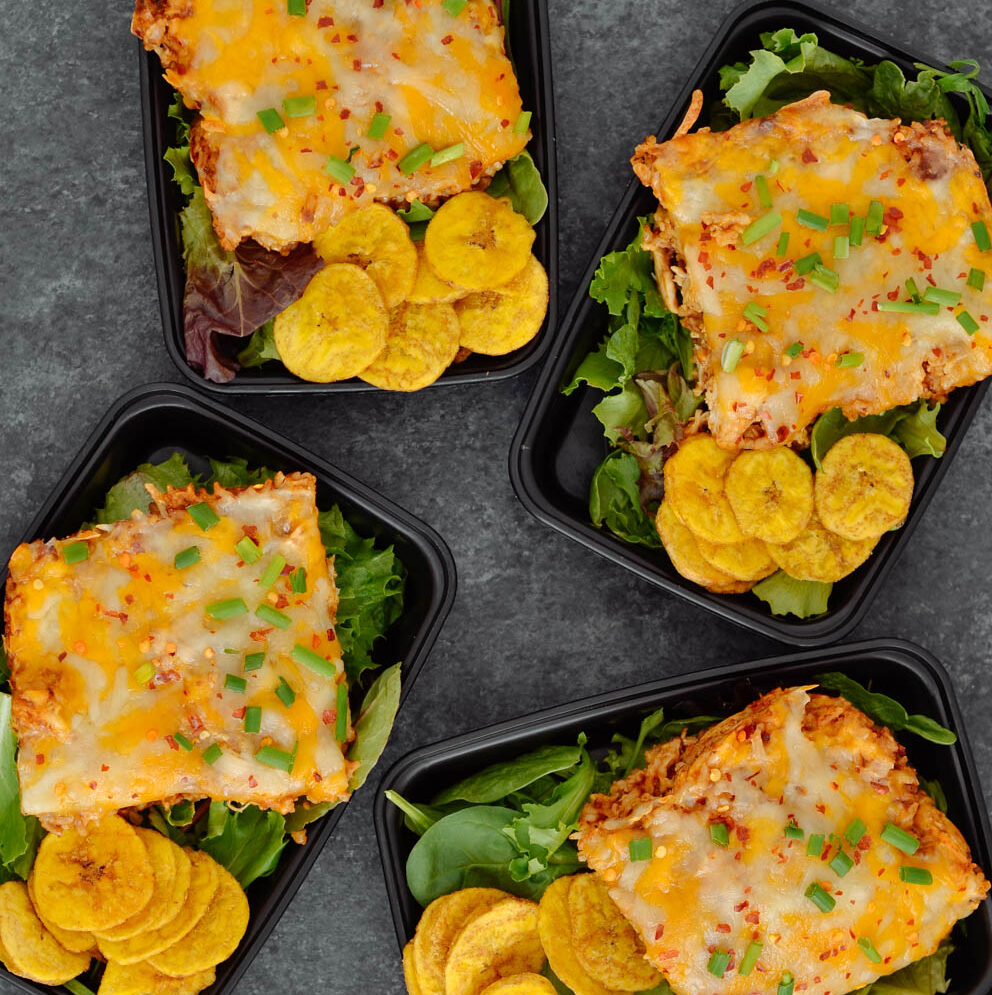
Mexican Whole Grain Rice & Quinoa Casserole Meal Prep
-
Morning Glory Muffins (Gluten-Free, Refined Sugar-Free)
-
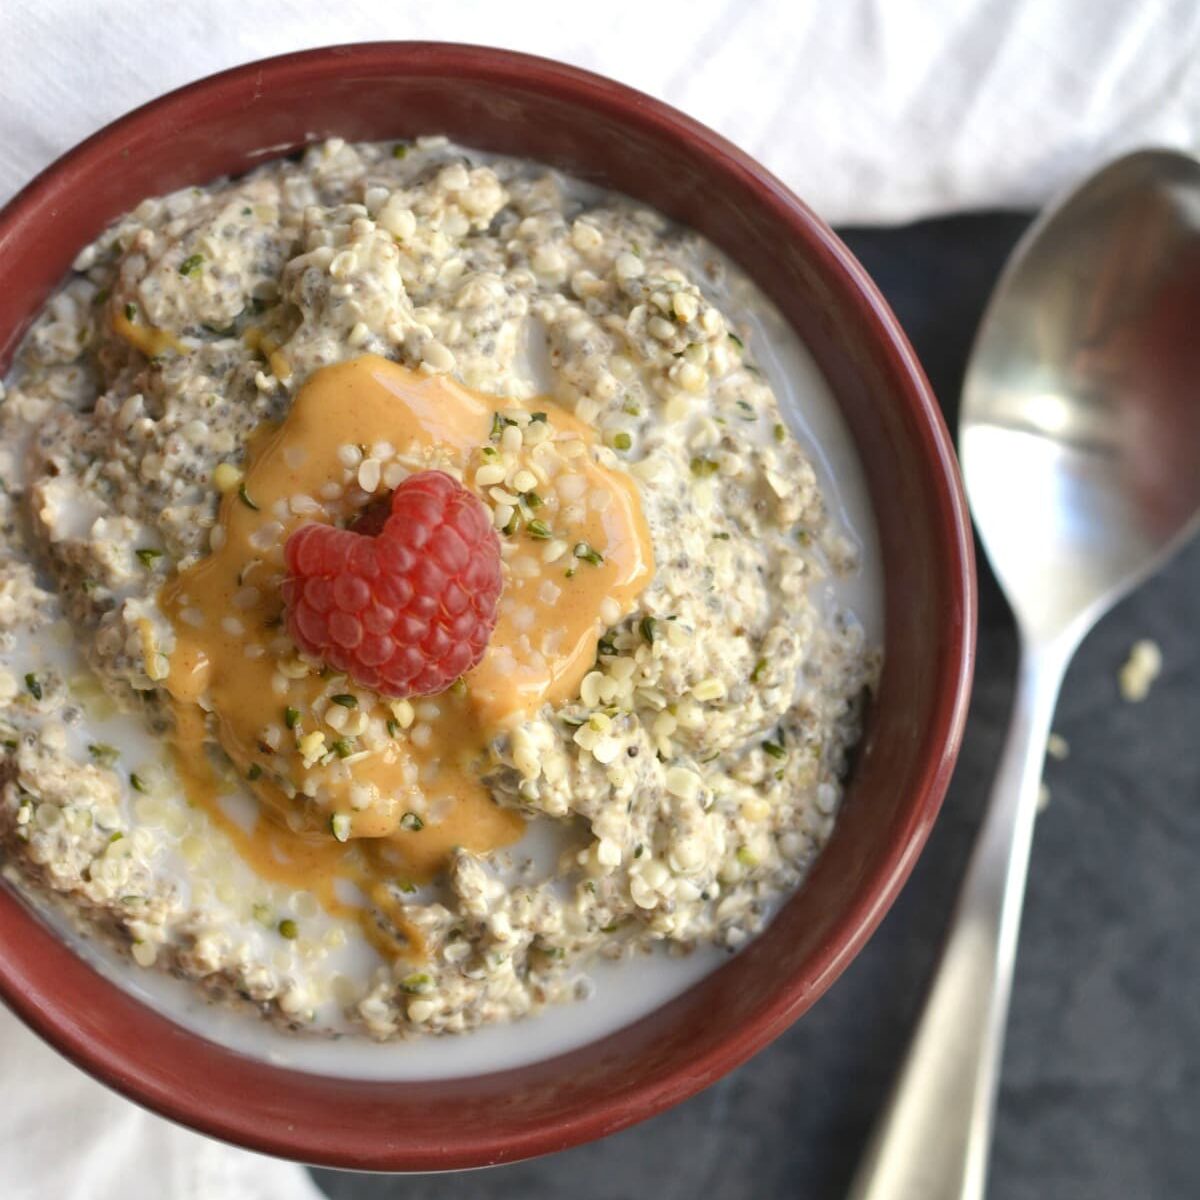
Overnight 'Oats' with Almond Butter (Keto Friendly)
-
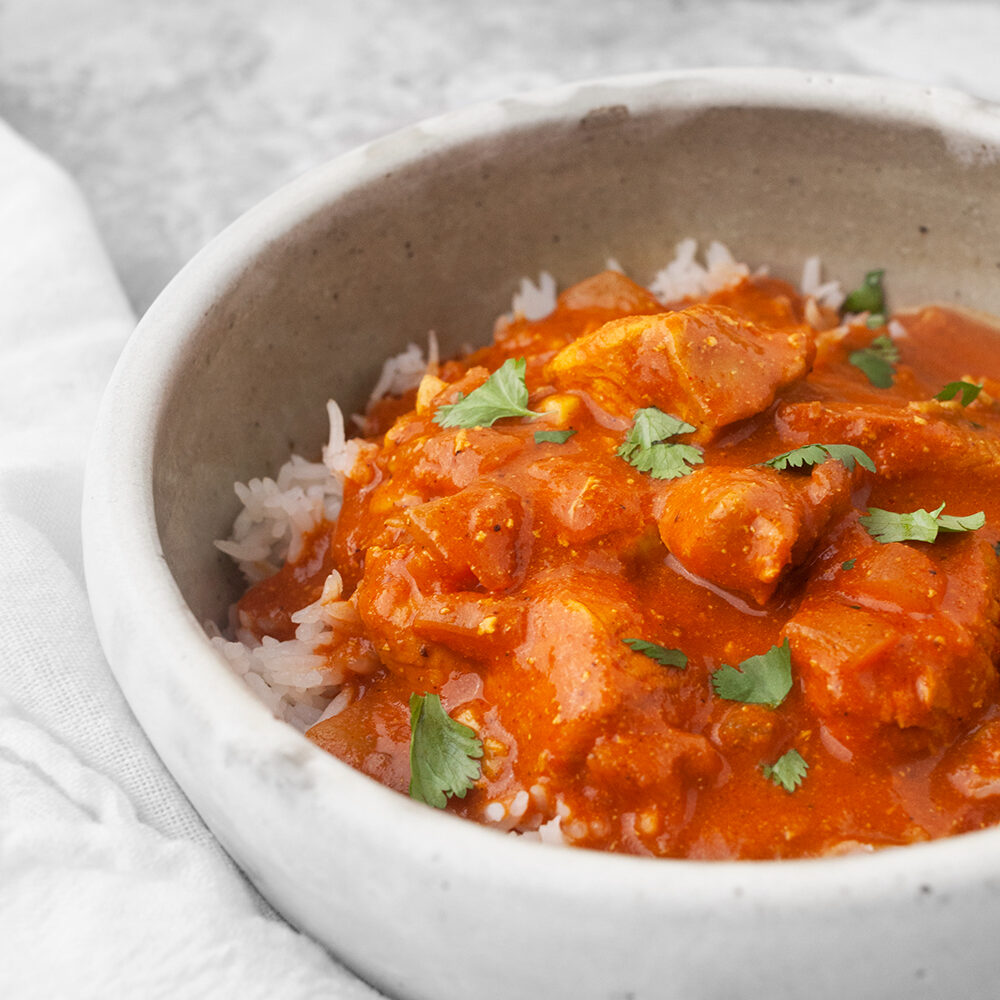
Chicken Tikka Masala Meal Prep (Instant Pot Version)
-
Healthier Kung Pao Chicken Meal Prep
-
Instant Pot Beef Barbacoa Meal Prep Bowls
-
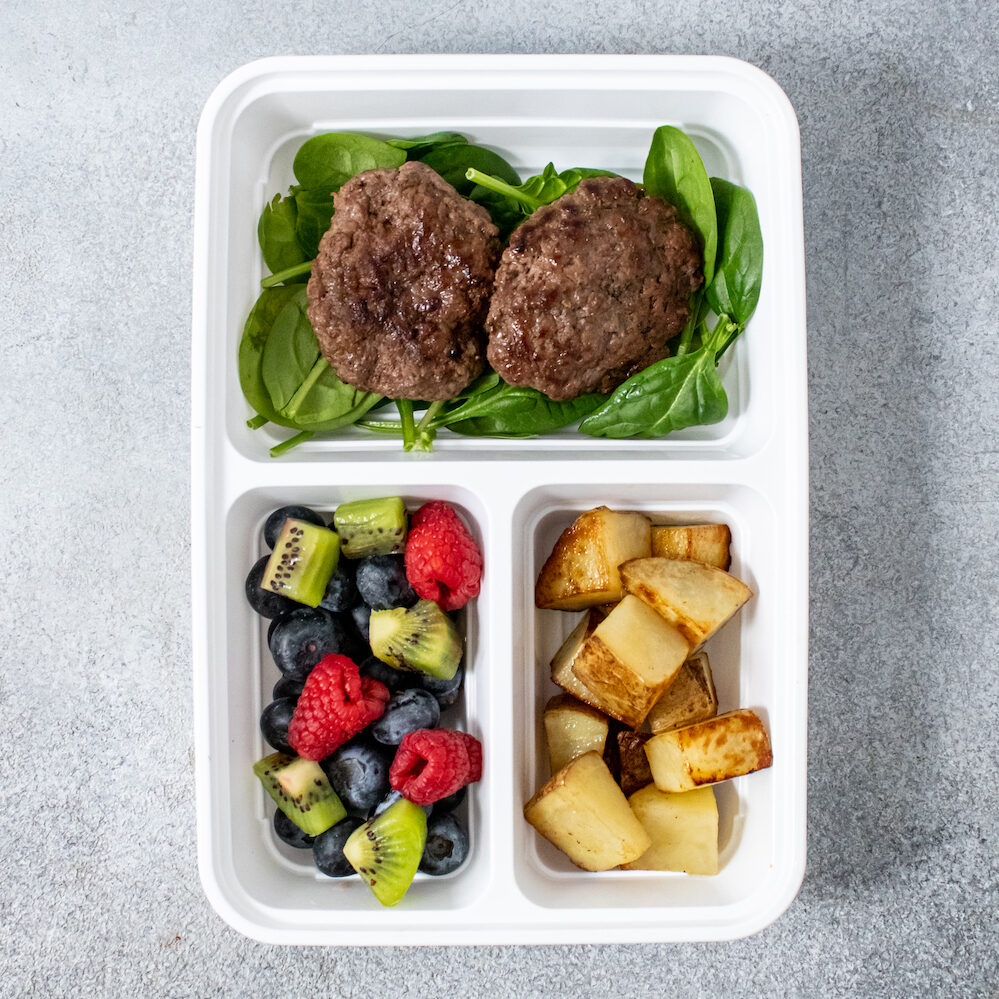
Easy Breakfast Beef Sausage (AIP, Paleo, Whole30, Keto)
-
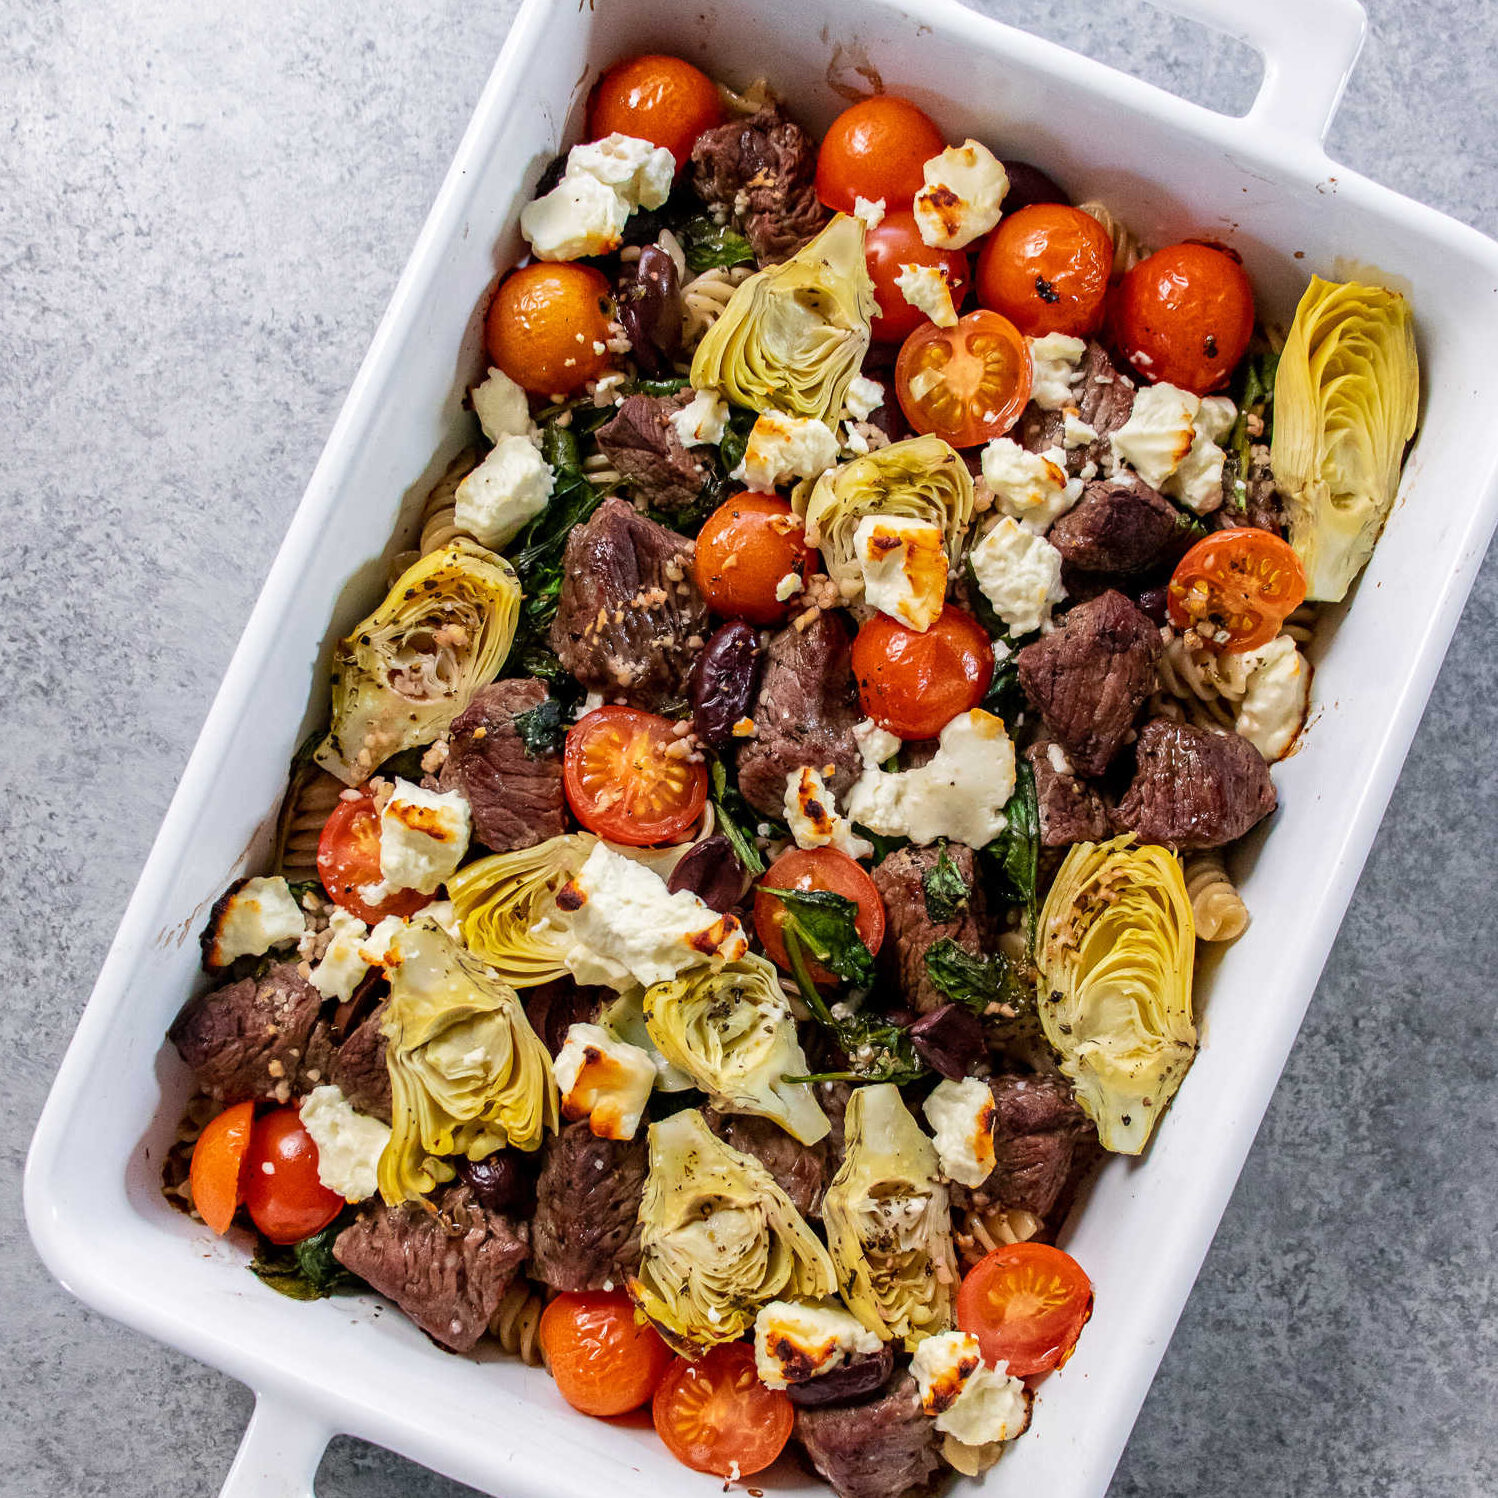
Mediterranean Pasta Bake (Meal Prep Friendly)
-
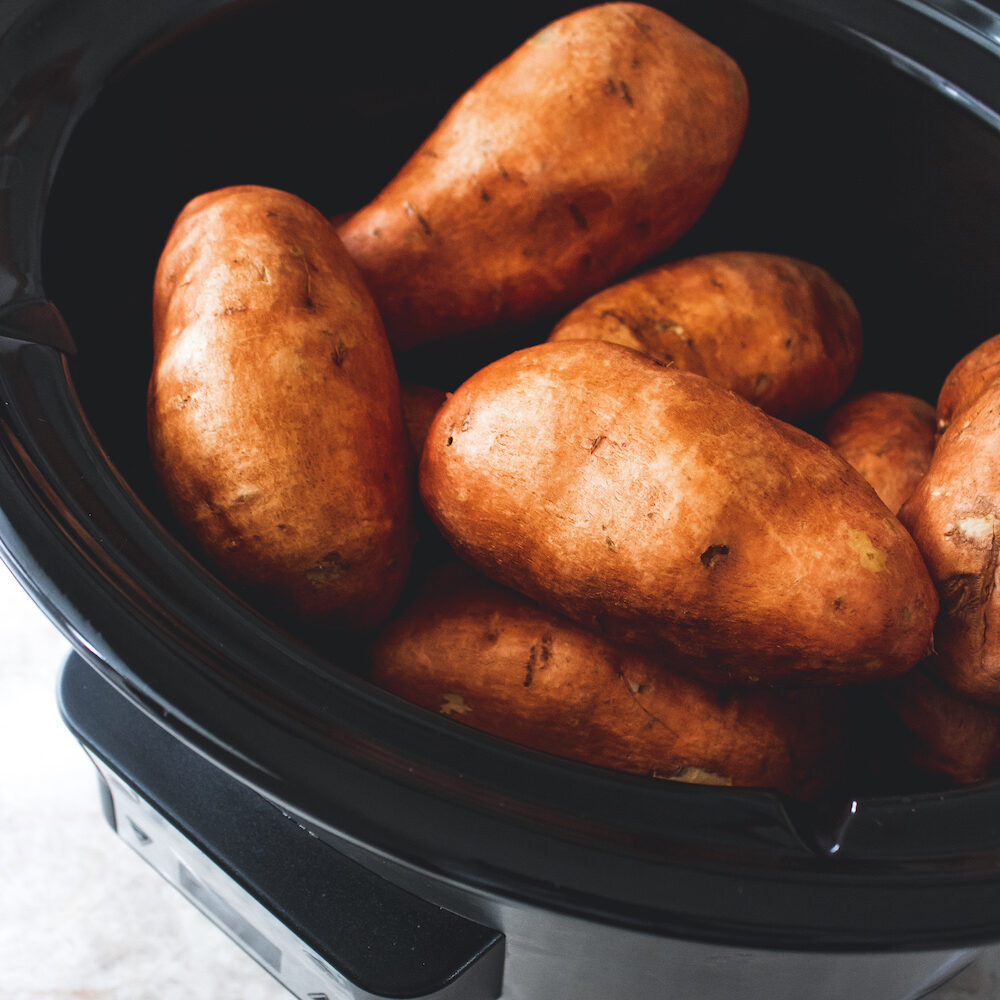
How to Make Crockpot Sweet Potatoes
-
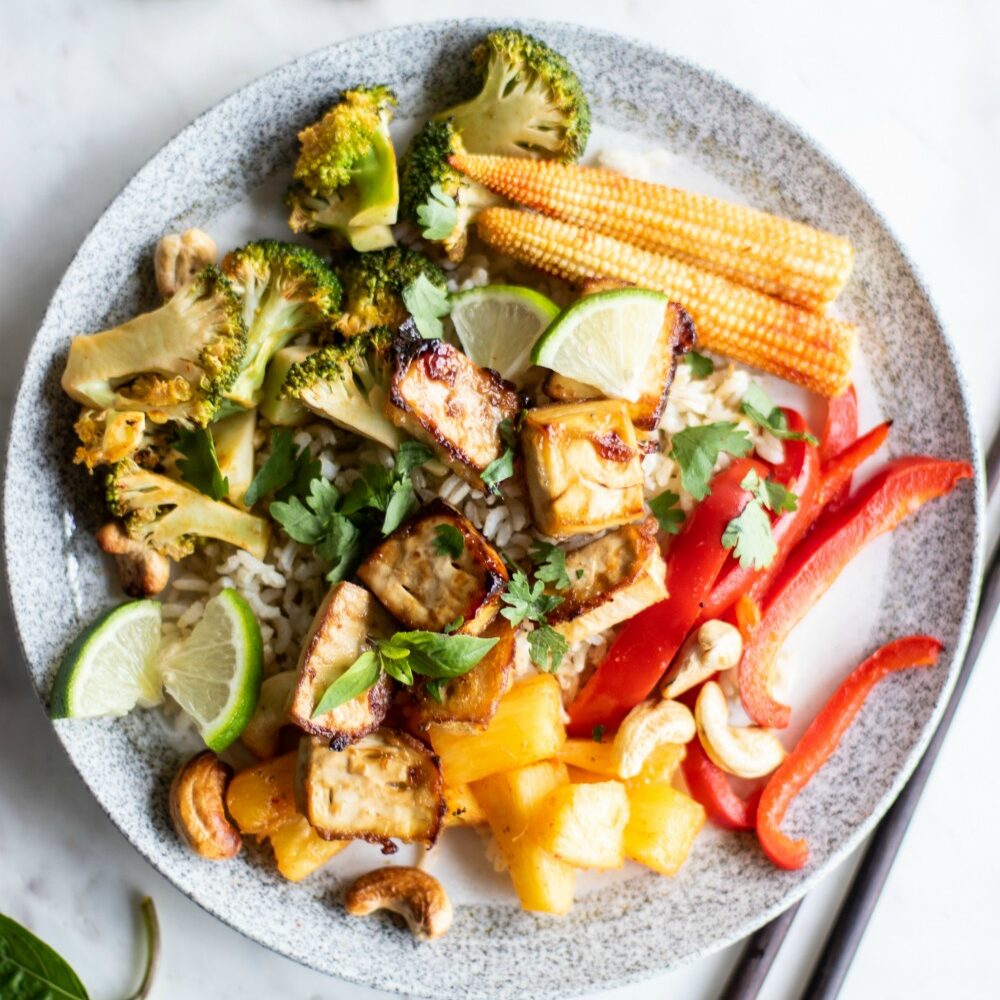
Thai Chili Tofu Sheet Pan Meal Prep
-
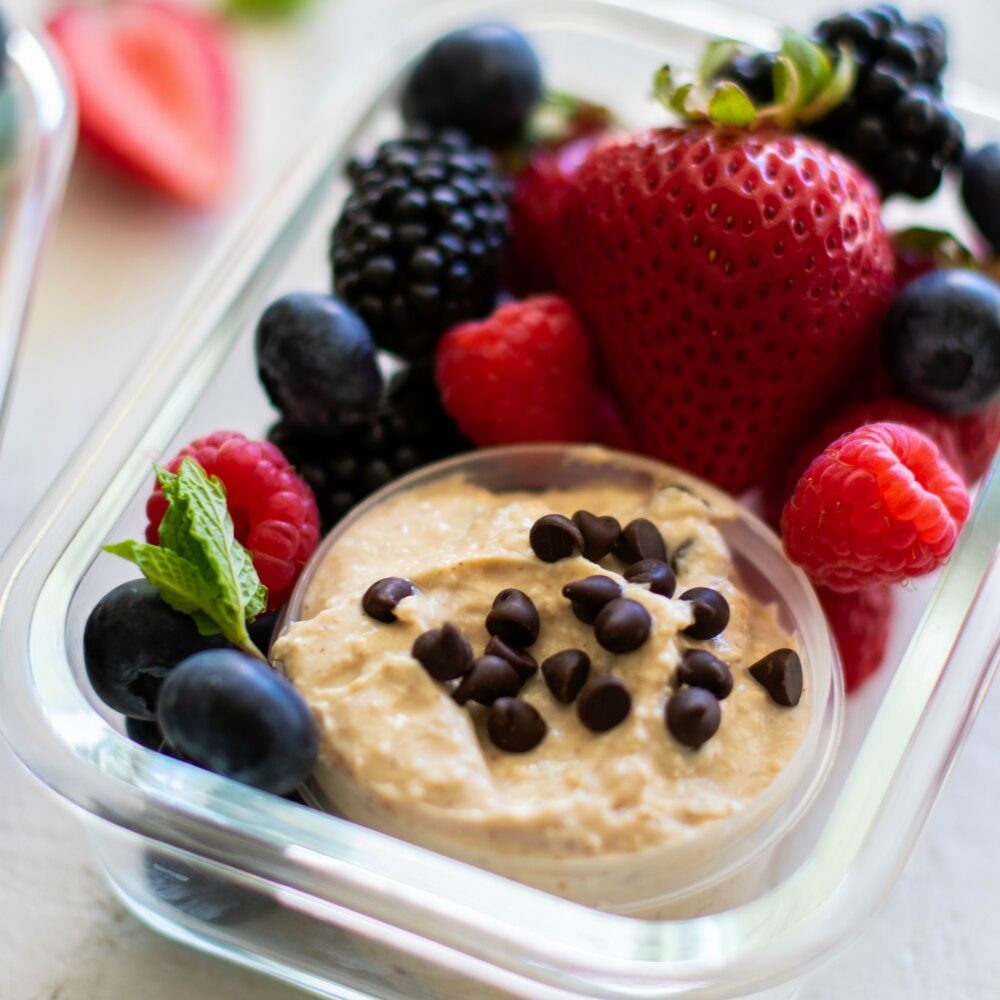
Meal Prep Snack idea: Greek Yogurt Cookie Dough Fruit Dip
-
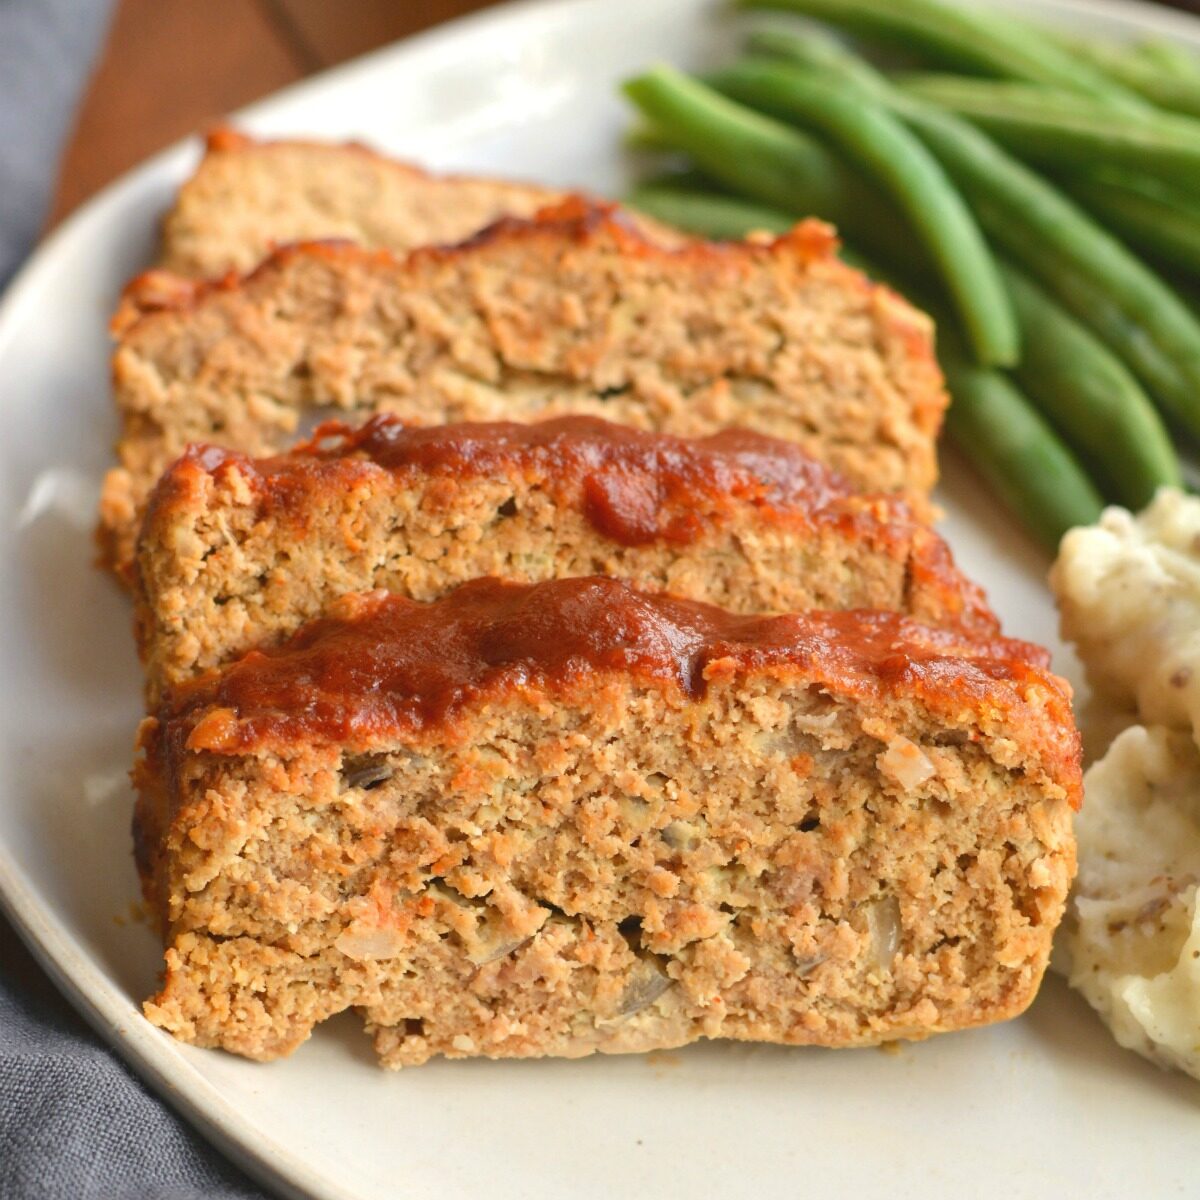
Apple BBQ Meatloaf & Mashed Potato Meal Prep
-
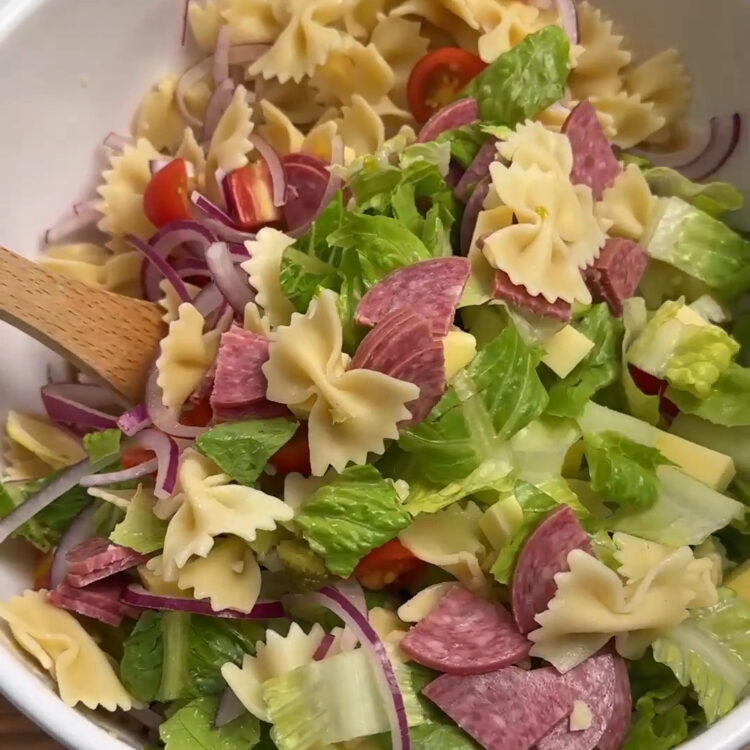
Viral Cuban Pasta Salad
-
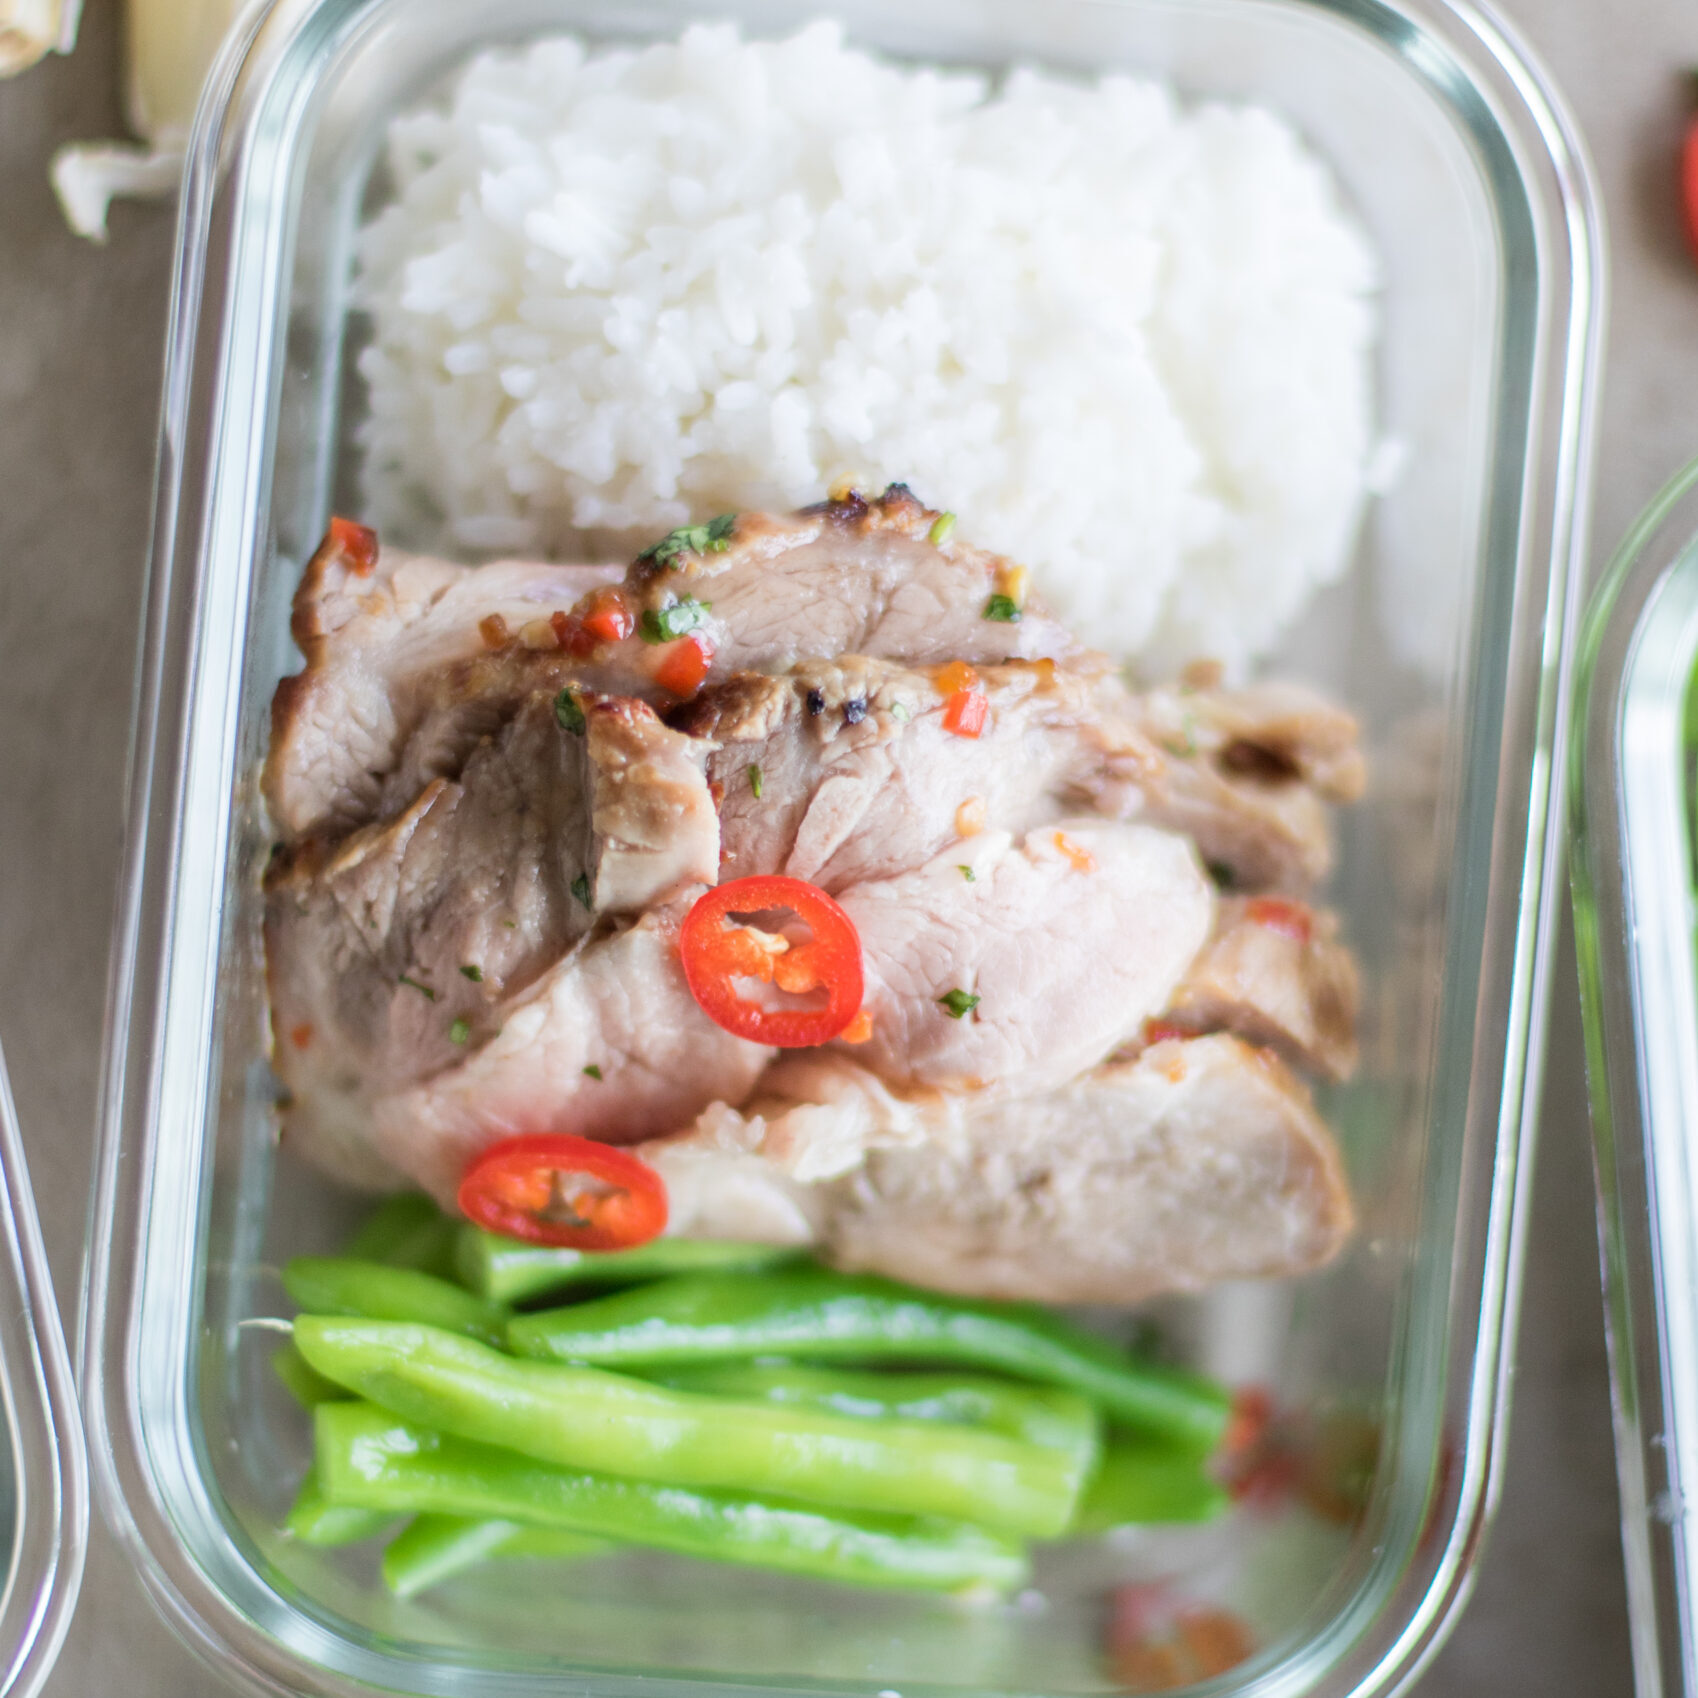
Thai Inspired Tenderloin: Thai Sweet Chili Pork Meal Prep
-
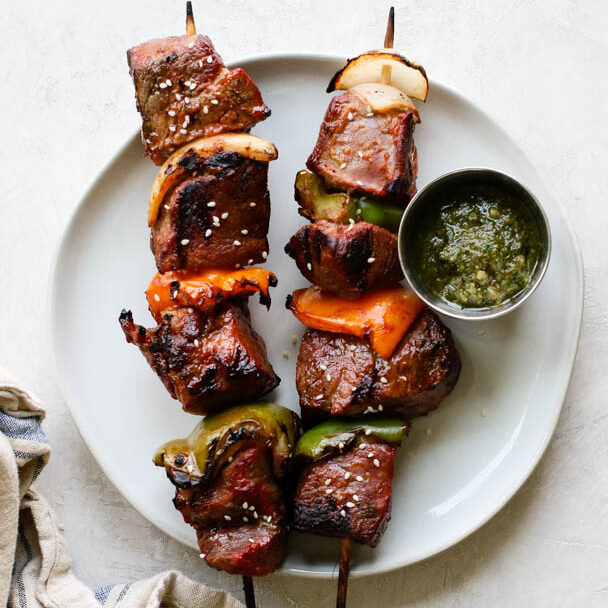
My Favorite Pesto Beef Kabob Meal Prep
-
Garlic Shrimp and Broccoli Meal Prep (Whole30 & Takeout-Inspired)
-
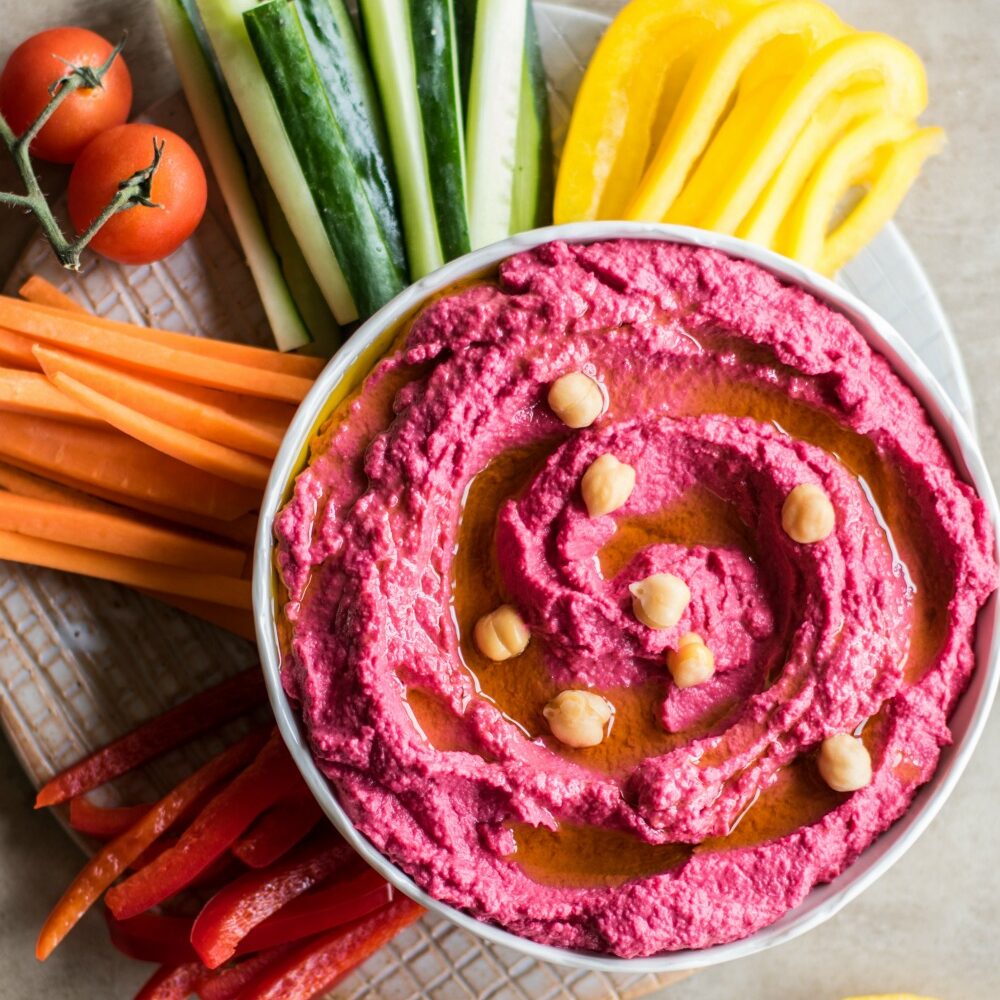
The Best Beet Hummus - Plus a Veggie Dipper Snacks
-
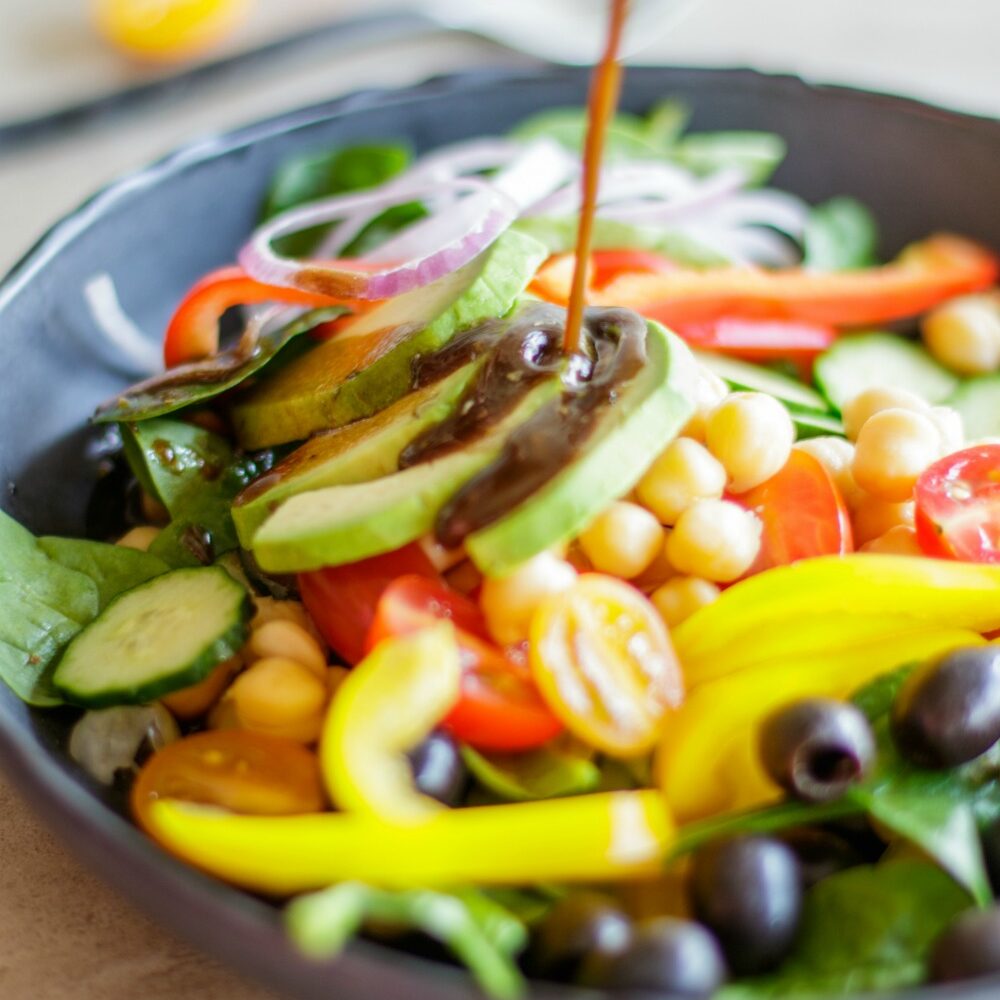
Vegan Chopped Chickpea Greek Salad Meal Prep
-
Chimichurri Steak Meal Prep - Two Ways (Bowls and Tacos)
-
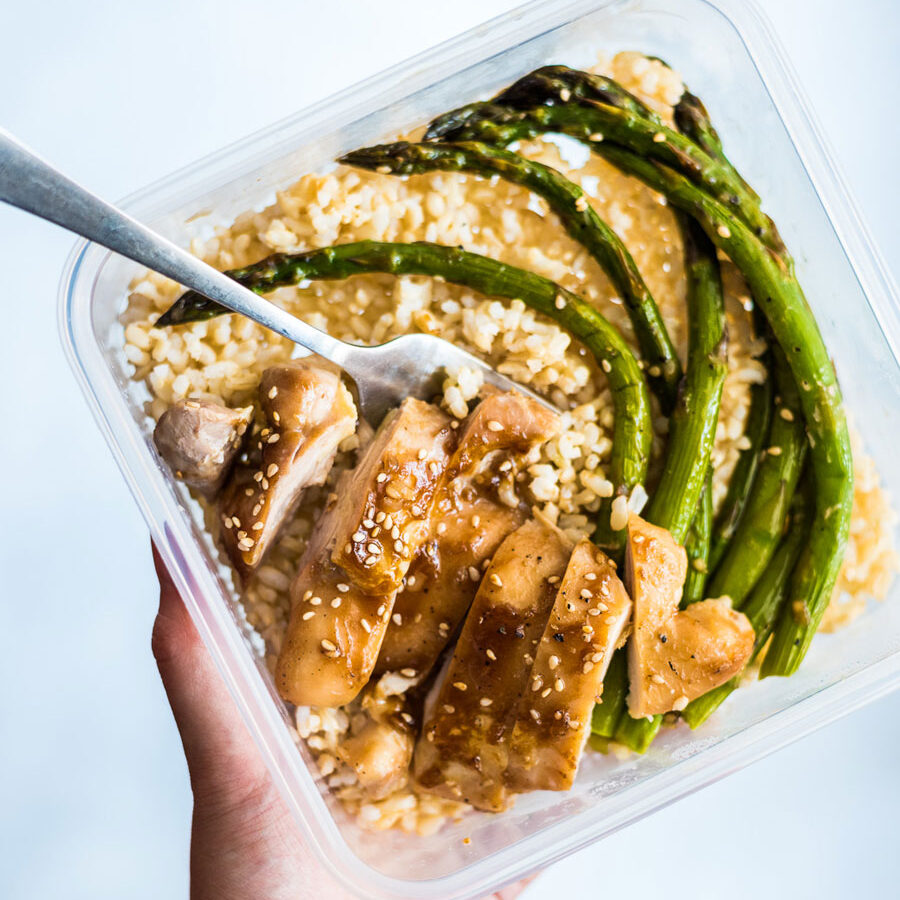
Sheet Pan Recipe Chicken and Asparagus Bowl
-
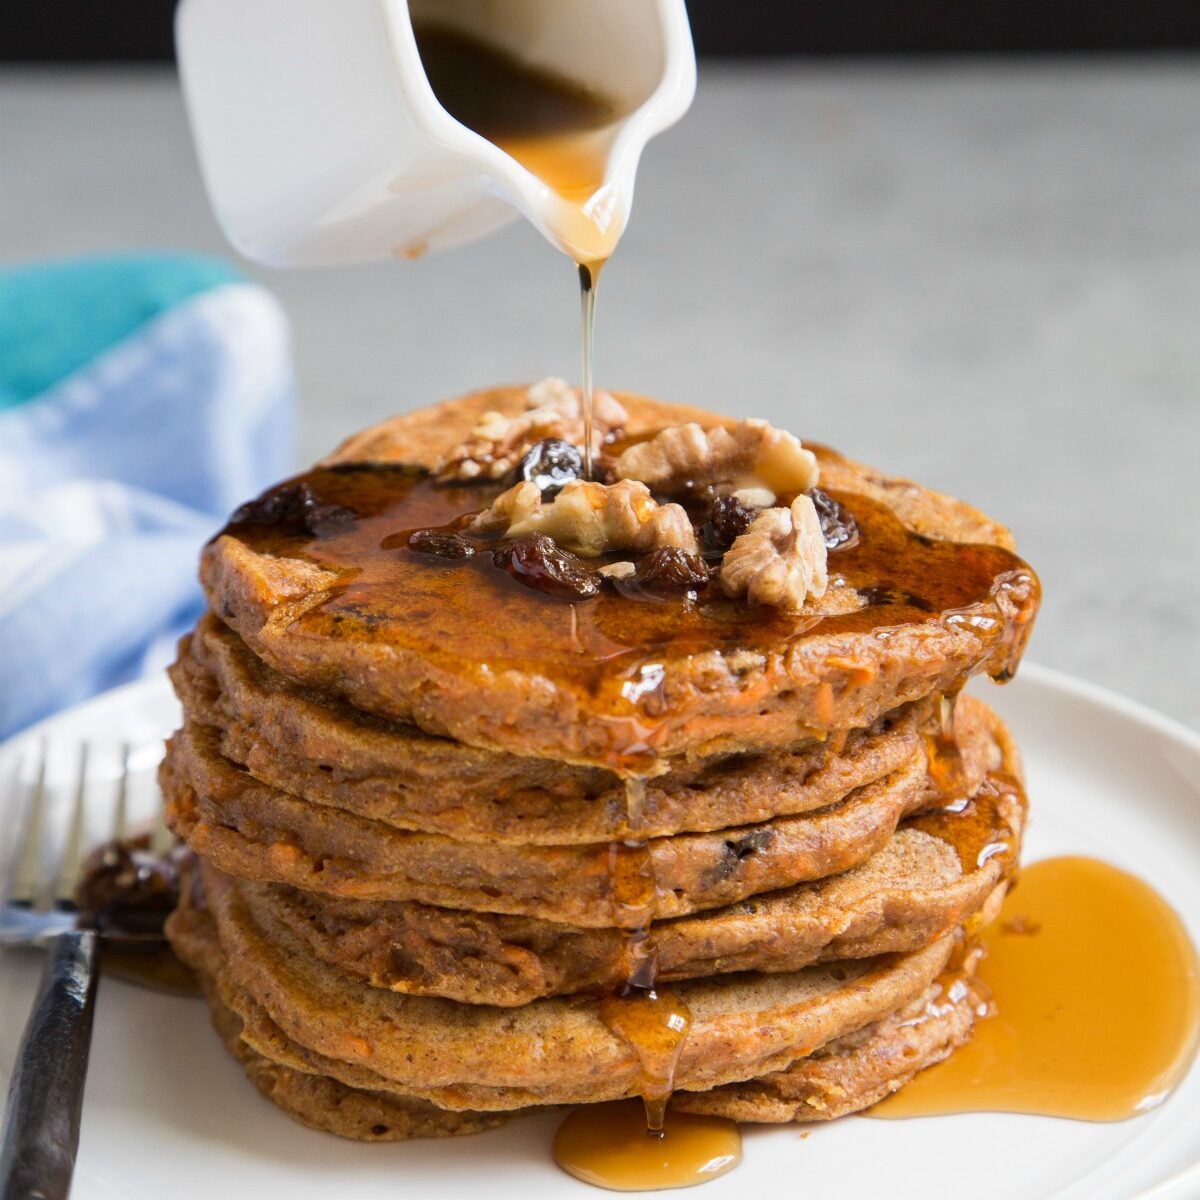
How to Make Carrot Cake Pancakes